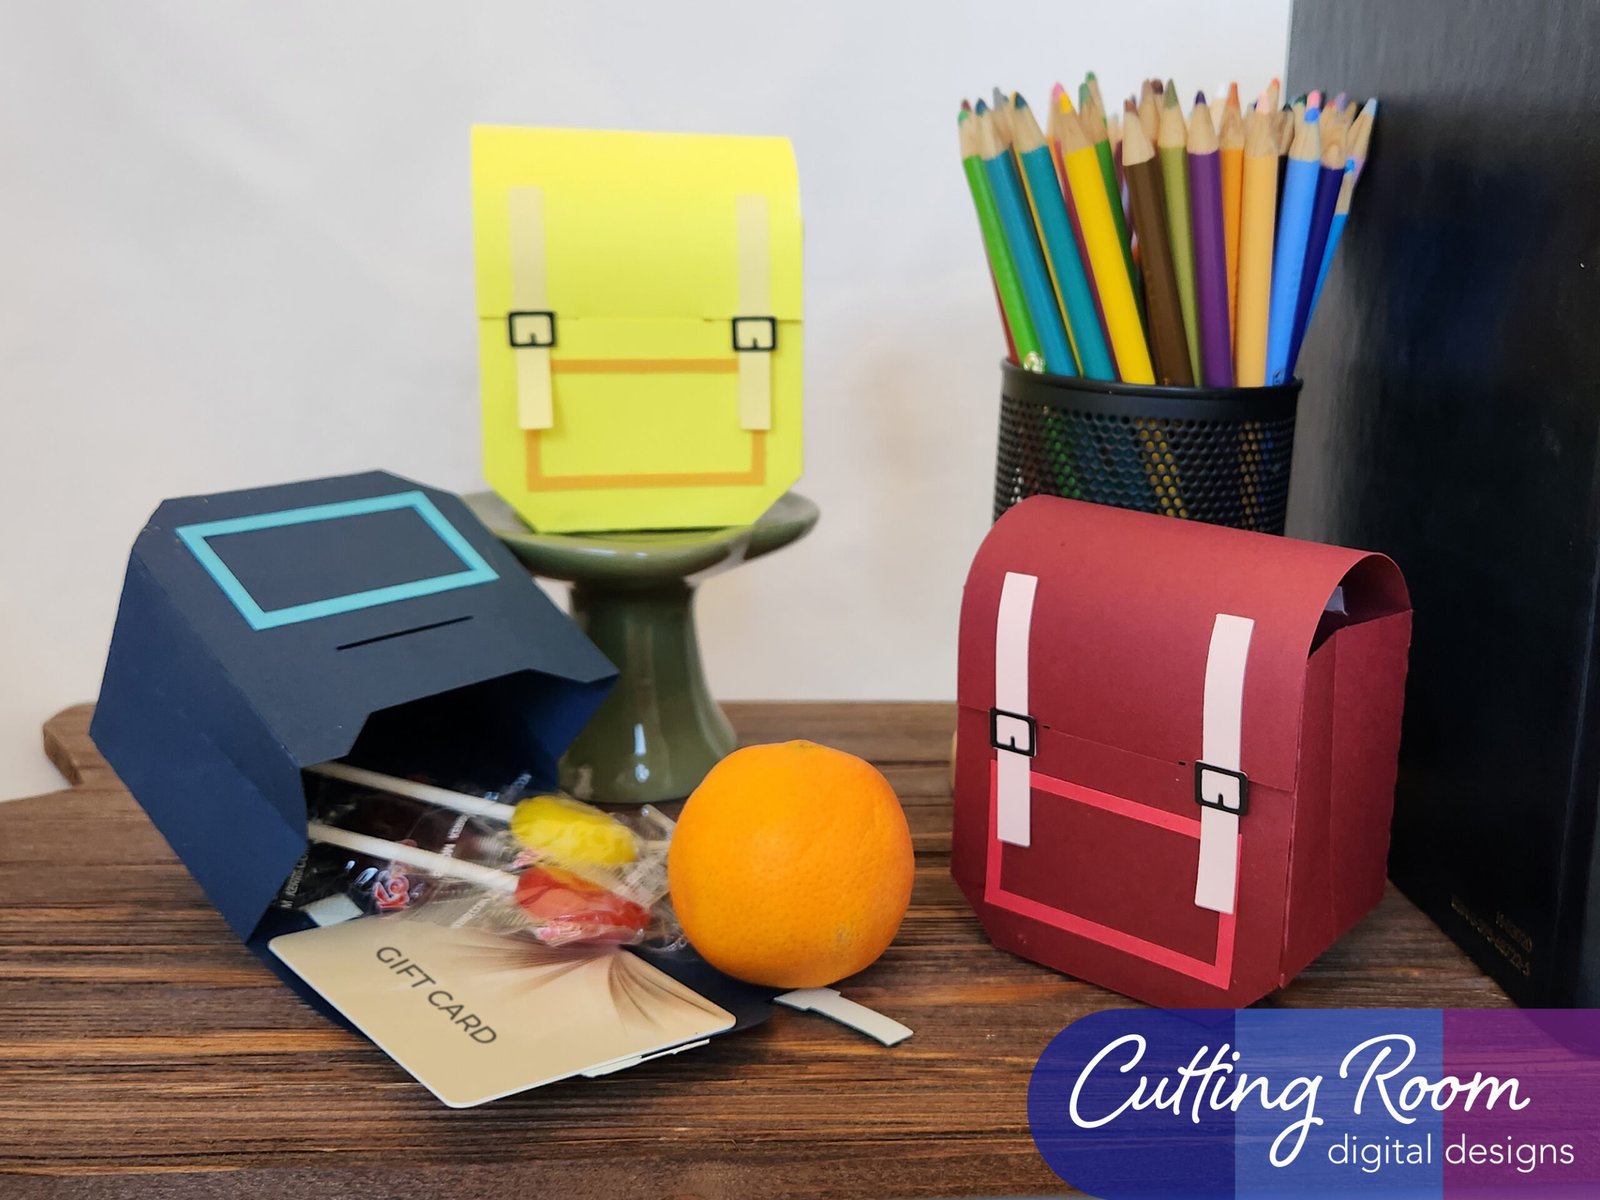
Materials Used
We used several products and supplies in the making of these backpack gift box. Below is a list of what we used.
- School Backpack Gift Box for Teachers – Digital Download SVG
- Recollections cardstock
- Art Glitter Glue
- Electric Cutting Machine – Cricut or Silhouette
***Note that this post contains affiliate links and we may receive compensation if you buy something using one of our links. ***
Buckle Making
To start the backpack, we attached the buckle pieces to the straps. We cut all our pieces before assembling and were worried we’d lose these little buckles. You can do this step later if you want, we were just worried they might get lost.

Gift Box Assembly
To start the box, we folded all the tabs, giving the box its shape. We then started to attach the backpack straps. Fold along the score line at each end. Note: we drew a line on the score line in the photo below to help see where it is since it’s hard to see in photos. We then encouraged a little curve in the paper. Next, we added glue to one end and slipped it through the slit in the back of the backpack. Make sure to start from the side that will be the outside of the backpack. This ensures that the the tab is secured to the inside of the box. Finally, we did the same with the other end of the strap. Repeat this process for the second strap.


We then started gluing the tabs on the box. Fold up the sides and attach the tabs to create a three-sided structure.


At this point, you should encourage the long top flap (that will curve over to close the backpack) to have that curve. It will help with closing the backpack later. You can do this later in the process or after you are done with assembly but now is a good time since the front panel isn’t there yet to block your efforts.
We then added the decorative rectangle frame to the front panel of the backpack.


To attach the front panel to the box, we added glue to the tab on the bottom center of the box structure. Take the front panel of the backpack and attach it to the tab, making sure it is straight and centered on the tab. Use your fingers to make sure it is aligned correctly and to apply pressure on both sides to secure the glue.

To secure the rest of the front panel, we added glue to the tabs on one side and using our fingers, secured and pressed it in place. Then we moved to the other side and repeated with the remaining two tabs.


Our final step was to add the straps to the top of the backpack. We added glue to the strap above the buckle then secured it to the backpack flap.


*TIP*: if you have a hard time with the backpack staying closed, encourage more of a curve in the top flap.


