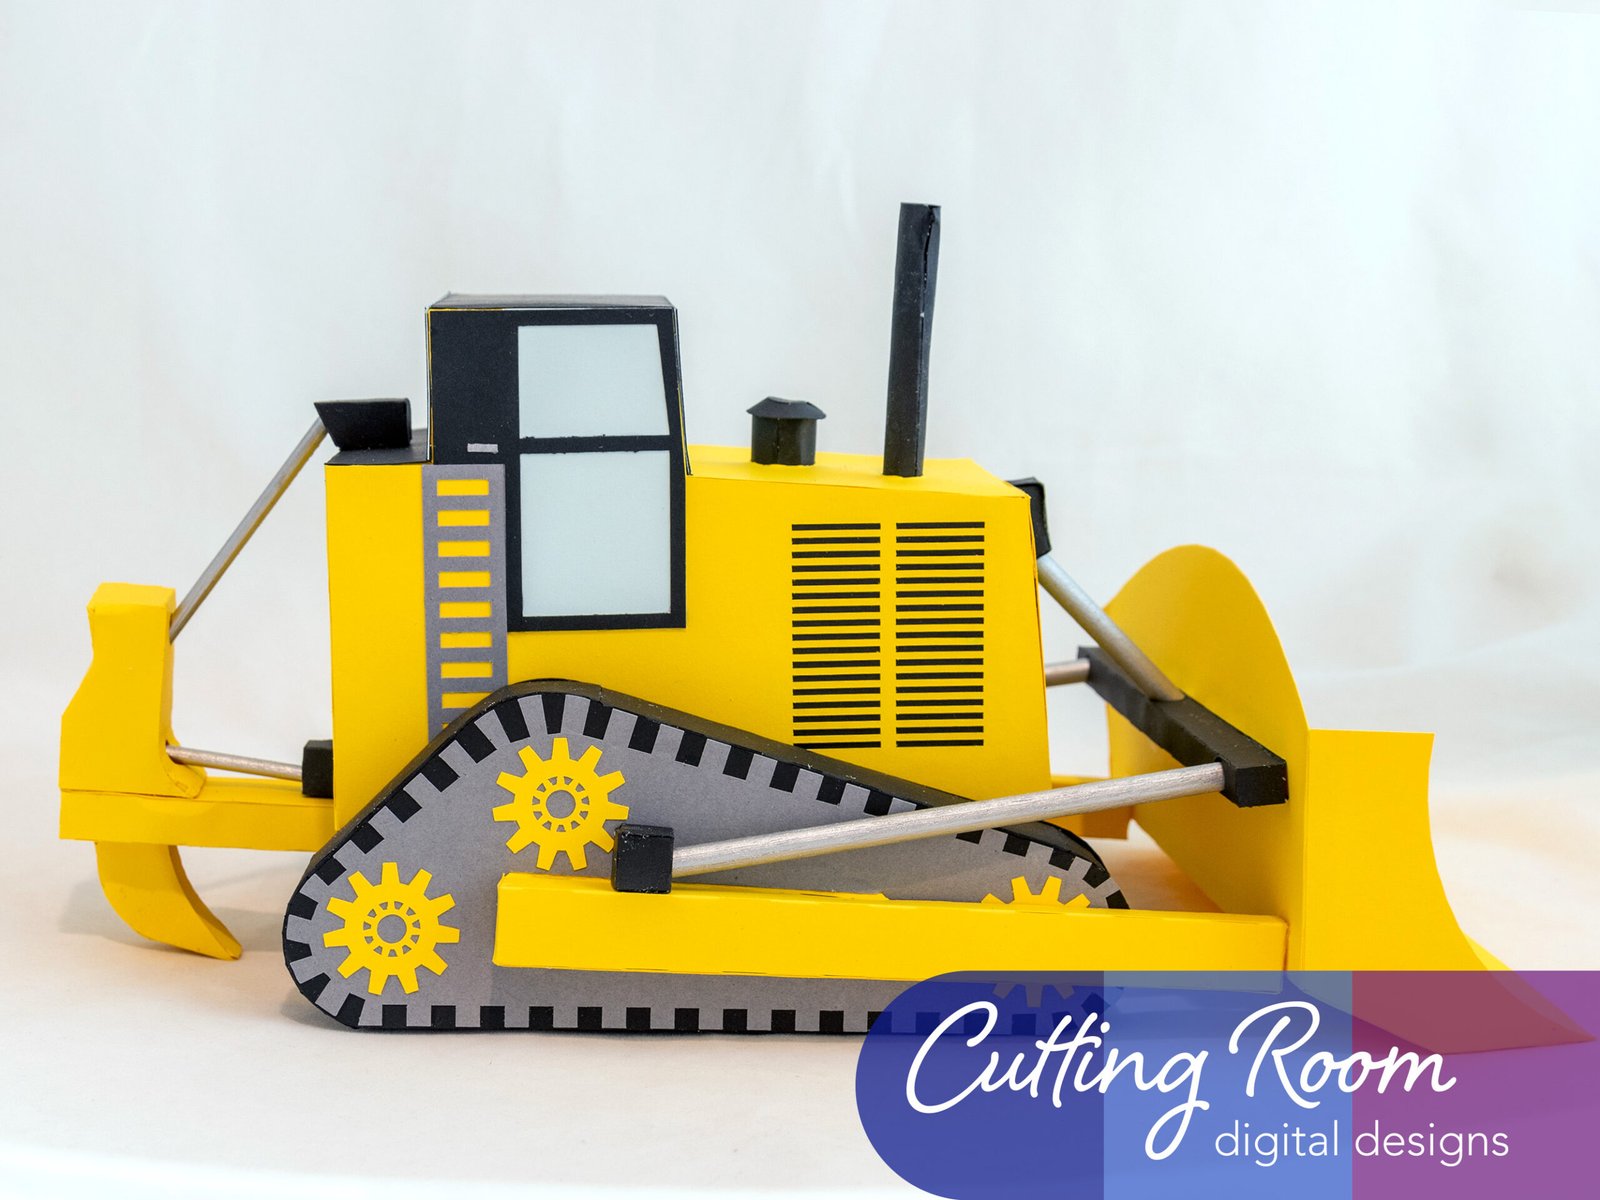
Materials Used
We used several products and supplies in the making of our bulldozer party decoration. Below is a list of what we used.
- Bulldozer Miniatures Party Decor – Digital Download SVG
- Recollections cardstock
- Art Glitter Glue
- 1/4 inch Wooden Dowel
- 3/16 inch Wooden Dowel
- Metallic Silver Paint
- Electric Cutting Machine: Cricut or Silhouette
*** Note that this post contains affiliate links and we may receive compensation if you buy something using one of our links. ***
Building The Bulldozer Base
To start assembling the bulldozer, we made the center support platform first. Everything will be attached to this as you assemble the rest of the pieces. This central support structure consists of the pieces shown below. The two pieces pictured at the top of the photo make the sides that go around the post end of the structure. The other panel, at the bottom runs along the one side which will be the front of the bulldozer.

To attach the side panels, we started with the longest of the three (pictured top left above). Fold in the tabs and add glue to one or two at a time. Then attach them to the large panel as shown. You want to be sure to get a close snug fit especially in the corners in order to ensure everything fits correctly.


We then added the next, shorter panel to the post end of the panel. There’s a tab to attach it to the longer panel as well as tabs to attach it to the side panel.


With these in place, we moved to attaching the third side panel at the front end. This has just one tab to glue and attach.

To close off this support base, we took the other large panel and attached it to the side panel.

We then added glue to all five tabs around the narrow post end of the structure. Place the other large panel on these tabs. We used our fingers to help ensure that the sides and the top panel lined up correctly.


This will become the platform that the bulldozer cab sits on and the unused tabs on the sides are how the tracks attach to make a secure and even attachment.
Attaching The Track Supports
The next step is to attach the track support panels (file name Bulldozer Support Structure2) to this support base. To do this, we slid one side with the 4 tabs through the opening in the track support structure. When doing this, be sure that the tall end is oriented toward the post. See the photo below. This will ensure that your tracks and the blade supports are facing the correct direction later.
Once you slide the track support over the tabs, add glue to the tabs and fold them out so they attach to the track support. You’ll want to be sure that the entire tab is straight and not bowing. If it’s bowed when attached, the support platform won’t be flat and level for the cab to sit on.


Making The Cat Tracks
Next we made the cat tracks themselves. These are made of three panels for the tracks and two side panels. To make sure the track parts are in the correct order, we’ve added cut lines to the tabs marking them as I, II, and III. In the photos below we’ve added white pen to help them stand out. Attach these panels end to end, starting with I, and attaching it to II. Then attach II to III. Once all three are attached, you can loop them around by adding glue to the end of panel III and gluing it to panel I.


To create the shape of the tracks, fold in all the tabs on one side and add glue to the longest one. Place the side panel on this tab and make sure it’s secured with the straight edge only on the tab. Be careful that the curved portions on the end aren’t on the tab or you’ll have a hard time getting the rest of the tabs positioned. Once that tab is in place, you can add glue to a few more tabs and press them into place. We found it easier to do a corner and a straight tab together then move to another section, rather than trying to do it all at once. Continue until all tabs are attached, making sure the side panel is snugly fit into the fold of the tabs being glued into position.


Next, fold all the tabs on the other side and add glue to the longest one. Attach the other side panel, making sure it’s properly centered and secure. Finally, we added glue to the rest of the tabs and folded the panel up and into position. We tried to work around to be sure that it lined up straight.


Repeat these steps so you have two track structures. Any exposed tabs will be covered so don’t worry about them showing or which side has them showing.
Attach The Bulldozer Tracks
Attach these two track structures to the sides of your base structure as shown.


Blade Attachments
Our next step was to add the blade attachments and decorative cat track panels. To do this, we folded the blade attachments along the score lines then attached the long tab to the other long side. This creates a long box with a hole on the ends and partly along one side.


To attach the blade support to the decorative track panel, we folded out the tabs on the long side and added glue to one. We then slipped this one tab through the hole in the decorative track panel and attached it making sure it was centered and straight. Once you have one tab in place, you can add glue to the other tab and secure it to the decorative track panel. These are the only two tabs that attach the blade support. (Before starting this step, you might want to add the gears to the decorative panel or you won’t be able to get one under the blade support. We made a mistake while photographing our assembly and forgot to add these, so our directions here do not include the gear under the blade support. If you’re like us and forget to get it placed sooner, that’s okay too!)


We then closed the ends of the box by folding in the tabs, adding glue and folding down the end panel.


Repeat this step for the other blade support, making sure to assemble it to face the other direction (see photo below, right for reference).
Our next step was to attach the decorative track to the black track panel. This is when we attached the gears but should have done this already as we couldn’t place the one behind the blade support. It’s mostly hidden but you can see it some so it’s up to you how important it is to you. Below you can see both of the finished assemblies, right and left side.


You can now attach these decorative panels to the cat track pieces on the main structure.


Assembling The Blade
Th blade assembly is made up of a couple pieces. To start we took the long black support and folded along all the score lines. This support is how the hydraulic sticks are attached to the blade later. To attach this, we added glue to one long tab and slid it through the hole in the large back of the blade. The large curved blade panel is symmetrical left to right so you don’t have to be worried about which side is front and which is back. Make sure that the long tab with the hole next to it will be on the top side, the side of the blade with the curve. This will allow the hydraulic stick to connect to the blade and the front of the cab later.
Once you have one long tab in position, glue the other so that you have a three sided box sticking out the back of the large panel and the tabs coming through the opening and glued in place. Once these are positioned fold in the tabs at the end of the black box and glue the square tab in place to close off the ends.


With this hydraulic support in place, we started adding the parts to give the blade its shape. We added glue to the tab at the end of the back blade panel and attached the side panel as shown. Do this for both sides, having the tabs be on the inside of the blade. Then you can add glue to the long panel of the blade (see photos below). Make sure this tab is placed on the inside of the blade structure. We have a decorative panels to cover these later.


We then added glue to the other two tabs on each end and attached them to the inside of the side panels. With all tabs on the inside of the blade, it’s easy to cover them with the extra panels. There are end panels identical to the ones used to make the blade as well as a solid panel for the back to cover the black tabs and smooth out the back of the blade.


Attaching The Bulldozer Blade
Now you can attach the blade to the front of the bulldozer assembly. Add glue to the front of the blade support boxes and while centering the blade on the front of the bulldozer, press the blade onto the supports. Hold it in position until the glue has set.


Assembling The Ripper
The next step is to build the bottom half of the ripper on the back of the bulldozer. This is made of three pieces (or four if you want to put the tabs on the outside while assembling, the first part, then you’ll need to cut a side piece an extra time to cover them up). We started assembly by adding glue to the straight tab in the middle of the side panel. Make sure that it’s centered and securely attached before moving on to the rest of the tabs, one section at a time, until all of them are attached to create a solid shape.


Next, add glue to one of the straight tabs and attach the panel on the other side. Once it’s positioned and secure, fold in the rest of the tabs, add glue, and position the panel in place. If you chose to put the piece together with the first set of tabs on the outside, you can now add another panel to cover them.


Add glue to the flat side and attach it to the underside of the bulldozer structure. We put it toward the back but not flush with the back and centered on the post that sticks out the back of the bulldozer.


Assembling The Bulldozer Cab
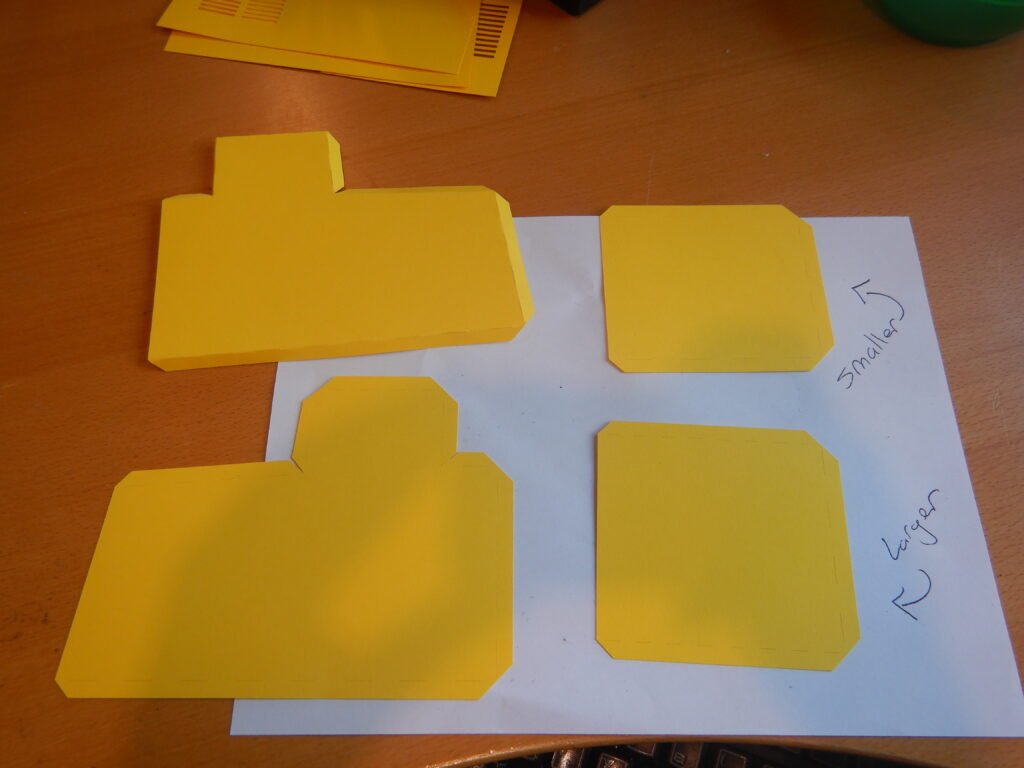
The top part of the ripper won’t go in place just yet so we moved on to the cab. This has four pieces for the sides, two pieces for the top and one piece on the bottom. We started by putting the sides together. The front and back of the cab look the same but the front is a little shorter. Make sure to get them each on the right ends. Below we’ve laid out our cab pieces to put together with the front and back labeled to keep from mixing them up.
Attach the tab at the front of the side panel to the front panel. Then the next side panels in order, until you’ve created a rectangular shape.


Fold in the bottom tabs, add glue, and position the bottom panel to close off the bottom of the cab.


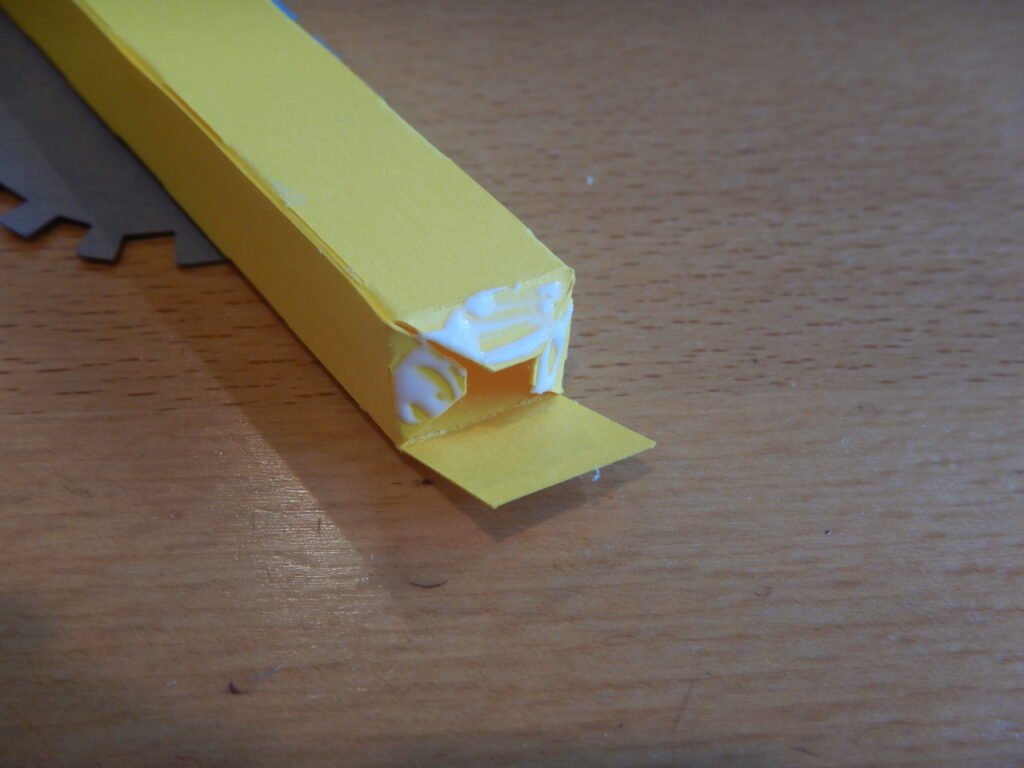
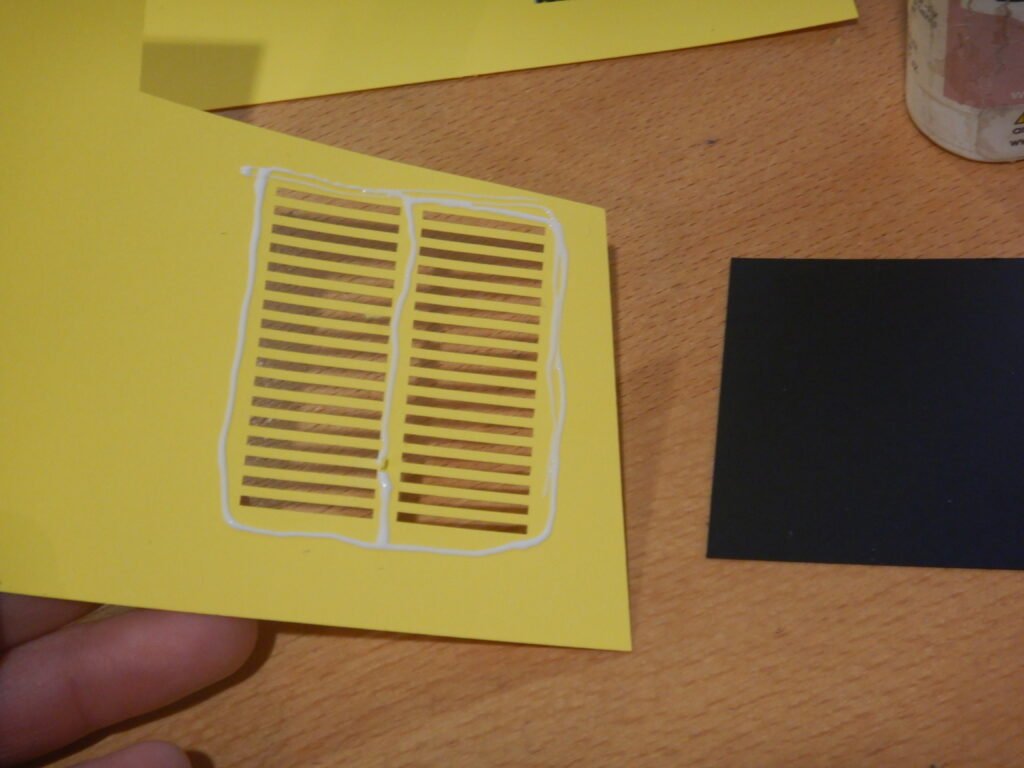
The next step is to decorate the panel where the engine would be. This panel has two holes in it. There are two cylindrical pipes that will be put in these. Put the long one in first. Then wrap it around our craft knife to encourage it to roll. We then added glue to the tab and rolled the paper around the craft knife to help get the paper on the tab correctly. It’s not exactly the size of our craft knife. We found that using the handle helped us line up the paper with the tab correctly. Once the glue was set, we slid the cylinder of paper through the smaller of the two holes. Then we added glue to the tabs and slid the panel down to attach the tabs.


We repeated this process with the shorter cylinder.


Finally, we took the partial circle, added glue to the tab and closed it off. Then we added glue to the many small tabs in the center and added the circle to cover the top.


Add a generous amount of glue to the inside of the dome shape and place it on the shorter, wider cylinder.


Now that the panel is fully decorated it needs to be attached to the cab. To attach it to the bulldozer cab, put some glue on the tab along the front of the cab. Attach the panel with the exhaust pipes. Position it so that the tall pipe is closest to the front of the bulldozer and the shorter pipe in the center near where the windshield will be. Once the first tab is positioned and secure, add glue to the two side tabs and attach them to this panel.


To close off the bulldozer cab, we added the roof. Start by attaching it with one or two tabs at a time until all tabs are attached.


Decorating The Cab
We then started assembling and adding decorative panels to the cab assembly.


Once assembled, add them to the cab.


Hydraulics Prep
We chose to not put the cab on the bulldozer just yet. Instead, we made the hydraulic boxes and prepped the wooden dowels. We used a ¼ inch wooden dowel for the hydraulics on the front half and a 3/16 inch dowel for the hydraulics at the back with the ripper. We painted the dowels with shiny silver acrylic paint. Once the paint dried, we cut them to length. For the 1/4 inch dowel, we cut 2 sections measuring 5.5 inches, and one section measuring 2.25 inches. For the 3/16 inch dowel, we cut one section to 2 inches and one to 4 inches long.
To assemble the hydraulic boxes, first fold on the score lines. Attach the tabs to create a square shape then close up the ends. You will have a box with a circular hole in it for the hydraulic dowel to go through.


The hydraulics with the square boxes are ready to attach on the sides of the blade. Place one end of the 5.5 inch dowel into the hole on the end of the black support on the back of the blade. Then place the other end into one of the square hydraulic boxes you made. Add glue to tone side and place it on the blade support box so that the wooden dowel is secure and won’t fall out from the holes. Do this for both sides of the blade.


Attaching The Bulldozer Cab
Add glue to the support structure and attached the assembled cab. This could have been done before the hydraulics were added to the sides of the blade. We chose to wait because we felt it was easier to reach around and work on getting the dowel in place if the cab wasn’t there yet. We had the cab not quite line up with the base structure. Instead we positioned it to have it hang over by about ½ inch in the front.


Once the cab is securely in place, add the hydraulic piece that goes from the cab to the center of the blade. We used a similar system where we placed the dowel in the center hole on the back of the blade, then into the hydraulic box. We added glue to the longest side and attached it to the top center of the cab front. This is a little bit of an awkward connection, so using a smaller dowel might help. We needed to hold the hydraulic box in place until the glue was fully set. It’s been quite strong and robust once the glue sets.


Finishing The Ripper Assembly
Now it’s time to finish the ripper top piece. This goes together in the same way as the bottom portion. We started by adding glue to one of the panels as pictured and worked our way around until one side was closed off. Then we added the other side. Again, if you choose to put the first set of tabs on the outside of the shape, that’s okay. Just cut an extra of the side panel to cover these tabs once done.


With this piece done, we got ready to attach it with the hydraulics in the back. First, we took one of the small square hydraulic boxes and the 2-inch smaller narrower dowel. We glued the square hydraulic so that it was on the post and centered and up against the cab. Then we inserted the 2-inch dowel. Next, we added glue to the bottom of the ripper structure we just finished, placed the dowel in the bottom hole, then secured the structure to the post, making sure it was flush on the back and sides.


The final step is to attach the 4-inch dowel with the remaining slanted hydraulic box. Insert the dowel into the hole at the top of the ripper, then into the hydraulic box. Add glue to the shortest side of the hydraulic box and center it on the cab as shown.


