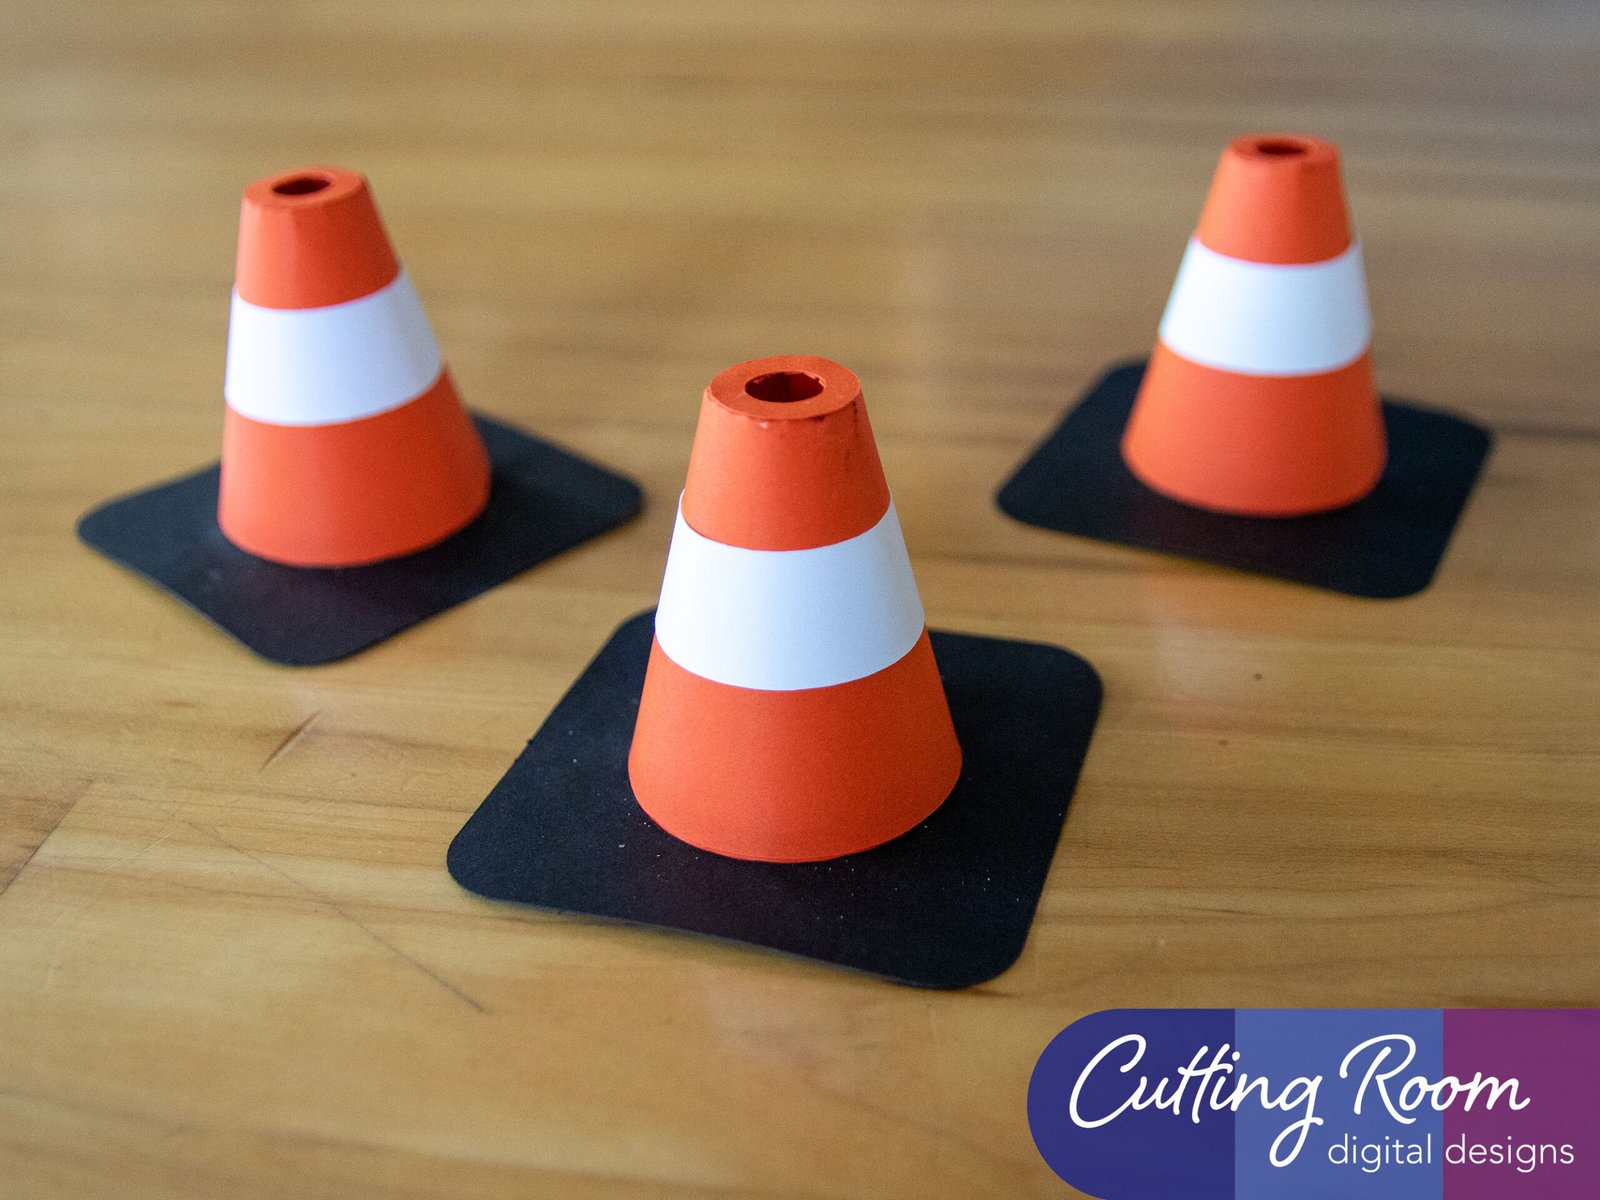
Materials Used
We used several products and supplies in the making of our construction cone treat box. Below is a list of what we used.
- Construction Cone Party Treat Box – Digital Download SVG
- Recollections cardstock
- Art Glitter Glue
- Electric Cutting Machine: Cricut or Silhouette
***Note that this post contains affiliate links and we may receive compensation if you buy something using one of our links. ***
Construction Cone Base Assembly
The construction cone is made of a few pieces. To start with, we took the smaller orange panel, and added glue to the tab at the end. We then curved it around and attached the two ends together. No need to fold on the score line of the tab, as this will encourage a bend in the cone which isn’t quite the look desired.

Next, we folded all the tabs around the bottom so the are out and added glue. Then we slid the black square with the hole in the center over the top.


We added glue to the orange tabs and a line of glue on the outer edge of small black square. This will ensure it’s fully attached to the bottom but no glue will be visible inside the cone.


Cone Lid Assembly
The top of the treat box is made of three pieces. We made the top of the cone in the same manner as the bottom cone portion. Add glue to the long tab and curve the piece around to make a cone shape.

There are tabs at the top of the cone. Fold them in, add glue, then place the ring on top to finish the cone lid.


The final step in assembling the cone, is to attach the band. Add glue to the tab and curve it around to make a circle. This circle is slightly cone shaped. It is shaped to fit the slanting shape of the cone. Once this ring was made, we added a little glue to the inside. Not much is needed, just a touch to keep it in place, then slide it down over the cone so it fit nice and snug.


