Materials Used
We used several products and supplies in the making of our dump truck party decoration. Below is a list of what we used.
- Mining Dump Truck Miniatures Party Decor – Digital Download SVG
- Recollections cardstock
- Glossy Accents
- Recollections Foil Cardstock
- Art Glitter Glue
- Electric Cutting Machine: Cricut or Silhouette
***Note that this post contains affiliate links and we may receive compensation if you buy something using one of our links. ***
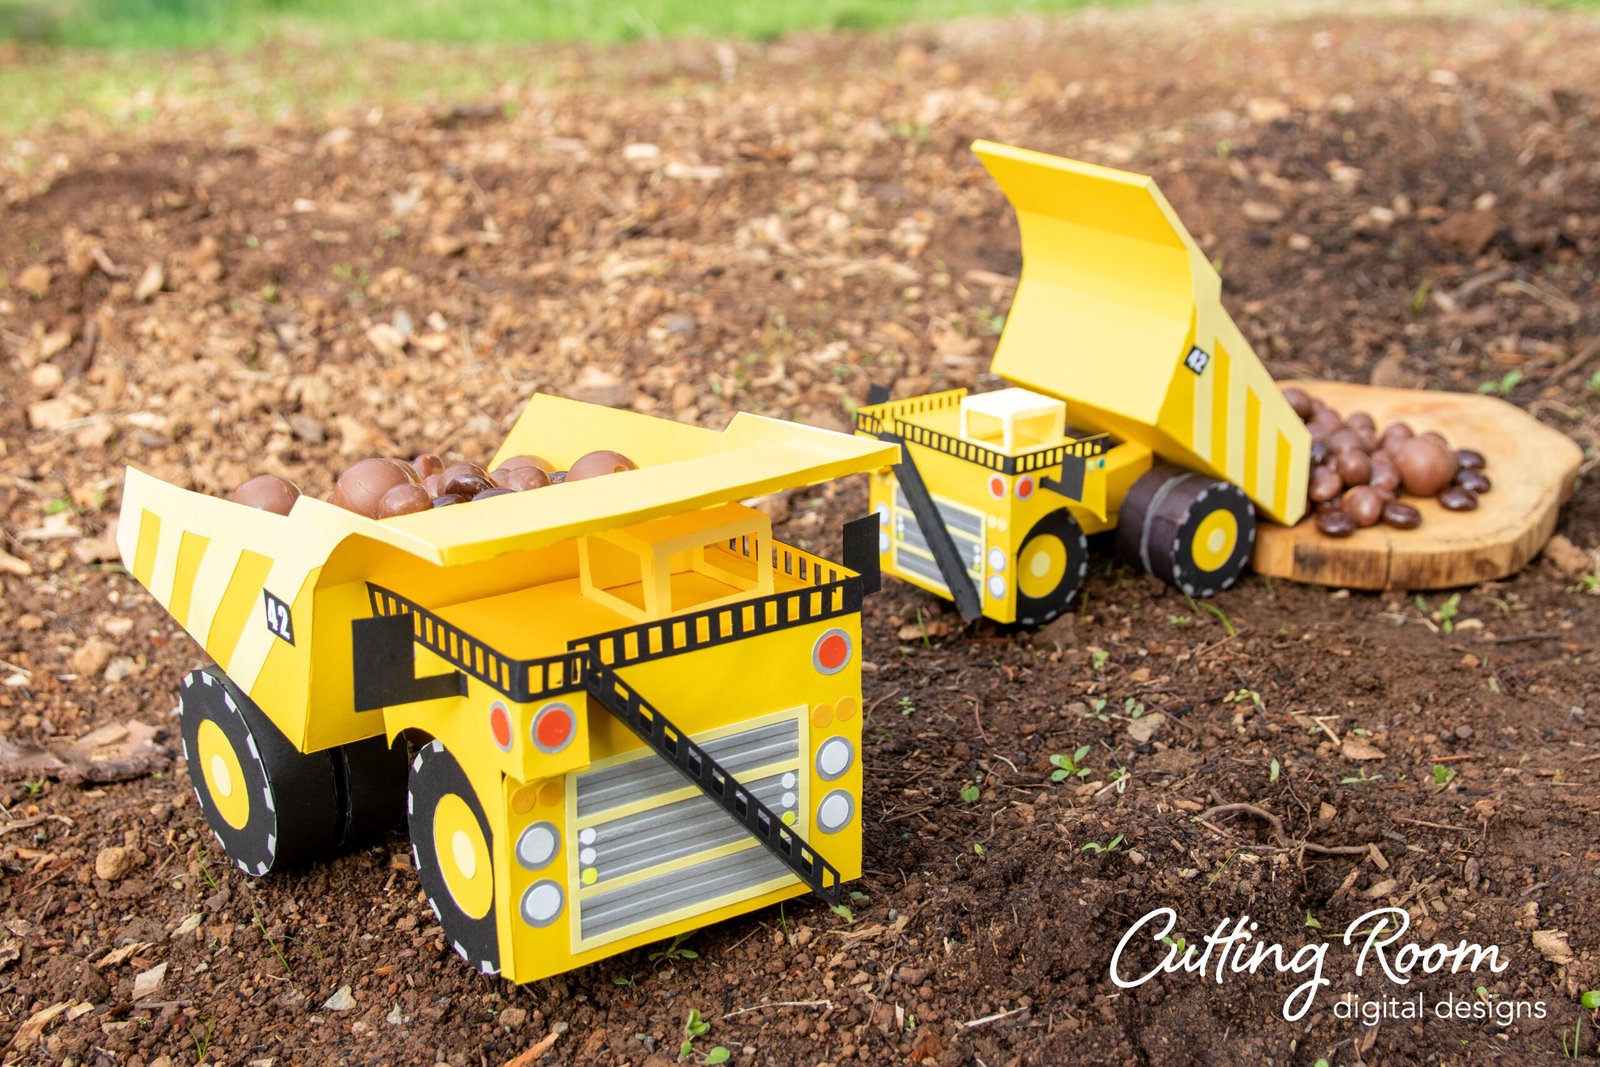
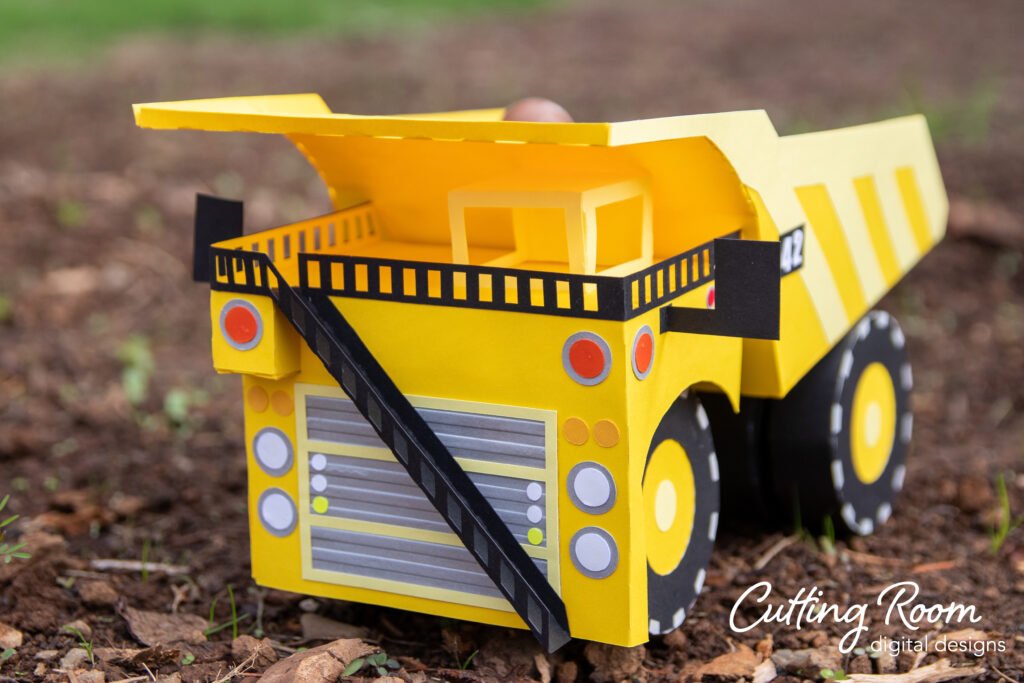
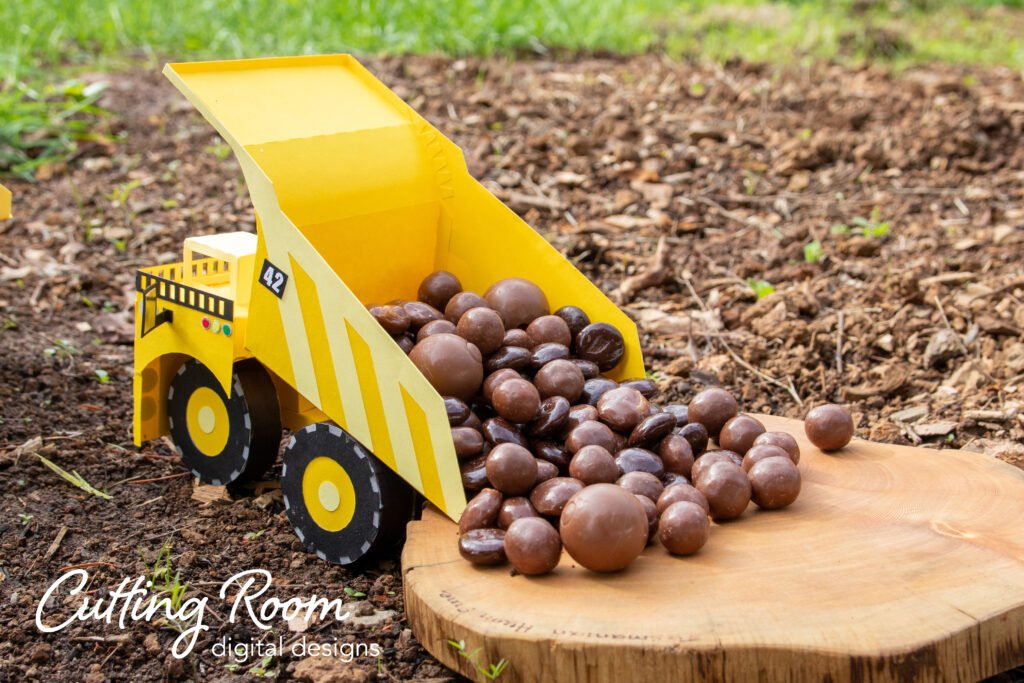
This mining dump truck is all the wow your party or event needs! While there’s a lot of wow factor in this truck, taken piece by piece, it’s a pretty straight forward build, nothing overly complicated, just lots of steps.
Building the Chassis
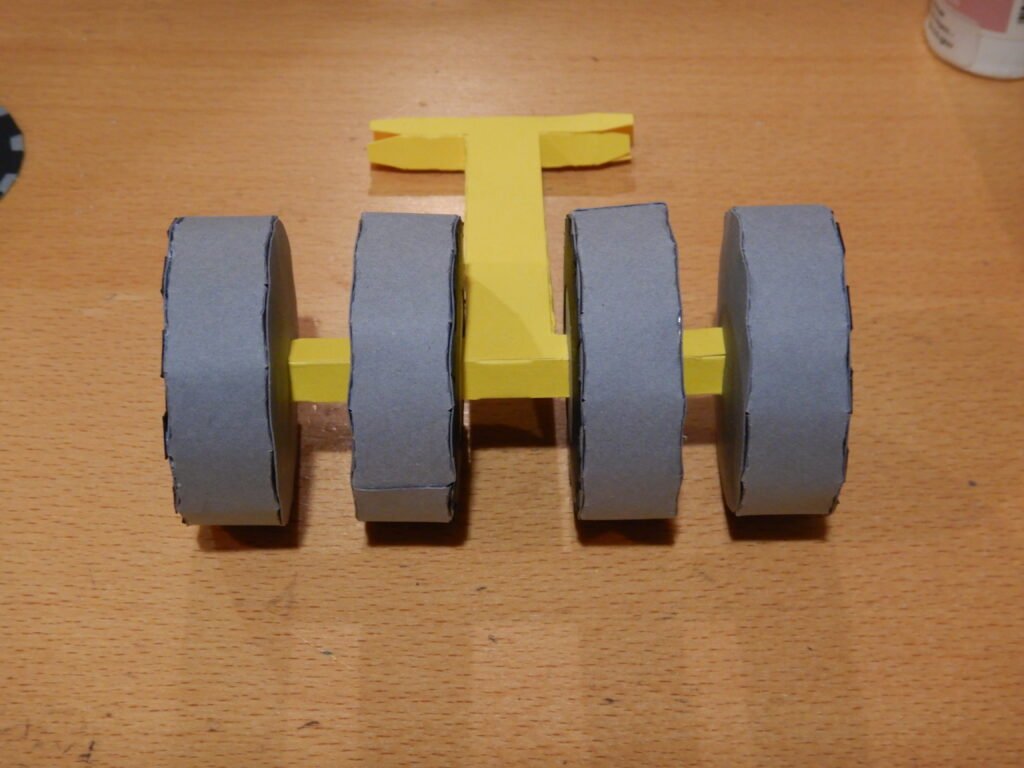
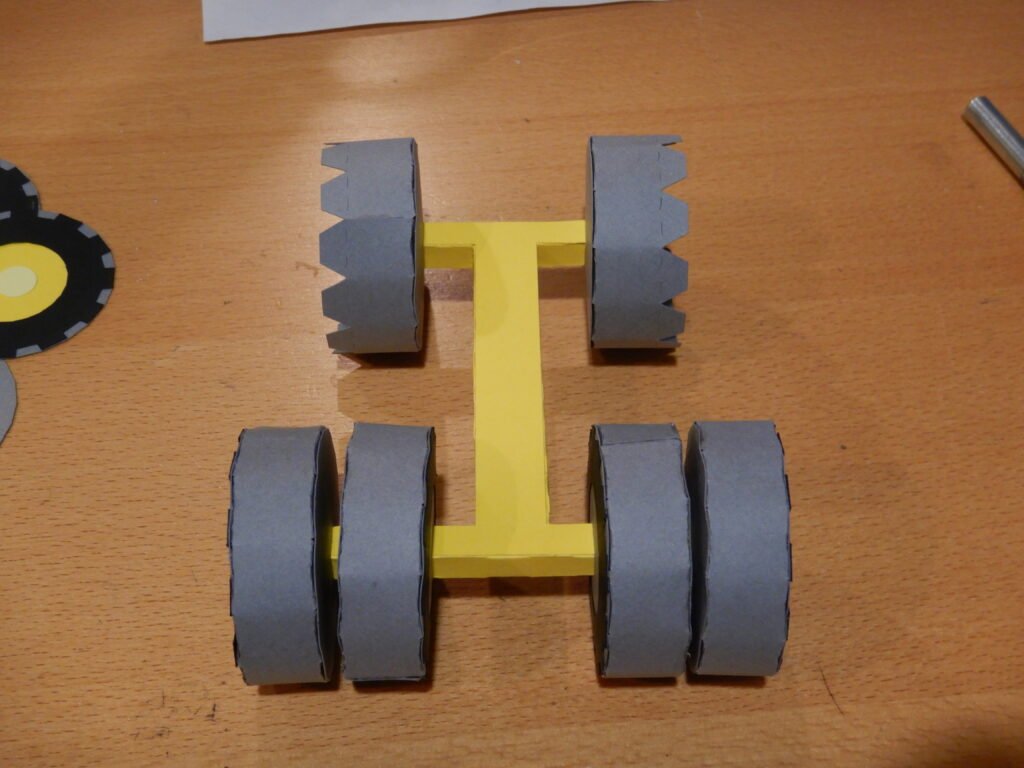
To start building our dump truck we began to put together the chassis that everything. Everything we build later will be added to this. The Chassis is made of six pieces, the four that go around to make the sides and the top and bottom that are the full shape of the piece. You’re essentially going to build a hollow “I” shaped box that will support everything.
The long side panels have three sections, a short, long and a medium length, with the long section in the middle. We folded all the tabs on one of the longer panels and glued the middle tab (the longest one) to the I of the chassis panel. Make sure to match the short end with the shorter cross bar side of the chassis. Once one tab is in place you can glue the other two. Make sure that the corners are nice and tight. You need to be sure to get a good close alignment as the wheels need to be able to slide over the box you are creating.

Once you have one side, done, repeat the process with the other long panel. Then add the side panels for the ends.

Add Glue to one of the tabs at the end of the chassis. We chose the longer end tab but you can choose the shorter one if you prefer. Place the “I” panel as shown then work your way along the chassis until all tabs are glued in place. Take time to get them aligned correctly. We found it easiest to glue just one or two tabs at a time to ensure we could get the correct fit.
Dump Truck Tires
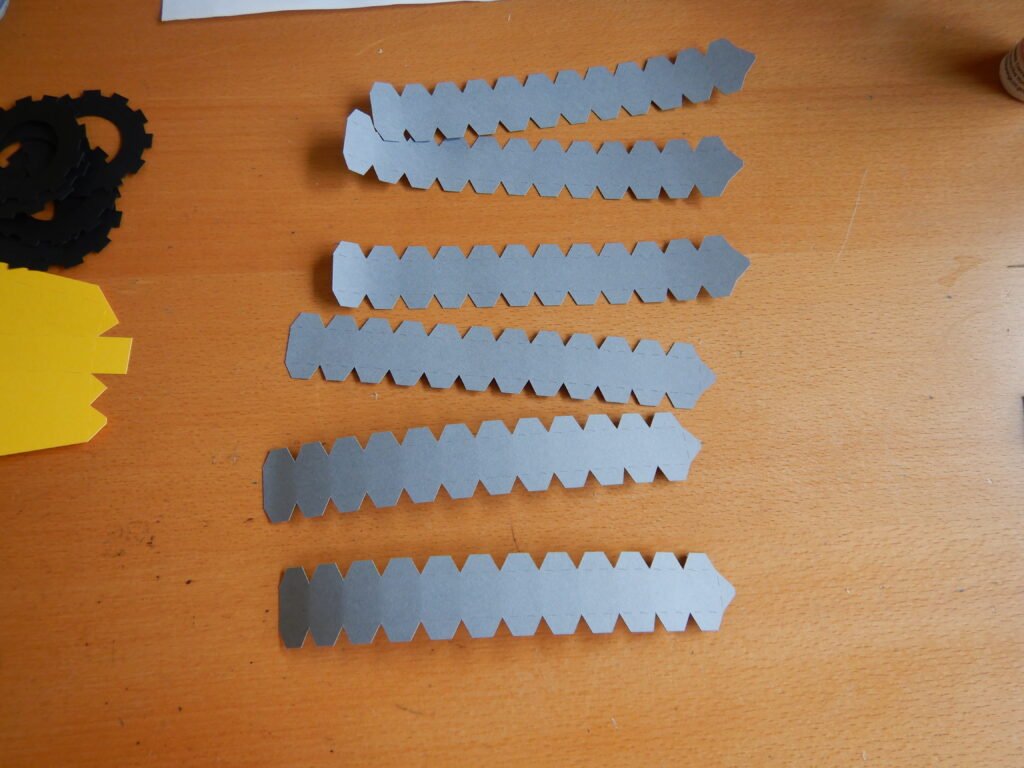
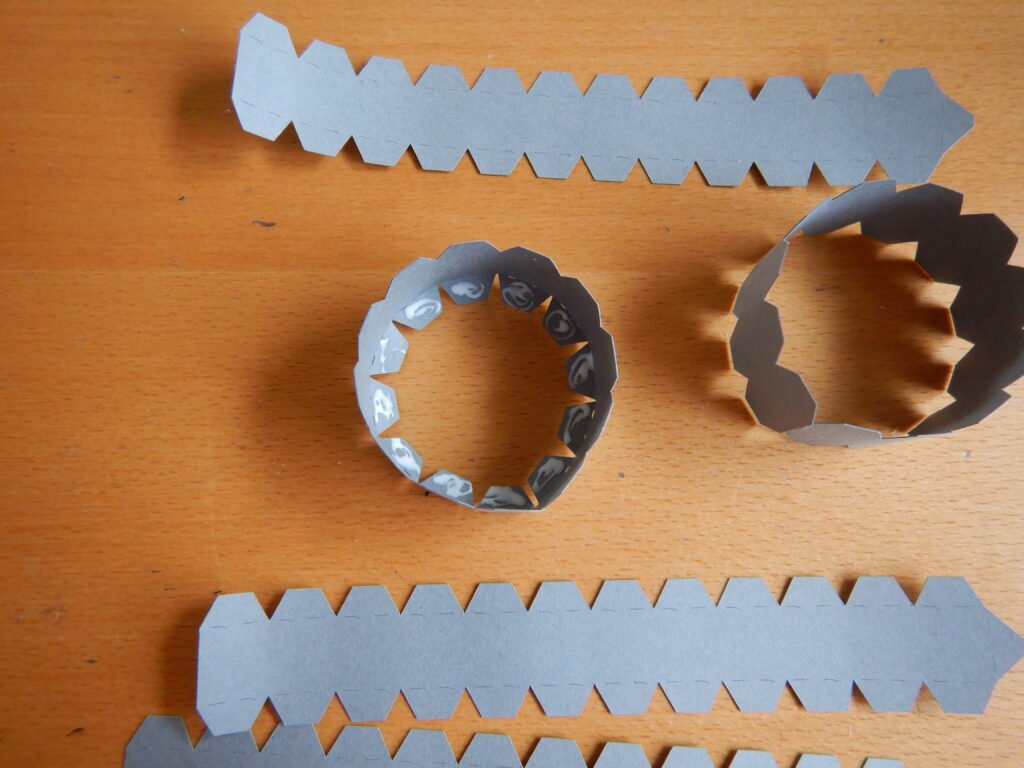
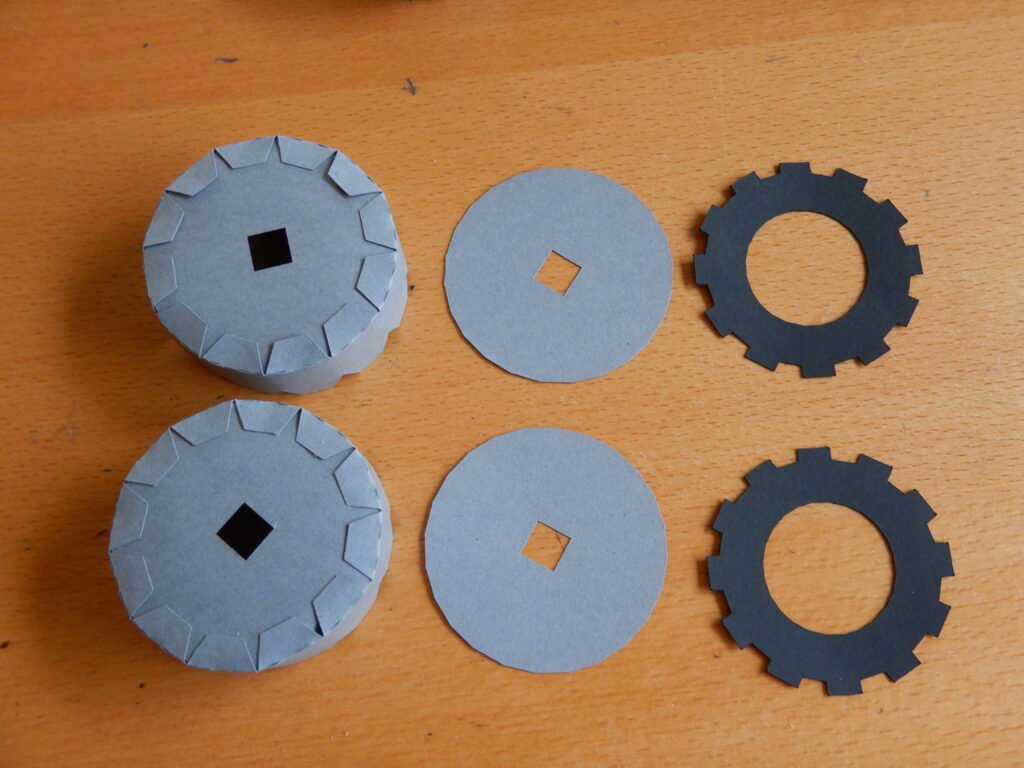
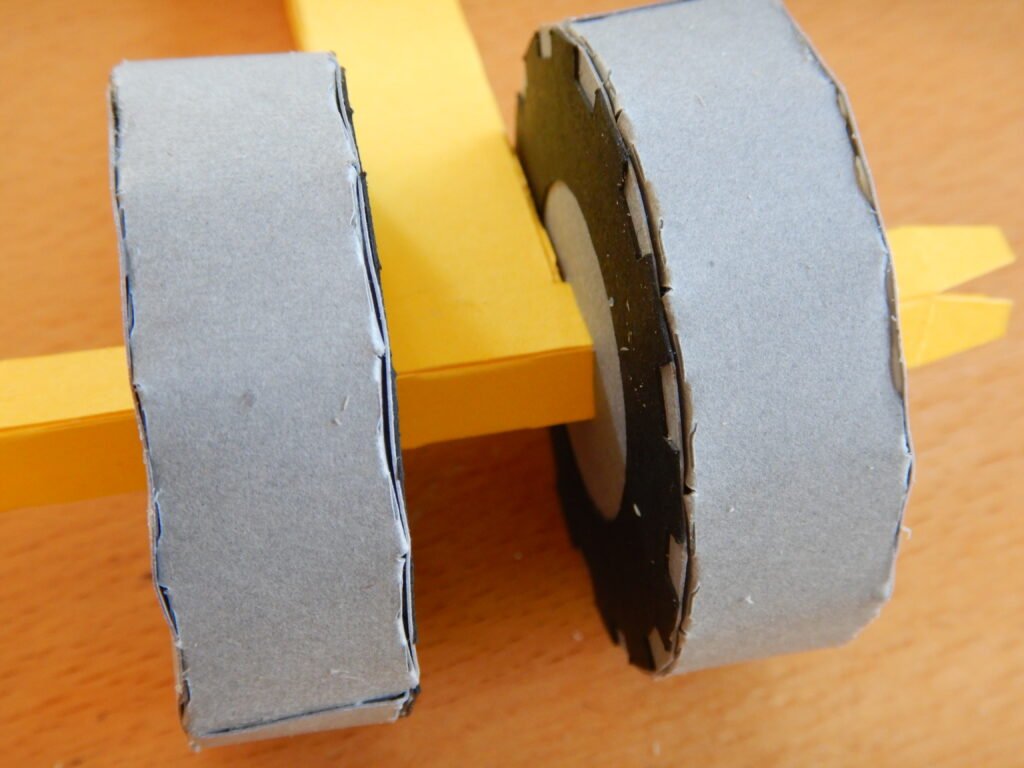
The next step is to assemble the dump truck’s tires. There are six total and each has some decoration to them. For the assembly photos we chose to cut the majority of the tires in grey, only realizing later that we should have done it in black. To rectify our mistake, we used a black permanent marker to color the exposed areas black but this would have been better if the pieces shown in the two photos below were cut in black instead.
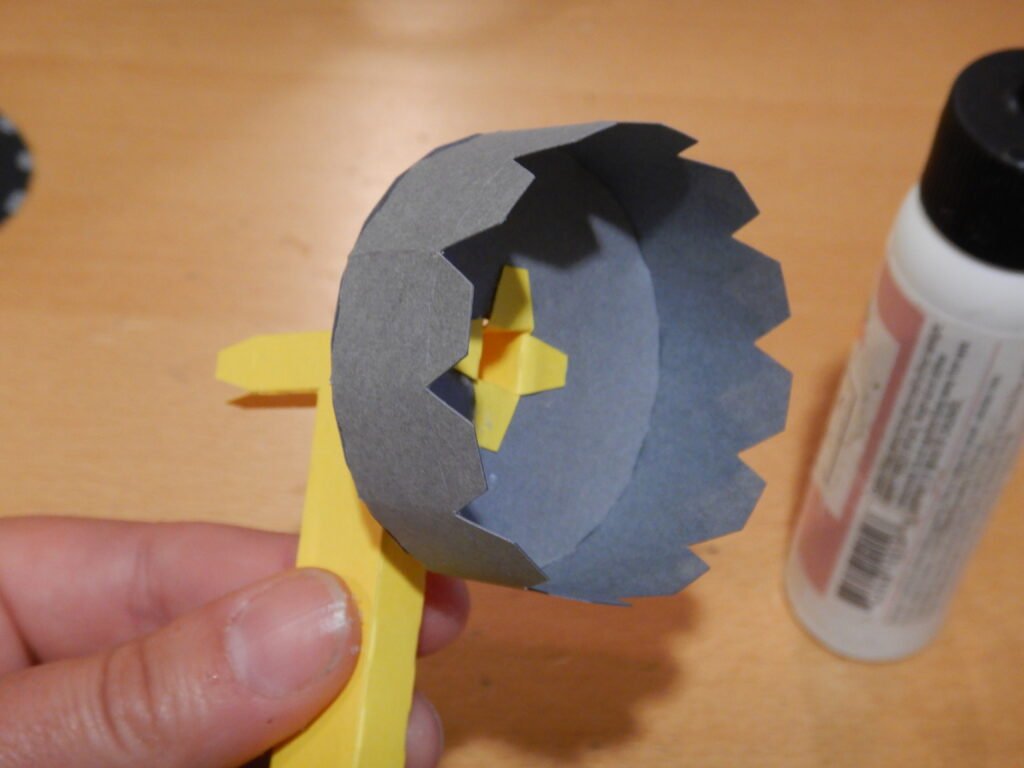
All the tires start the same. Take the long panel with all the tabs and curl it around, gluing the ends together using the tab. You do not need to fold this end tab, just use the score line as a guide for where to glue and align the piece. This creates a circle shape with tabs on either side.
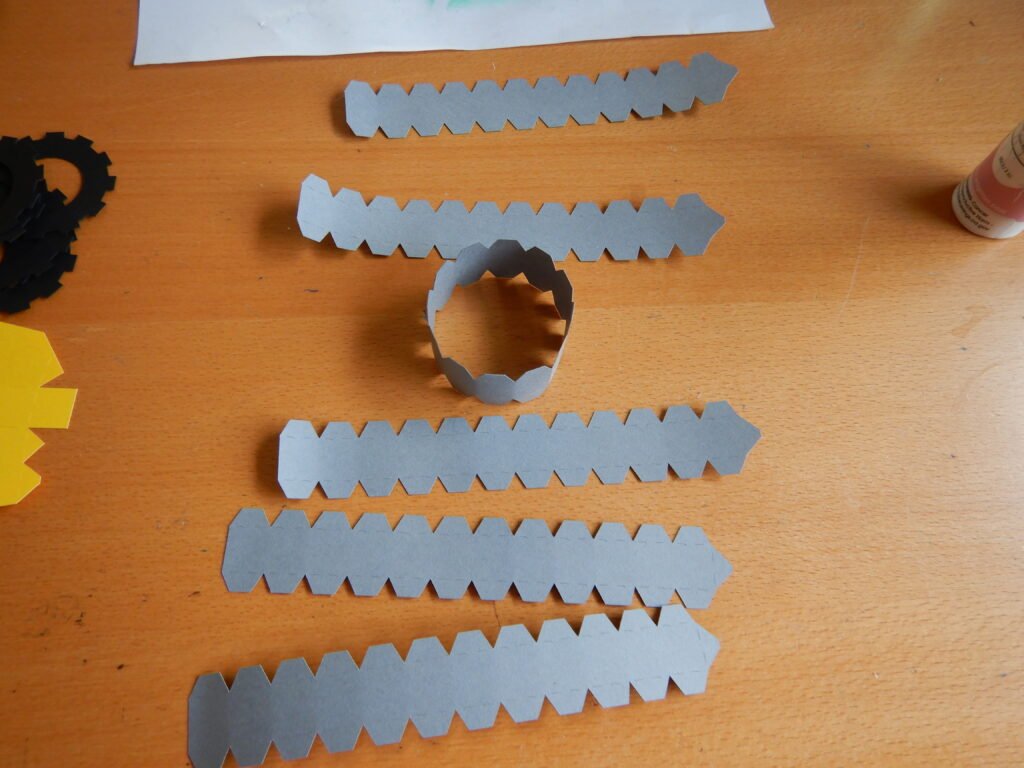
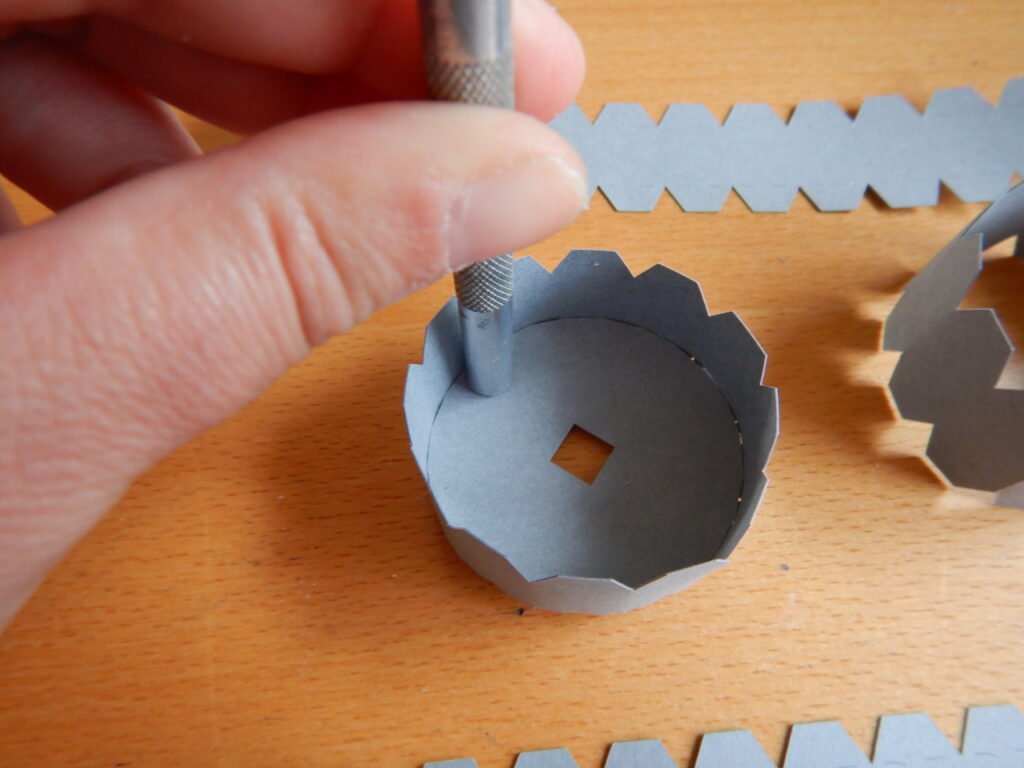
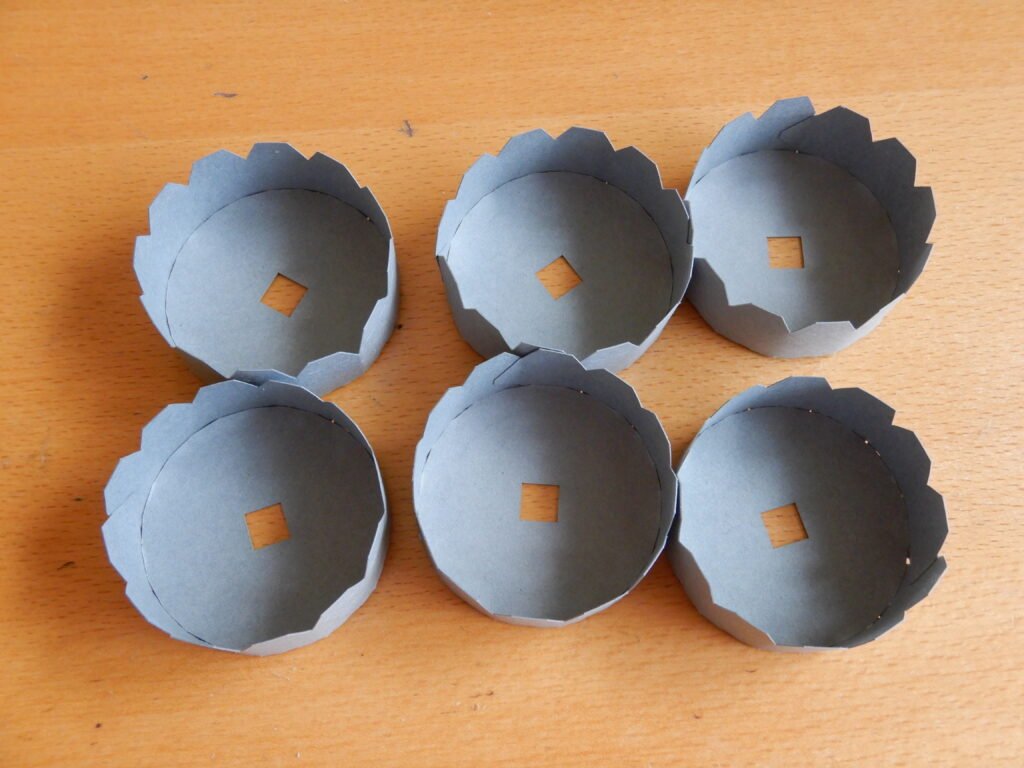
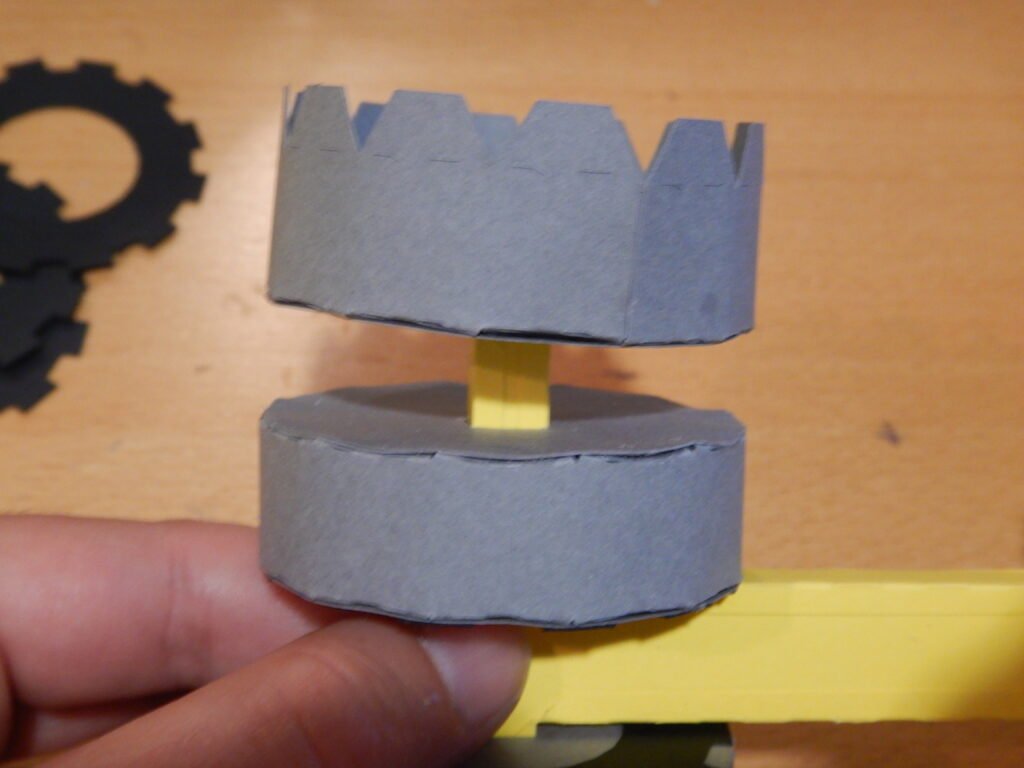
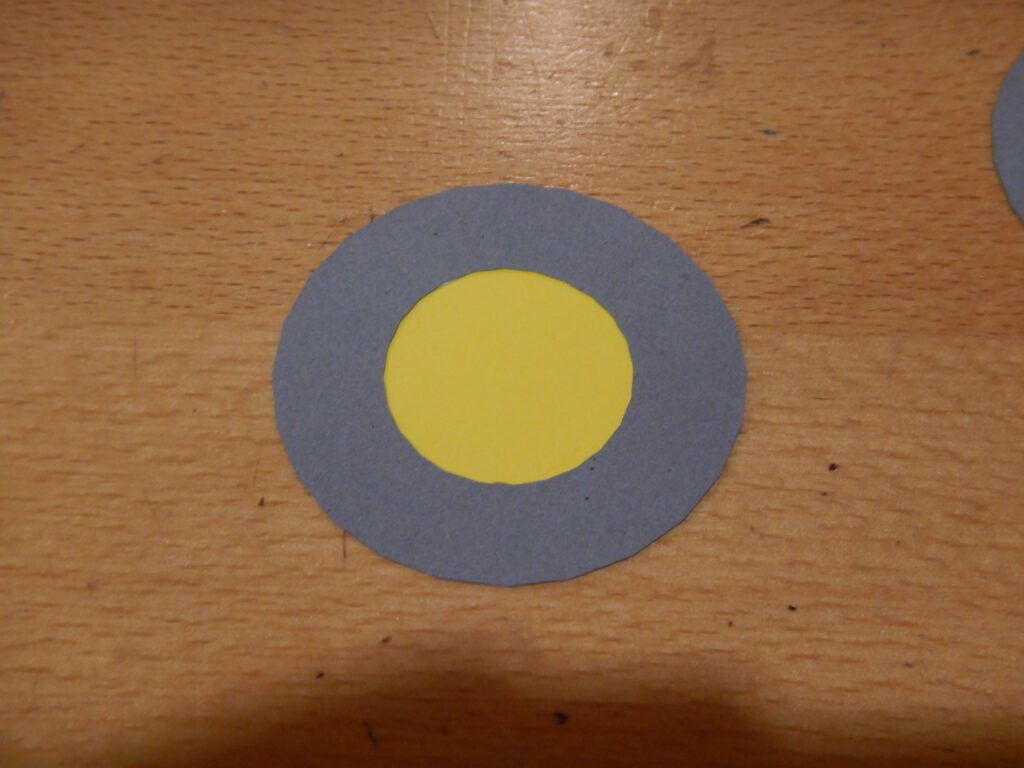
Once all six are done, you can fold in the tabs on one side and add glue to the tabs. Place one of the round panels with a square cut out in the center. All six tires at this stage are still the same. (again, we should have cut these round circles with the squares cut out in black rather than gray)
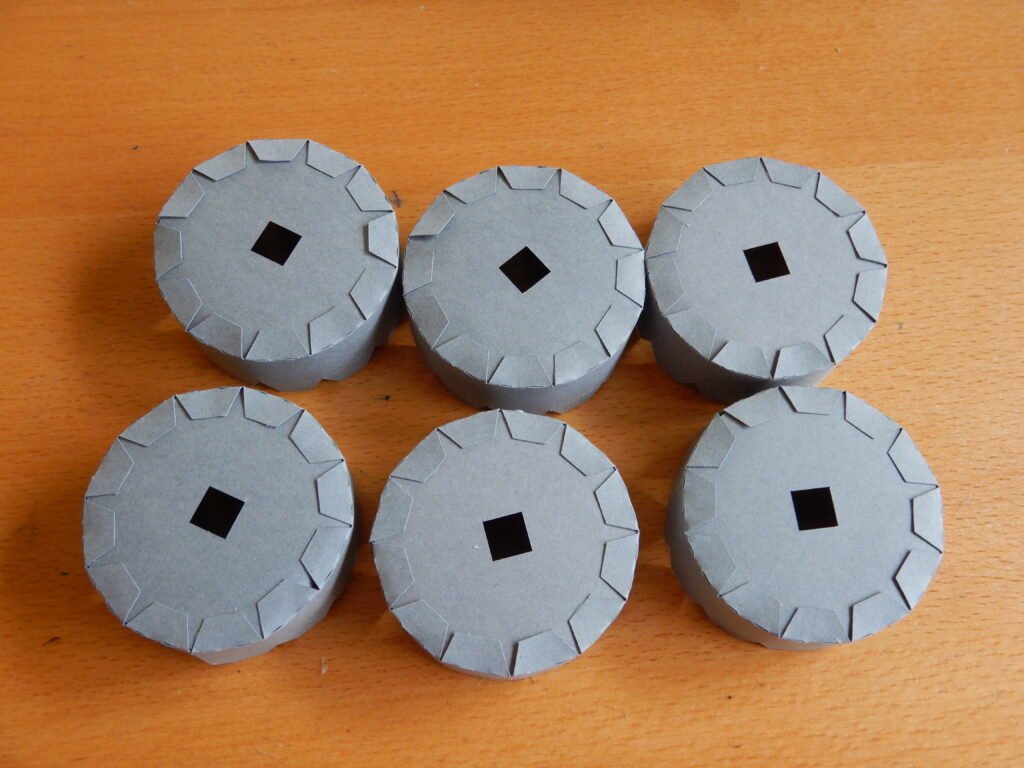
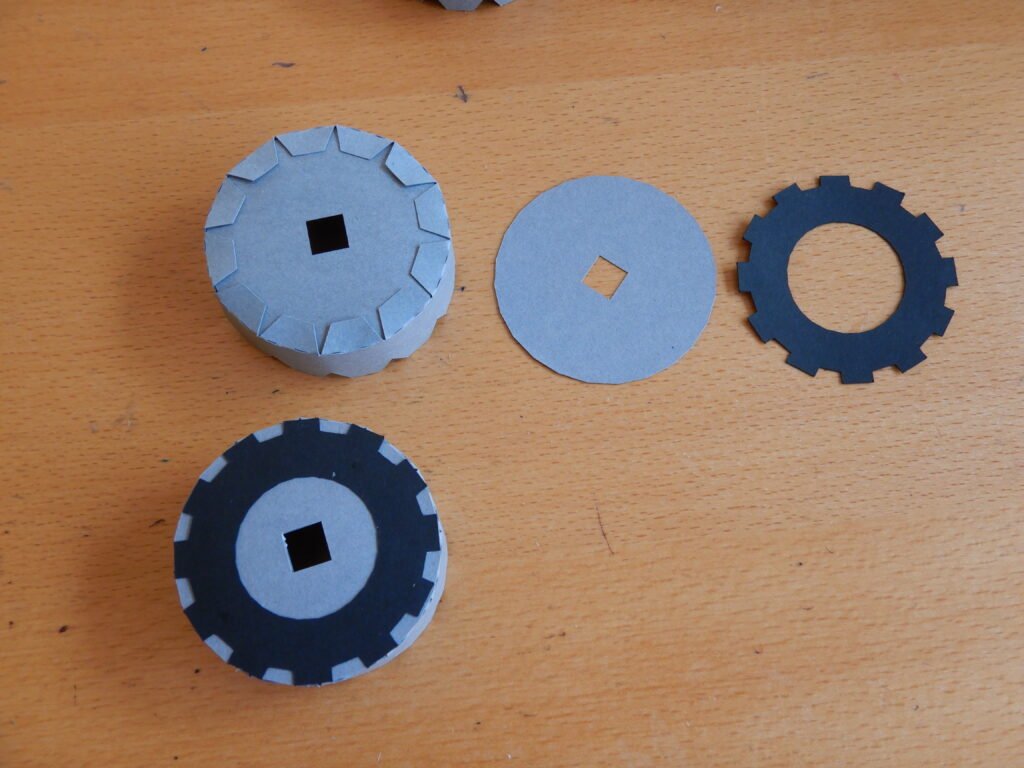
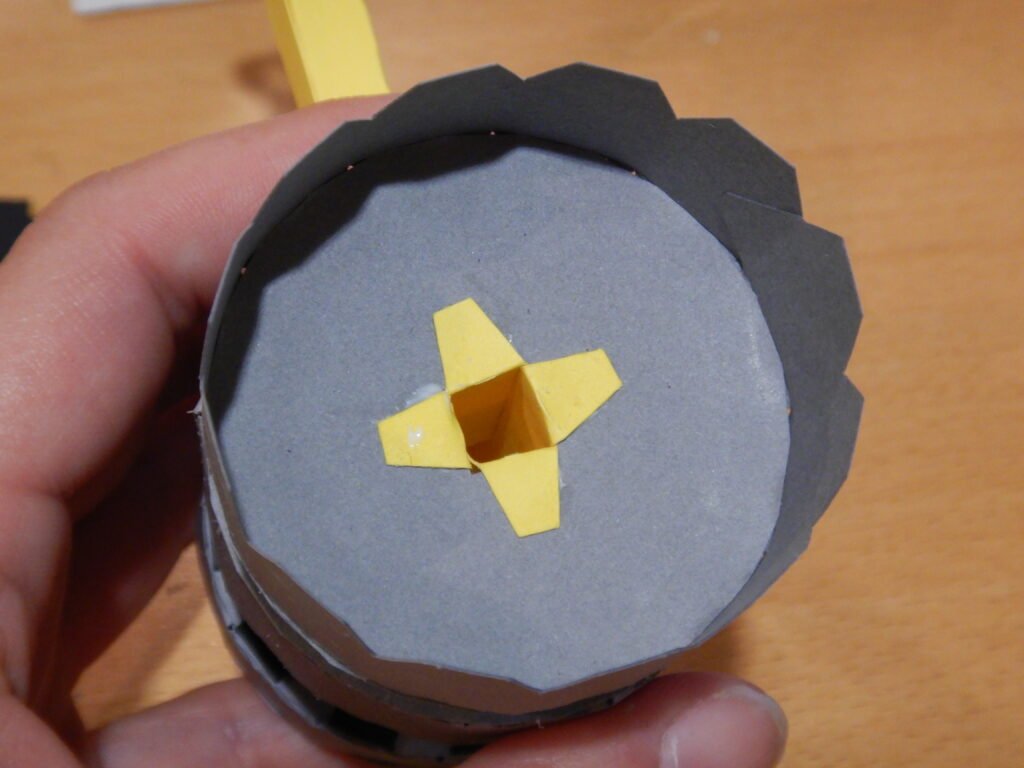
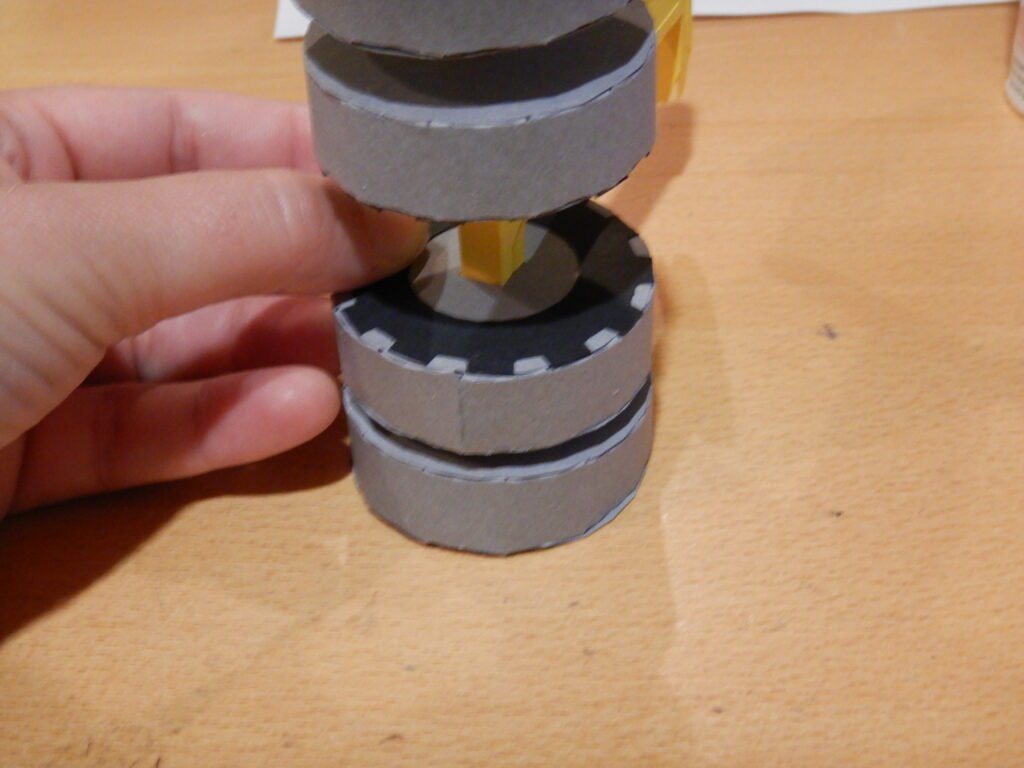
Now is when the tires start showing their differences based on location on the truck. The first two we put on the truck are the back inside tires. To start, we added the solid grey panel, making sure that the square in the center was lined up with the square already there. If the squares aren’t lined up, it won’t want to go on the chassis for you. Once that piece is in place, you can add the black tread panel. (if you chose to cut he tire pieces in black, we have include a grey ring that can be placed behind the black tread so that you can see the definition and detail)

Attaching The Back Tires
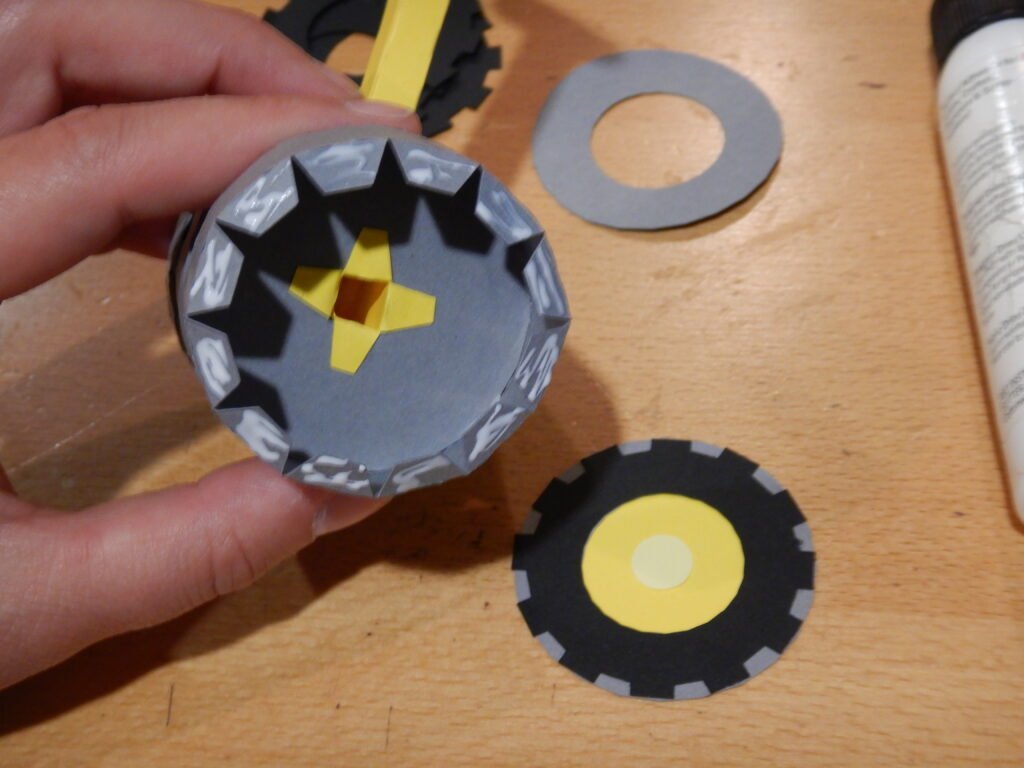
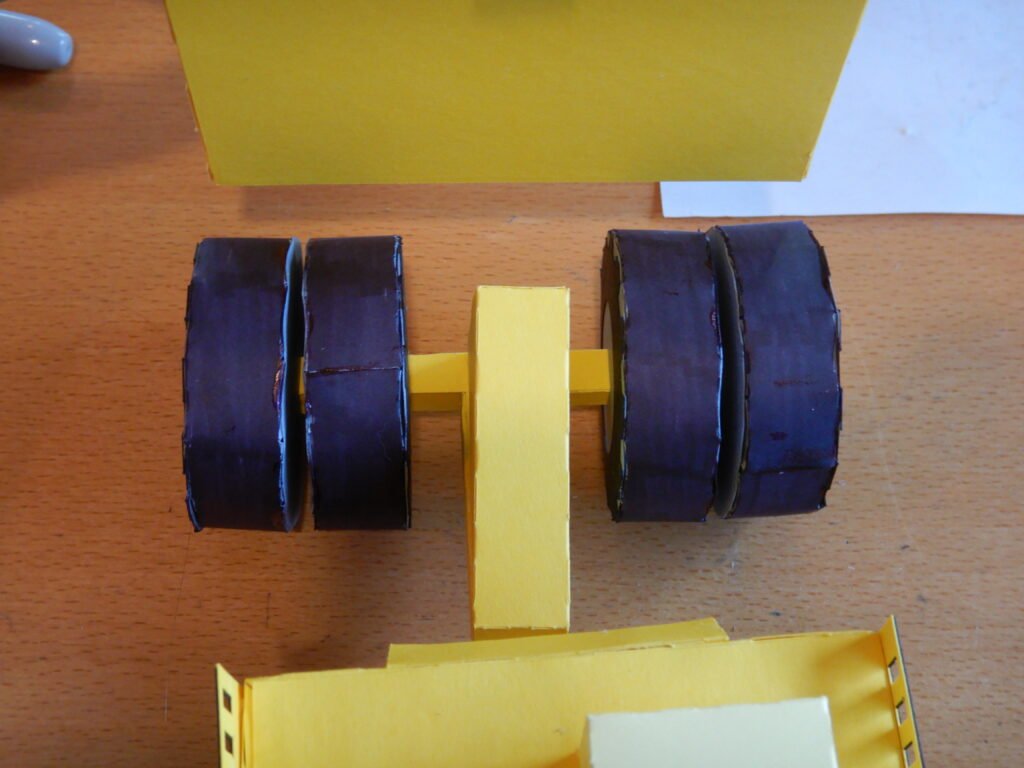
With one side of the tires done, you can slide the first onto the long portion of the chassis. The other half of the tire will then be added. Fold in the tire’s tabs, add glue and slide the cover panel in place. Repeat this process for the other rear tire on the other side.
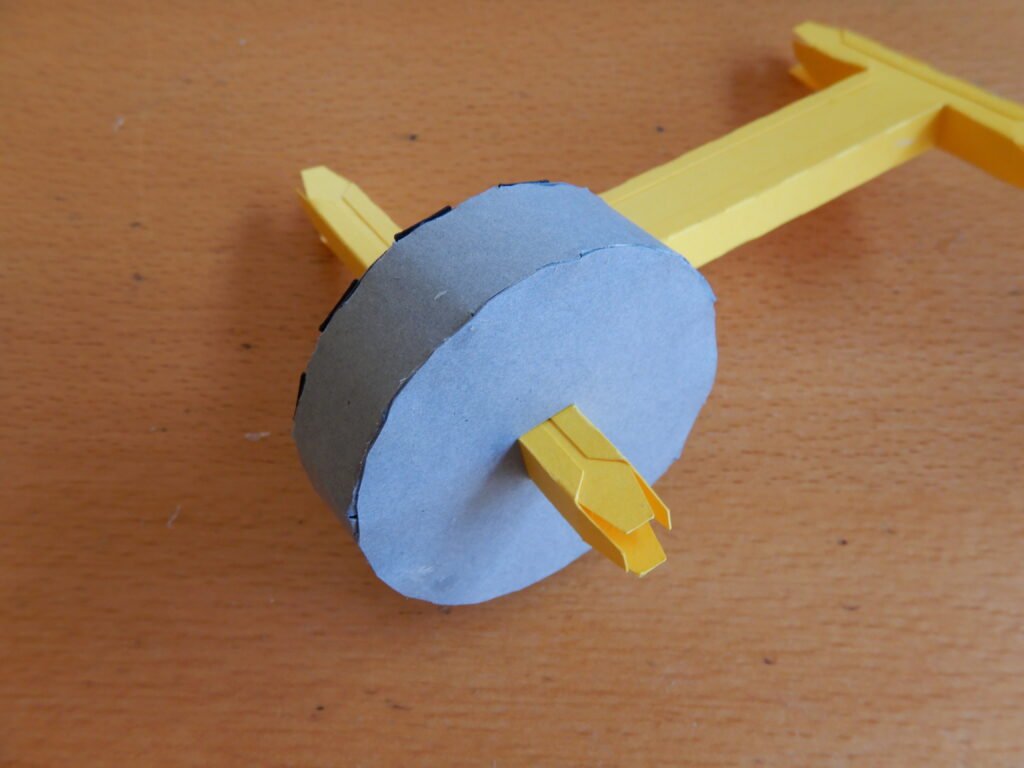
With another tire, slide it onto the back axil and add glue tabs at the end of the axel. Fold them back to hold the tire in place.
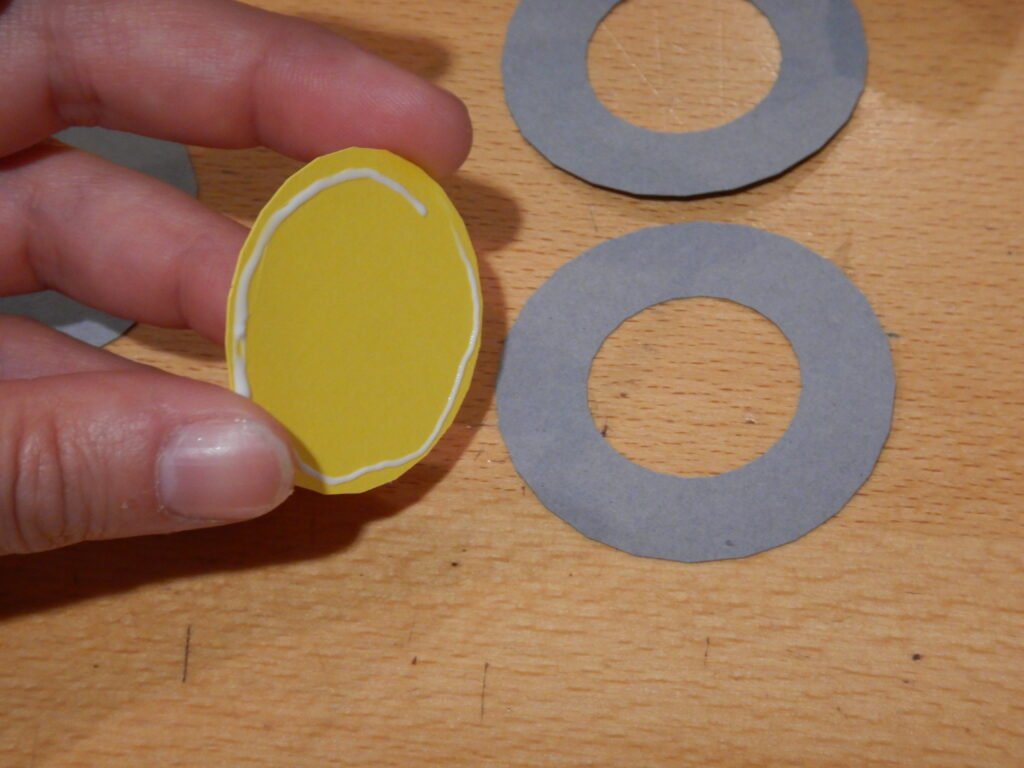
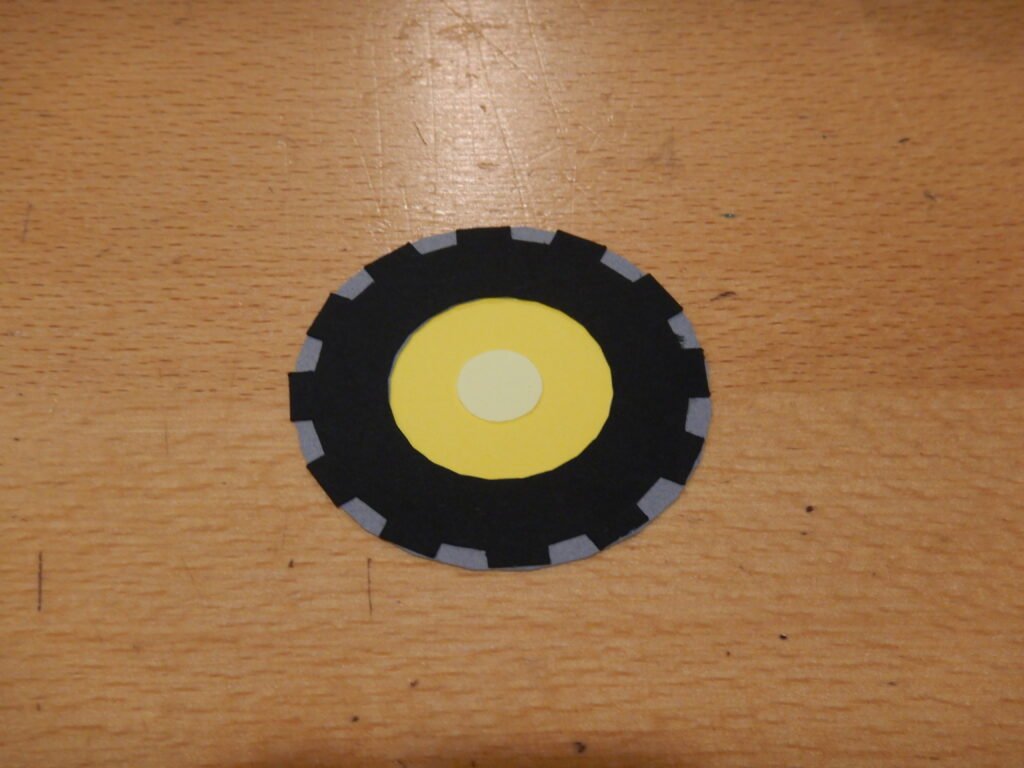
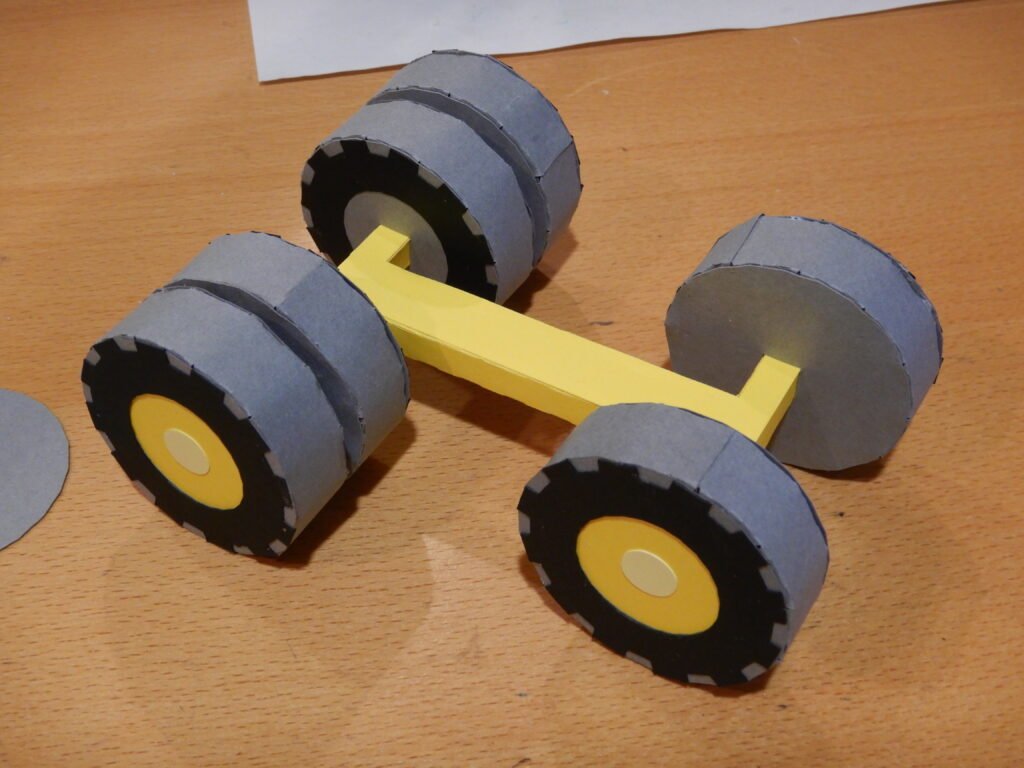
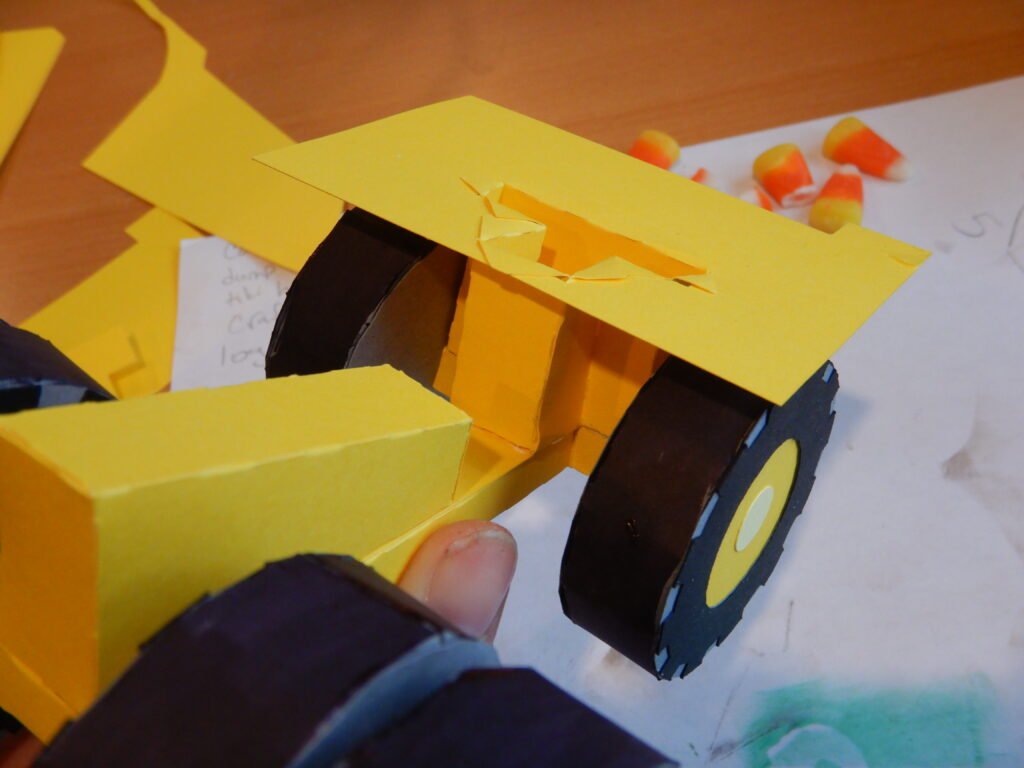
While the glue sets, you can assemble the outside of the tire. Take the grey ring and glue a yellow circle to the back as shown. This will let you have a large yellow hubcap but as it doesn’t reach the edges, you won’t see a line of yellow on the tread of the finished tire. When the yellow is in place, turn it over, add the black layer for tire tread and the smaller dot in the center of the hubcap.

You can now take this completed panel, fold in the tabs on the tire and glue the decorative panel in place. Do the same procedure on the other back outter tire.
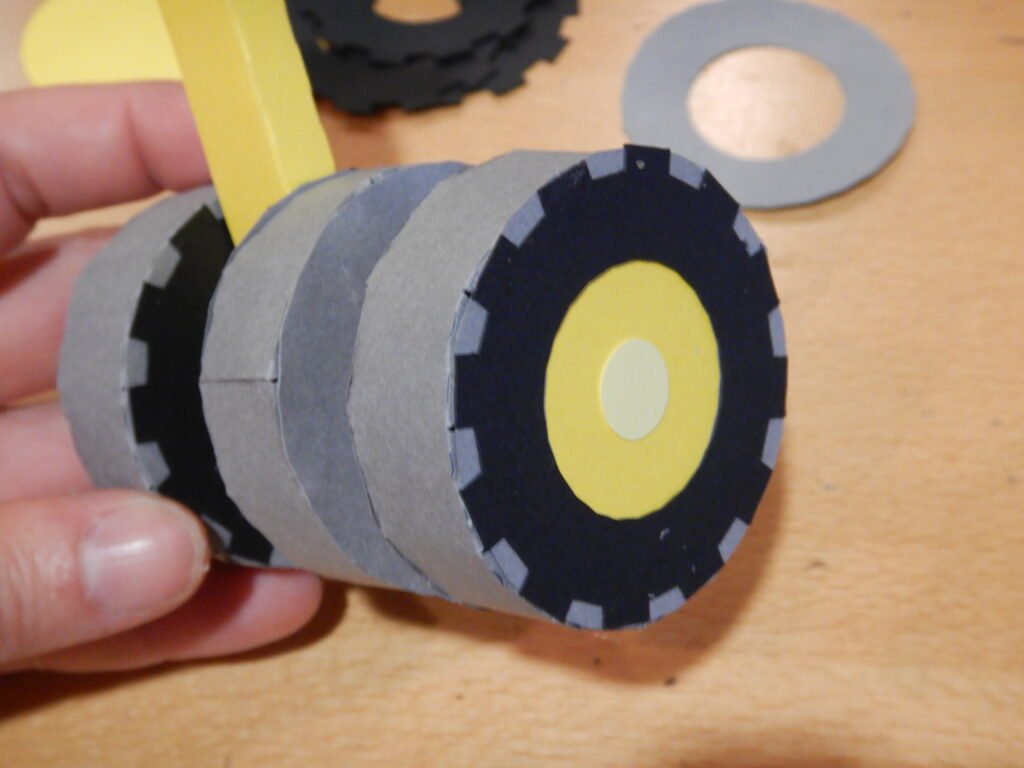
Having finished the back tires, we slid the inner tire toward the outer tire a little bit to give them better placement.
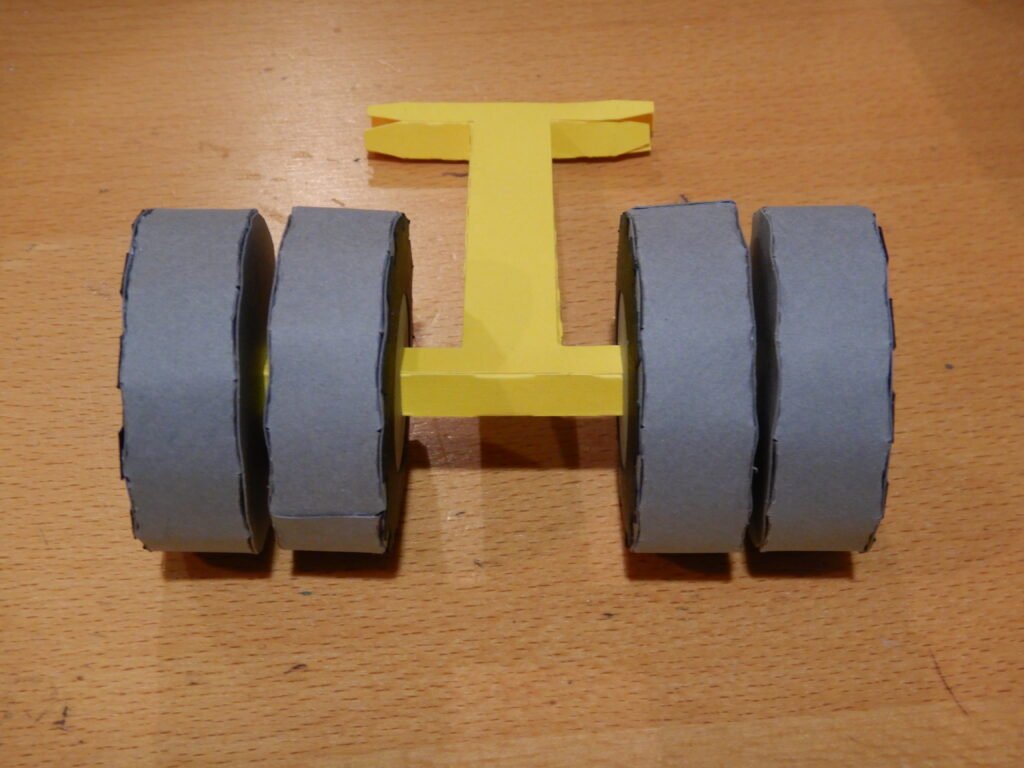
Attaching The Front Tires
We then moved to the front of the truck. The tires in the front go on the same as the outer tires in the back.
Supporting The Dump Truck Bed
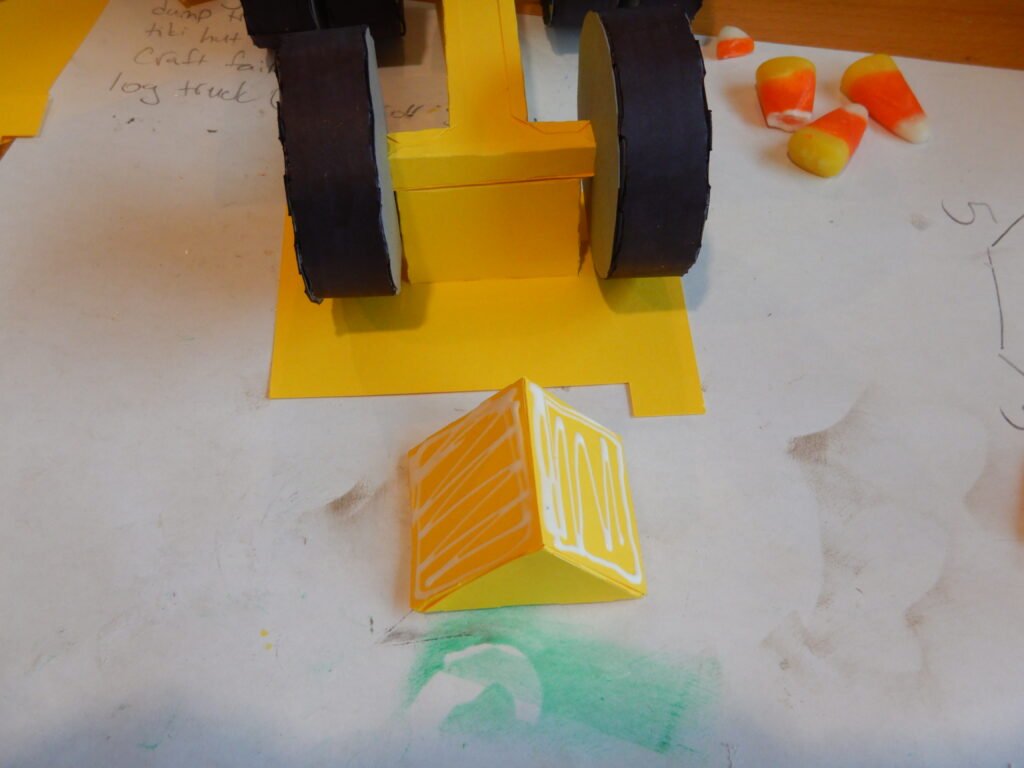
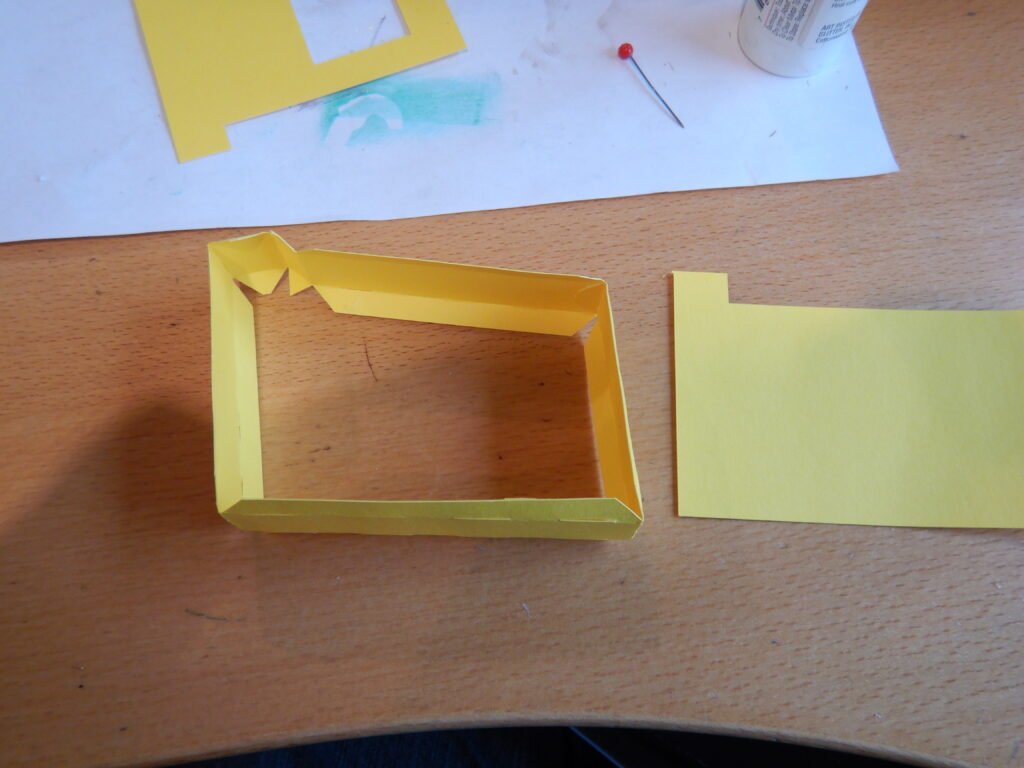
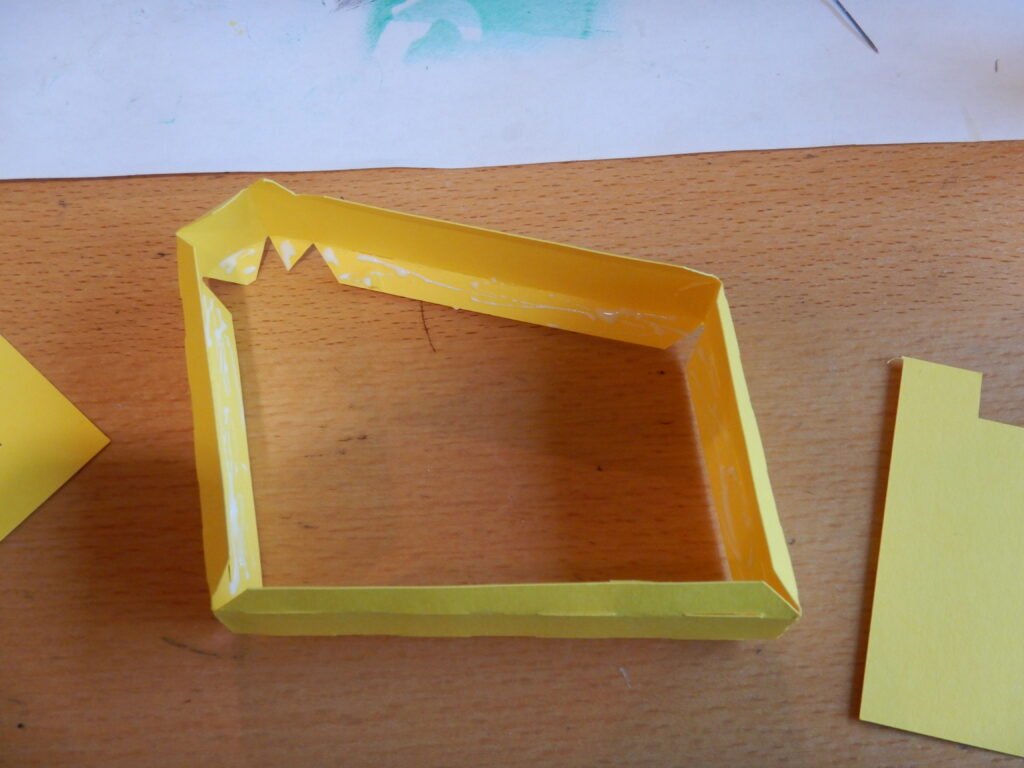
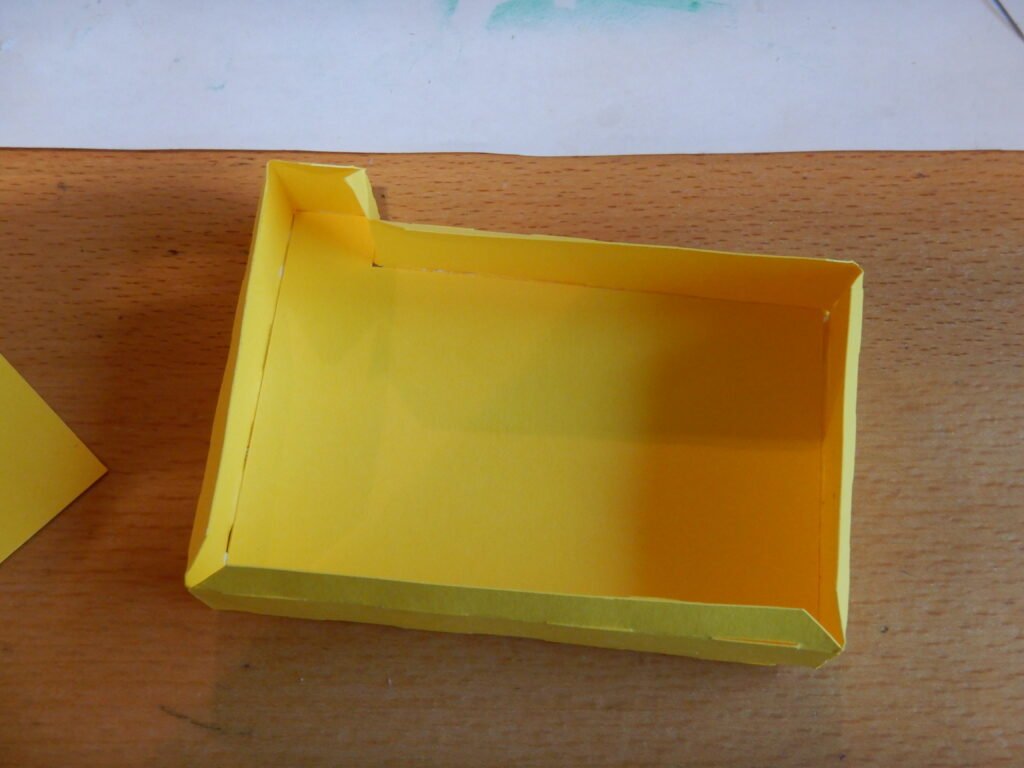
The rest of the truck is built piece by piece and added onto the frame we just assembled. First, we put together the truck bed support. Fold along the score lines and glue together as shown to make a completed box shape. It is designed to be at a slant on one side.
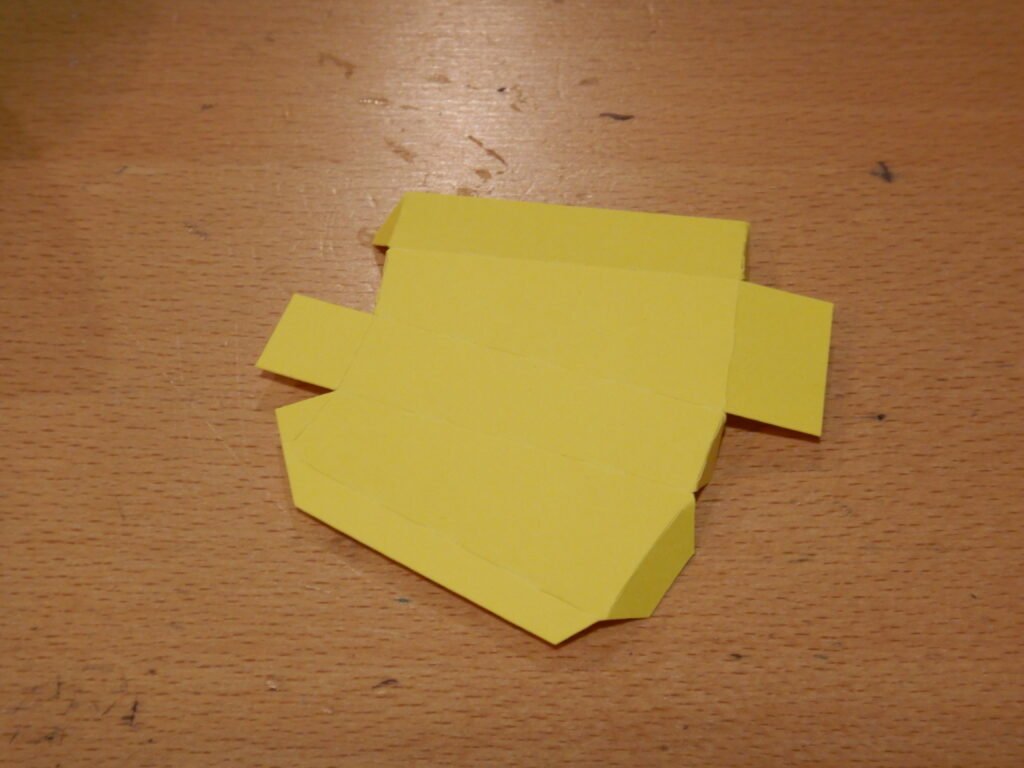
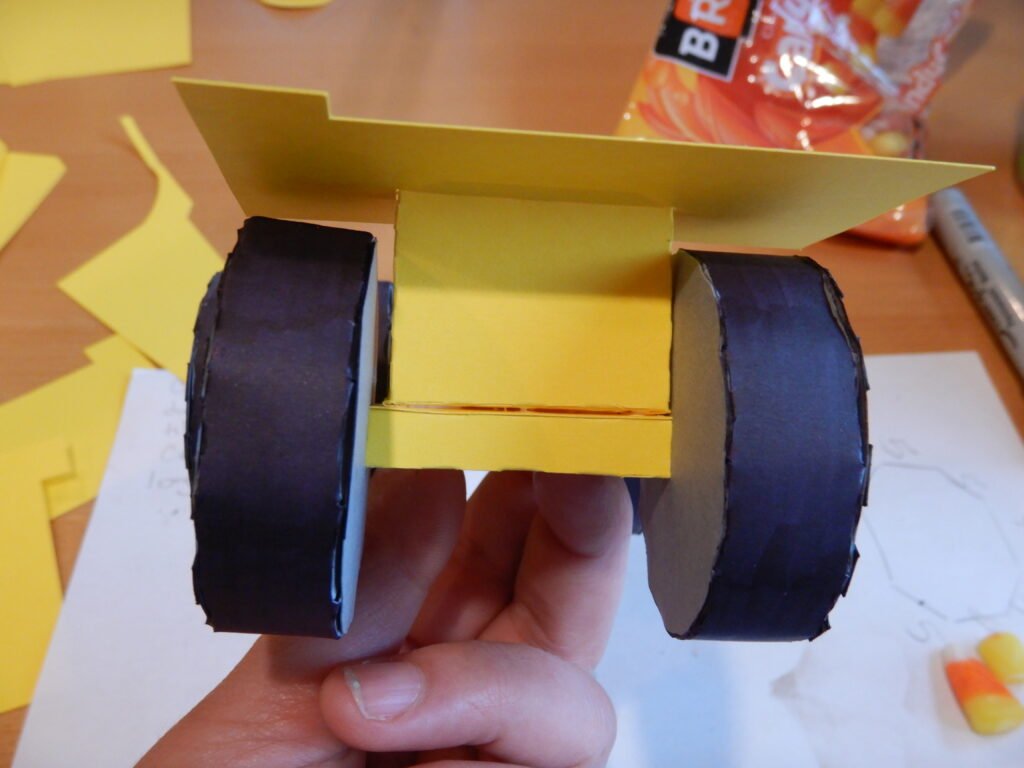
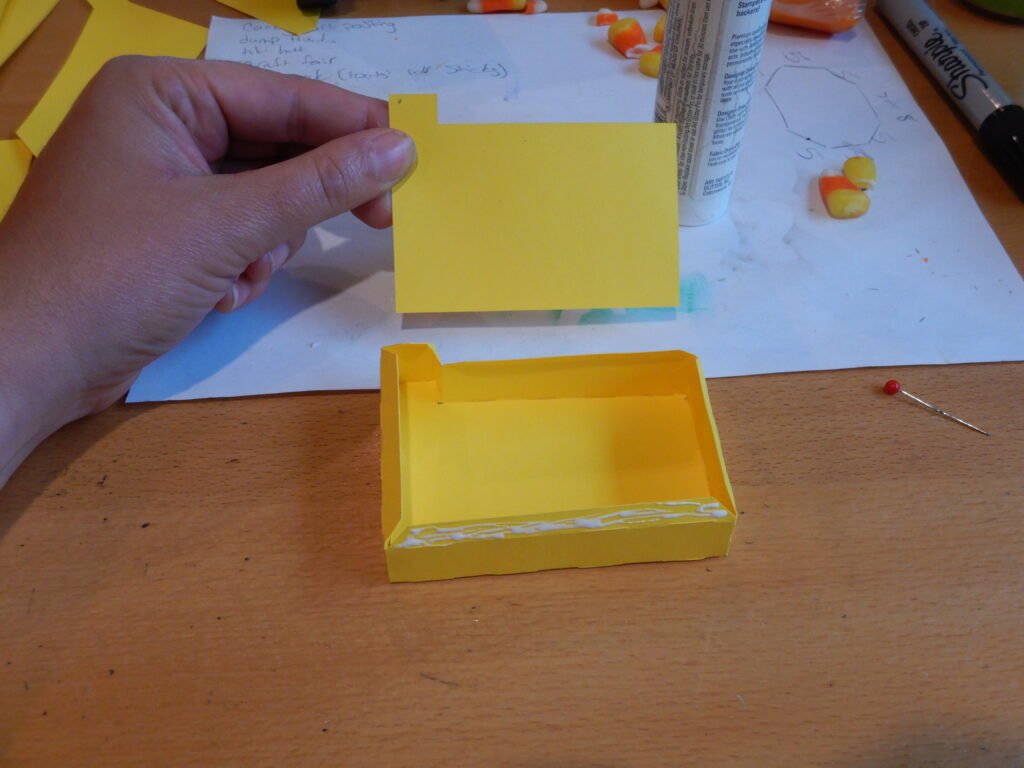
With the completed box, add glue to the bottom – the side that forms a 90 degree corner with each short vertical side. Place between the two back tires, flush with the cross piece of the chassis. The taller side should be in the back with the shorter end toward the front tires as shown.
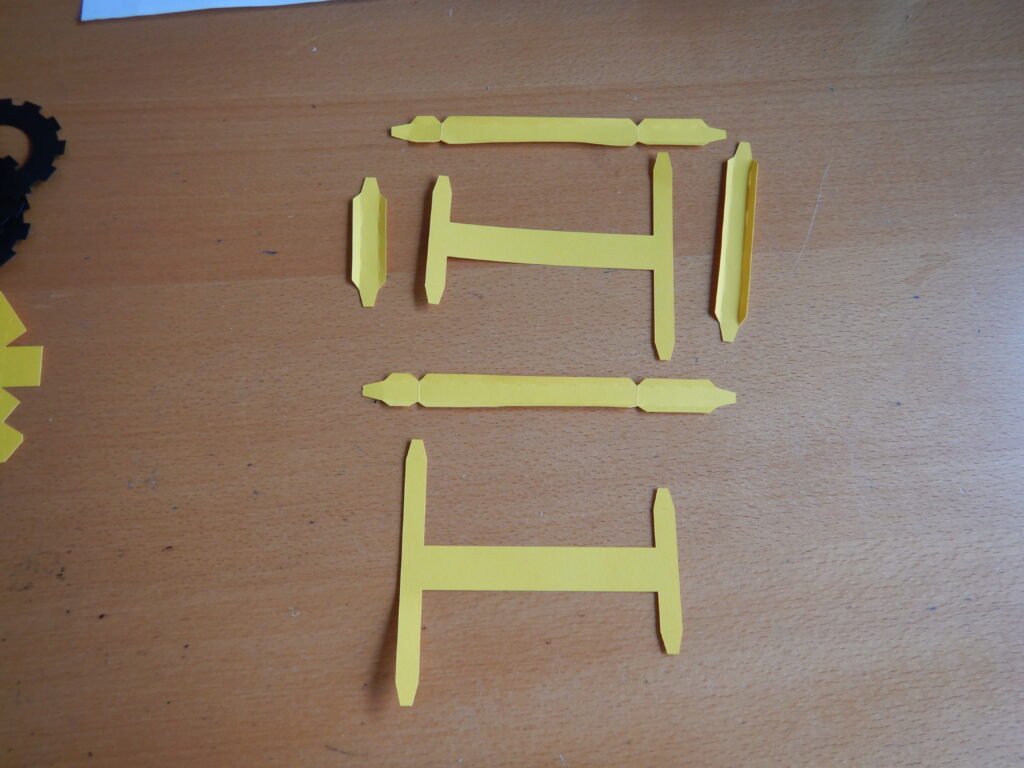
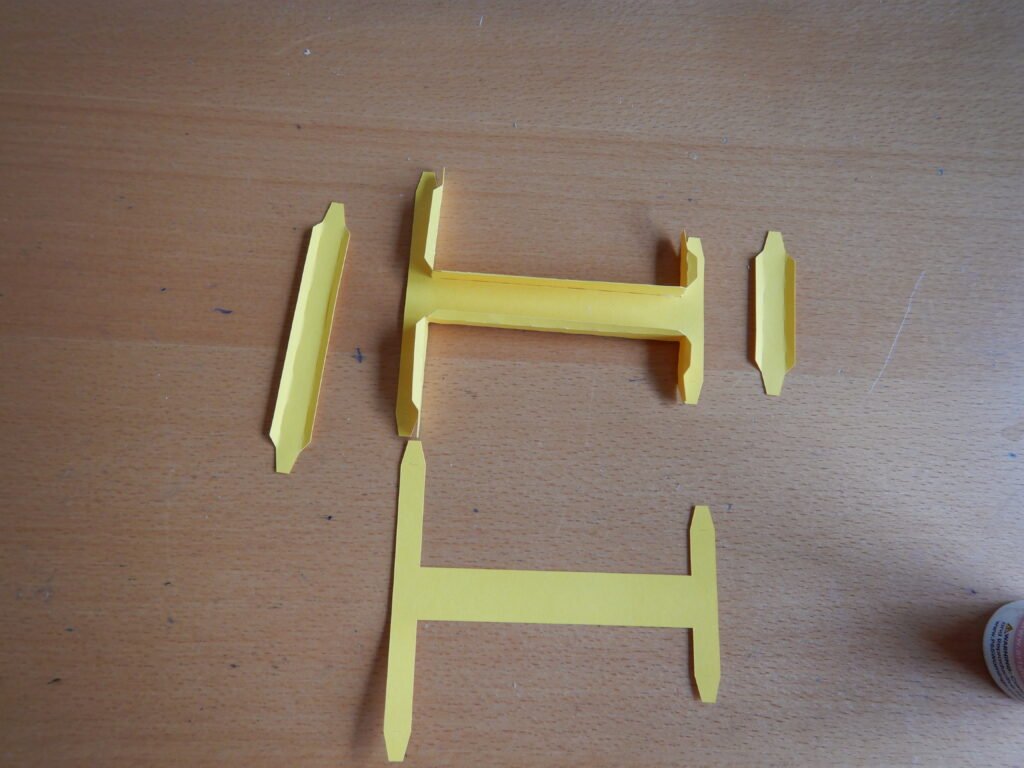
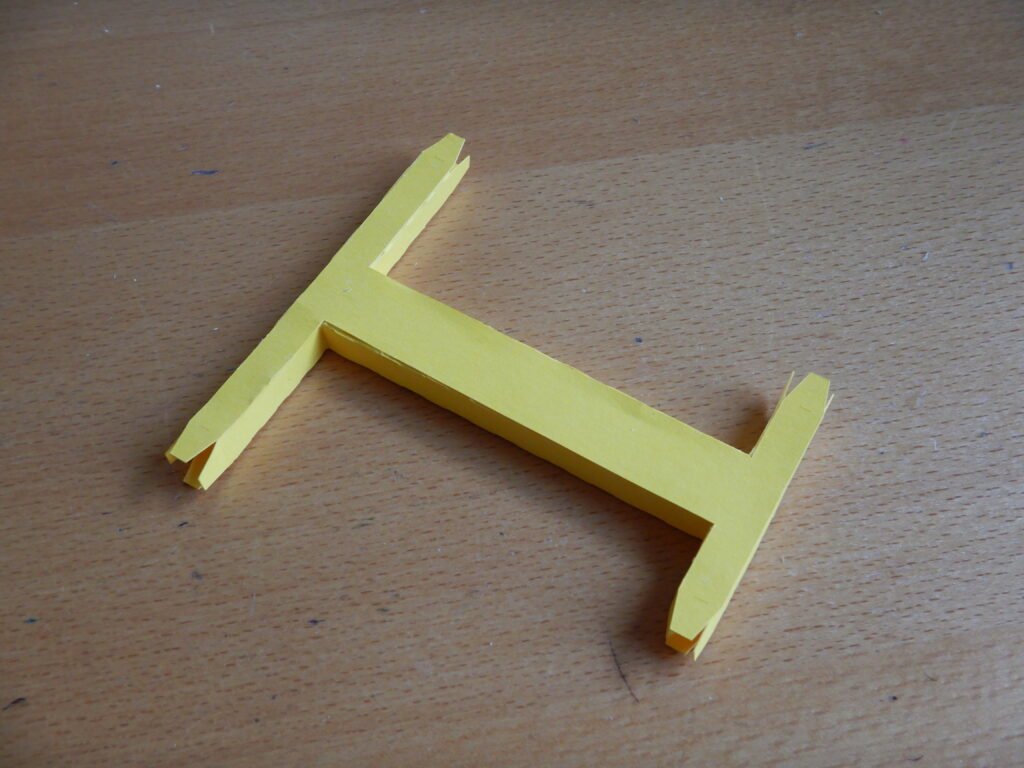
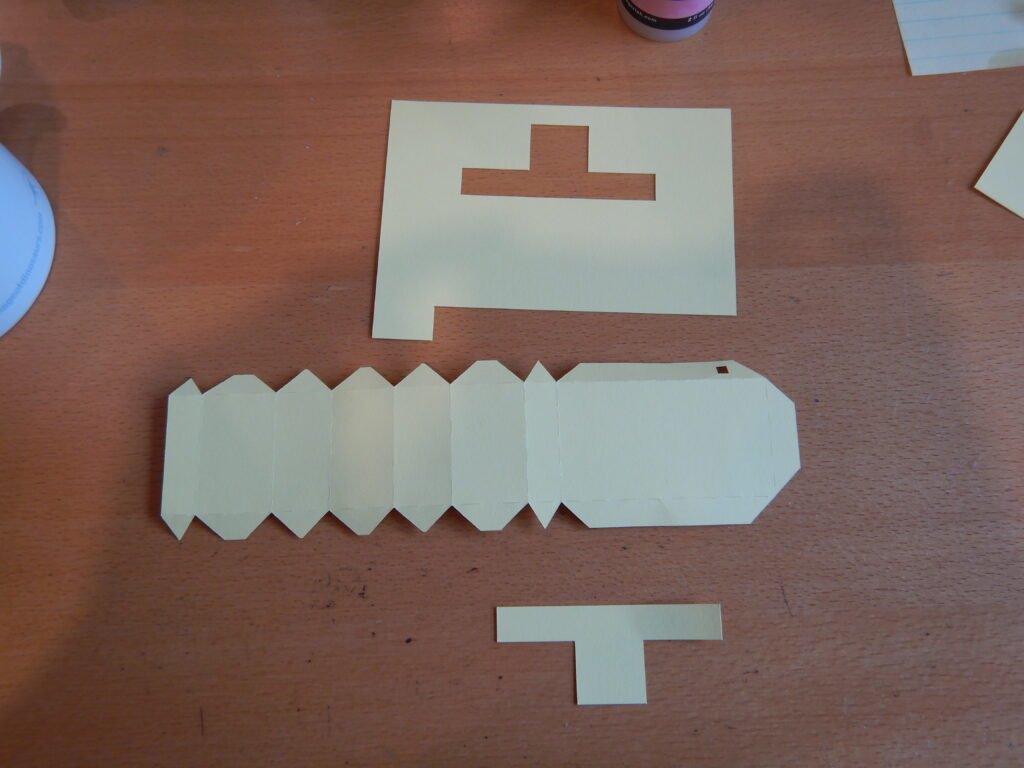
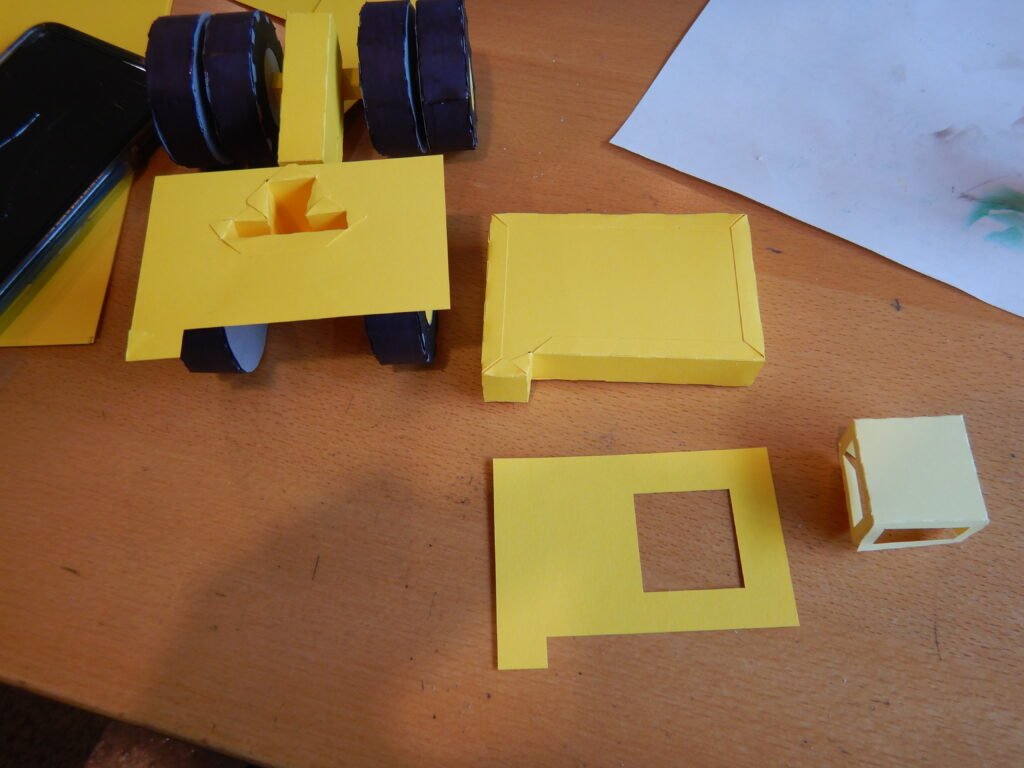
Dump Truck Cab Assembly
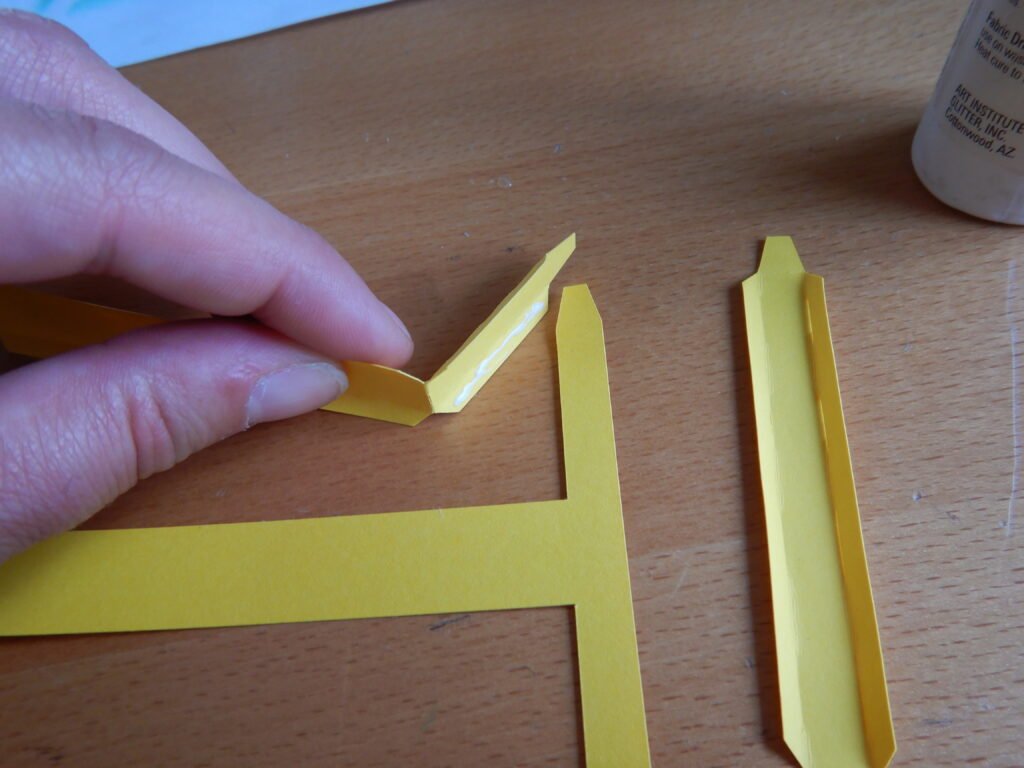
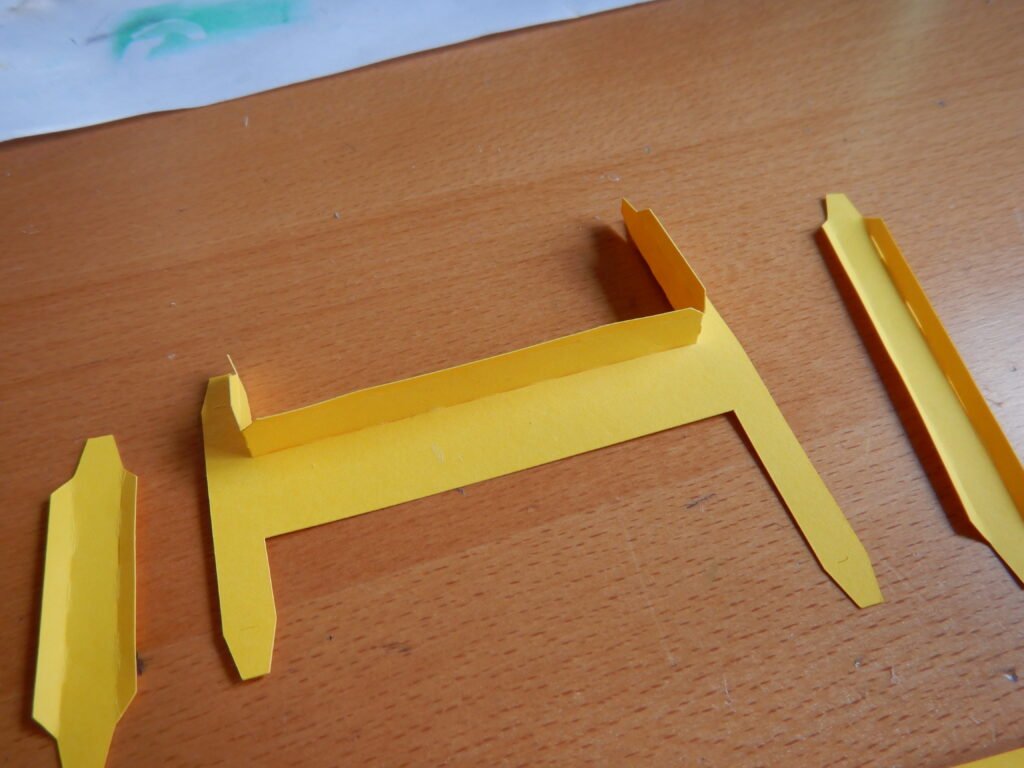
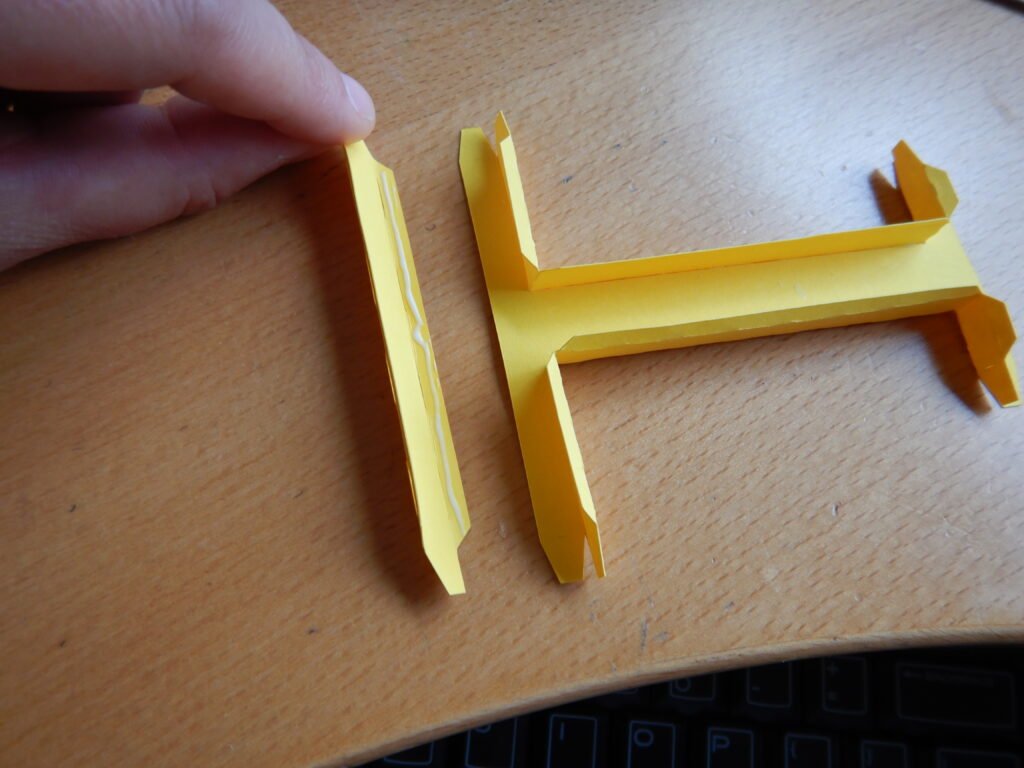
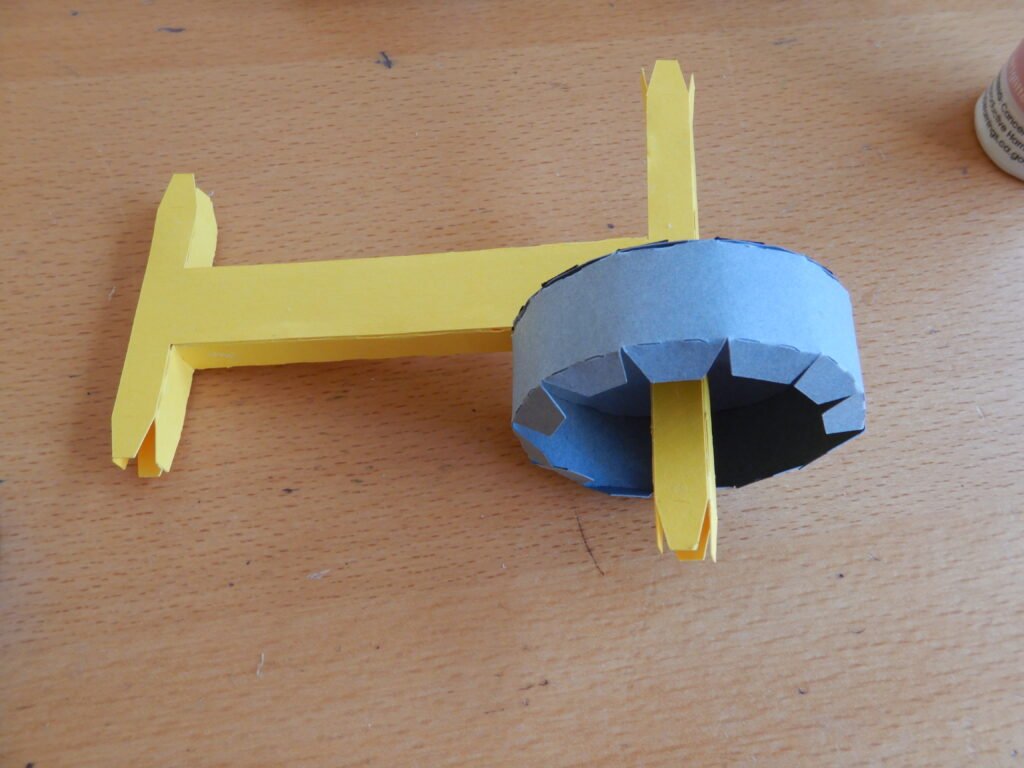
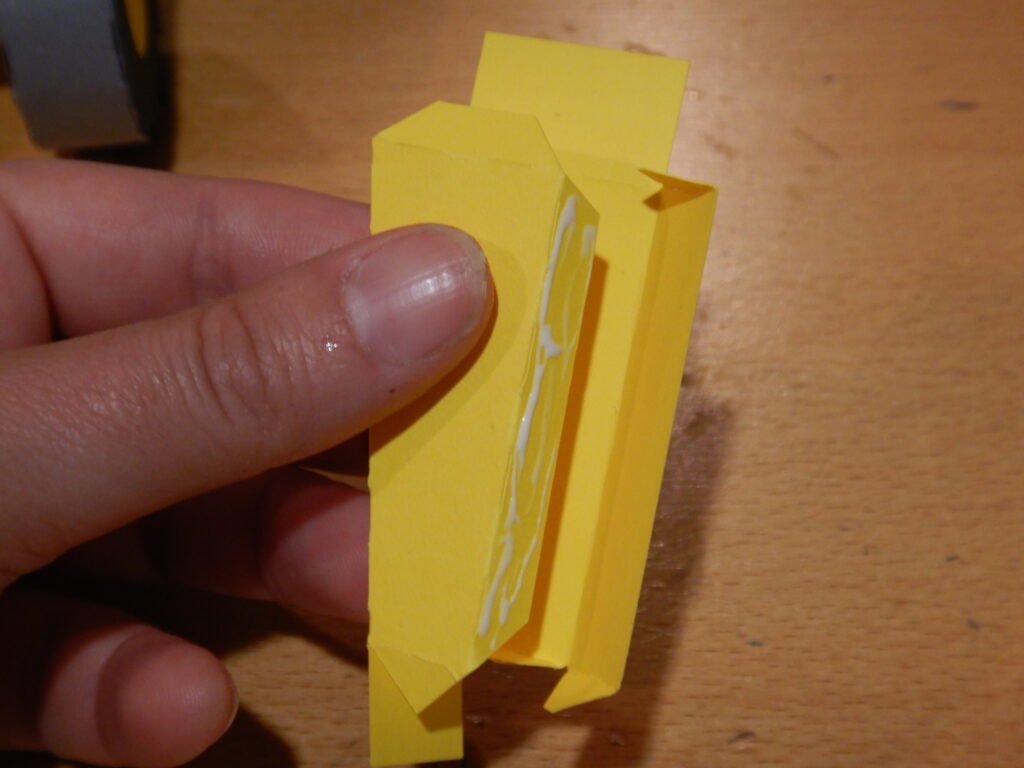
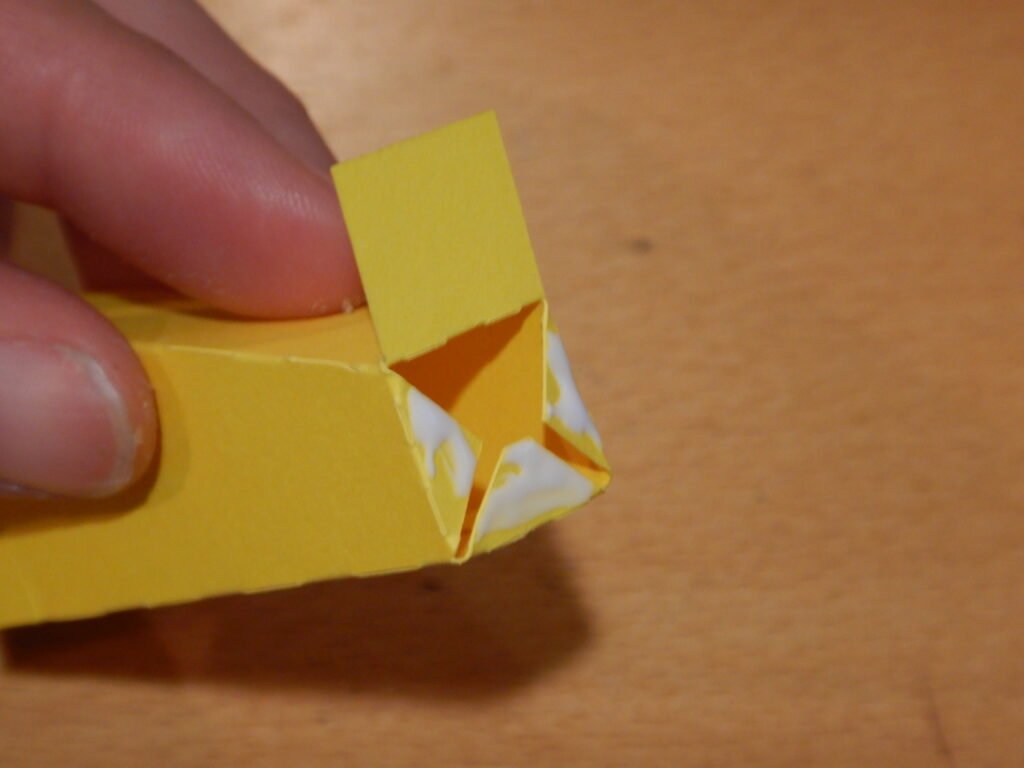
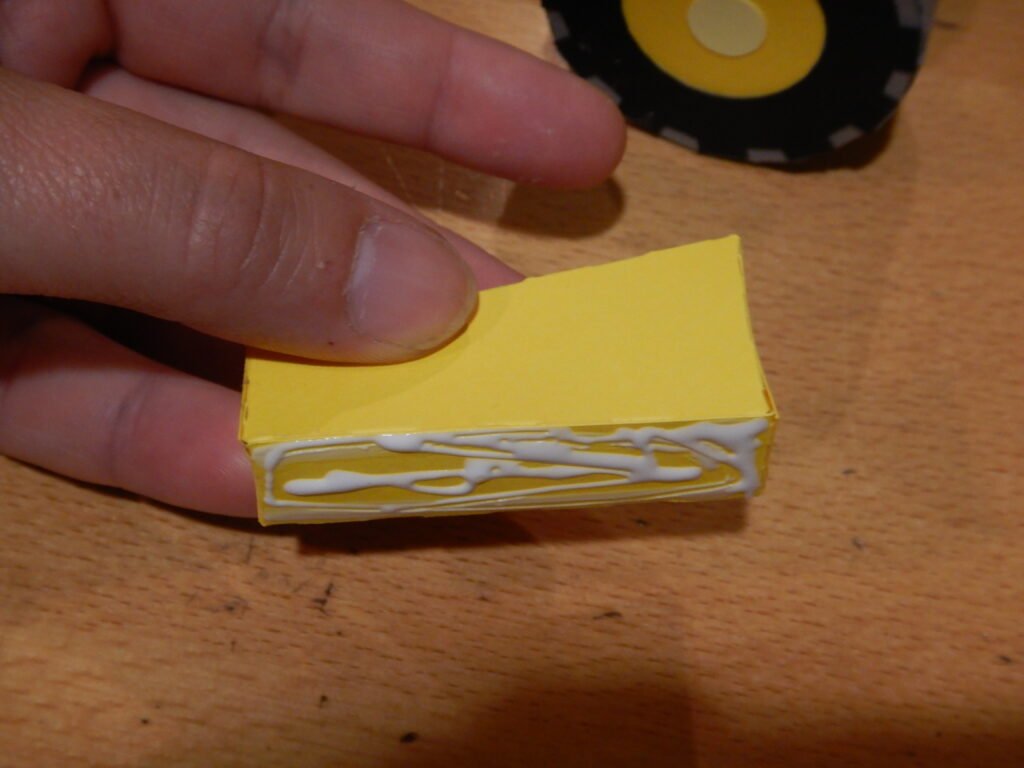
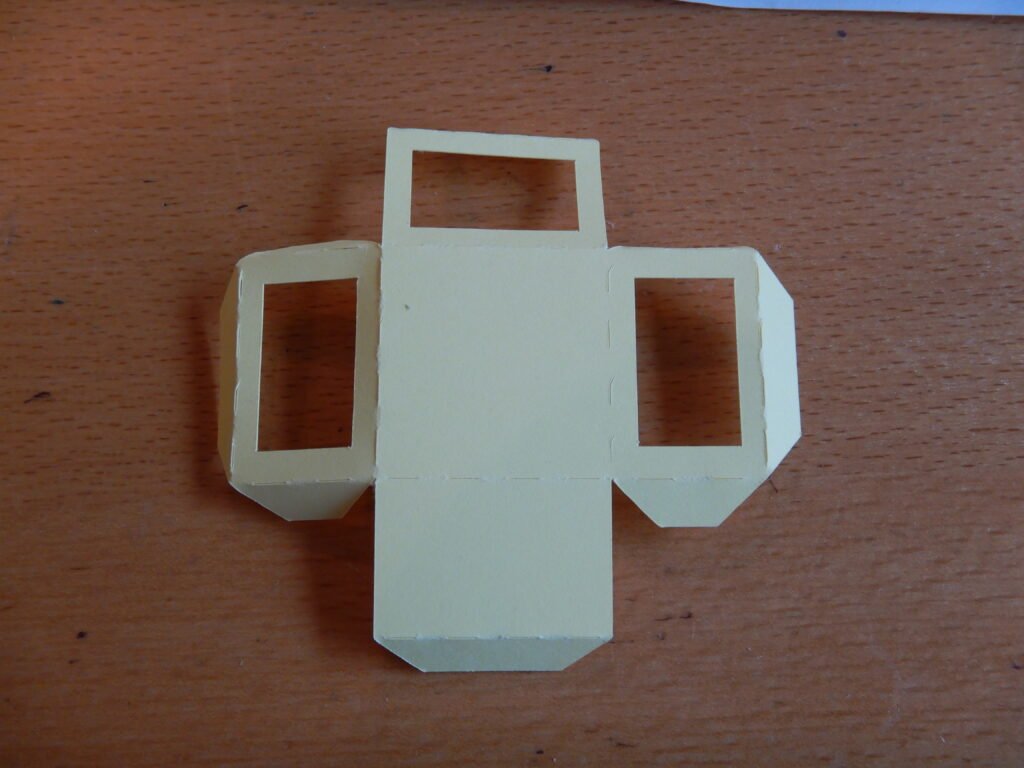
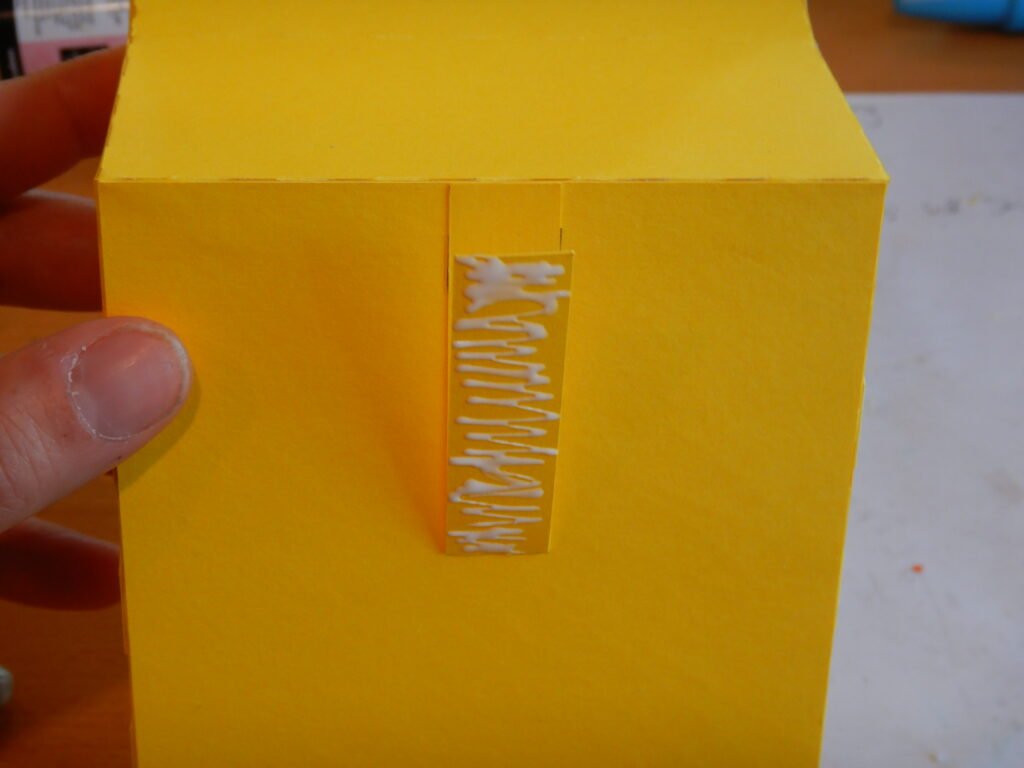
The next step is to work on the cab of the dump truck. The cab is supported by a pillar that makes a T shape. You’ll note that one of the long tabs has a square cut in it. This is so you can identify the side that will go in the rectangular cab support panel. We started assembly by folding the cab support panel along the score lines then adding glue to the long tab that does not have a square cut in it and attached the small T shaped piece as shown. We then worked our way around one or two tabs at a time until all were secure and the shape was closed off. Make sure that the tabs are snug to the T shape panel.
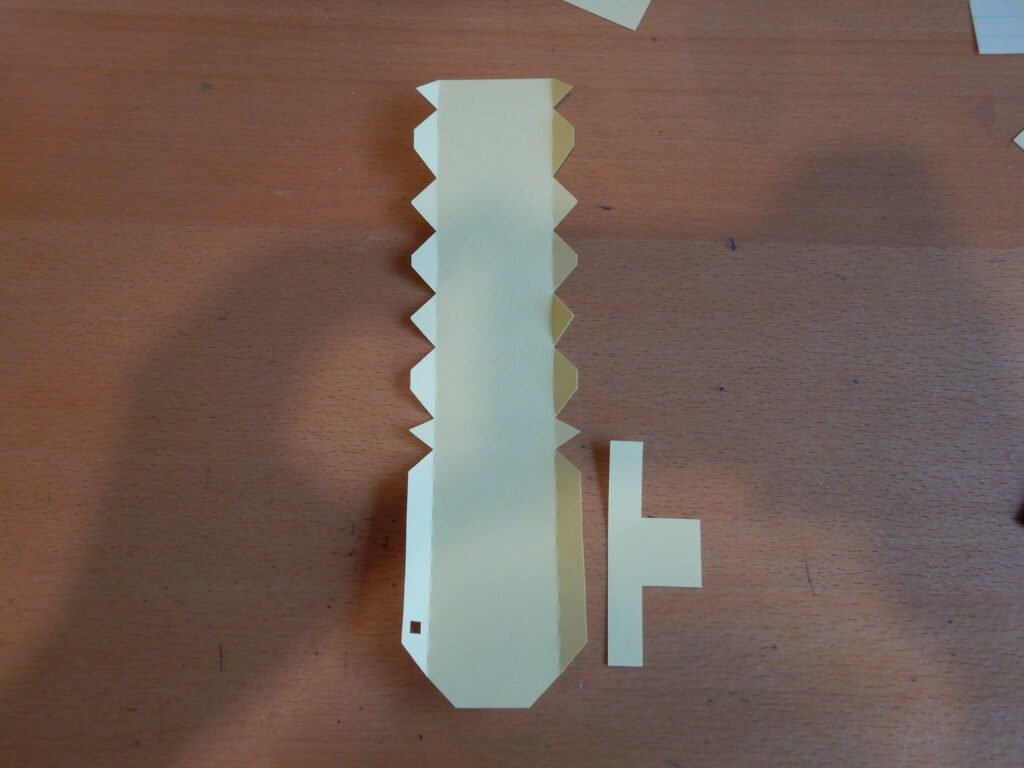
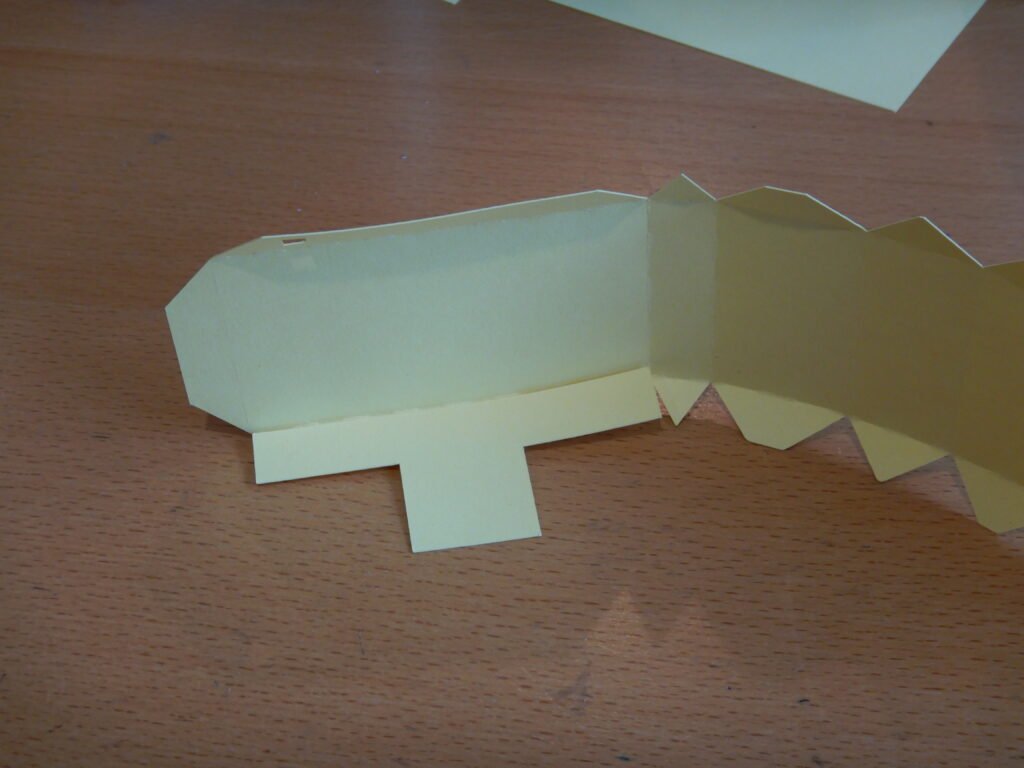

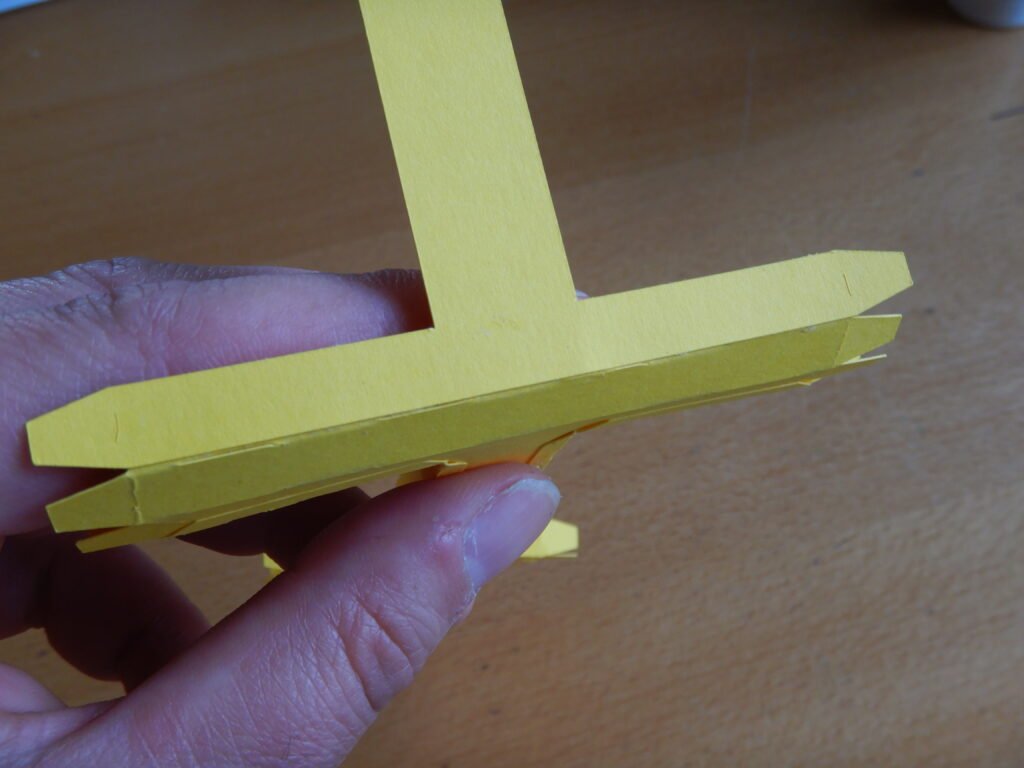
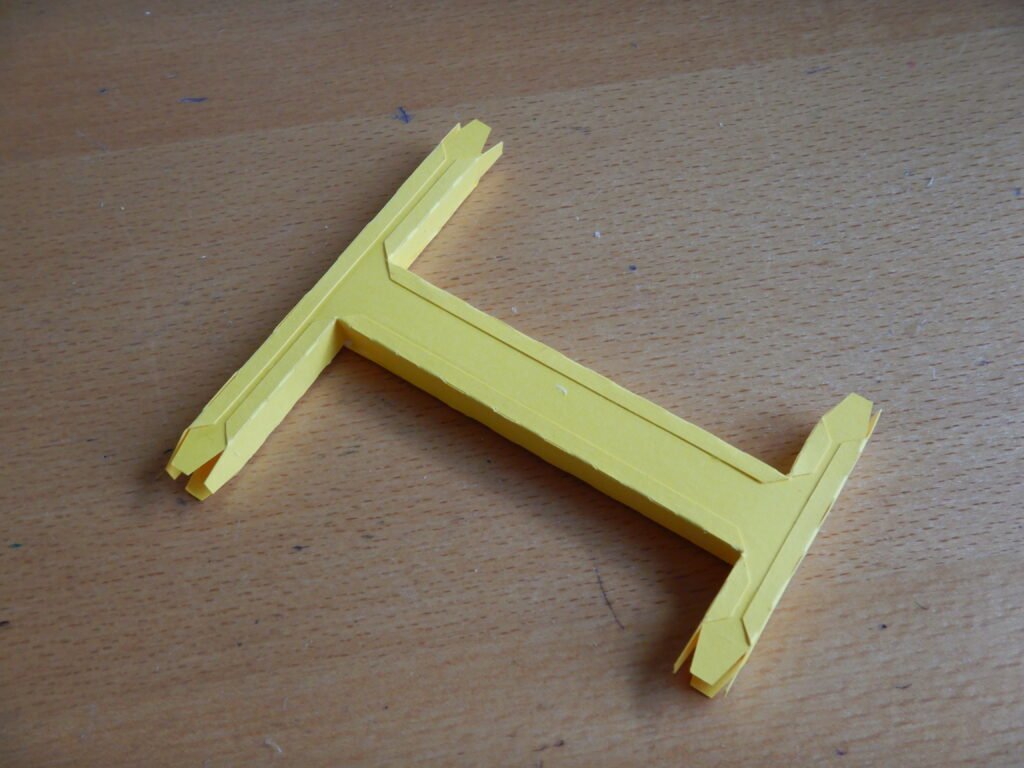
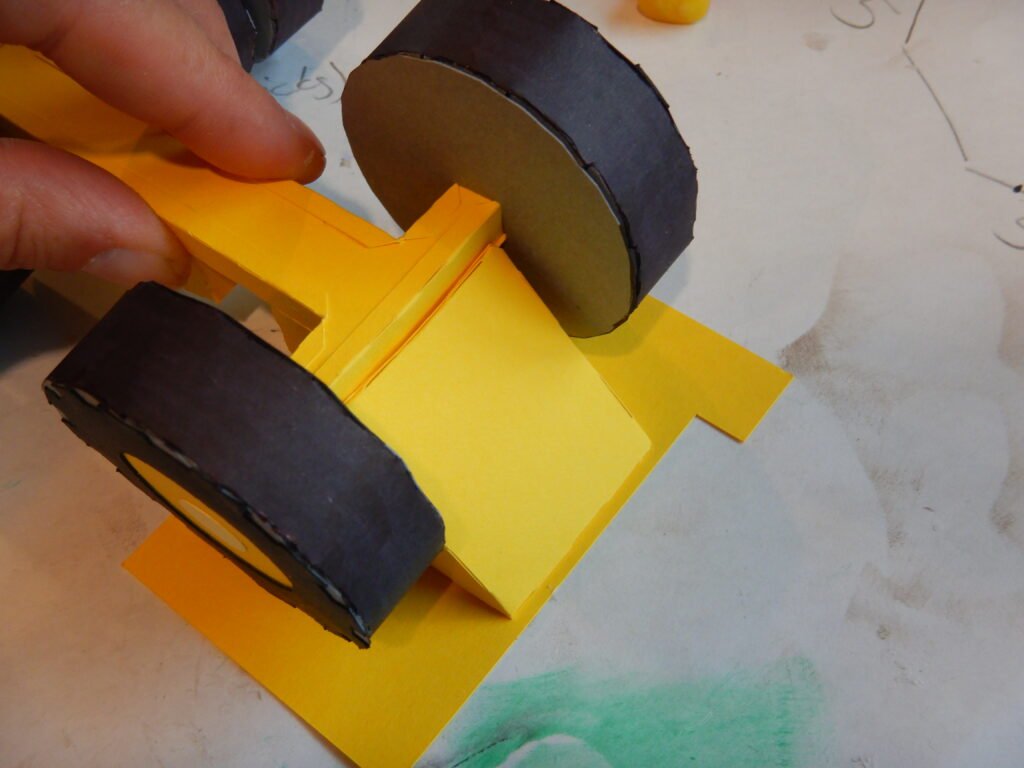
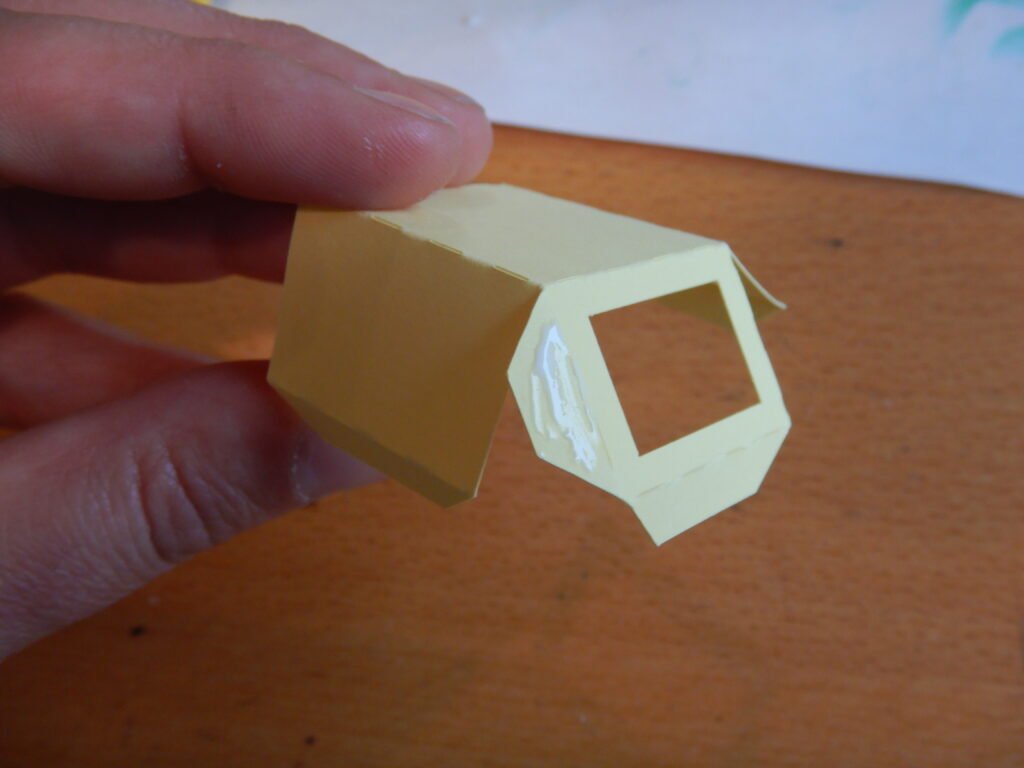
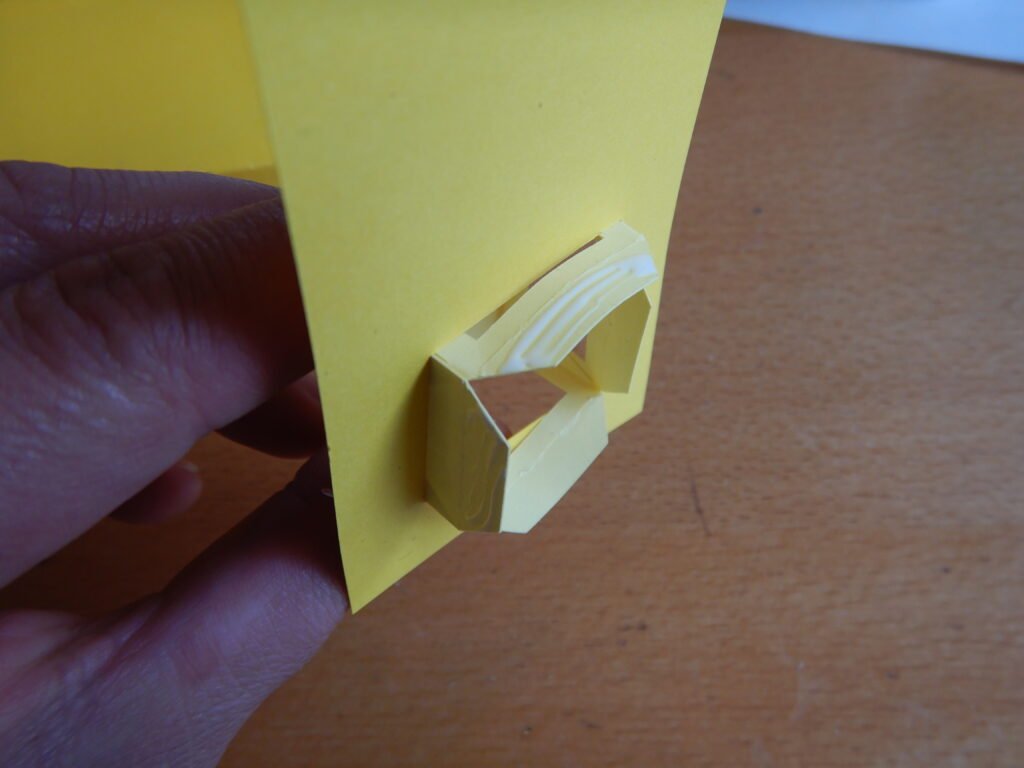
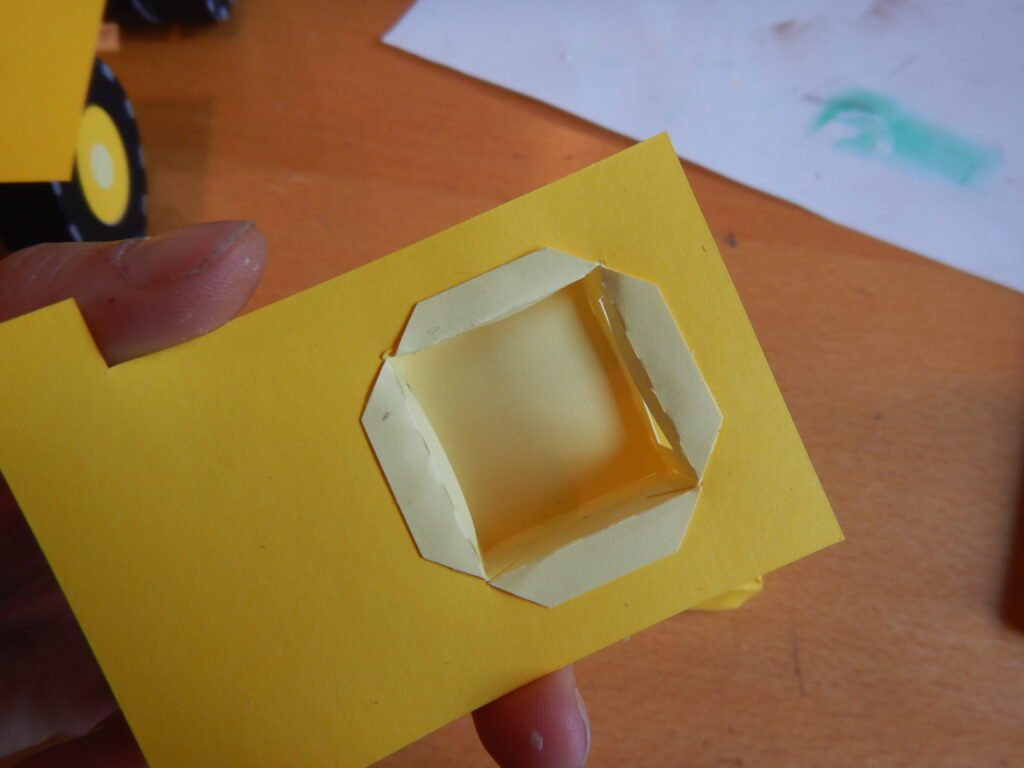
With the T shaped support done, slide it through the cab support panel. When doing so you want to be sure that the little bump out section of the cab panel is on the correct side or you’ll have a backwards set up for the cab. Use the photos below to help guarantee correct orientation. Once you have it correct, add glue to the tabs and fold them down to secure the support to the panel.

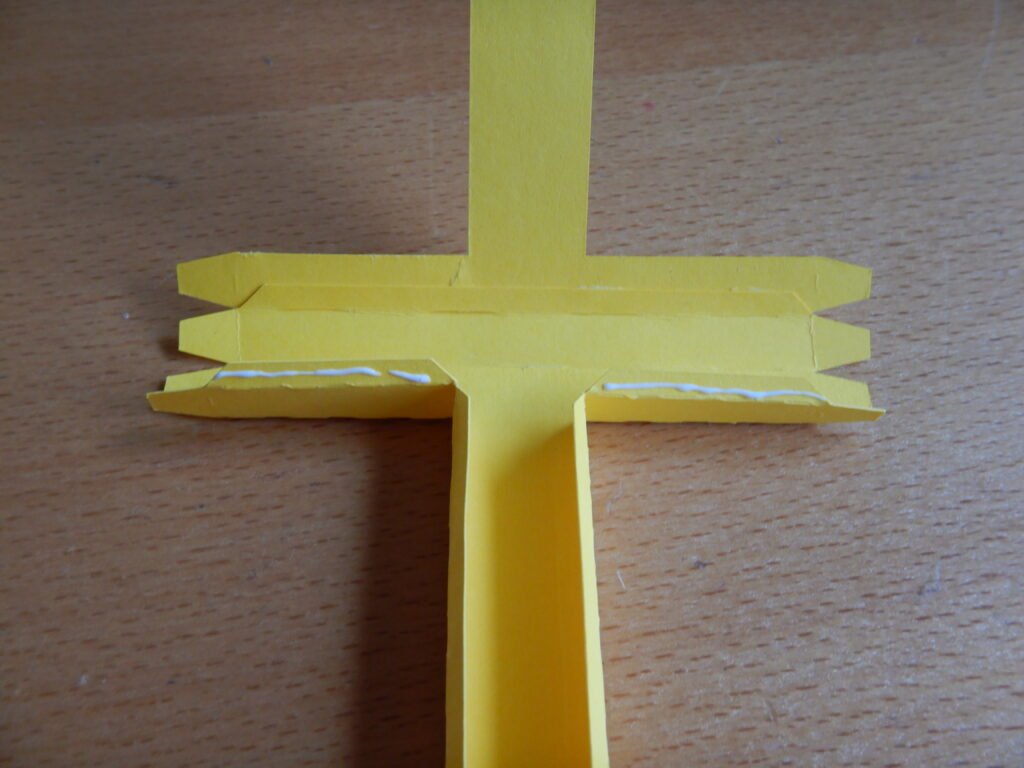
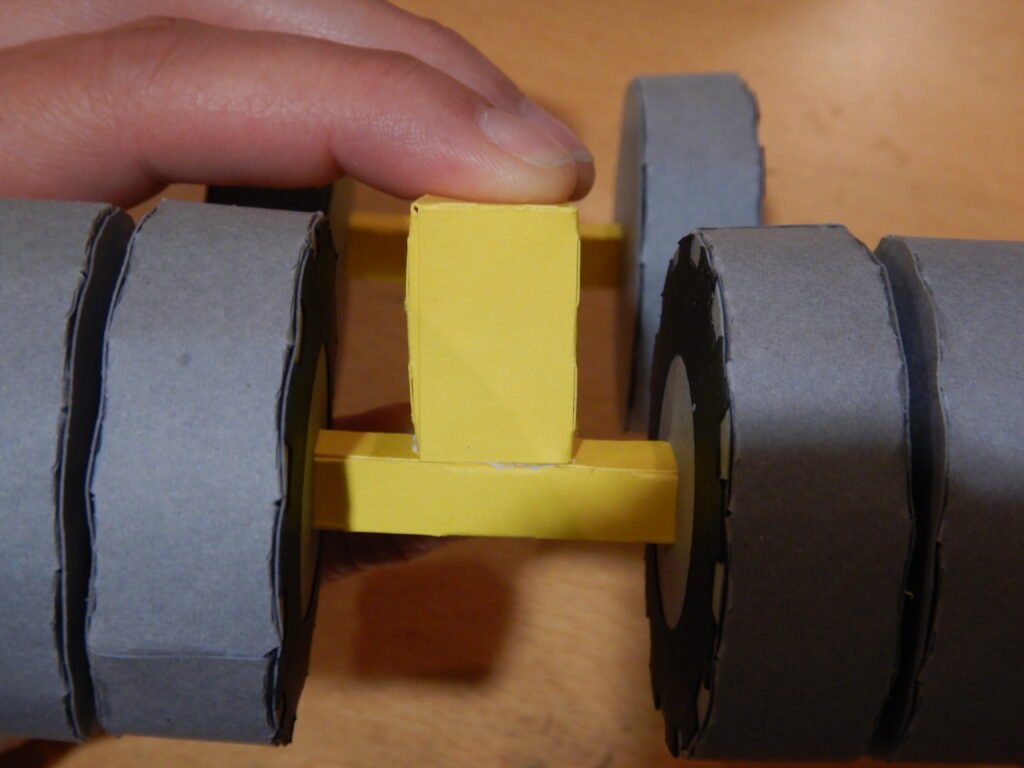
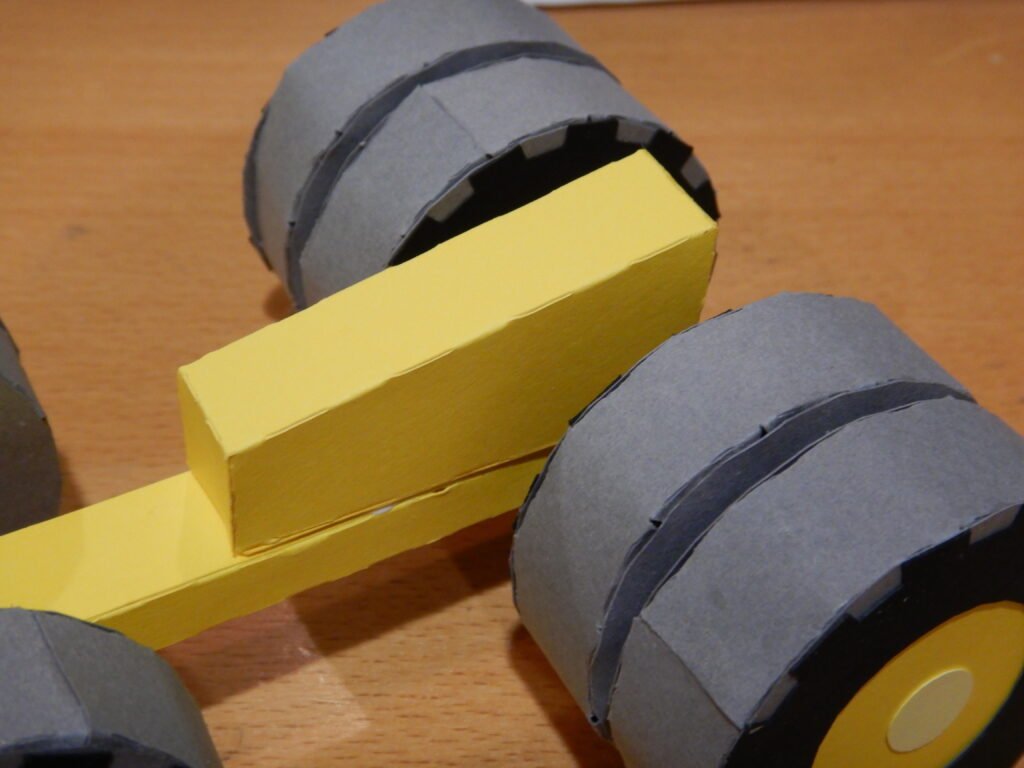
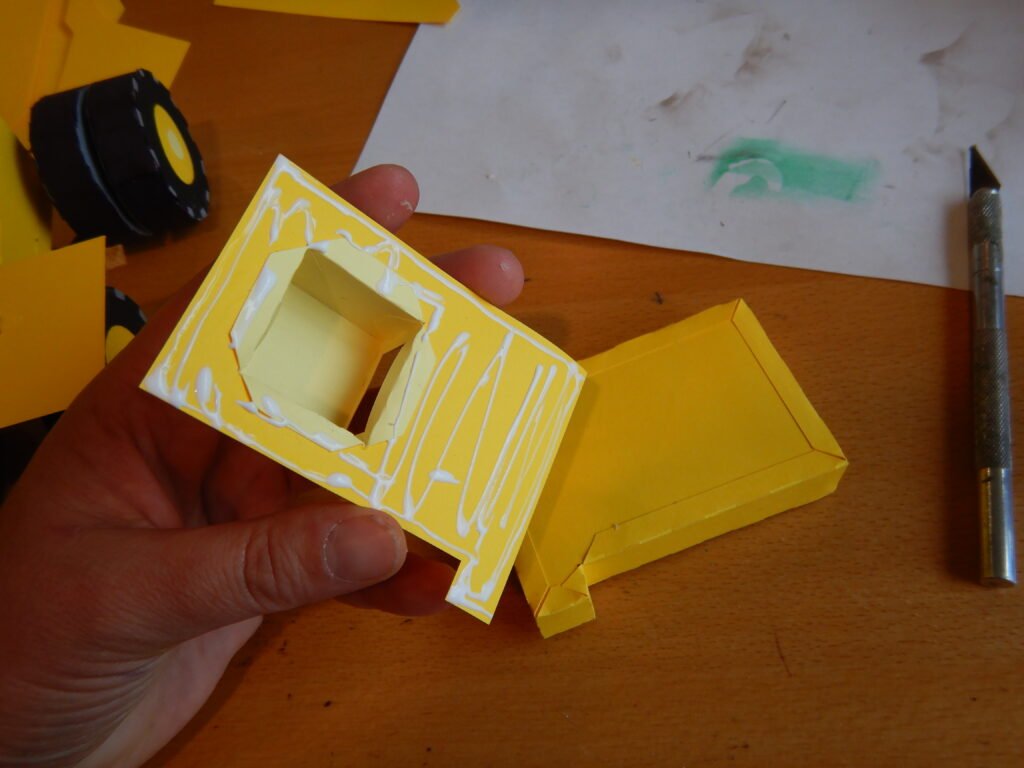
With this put together, add glue to the bottom of the T shape and attach it to the space between the front two tires. Be careful to get it square and not tipped to one side or the other or your cab will end up off center when done. We used our fingers to hold the chassis and position the T support.

Some Extra Support
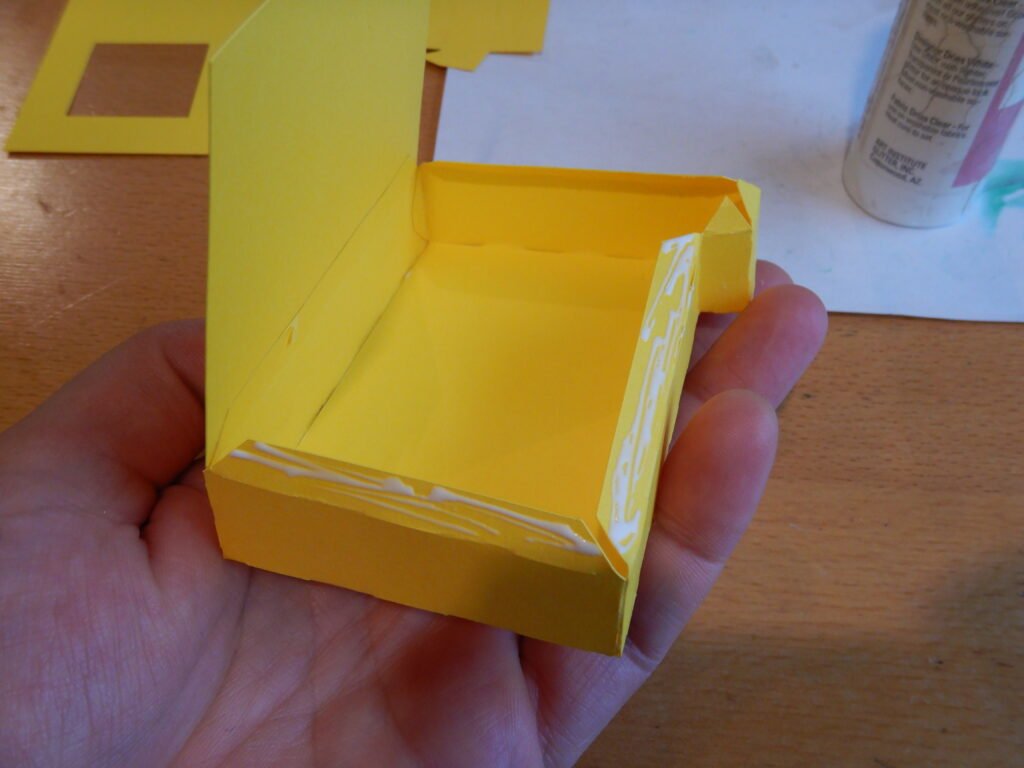
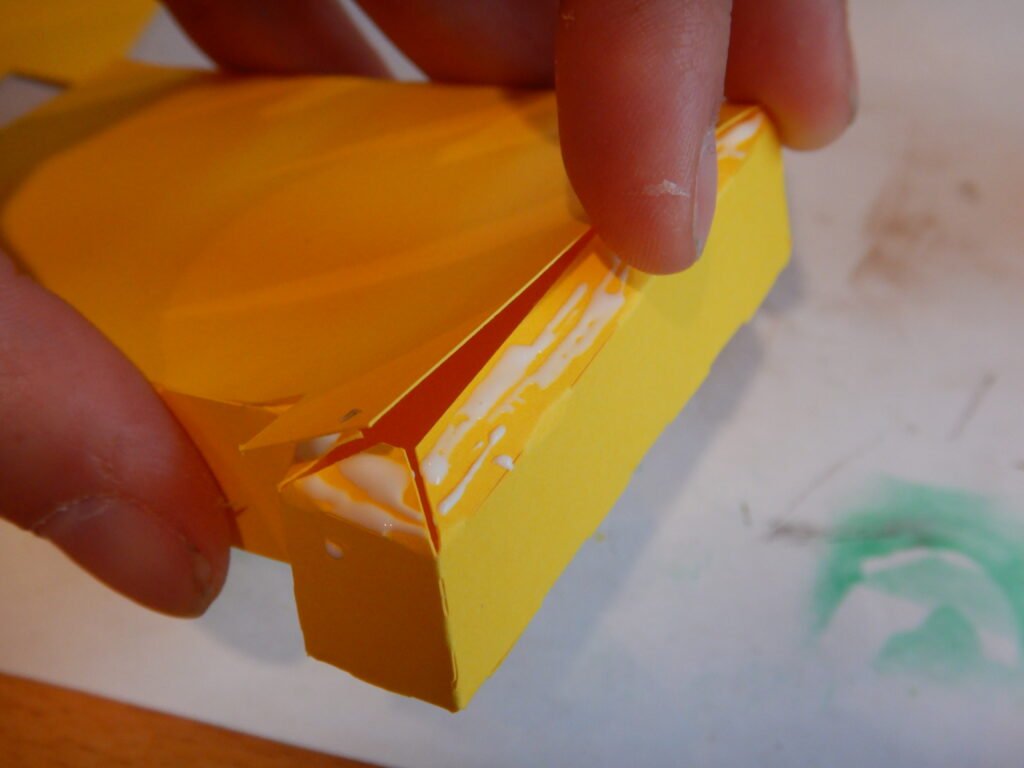
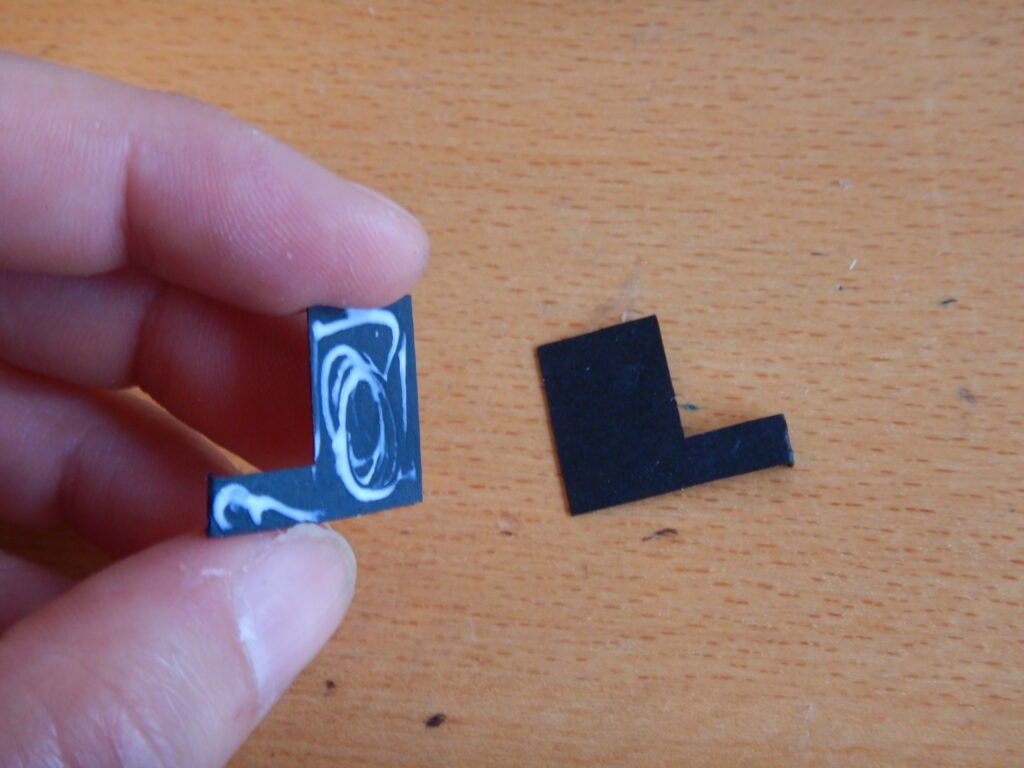
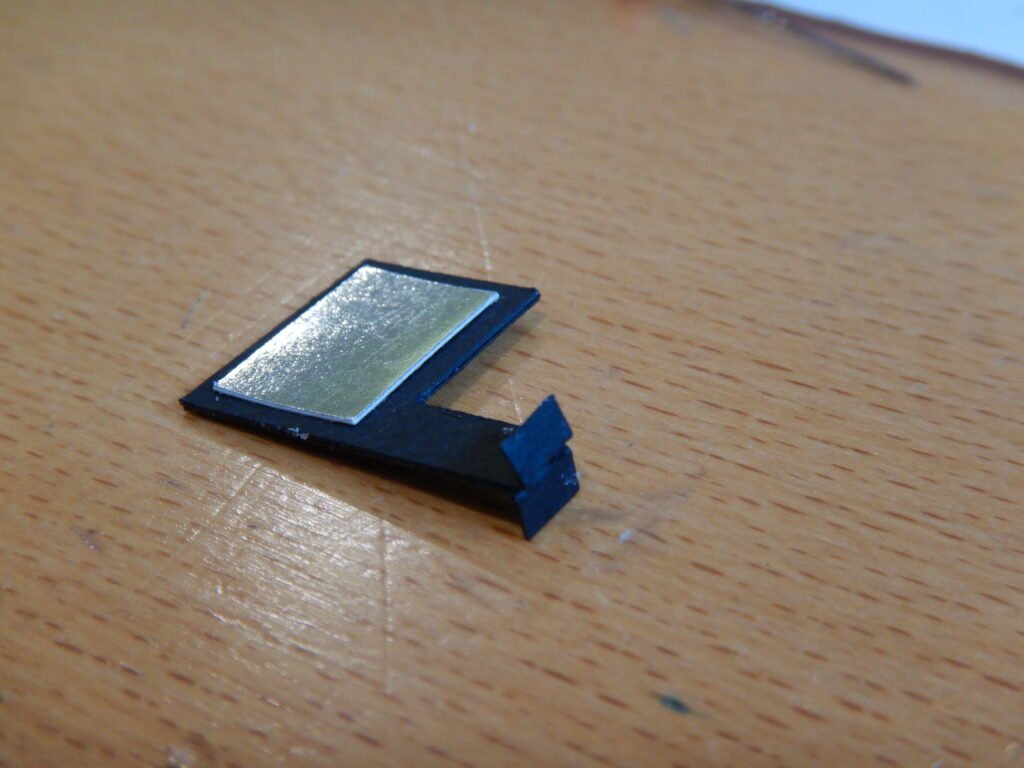
For added support for the front of the cab, there’s another support piece to be added. Fold along the score lines and glue the tabs to make a wedge shape. Then add the square panel to close off the wedge. Add glue to the two sides that form a 90 degree angle. The shorter side is placed under the cab panel and the longer against the T support. This will provide some support for the front of the cab once the box and other decorative panels are added.
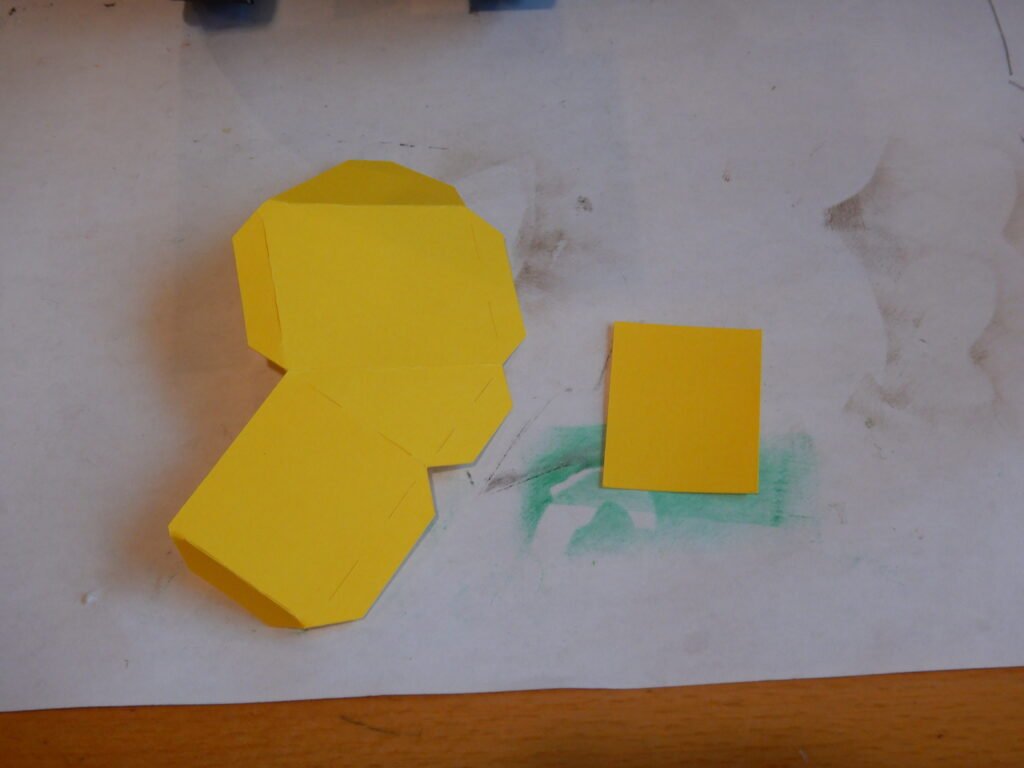
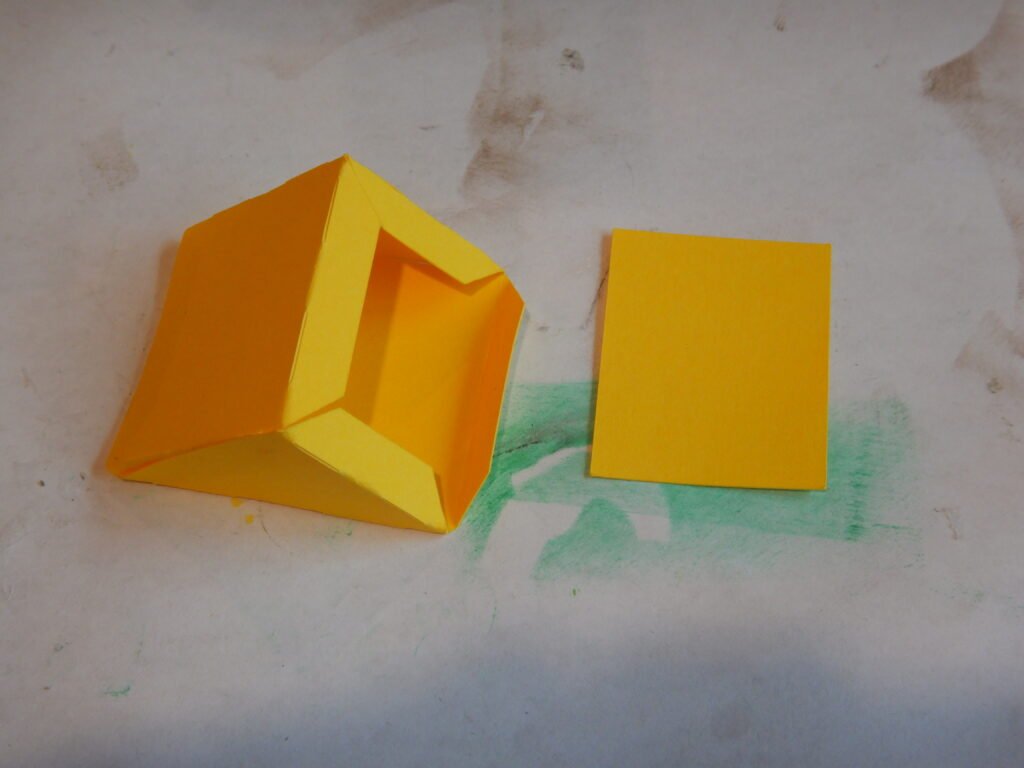
Putting Together The Cab
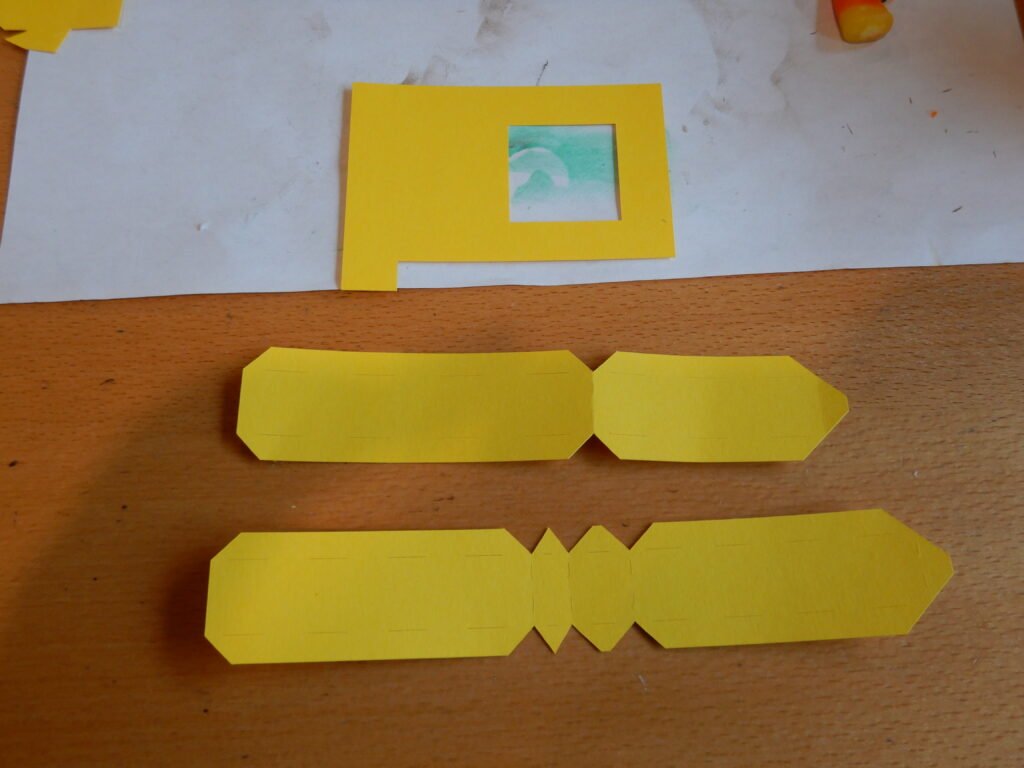
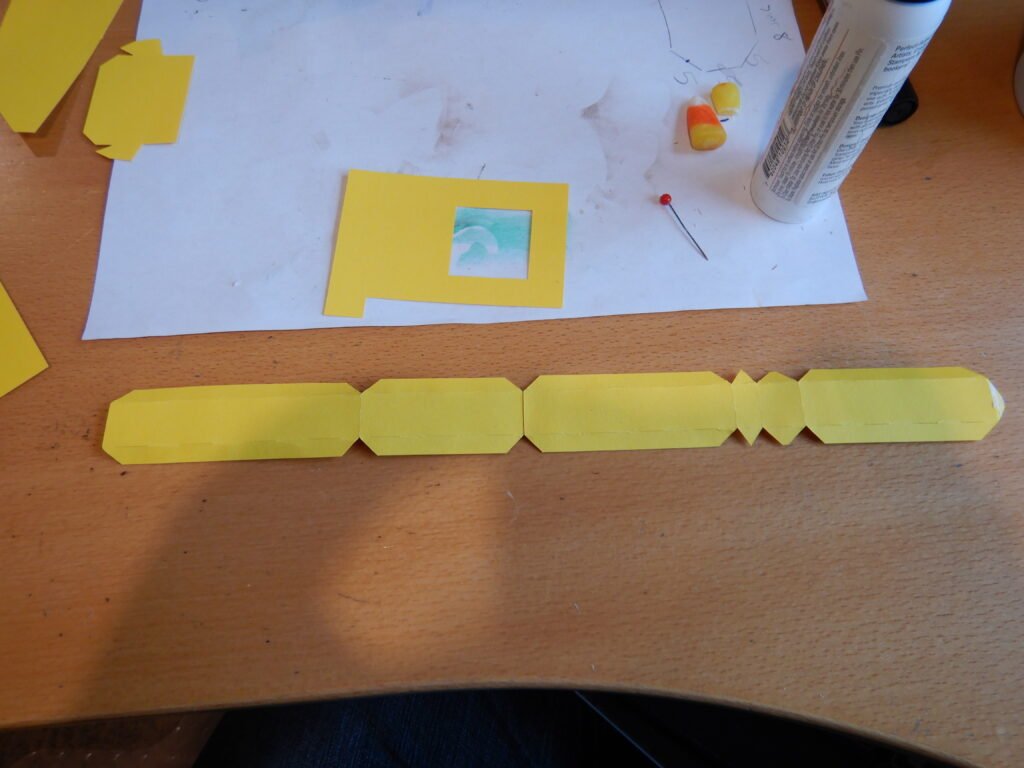
The cab is made of two side panels plus the top and bottom panels. Glue the two side panels together end to end to create a slightly off rectangle as shown.
Fold in the tabs on one side, add glue and place one of the two side panels that are solid (no cut out square) to make one side. Add some pressure using your finger to get a secure hold and adjust as needed to be sure the little bump out section is properly attached to the tabs.
To close off the shape, add glue to the long tab and attach the other solid side piece. With the one side in place, you can then work your way around a couple tabs at a time until the entire thing is in place. Be sure that the bump out section is again secure and well positioned.
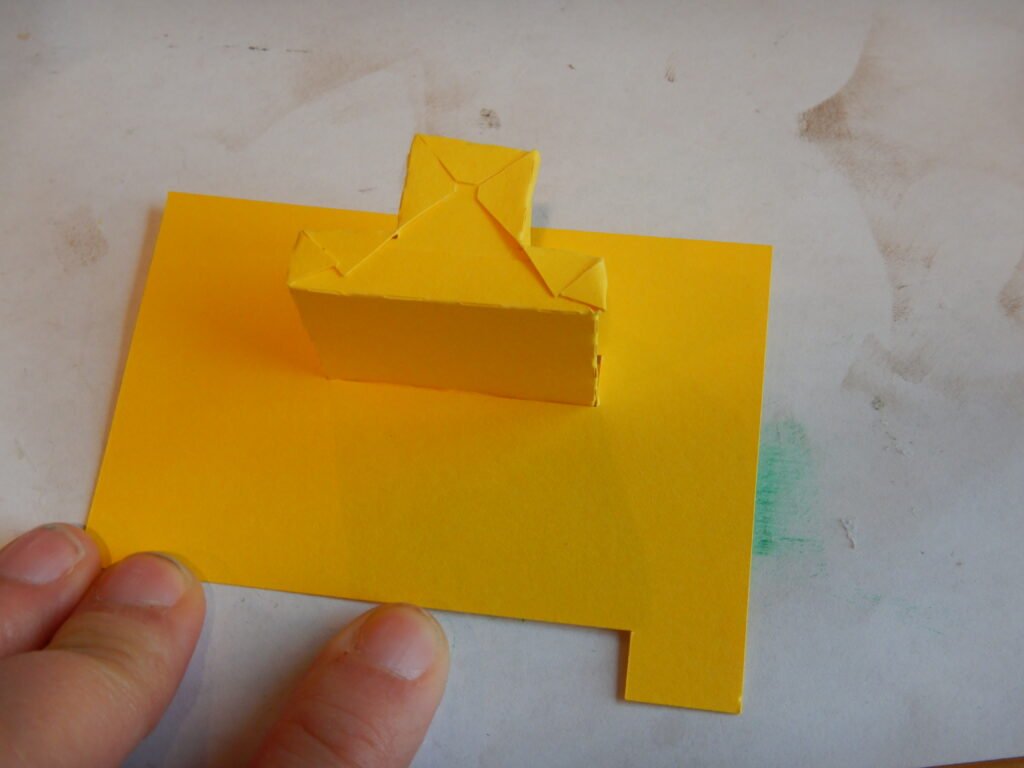
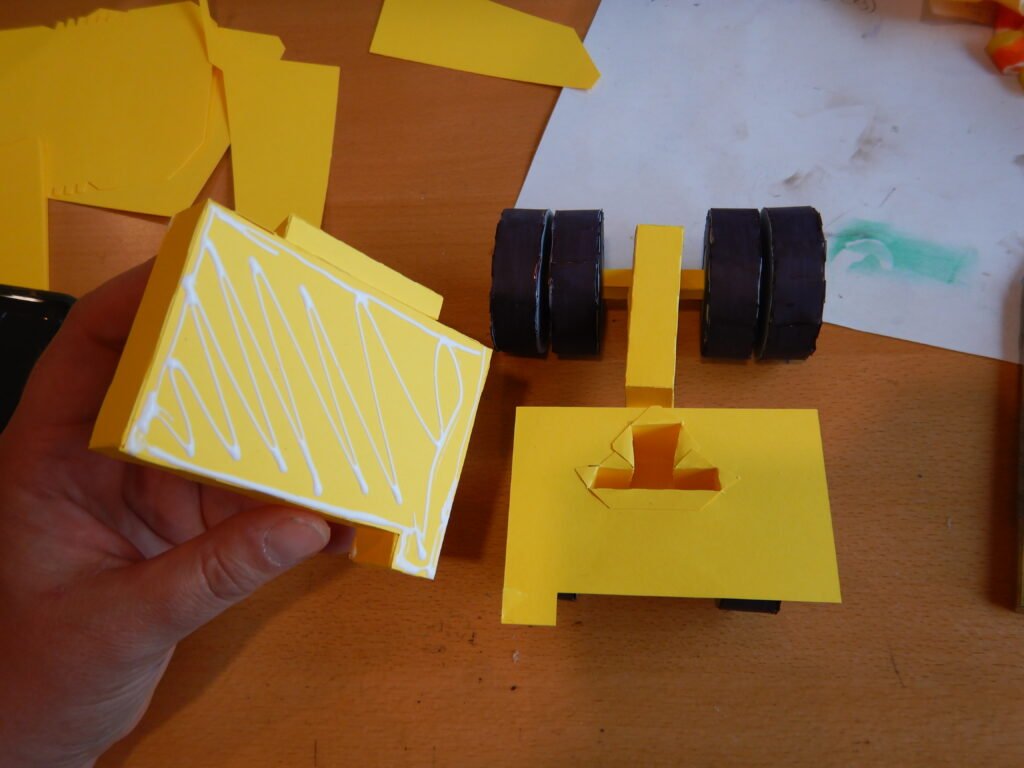
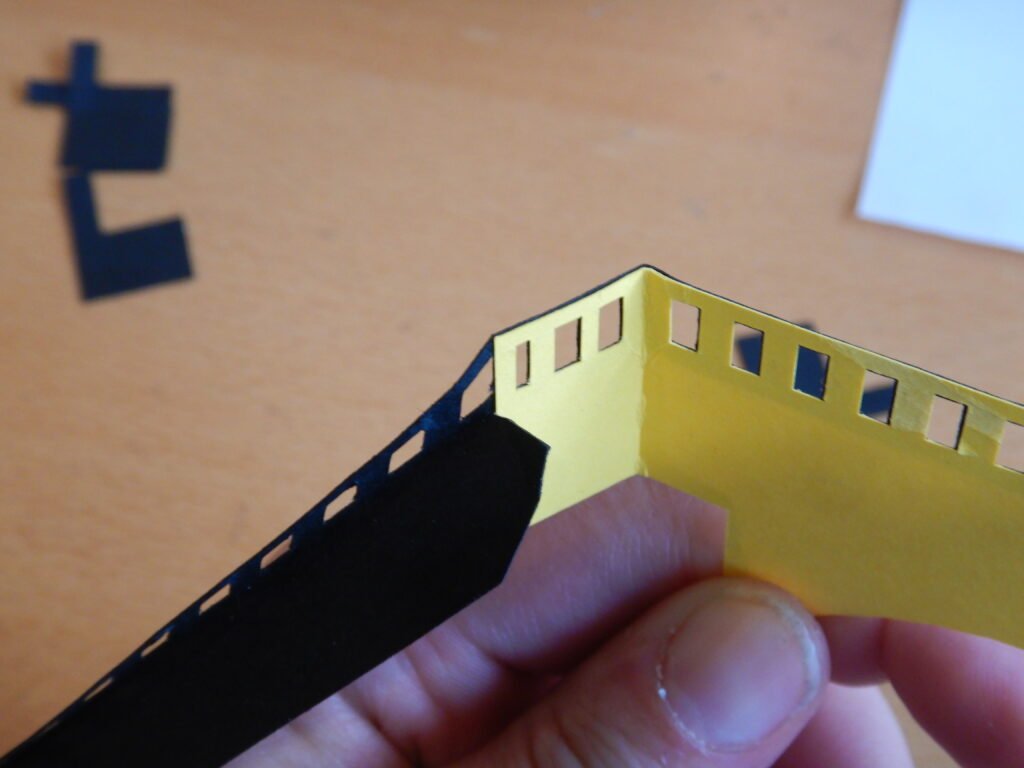
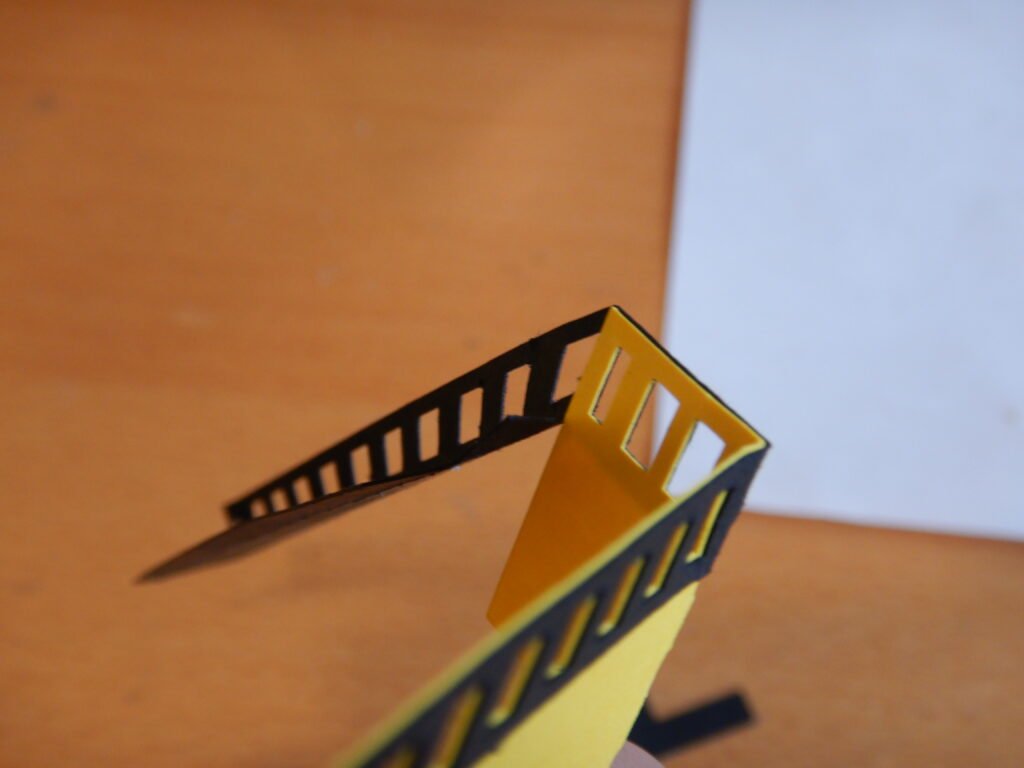
The cab is finished by putting together the box on the top with the windows. Fold on the score lines and glue the tabs to the neighboring piece to create a box with an open bottom. When complete, slide through the hole in the cab decorative panel. Make sure that the closed side faces away from the side with the bump out. This will make it so when attached to the truck, the open sides of the box, the ‘windows’ will be facing the front and sides, while the back is closed. Add glue to the tabs and fold back to glue onto the cab panel.
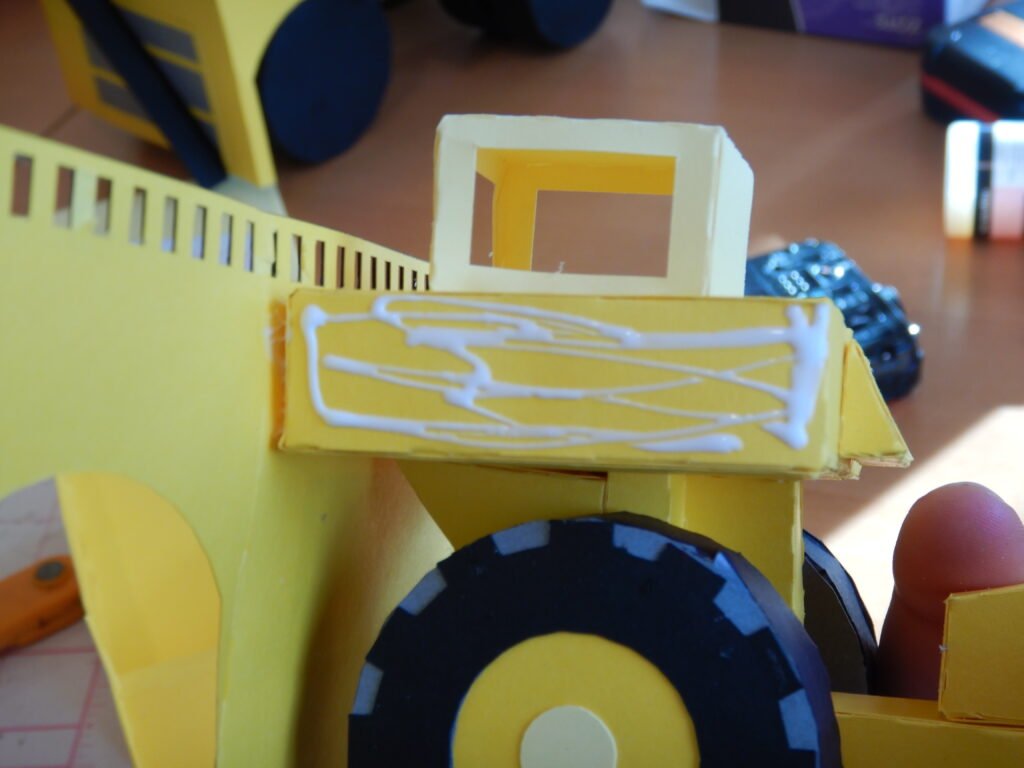
Add glue to the bottom of the cab decorative panel and attach to the cab box. Press along the panel gently to fully secure it to the box.
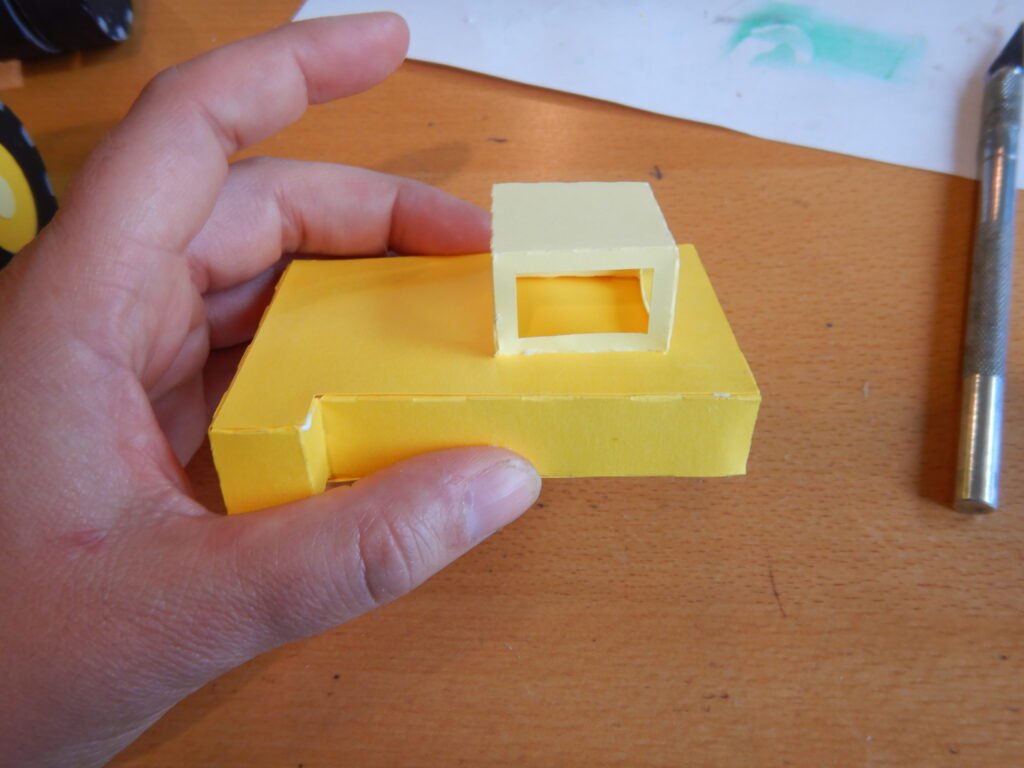
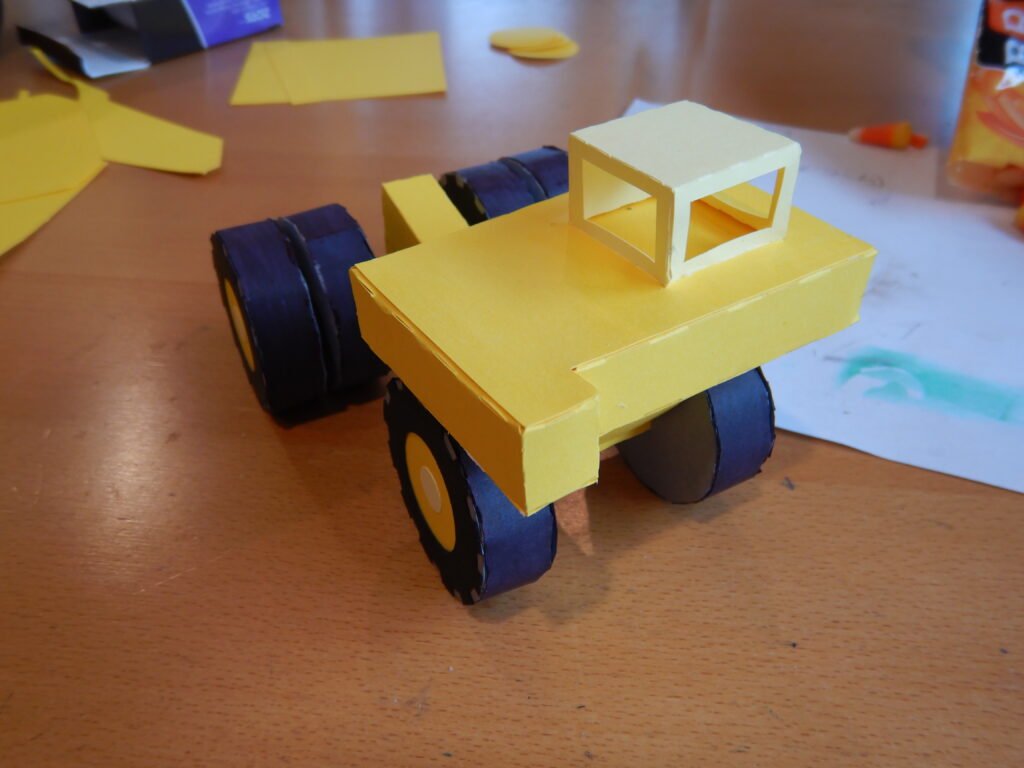
Next, add some glue to the bottom of this box and glue to the cab support on the truck.
Building The Dump Truck Bed
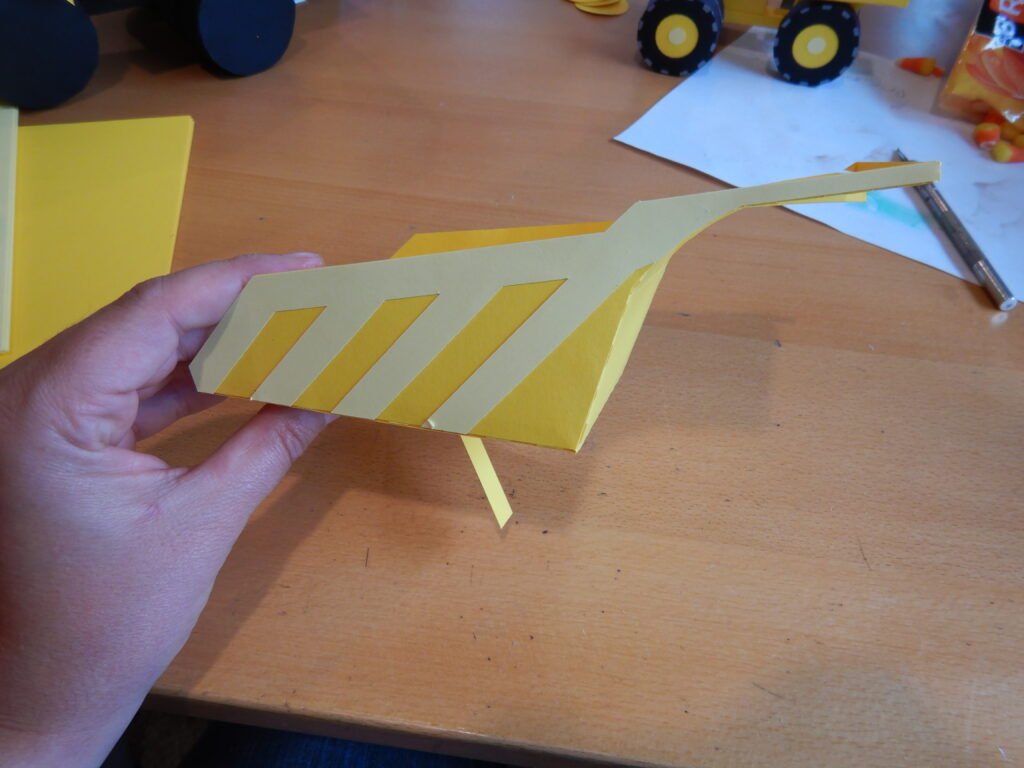
Set the truck aside for now. IT’s time to assemble the dump truck bed. The truck bed is made of several pieces. First, we started by adding the decorative panels to the sides of the truck bed.
Using the two truck bed pieces, attach the tab of one to the other as shown.
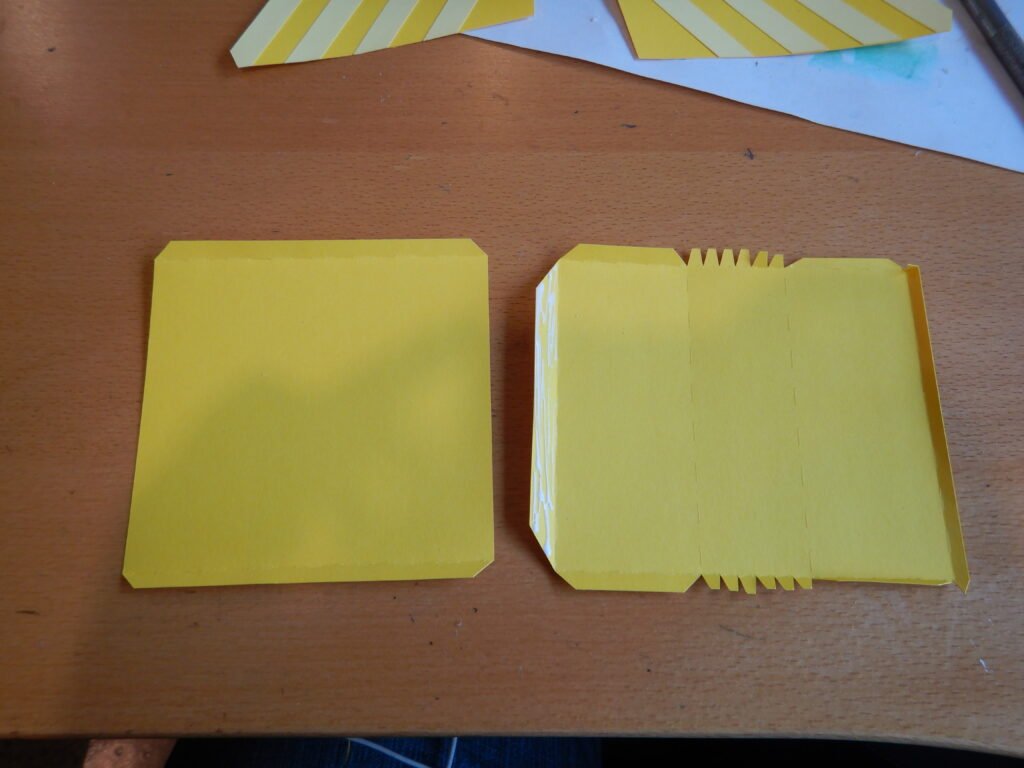
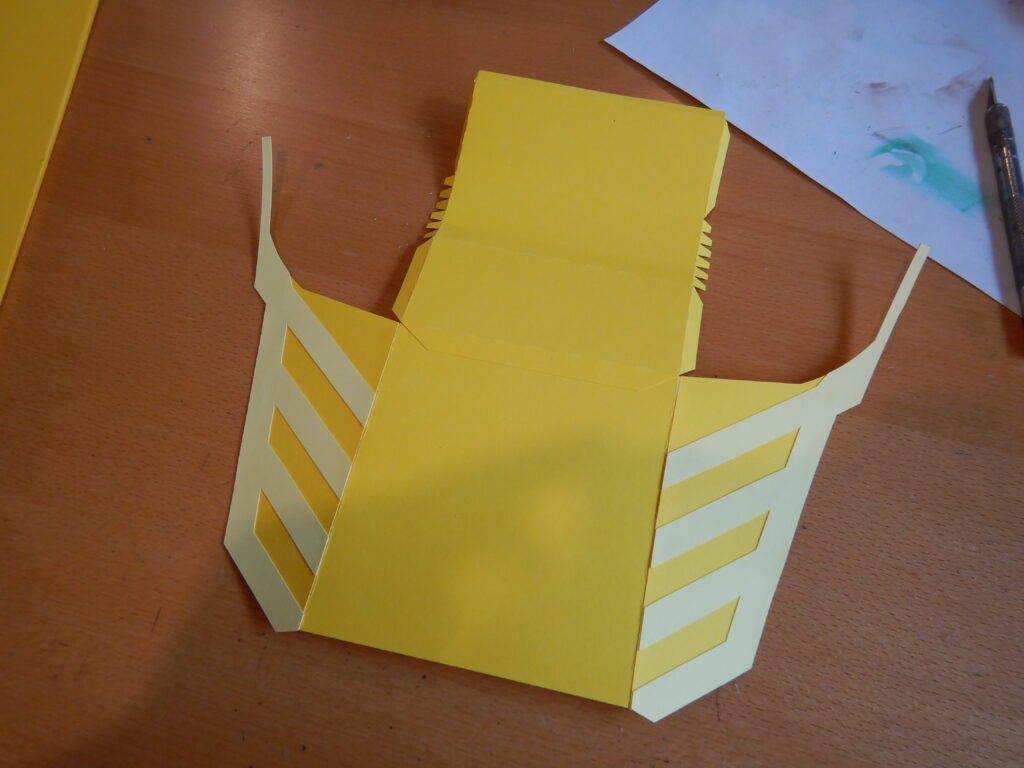
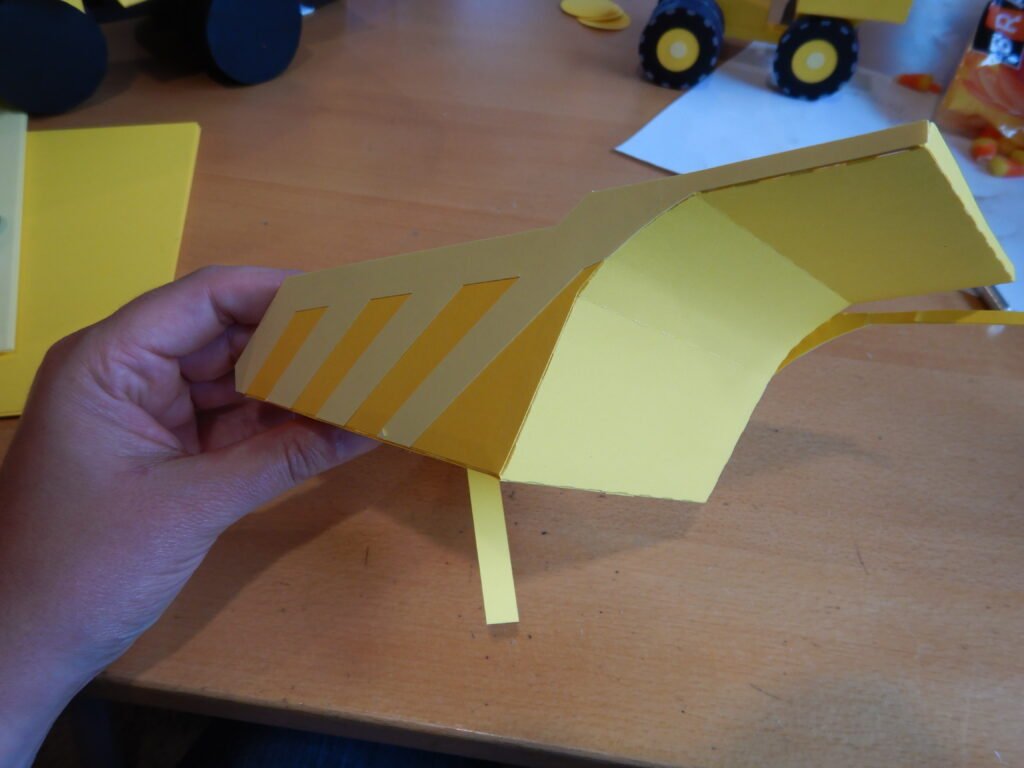
With them secure you can add the sides to the long panel.
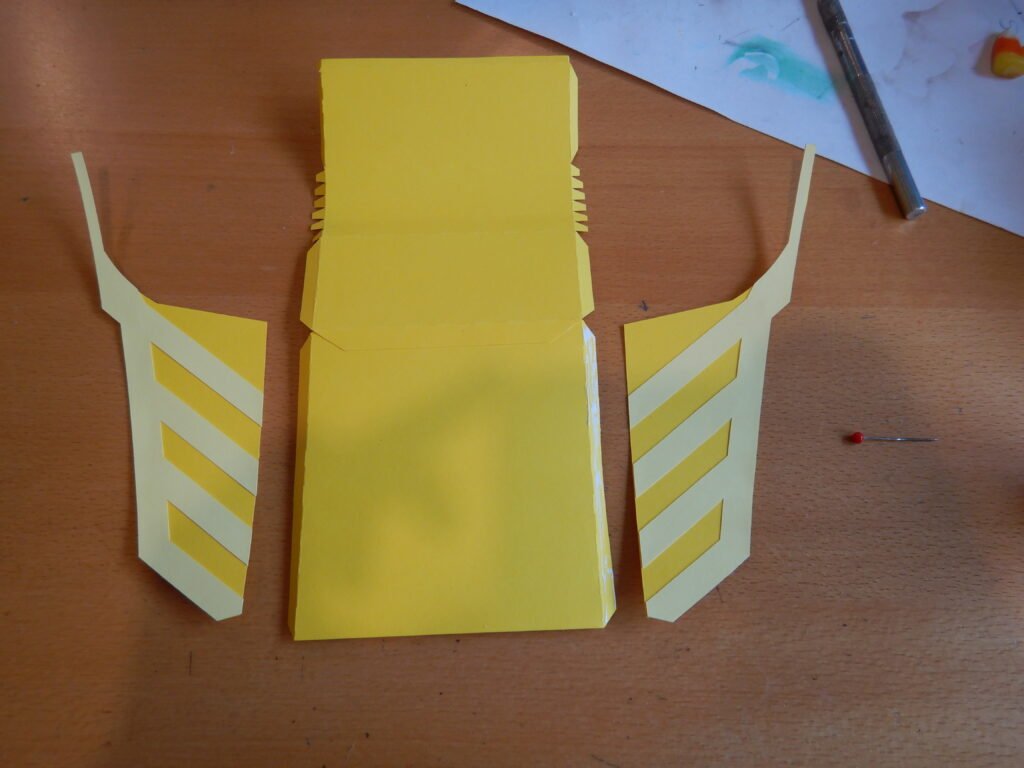
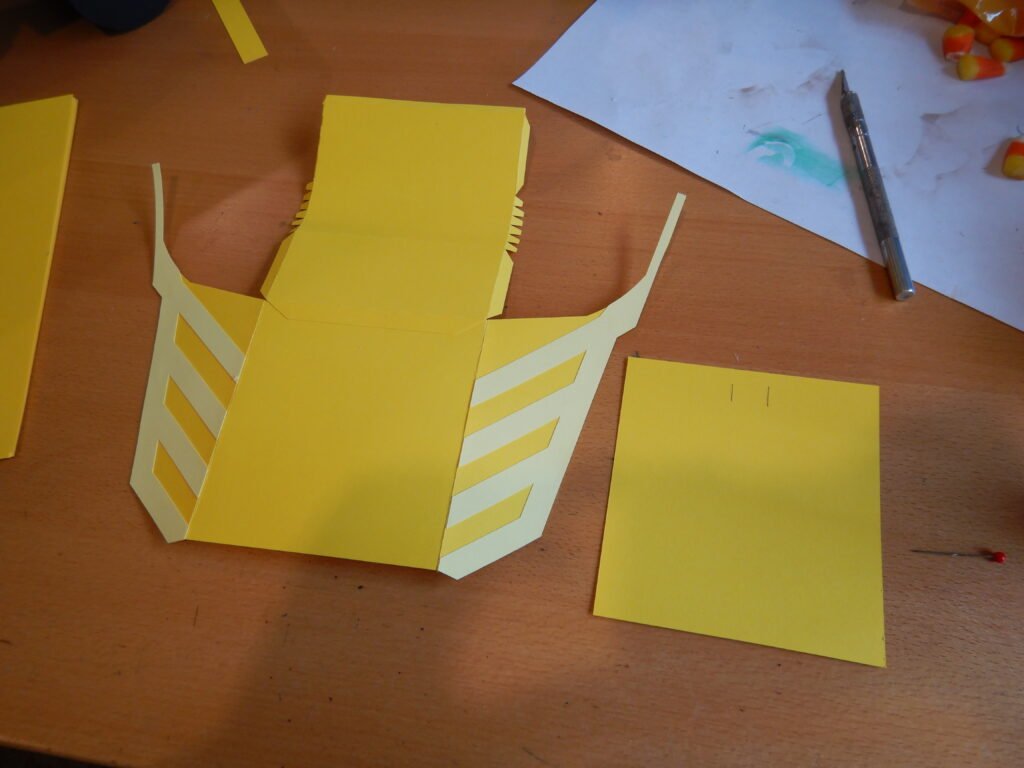
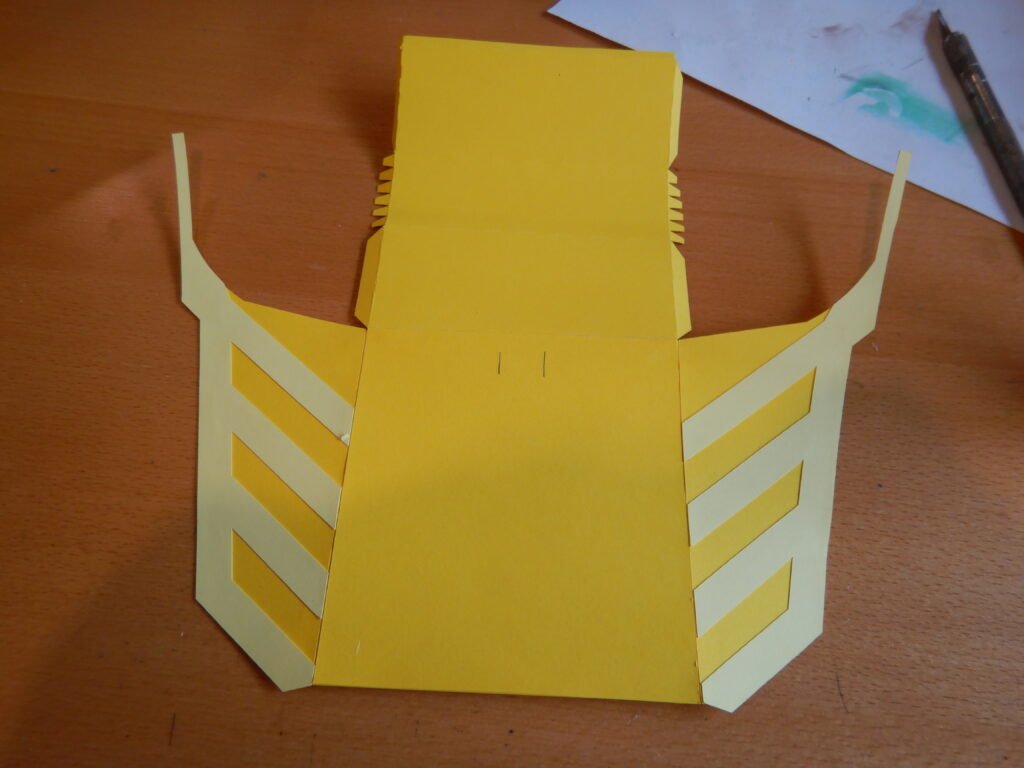
Before continuing to build the truck bed, attach the support panel to the bottom. This will give extra strength and cover the tab you used to connect the two panels. There are two cuts at one end of this support panel. Be sure to place this end near the fold line – away from the back of the truck bed. In the photos below we marked the lines with a pencil to help you see them better. These lines are for placing the hinge, which will allow the truck bed to move and dump.
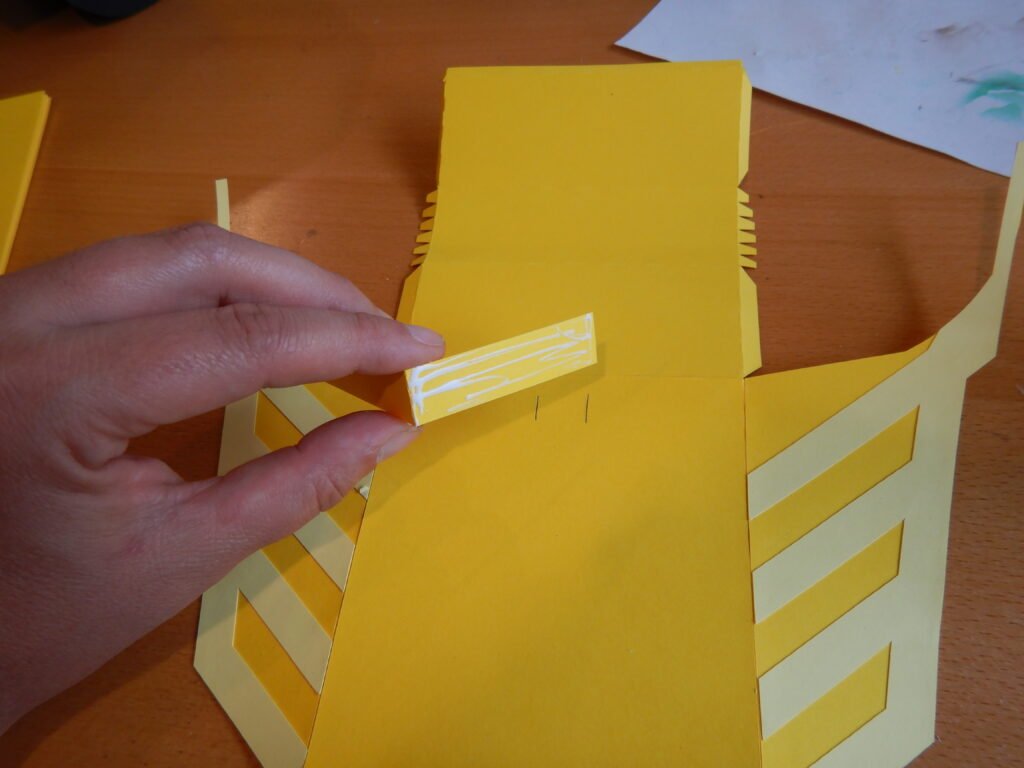
The hinge that allow the bed to move is a long panel that folds in the middle. Add glue one half of the hinge/ Place it between the two guide marks so that the fold is in the middle of the truck bed (see photos below).
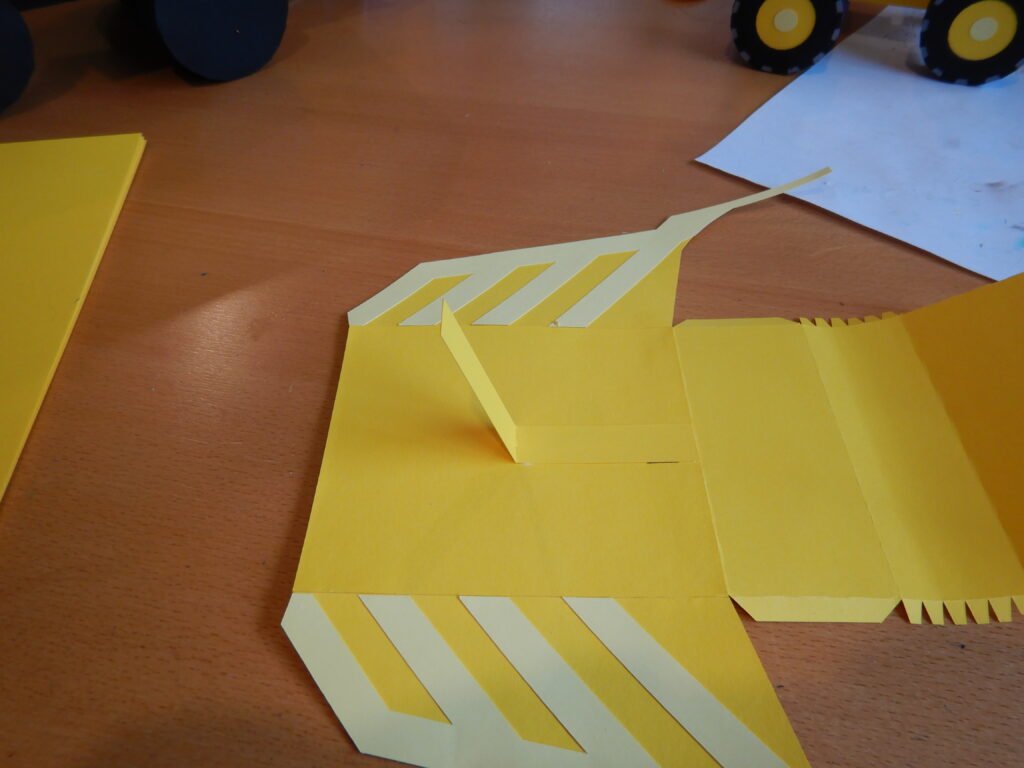
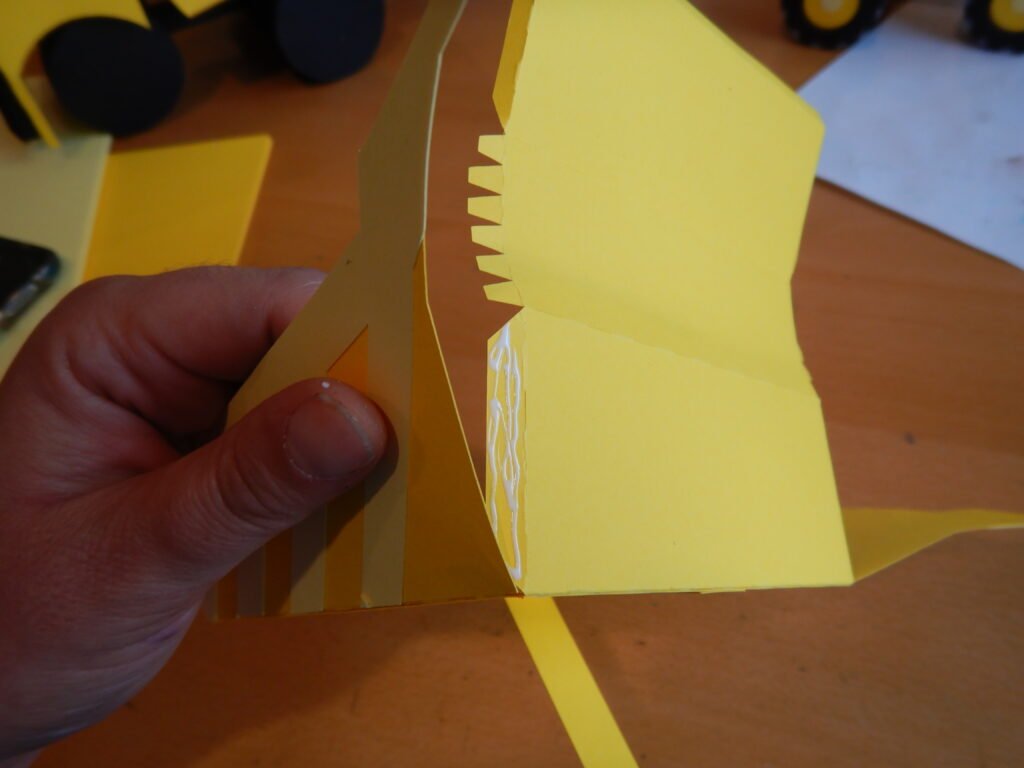
Now to continue finishing the truck bed. Add glue to the tabs, a few at a time on one side and glue them to the sides of the truck bed keeping the tabs on the inside so they don’t cover the decorative panels.
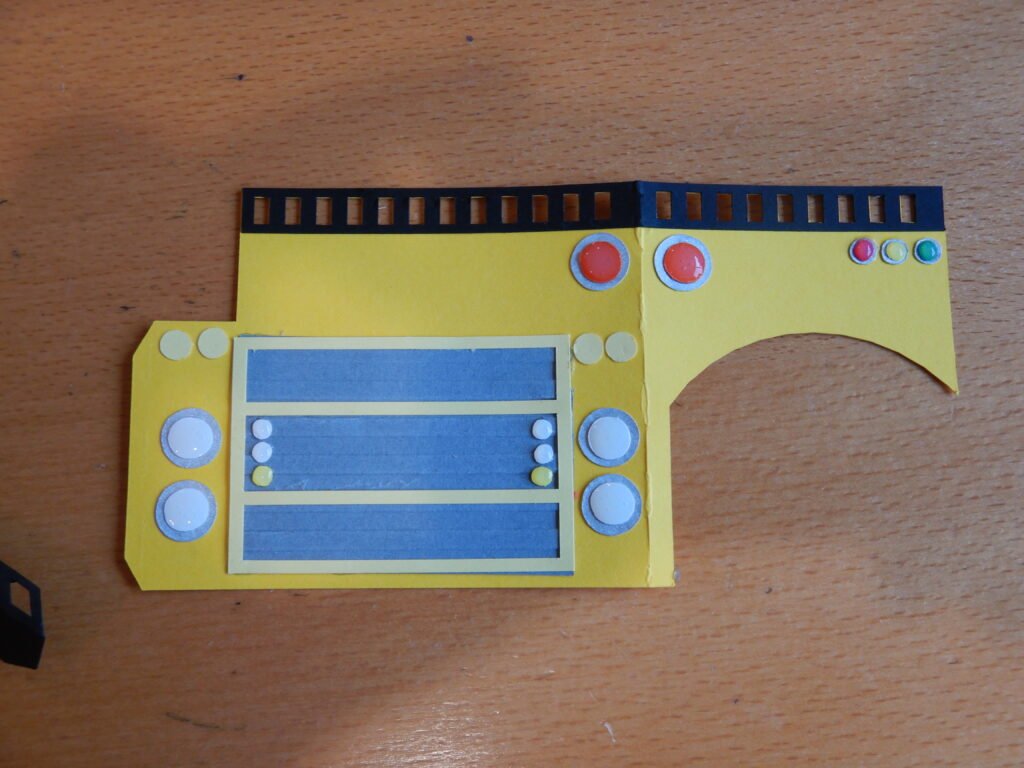
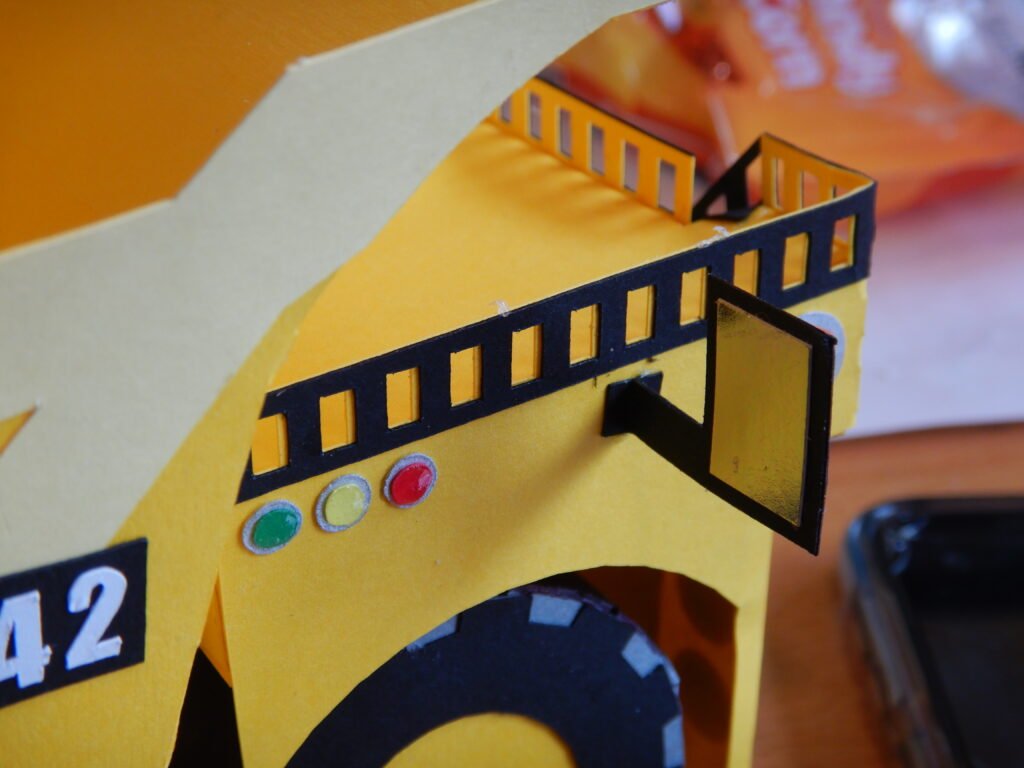
Dump Truck Cab Details
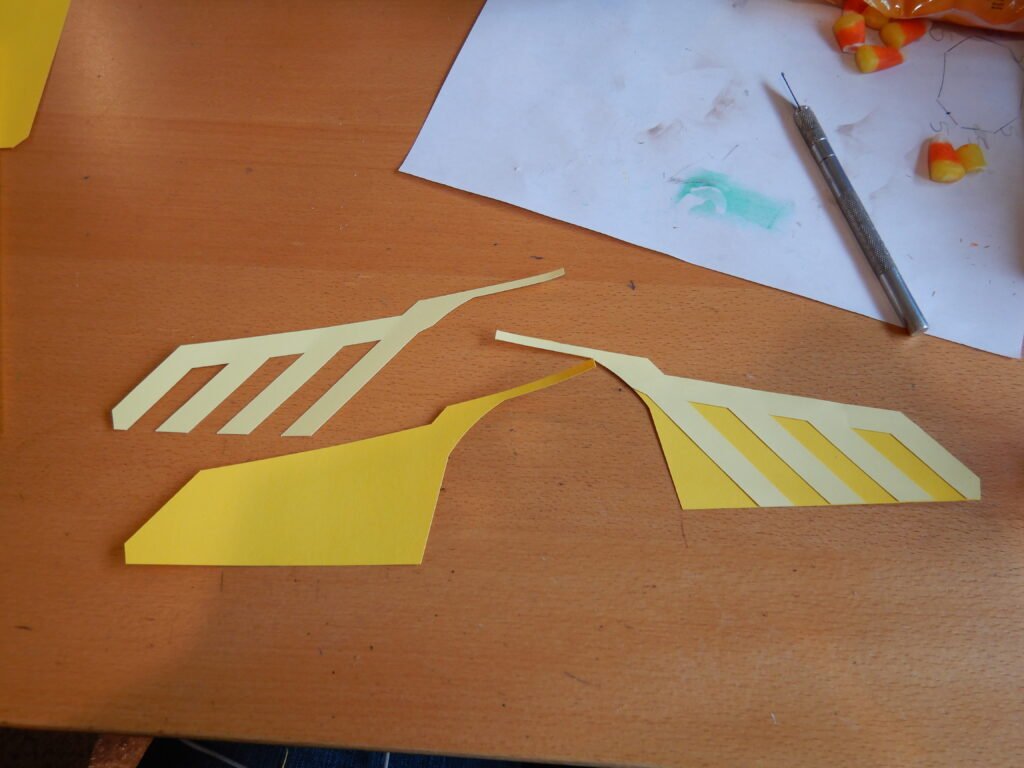
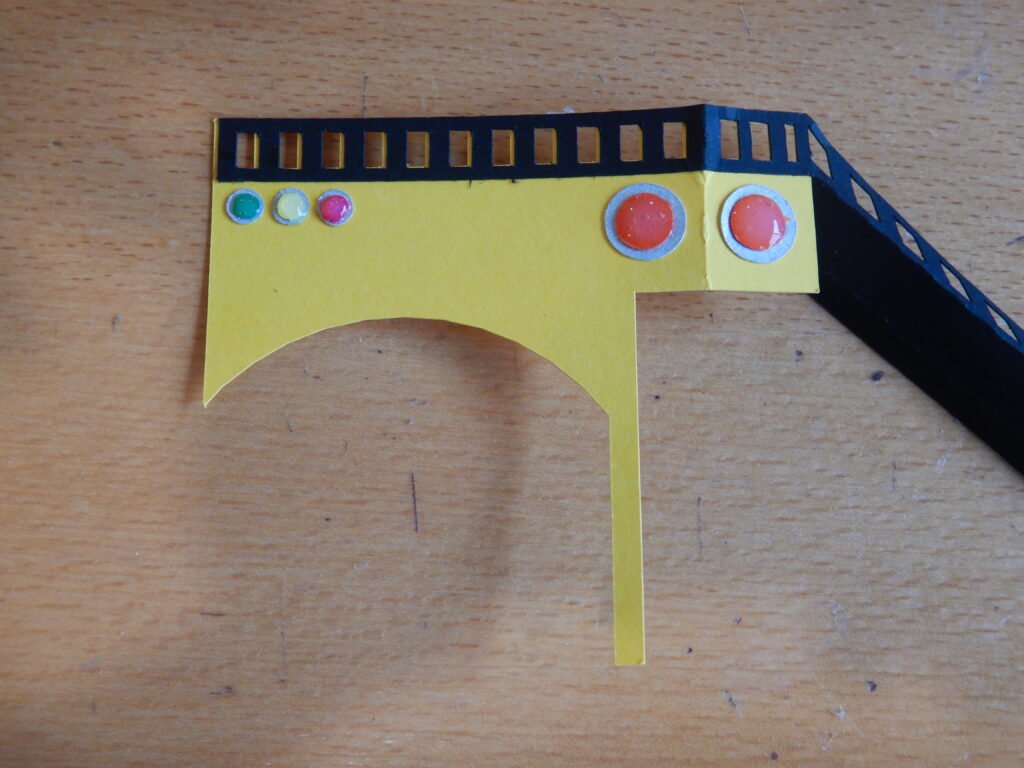
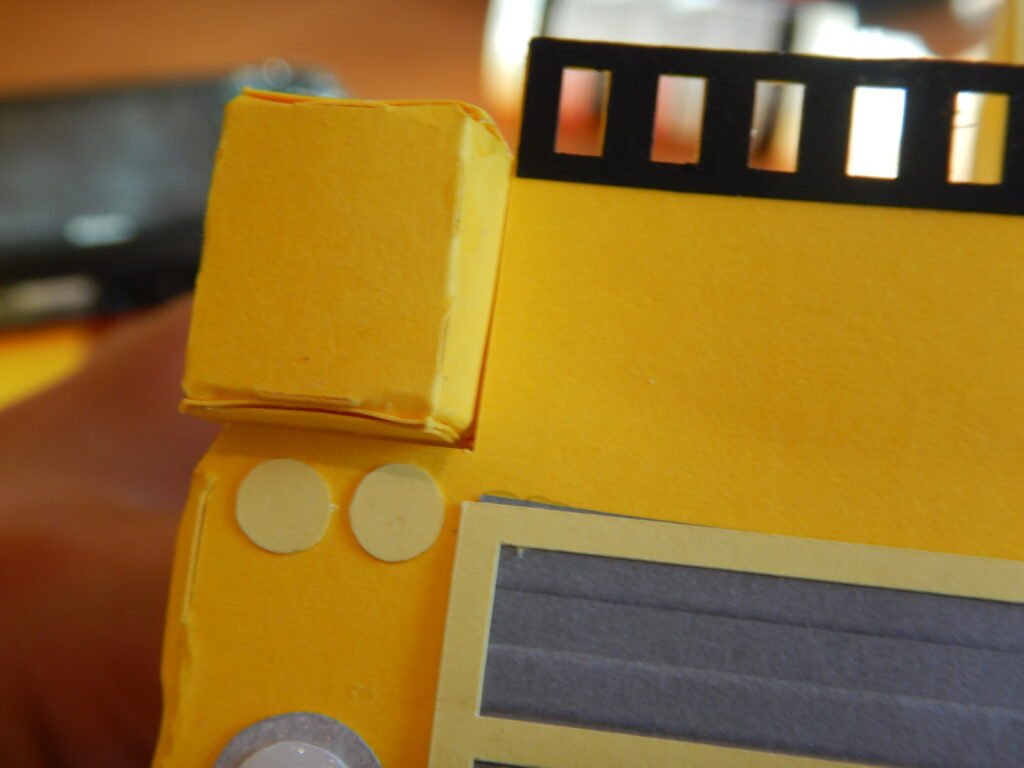
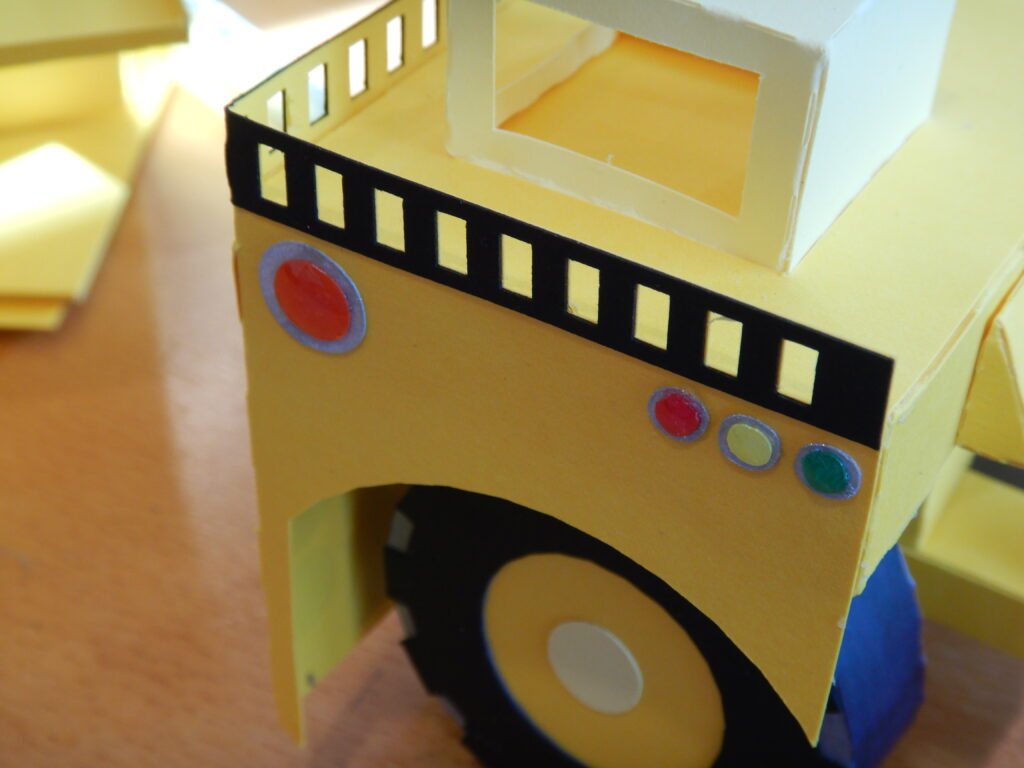
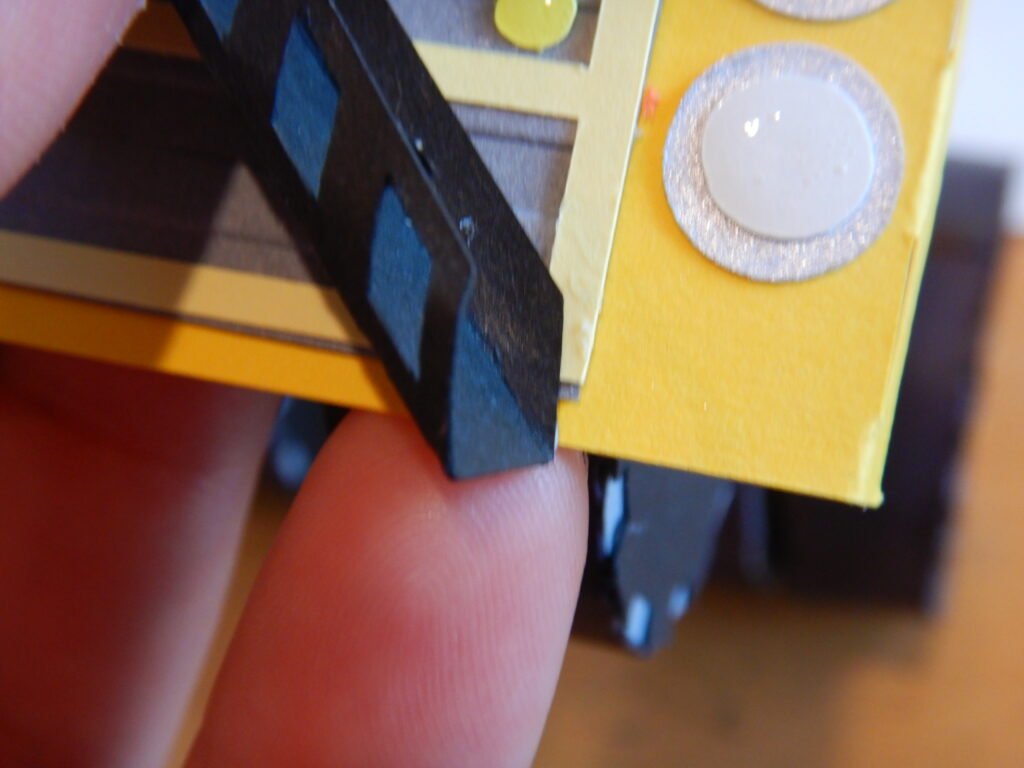
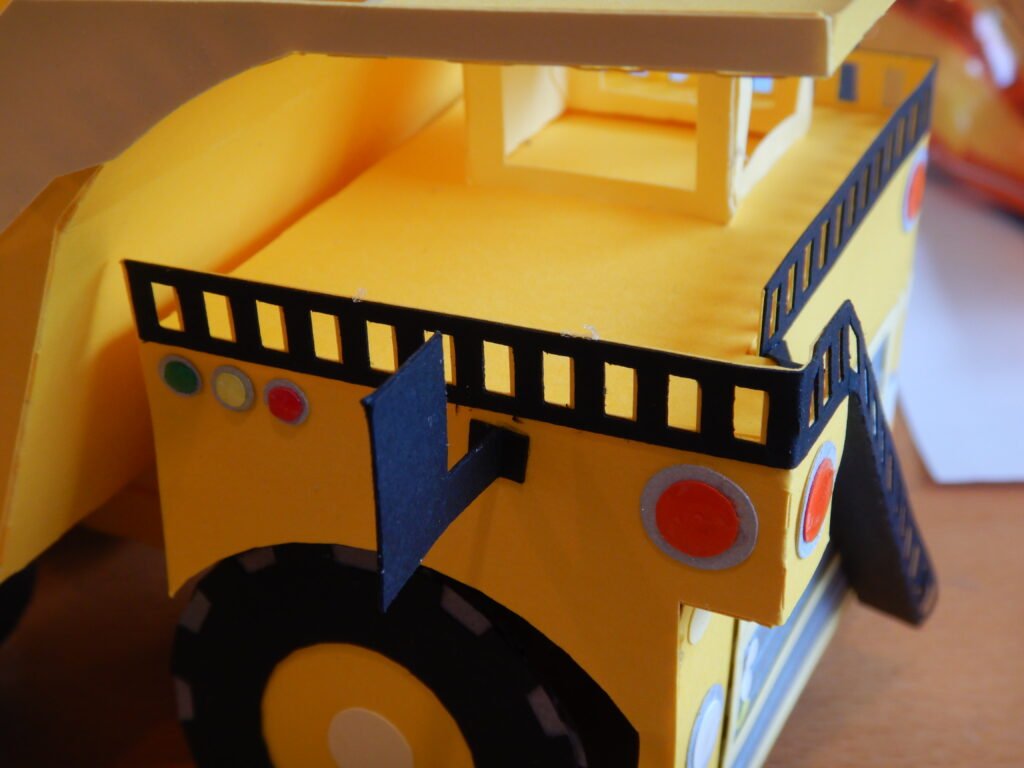
Then set aside the truck bed for a few minutes to work on the front decorative panels. Add the railing, radiator, and lights to the front and the side panels as shown.
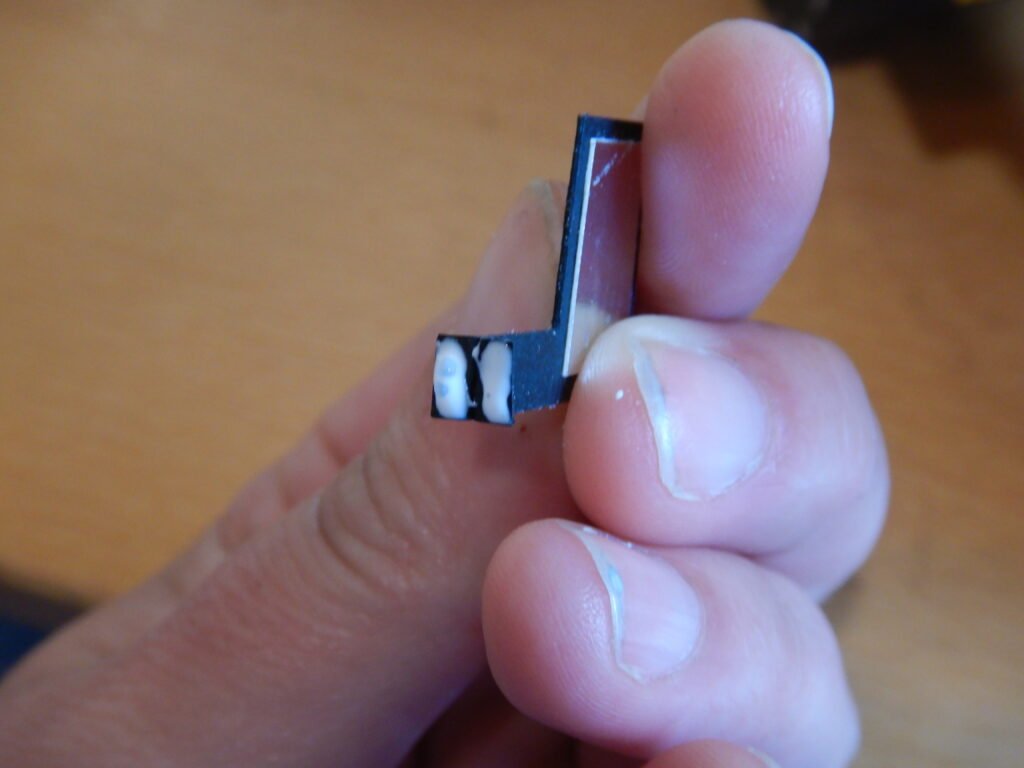
We also made the mirrors at this time. They are made of two identical pieces glued back to back, leaving the tabs at the end free. Make sure to have the tabs free so that they can be used to glue the mirrors to the truck later.
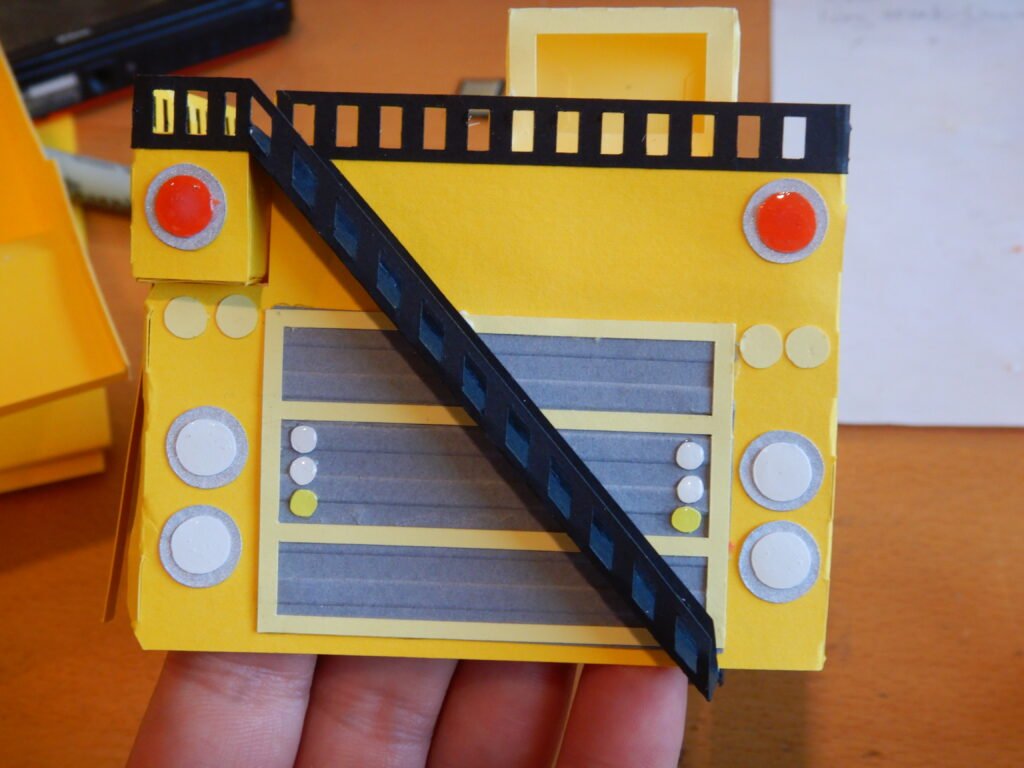
Decorating The Dump Truck
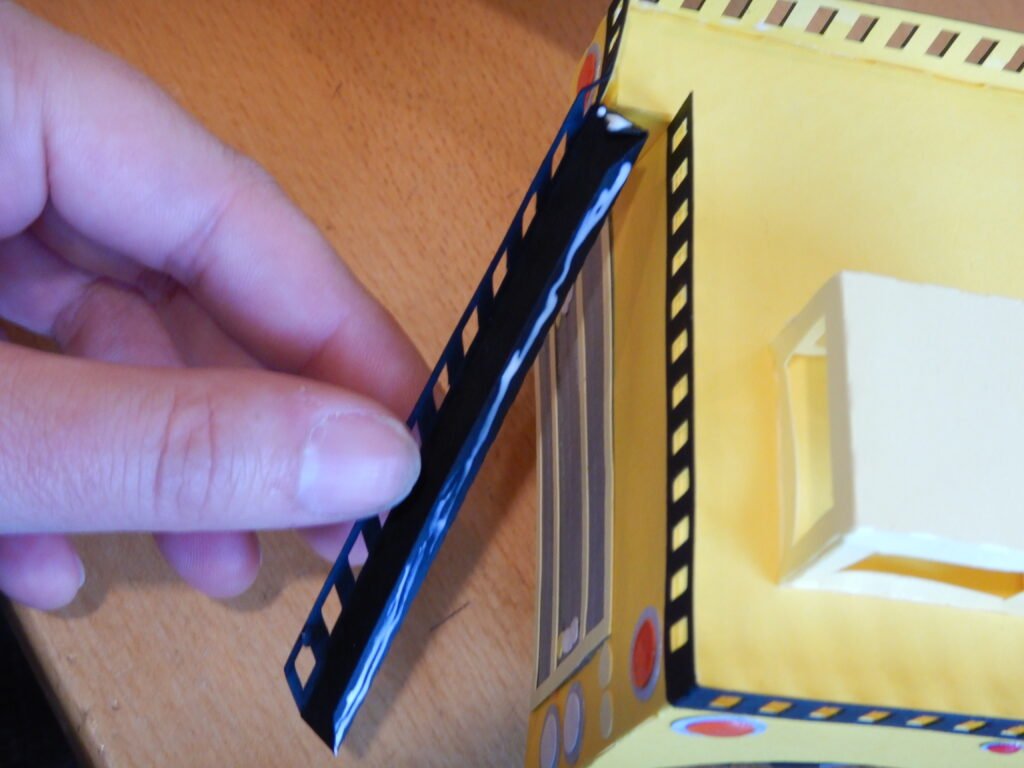
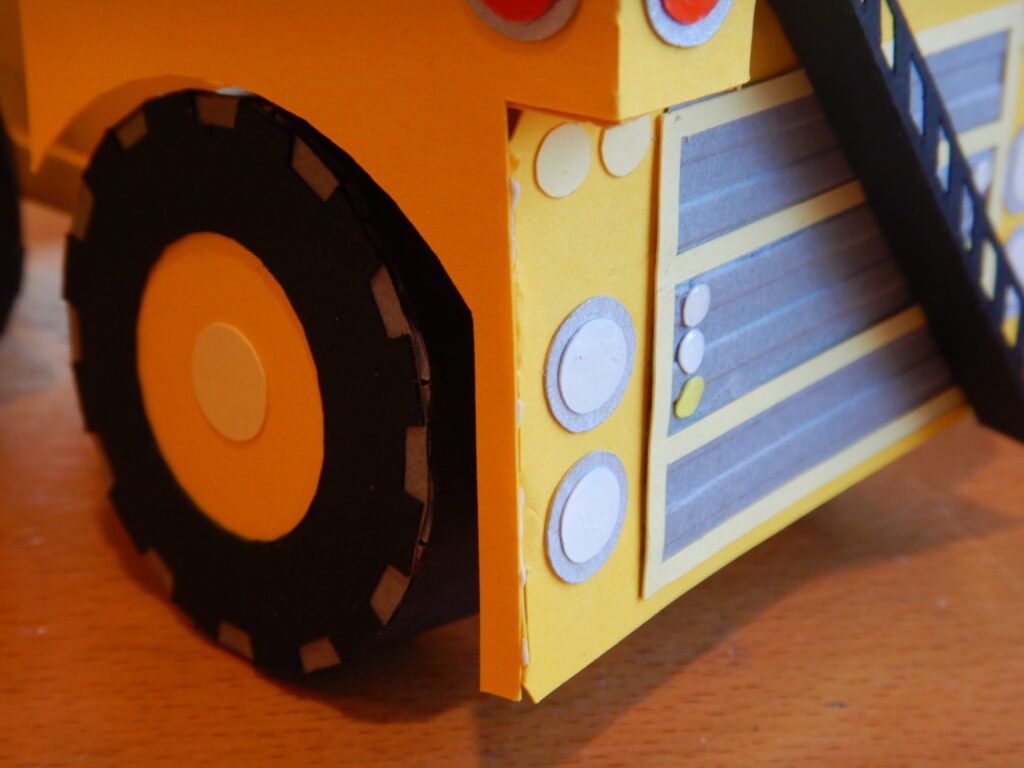
To attach the decorative panels to the truck, add glue to the front of the cab as shown. Be sure to get the notch in the top left of the panel snug into the little bump out at the top. While positioning your panel, ensure that the railing is above the edge of the cab box. You can also look from the back side and use the railing to help keep the decorative panel straight. Then add glue to the side to finish attaching the panel to the cab box.


The next step is to attach the decorative panel for the other side of the box. We added glue to both sides this time and placed the panel again using the bump out in the front and the railing to help get it straight. At this point don’t glue the vertical tab that connects the two panels.

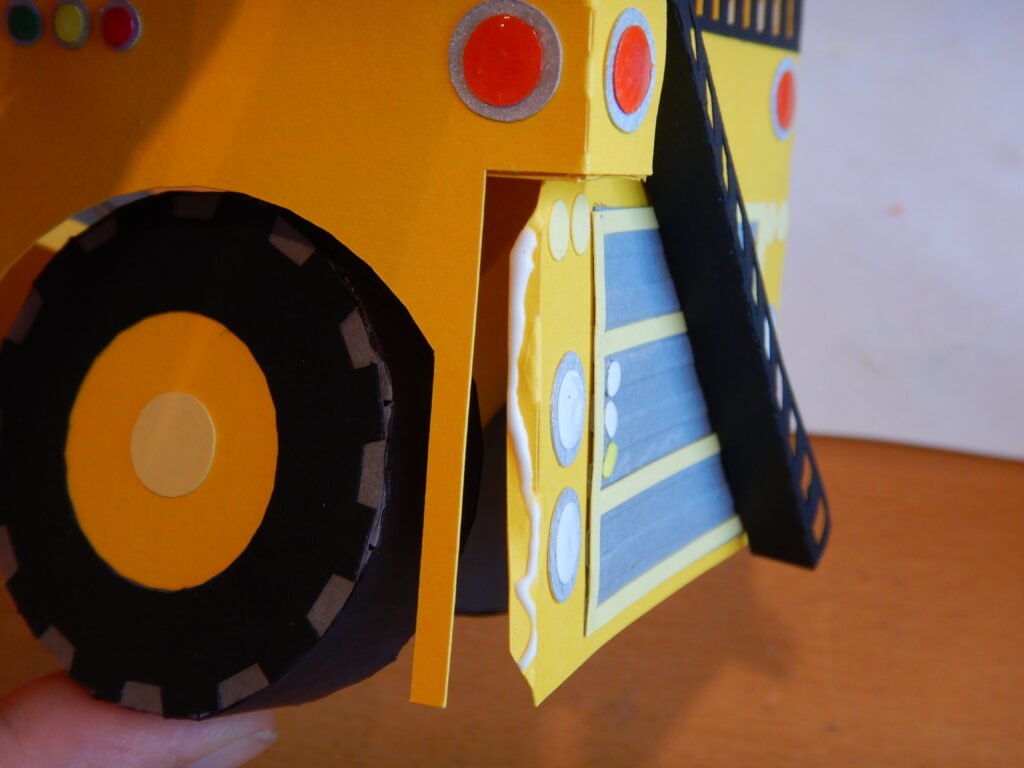
Once the panel is secure, you can attach the stairs. Add glue to the tab that will be against the front of the truck and position the ladder so the bottom of the ladder meets the bottom of the truck’s decorative panel.
Add glue to the tab on the side of the front decorative panel under the bump out and attach it to the other decorative panel. This will close off the corner under the bump out on the cab.
Attaching The Dump Truck Bed
To attach the truck bed to the truck, add glue to the hinge panel and attach to the angled wedge between the back tires.
The final step is to add the mirrors. We added glue to the tabs and attached it to the side of the truck cab just below the railing on each side.
Leave a Reply