Let’s be honest, paper can be pretty flat and unexciting sometimes. Scrapbooking, 3D paper project assembly, whatever it is, sometimes the paper you are using just needs a little more umph. Both 3D or 2D paper projects can benefit from some embellishment. Using one or more of these techniques will help you achieve a more dynamic effect and better finished product.
Below are a few of our favorite products and techniques that we use to elevate our paper projects.
***Note that this post contains affiliate links and we may receive compensation if you buy something using one of our links. ***
1. Foam Adhesive


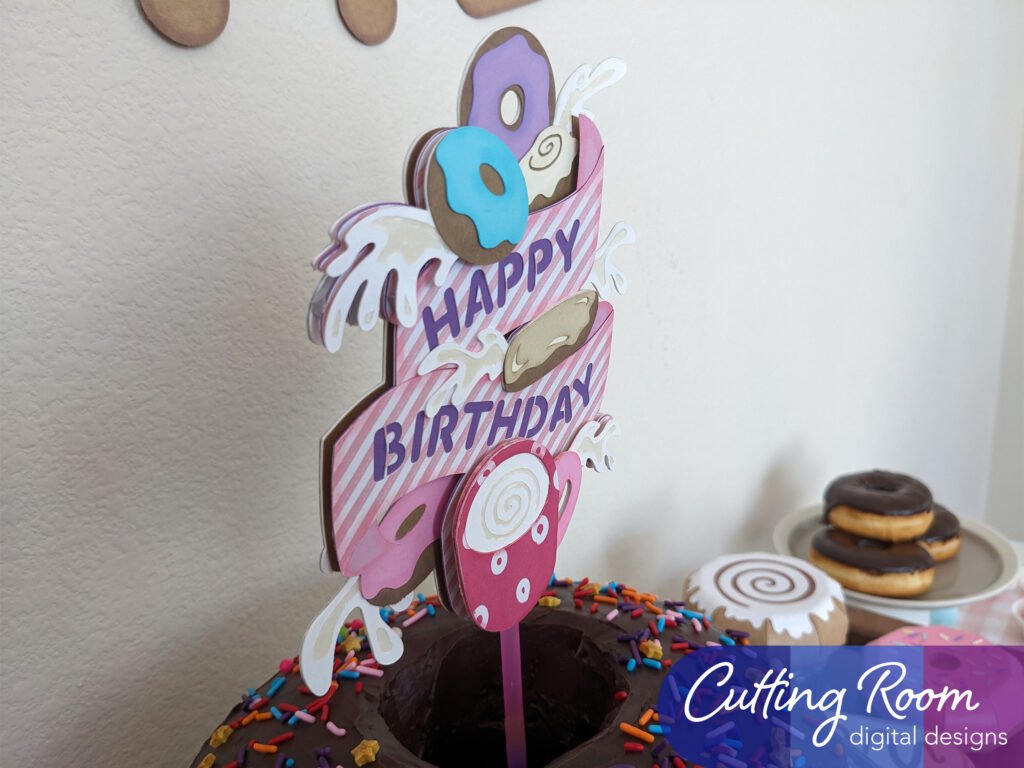
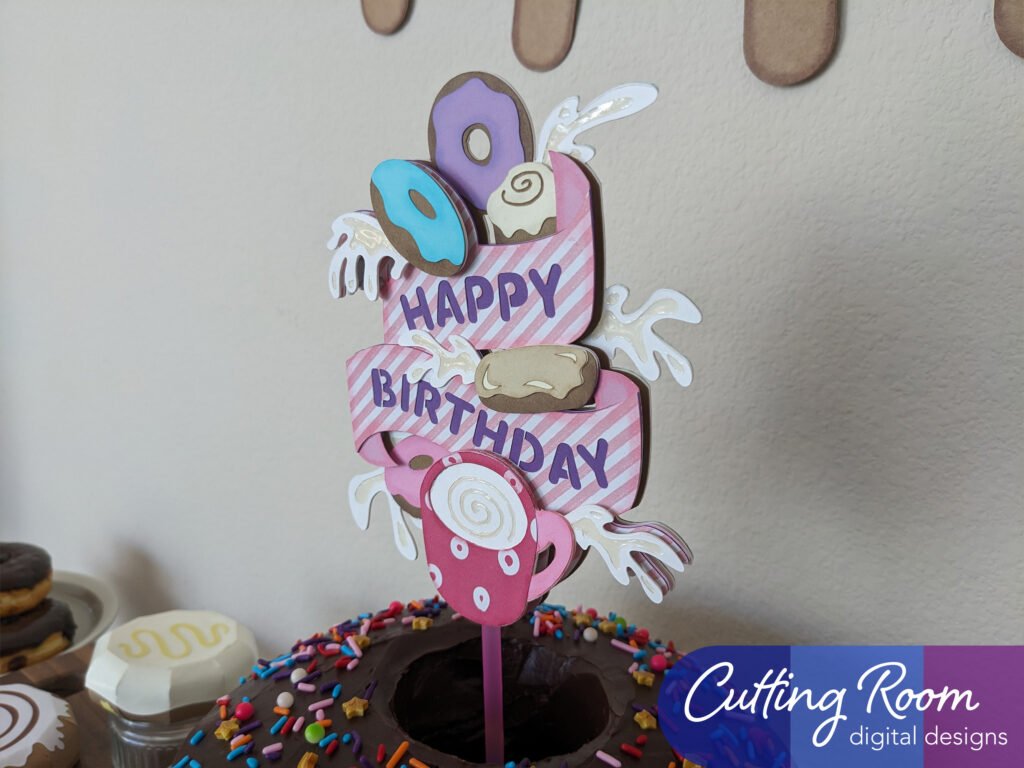
One way to easily get a more dimensional look to a 2D project is with foam dots or foam tape. You can purchase it in various thicknesses to change up the effect. It can also be easily cut into different shapes and sizes as needed. To use, apply foam adhesive to the back of your paper cutout before adhering it to your project. This will raise the cutouts off the surface, giving it a three-dimensional appearance. We prefer foam dots for smaller pieces and often cut them or the sheet they come in into smaller pieces as needed. Foam tape works great when working with larger pieces that will need a little more support.
You can see how we used foam dots to provide some dimension to our donut cake topper.
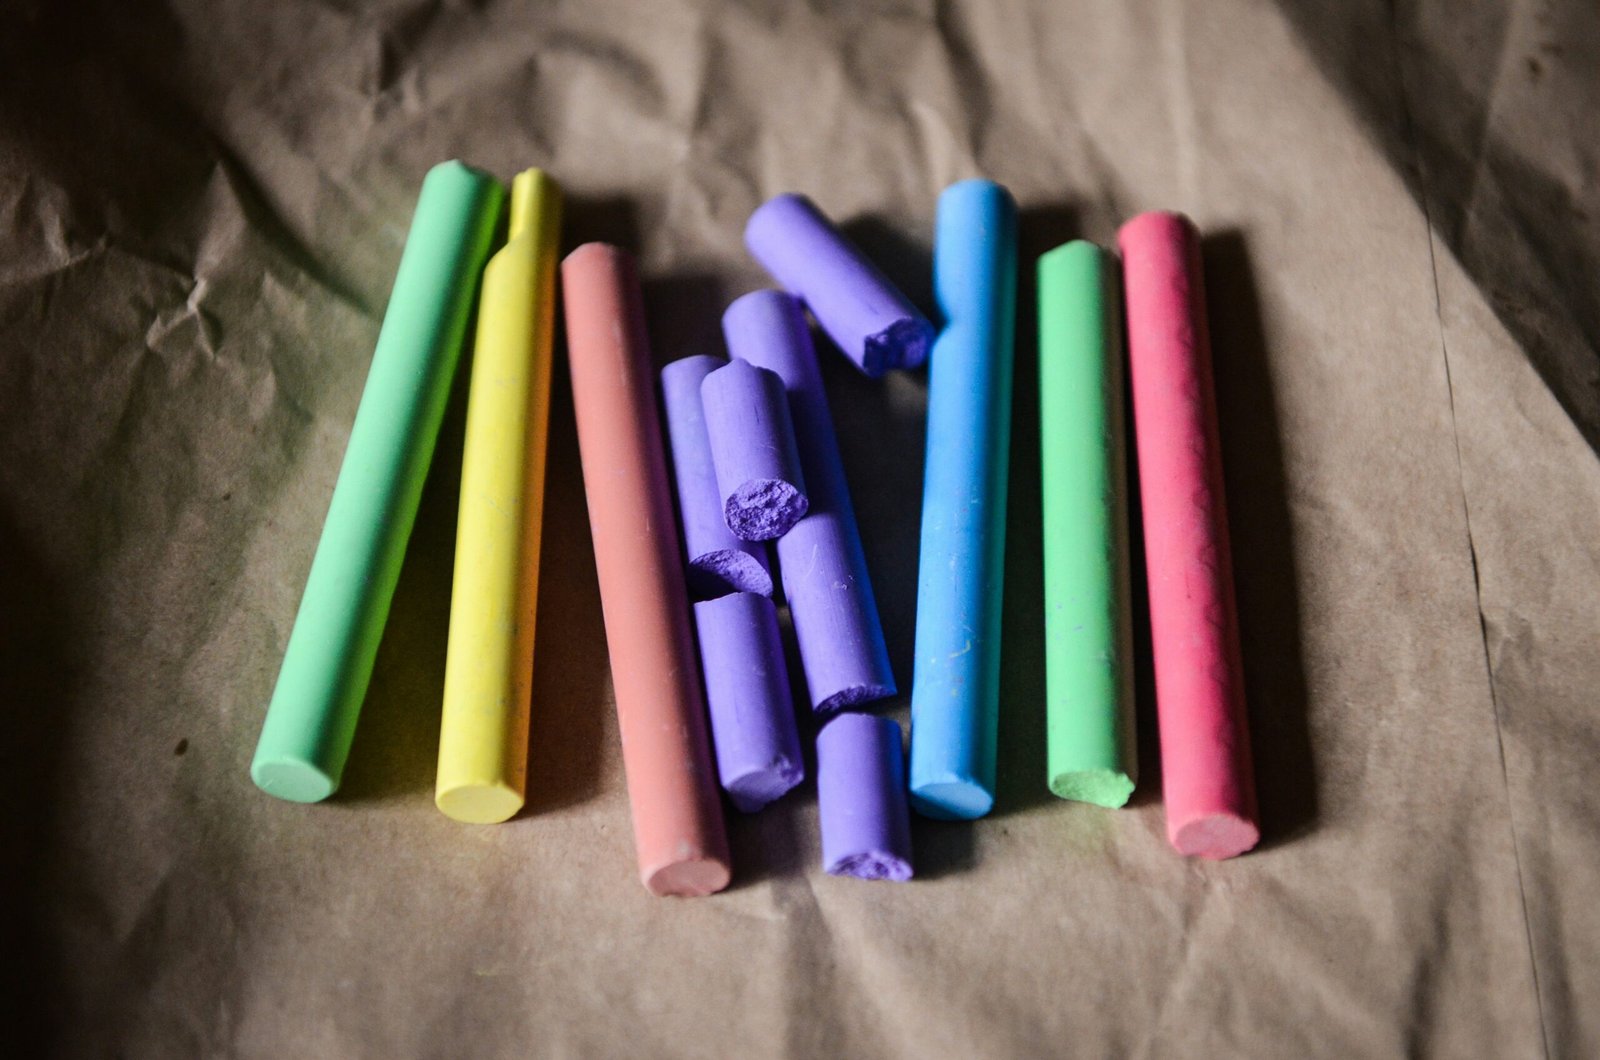
2. Chalking

We LOVE Pebbles Chalk! It comes in a variety of color options an dis so fun for adding some extra color to the edges of your cuts. We like to add a slightly darker color around each piece. Once done it gives a slightly shadowed effect, providing for a small trick of the eye and giving your piece a 3D effect without the extra depth.
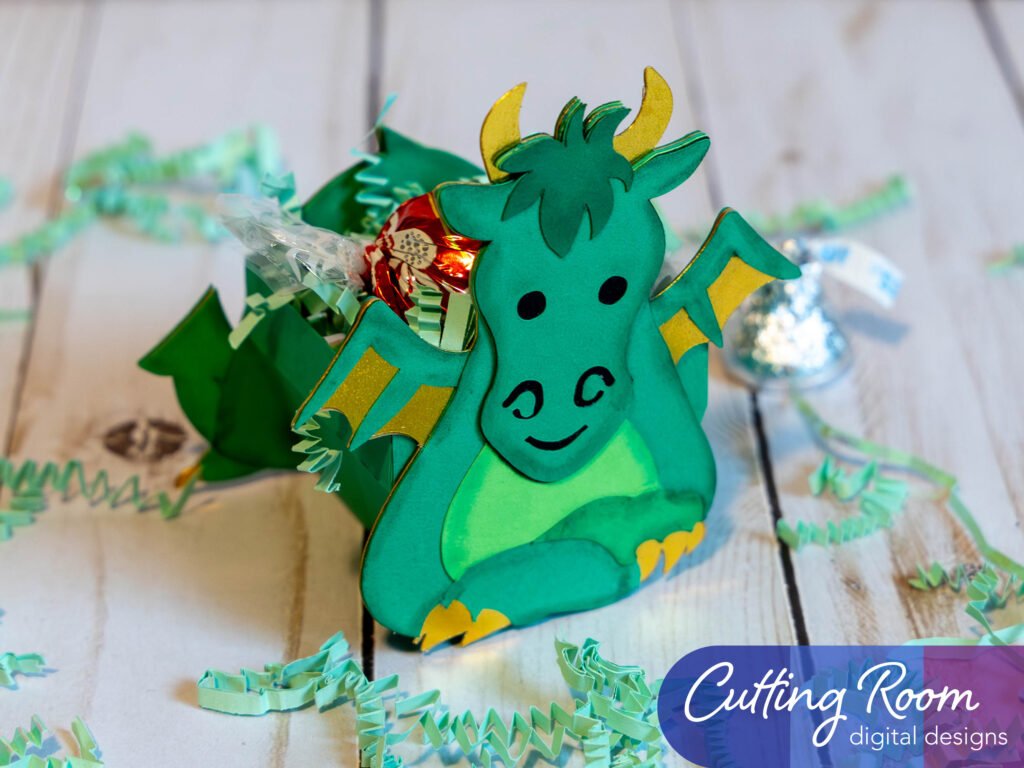
The ‘shadow effect’ on our little dragon file below is from chalk. It’s subtle, but really does add to the look of the final project.
3. Paper Embossing
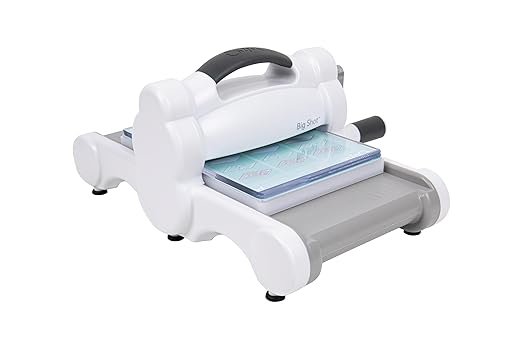

Embossing is a technique that can add texture and dimension to your paper projects. Embossing raises the surface of the paper, providing some added detail and texture otherwise not there. To emboss your paper, you will need an embossing machine. Simply run your paper through the embossing machine with your chosen embossing folder. For added detail, try adding some ink to the embossed pattern (more on that later). Embossing machines are manual machines, not electric and can be a little expensive but ours at least has lasted for a very long time. Thankfully the embossing folders are pretty reasonable so after purchasing the machine you can build a pretty good library without too much financial output.
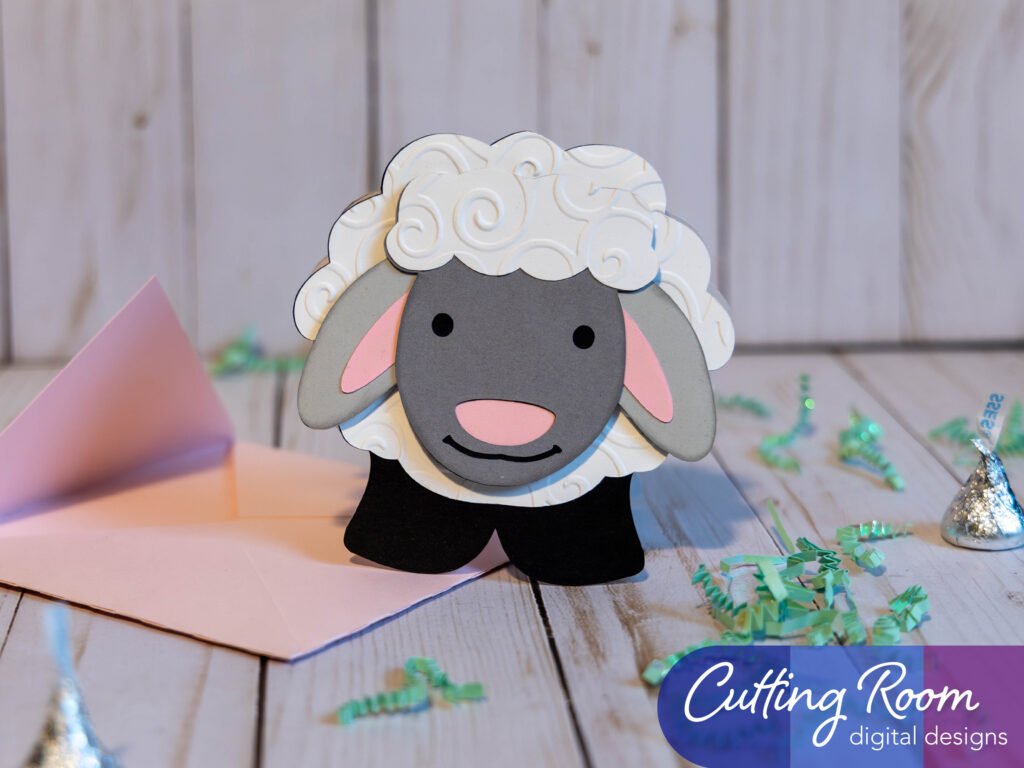
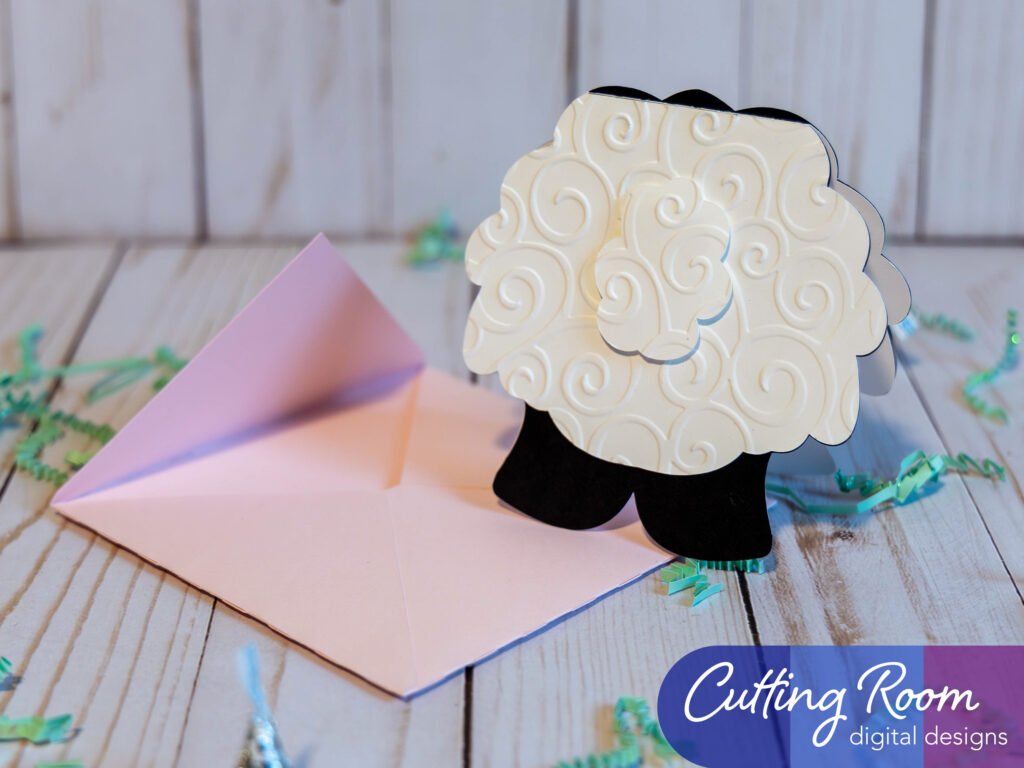
Here you can see the swirl embossing effect we used on our sheep card.
4. Paper Debossing


Debossing is another technique that adds texture and dimension to your projects. Debossing is the opposite of embossing, it depresses the paper to give it the pattern and texture. To deboss, you will need an embossing embossing tool for your Cricut. Only the Silhouette Curio can deboss to our knowledge, Silhouette Cameo does not have this feature. To deboss your paper, load the debossing tool into your machine and tell it to emboss the pattern you desire. These patterns are available for purchase online and we are working to add some to our shop in the future as well.
We used the same pattern and ran our paper though our cutting machine for the wood effect seen below. The first pass was done with a pen and the second we used the debossing tool. In person, at a glance, it can almost be believed to be real wood.


5. Inking

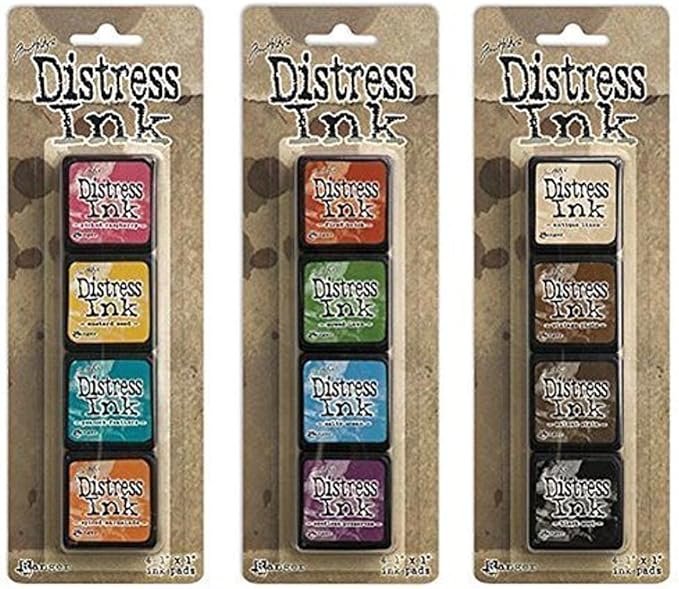
There are two ways to ink your project. One way involves adding ink to the edges of your cuts, the other involves adding ink to the entire piece of paper. If you are interested in inking just the edges, we recommend something like the Color Petal pads seen above. The ink pad is a little softer and they have a huge variety of colors allowing you to match and customize your colors. If you are looking for a more distressed look on your paper, using something like the Tim Holtz Distress Ink provides a great effect. Both these can be used to add a touch of color to the raised edges of an embossed piece.
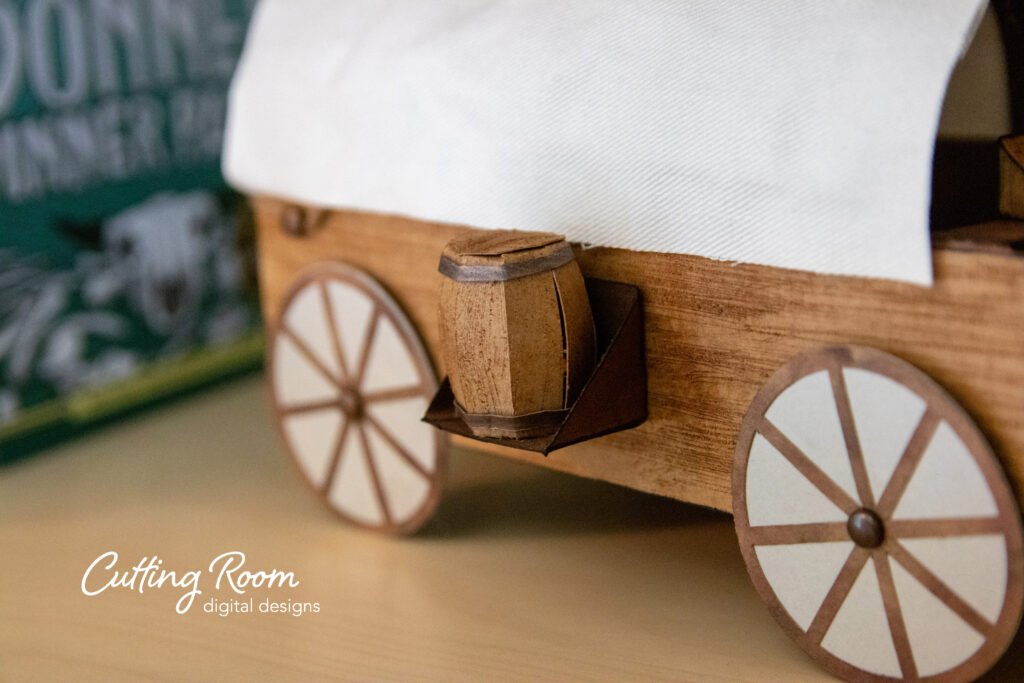
Below you can see how we used ink in different ways. we used ink around the edges of the cuts when assembling our racoon belly box. To get a wood effect on our Conestoga wagon, we used some sand paper to rough up the paper then followed with some distress ink. On the strawberries and their box, you can see how we lightly brushed an ink pad over the embossing to bring out the texture and detail.


More To Come
Using some simple techniques and supplies on your 3D and 2D paper projects, you can elevate your artwork and make it more visually appealing. Try experimenting with these techniques and products to unleash your creativity and bring your paper projects to a new level.
This is not an exhaustive list of the ways you can embellish paper cuts to get a better and more dynamic look. Play around with these ideas and any others you can think of. We’ll have more tips and tricks in the future as well.
***Note that this post contains affiliate links and we may receive compensation if you buy something using one of our links. ***