We used several products and supplies in the making of our sprinkle donut box. Below is a list of what we used.
- S’more Gift Box – Digital Download SVG
- Recollections cardstock
- Art Glitter Glue
- Mod Podge Gloss Sealer
- Electric Cutting Machine: Cricut or Silhouette
***Note that this post contains affiliate links and we may receive compensation if you buy something using one of our links. ***
A Note About Our Donut Box
The top and bottom of the sprinkle donut box are assembled the same. The only difference between the two is the bottom is a little smaller so the lid can fit over it. And the top has a decorative panel that gives it the classic iced donut look.
Below we have the box bottom parts in brown and the icing/top in pink. The small pieces that will be used to make the ‘hole’ in the top of the donut are pictured on the right side. The box bottom has two solid panels to close off the bottom.

Assembling The Lid And Base
We used two long panels to make the sides for the lid (and for the bottom). We encouraged the panels to curve, then added glue to the tabs and attached to the neighbor, creating a curved surface. Once long panels had this complete, we attached them end to end to create a circular shape.


Box Bottom Note
For the box bottom: once we had this circular shape, we folded all the tabs in and placed one of the large flat panels to close off the box bottom. Make sure to press the edges of the panel into the fold of the tabs to get a secure and snug fit. Once the panel is secured, turn the lid over and add glue. Then place the other panel to cover the exposed tabs and reinforce the bottom of the box.


Finishing The Donut Box Lid
Next, we assembled the “hole” of the donut. Using the hole panel, curve it around and attach the tab to hold the rounded shape. Once this is secure, you can fold in the tabs on the narrow end, add glue, and place the small round panel to cover the tabs. We then folded the tabs on the larger end outward, added glue, and placed the top panel with a hole in the center over the shape. This secures the ‘hole’ of the donut in the center o the top panel.


Once we had this panel assembled, we took the ring we assembled using the lid side panels and folded all the tabs in and placed the assembled panel in the center to close off the box top. Make sure to press the edges of the panel into the fold of the tabs to get a secure and snug fit. Once the panel is secured, turn the lid over and add glue. Place the other panel with the hole in the center on the lid of the donut. This will cover the exposed tabs and reinforce the top of the box.


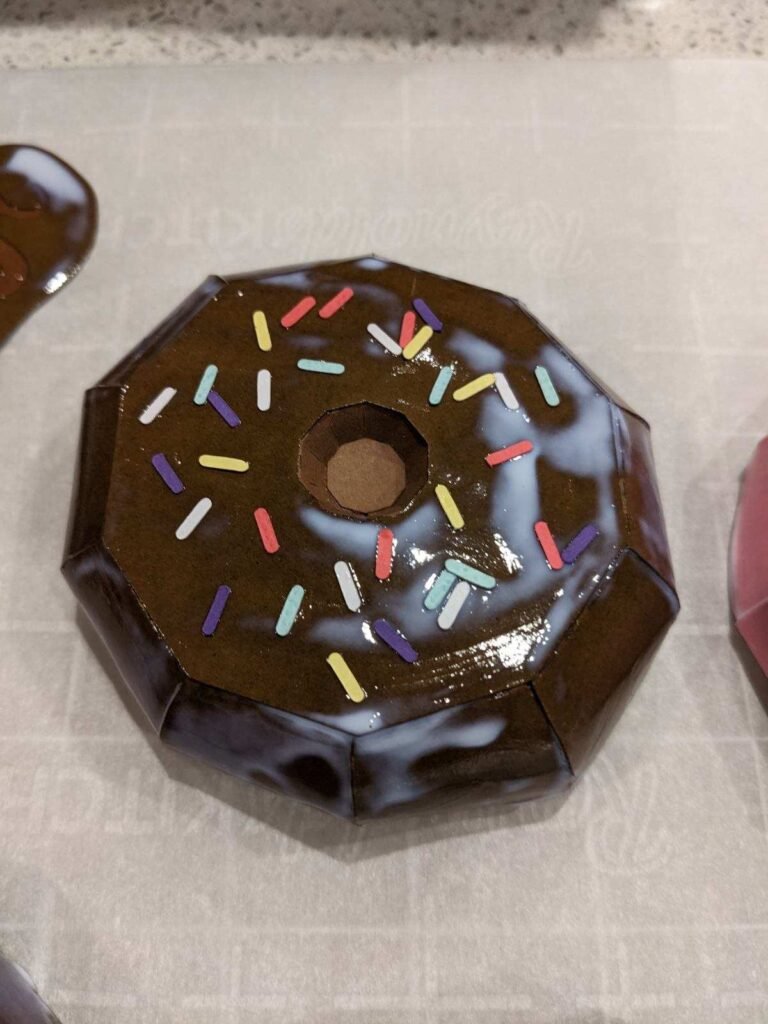
Decorating The Donut Box
If desired the file includes sprinkles for the lid. We chose to wait and do another step first. To give the donut icing a shiny look, we added glossy mod podge to the entire lid (outside only). After brushing on the mod podge, we placed the sprinkles using the mod podge as the glue to attach them. We let the lid sit overnight to dry.