Materials Used
We used several products and supplies in the making of our Christmas Village Gazebo. Below is a list of what we used.
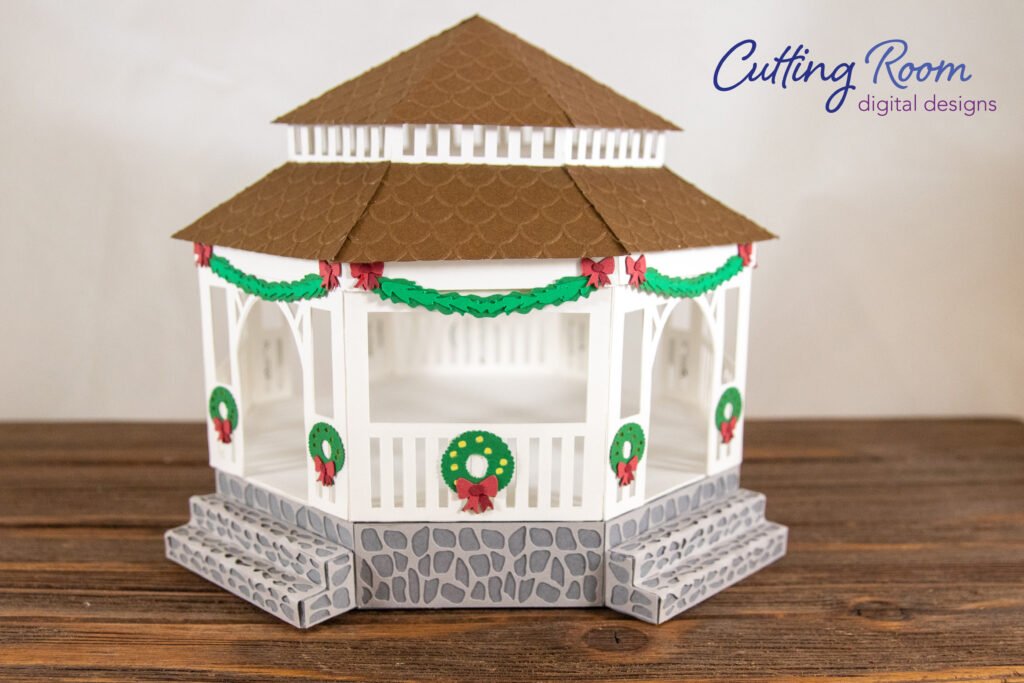
- Christmas Village – Gazebo Holiday Decoration – Digital Download
- Recollections cardstock
- Scales Embossing Folder
- Gold Cardstock
- Art Glitter Glue
- Electric Cutting Machine – Cricut or Silhouette
***Note that this post contains affiliate links and we may receive compensation if you buy something using one of our links. ***
This Christmas Gazebo has some small pieces so settle in with a good movie and take your time. The payoff is AMAZING!!!! We used the ‘intricate cut’ setting on our Cricut with a new mat and good blade. Everything cut beautifully.
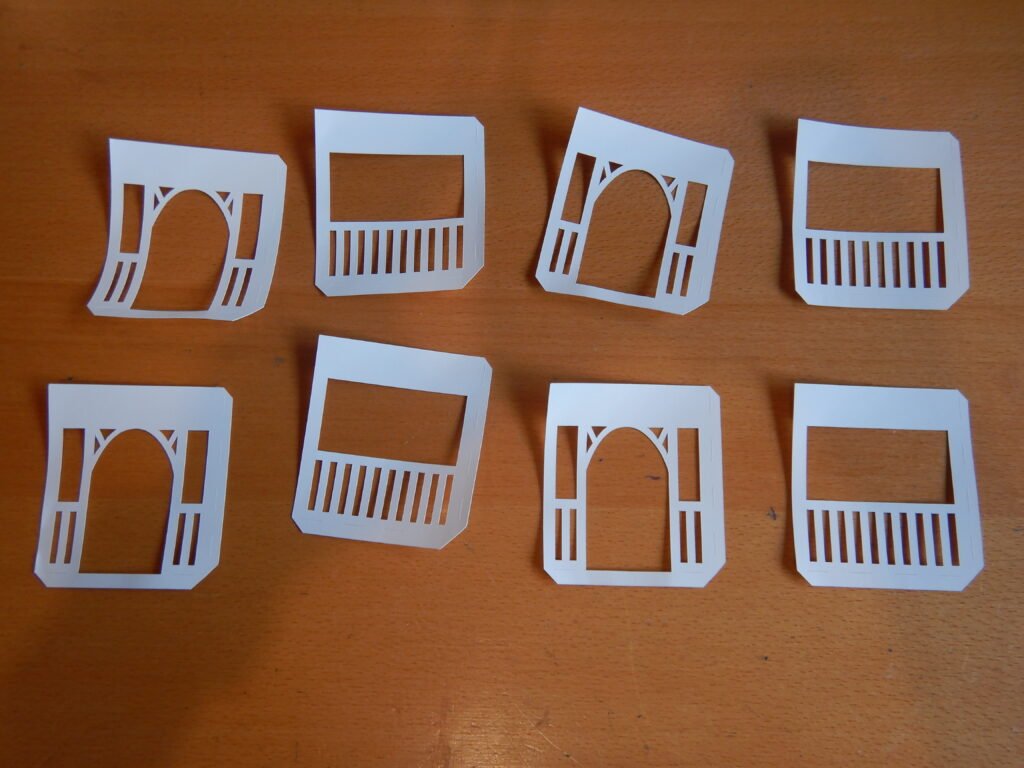
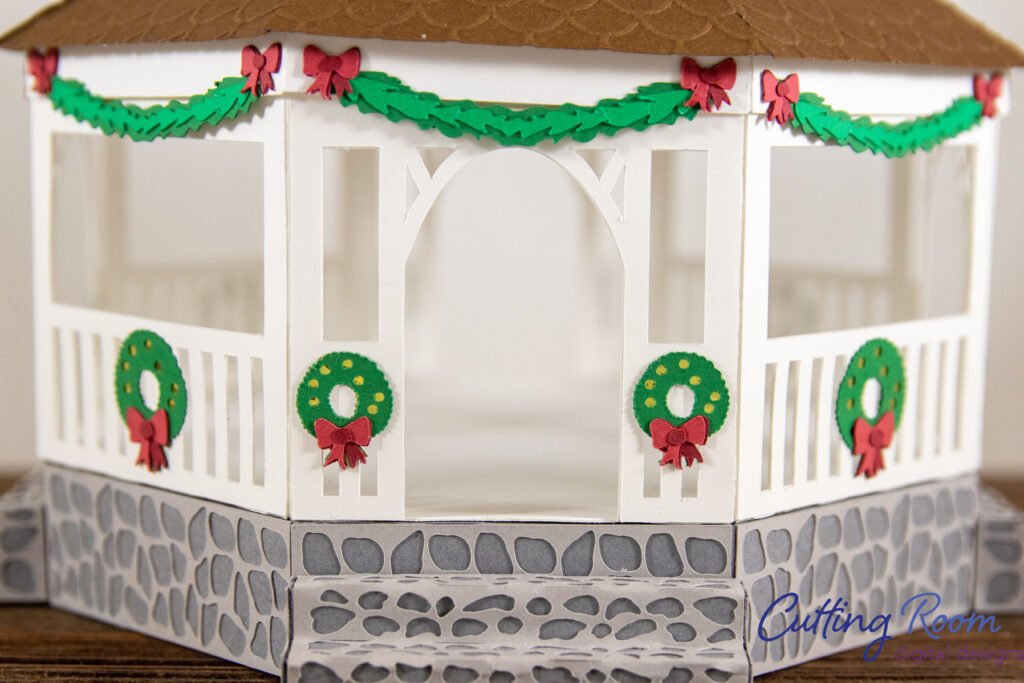
The Gazebo Sides
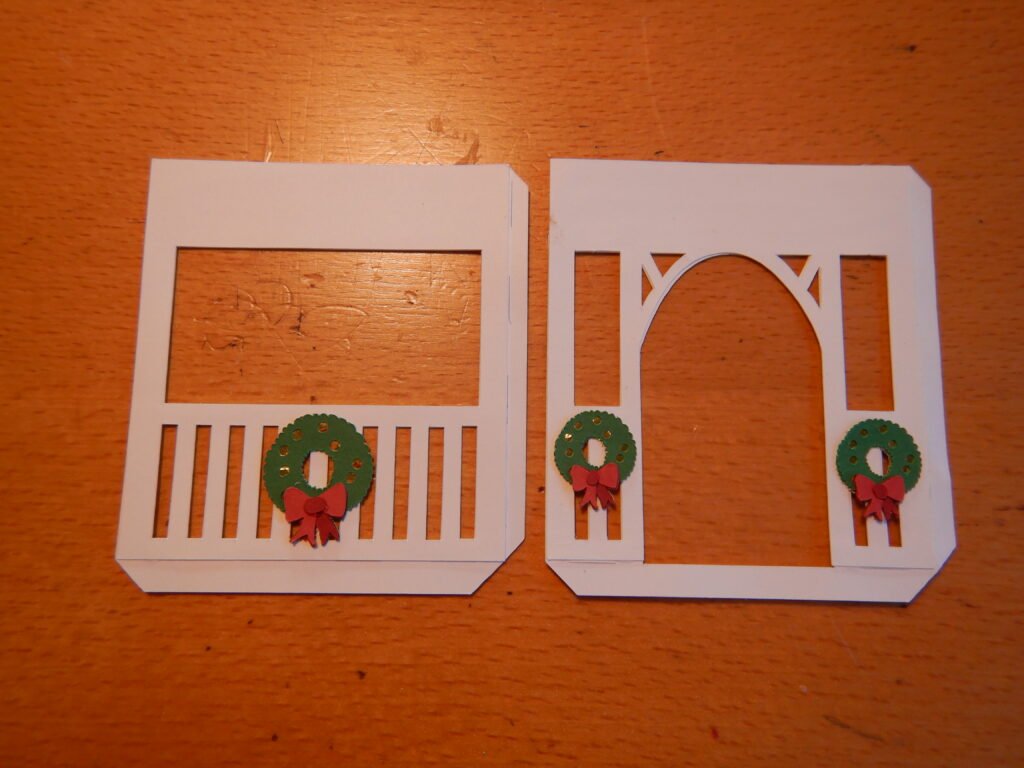
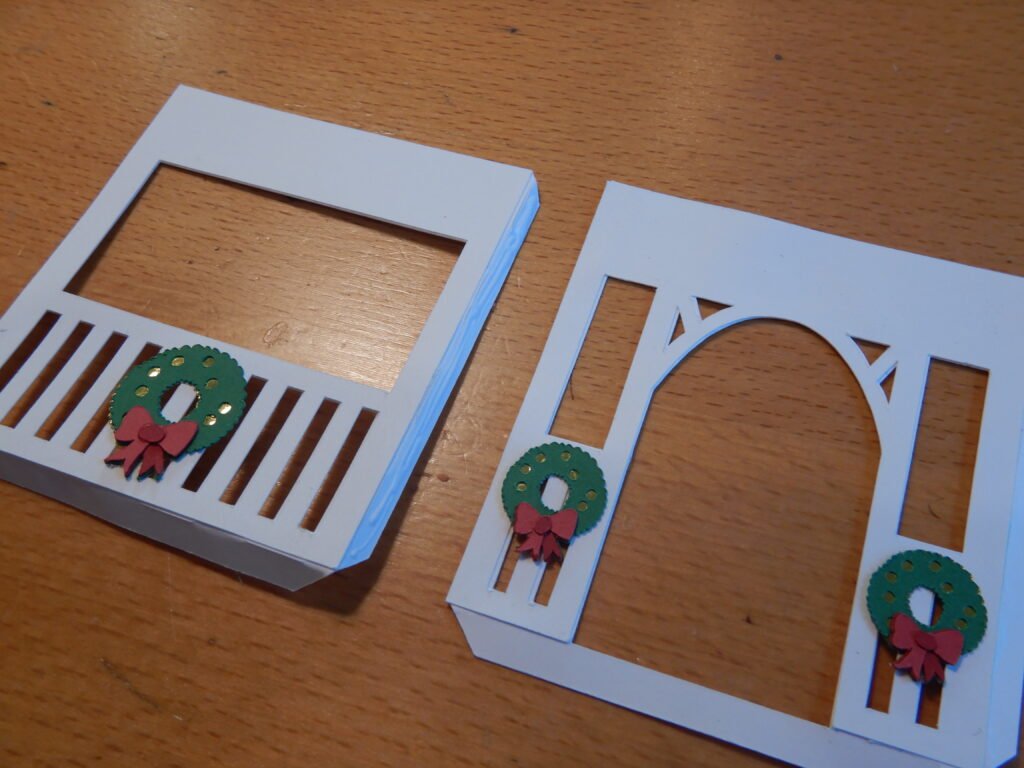
The sides of the gazebo are made of 8 panels, 4 with doors and 4 with a banister. Make sure you alternate them so the doors don’t end up next to each other. To help, we chose to lay them out in advance so that they were easier to keep in order.
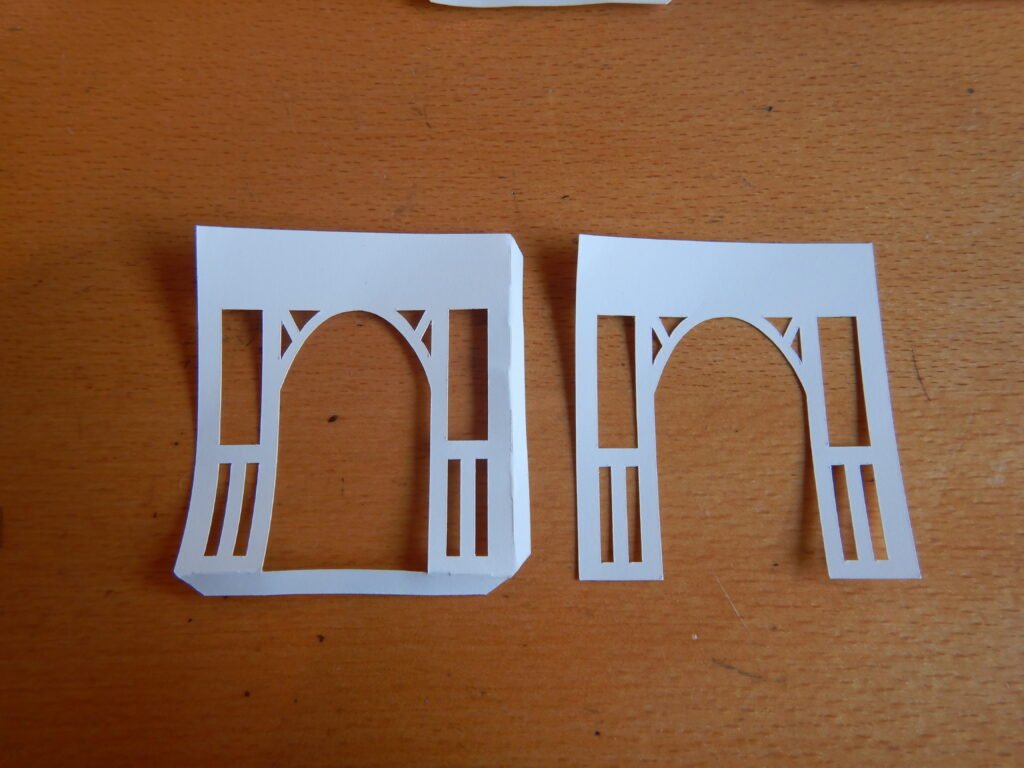
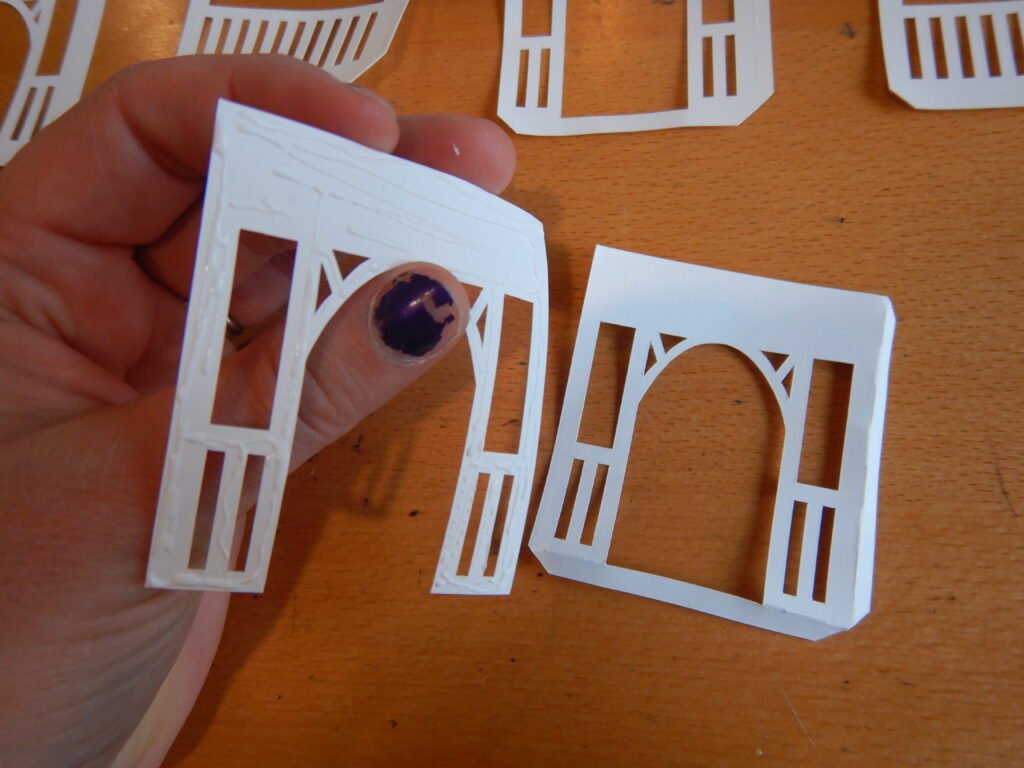
Attaching Decorative Panels
Next, we took the panels that are identical but without the tabs to connect to their neighbor. We layered each onto a tabbed version. This gives the sides of the gazebo some extra strength and stability. With all the cut railings, doors, and windows, the sides can be kind of weak. Adding this this extra layer helps reinforce the sides.
Adding Wreaths
Once all the sides were double layered, we assembled the wreaths. These are made of 2 layers for the wreath and 3 layers for the ribbon. This is the fiddliest bit of the file and takes some time and patience. With all of them assembled, you’ll find that there are 4 larger ones and 8 smaller wreaths. The four larger wreaths are for the banisters and the smaller two are for either side of the door.
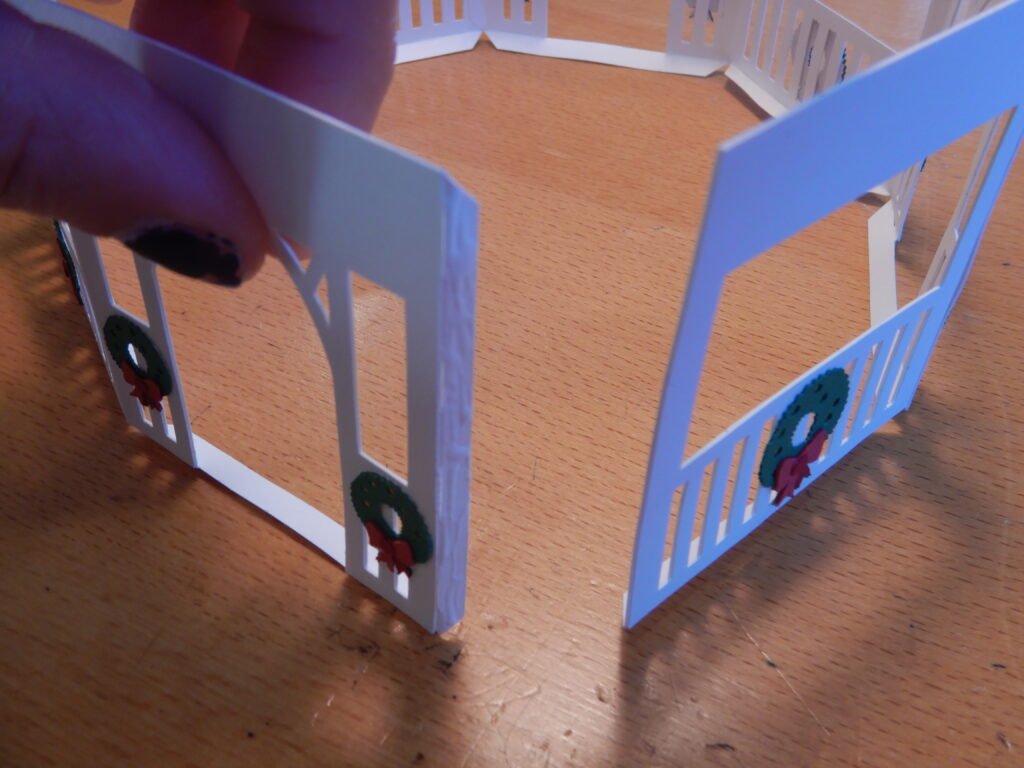
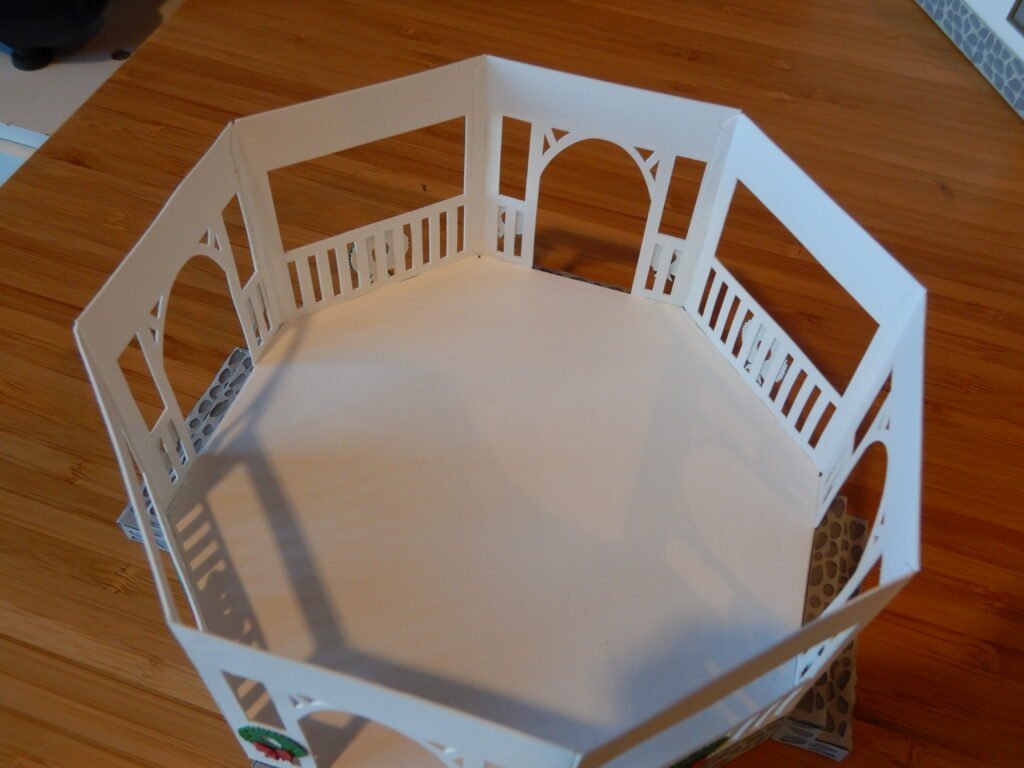
Building The Gazebo
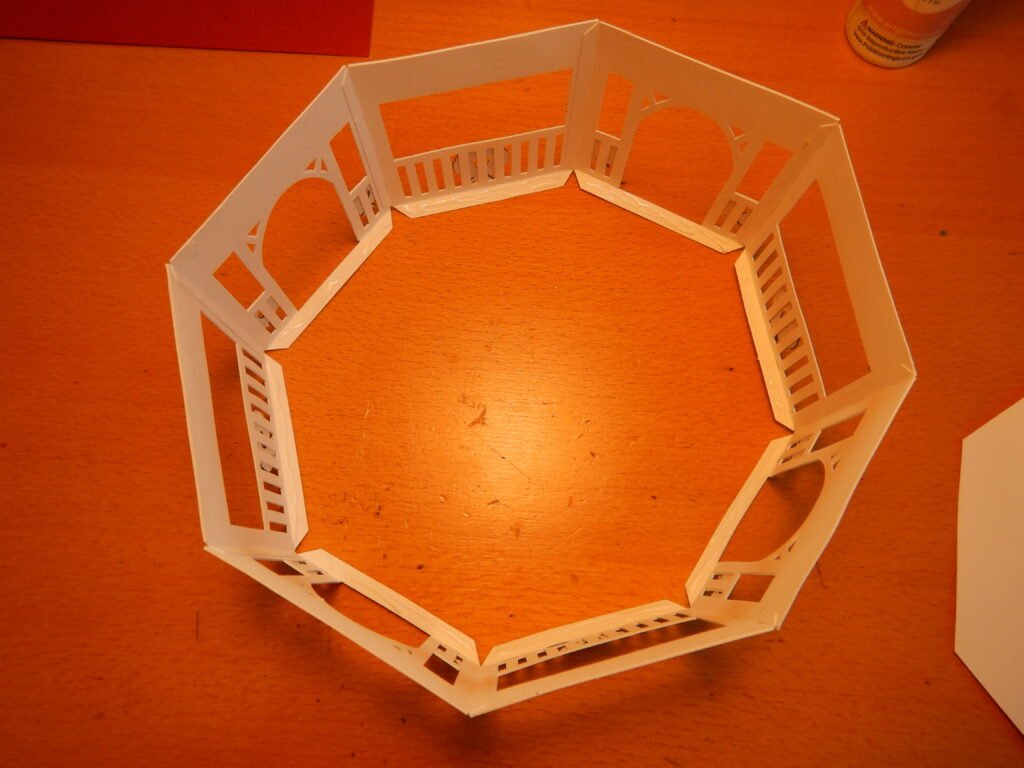
When all eight of the panels are decorated, you can attach them to each other. Again, have them in order, making sure that the door and banister panels are alternating. Add glue to the tab on the side and attach it to the neighboring panel until all 8 have been attached, creating an octagon shape.
With the octagon created, fold in the tabs at the bottom and add glue. Then place the octagon panel in the bottom to create the bottom of the gazebo.
You can set aside the gazebo for now and start working on building the roof.
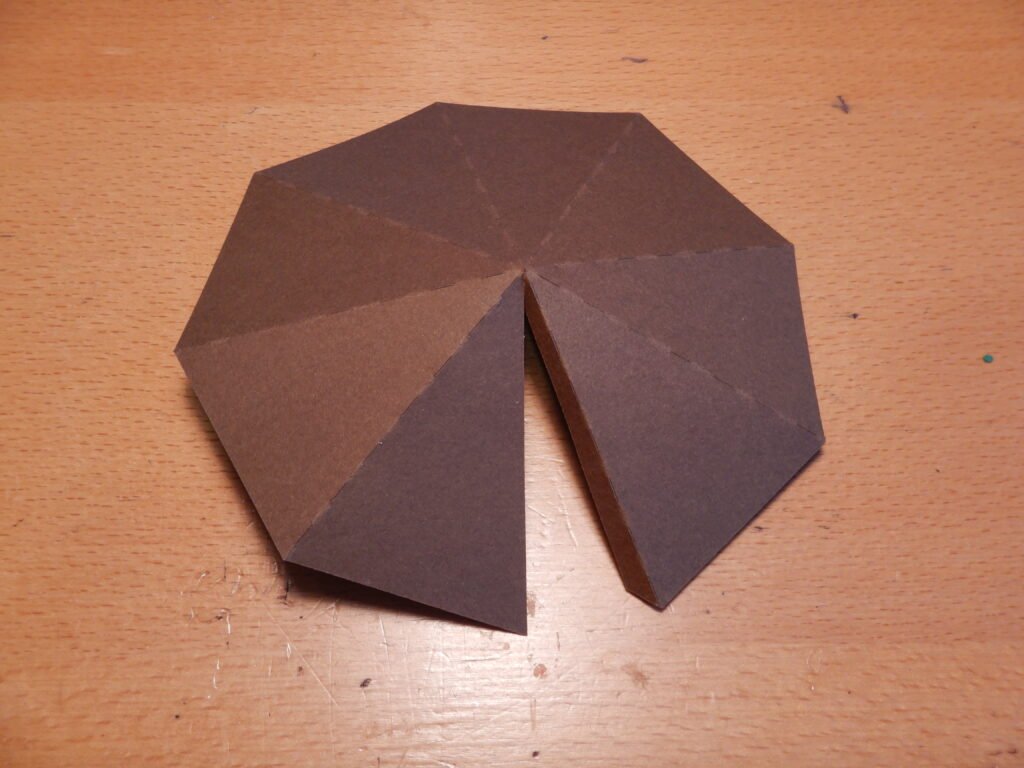
Roof Construction
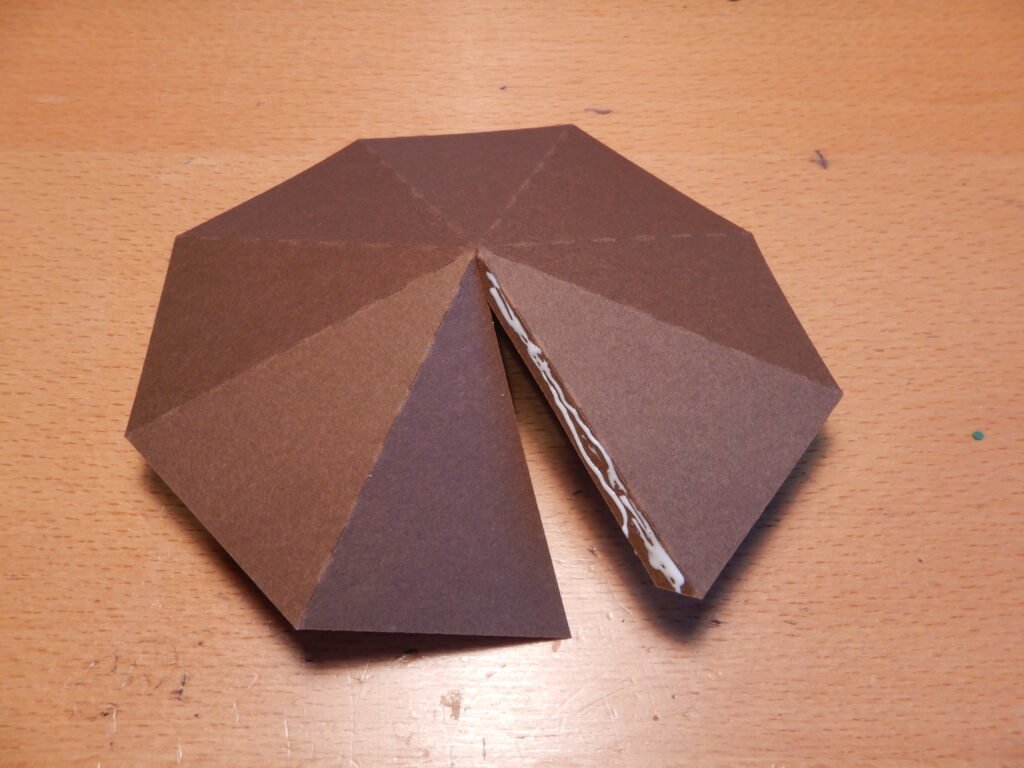
The roof has a few pieces and it’s easiest to start with the top of the roof and work your way down. The first piece is the octagon shaped piece that has cut out of it. Fold along the score lines then add glue to the tab and attach to the neighboring panel, this will create a peaked octagon shape.

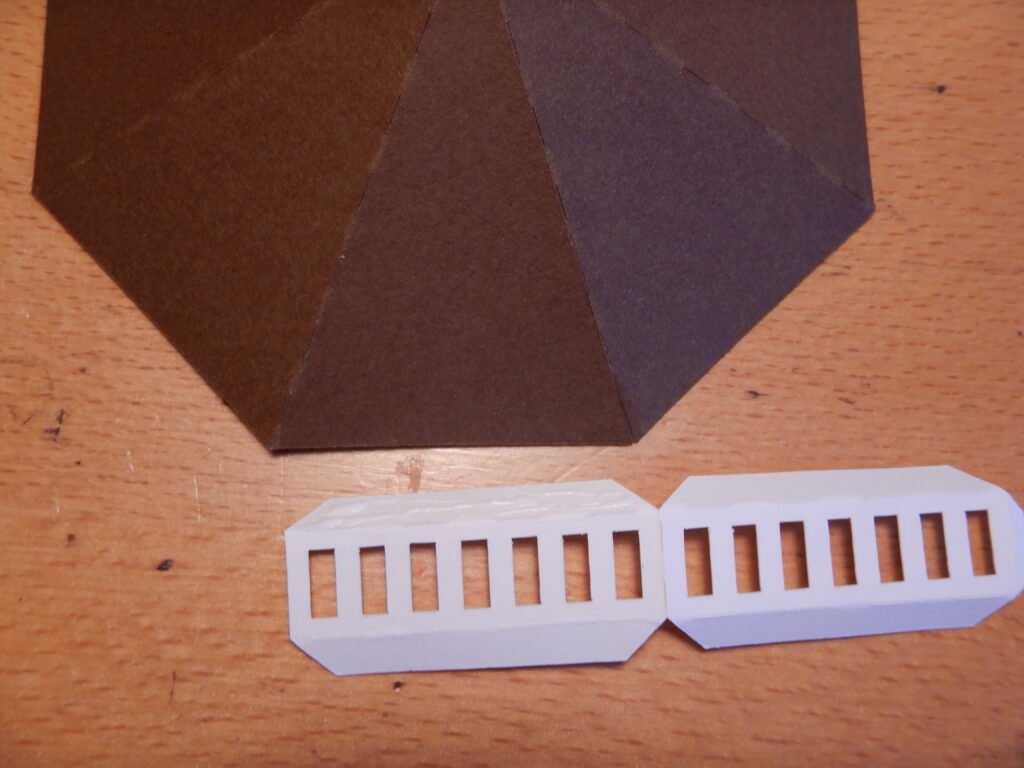
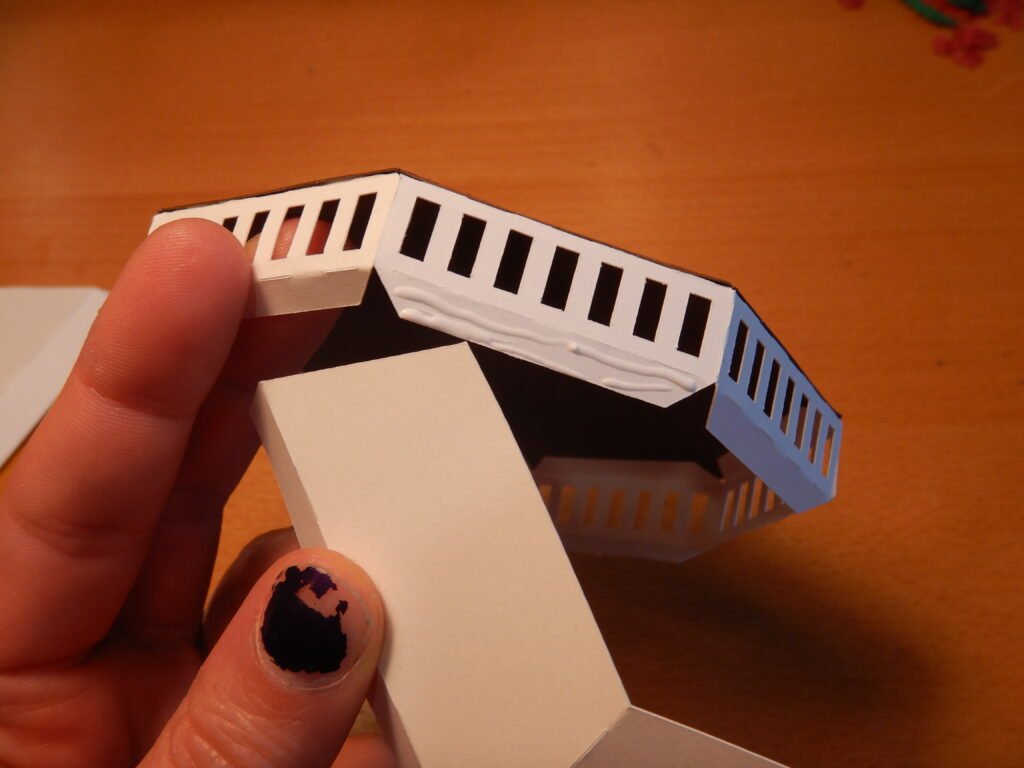
Next, take the four panels with the cut out railings. Fold along the center fold line and fold the tabs. Attach one tab to the bottom of the peaked roof, making sure the corners are lined up with the corners of the triangles on the peaked roof. Once one of these panels is in place, move to the next one, attaching it to both the roof and the neighboring white panel.
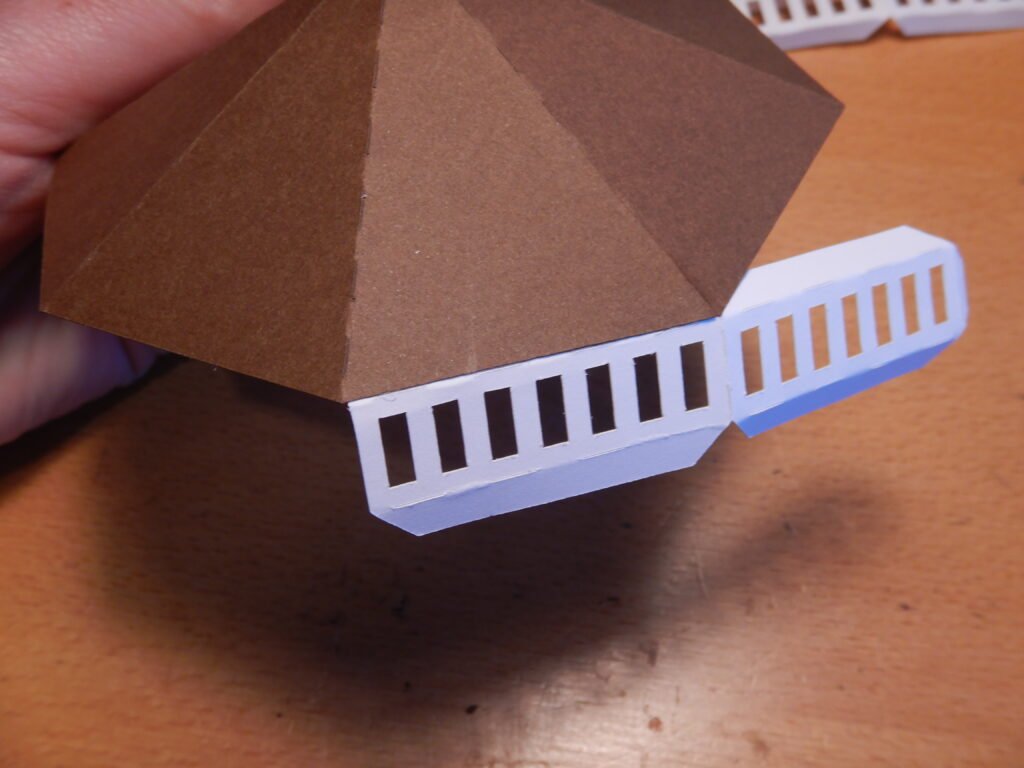
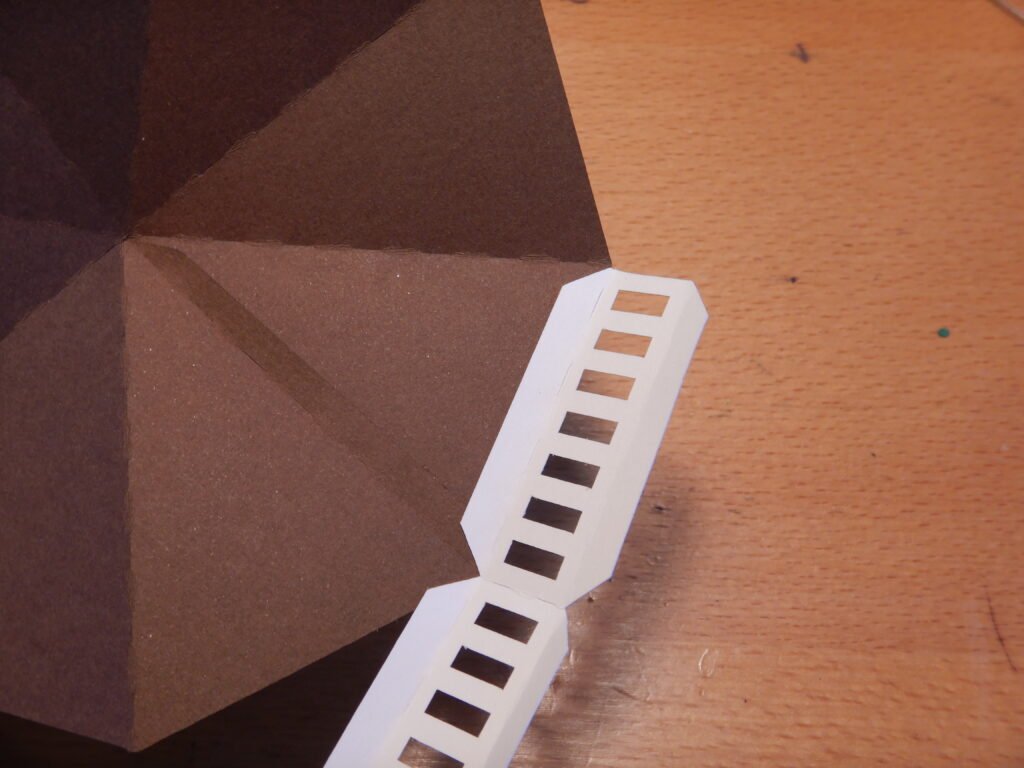

Adding The Lower Roof
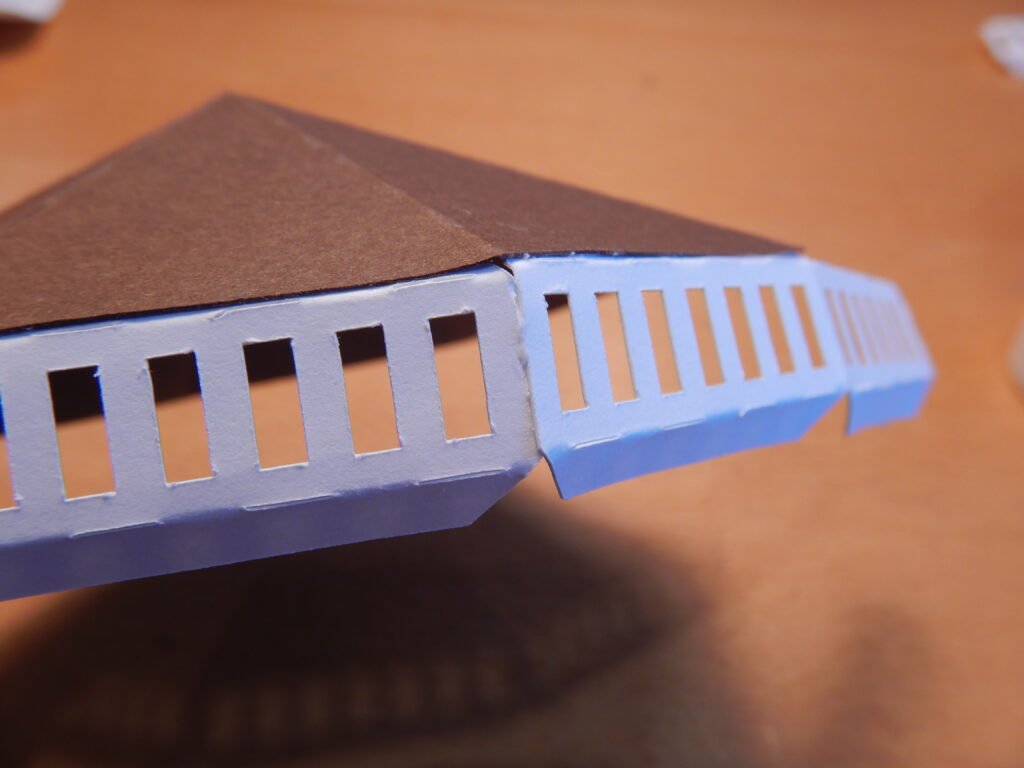
The final part of the roof structure is next. Add glue to one of the tabs on the bottom of the structure and add the short side of the trapezoid shape. Work your way around the roof shape the same as you did with the previous set of panels.
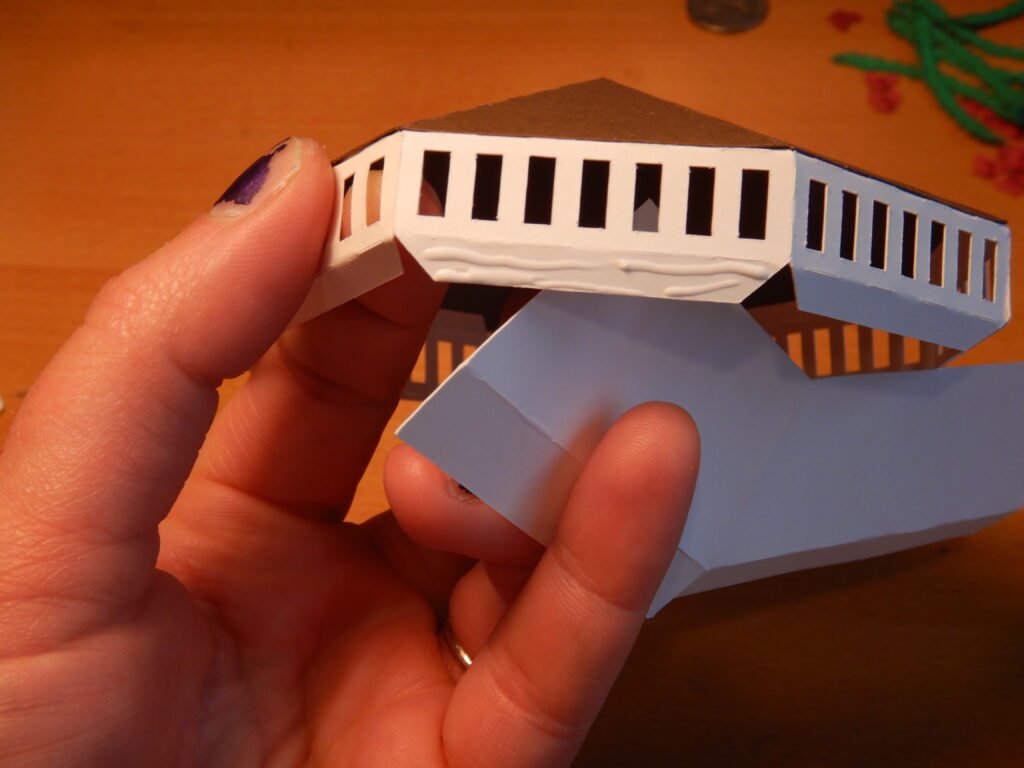

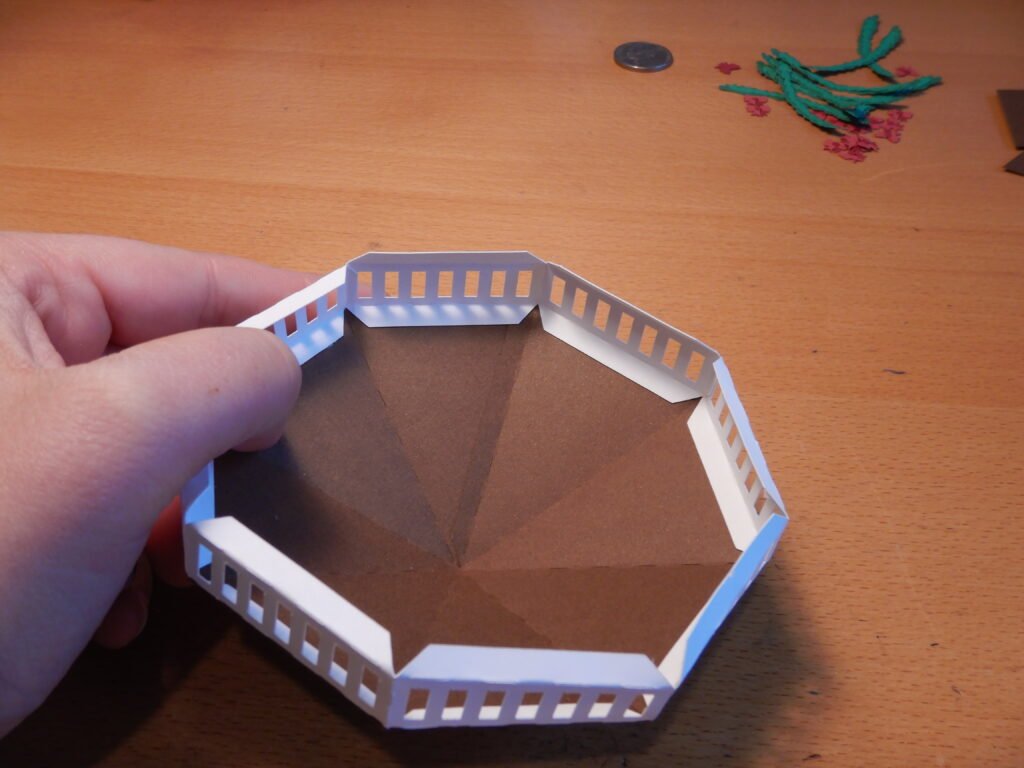
Once the panels are all attached, there are the smaller triangular tabs that connect to make a vertical part on the roof. Fold these tabs and add glue, then attach them to their neighboring panel to make this part of the roof structure be vertical.
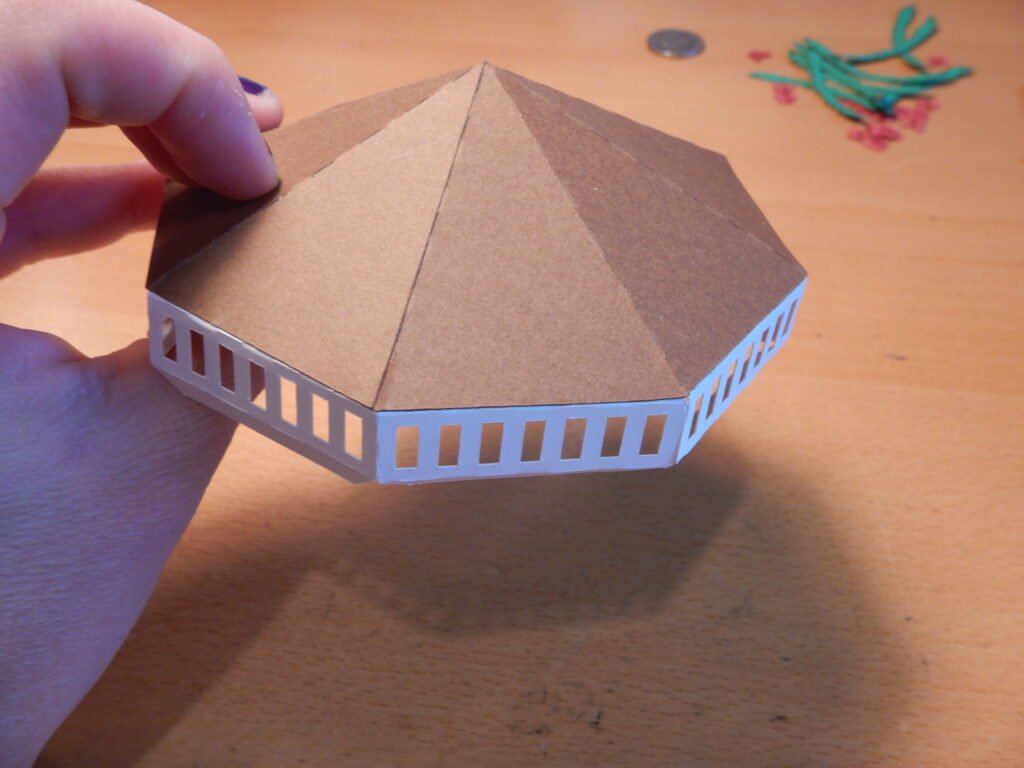
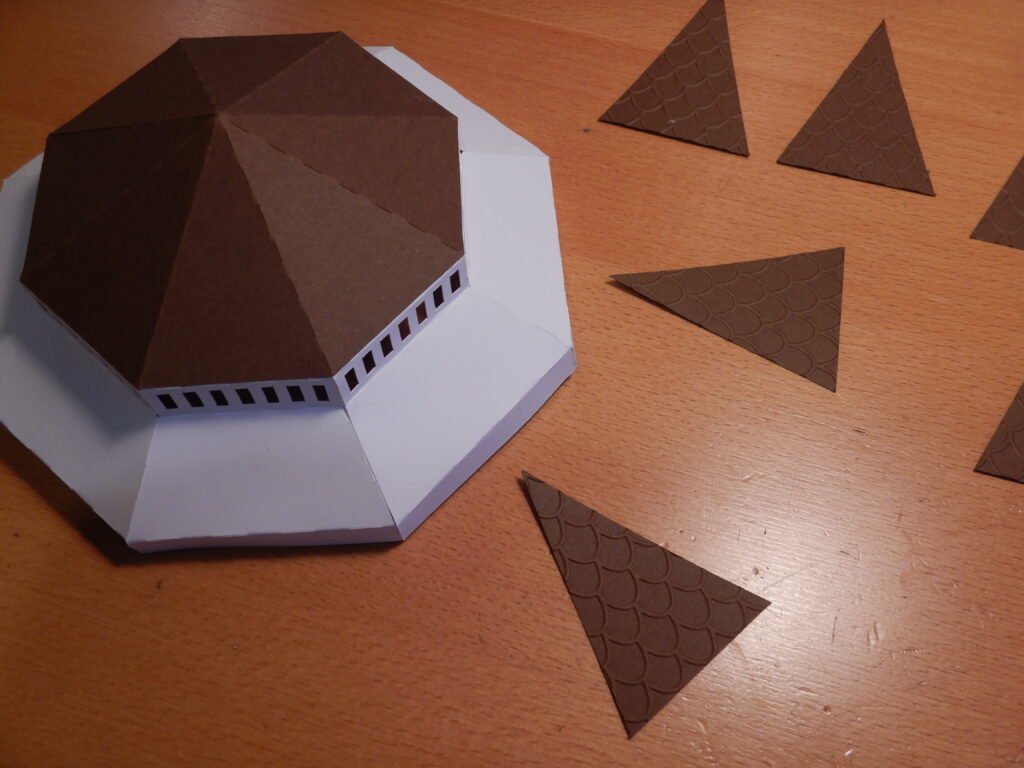
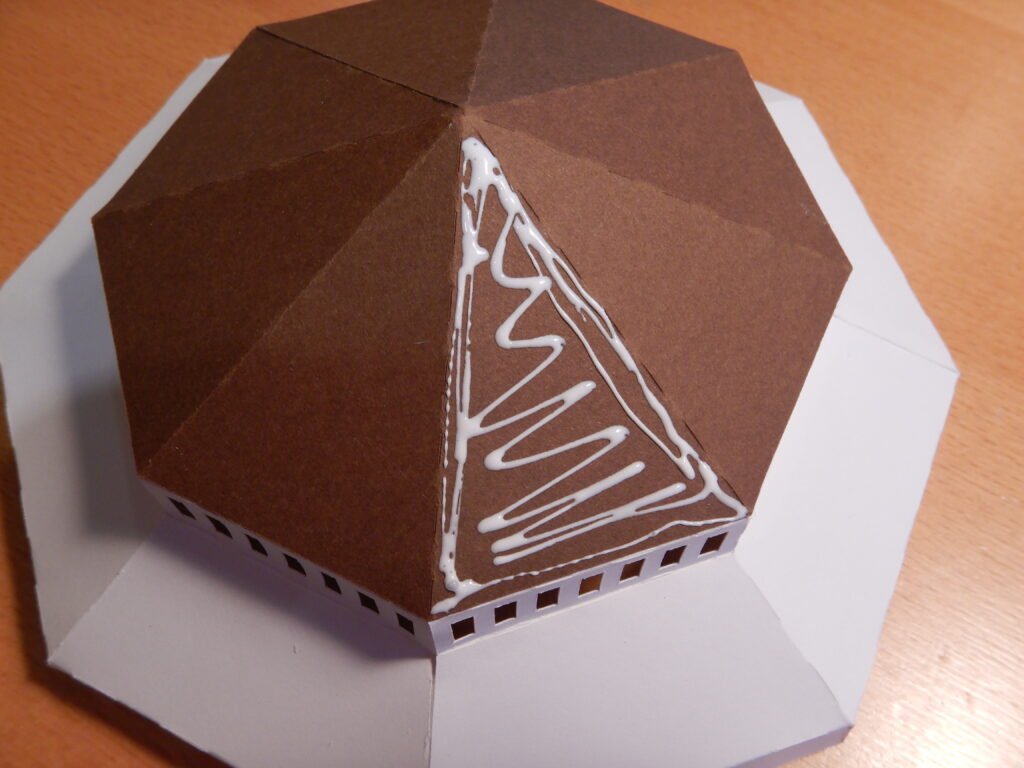
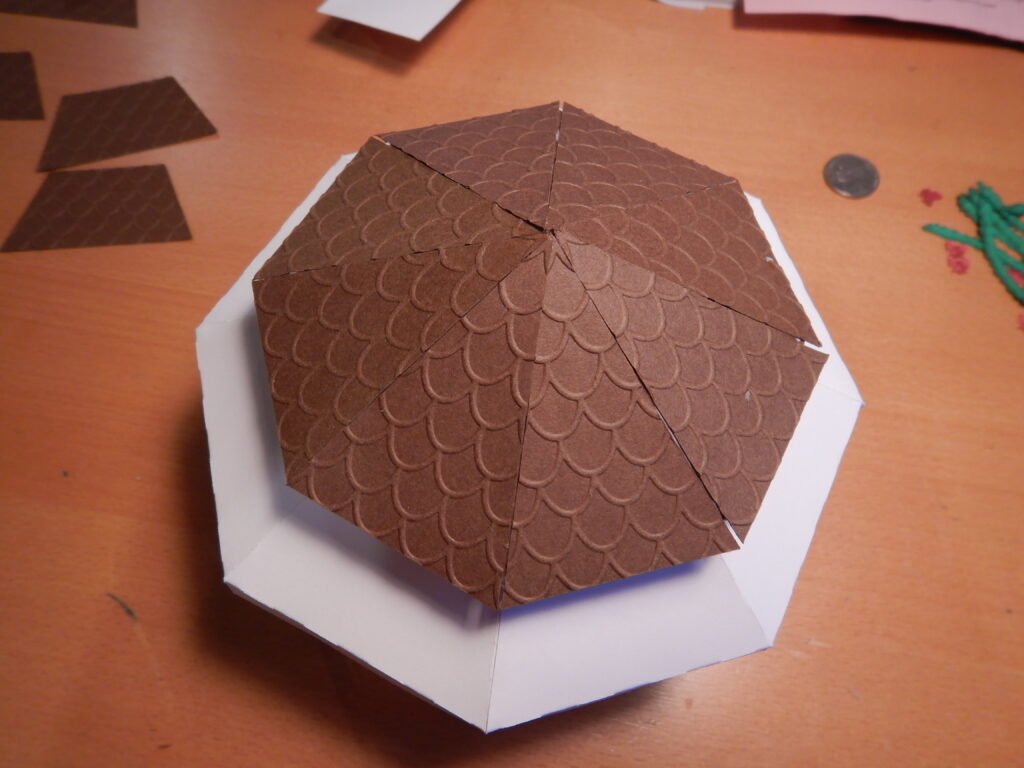
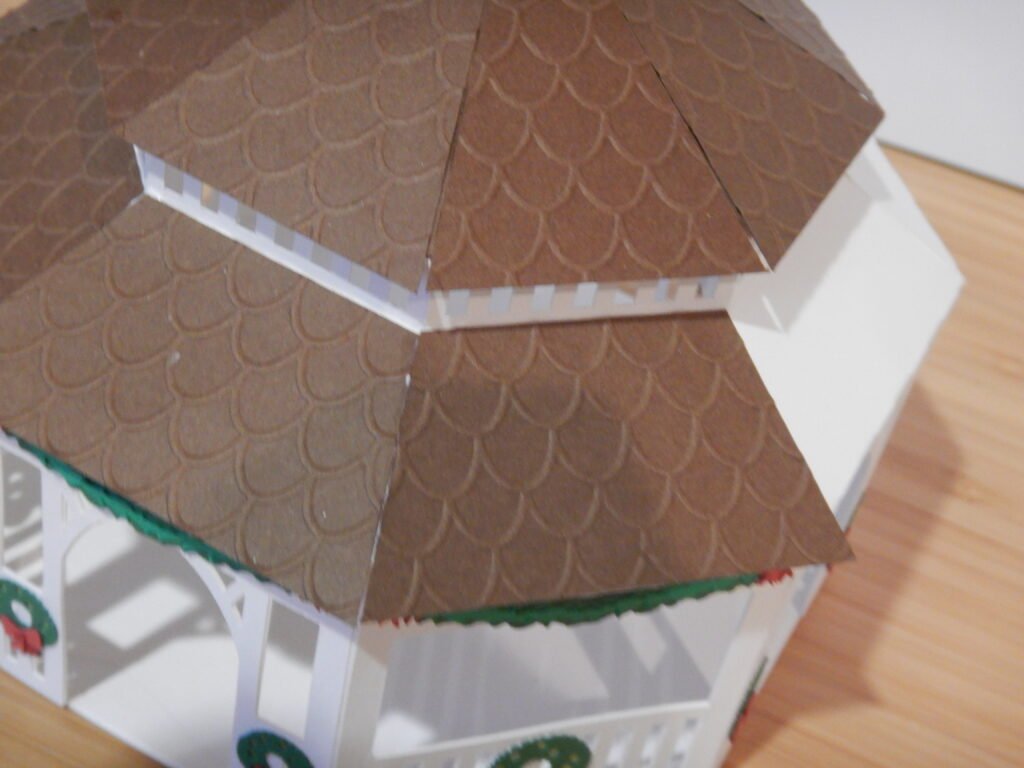
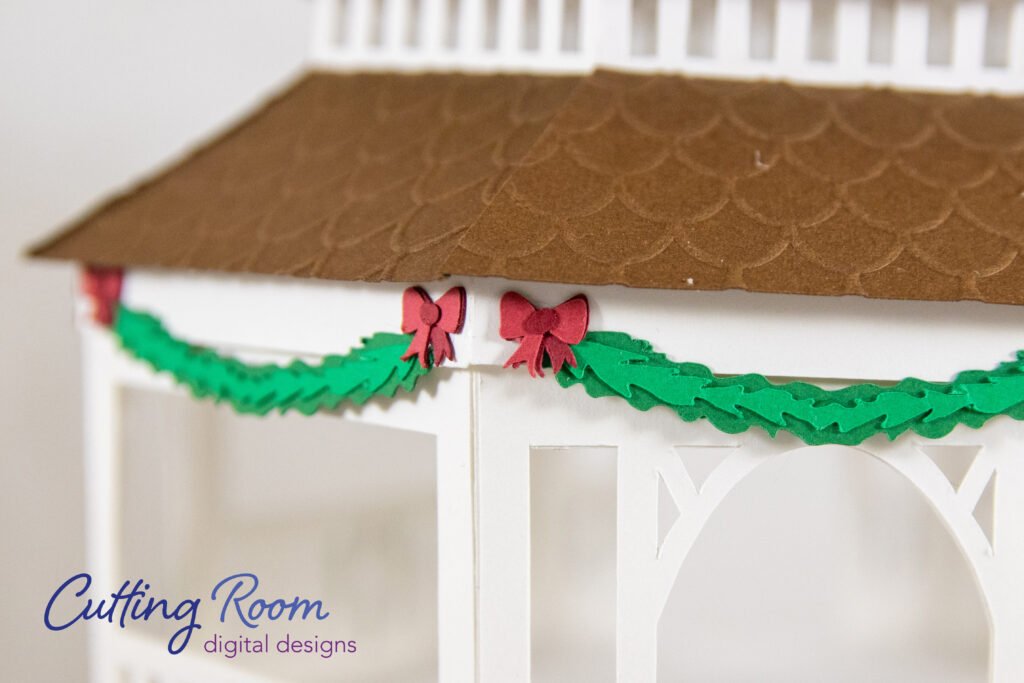
Adding The Top Roof Shingles
The next part of the roof assembly is adding the decorative panels tto the peak of the roof. We chose to emboss the pieces to give them some texture then we added glue to the roof and attached each, making sure that the triangles are all the way to the peak. It’s tempting to let them be down a little from the top, but this will result in some gaps between decorative panels. Don’t put glue on the decorative triangles themselves, as they overhang the roof a bit and you’ll end up with extra exposed glue.

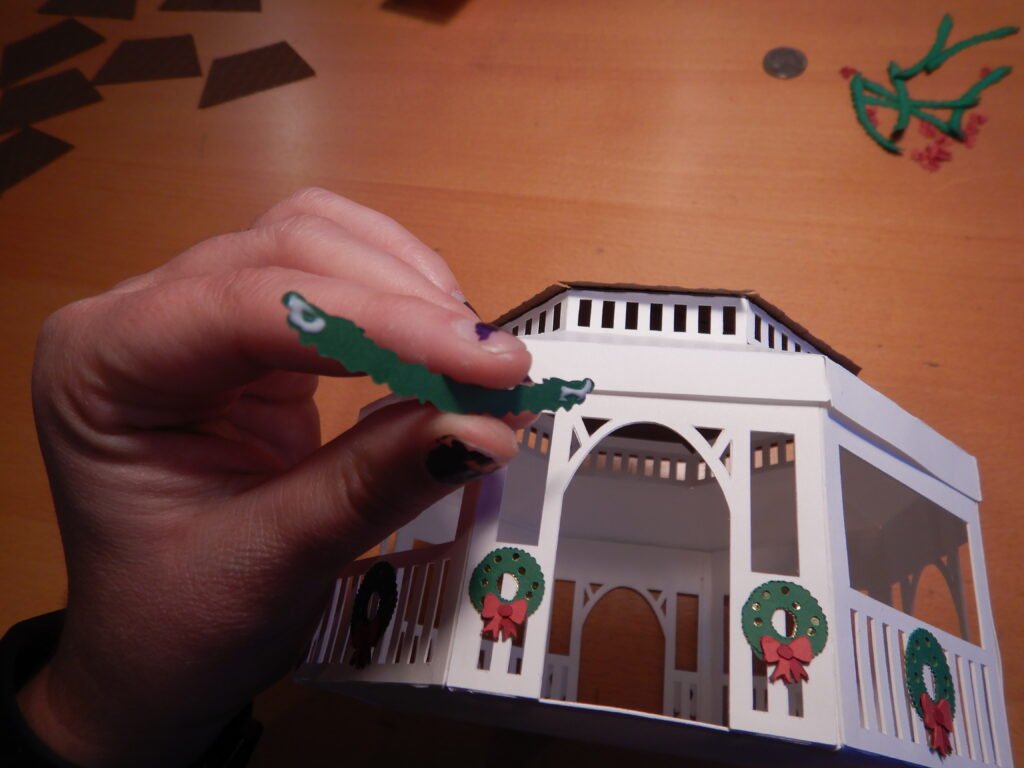
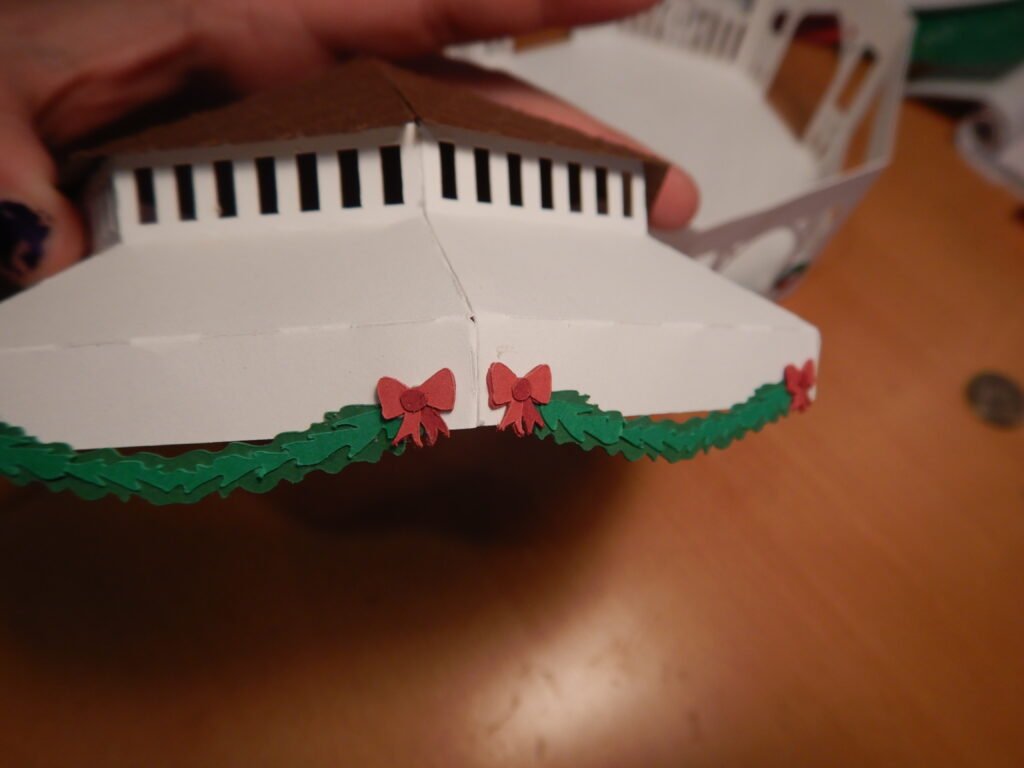
Swag For The Gazebo
Before adding the next level of roofing, we found it easier to add the swag to the roof box. You can do the roof panels first if you want, but we felt the got in the way and made it harder to get the placement we wanted. We added a little glue to the ends of the swag and attached to the roof where it could hang down a little the bottom of the panel. You can choose how high or low you want the swag to sit. Once the swag is in place, add a bow to each end.

Adding The Bottom Roof Shingles
Now that the swag is in place, we put the roof on the gazebo base. The swag hanging down a bit makes it more precarious to sit the roof directly on the table. We were worried the swag would break off or bend if placed flat on the table. Once the roof is on the gazebo base, you can start adding the roof panels to the lower level of the roof. Make sure the decorative panels are snug against the roof structure the top of the panel, this will ensure that there’s no gap between the decorative panels.
The gazebo itself is now complete. Set it aside. The next step is to assemble the foundation of the gazebo.
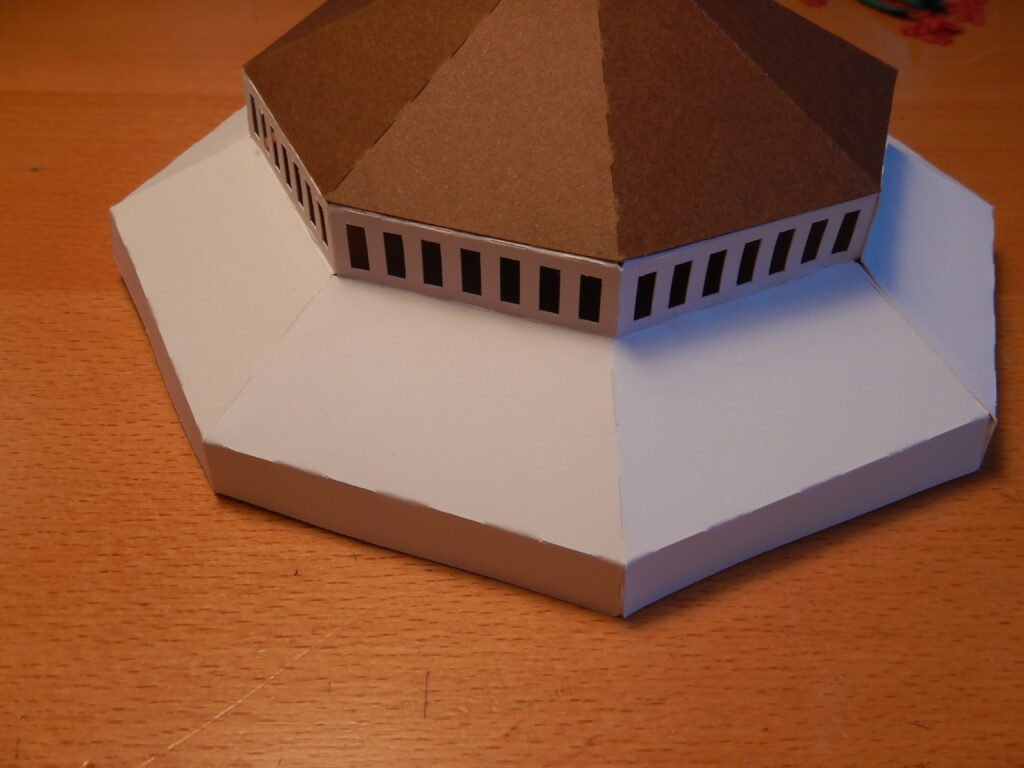
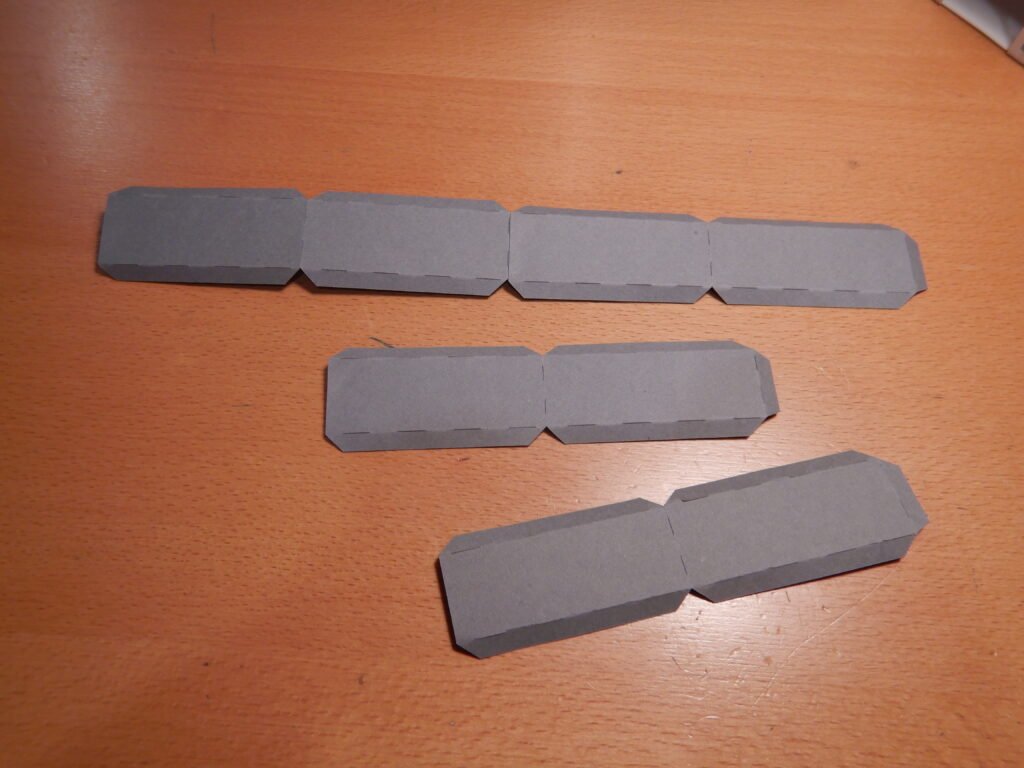
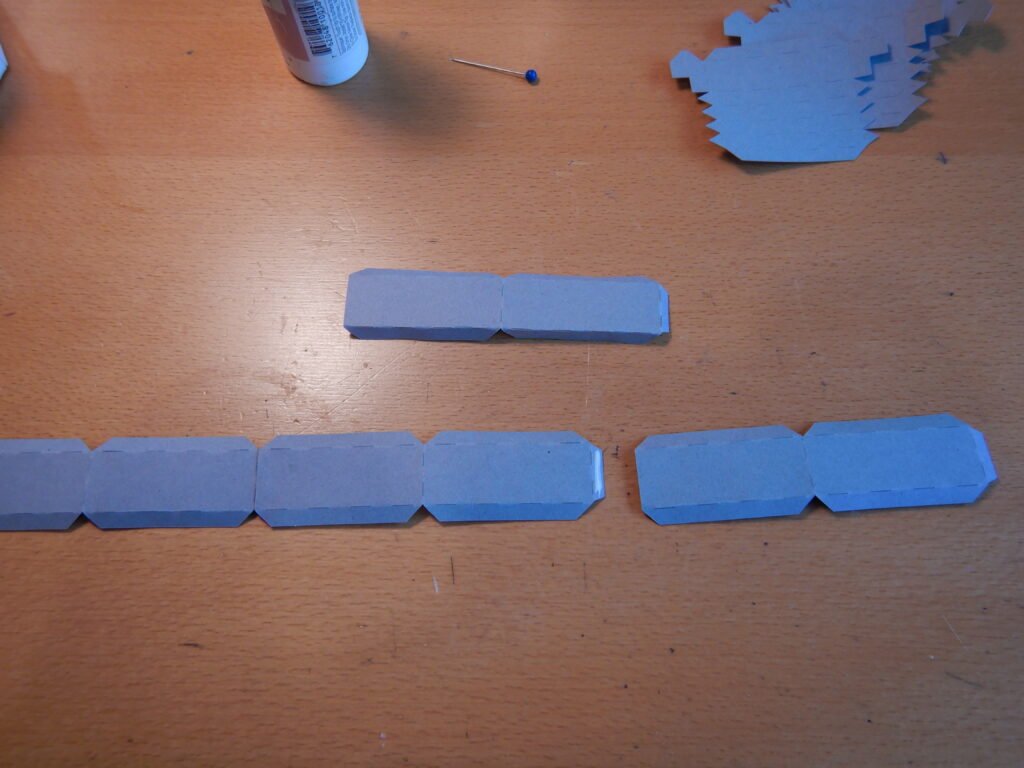
Building A Foundation
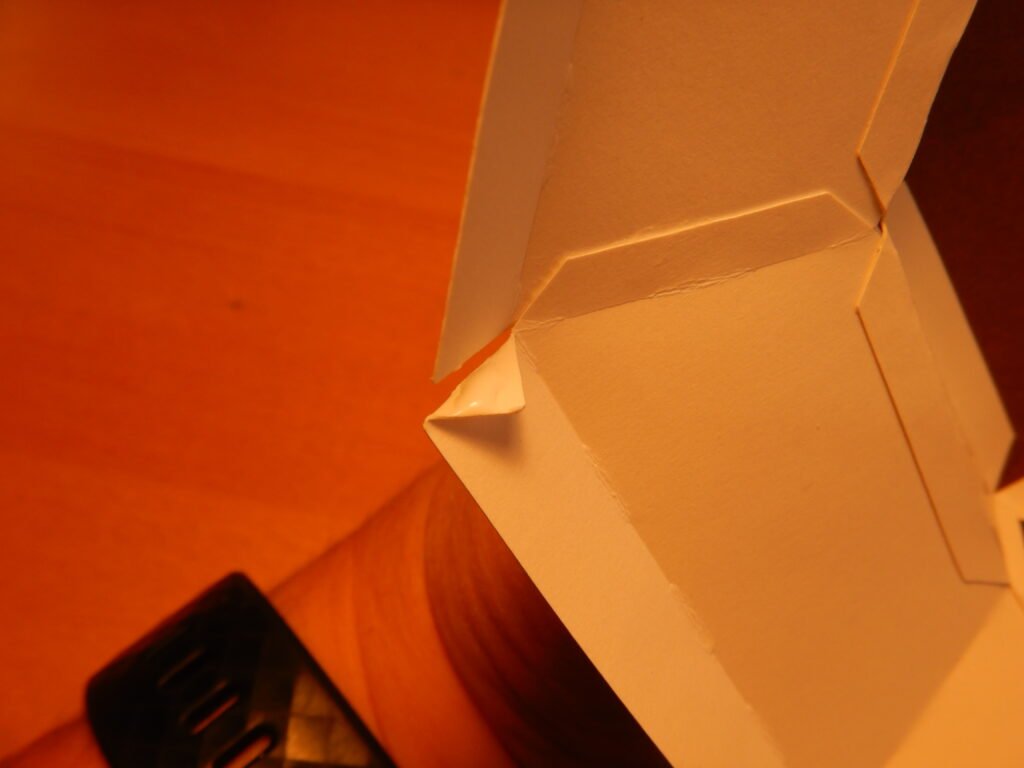
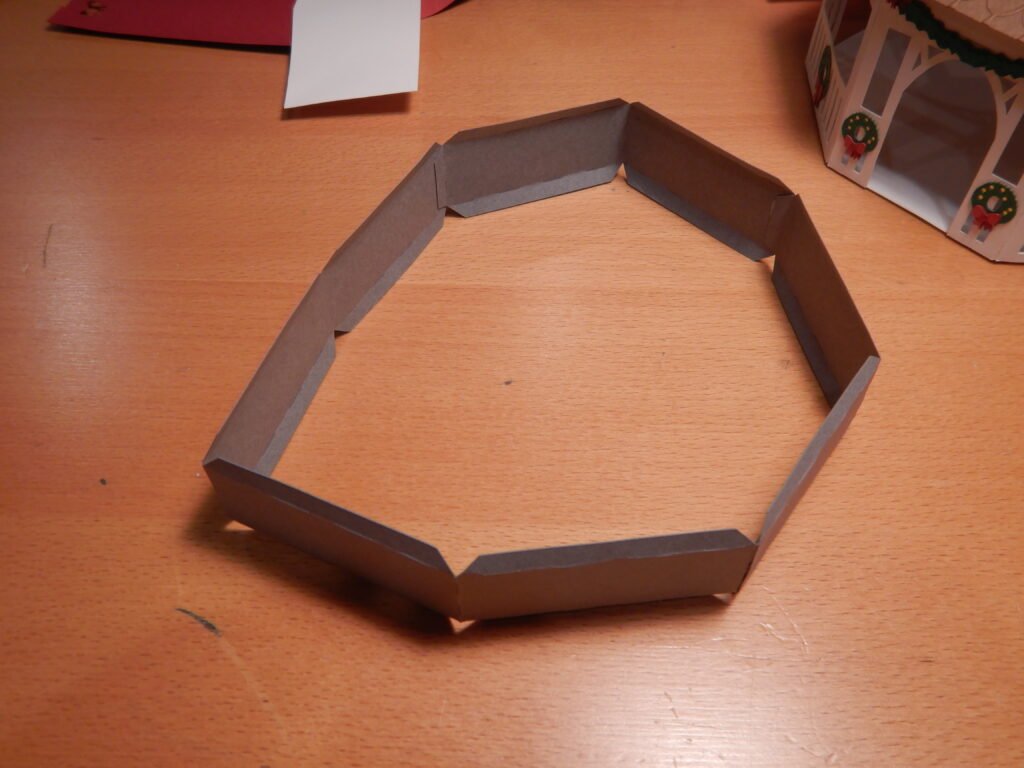
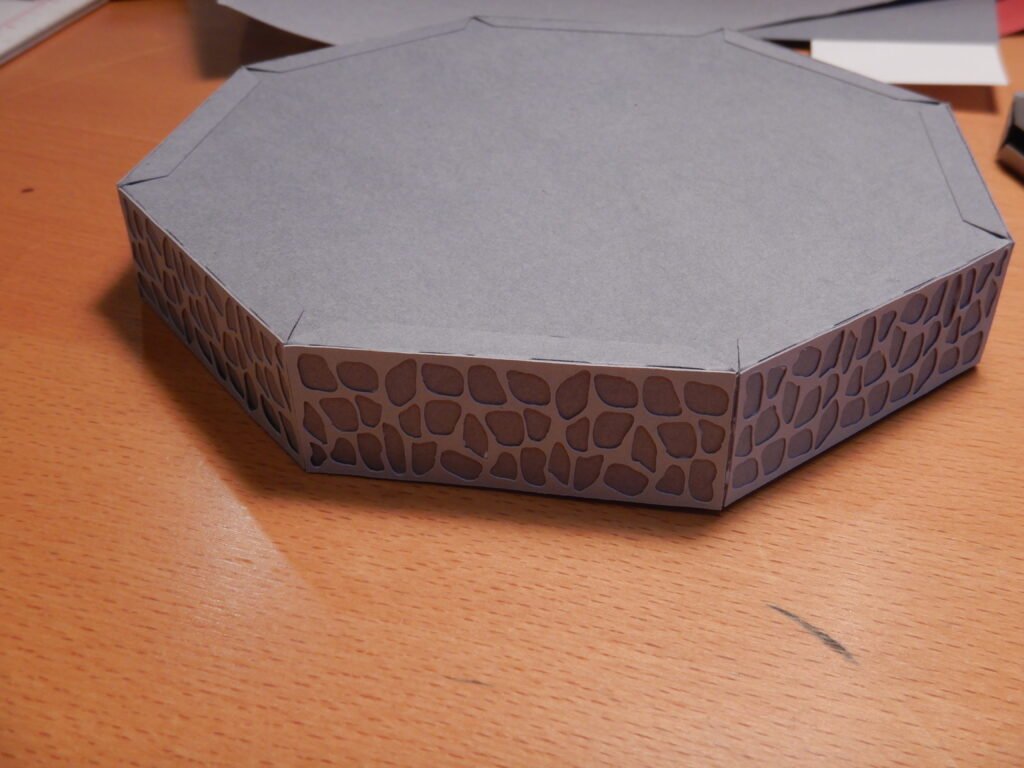
The foundation box is made of four panels that fold to create the eight sides of the octagon shape. Fold along the score lines and attach each panel to its neighbor, creating an octagon.
Fold the bottom tabs of the octagon in and add glue. Then place the octagon panel in to close off that side of the shape. Make sure to apply pressure to the panel where it meets the tabs to create a strong hold.
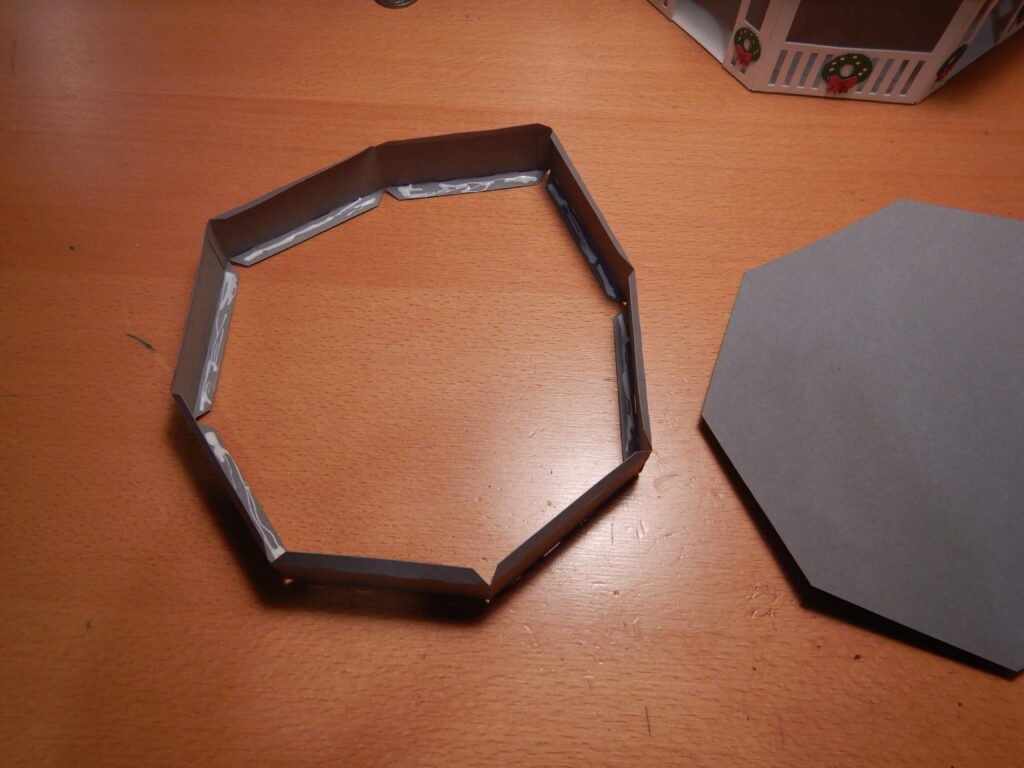
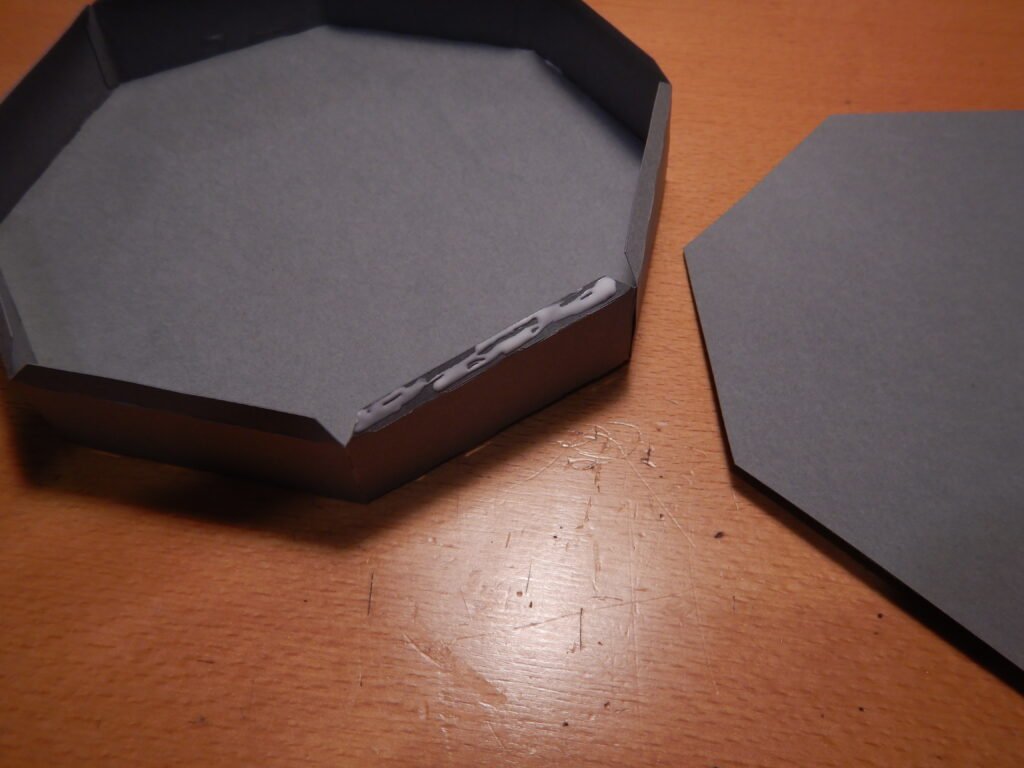
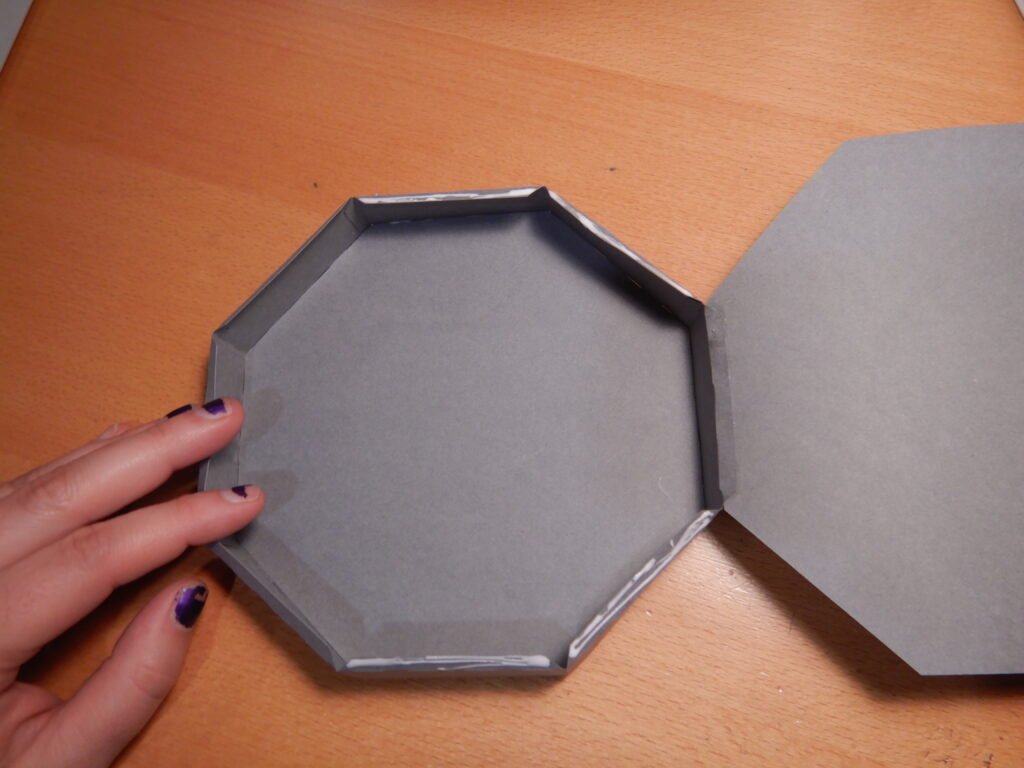
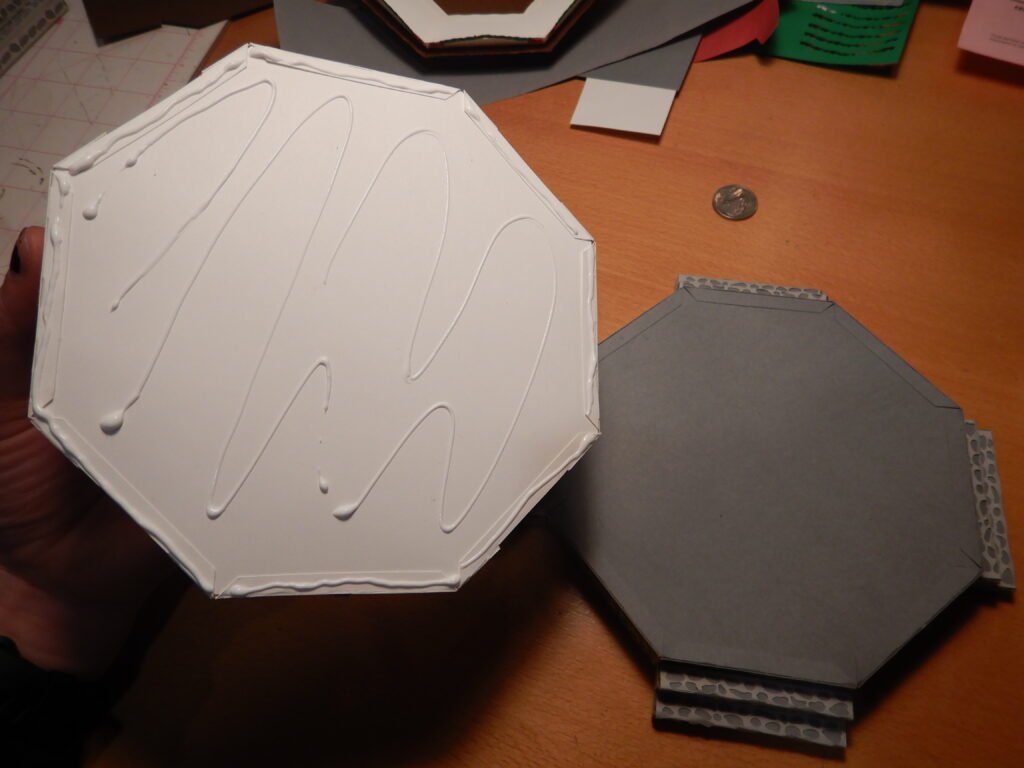
Next fold in the top tabs and add glue to one. Attach one side of the flat octagon panel to the tab, making sure it’s lined up straight and the corners align. We then added glue to a couple tabs and secured the panel in place. Once these were placed we added glue to the remaining tabs. We found it easier to do this in sections so that we could focus on positioning a few tabs at a time.
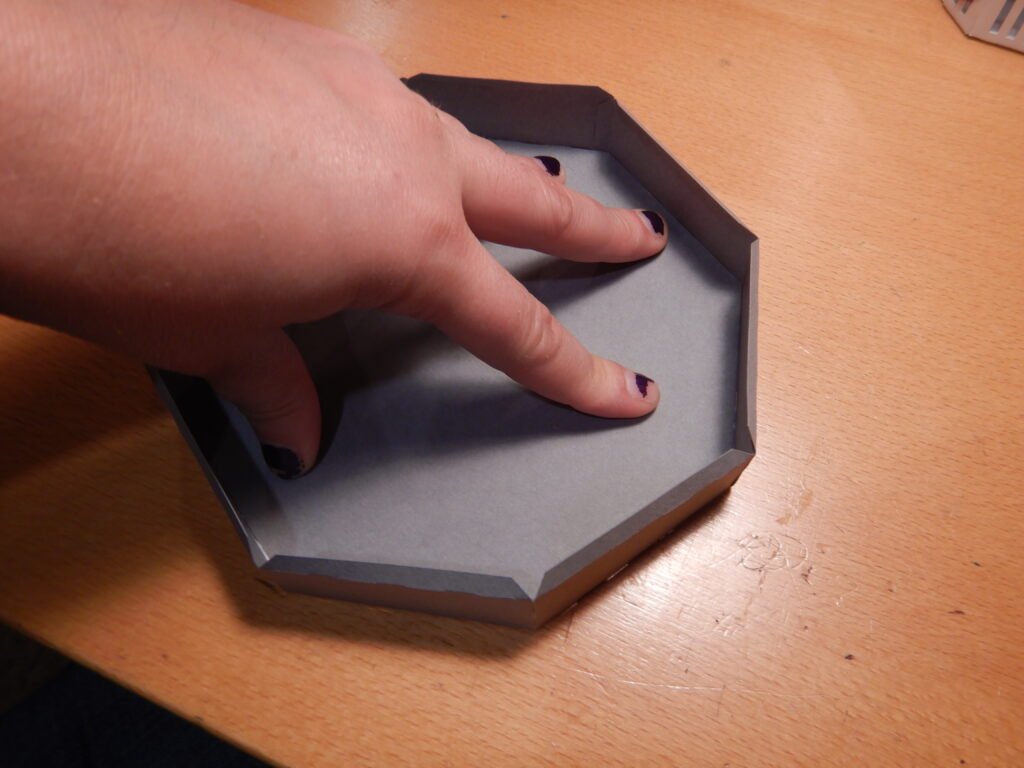
Decorating The Foundation
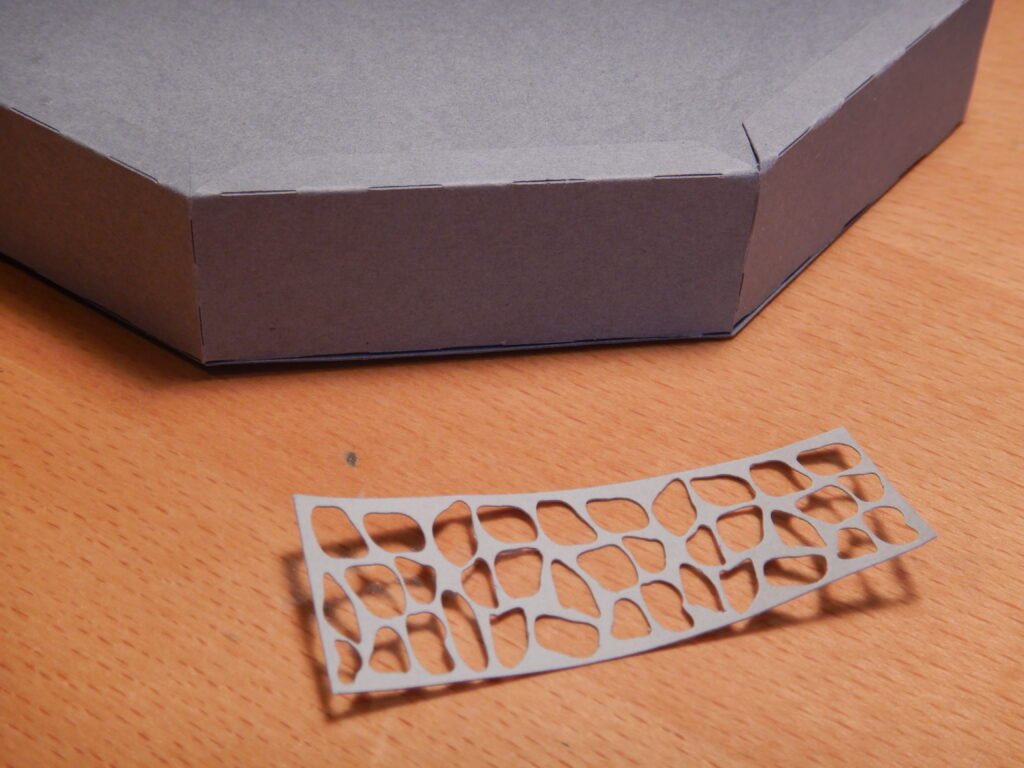
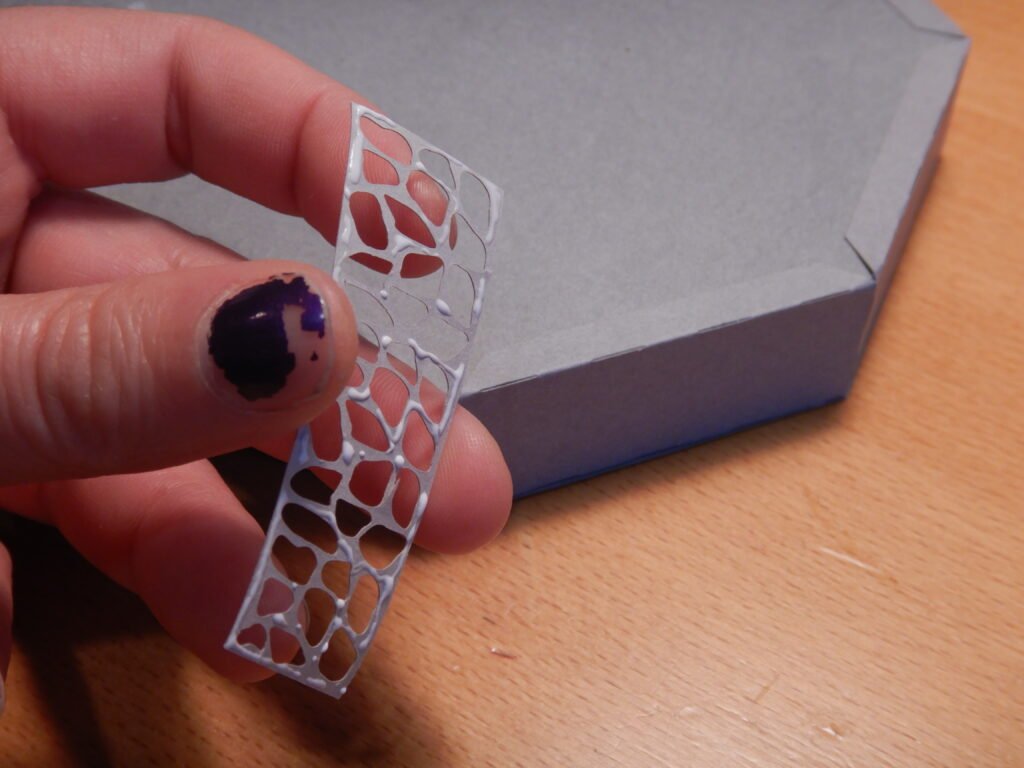
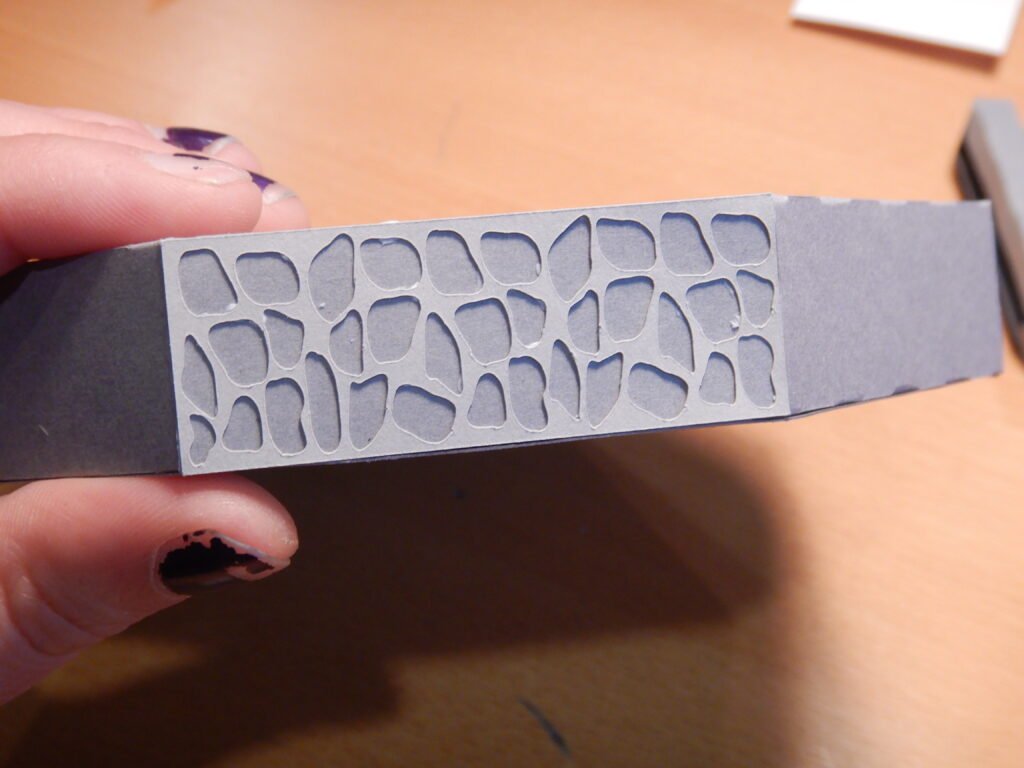
Once this octagon box is complete, we started adding the decorative panels for the sides that create the stone look. Add each panel, one at a time, lining it up with the edges top and bottom as well as the corners of the octagon.
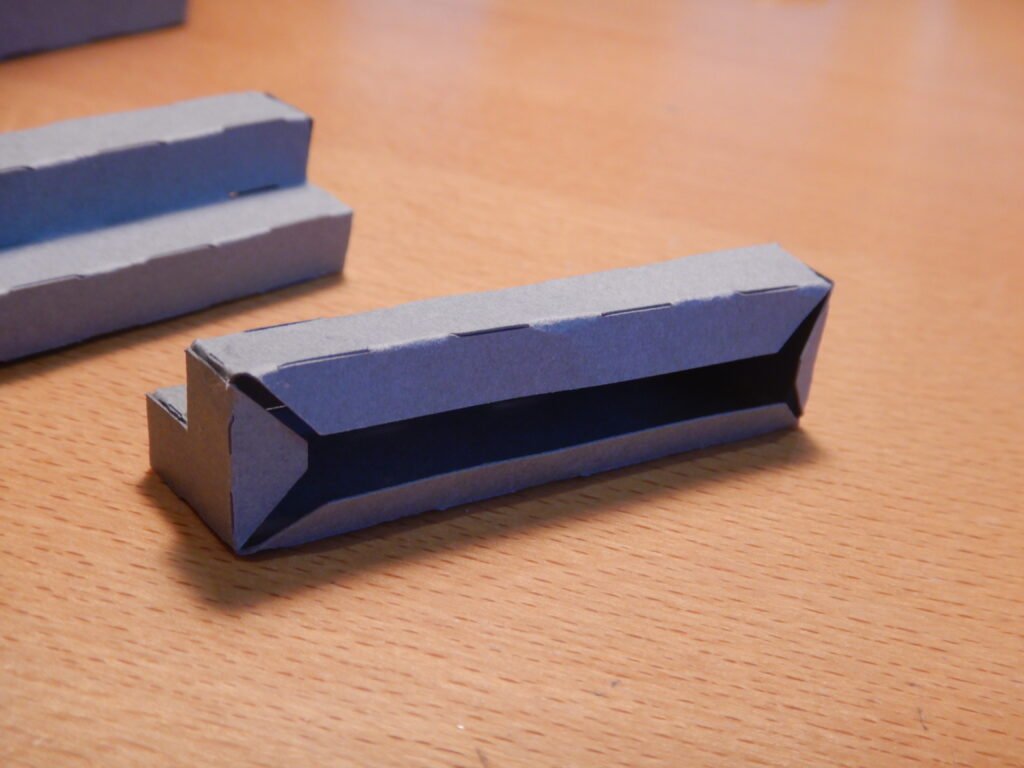
Constructing Steps
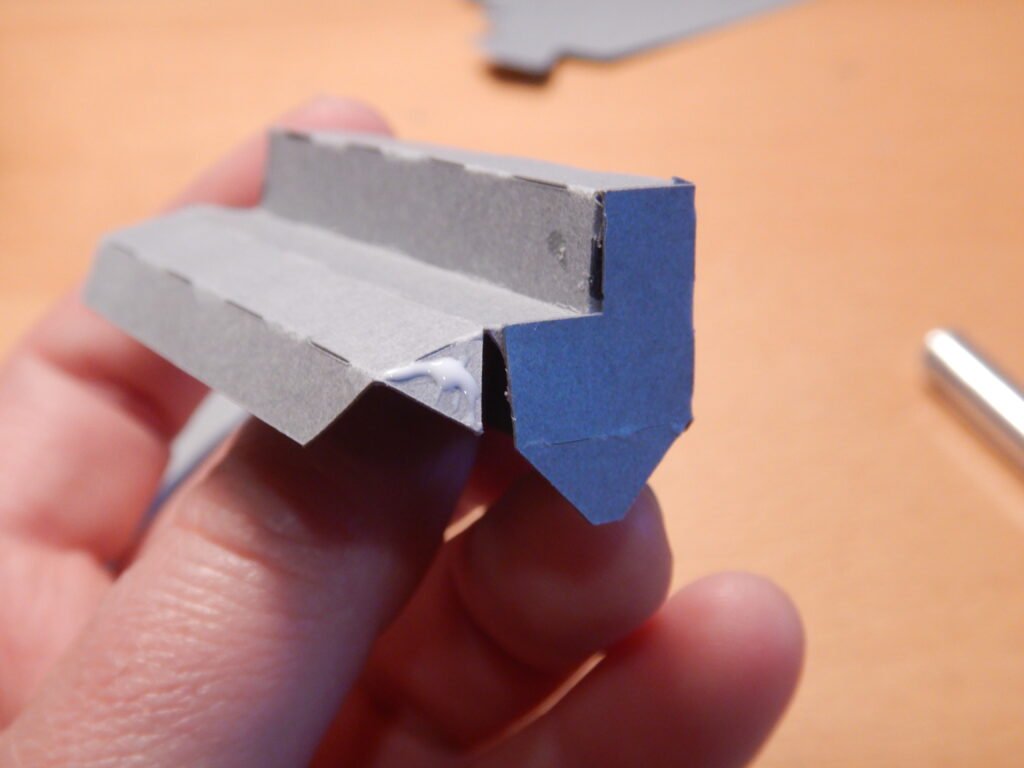
There are four stairs. Fold along all the score lines and glue the tabs to the L’s on the end, creating stairs. The back of the stairs remains open with exposed tabs. These tabs will be used to attach the stairs to the octagon.
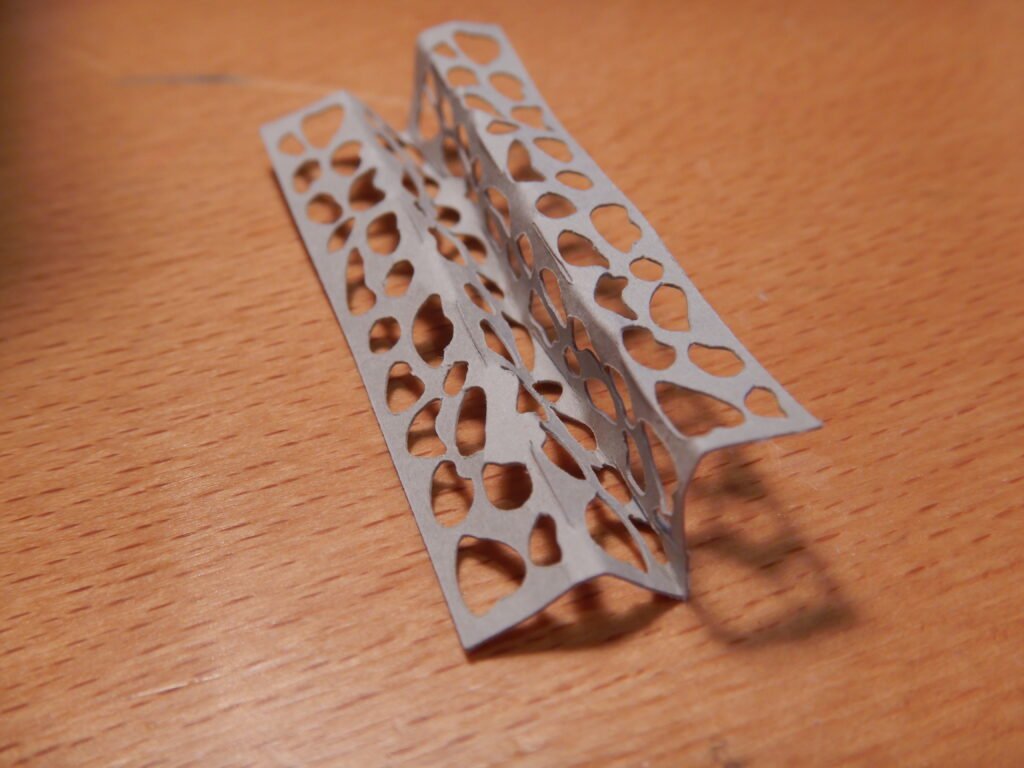
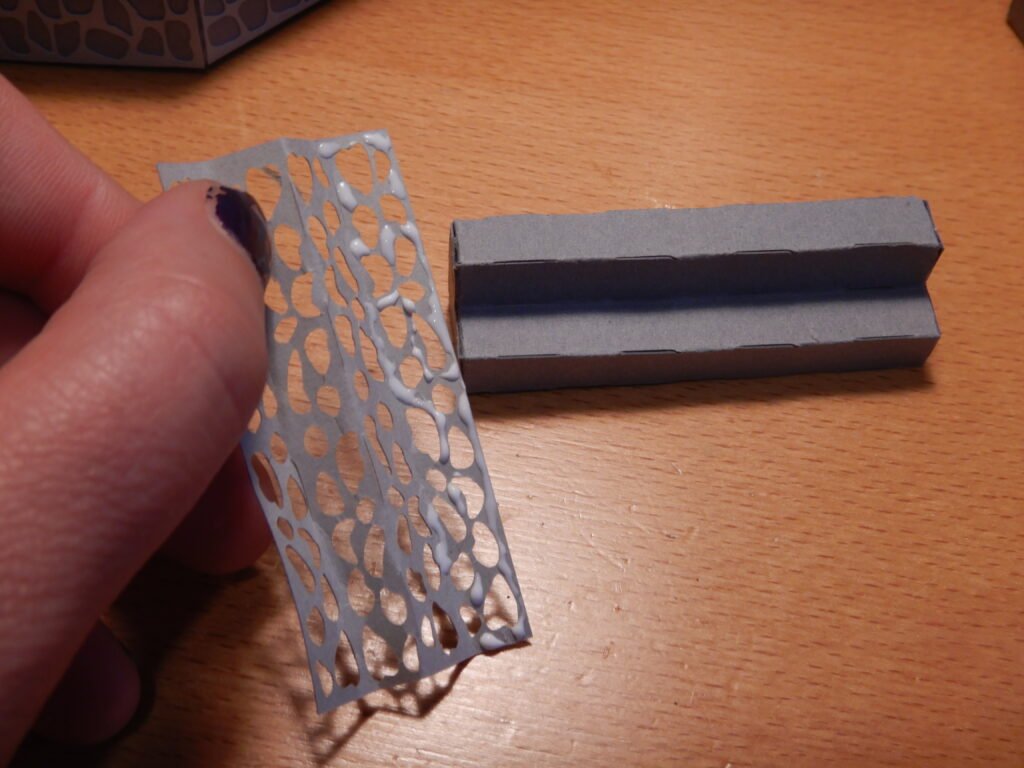
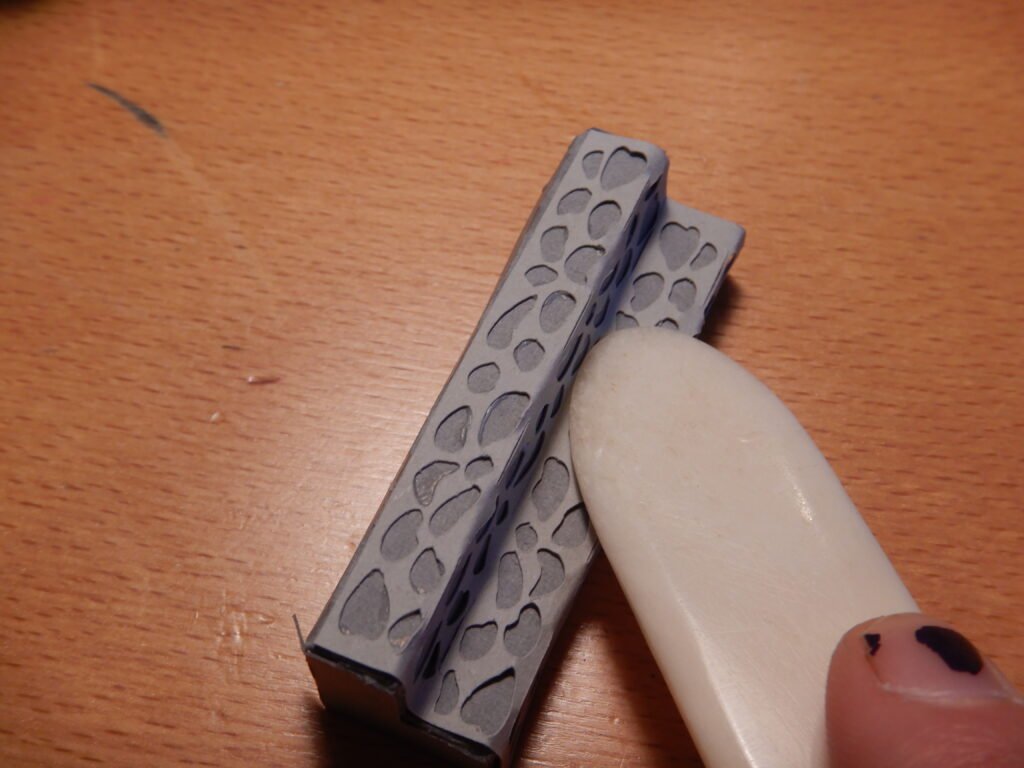
Decorating The Steps
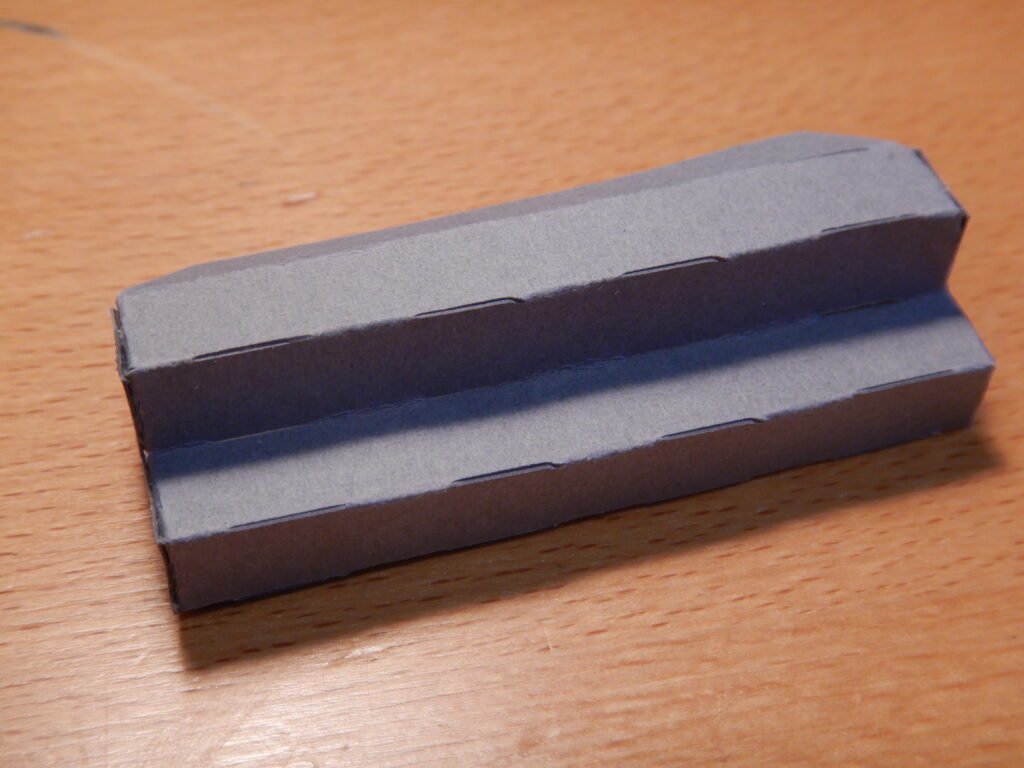
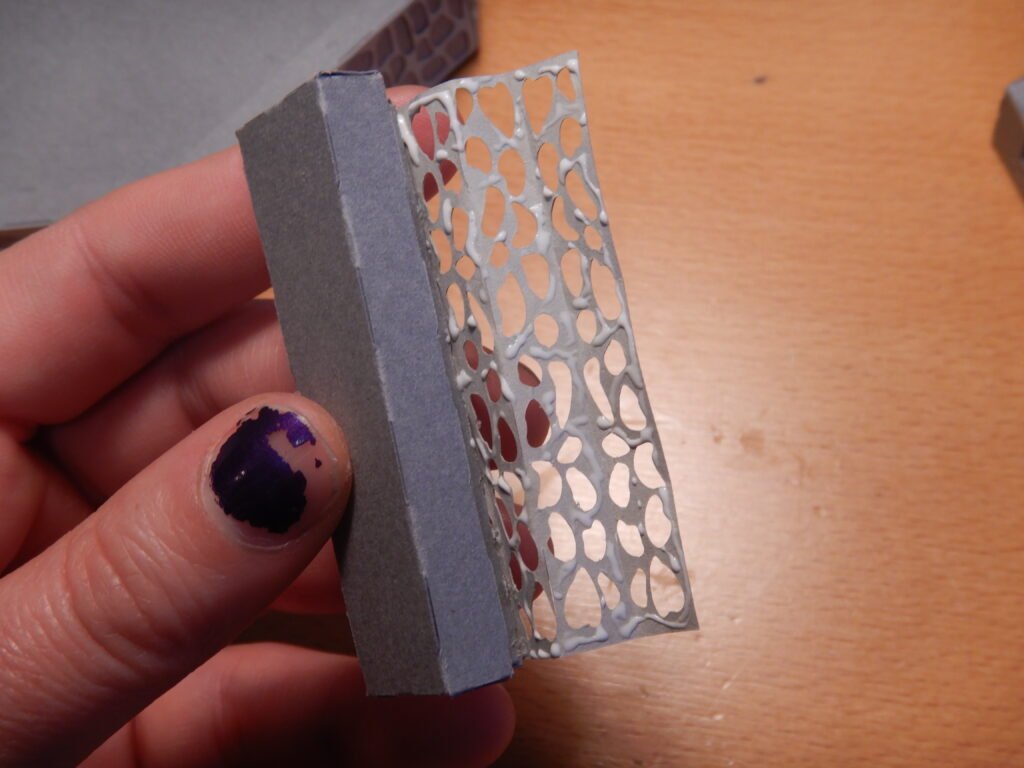
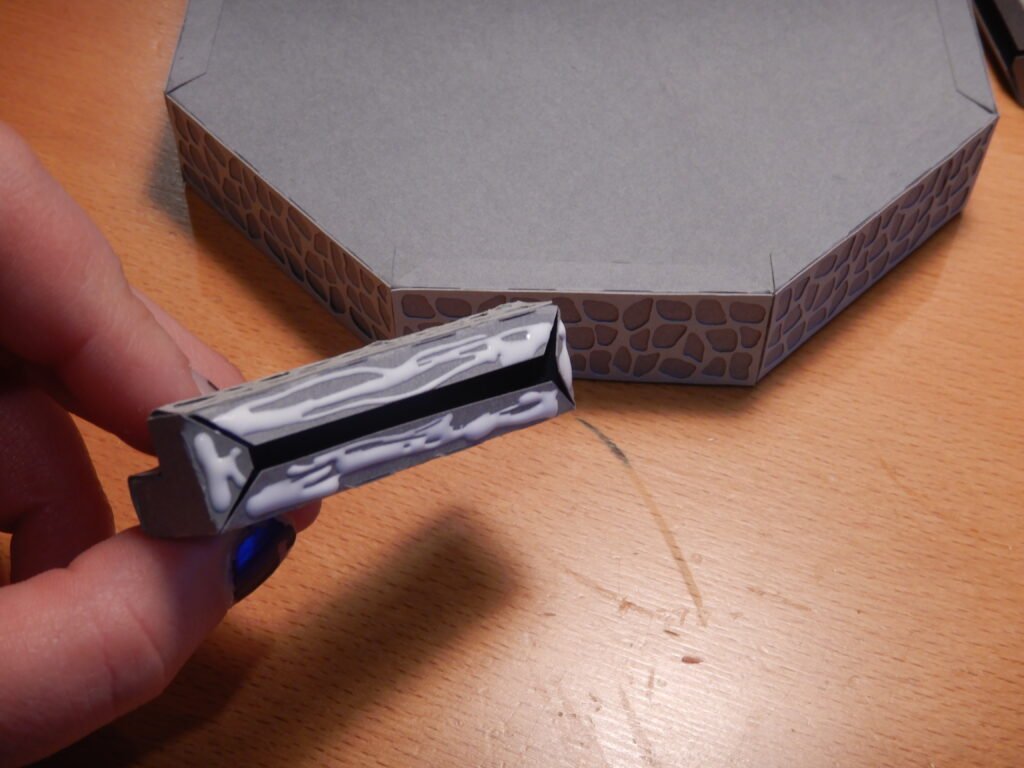
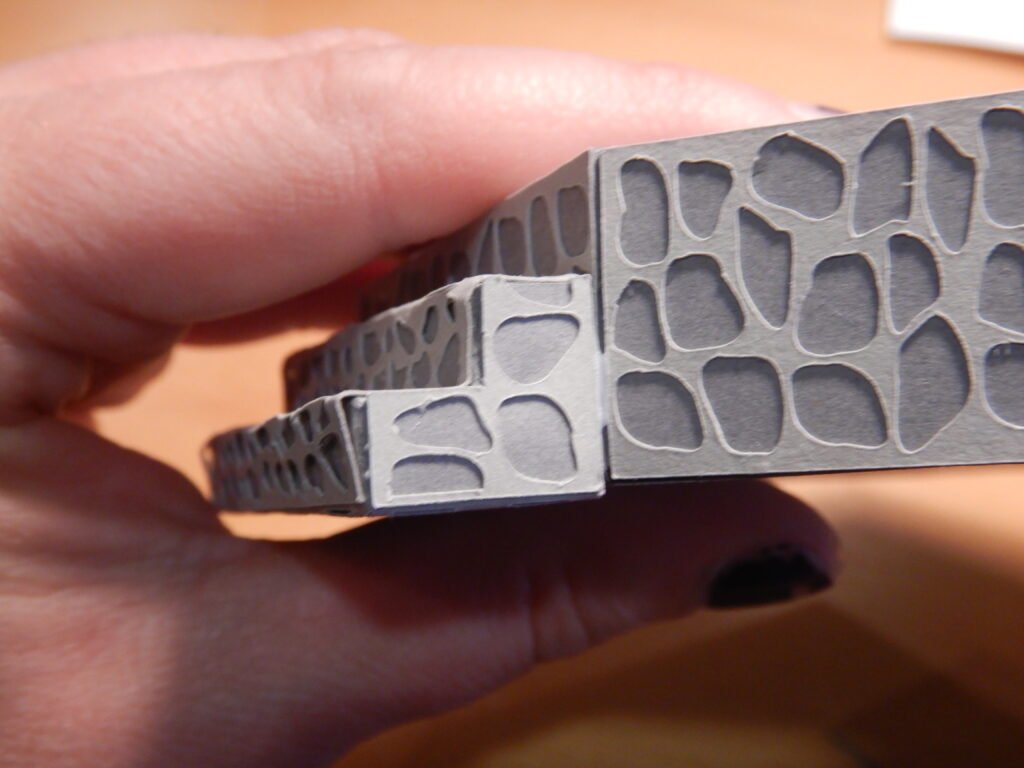
With the stair structure done, you can add the stone decoration for them. There are some score lines to help fold the stone decorative panel but with so many holes making the stones, they aren’t that helpful or easy to see. If you fold lengthwise along the panel to make a ‘valley fold’ then fold this will help give you one of the folds. We added glue to the top portion of the stone panel and attached it to the top step, then added more glue to the stone panel and used a bone folding tool to help fold it onto the stairs and make the corners. Of the stairs.
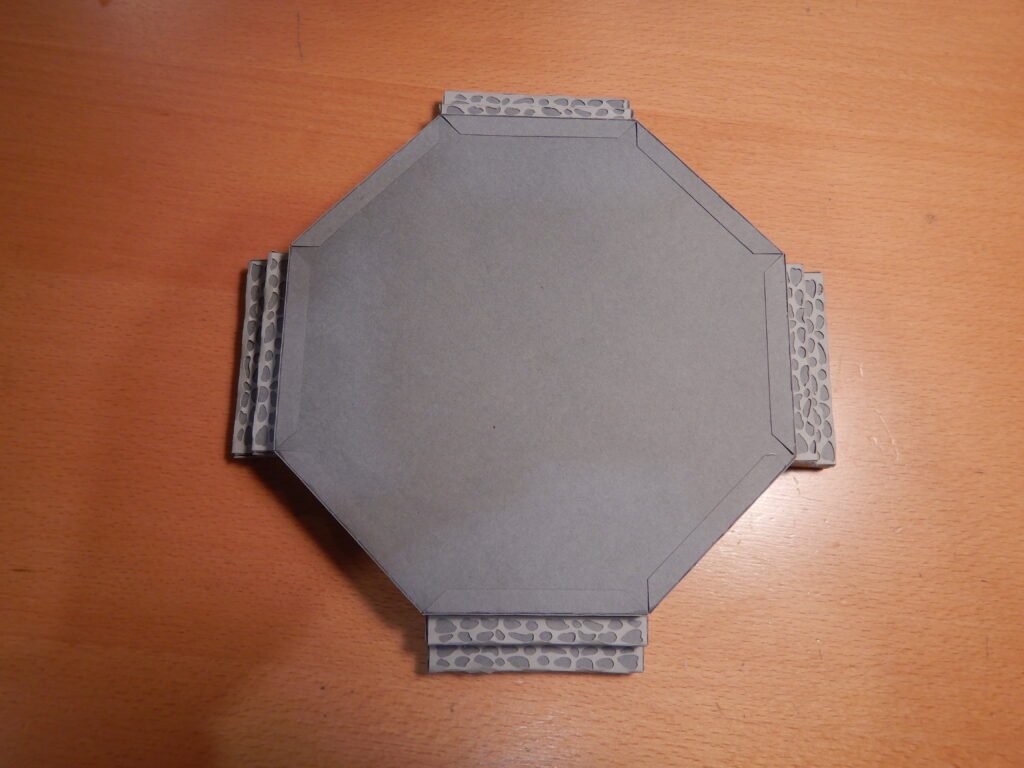
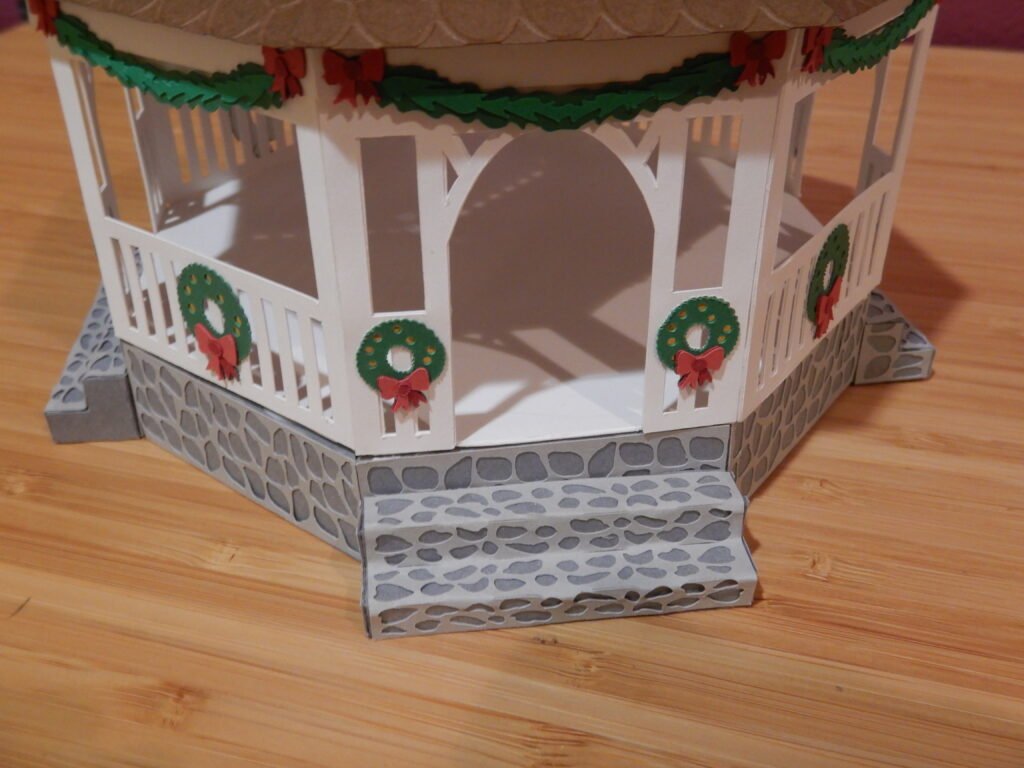
With the four stairs complete, add glue to the tabs on the back and press the stairs firmly against the foundation. Make sure the bottom is flush with the foundation, setting it on the table for this step helps make sure it’s lined up correctly. Add all four stairs, making sure to leave an empty side between them so that when done the stair can line up with the doors.
Finishing The Gazebo
Now that the foundation is done and the gazebo is done, all that’s needed is to attach the gazebo to the foundation. Put glue on the bottom of the gazebo (or top of the foundation, your choice) and place the gazebo on top of the foundation. Make certain that your doors line up with the steps!
Leave a Reply