Materials Used
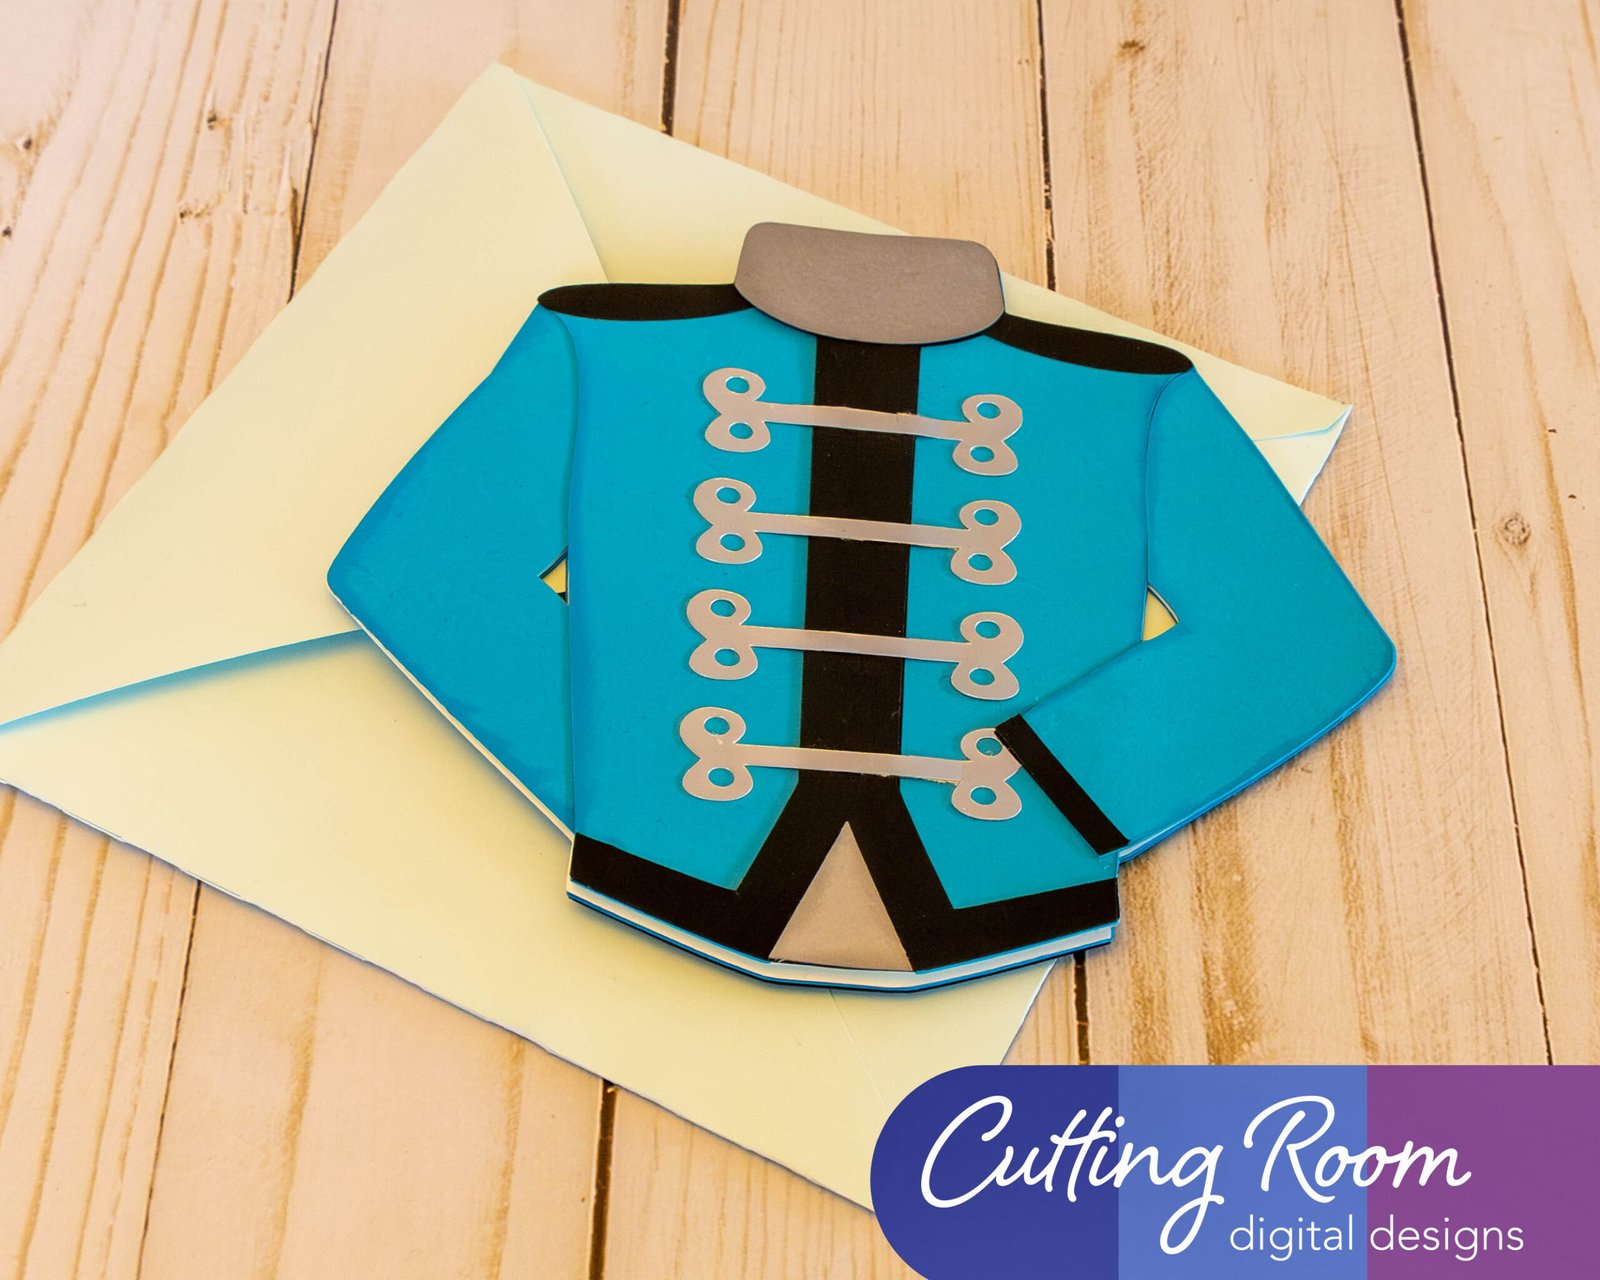
We used several products and supplies in the making this cute marching band greeting card. Below is a list of what we used.
- Marching Band Coat Greeting Card – Digital Download SVG & DXF
- Recollections cardstock
- Art Glitter Glue
- Color Petal Ink Pads
- Silver Metallic Cardstock
- Electric Cutting Machine – Cricut or Silhouette
***Note that this post contains affiliate links and we may receive compensation if you buy something using one of our links. ***
Card Assembly:
This card goes together in a pretty straightforward way. Start by assembling the back and front pieces of the coat. There is one small piece of the collar on the back that isn’t attached to the coat, save this for later when you are attaching the pieces to the card base. Tip: to make spacing of the front decorations a little easier we used the left over negative from our cut to give us a placement guide. Add glue to the back of the pieces and place them into the negative. Remove the negative once all are attached.

Fold the card base on the score line and attach the front and back decorations to the card base.


The small piece of collar will be attached to the back of the card but with how the card is constructed, you will actually attach it to the back of the front panel.

Envelope Assembly:
For the envelope, the pointed flap is the one that you secure last, after inserting your card. To assemble the envelope, fold in the bottom flap then the side flaps. Use a bone knife or similar to get a crips fold.


Add glue to the edge of the bottom flap and fold the sides in, securing them in place. Make sure not to use too much glue or it will get on the rest of the envelope and seal it closed. Once these three in place, you can add your card and anything else to the envelope. Fold down the pointed flap and secure with glue, tape, stickers, etc.


Leave a Reply