Materials Used
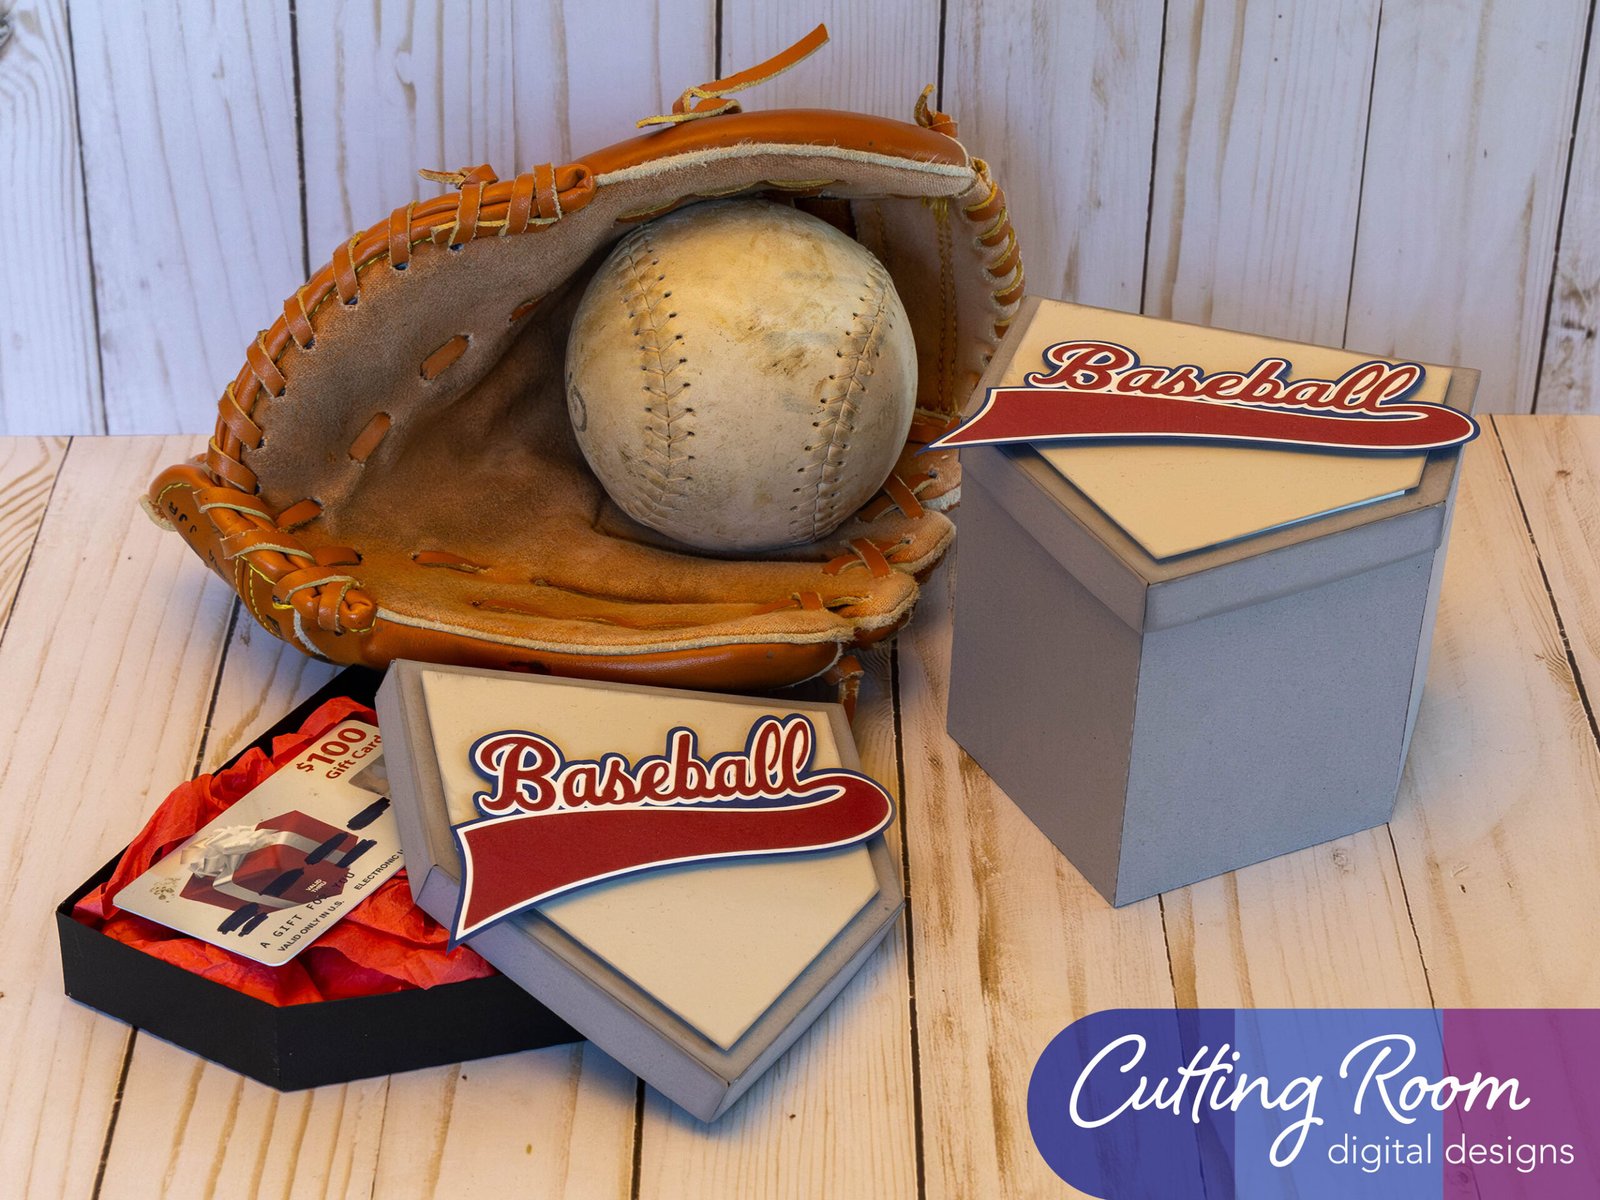
We used several products and supplies in the making these fun baseball home plate themed boxes. Below is a list of what we used.
- Baseball Home Plate Gift Card Holder and Gift Box – Digital Download SVG &DXF
- Recollections cardstock
- Art Glitter Glue
- Color Petal Ink Pads
- Pop Dots
- Electric Cutting Machine – Cricut or Silhouette
***Note that this post contains affiliate links and we may receive compensation if you buy something using one of our links. ***
Large vs Small Box Assembly
The large box and small box are sized so that they fit the same lid. All three pieces go together in the same way as well. Below are directions on how to assemble them using photos of the small box.
Box Assembly
To start, we took the side pieces of the box and laid them out next to the side that they will attach to.
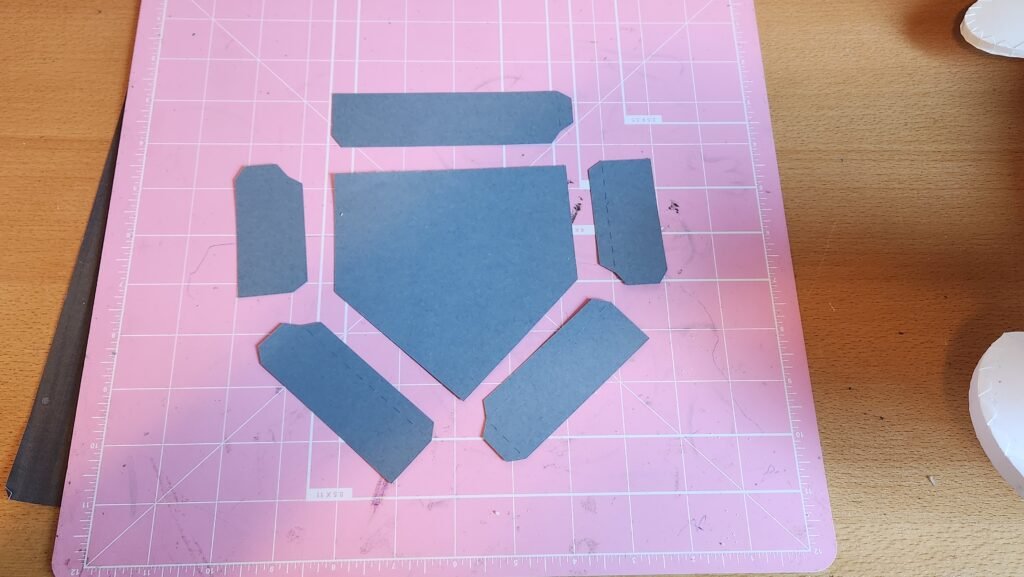
We then started connecting them end to end until we attached them all, creating the home plate shape.


We then folded in the tabs and added glue. We placed the home plate shaped panel inside and made sure to have it centered and pressed into the fold of each tab.


Next, turn over the shape and glue the other home plate panel in place to cover the tabs.
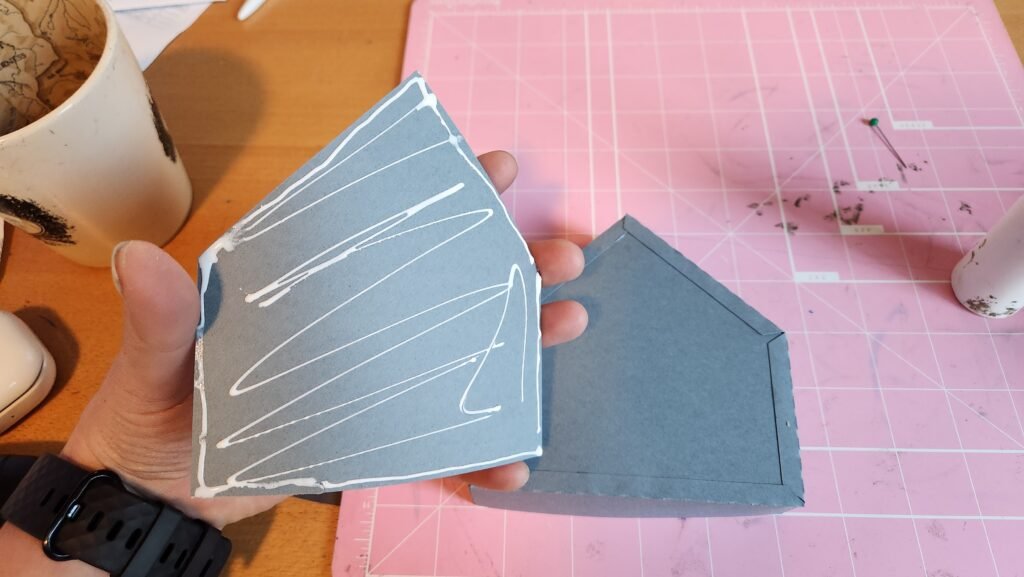

If you were making the large box or small box, then that part is complete. If you were assembling the lid (the same lid fits both) then all that is left is the decorations.
Decorating The Box
To do this, we started with making the word Baseball. This is just three layers of paper. If you wish, you could add your team name or player name to the swoosh under the word for some easy personalization.

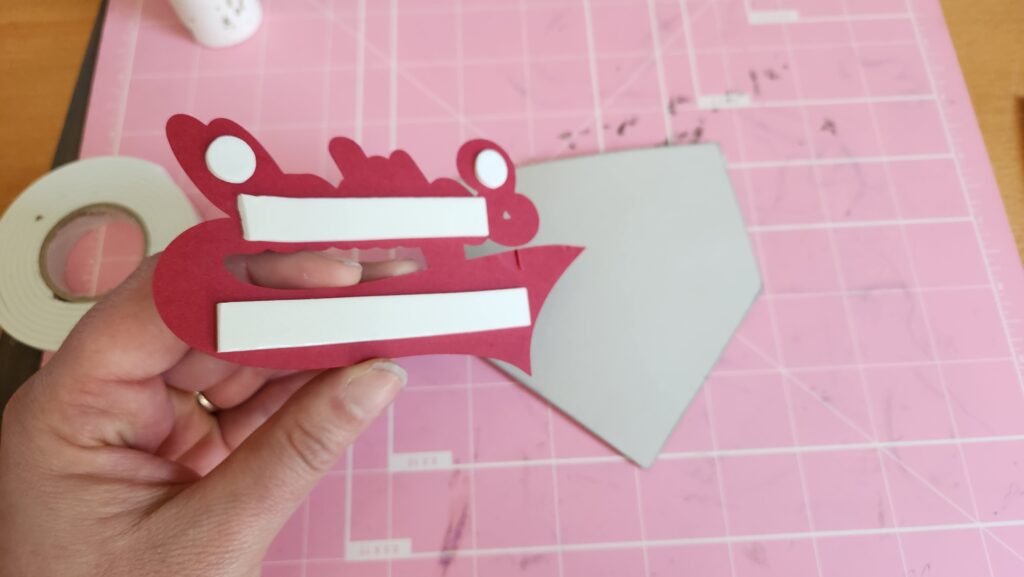
Once we assembled the word, we added foam dots and foam tape to the back as we wanted to give our lid a little dimension.
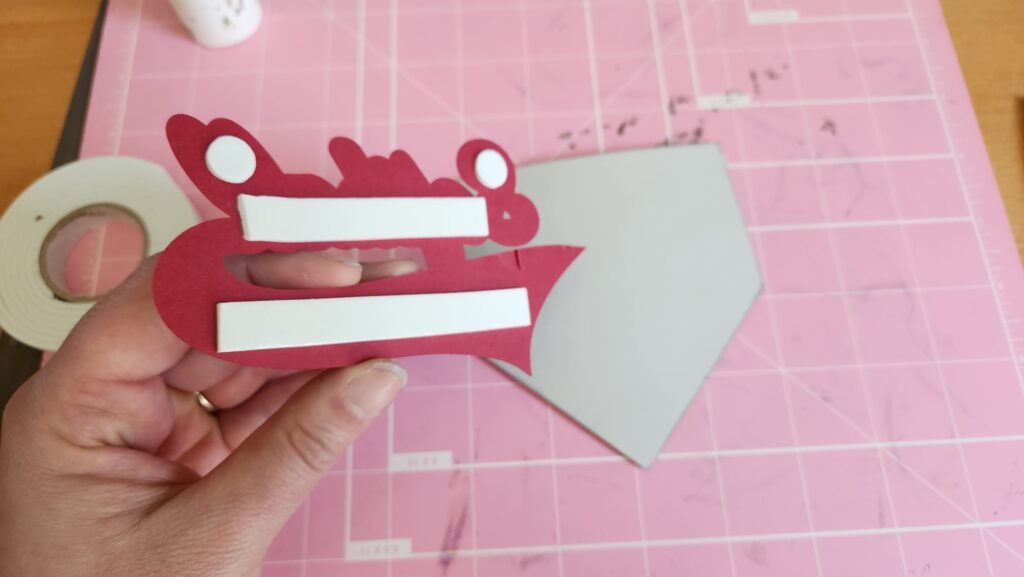
We placed this on the home plate panel. This one is smaller than the ones for the lid/box bottoms. Once we had the word placed on our home plate, we added more foam tape to the bottom of the home plate panel then placed it in the center of the lid.
