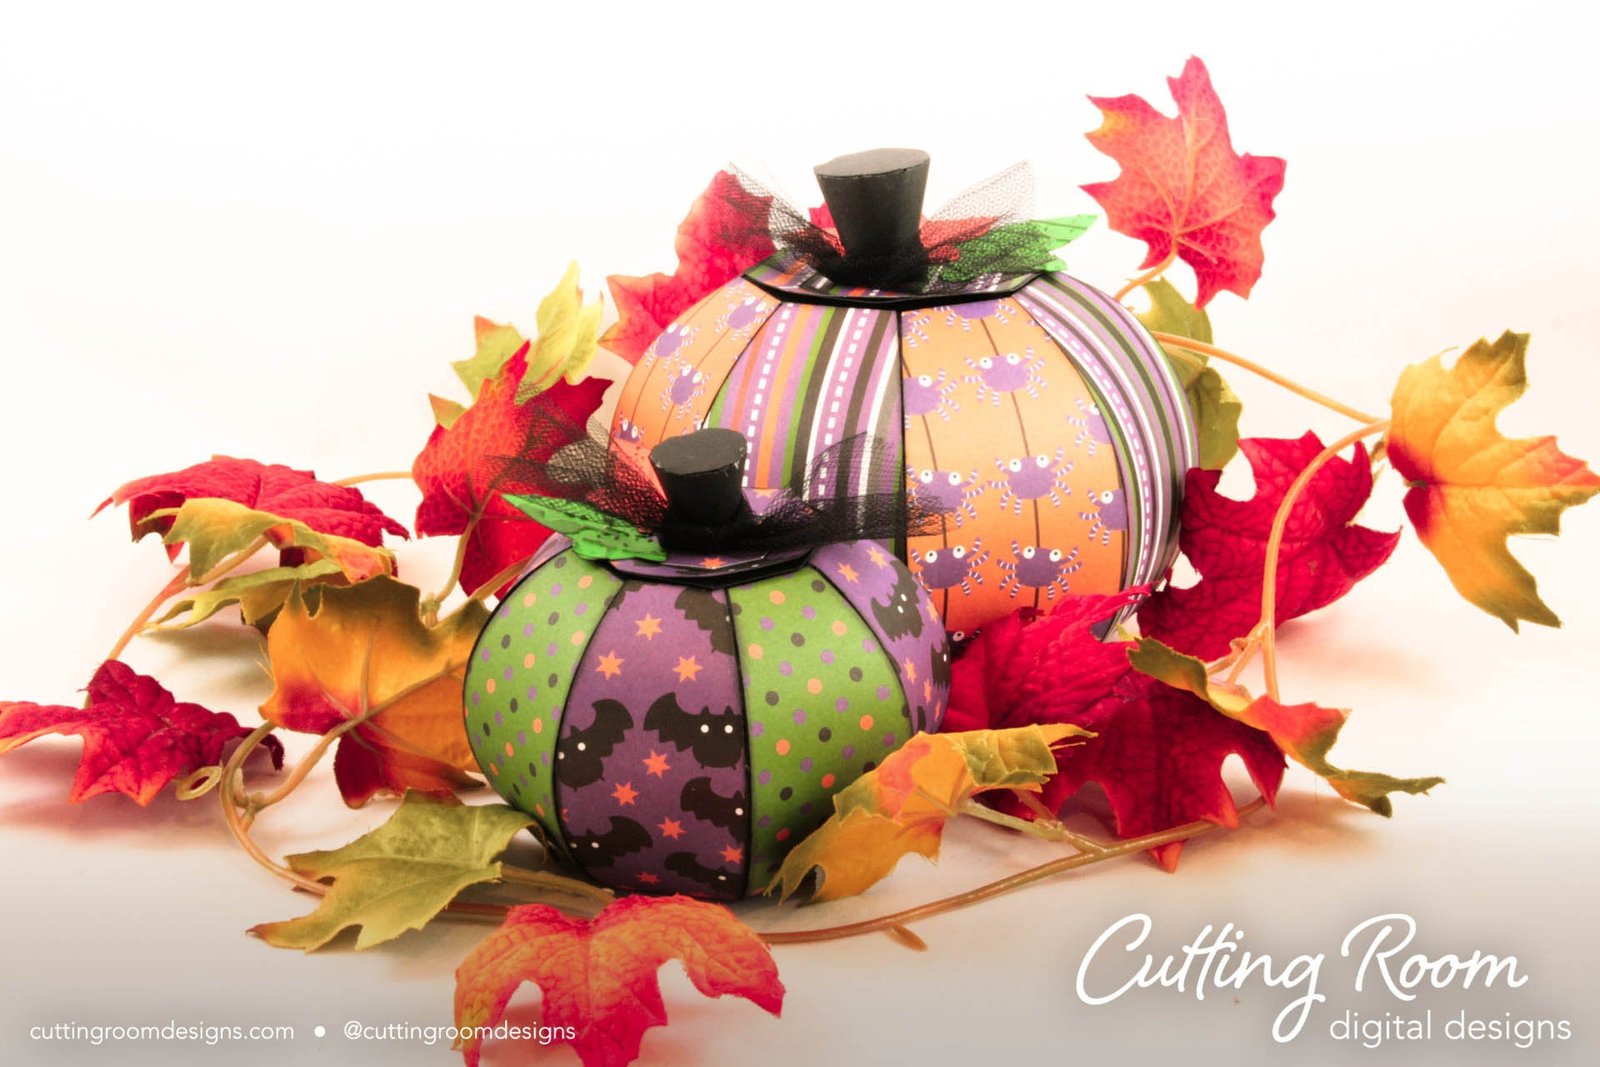
Materials Used
We used several products and supplies in the making of our fun Halloween pumpkin decoration. Below is a list of what we used.
- Pumpkin Gift Box – Digital Download SVG
- Recollections cardstock
- Art Glitter Glue
- Color Box Ink
- Electric Cutting Machine: Cricut or Silhouette
***Note that this post contains affiliate links and we may receive compensation if you buy something using one of our links. ***
If you wish to watch a video assembly tutorial, we have one on our YouTube channel here: https://www.youtube.com/watch?v=Yy43E0tajII&t=10s
Assembling The Pumpkin
This box is put together similar to several other rounded files we have. There are eight panels that are identical so you can use them in any order. I find it easiest to start at the bottom and glue a couple tabs then move up as the glue sets. I use a liquid glue most of the time so going slow helps and making sure that the bottom ones are secure and in place properly makes the rest come together nicely.

Making The Lid
The lid is only two pieces. The outer part glues together to make the lid shape. It will be slightly angled but not a lot. To put the center panel in place bend in the tabs then glue the panel down. The decorative lid panel goes next. For a bit of dimension, I added some ink to the edges before gluing it to the lid.

Adding The Stem
The stem is only two pieces as well. Add a bit of glue (glue tape works great here!) to the tab and loop around the stem to make a circle then fold down the top tabs to glue the top in place. Once dry there are two small tabs to glue to the top of the pumpkin lid.

Decorating The pumpkin
There are also decorative panels to add to the outside of the pumpkin allowing for a smoother face and more decorating opportunities. My favorite way is to use two different decorative Halloween papers alternating on the pumpkin. However, if you used two toned yellow or orange it would give this pumpkin a more realistic appearance. To apply them, I only glued the top and bottom in place. Not gluing the entire thing allows for a smoother appearance. When applying the decorative panel, line the top of the panel up with the top fold/score line, glue in place, then smooth the panel down to secure at the bottom.


As an added touch when done I used a black mat tulle and tied it around the stem.


Leave a Reply