Materials Used
We used several products and supplies in the making of our gumball machine. Below is a list of what we used.
- Large Gumball Machine Party Centerpiece Decoration – Digital Download SVG & DXF
- Recollections cardstock
- Art Glitter Glue
- ColorBox Ink
- Tim Holtz Distress Ink – Distressed Pewter
- 5.5″ Clear Big Plastic Acrylic Arts & Crafts Giant Mold Shells
- Cotton or Quilt Fiber Fill
- Electric Cutting Machine: Cricut or Silhouette
***Note that this post contains affiliate links and we may receive compensation if you buy something using one of our links. **
Building The Gumball Machine Base
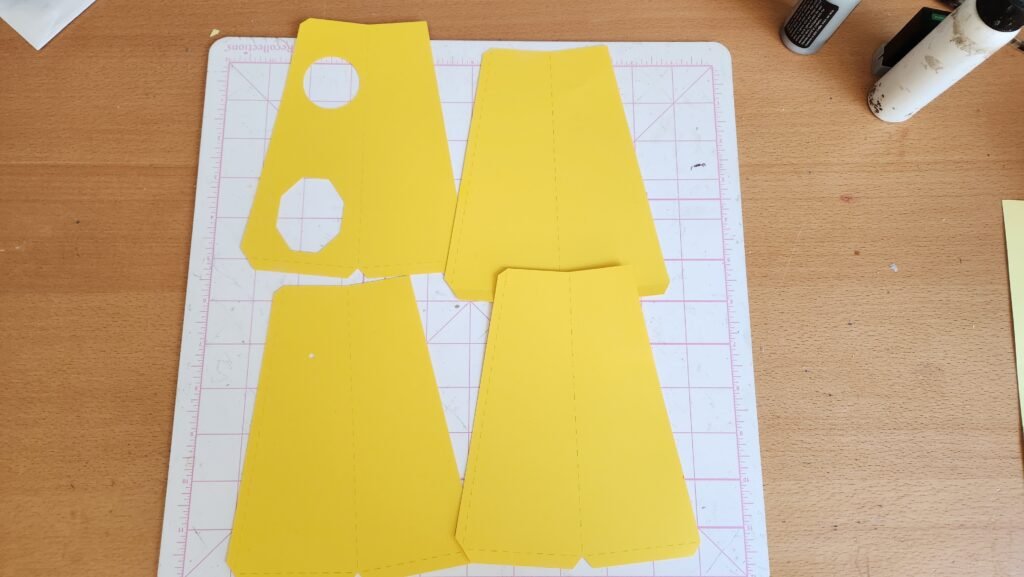
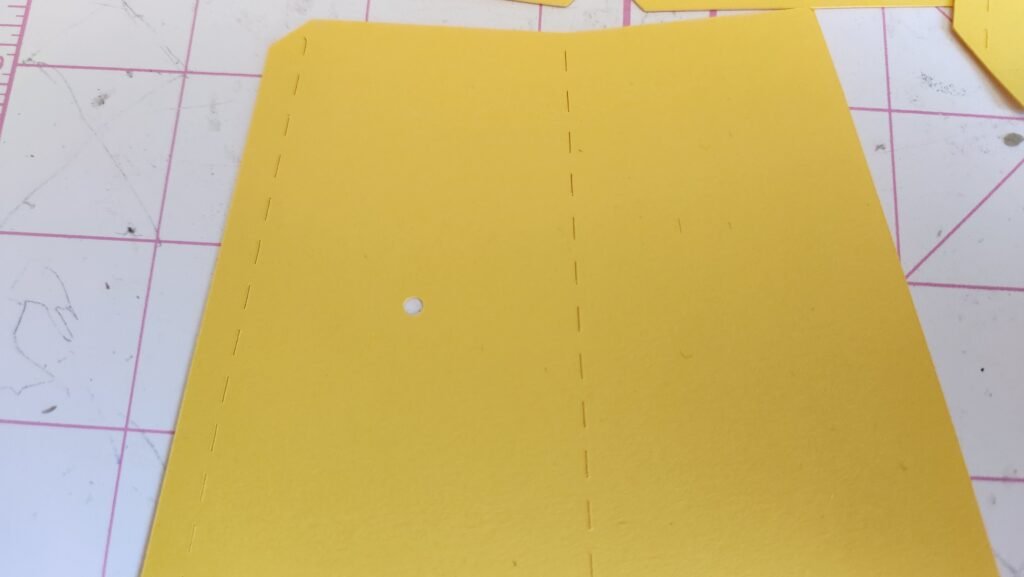
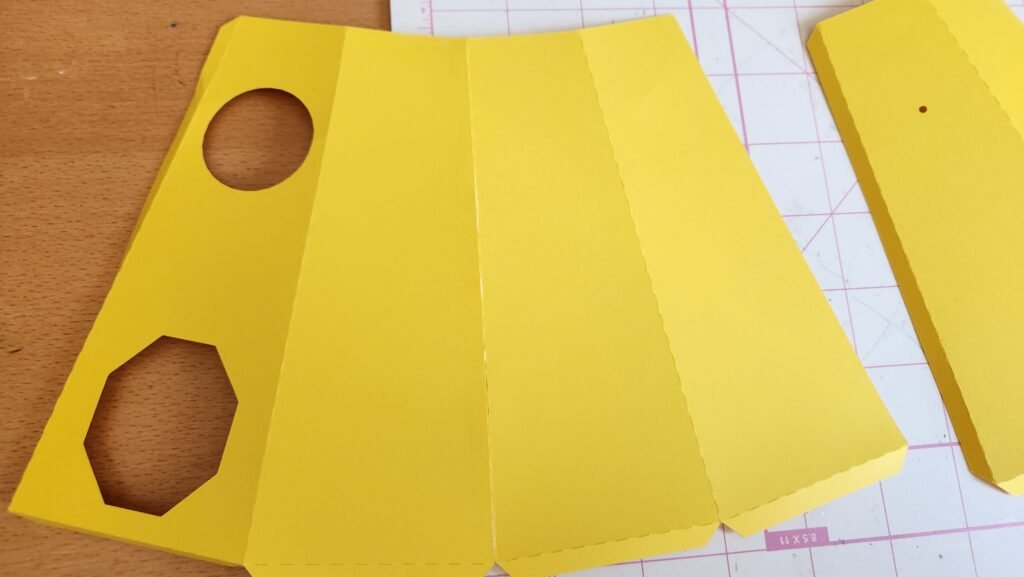
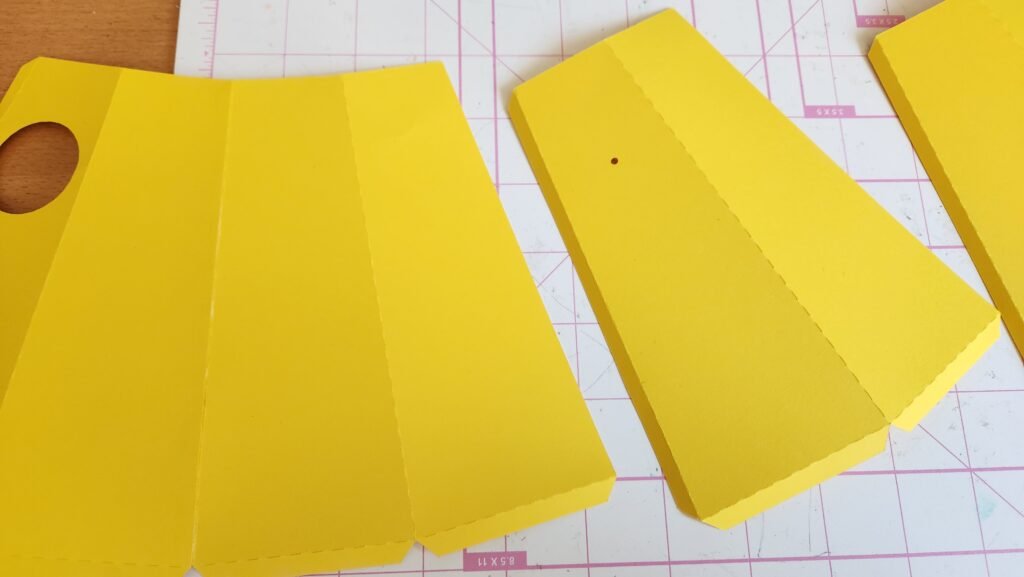
Start by taking the for panels that make up the sides of the base. Fold on the score lines. Note that there’s one panel that has two large holes and one panel with a small hole. Make sure these are not attached to each other. Place a solid panel on either side of the panel with two holes Then add glue to the long tab on one and attach it to the other. Repeat until all four sections are connected but do not attach the first panel to the last.

Assembling The Chute
Before creating the octagon cone shape with your panels, you need to make a couple pieces to go inside the gumball machine. Start by taking the chute panel and encourage it to curve then add glue to the long tab and attach to create a tube. You’ll notice that we added some brushed pewter Tim Holtz distress stain to the inside of the chute. We didn’t go all the way up because it won’t be seen. You can tell which end will be attached to the side of the gumball by the end that has a small hole in a tab.


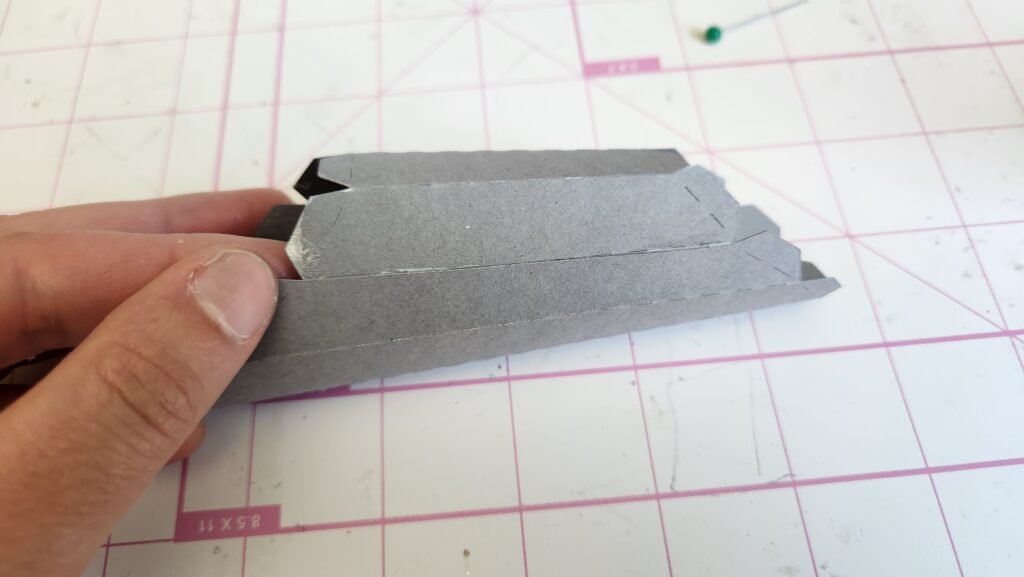
We then took the larger funnel and folded on the score lines. Add glue to the tab on the end and attach to create the funnel shape.
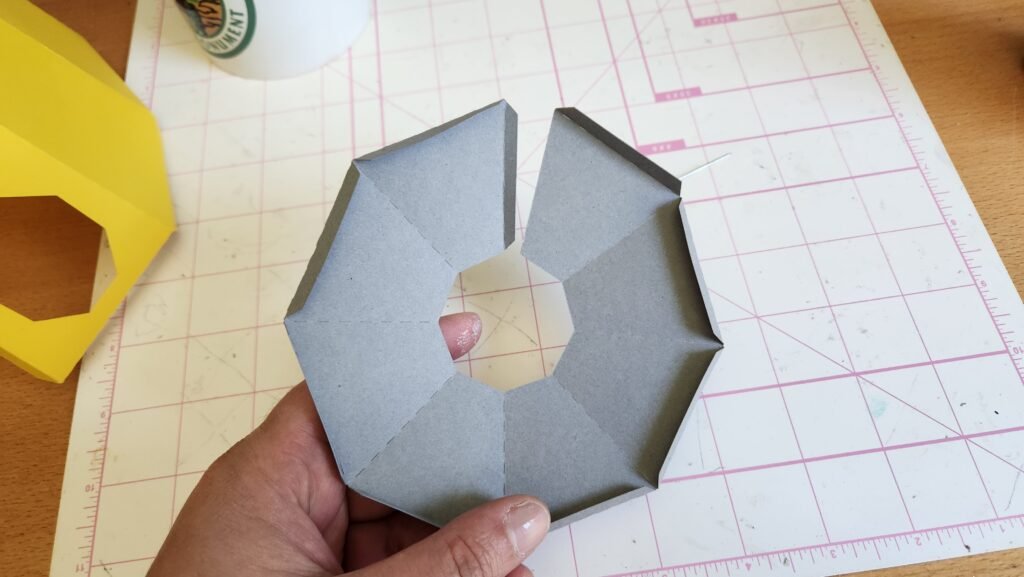

Take the chute you created. One end has a tab with a whole in it. Slide the other end through the bottom of the funnel and use the tabs to secure it in place. It doesn’t matter what direction you have the chute come out the bottom of the funnel.


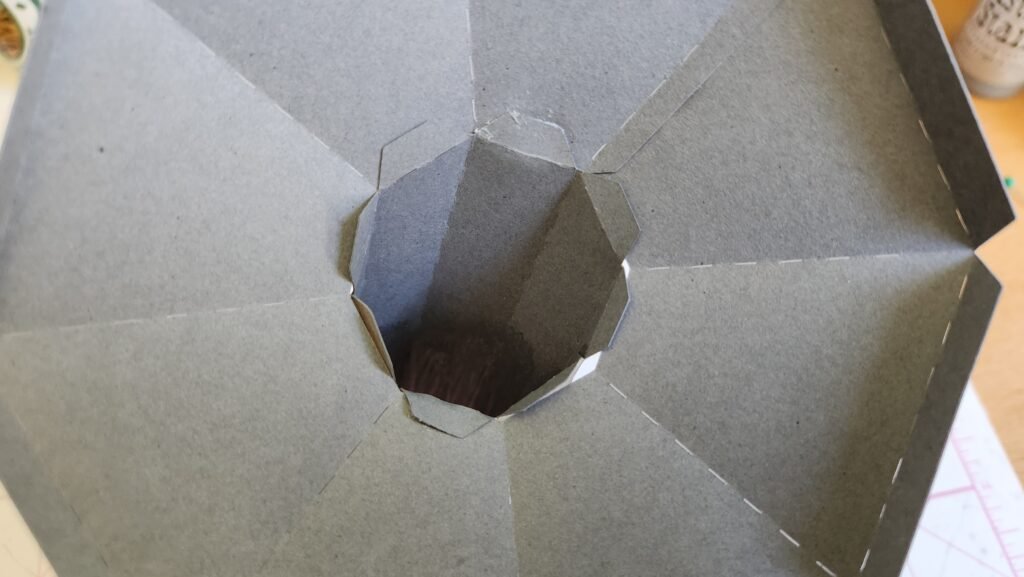
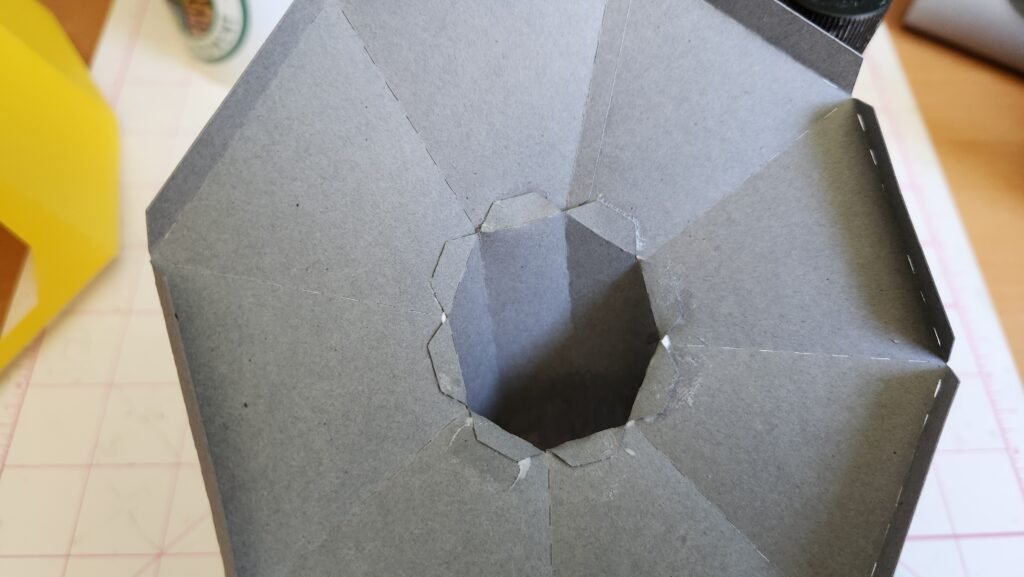
Attaching The Gumball Machine Chute
Now it’s time to put the chute into the base of the gumball machine. Slide the chute through the large hole at the bottom. Make sure that the tab with the hole is on the right side. Add glue to the tabs, one or two at a time and secure to the gumball machine.
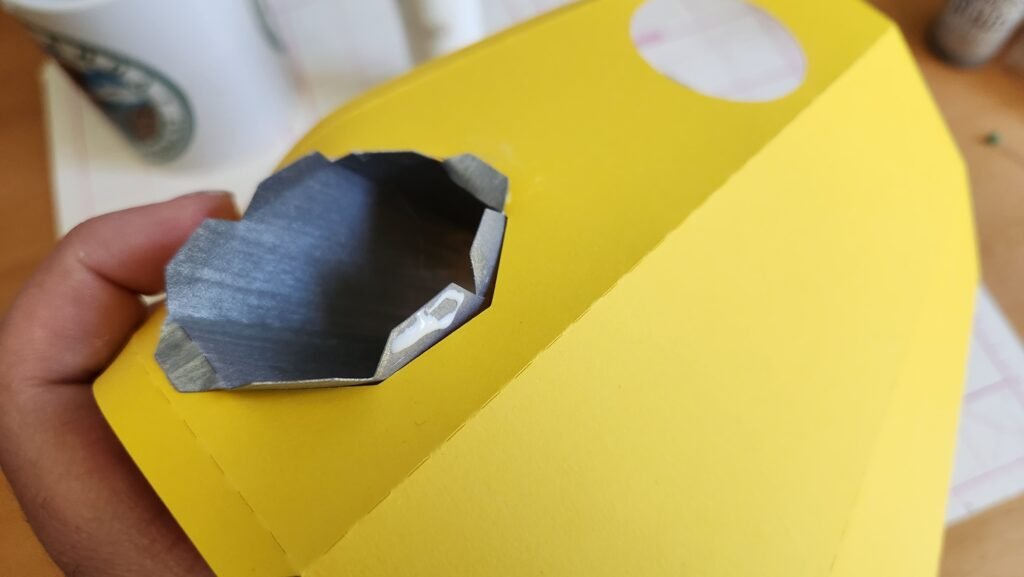
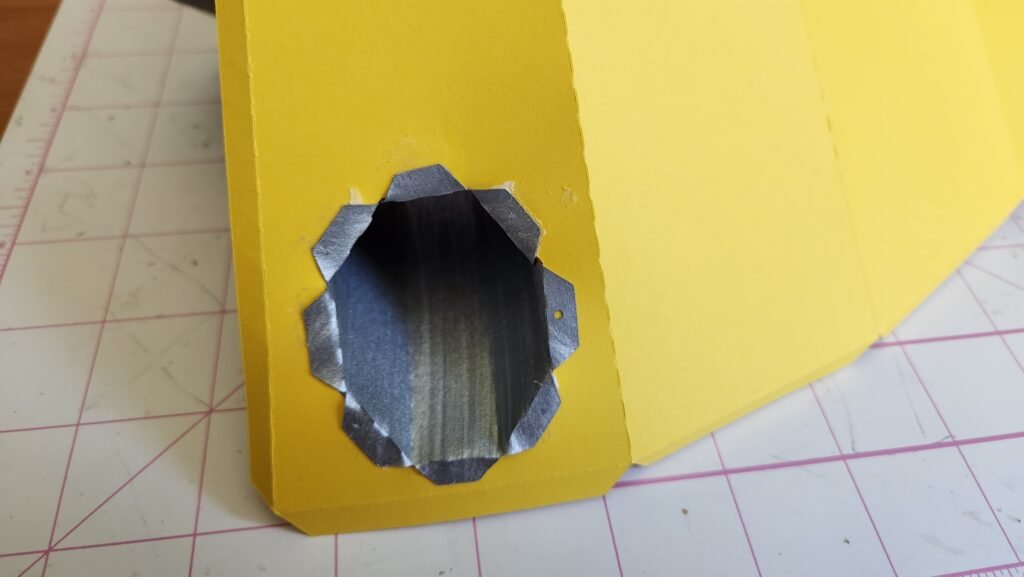

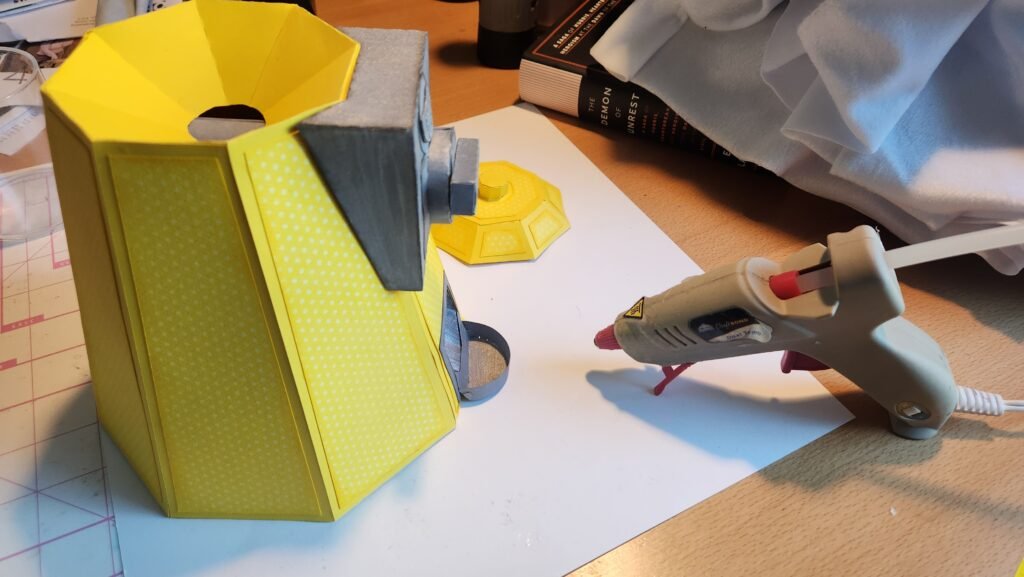
Once this is secure turn the structure over so the outside of the base is laid on the table. The funnel needs to be secured a little before closing off the gumball machine base. Add glue to the tab that lines up with the panel that has the chute. Secure it just below the circular opening. We’ll attach the rest of the funnel later.
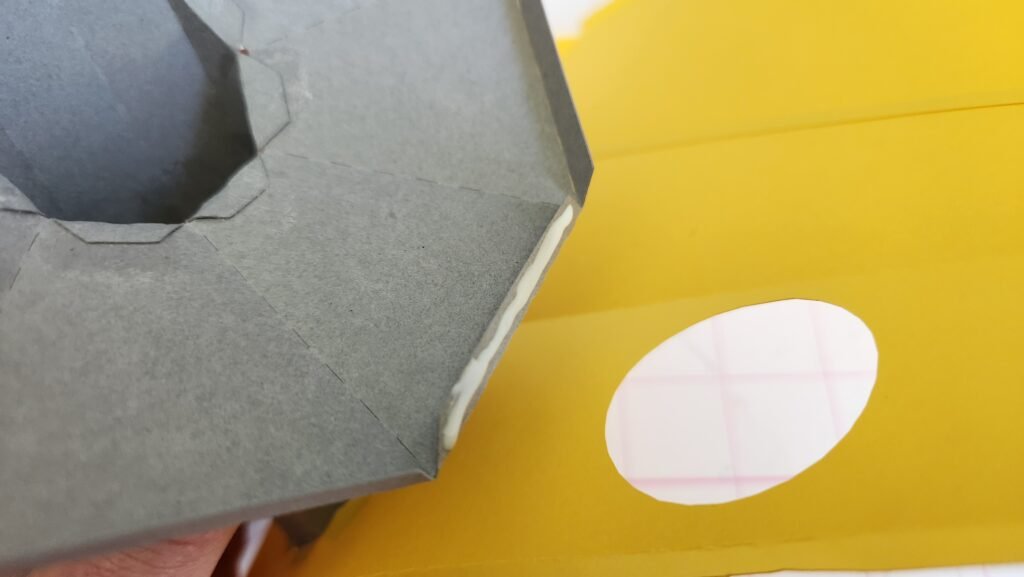
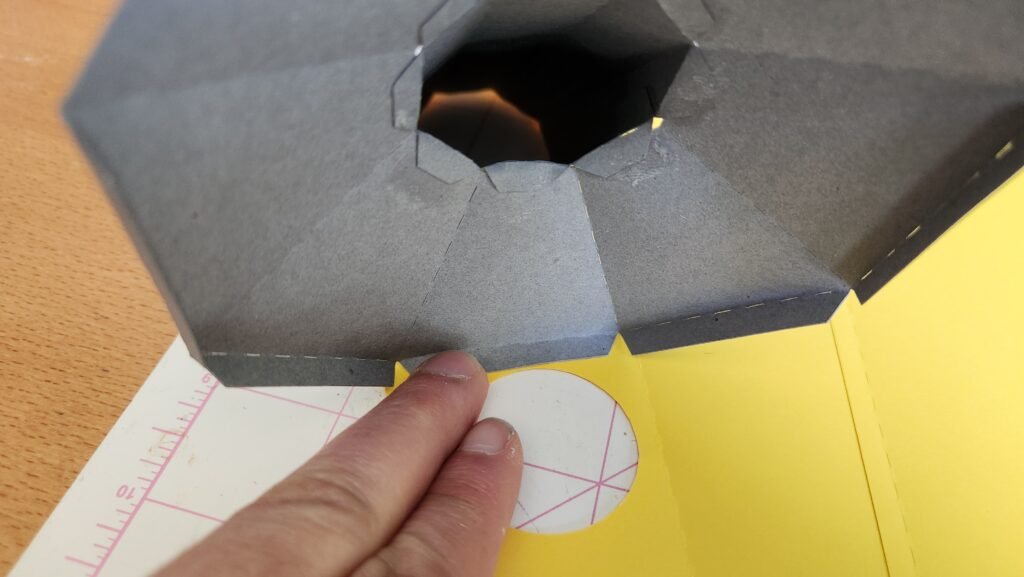
Now you can add glue to the long tab on the machine base and attach to finish creating the shape of the gumball machine base.
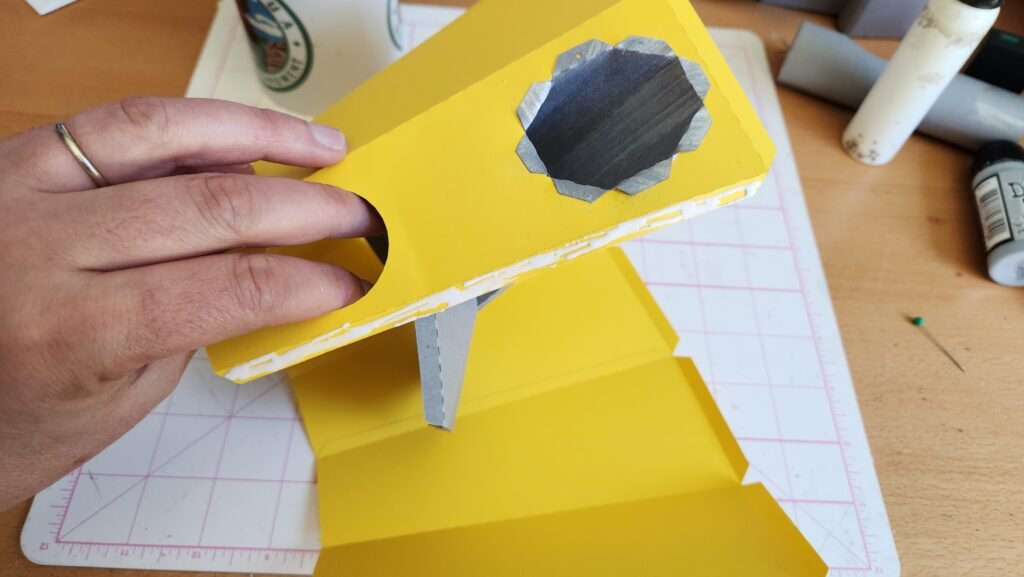

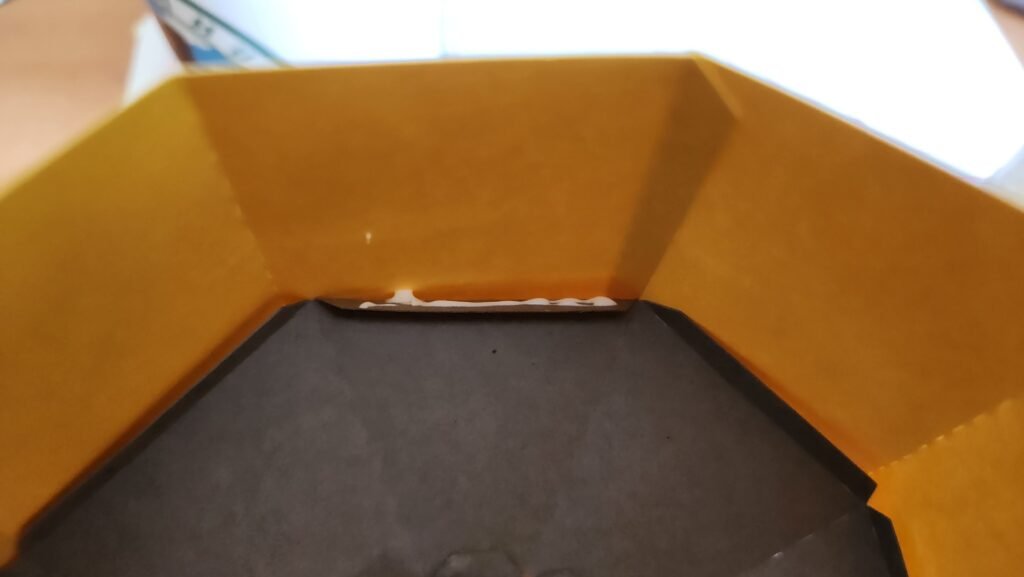
With this secure, you can now add glue to the tabs on the funnel and attach to the inside of the base. It’s okay if the funnel isn’t perfectly level.
Making The Candy Tube
Set the base aside for just a moment. Take the tube piece and curve it then add glue to the long tab. Attach to make the tube shape.
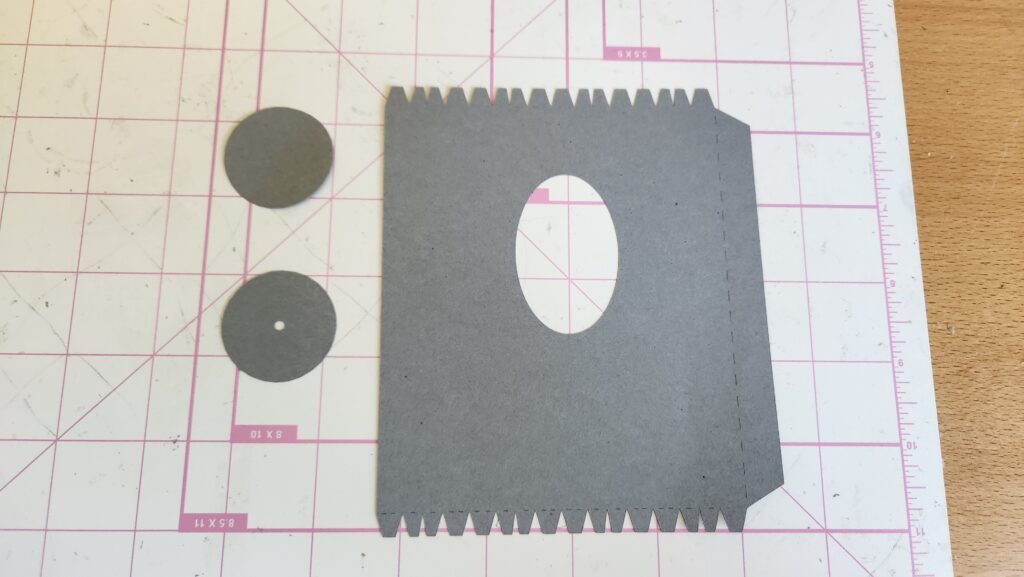
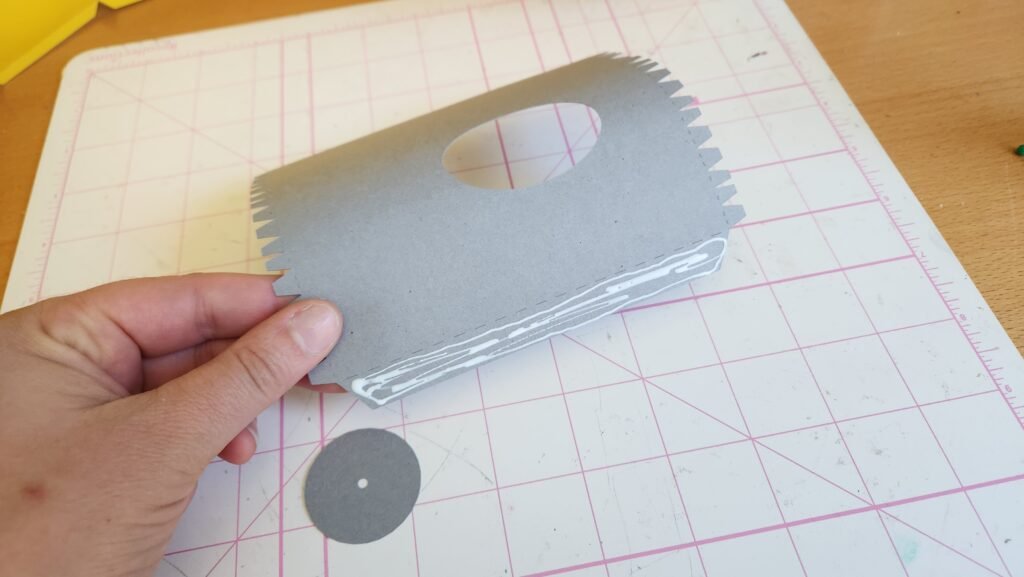
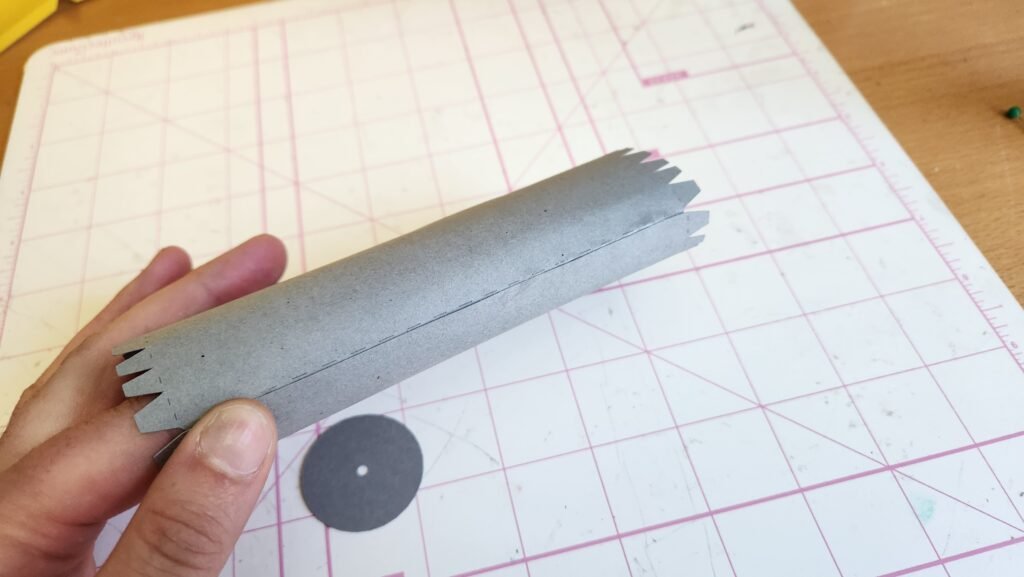
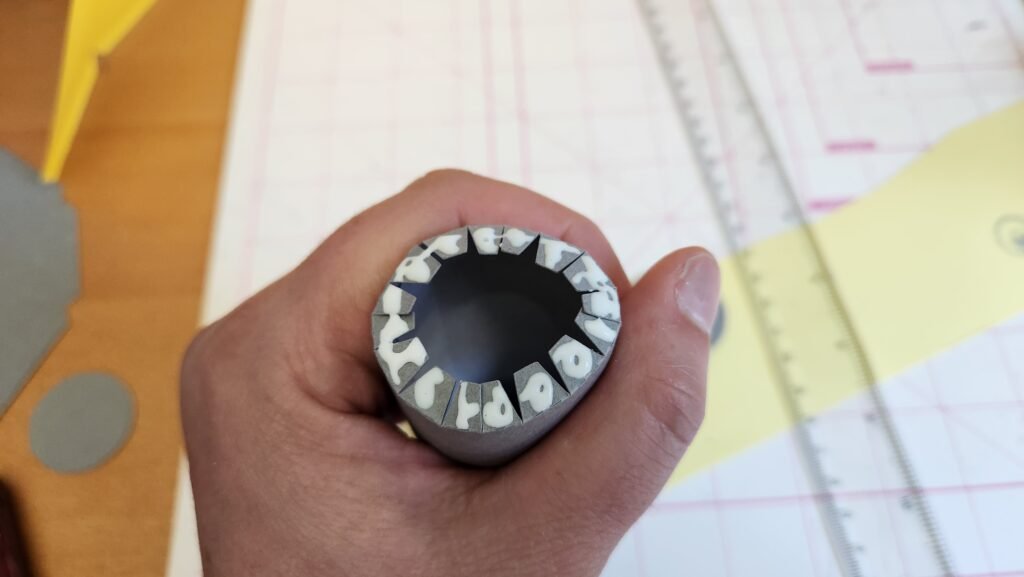
You’ll notice that the hole in the tube is closer to one end than the other. There is also a tab on one end with a hole in it. Take the tabs furthest from the hole (the end where the tabs have no hole in them) and add glue to the inside of them. Fold them in and drop the circle panel in to close off the end. We used a ruler to help reach into the tube and press the circle onto the tabs.

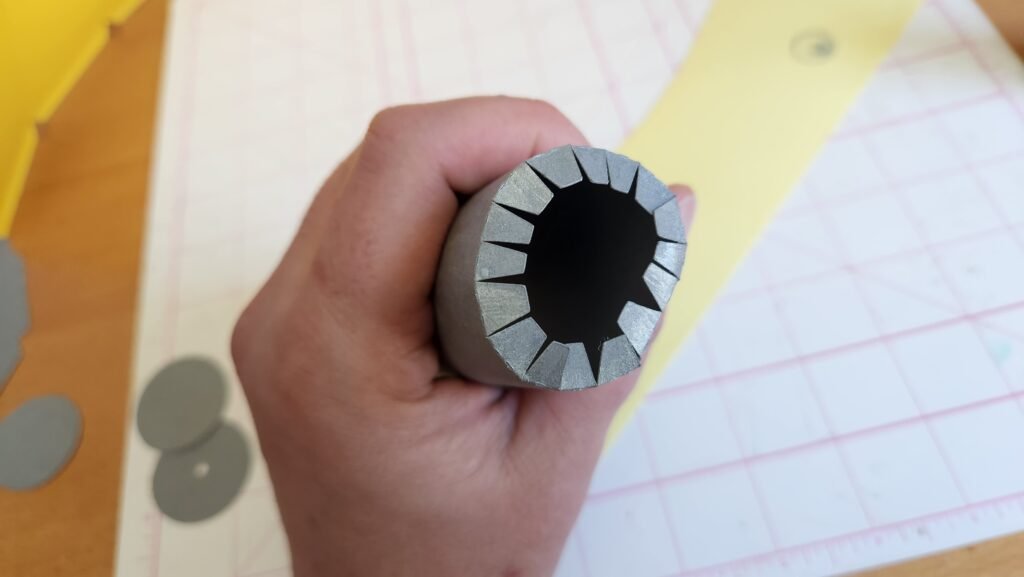
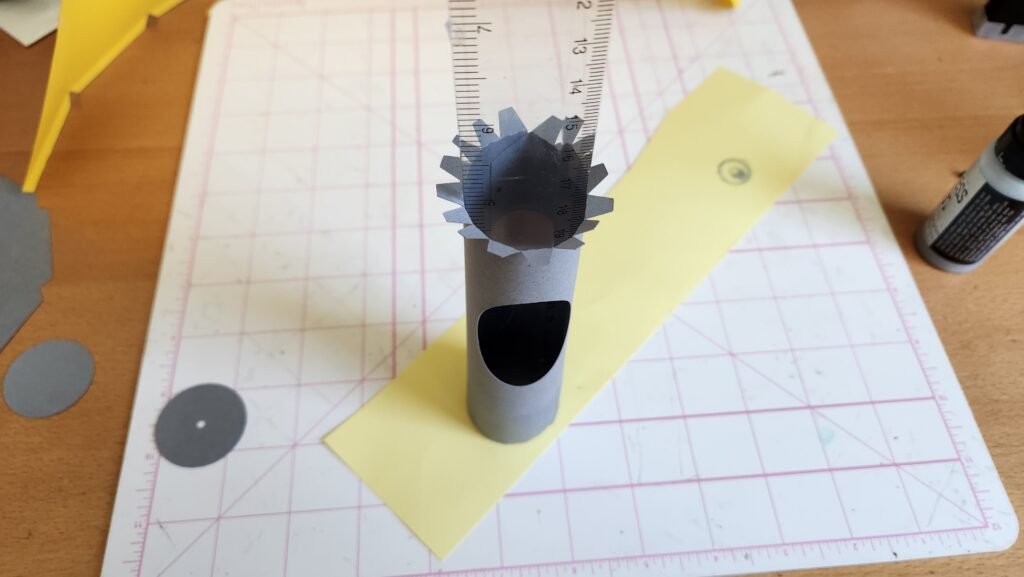
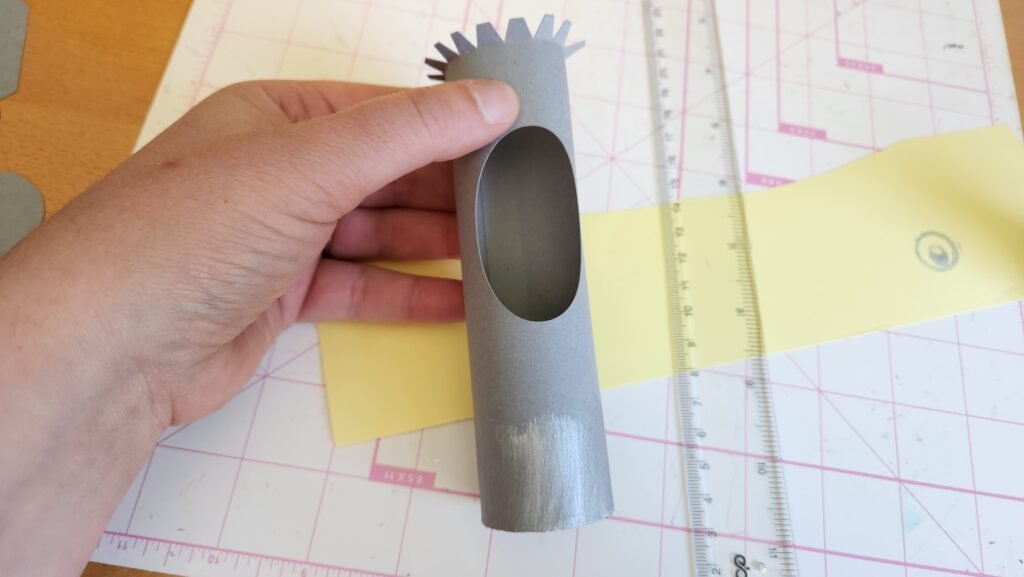
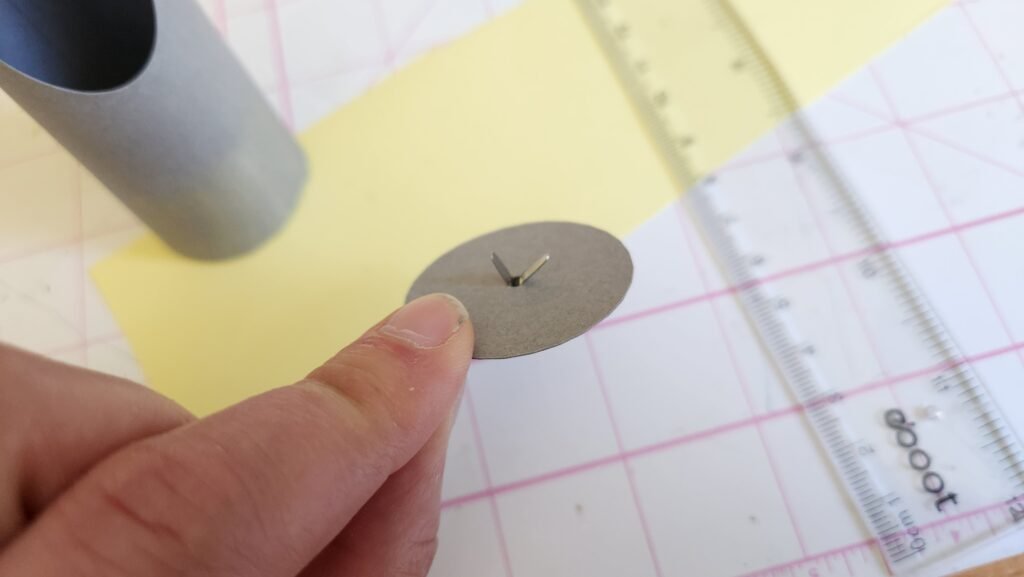
To close the other end there is a circular panel with a small hole in the center. This hole is for a brad to go through. Add a brad to the circle and slightly open the brad to help it stay in place. Fold in the tabs and add glue to the tabs then attach the circular in place.

Installing The Candy Tube
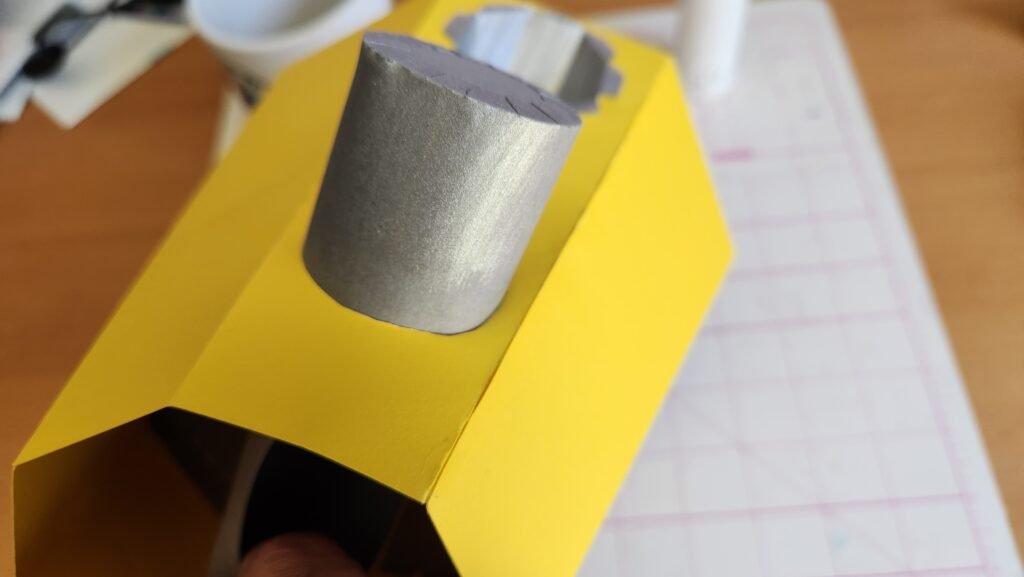
Slide the tube through the round hole in the front of the gumball machine. Make sure that the end with the brad goes in first. The brad will need to line up with the small hole on the other side. Place one finger in the tube to provide back support for the brad. Straighten the two prongs and slide them through the little hole on the back of the gumball machine base. Spread the prongs to secure the tube but don’t make it tight. This brad is intended to support the tube as you turn it and prevent the end from tilting downward or sagging.


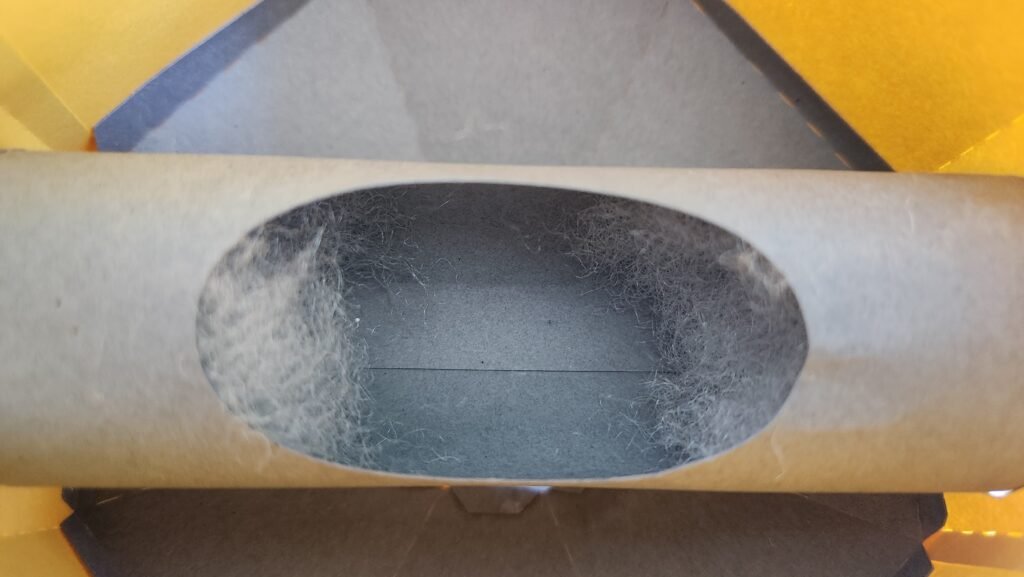
To help our machine work better later and the candies or gum not get stuck in the tube, we stuffed both ends of the tube with cotton quilt batting. You can use something else if you want, as long as it is able to fill the open space and is safe to touch the candies you have chosen.

Give your tube a twist to be sure that the brad is properly attached and the tube can comfortably move. You can also adjust the shape of the gumball machine base with how the tube sits in the machine. Try to get the base as octagon shaped as possible.
Closing The Gumball Machine Bottom
Now it’s time to close off the bottom of the gumball machine. Add glue to one of the tabs and secure the bottom panel. Once this is done, add glue to the opposite tab and secure the panel in place. Once those two are secure, you can add glue to the remaining tabs and press them into place.
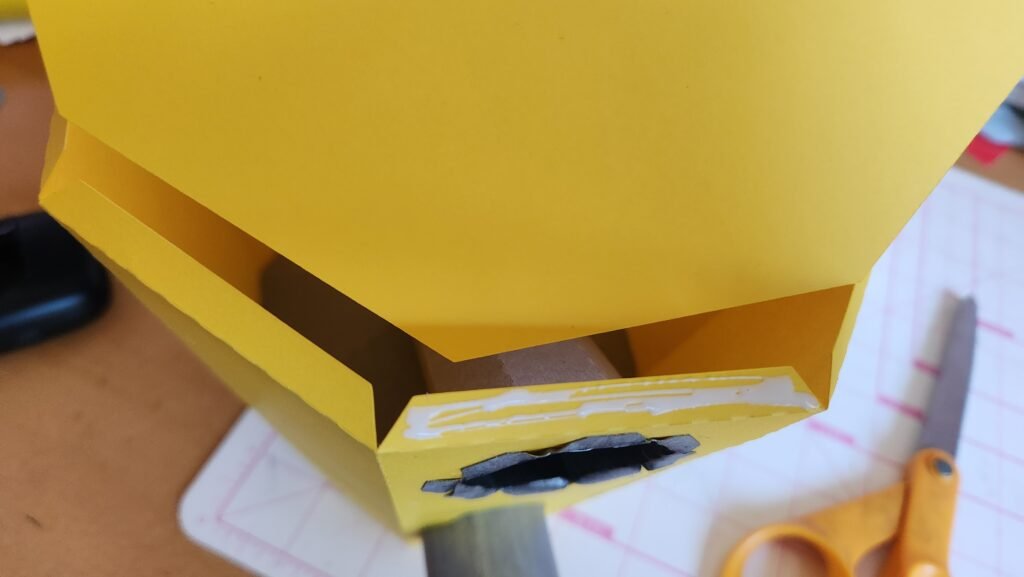

Closing The Gumball Machine Bottom
Turn your gumball machine base right side up. Now we can add the top funnel. To do this, fold on the score lines and attach the long panel to create the funnel shape.
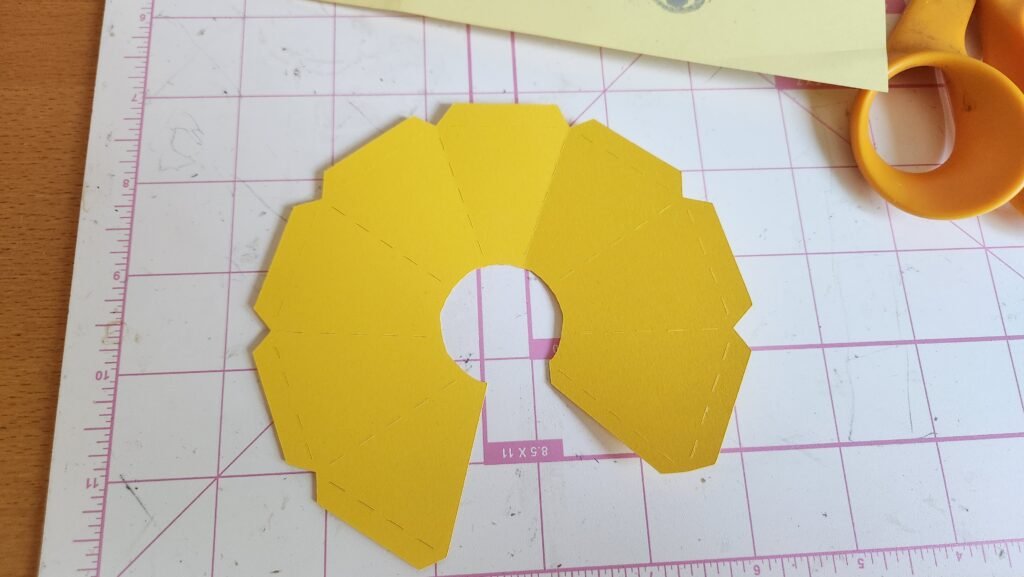
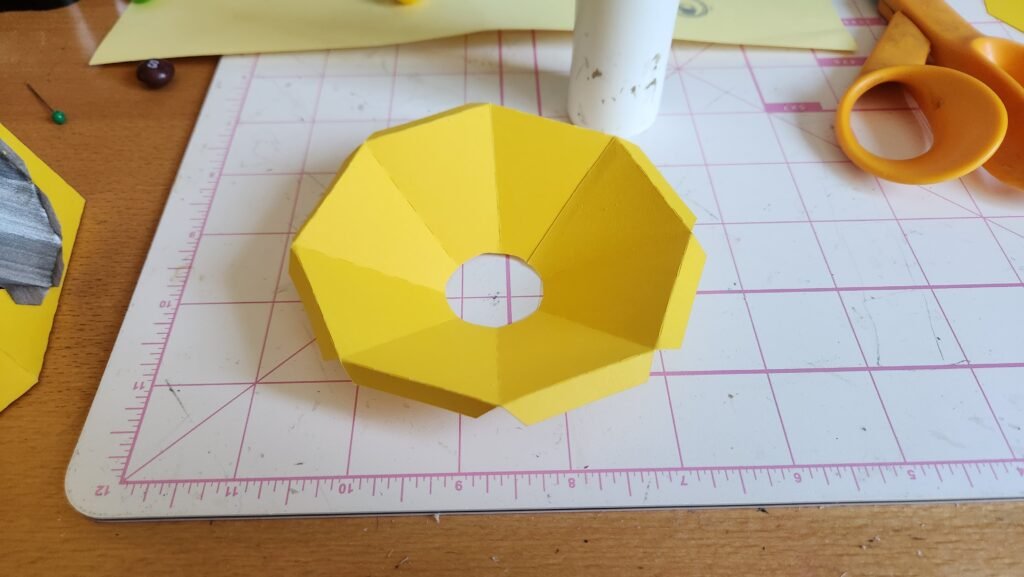
Place the funnel on the top of the gumball machine. Attach the tabs to the outside of the machine one at a time until all eight are secure.

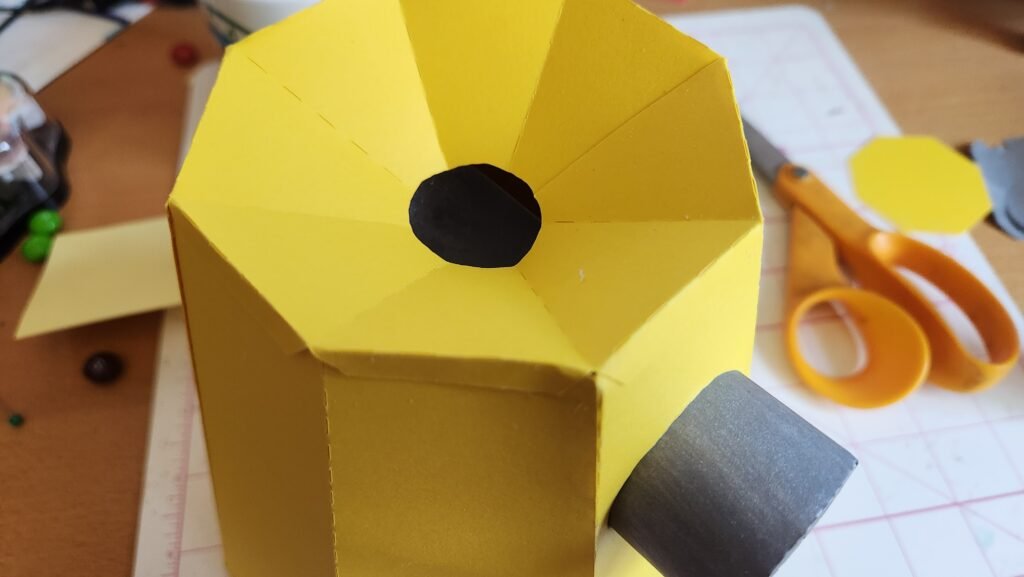
Decorating The Gumball Machine Top
Next we added the side panels. These add extra strength to the base and cover the various tabs and the brad. When attaching the panel that will cover the brad, make sure not to place any glue on the panel where the two meet. If it’s easier, you can add glue directly to the base instead of the back of the panel, making sure to give the brad some space.
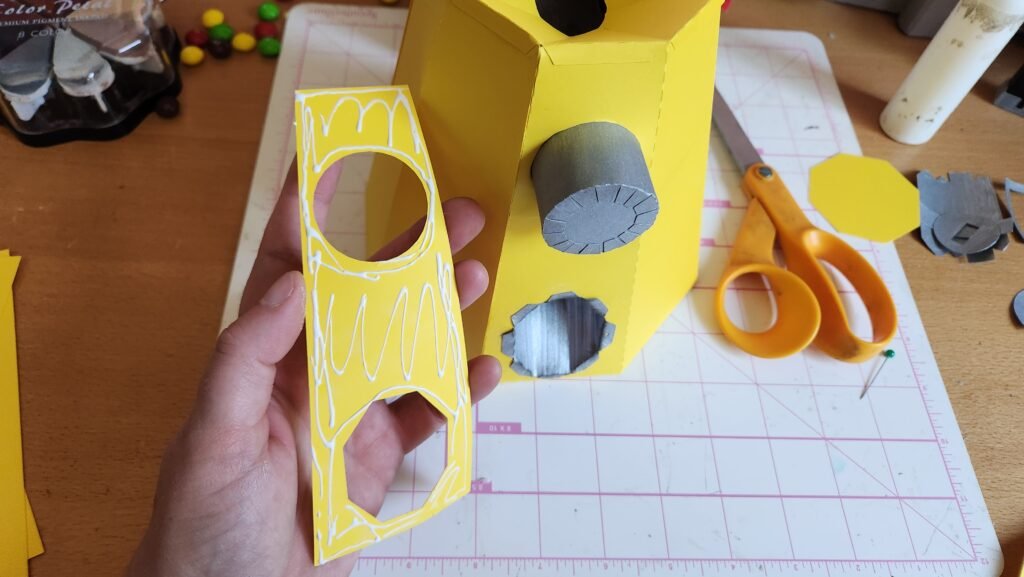
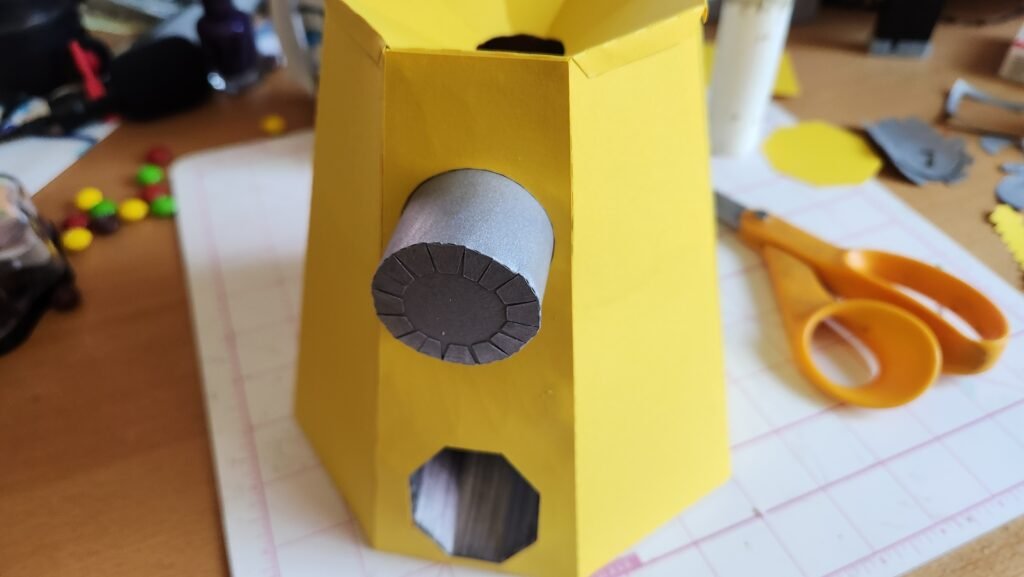
As a final step, add the decorative panels to the base of the machine. These panels are slightly inset and we chose to use a patterned cardstock as a way of adding some extra detail to the sides of our machine.

Making The Mechanical Mechanism
The base of the gumball machine can be set aside for now. We need to make the mechanical portion for the front. To start with we folded on the score lines and used the tabs to attach and make the shape of the mechanism. There will be four tabs left unused, the top, two sides, and the bottom tab.


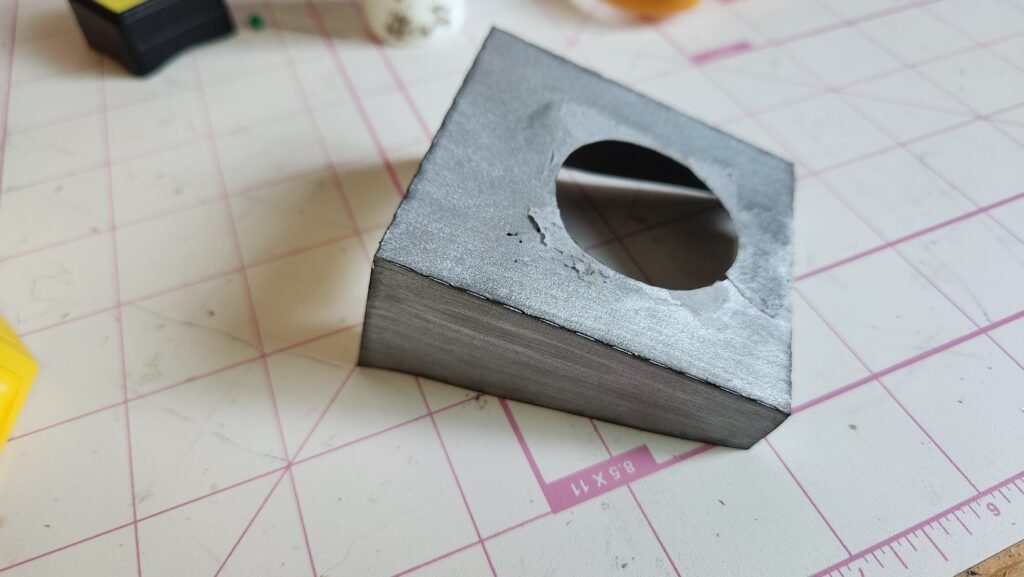
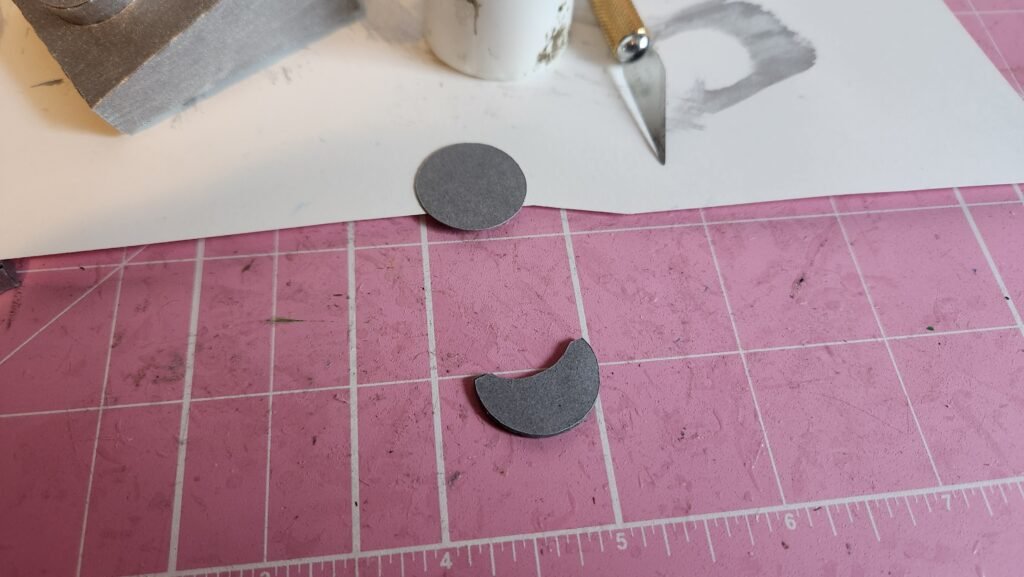
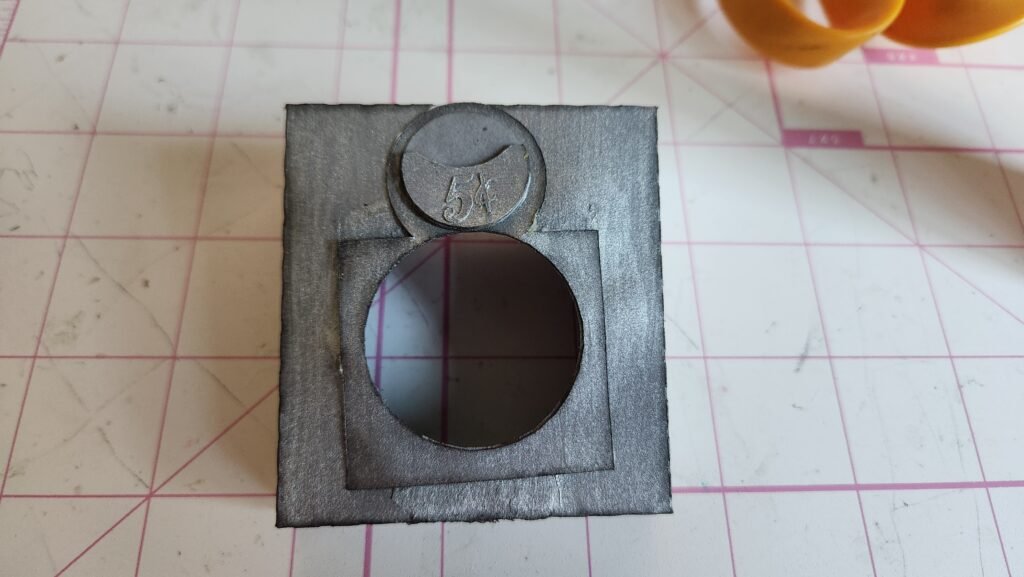
Next, we took the half circle panels and stacked them one on the other, securing each layer with some glue. Once that was done, we attached it to the circular panel. This creates the coin slot for the machine. We added the number 5 and a cent symbol as well. It’s small so you might want to cut this on intricate cut setting on your machine. With the coin slot done, we added it to the panel as shown below.
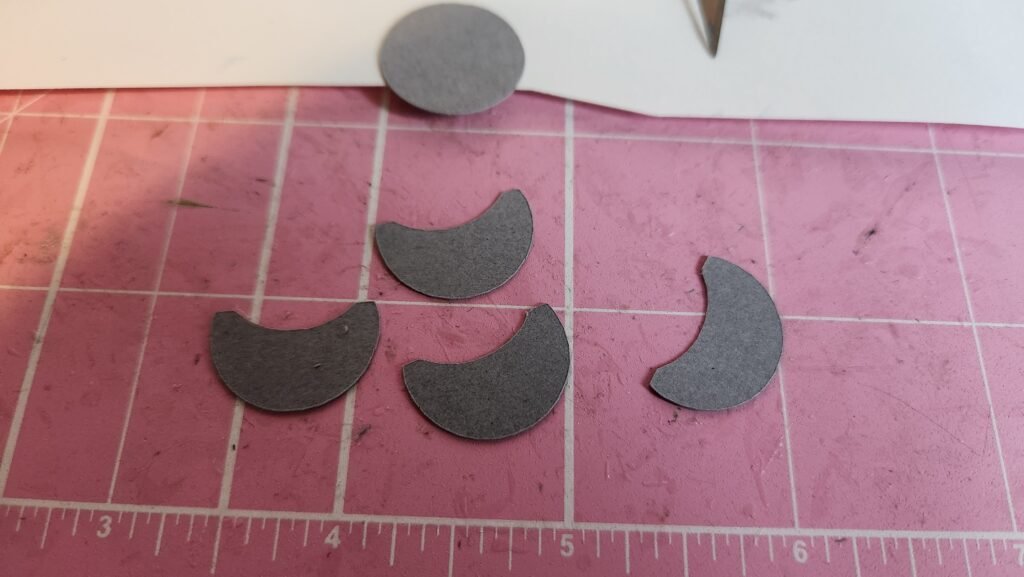
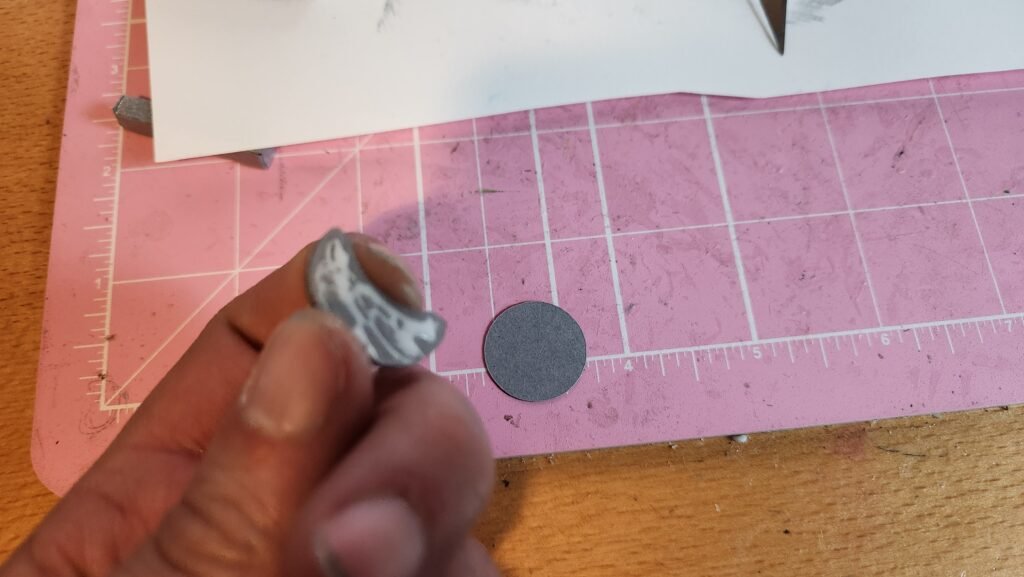

Place this decorated component on the front of your machine box.

Attaching The Mechanism
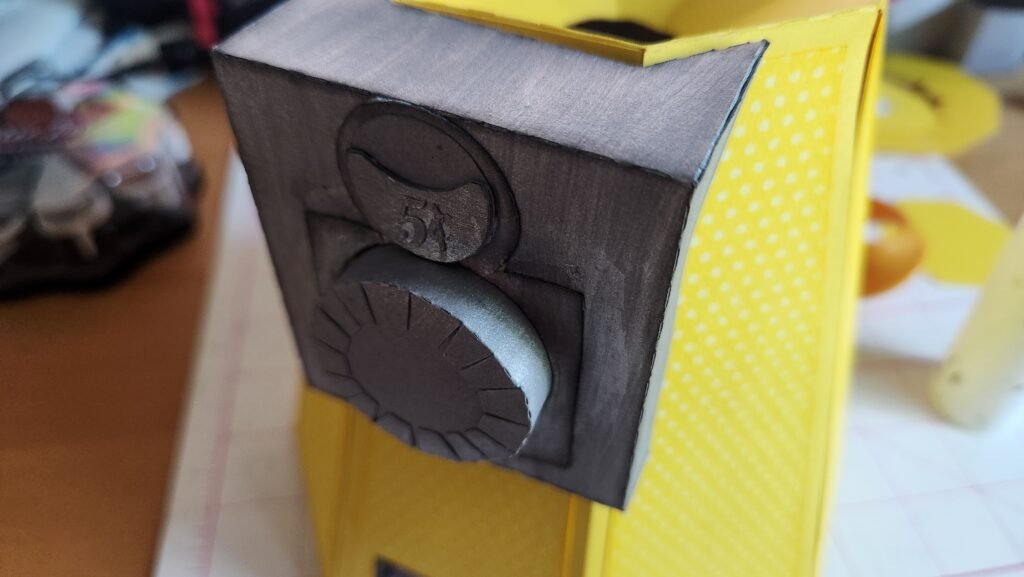
Add glue to the four remaining tabs. Slid the hole of the machine assembly over the tube that’s installed in the gumball machine base. Press the assembled component in place so that the top is flush with the top of the gumball machine.
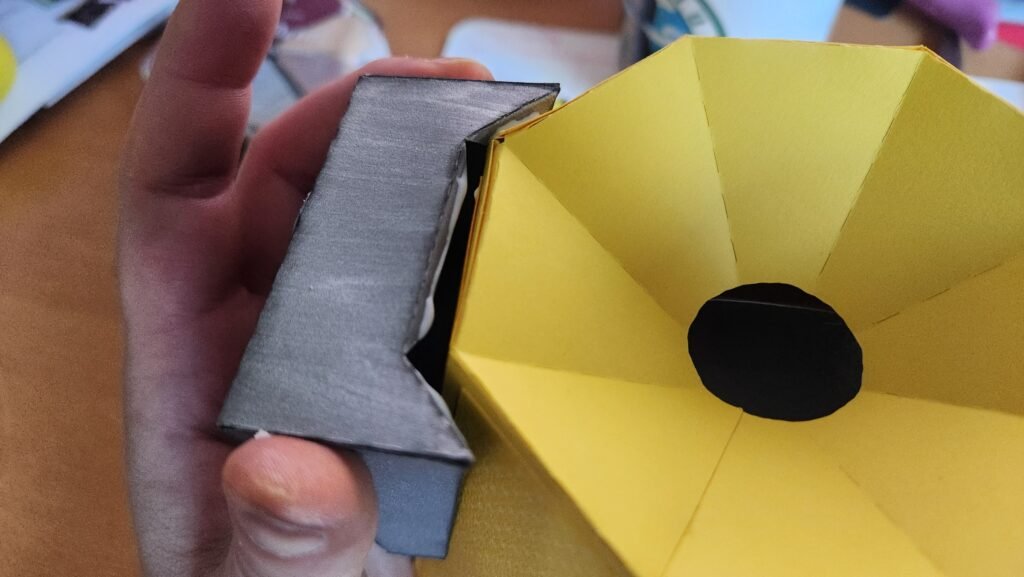
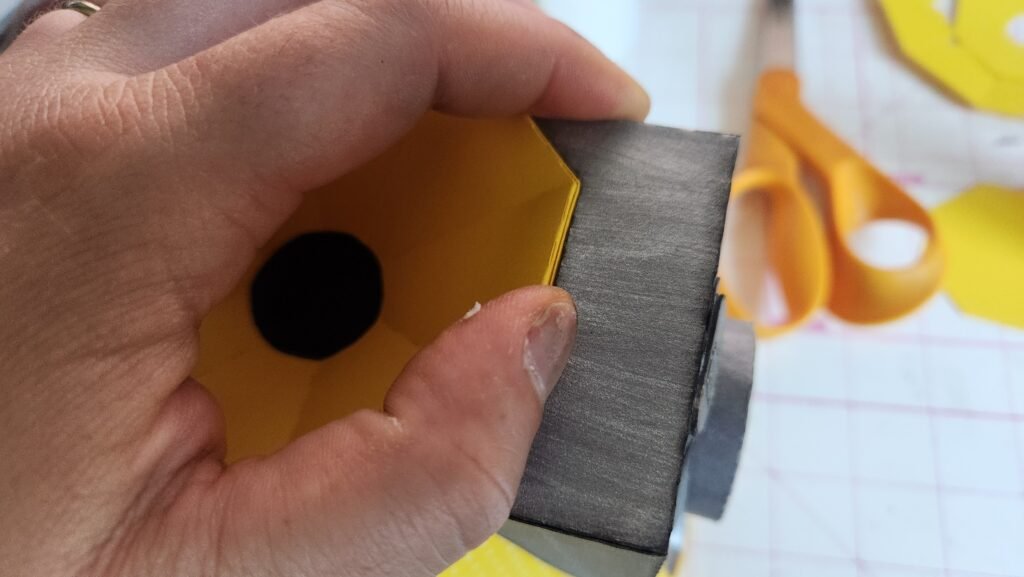
Catching The Candy
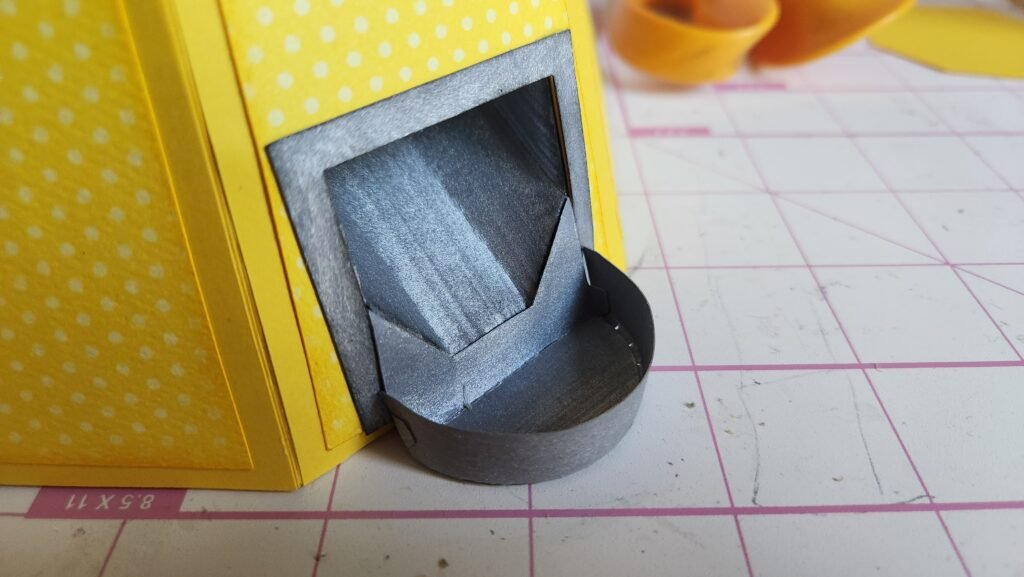
There is a catcher for the candy dispenser. It is made using a couple simple pieces. Fold the base of the candy catcher (seen on the far left in the first photo below) and attach the long panel with the tabs facing toward the rounded end. Use these tabs to attach the panel to the curve and create the front of the candy catcher. Once you have this secure, use the half circle panel to cover the exposed tabs.
***Note that this candy catcher isn’t large enough to actually catch any of the candy we tried in the machine but it looks good. Just have a hand out or small cup to catch the candies.

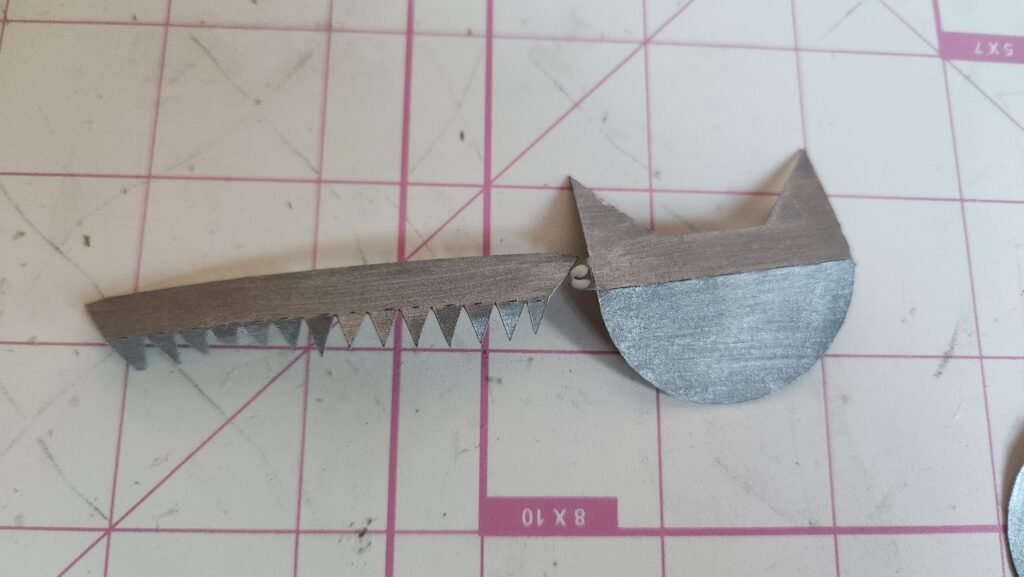

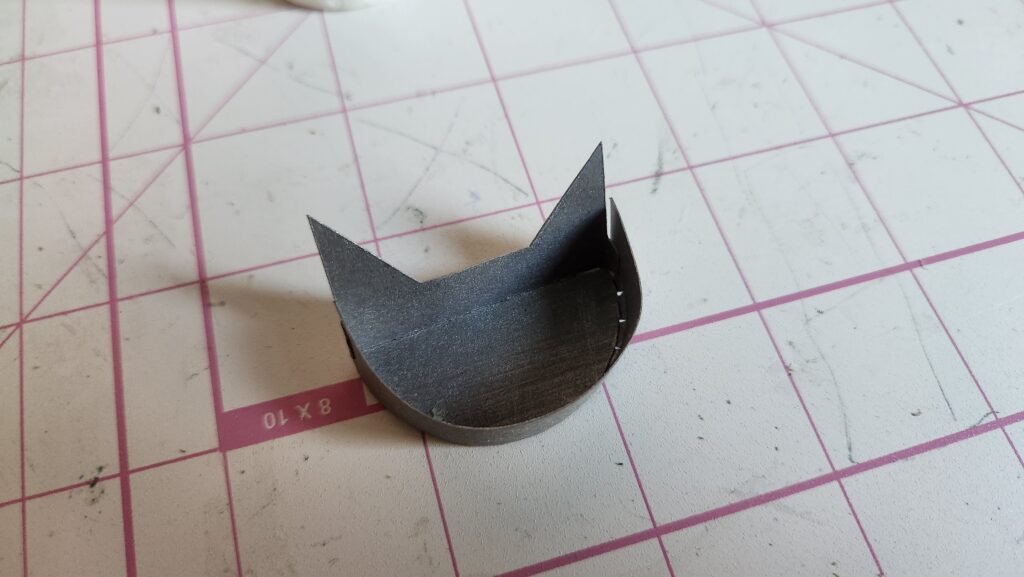
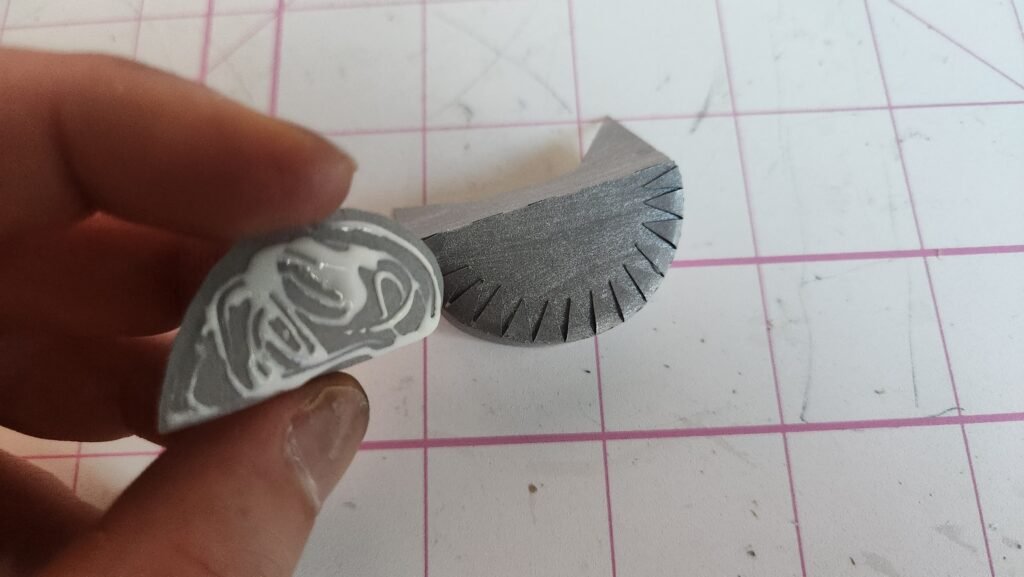
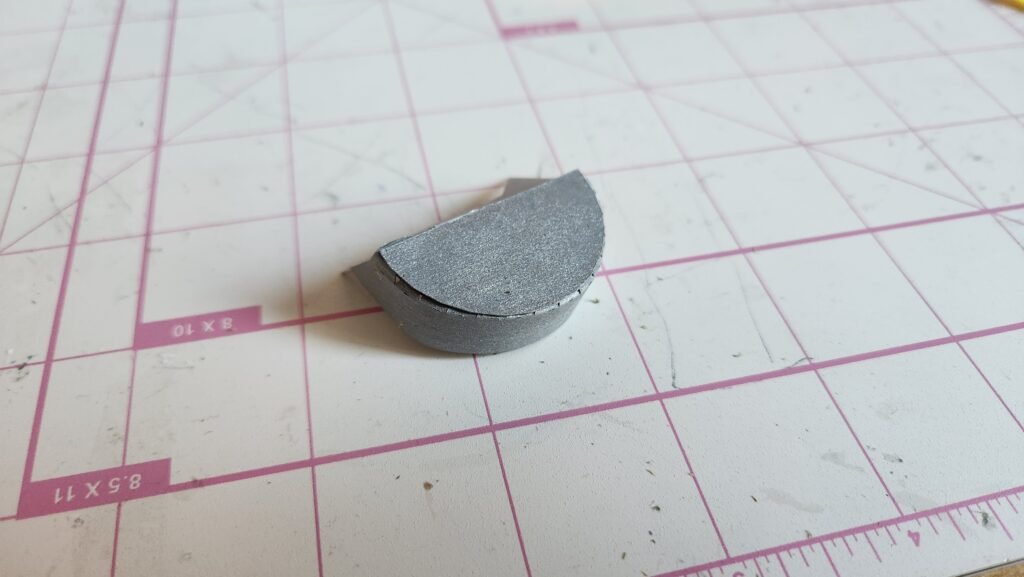
Attach the frame panel below to the area around the candy chute then secure the candy catcher.

Adding A Knob
Now we need to make a couple components for the knob that turns the tube. There is a rectangular box that needs to be constructed. Fold on the score lines and add glue to the long tab. Attach to create a long rectangular box. Once this is secure, fold in the tabs on the ends, add glue, and close off with the square panel.
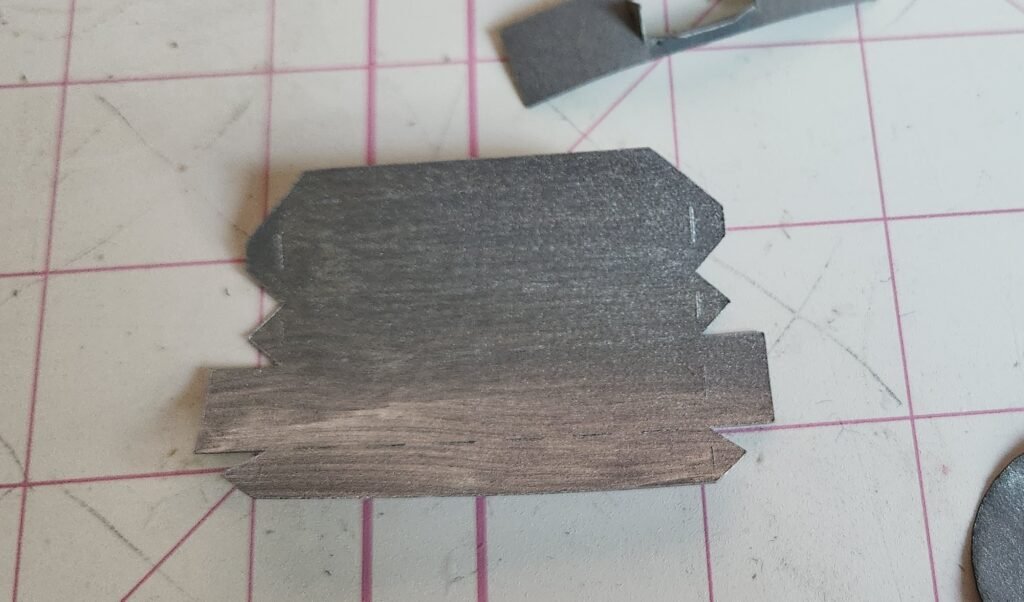
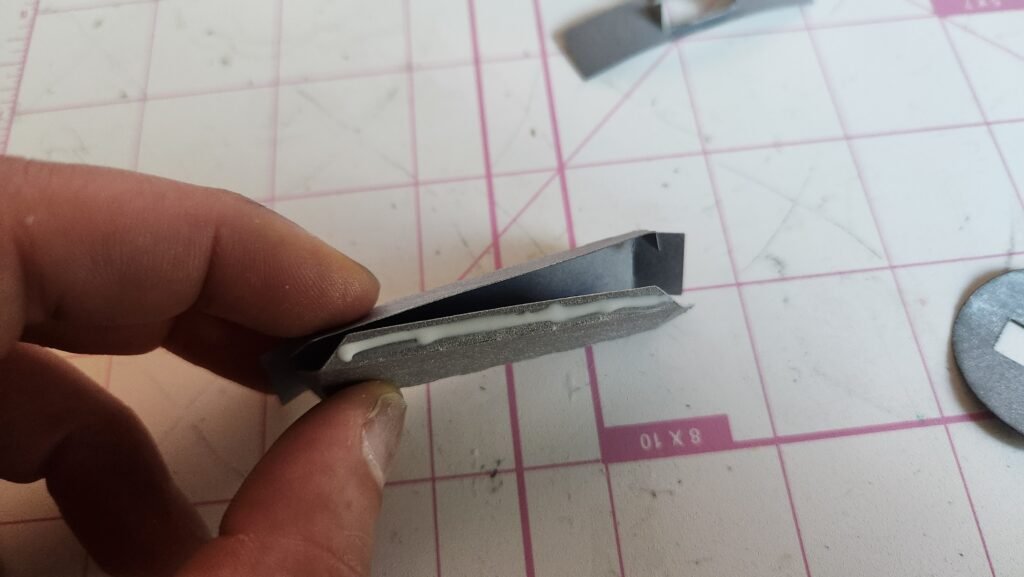
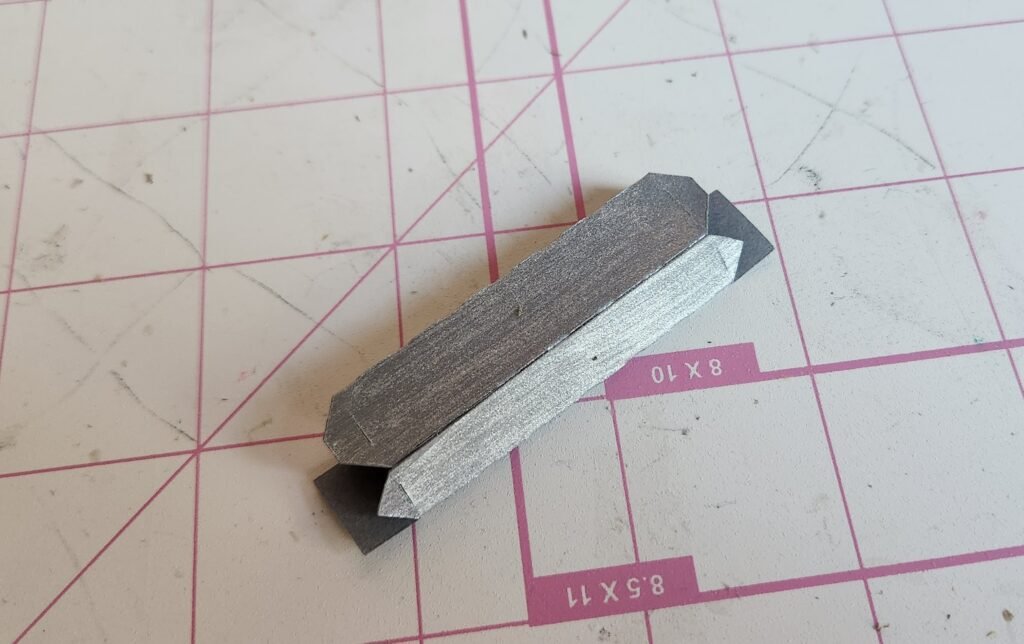
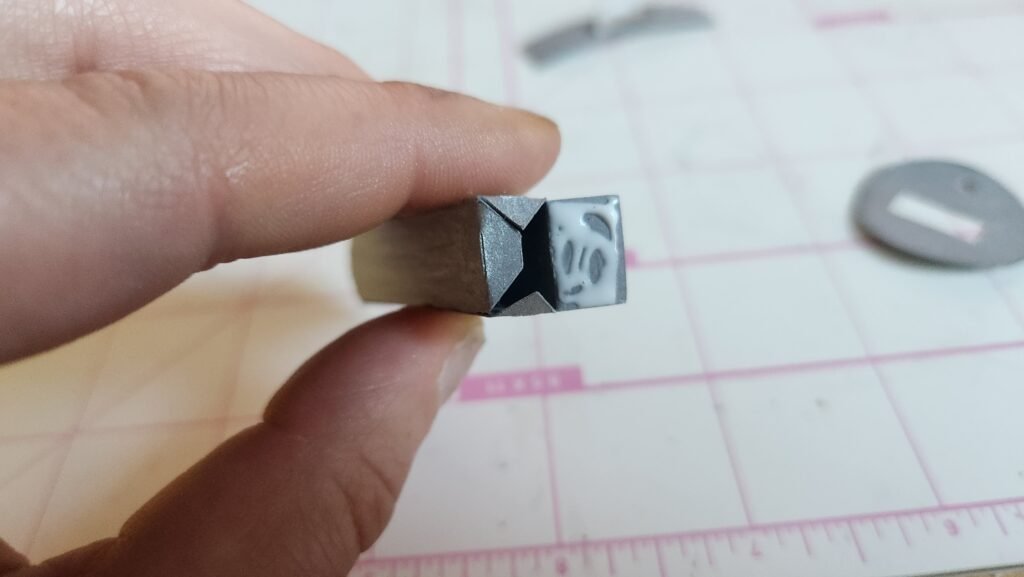

Attach this to the round panel shown below with a hole in the top. Then center it on the round circular panel.

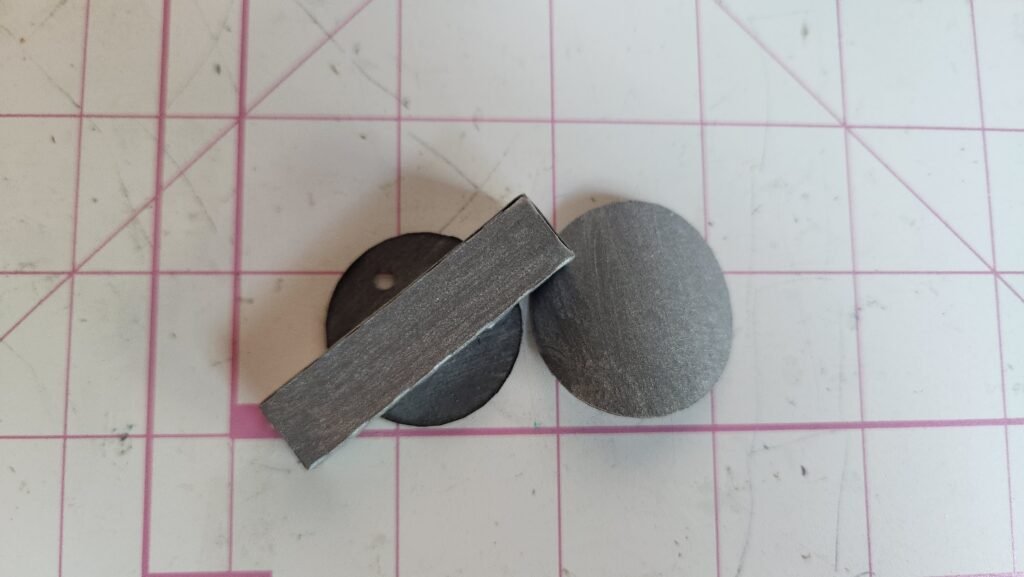
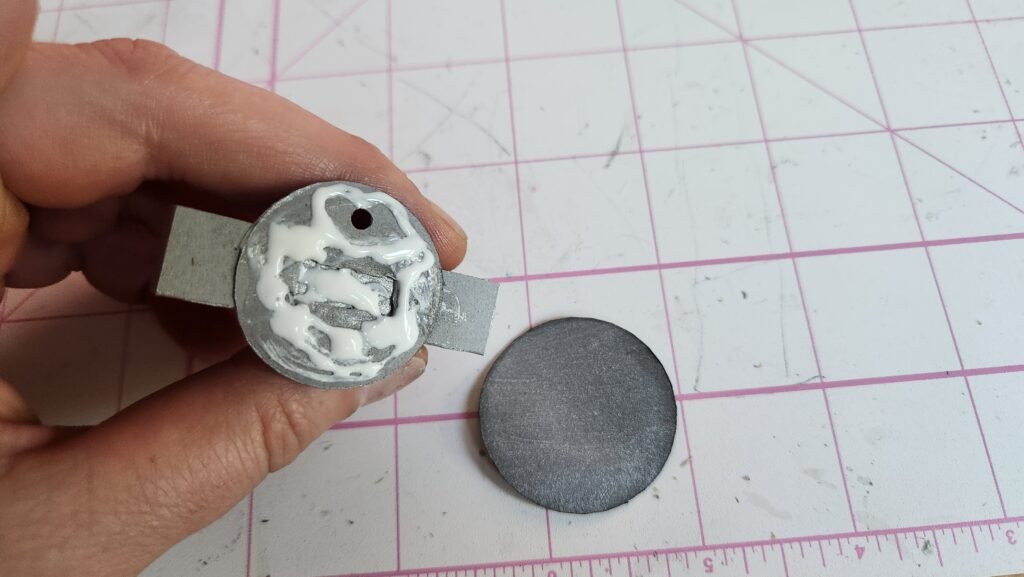

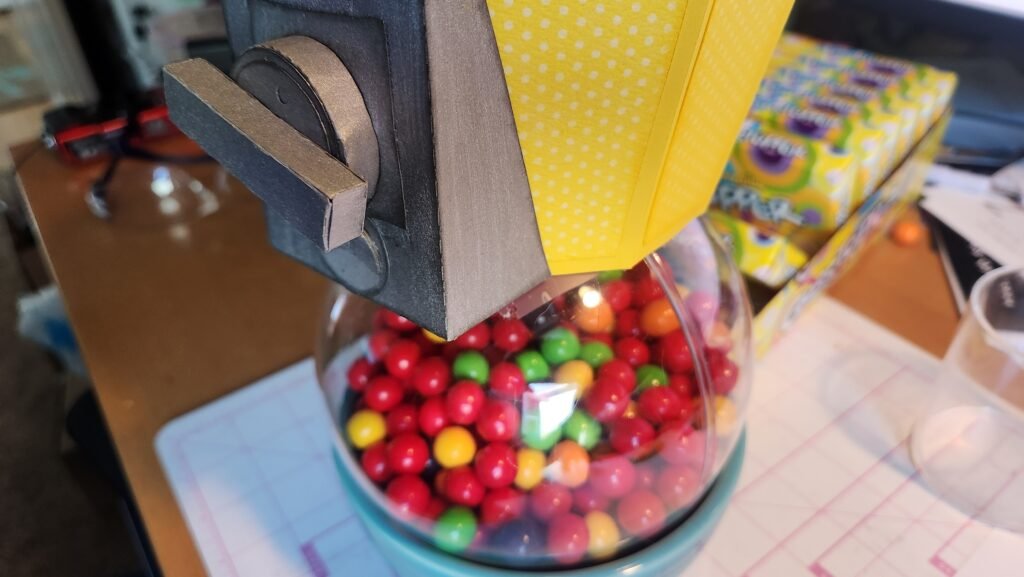
Attach this structure to the tube you installed in the front of the gumball machine. When attaching, make sure that the small circular hole matches the opening on the tube so that you know what direction the hole in the tube is facing later.


Making The Gumball Machine Lid
The final part to assemble is the top of the gumball machine. This is made using just a few pieces. Start by taking the long panel with score lines and fold on the lines. Then add glue to the tab at the end of the piece and attach to close it up and make an octagon shape.


Add glue to the eight tabs around the top and place on of the octagon panels on the inside. Once secure, turn the lid over and add glue to the other octagon panel. Use this to cover the exposed tabs.
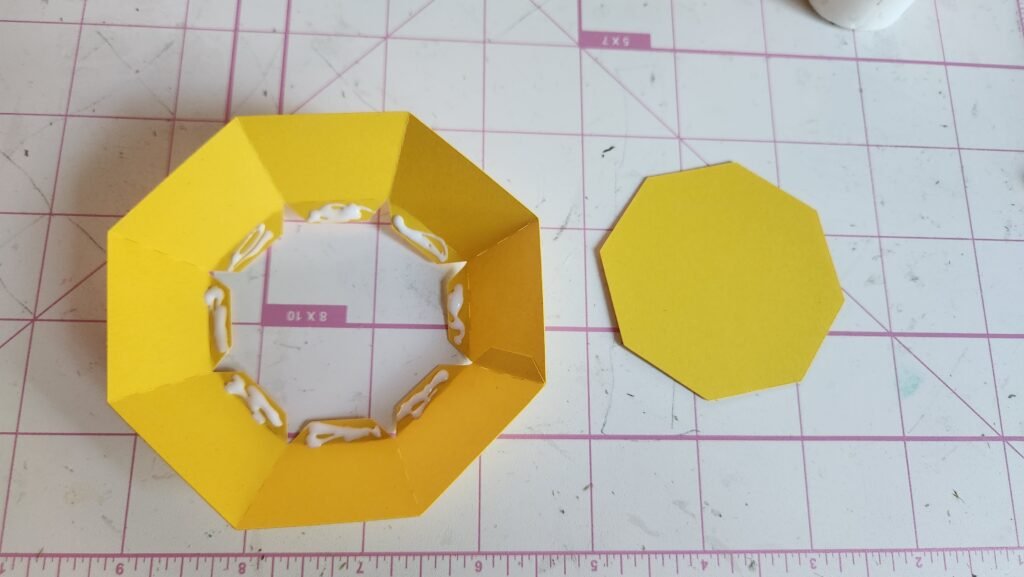
To make the knob on the top of the lid, take the long panel and attach the tab at the end to create an octagon shape.


Fold in the tabs on one side, add glue and place an octagon panel to close it off. Turn the shape over and add glue to the other octagon panel. Use this to cover the exposed tabs.
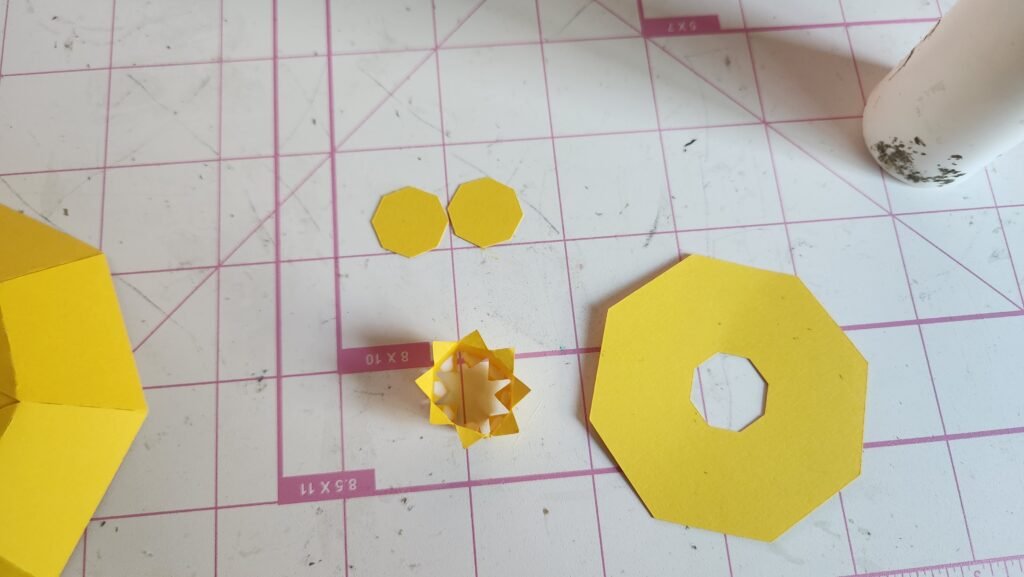
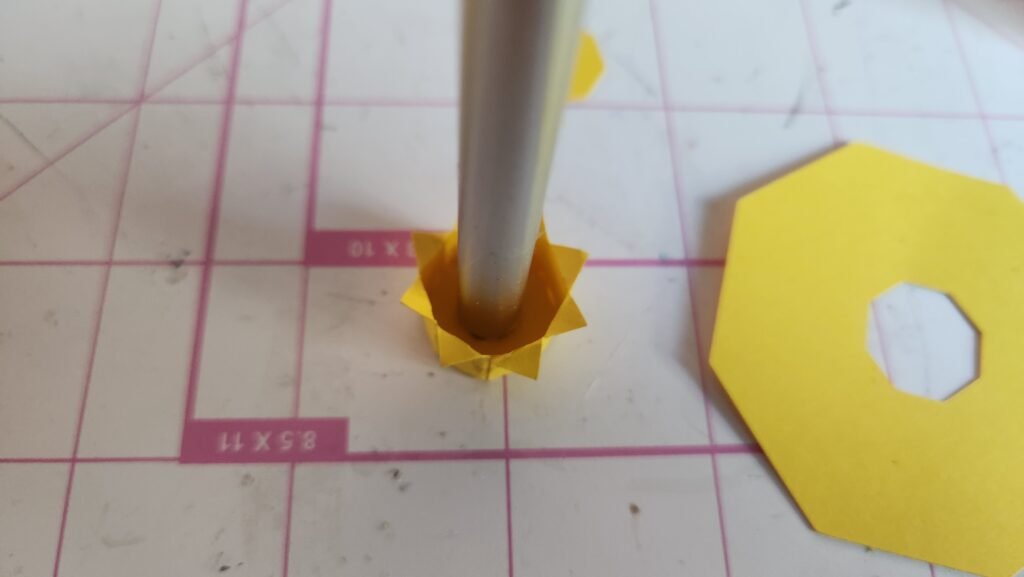
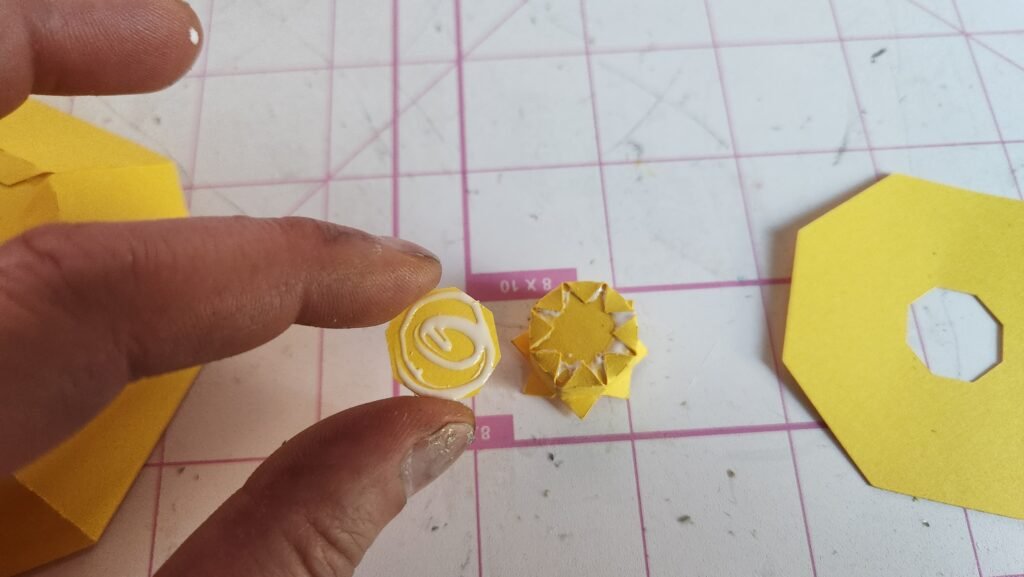
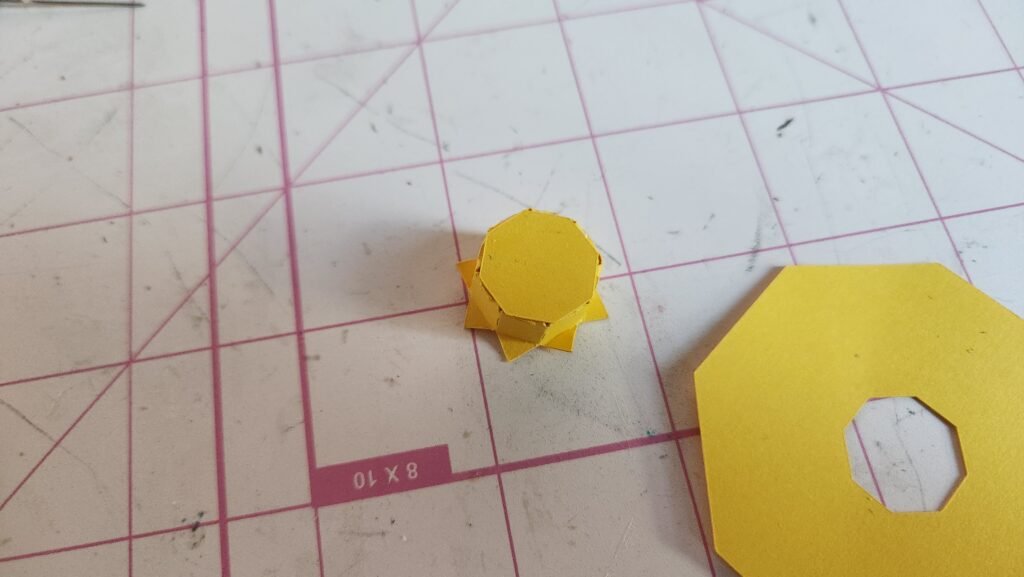
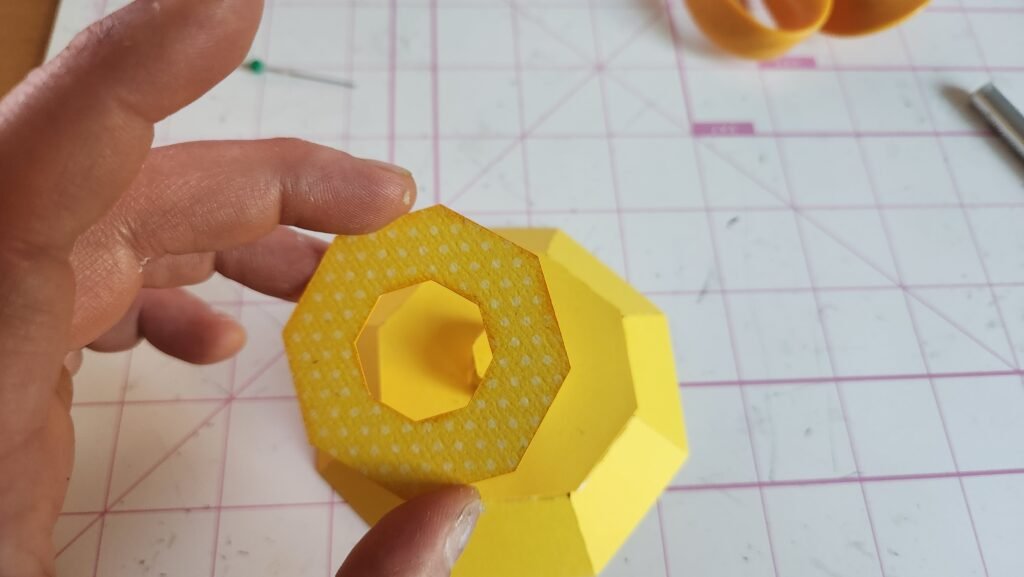
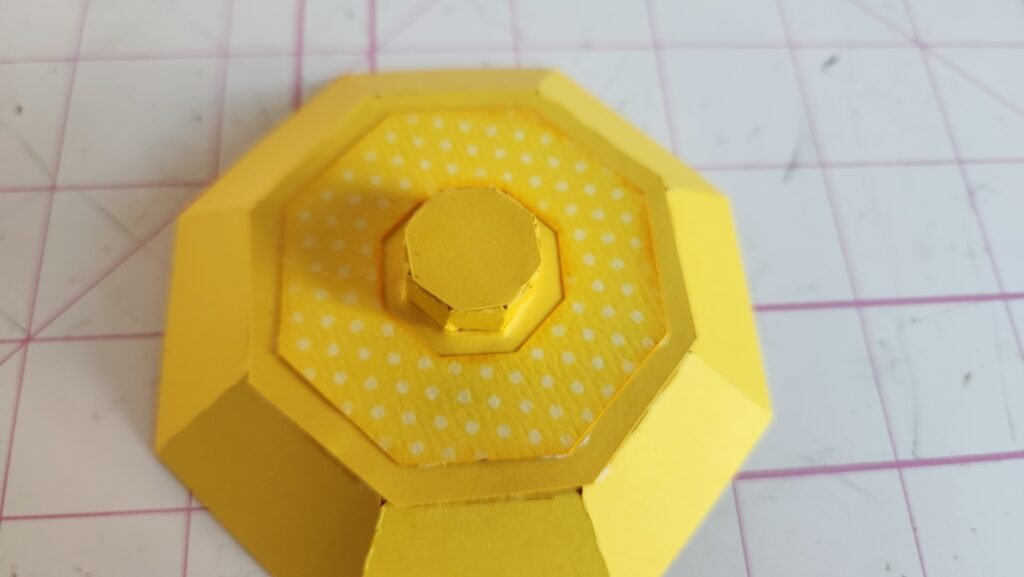
Fold the tabs out and add glue to the tabs then slide panel with an octagon hole. Press this firmly into place. Then add glue to the bottom of the panel and glue to the top of the gumball machine lid.
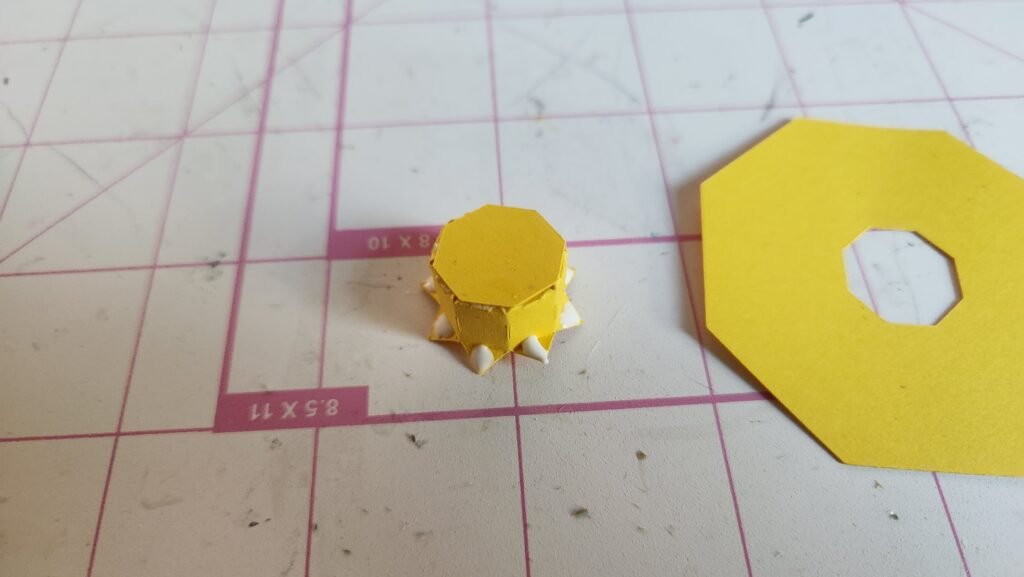

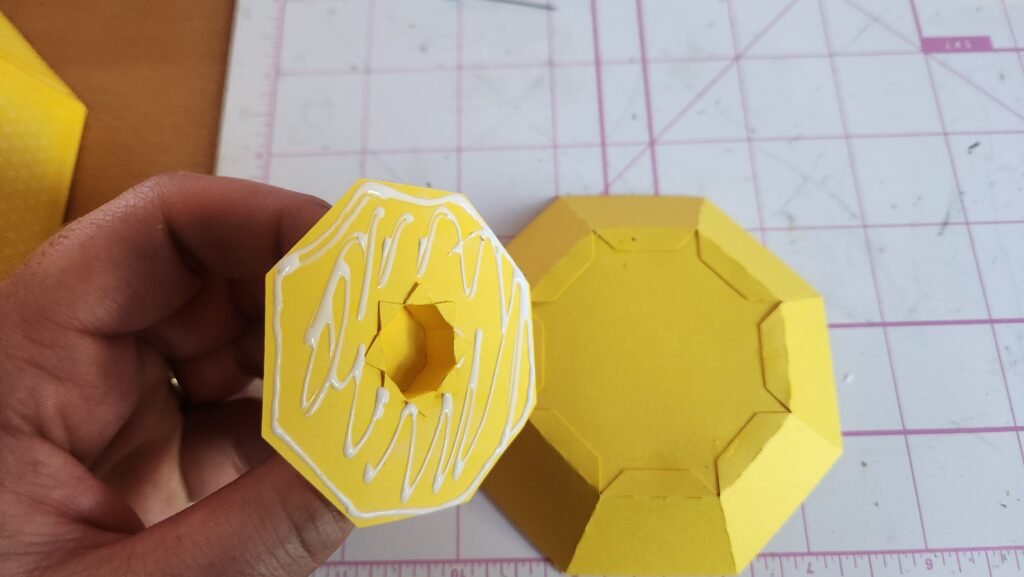
Decorating The Lid
Now you can add the decorative panels to the lid.
Cutting The Candy Holder
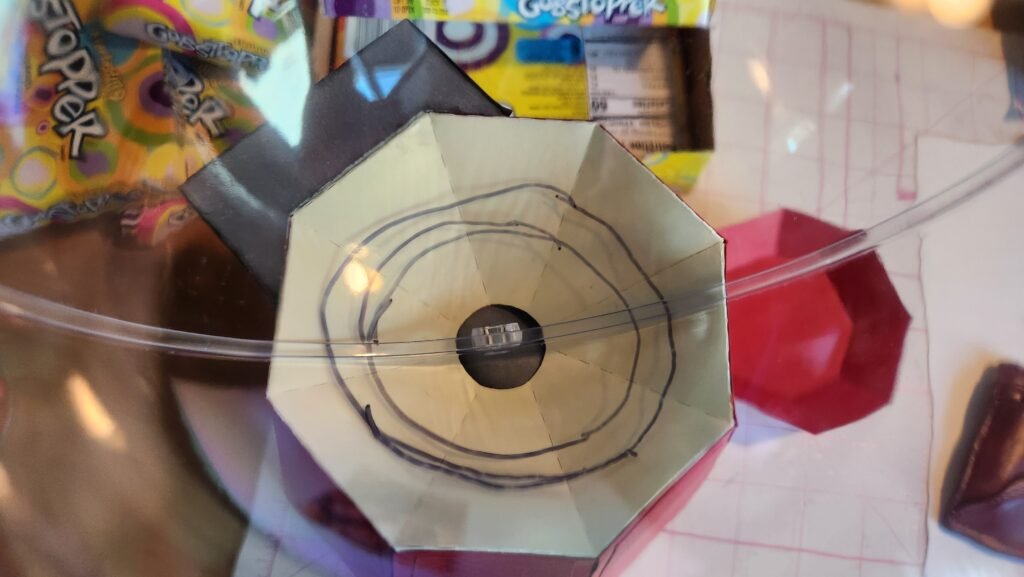
We used 5.5” diameter fillable Christmas ornament for our candy holder/ball of the machine. Before filling the ornament, we had to cut a hole in it for the candies to come out. We marked the area to cut out on the ornament with a marker than cut that portion of the ornament. To see how much to cut, we marked our circle, then placed in the gumball base to see if we liked the size of hole.
We chose to use a Dremel with a cutting wheel to cut a hole in the ornament. Cut the area where the ornament hanger was so that it would not be in the way later. We tried cutting our ornament a few different ways and the Dremel with a cutting wheel worked the best for us. Whatever method you choose, be sure you are familiar with your tools and are careful/safe while cutting the ornament. We’re not certain our way was the best option so find a method that works best for you and that you can do safely.
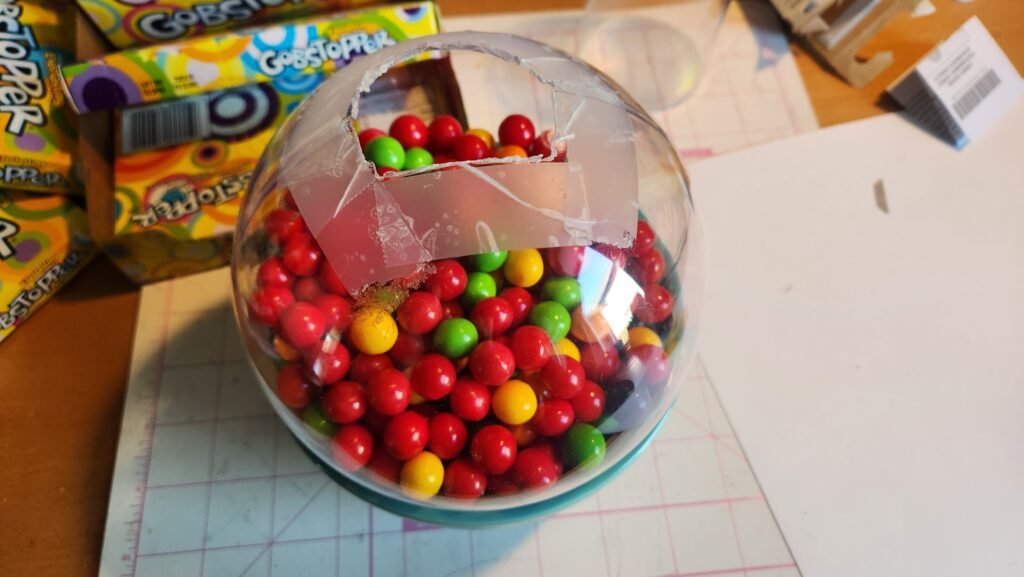
If you feel it is needed, you can add some tape around the cut out hole. The picture below is our first cut which had some issues. Later cuts went better so we only put a small piece of tape over the seam on either side of the hole. We also added a small piece of tape on the opposite side of the ball since the lid will cover it.
Attaching The Candy Holder
To attach the ornament, we placed the ornament in a bowl with the opening facing up. Add glue to the inside of the gumball machine where the ornament will be resting. Then flip the bas upside down and press it down onto the ornament. We chose to place the seams on the sides of the machine, not facing toward the front. If you want your machine to be refillable, we recommend not gluing it to the base, though this will make it less stable when using.
Adding The Lid
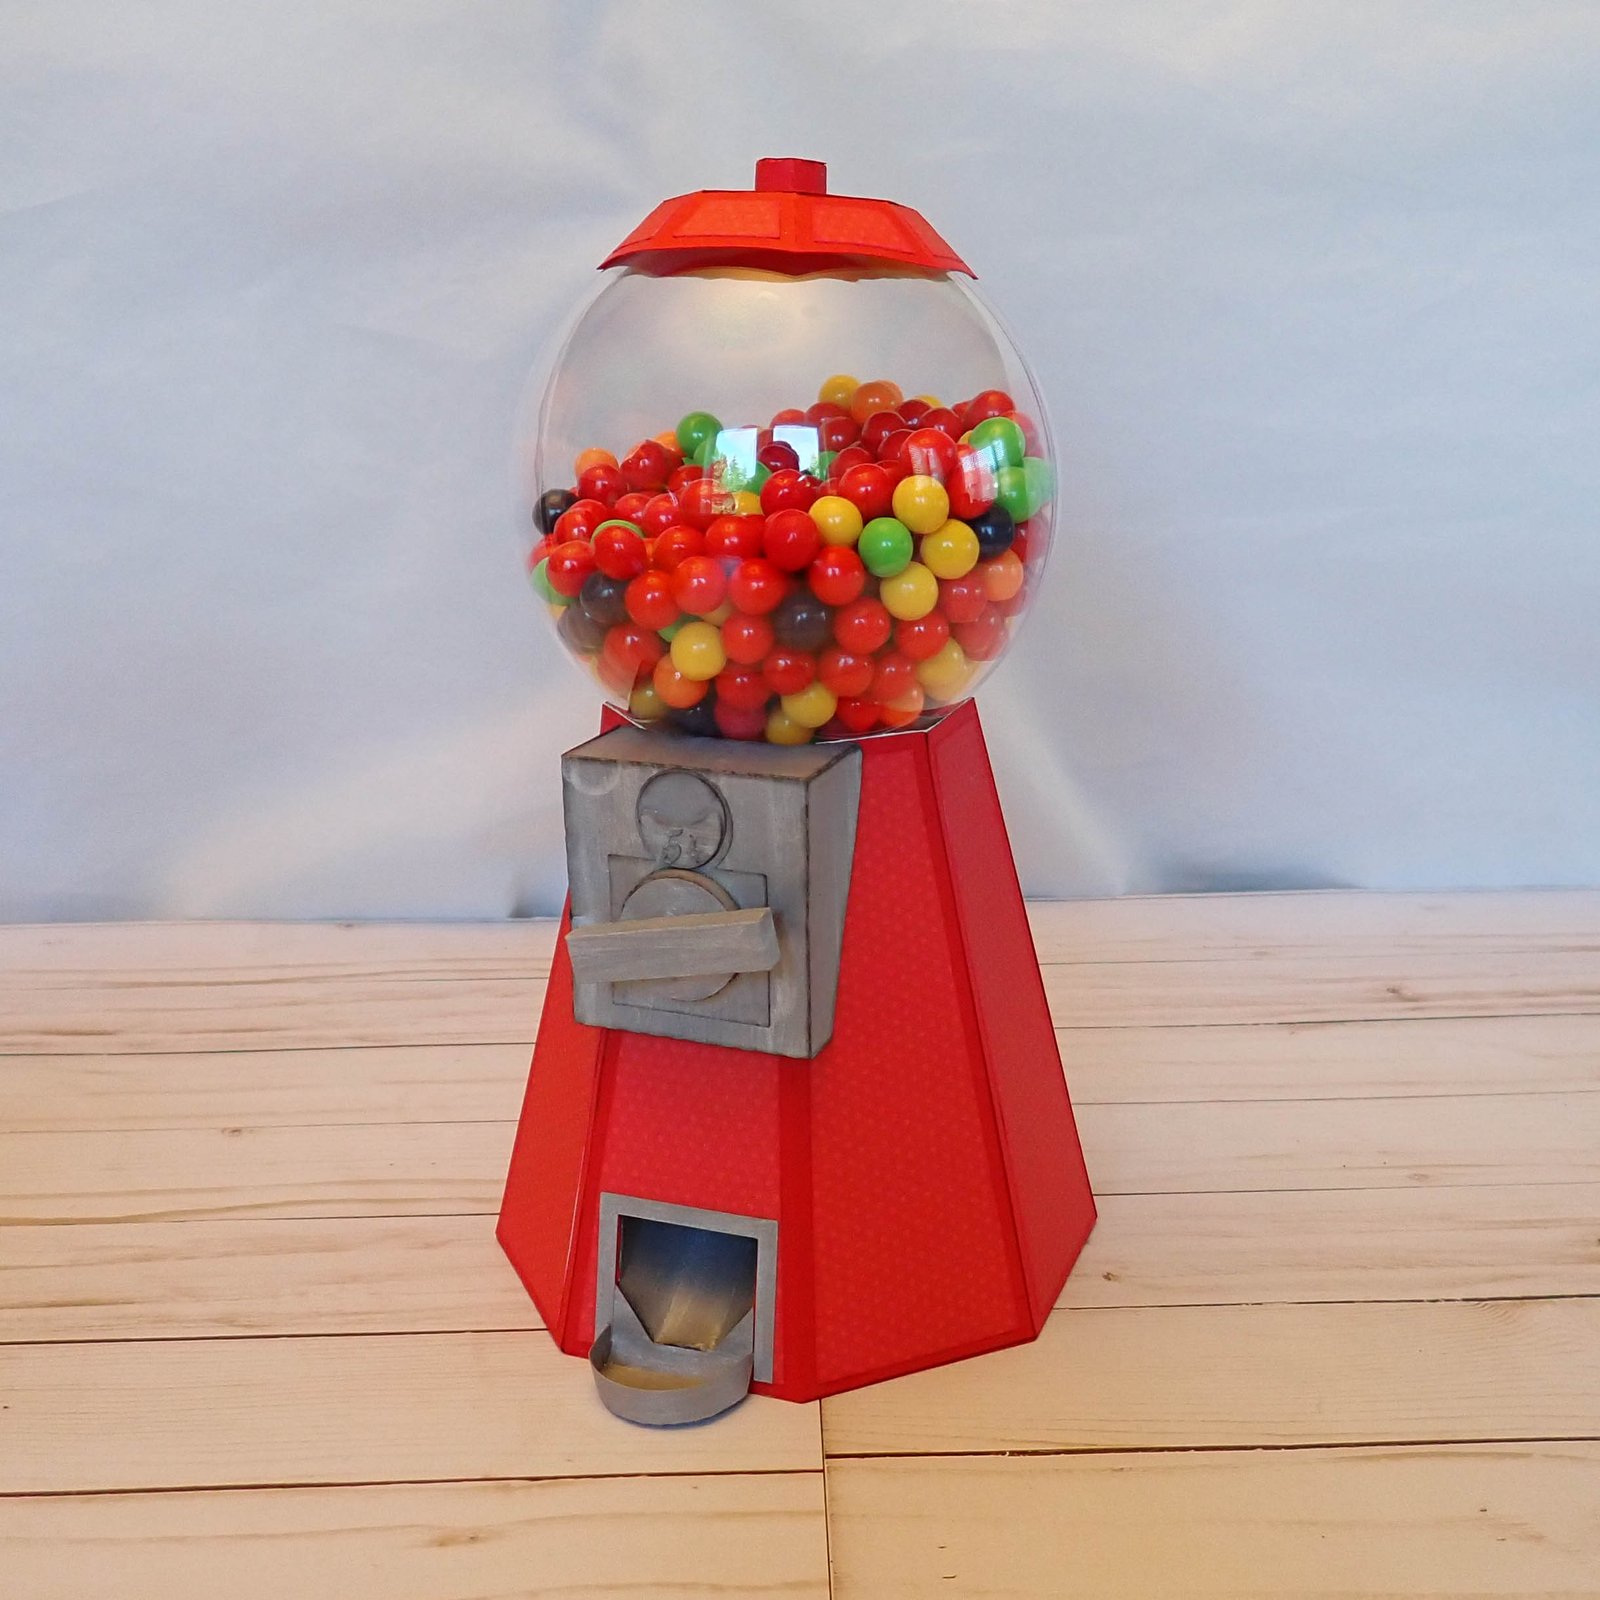
As the final step, we added some touch of hot glue to the inside of the lid and placed it on the top of the Christmas ornament.


Leave a Reply