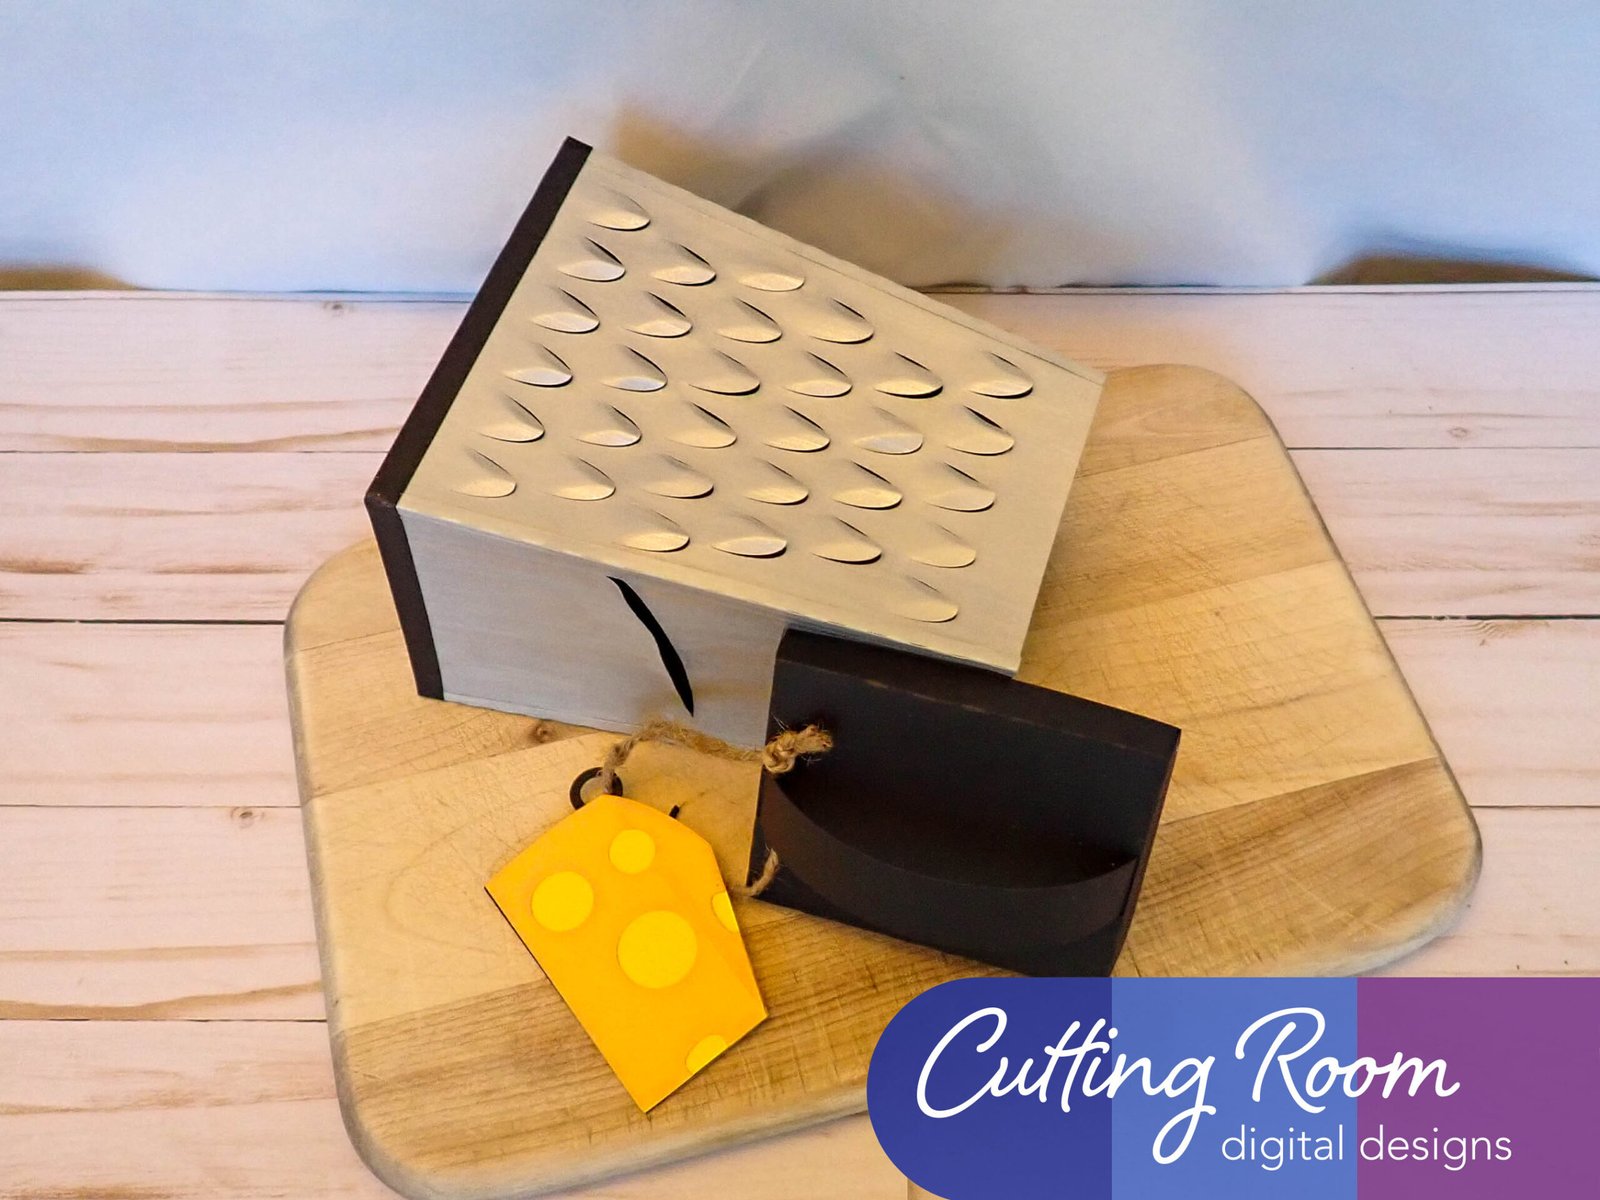
Materials Used
We used several products and supplies in the making of our funny cheese grater gift box. Below is a list of what we used.
- Cheese Grater Grateful Pun Gift Box – Digital Download SVG & DXF
- Recollections cardstock
- Art Glitter Glue
- Pebbles Chalk
- Natural Jute Twine String
- Ranger Distress Ink – Brushed Pewter
- Electric Cutting Machine: Cricut or Silhouette
***Note that this post contains affiliate links and we may receive compensation if you buy something using one of our links. **
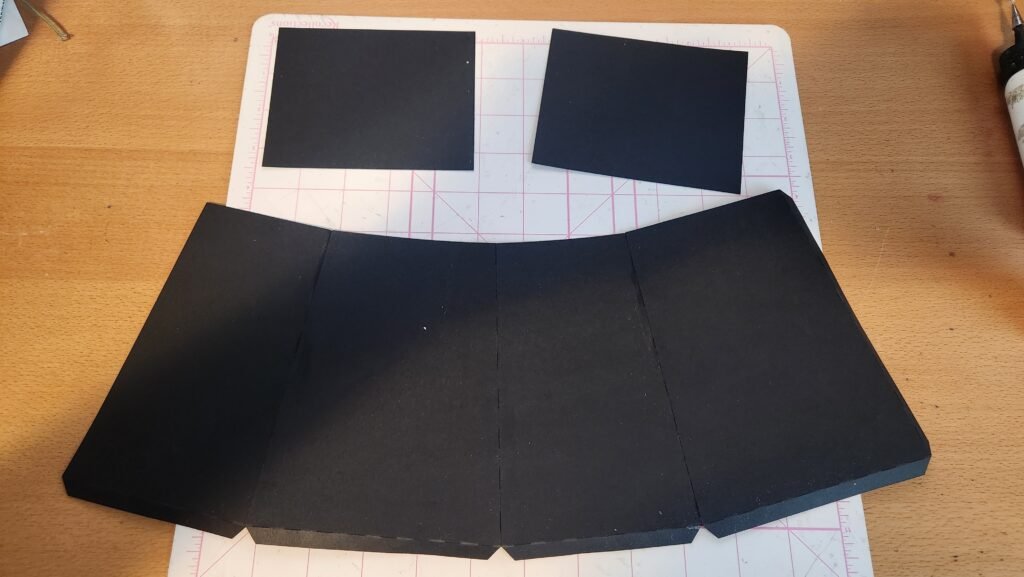
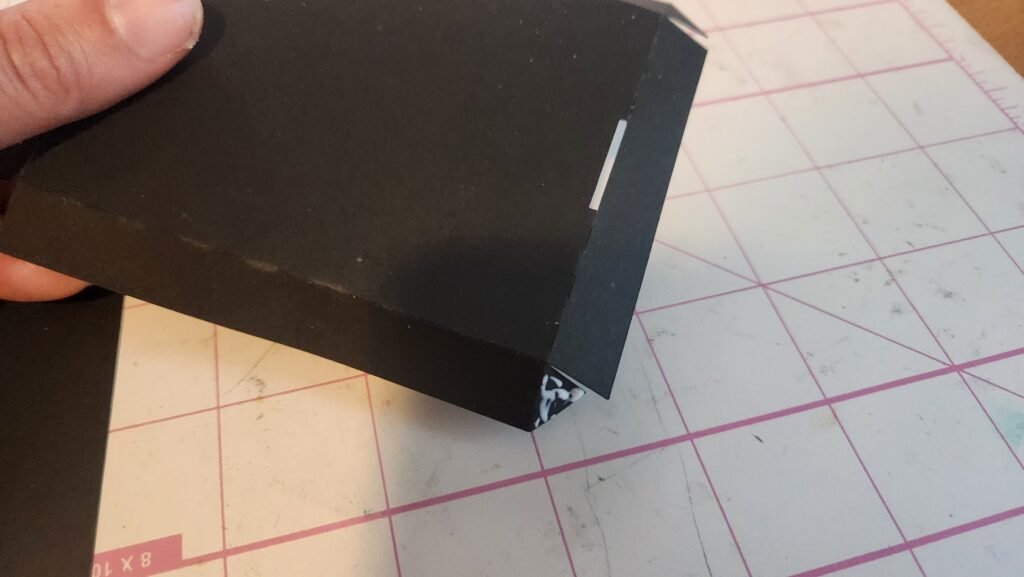
Making The Cheese Grater Base
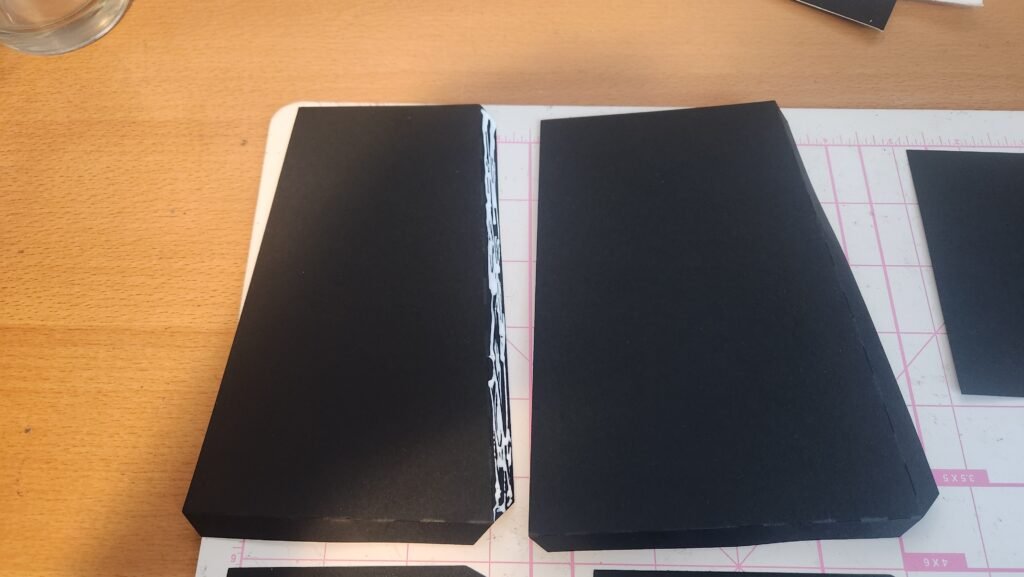
To start assembly of the cheese grater, we made the base of the box. Attach the sides to each other using the long tab. Add glue to the tab and attach to the next. Be sure to have the wider panels alternating with the narrower panels.
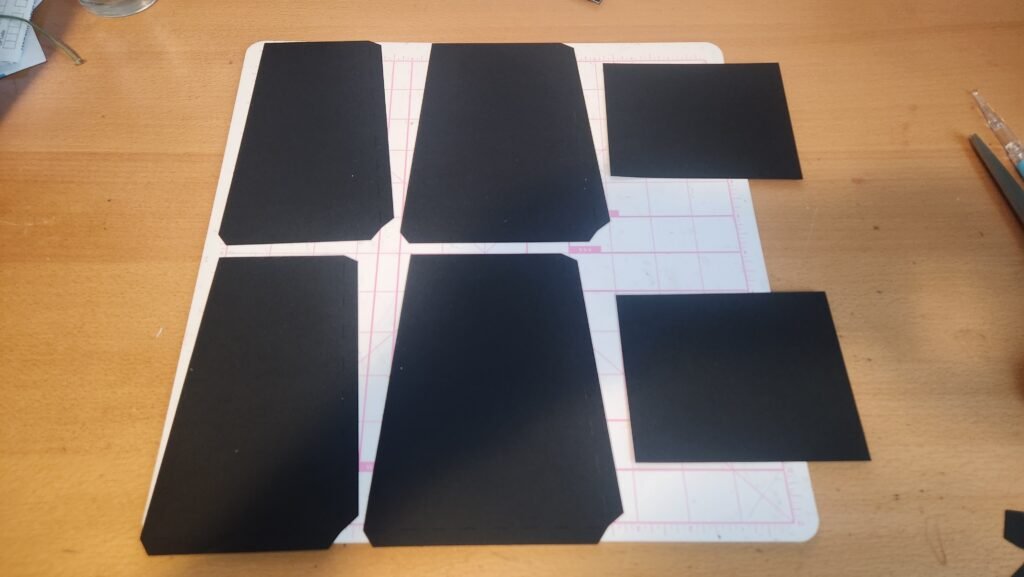
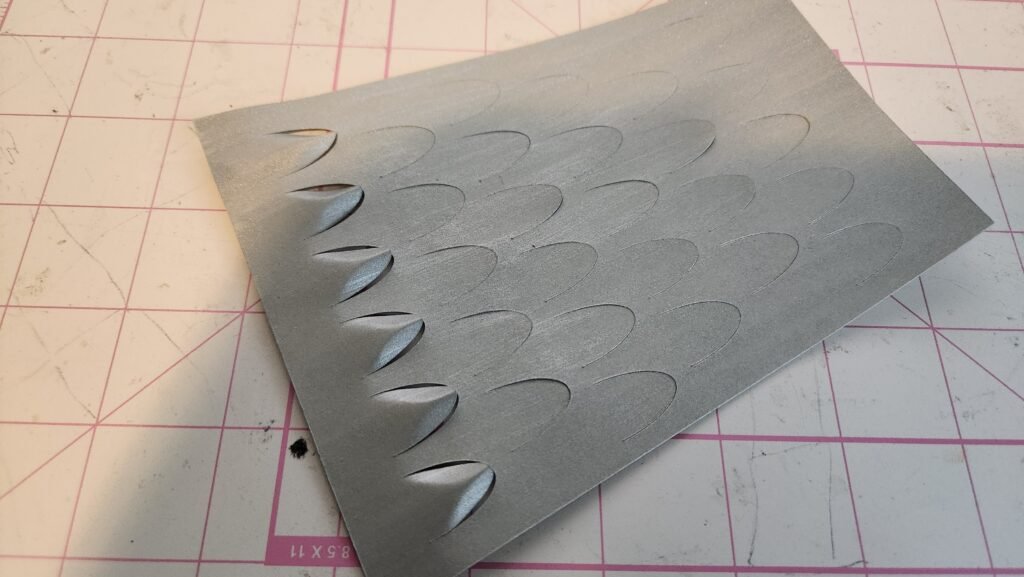
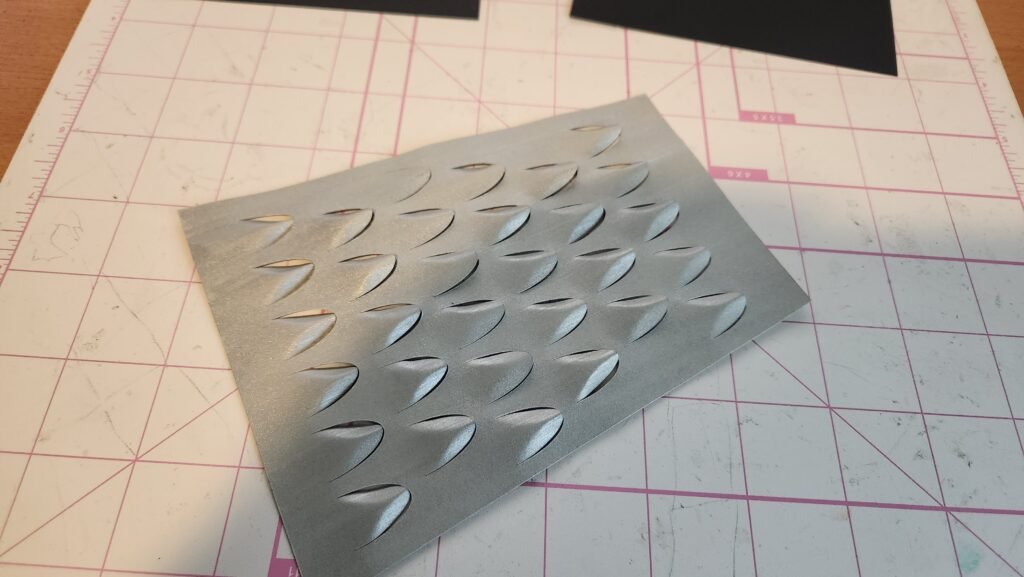
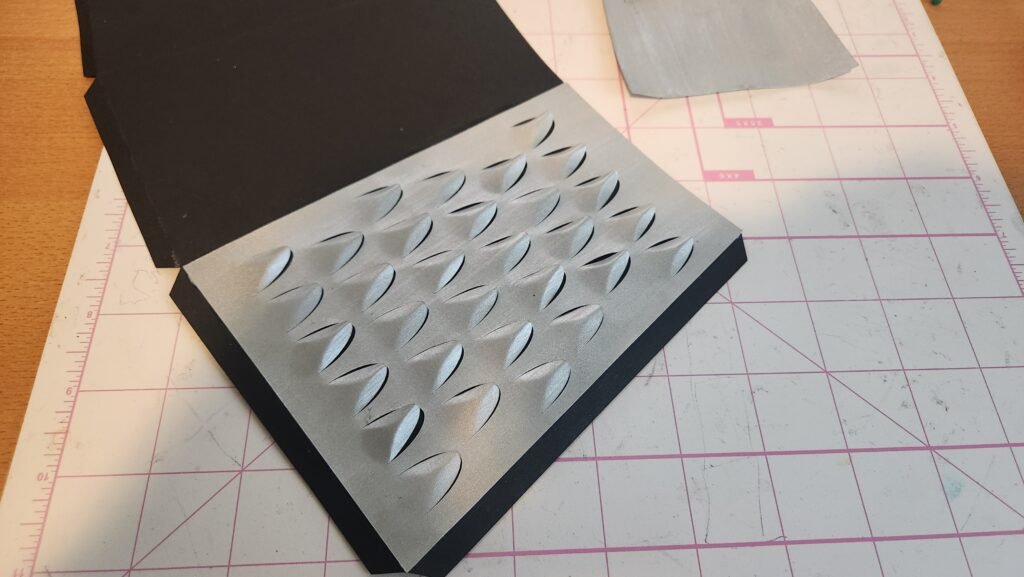
Prepping The Decorative Panels
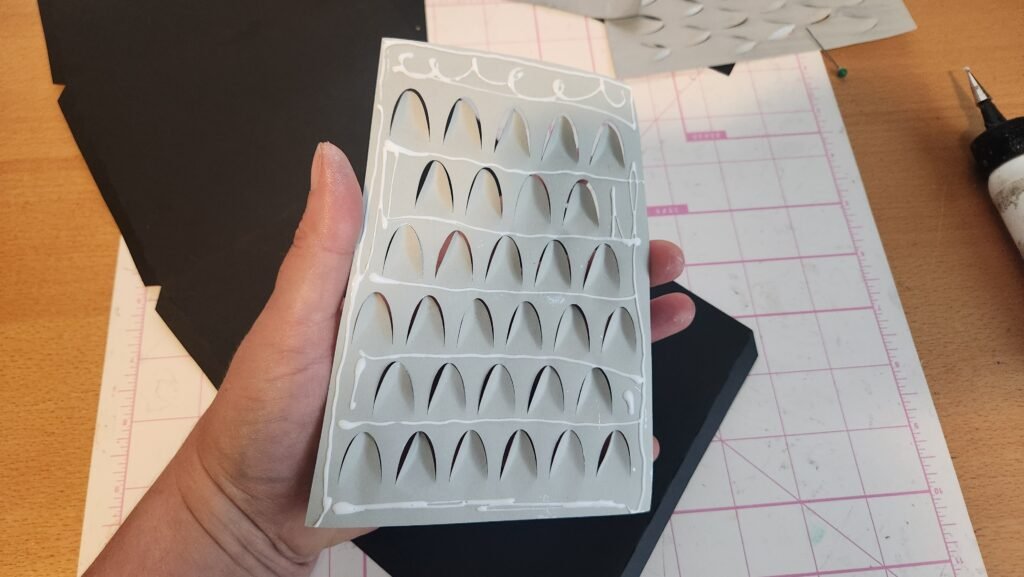
Before finishing the shape of the grater, we chose to add the decorative panels to the sides. The panels have repeated curved cuts to create the cheese grater sides. We used our fingers to fold each a little. We also folded the ‘blade’ out on the sides of the cheese grater.
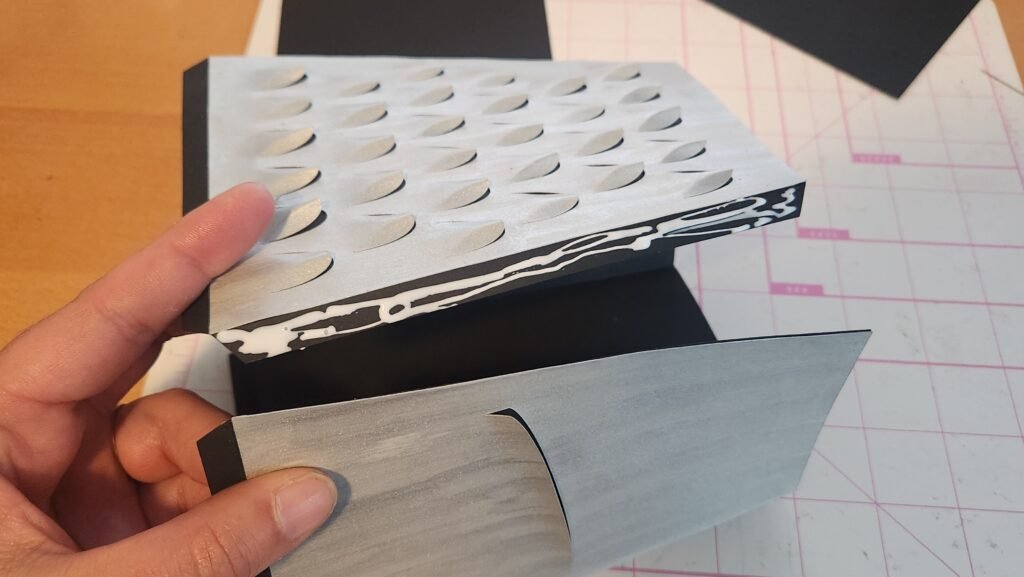
Decorating The Cheese Grater
Once the decorative panels were prepped, we attached them to the base.
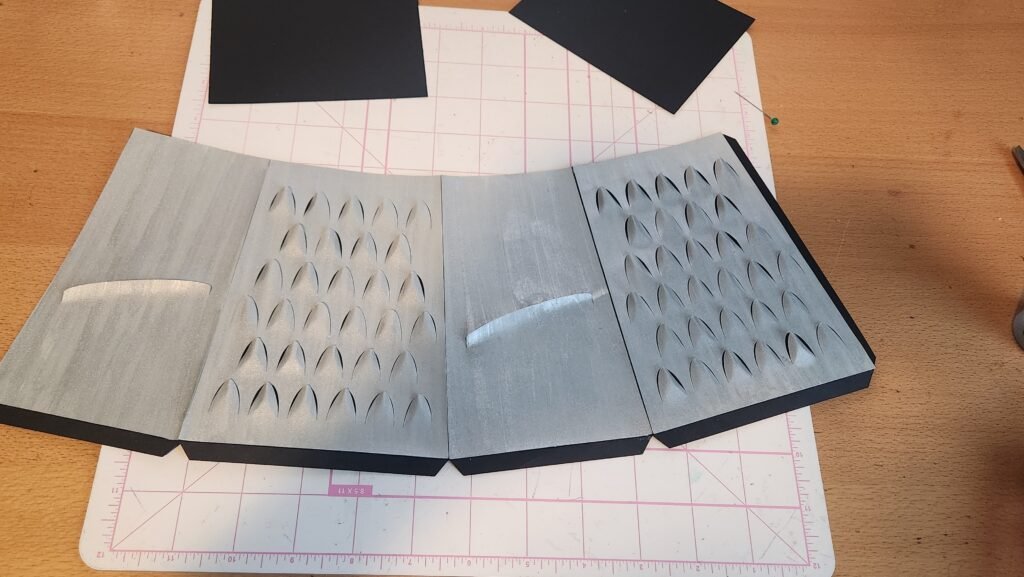
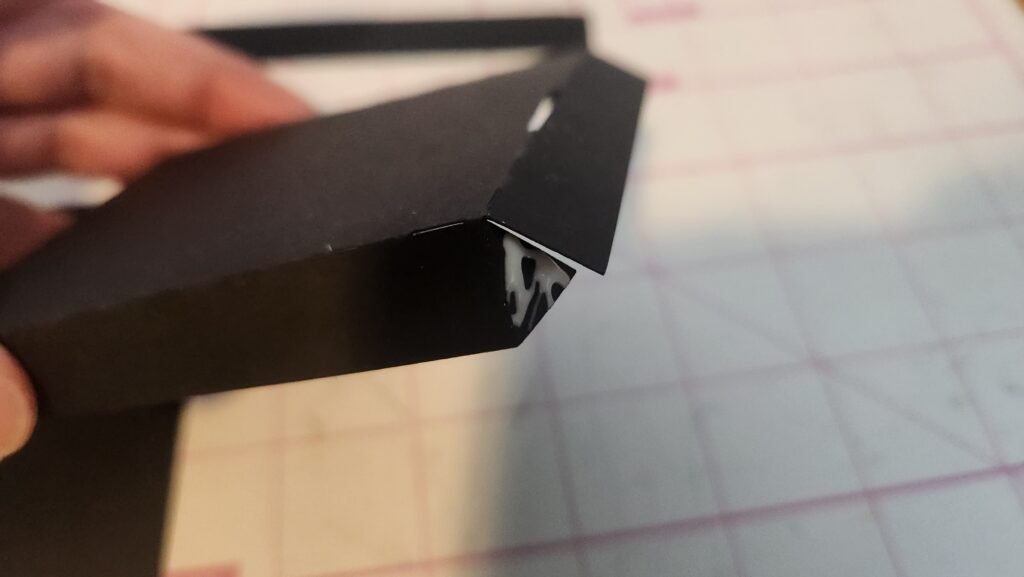
Next, we added glue to the last long panel and attached it to the first panel to create the square shape.
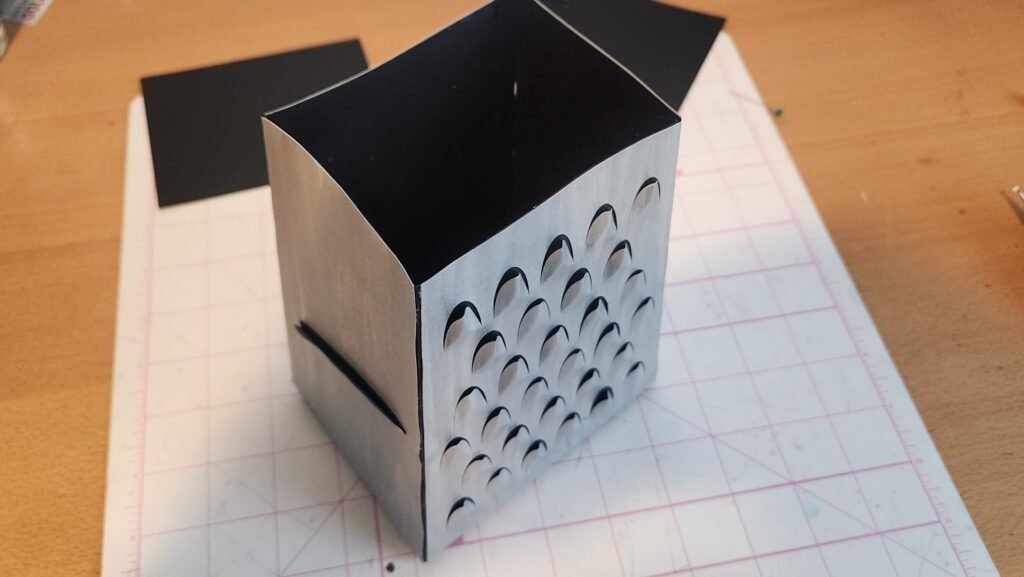
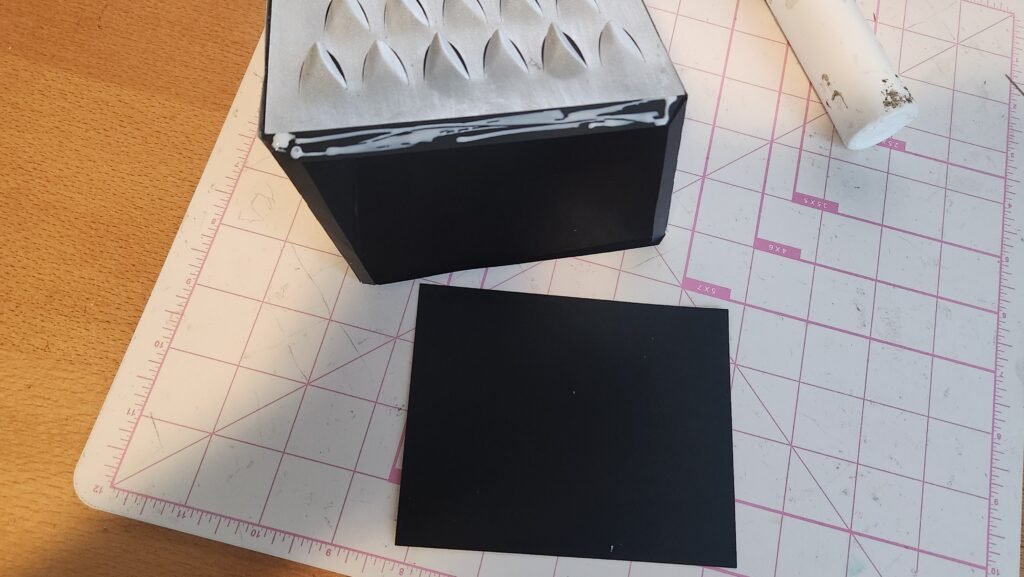
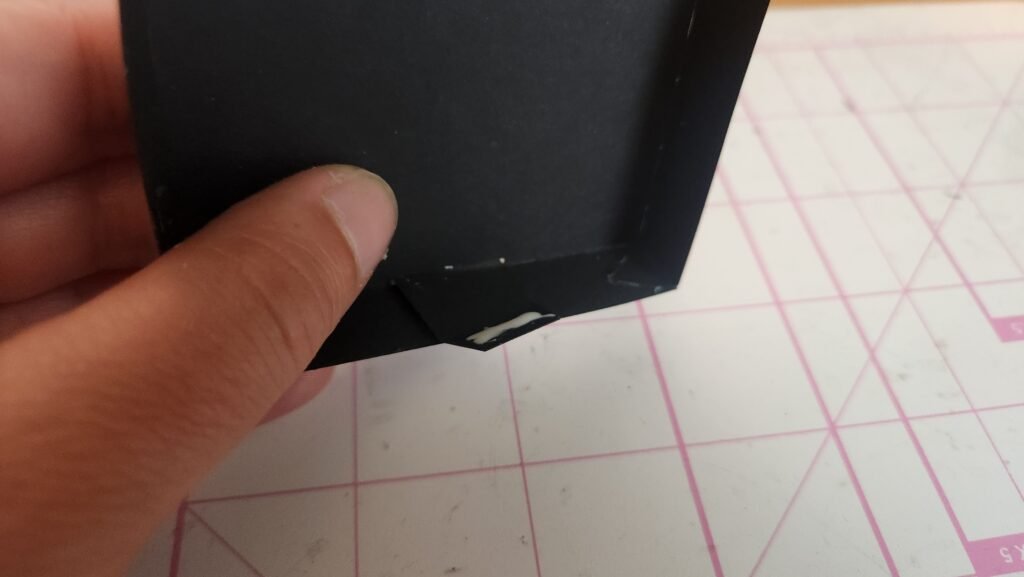
Closing Off The Box
Add some glue to one of the tabs on the bottom and attach the bottom panel. Once this is secure, add glue to the other three tabs and close off the bottom of the box.
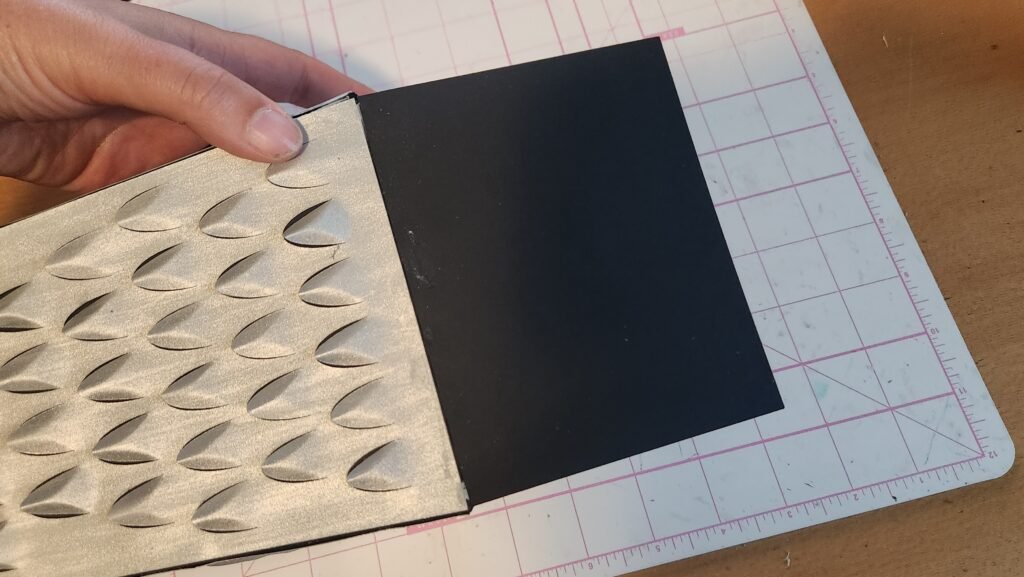

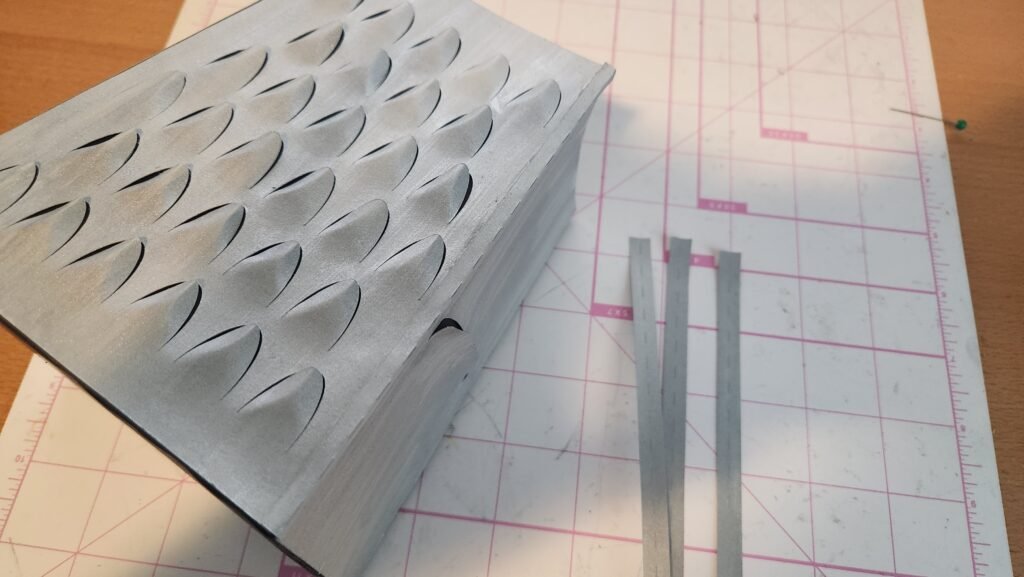
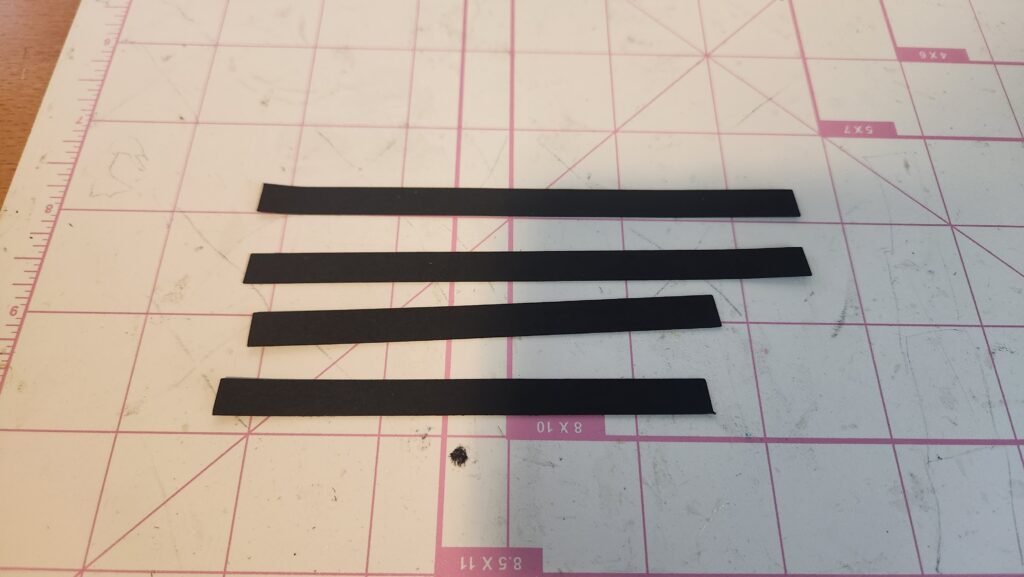
Finishing Touches
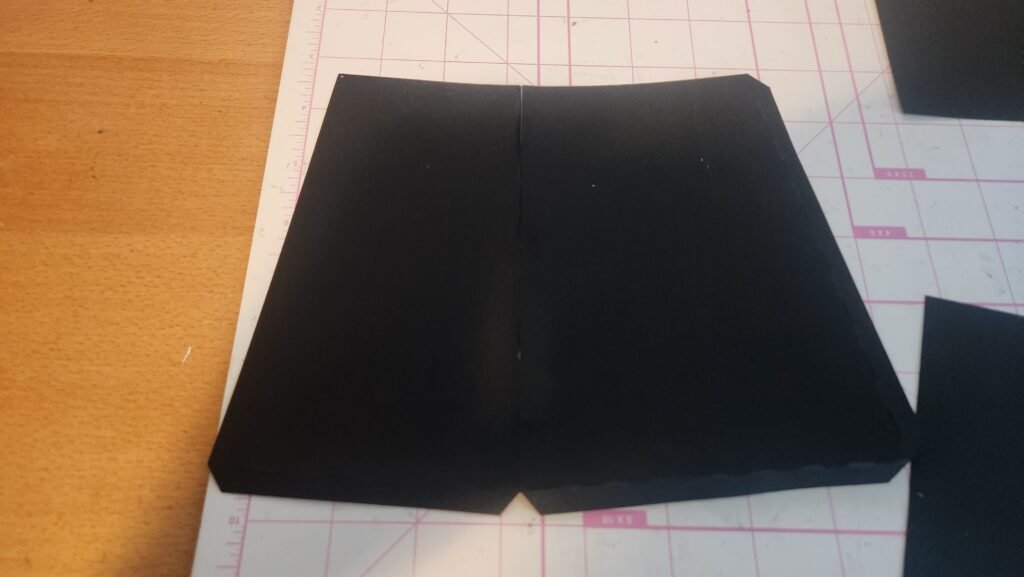
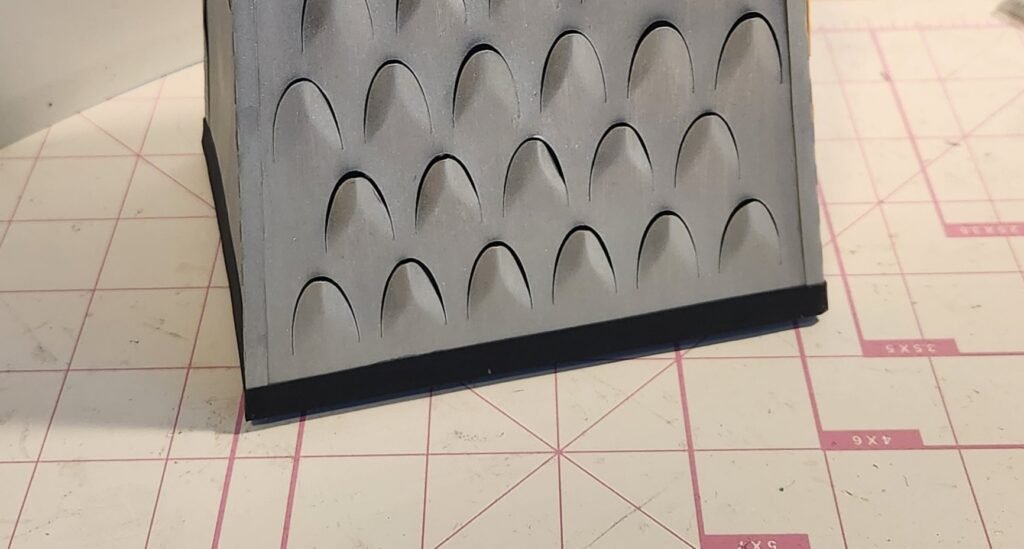
There are four long narrow panels, one for each corner. You’ll note that the top has a slight V shape. Fold on the score line and attach to each corner of the box.

Now that these are in place, you can add the black base panels around the bottom of the box.
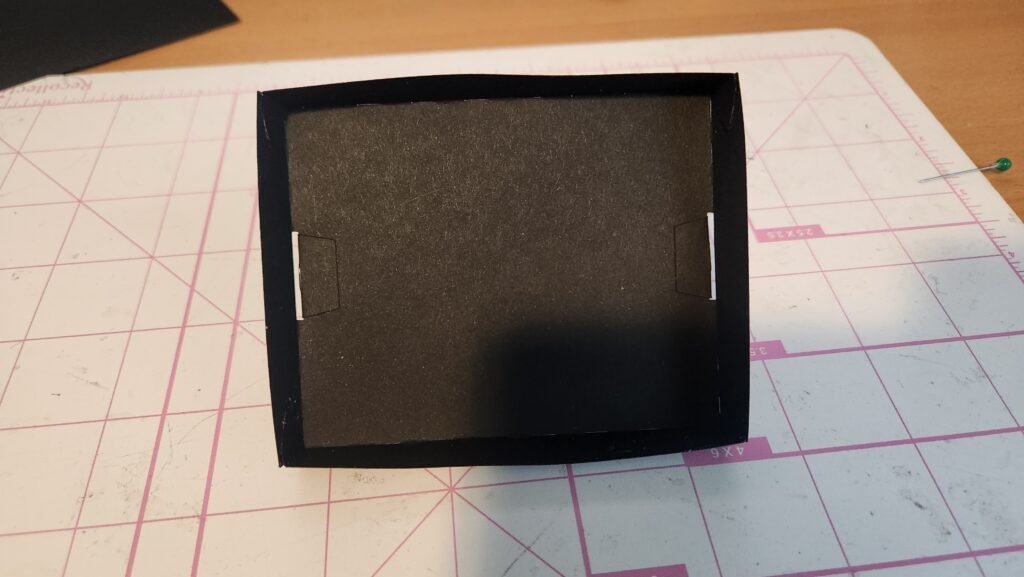
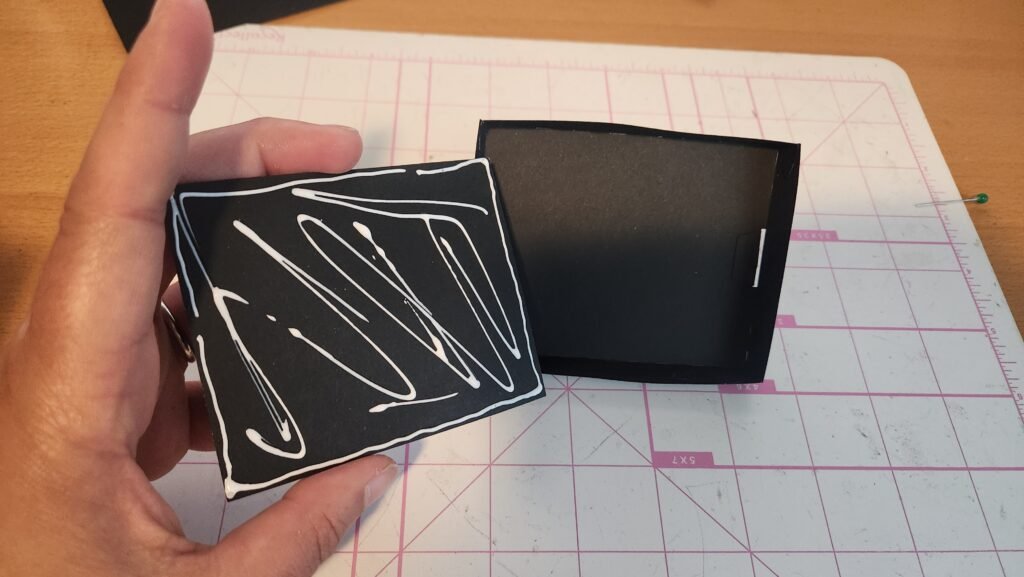
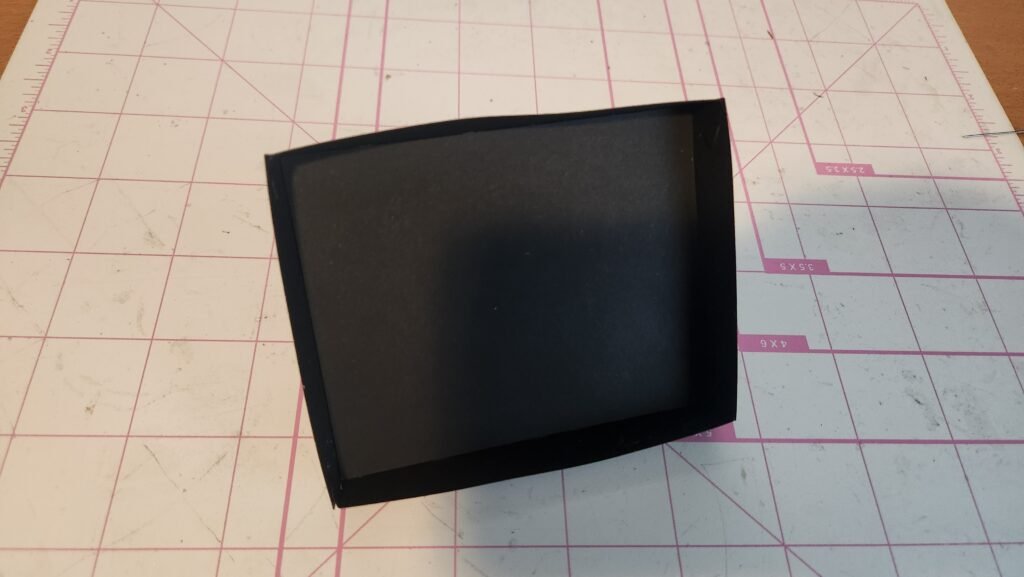
Making The Cheese Grater Lid
The lid is pretty simple to assemble. Fold on the score lines and attach the tabs to create the sides of the lid.
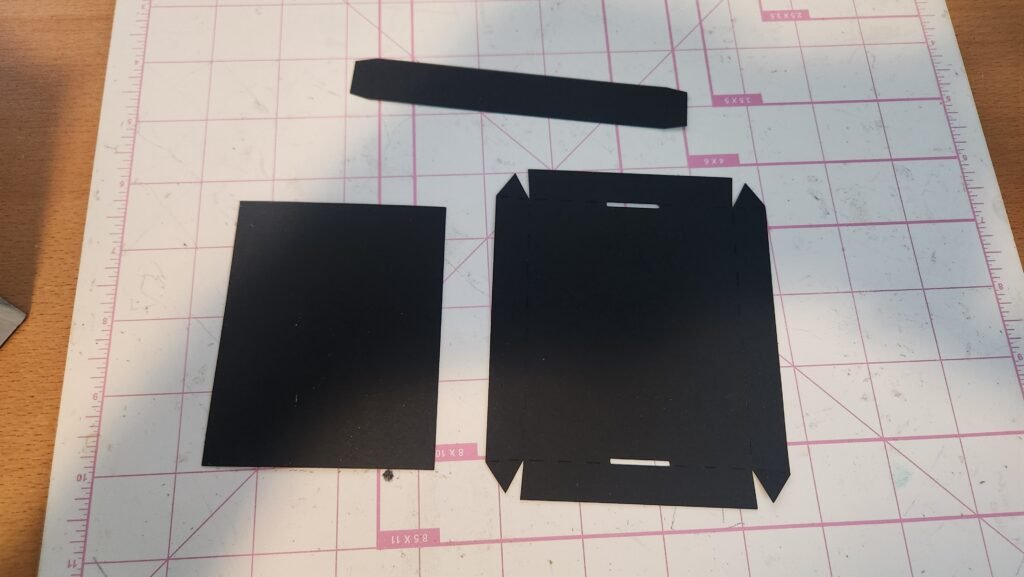

To attach the handle, slide a tab through one of the slits in the lid. Attach the tab to the inside of the lid. Repeat for the other end of the handle.
To cover the openings for the handle, there is a rectangular panel. Attach this to the inside of the lid.
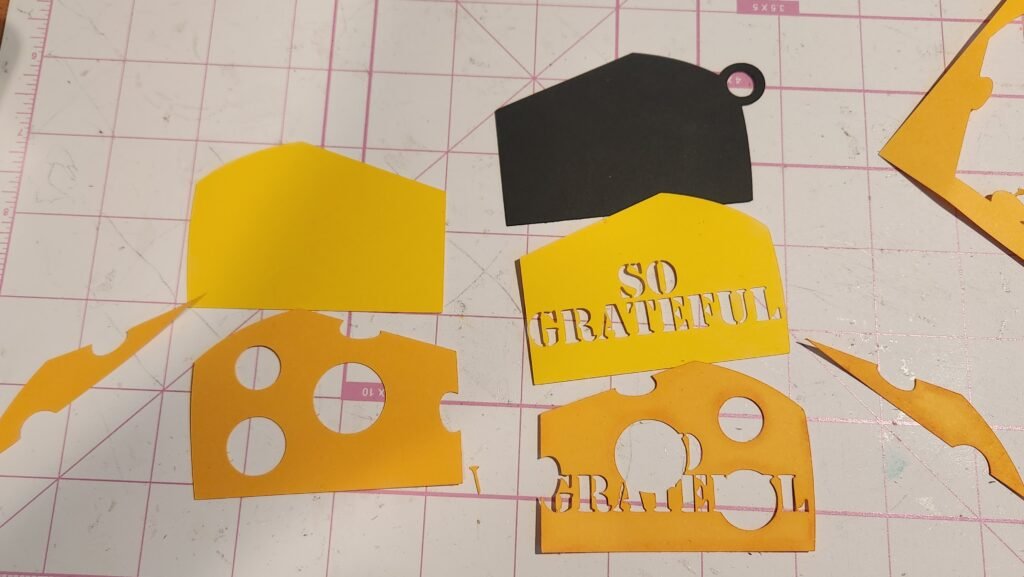
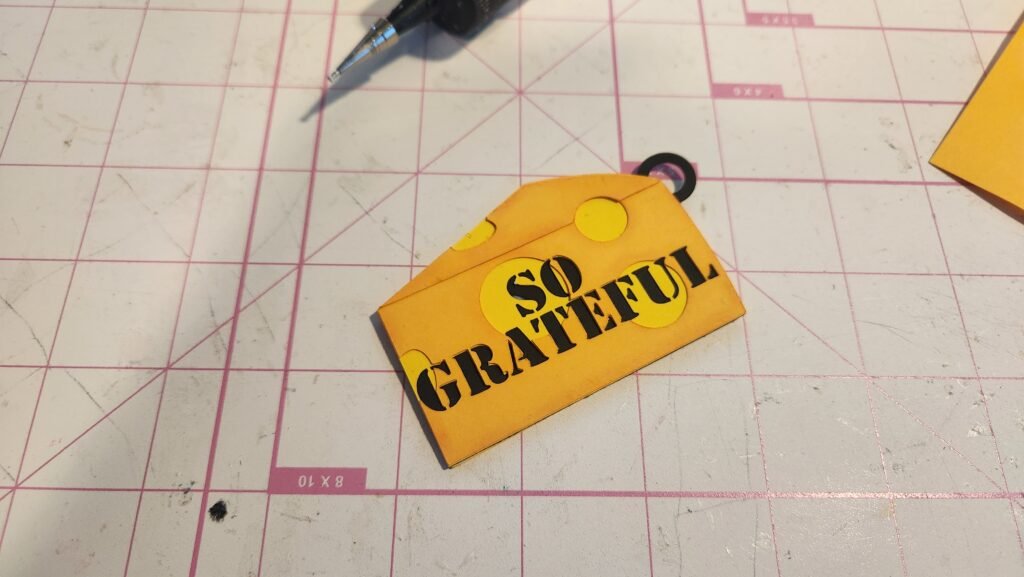
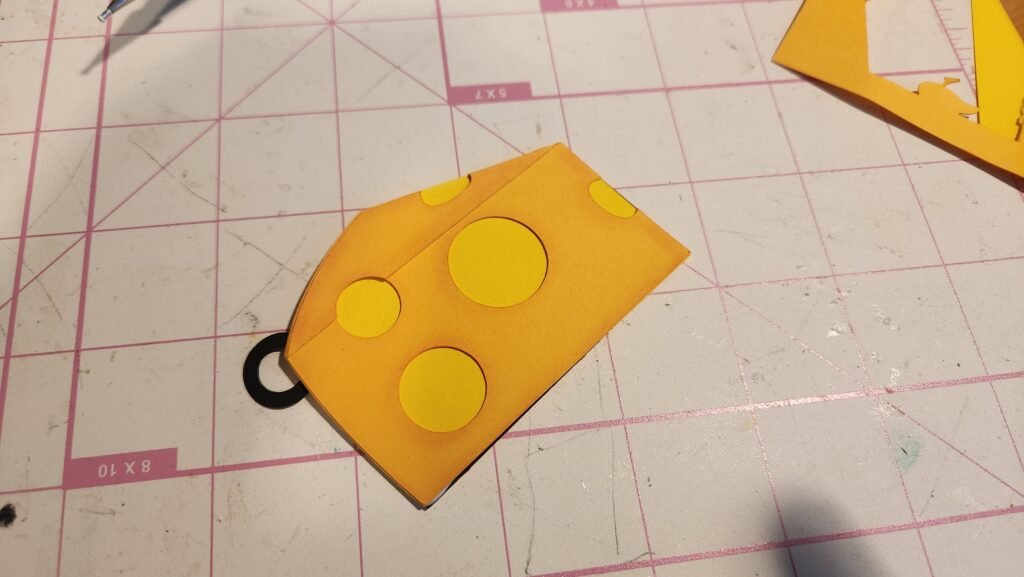
Assembling The Cheese
The final step was to assemble the tag. We layered the pieces for the front and back then attached them back to back. We used some bakers twine to attach the tag to the lid of the cheese grater box.

Leave a Reply