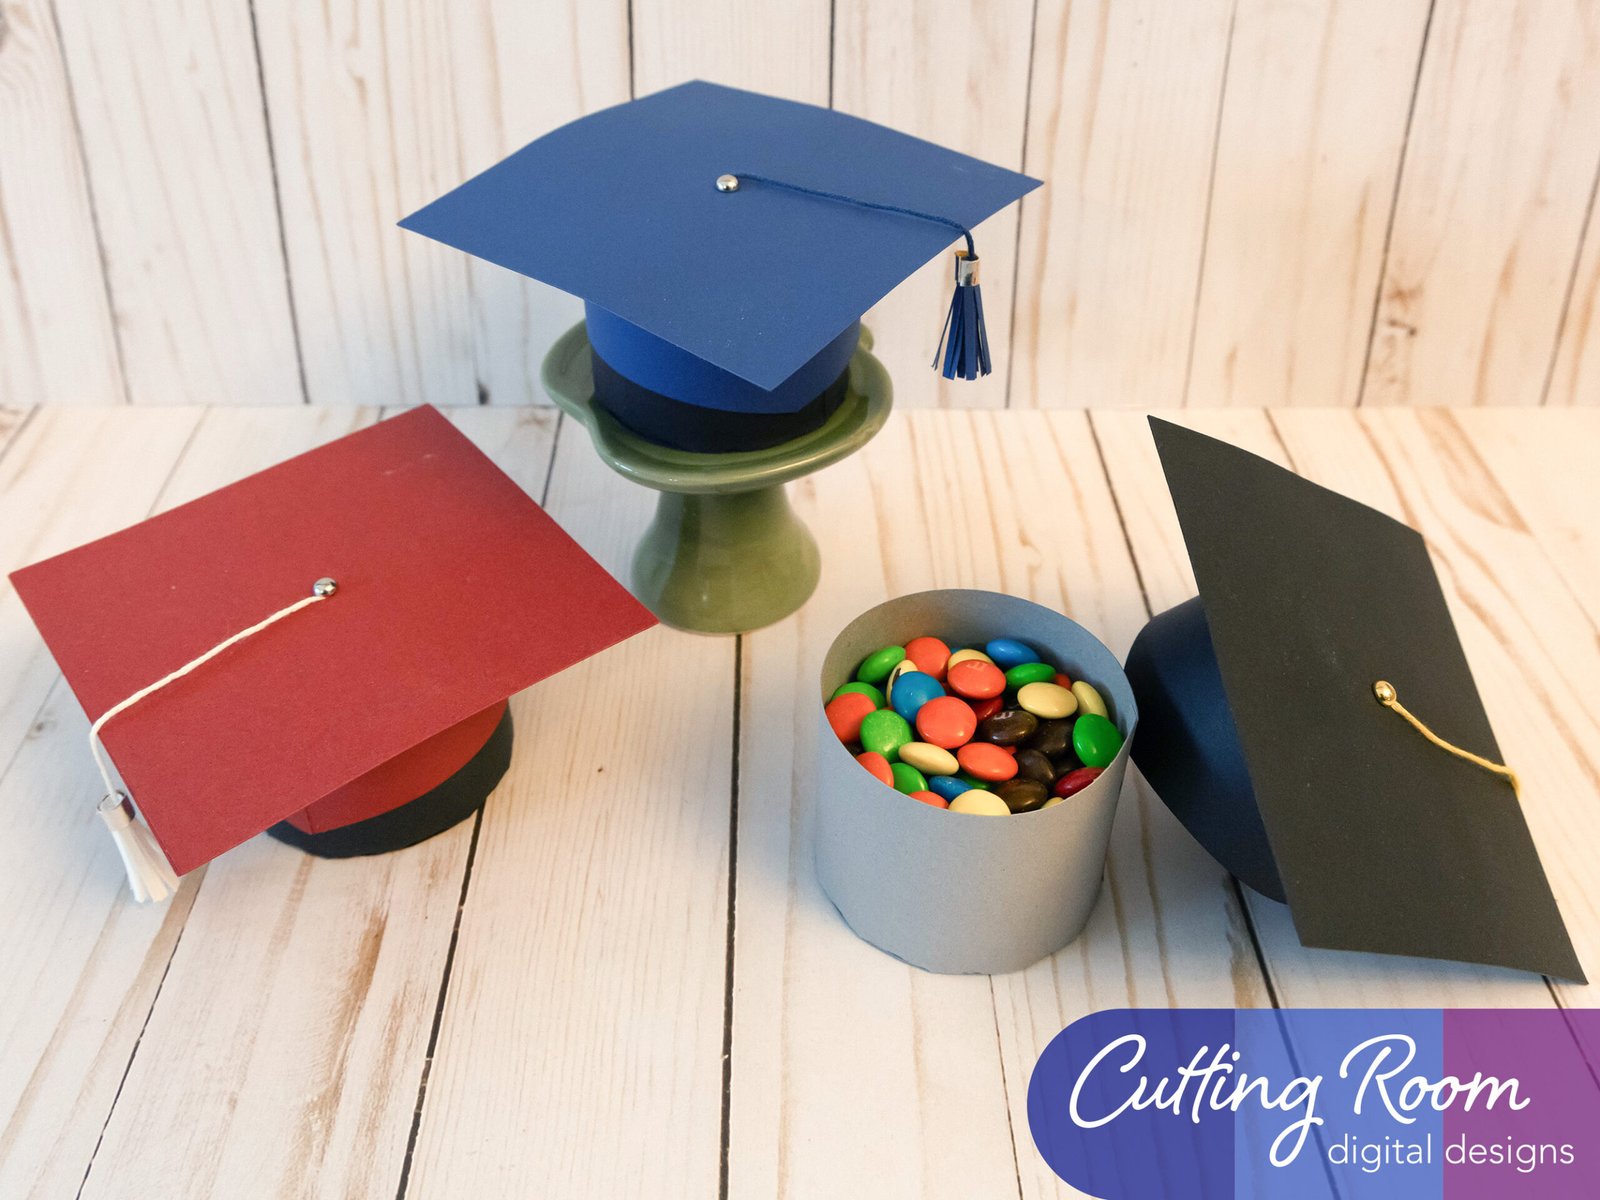
Materials Used
We used several products and supplies in the making of our celebration ready graduation hat. Below is a list of what we used.
- Graduation Cap Treat and Gift Box – Digital Download SVG
- Recollections cardstock
- Recollections Silver Cardstock
- Embroidery Floss
- Brad Fastener
- Art Glitter Glue
- Electric Cutting Machine – Cricut or Silhouette
***Note that this post contains affiliate links and we may receive compensation if you buy something using one of our links. ***
Assembling The Box
The lid is made with three pieces: the side and the two round panels for the bottom. Bend the side around to create a circle shape and attach using the tab at the end. The score line on the end is to guide where to place your glue. You don’t want to actually bend on this score line.


Once you have this loop, fold in the tabs along the bottom and add glue to the inside. Then place one of the round panels inside and use your finger or a pencil and press the round panel in place. You want to get a secure hold and make sure the panel is flat at the bottom.


Once this is in place, turn over the base and apply glue to the other round panel. Use this panel to cover the exposed tabs on the bottom. It will also provide extra support to the base of the box.


Hat Tassel And Attachment
We then took the tassel piece and rolled it, then unrolled it. Having it want to roll already made it easier to add the embroidery floss and glue. We have a quilling tool that we used for this but you could use your fingers. Now you can roll just enough so you don’t get glue on the tool. Then add glue to the rest of the tassel strip and insert the end of your embroidery floss. When ready you can now roll your tassel piece snugly.
Finally, add the little strip that’s the ‘metal’ holding the tassel together. We forgot to take a picture of the tassel with the ‘metal,’ so our photo here is a close up once we were done with assembly.


Once we have the tassel done, we held the string from the hole in one of the square panels and let the tassel dangle over the edge. Then we cut the string a little longer than desired so we could feed it through the hole and secure on the under side. We found tape worked best for this. Once you have the tassel secure, you can put a brad through the hole to complete the decorative top of the graduation hat.


Our next step uses the other square panel. Note that there are three curved makers in the center of this. They are to help guide where the rounded lid construction will be placed. Add glue to the other side of this panel (so you can still see the marks later) and secure it to the decorated square panel, covering the attached string and back of the brad piece.


Assembling the Hat
The lid goes together in a similar way. Start by making the cylinder shape and adding the panel to the end of the shape to close off what will the top of the lid.


Finally, take the round lid assembly, add glue to the top and place it on the square panel. Use the curved markers as a guide for placement.


