Materials Used
We used several products and supplies in the making of our Cheer Gift Box. Below is a list of what we used.
- Cheer Bow Gift Box and Greeting Card – Digital Download SVG & DXF
- Recollections cardstock
- DCWV Glitter Cardstock
- Dots Embossing Folder
- Sizzix Big Shot
- Art Glitter Glue
- Rhinestones
- Zots Glue Dots
- Electric Cutting Machine: Cricut or Silhouette
***Note that this post contains affiliate links and we may receive compensation if you buy something using one of our links. ***
Cheer Gift Box Bottom
The box is assembled in a couple steps. We started by assembling the bottom of the box. To do this, there are four sides, 2 long, 2 short, and the 2 that close up the bottom.

We folded along the score lines for the tabs and attached the panels end to end, making sure to alternate the sides – long/short/long/short – so that we would have a rectangular shape when done.

We then took the tabs around the bottom, folded them in and added glue to the tabs. Using one of the bottom panels, we pressed it into place along each tab, making sure to have the fold of the tab snug against the bottom panel on each side. Once the panel was secure, we turned the box bottom over and glued the other panel in place covering up the exposed tabs.


Cheer Gift Box Lid
We set the base aside and started on the lid. The lid is assembled the same as the base. This goes together the same as the bottom. The real difference between the two is the lid is slightly larger and the final panel to cover the tabs is decorated.


Decorating The Gift Box Lid
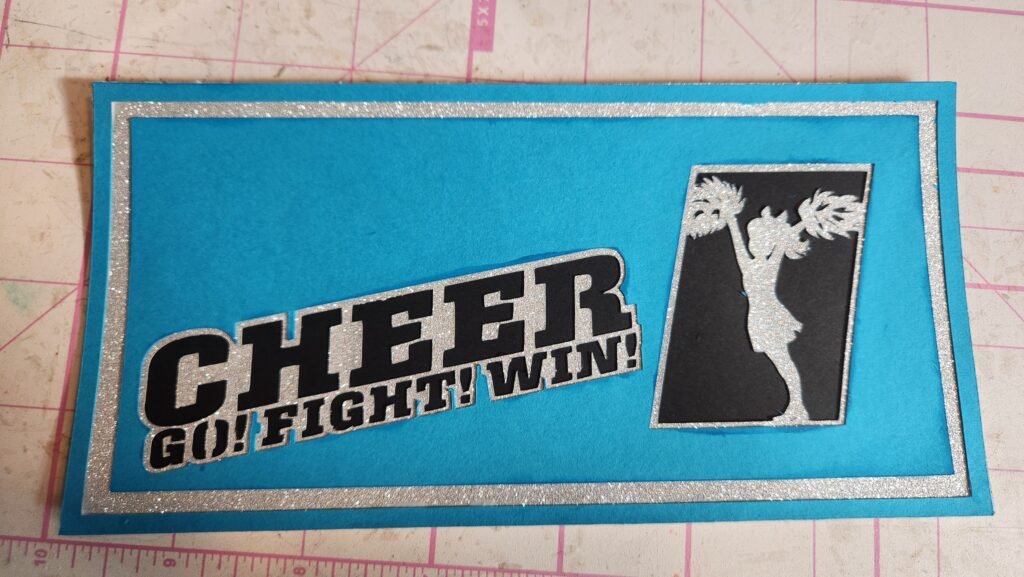
Finally, we assembled the decorative top of the box.

With this complete, we attached it to the lid of the box. We made sure to get glue to the edges of the decorative panel as well as some across the center. Once in position, turn the box over and apply pressure from the inside to ensure a good hold.


Making The Bow
Our final step in the assembly was to make the bow. This is pretty simple. First, take the large panel and curve each of the rounded sections. Then add glue to the center and fold one over, attaching the end tab to the center. Once the glue is set, repeat this so you have two loops.


We then took the second panel that looks the same but is a little smaller and attached it at the center to the front of the bow.


With that secure, add glue to the back of one side and curve it around to attach to the base. Then repeat this process for the other side. If the top layer doesn’t quite reach all the way to the back that’s okay. You won’t see the gap when the bow is complete.


Next, take the small strip and using glue, wrap it around the center of the bow. If it doesn’t touch in the back, again, that’s okay. None of this will be seen later.


The ribbon beneath has two layers, once you have glued them together, you can add some glue to the back of the bow and attach it to the top of the ribbons. Sorry, we didn’t get a photo of us placing them on the back of the bow. Mostly, we used a generous amount of glue at the top of each ribbon piece, then held them firmly to the back of the bow, using our finger to press in the center. We held this in position until the glue was set.

Attaching The Bow
Our final step was to add glue to the back of our bow assembly and press it to the top of the lid. You may want to reach inside the lid and provide some counter pressure so you don’t bend or warp your lid. We tried different placements on different boxes we made. It’s up to you what you like. If you find the ribbons are on the words too much, you can encourage them to bend or curve a little and glue the end in place so the ribbon is curved and secured to not block the letters.


Leave a Reply