Materials Used
We used several products and supplies in the making of our cute ghost treat box. Below is a list of what we used.
- Ghost Treat Box and Halloween Decoration – Digital Download SVG
- Recollections cardstock
- Art Glitter Glue
- Electric Cutting Machine: Cricut or Silhouette
***Note that this post contains affiliate links and we may receive compensation if you buy something using one of our links. **
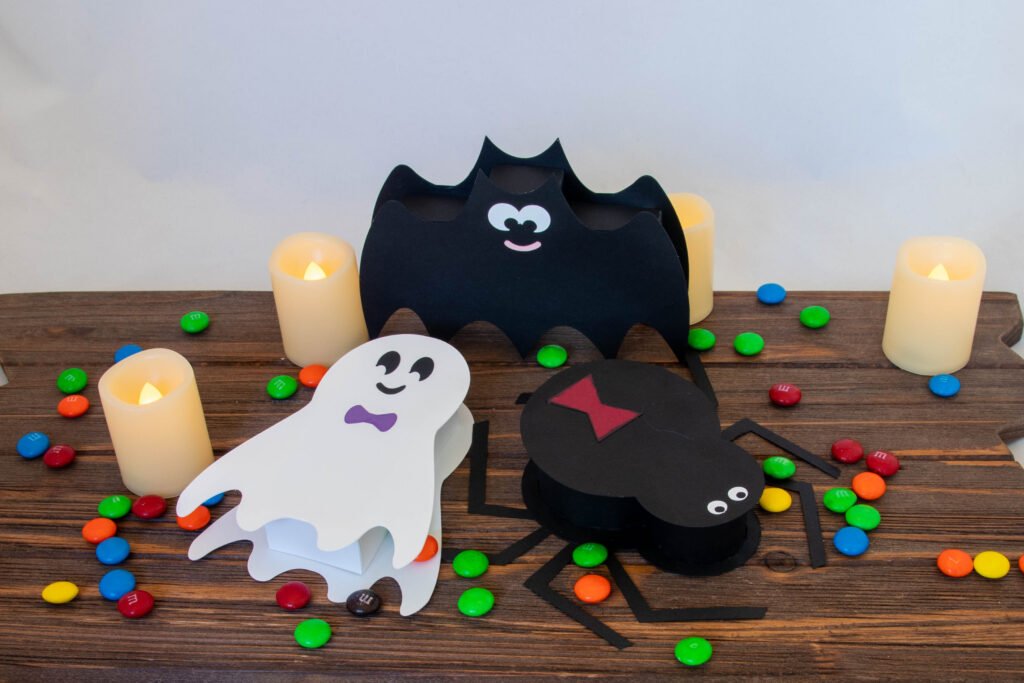
This ghost treat box goes together quick and easily for a fast Halloween gift box or easy party decoration.
A Note About The Top Vs. Bottom
The bottom and the top of the box go together the same way and are only different in two ways, the lid is a little bit larger (so it can fit over the bottom) and there are a couple decorative pieces that go on the lid.
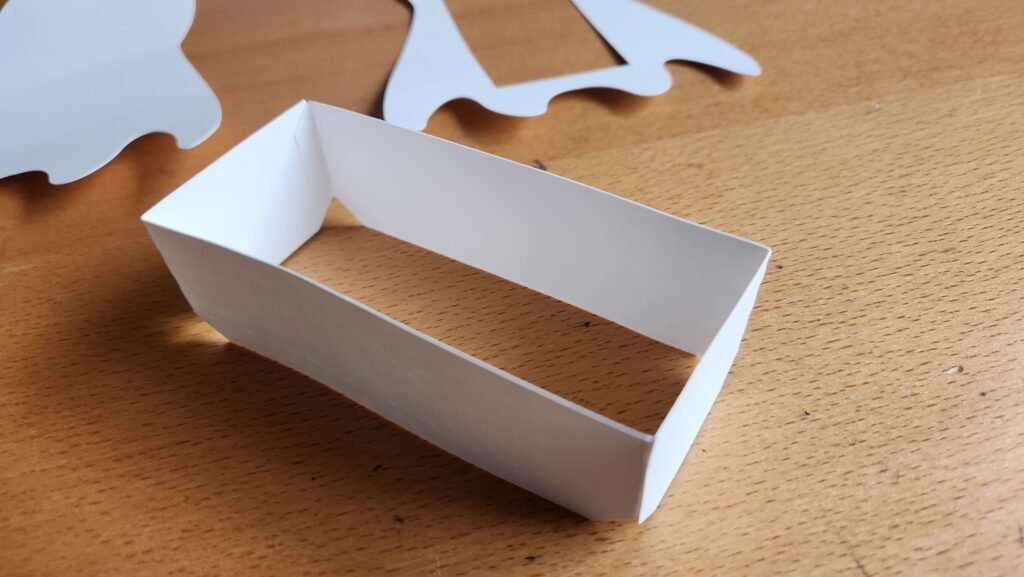
Making The Ghost Box Sides
To start with, we laid out the pieces for the bottom of the box then we attached the long panels end to end to create a rectangular box.


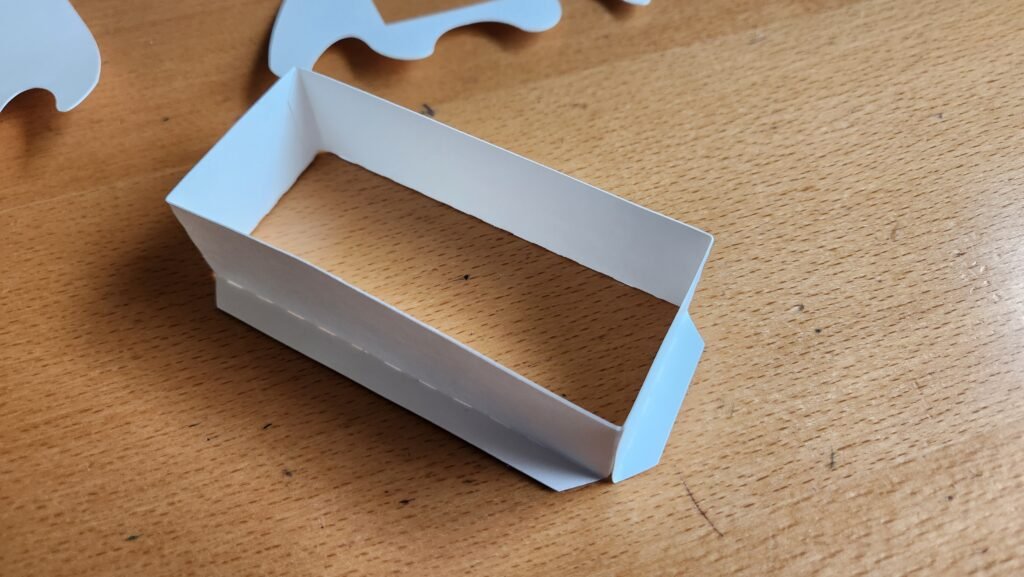
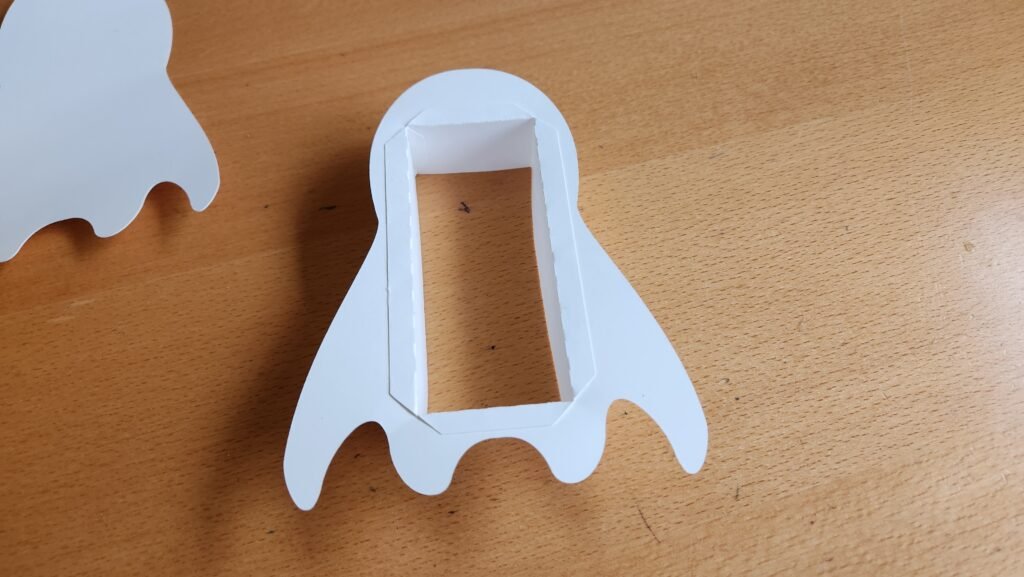
Adding The Ghost
With this rectangle done, we folded the remaining tabs on the bottom out, and slid the ghost shape with the opening in the center over to top. We slid the ghost down close to the tabs then added glue the tabs and pressed the ghost down, making sure to get a snug fit with the tabs against the edges of the rectangle cut out in the ghost.
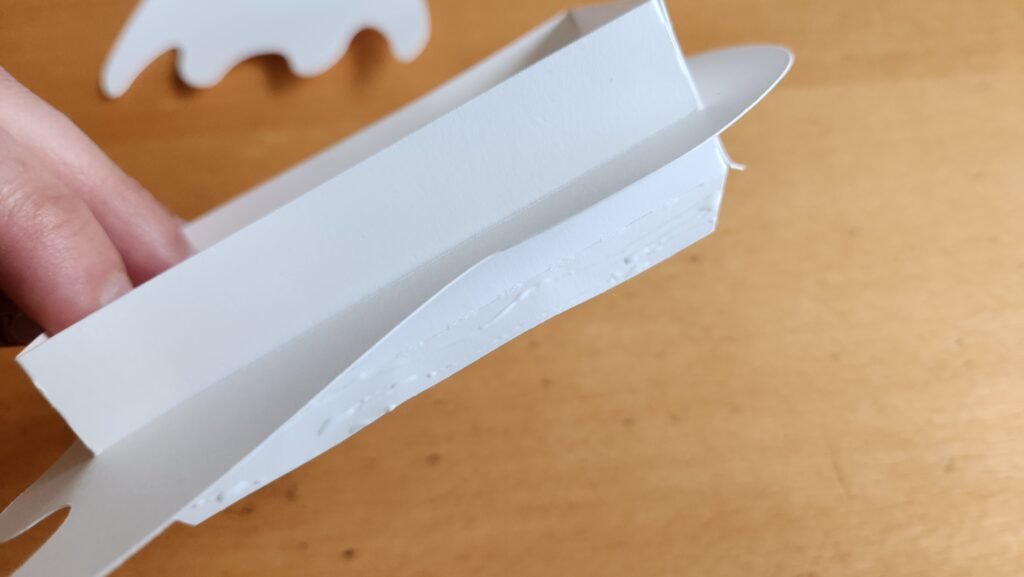

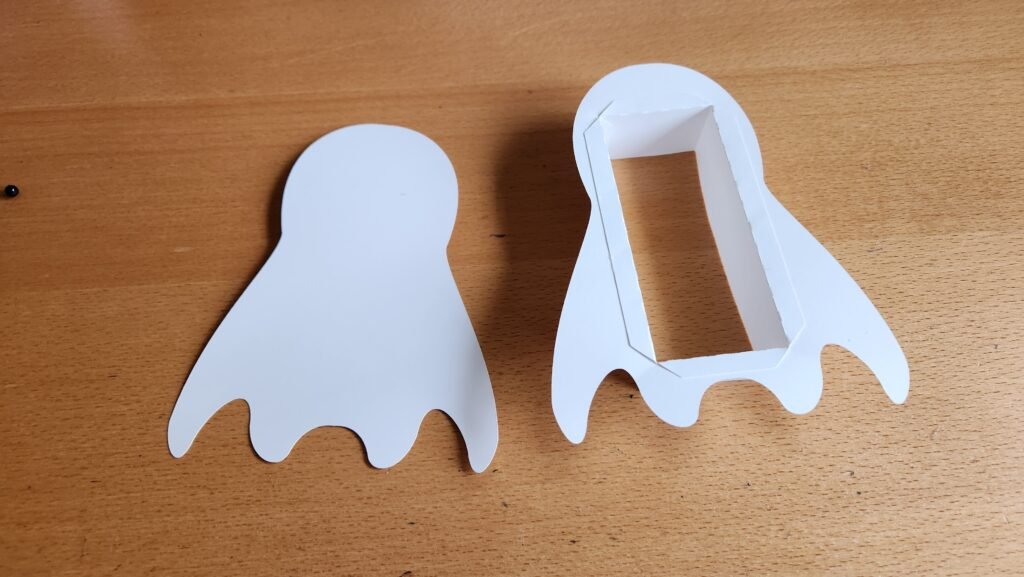
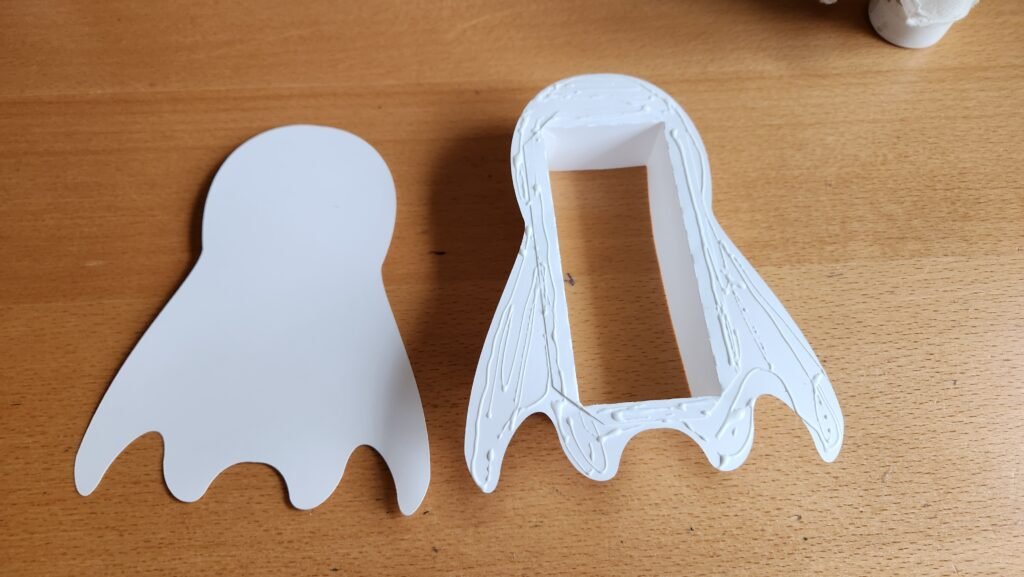
Closing The Ghost Box
Next, we added glue around the ghost, making sure to get some close to the opening and all the rounded tips, then we added the solid ghost shape to close off the box shape.


Decorating The Ghost Box Lid
We then repeated this process for the lid of the bat. Everything is the same except the box shape (and therefore the hole in the ghost) is a tiny bit larger, allowing the lid to slide over the bottom of the box. Once we completed assembly of the lid of the bat box, we added the ghost’s eyes, mouth, and bow tie to finish off the box.