Materials Used
We used several products and supplies in the making this cute cookie or pie box. Below is a list of what we used.
- Christmas Polar Bear, Penguin, and Moose Cookie and Pie Boxes – Digital Download SVG
- Recollections cardstock
- Recollections Christmas Be merry Paper Pad
- Art Glitter Glue
- Color Petal Ink Pads
- Acetate
- Electric Cutting Machine – Cricut or Silhouette
***Note that this post contains affiliate links and we may receive compensation if you buy something using one of our links. ***
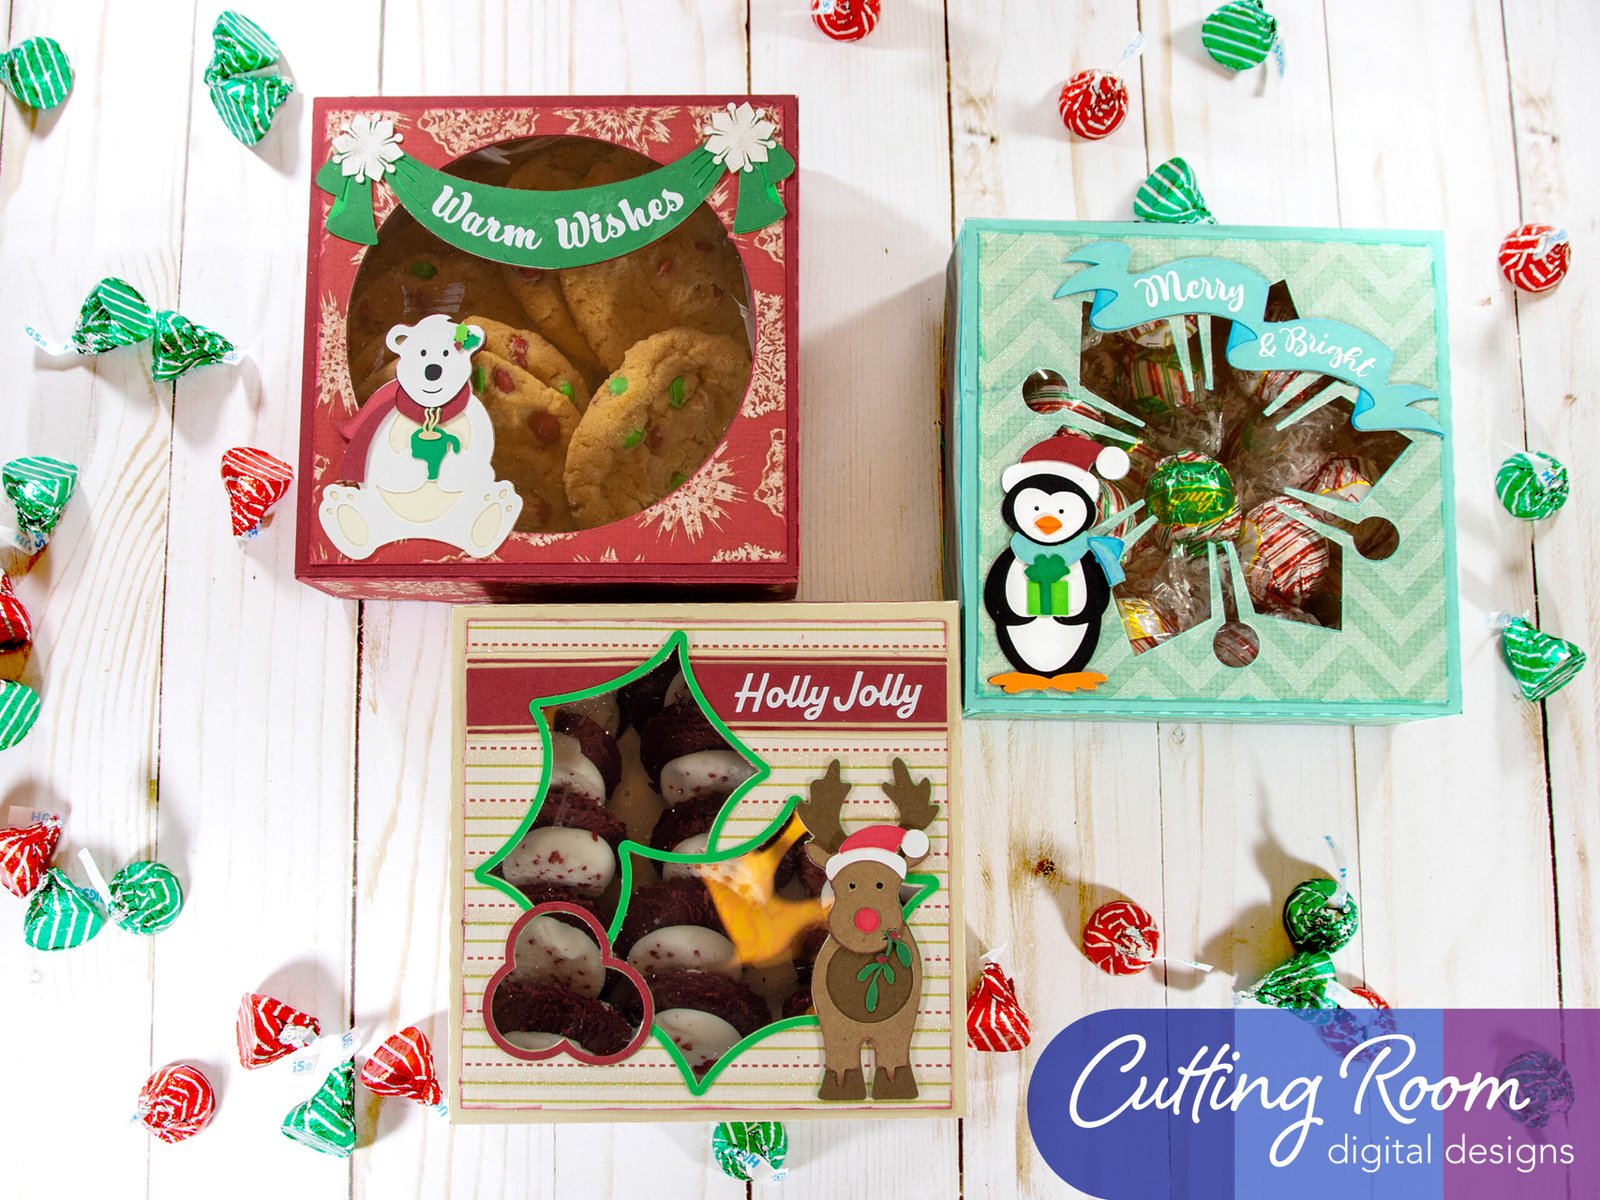
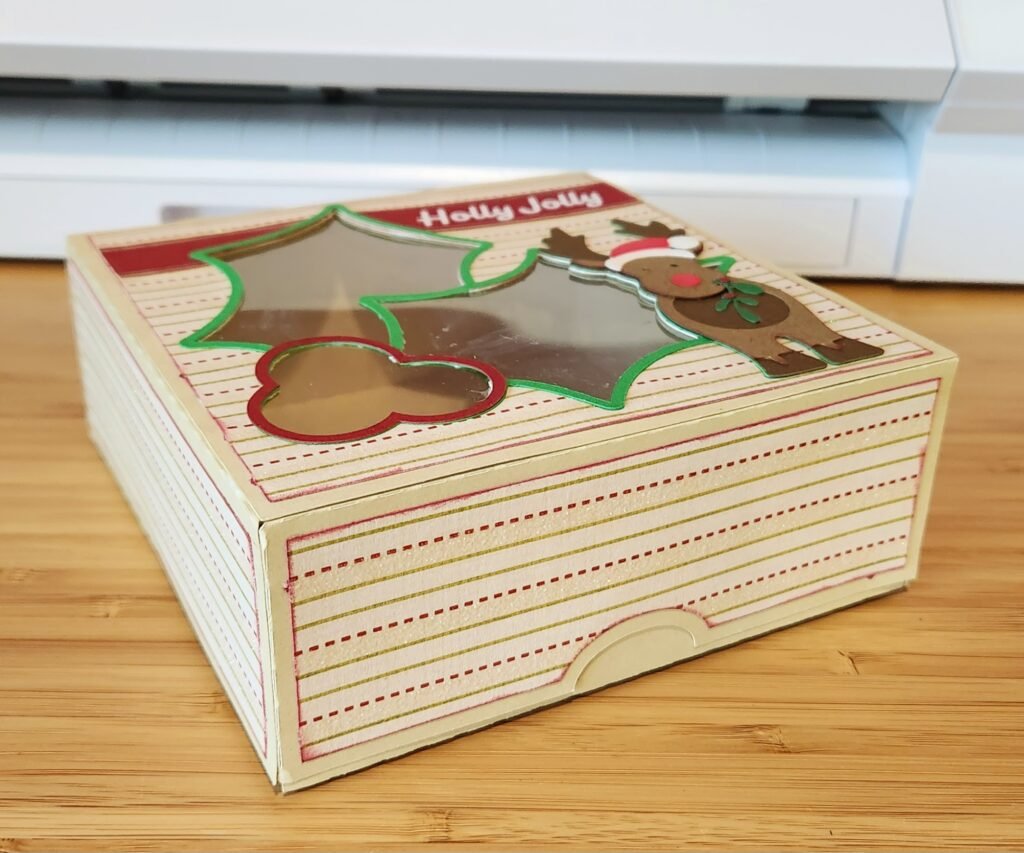
While the decorations may be different, the assembly for these boxes is the same. For this we are showing how we assembled the moose cookie box. These boxes are simple to put together and make for a fun way to give a gift to someone special.
Bottom Box Assembly
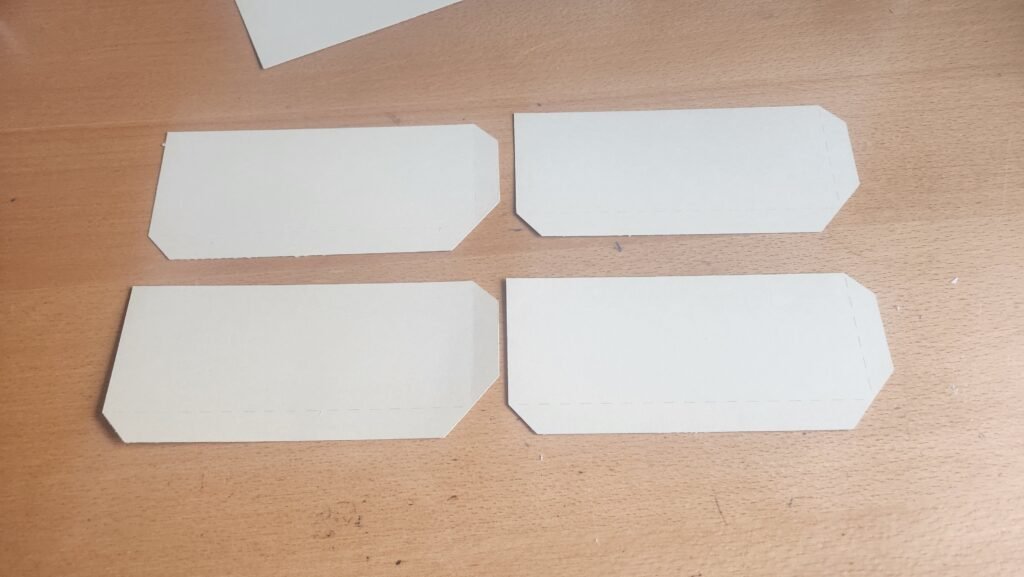
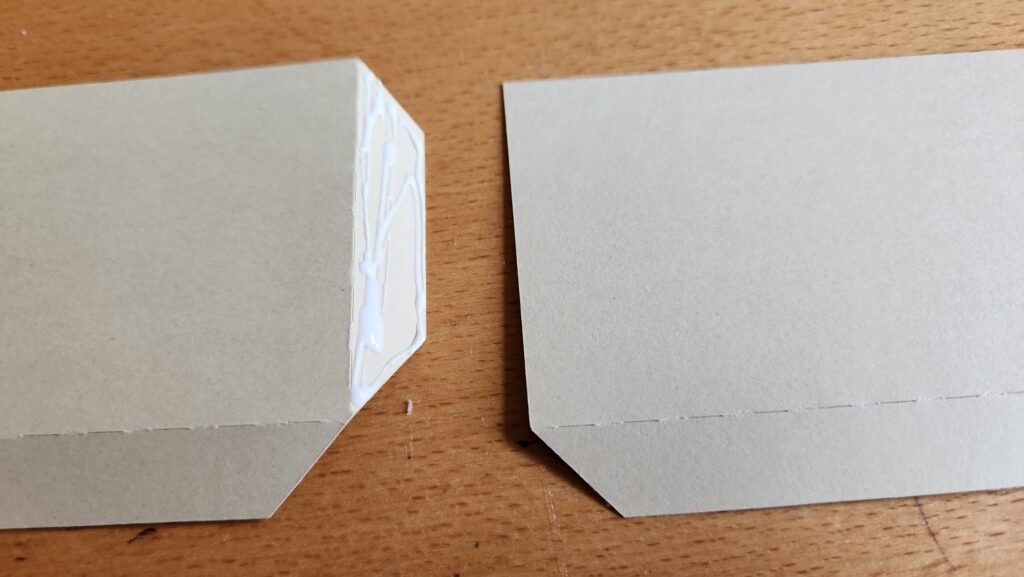
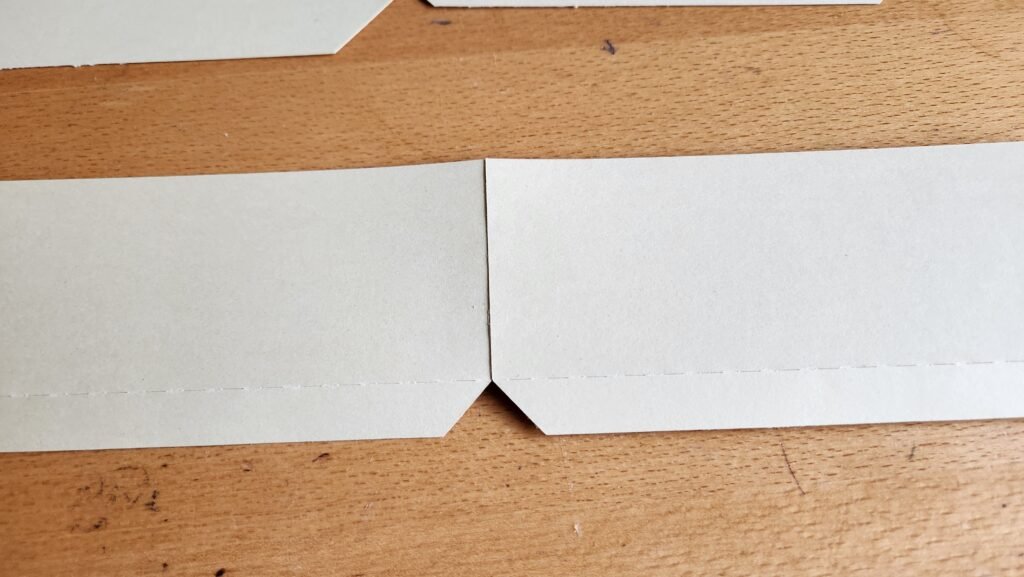
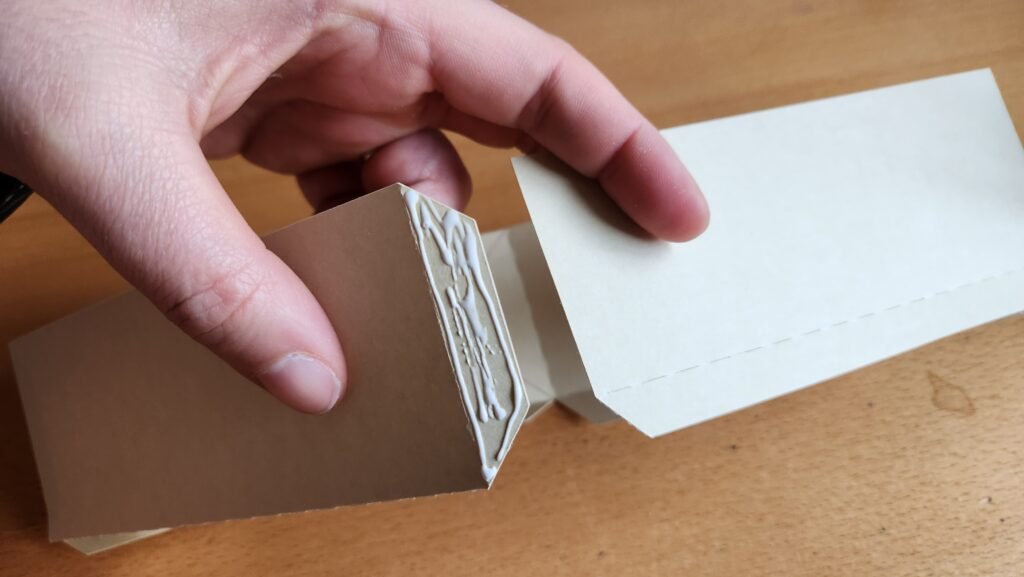
To start with, we made the bottom of the box. There are six pieces for this, four for the sides and two for the bottom. The side pieces are all identical so you can put them together in any order. We started by folding along the score lines. Then we started connecting the side pieces end to end until we had a square shape.
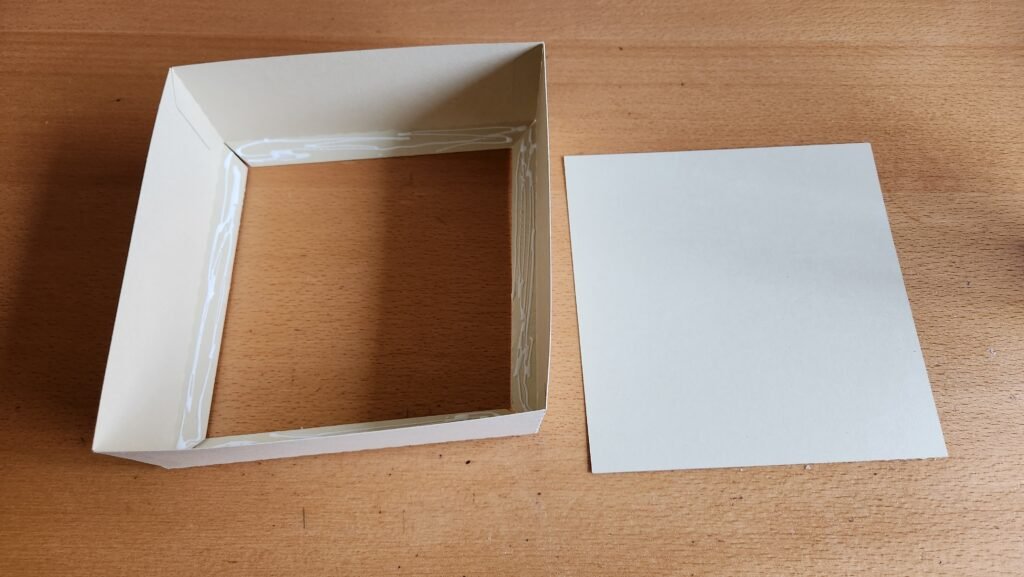
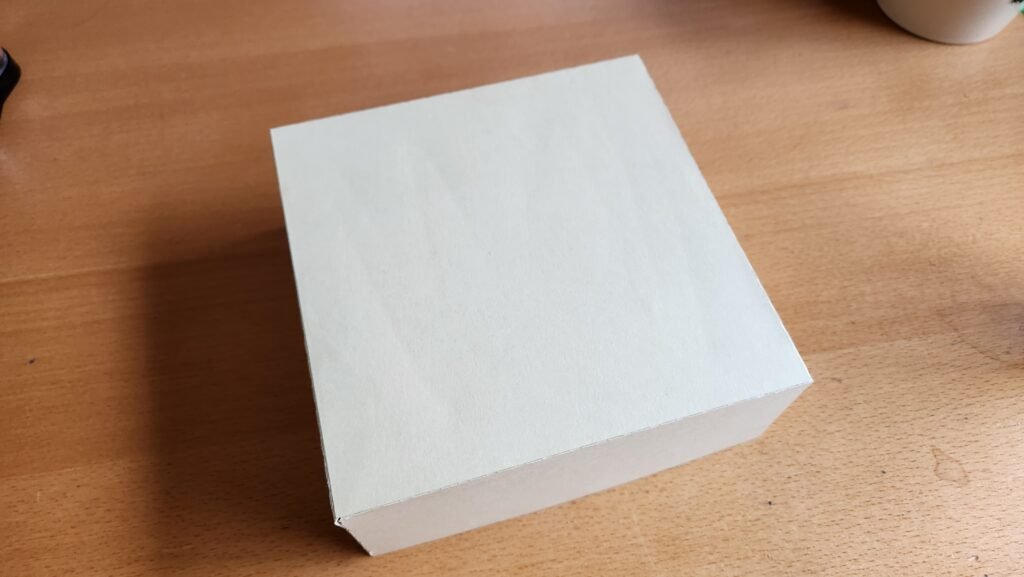
Next we folded in the tabs at the bottom, added glue and placed one of the square panels in place to close off the bottom of the box. As both panels are identical, allowing either to be placed inside. Once the inside is secure, we turned the box over, added glue and placed the other panel. This way the tabs are not exposed and having two panels at the bottom helps provide reinforcement so it can better support anything you place inside.

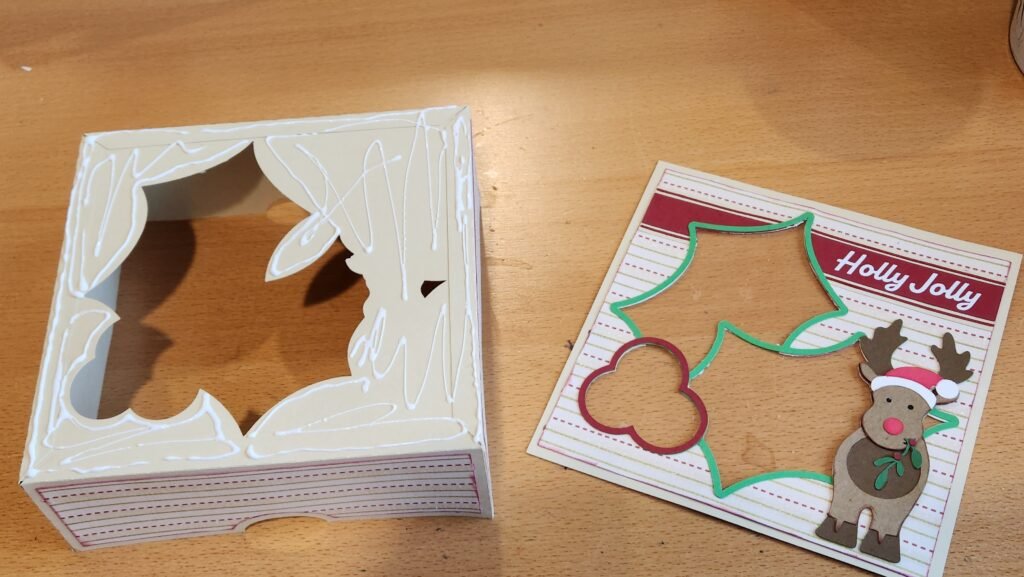
Assembling The Box Lid
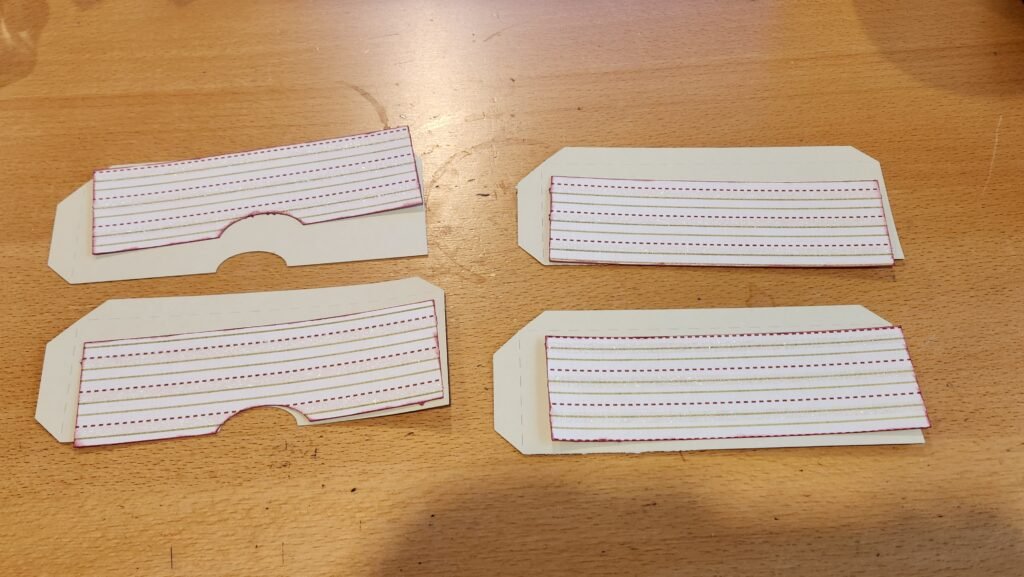
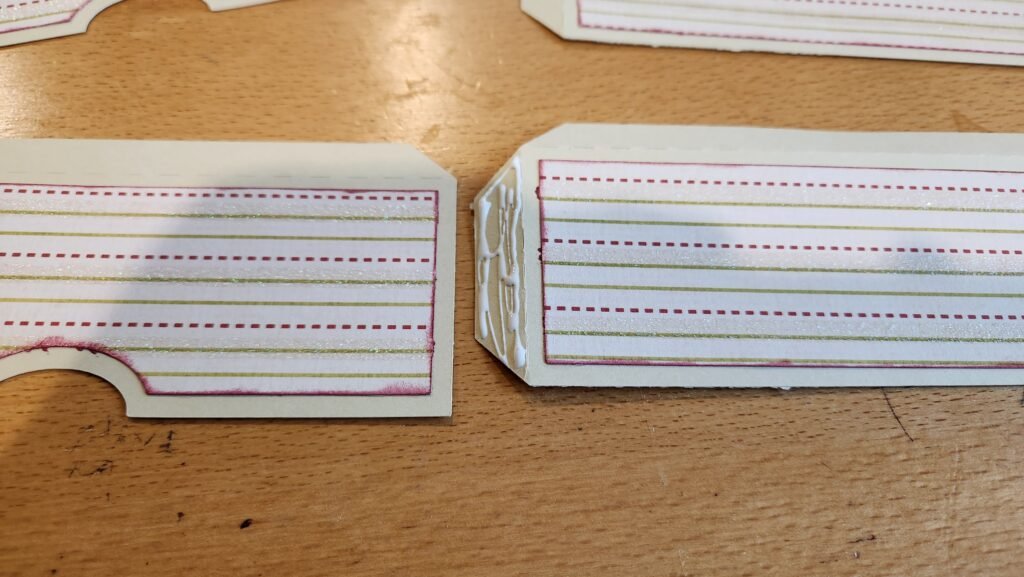
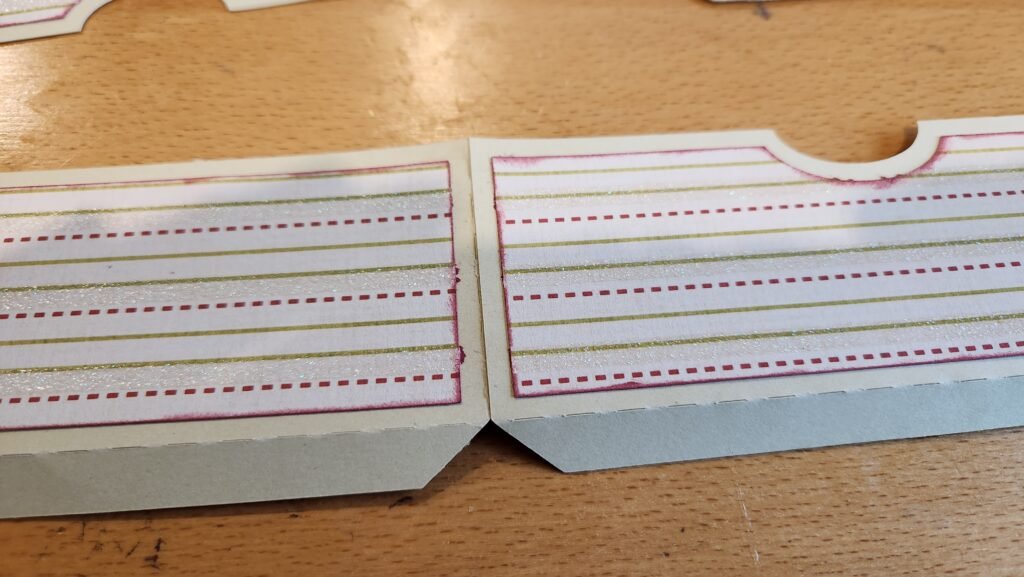
The lid goes together in a lot the same way as the bottom of the box. The side pieces have two rectangular and two with a curve along one side. These are to help with taking the lid off later, so when you make your square with these side pieces, make sure that the side panels alternate, allowing the ones with the curve on the side to not be next to each other. Prior to attaching the side panels, we chose to add the decorative panels. Once this was done, we again folded along the score lines then started connecting the side pieces end to end until we had a square shape.

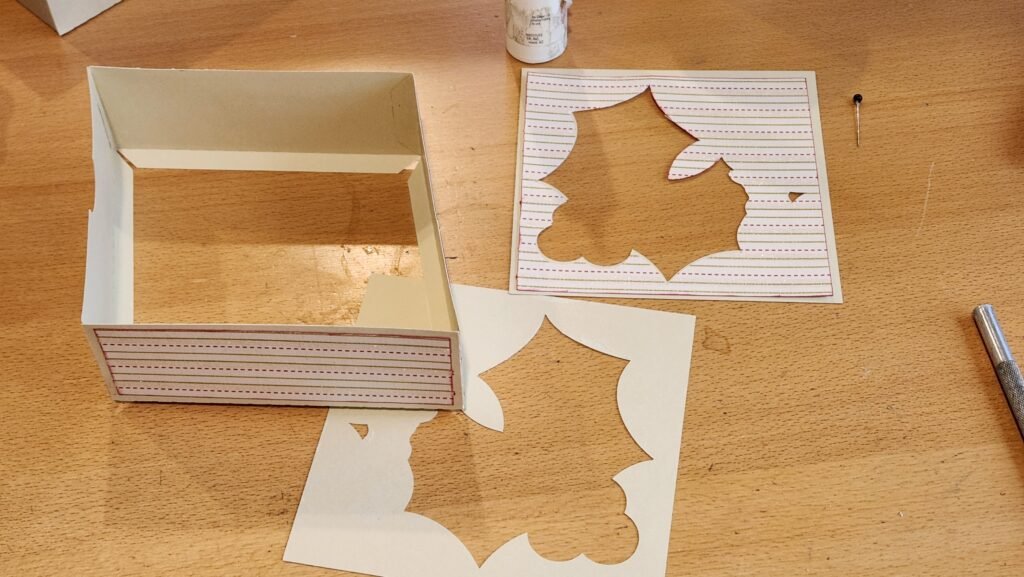
We then placed the square panel that goes inside the box. There are two square panels, they are identical but when you place them you want to turn the inside one over so that it is in reverse, this will allow the other decorative panel to face the correct direction on the outside. You’ll note in our photo we have the square panel we planned to use for the outside already has the decorative panel in place and we’ve turned over the one we plan to put inside. This helped us make sure we had each facing the right direction.
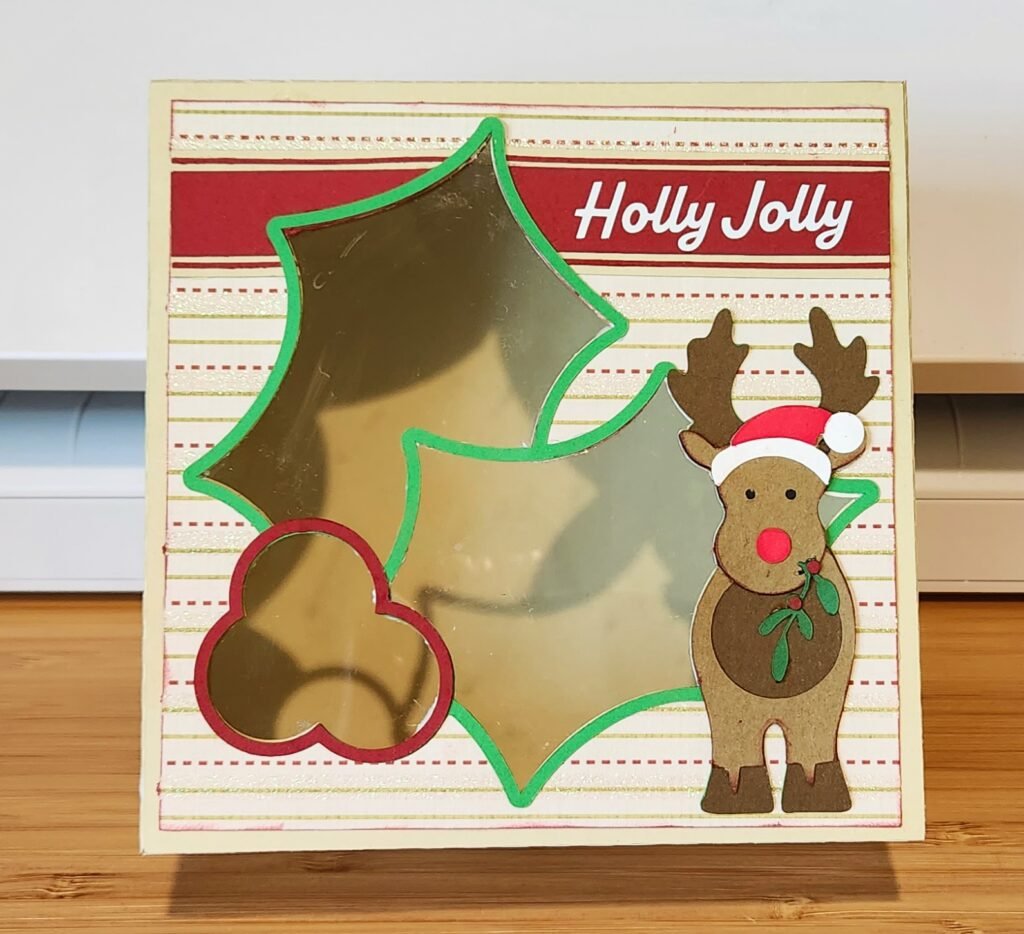
Adding The Acetate
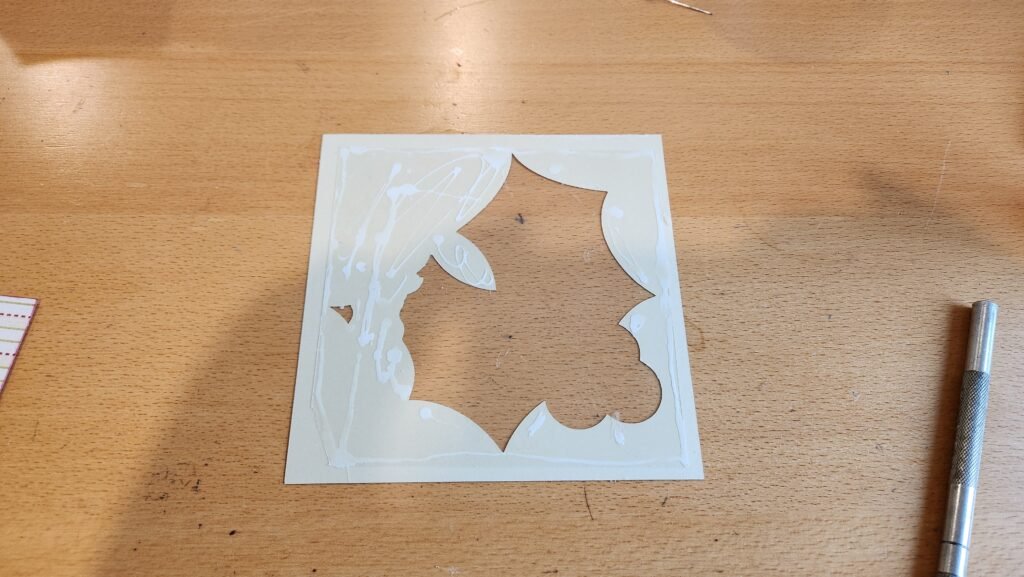
With the top of the box shape started, we put it aside to work on completing the decorative panel on the top. To start, we took our square that already had the decorative panel in place, turned it over and attached the acetate square. This will allow it to be sandwiched between the two panels, helping to better secure it in place.
Making The Moose (Or Other Decoration)
With the acetate secure, we turned it back over and added the assembled moose decoration as well as the framing panels around the cut out holly.
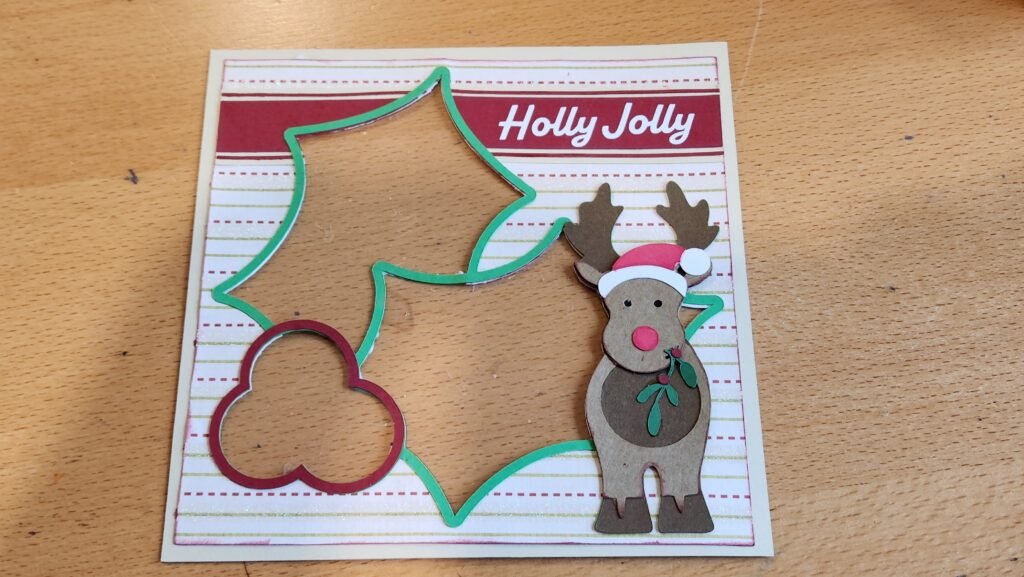
Finally, we added glue to the top of the box and secured our completed decorative panel in place.
Leave a Reply