Materials Used
We used several products and supplies in the making of our pumpkin treat box. Below is a list of what we used.
- Pumpkin Treat Box – Digital Download SVG & DXF
- Recollections cardstock
- Color Petal Ink
- Art Glitter Glue
- Electric Cutting Machine: Cricut or Silhouette
***Note that this post contains affiliate links and we may receive compensation if you buy something using one of our links. ***
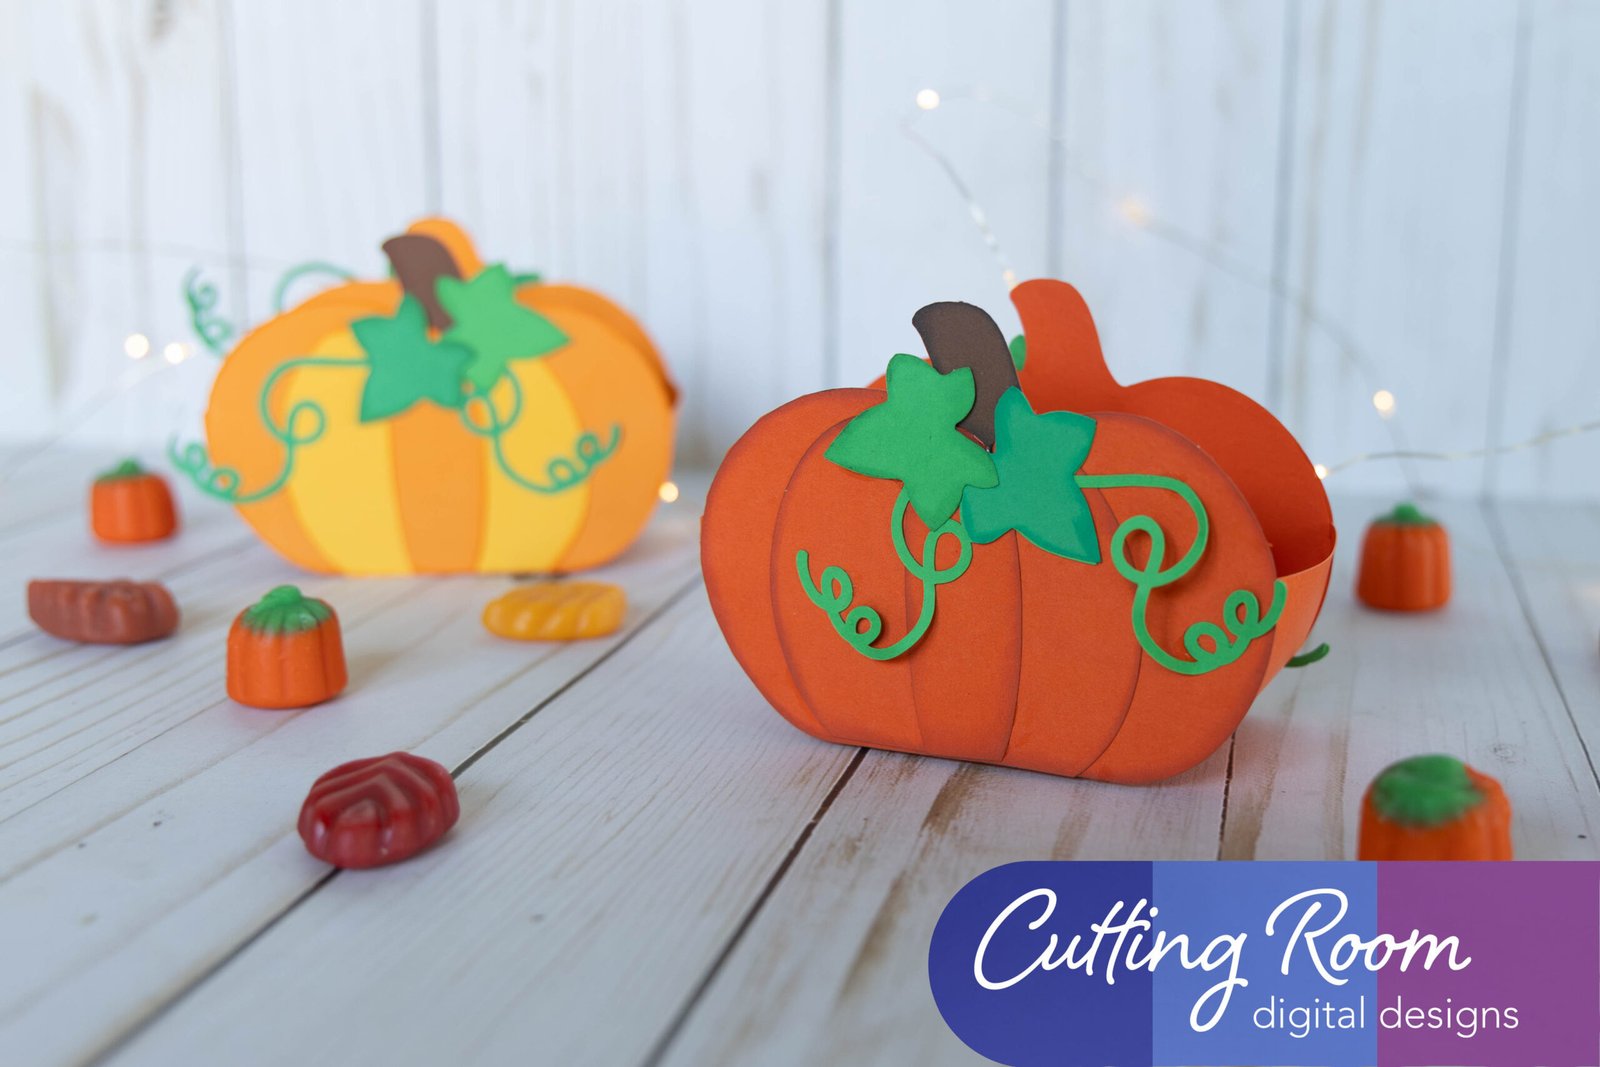
Our pumpkin treat box is constructed using one cut to make the box itself. This is done by first folding on the score lines.

Once we had that done, we started adding glue to a couple tabs at a time. We chose to have the tabs go around the side panel so they would be visible on the outside. They will be later covered by the decorative panels. Doing a couple tabs at a time allows you to get a close, snug ft when attaching the tabs.


Once you have the pumpkin treat box complete you can start decorating the sides. We started by adding the brown pumpkin stem to either side.


Next we layered the pieces of the pumpkin. Each side has three layers. We chose to add some inking to the edges of each before assembly.


Once we had our pumpkins assembled, we attached them to the sides of the pumpkin treat box.


As a final step for assembly, we added the leaves and vines to the sides. We again chose to ink the sides of the leaves before assembly. You can decide if you want to have the vines lay flat on the pumpkin or if you want to have them curve up a bit and have a more 3D look.


Leave a Reply