Materials Used
We used several products and supplies in the making of our Pine or Fir Branch Tutorial. Below is a list of what we used.
- 3D Pine or Fir Bow Christmas and Holiday Decoration or Wreath Supply – Digital Download SVG
- Recollections cardstock
- Green Floral Stem Wire for Artificial Flower Making
- Art Glitter Glue
- Electric Cutting Machine – Cricut or Silhouette
***Note that this post contains affiliate links and we may receive compensation if you buy something using one of our links. ***
We’ve included two bases for this pine branch. The idea is to set it up so that it’s easy to customize the results to best fit your project. Wreath Swag Branch1 is one long piece that is meant to make one long branch without any forks. If you want to add a fork somewhere that’s easily done and covered below. Wreath swag Branch2 is meant to be shorter and has the pieces to make the forks on the branch. You can mix an match pieces as desired, below are directions on how we made ours, but you’ll see that it’s pretty flexible so you can change up the configuration to easily make a unique branch or to give your project some variation while really doing basically the same thing over again.
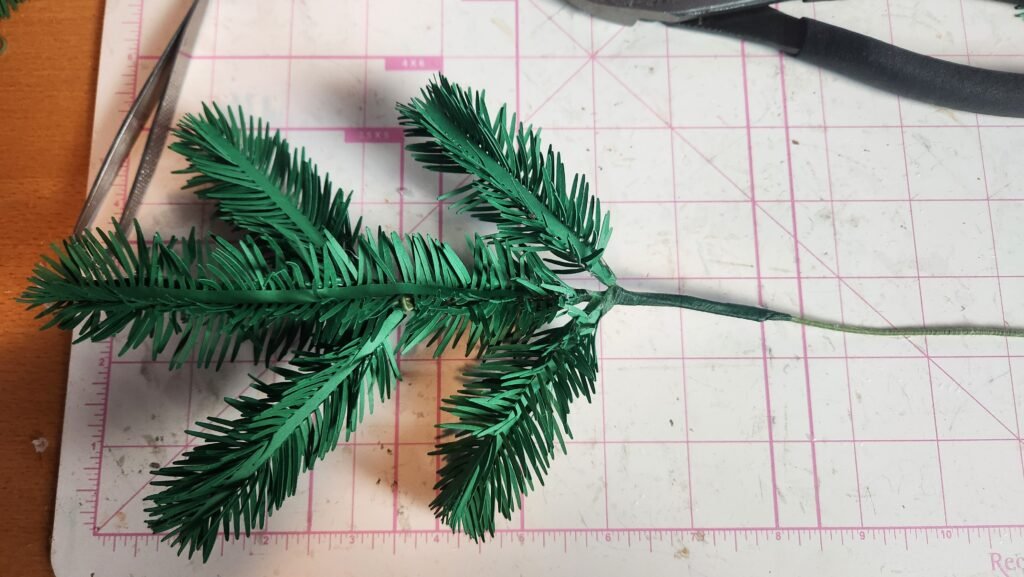
Here are directions on how to make the branched fork as seen below.
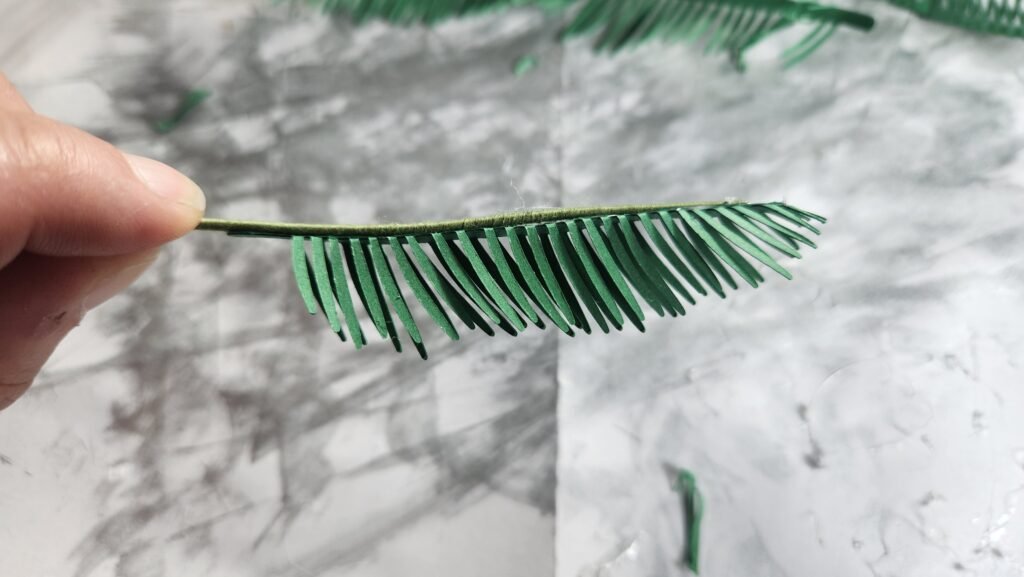
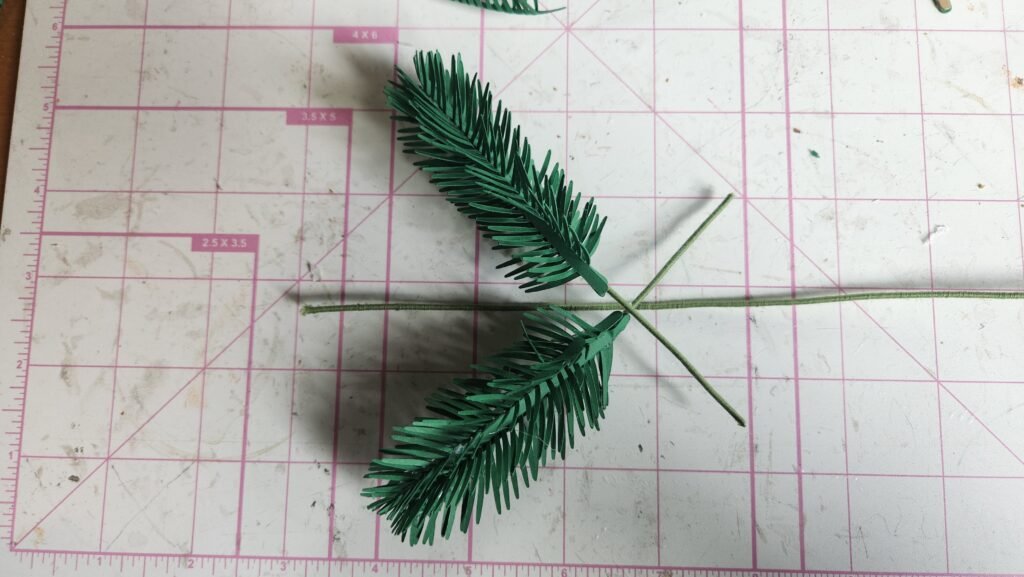
To start with, we made the forks for the branch using four of the short panels in Wreath Swag Assembly2. Fold all the needles in so that you have the flat part in the center isolated and all the needles facing at a 90 degree angle in the same direction.
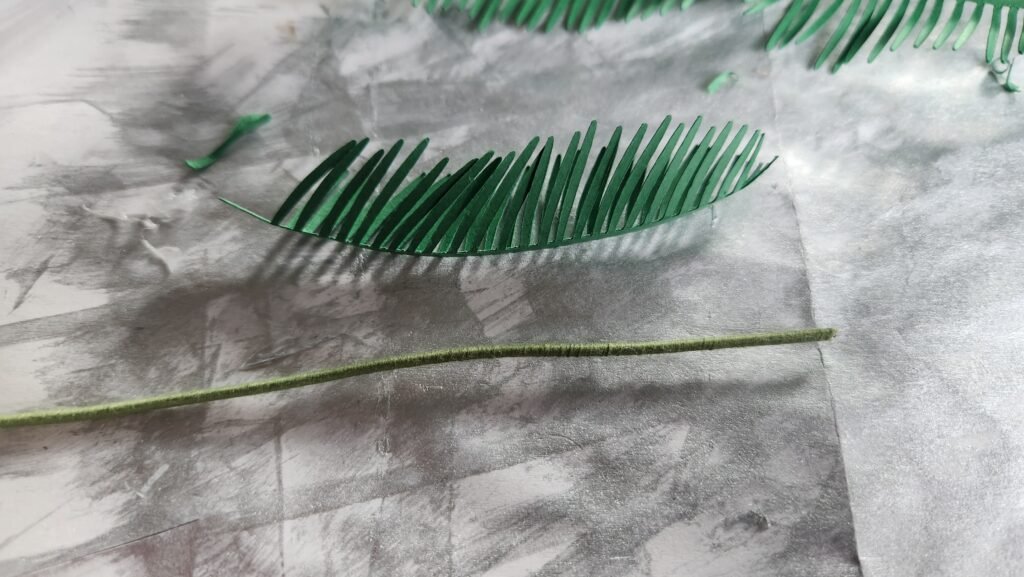
Once we had all four of these prepped, we added hot glue to the flat part of the panel and pressed it into the end of the floral wire. Once one piece was secured, we repeated this process and attached the second panel on the opposite side.
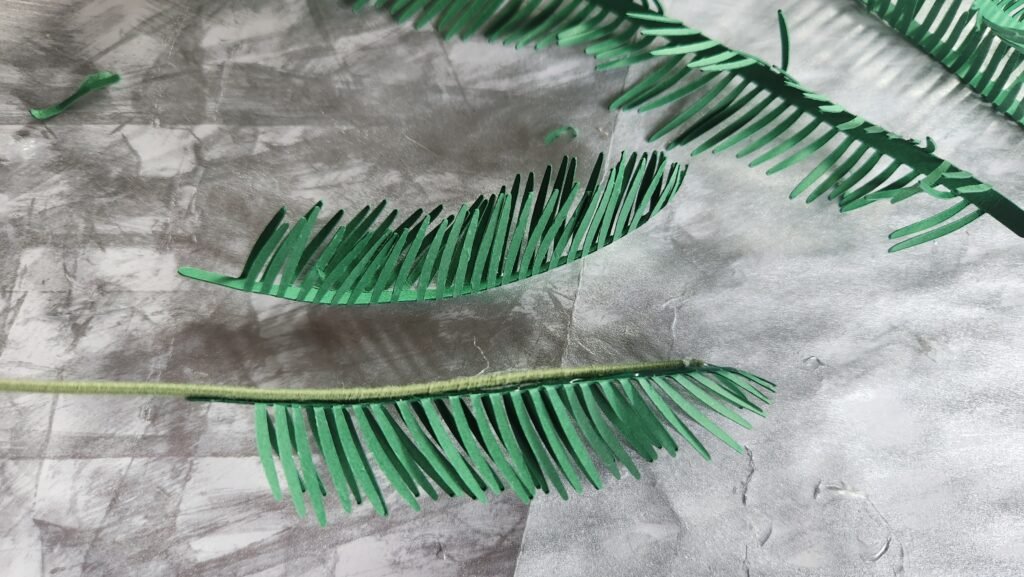
We then repeated this same process with the other two in the open space between the attached panels so that we had four total going around the floral wire.
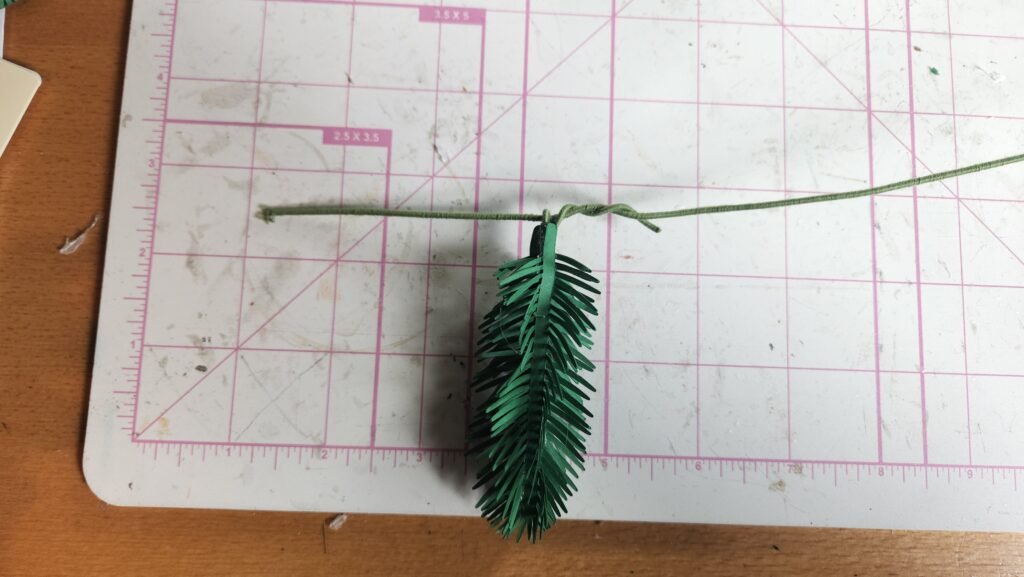
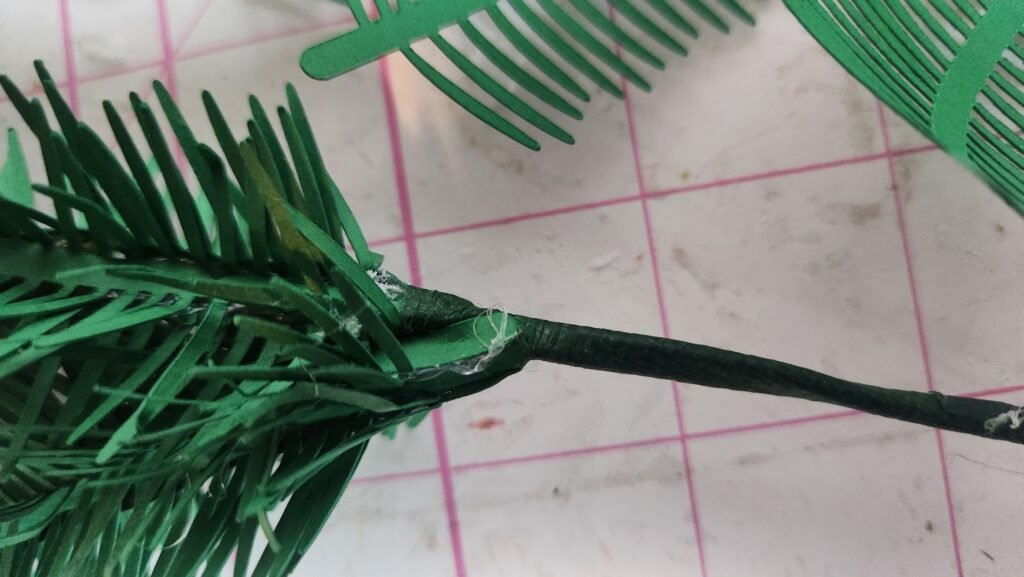
We cut the floral wire a couple inches below where the paper panels ended then repeated this process to make a second small branch. Once we had these two, we laid them out on another piece of floral wire at the point where we wanted them to branch. Once this was decided, we wrapped the wire of the short branches around the new wire and had them stick straight out to keep them out of the way. With the wire they are repositionable so you can change up their position later to look how you want.
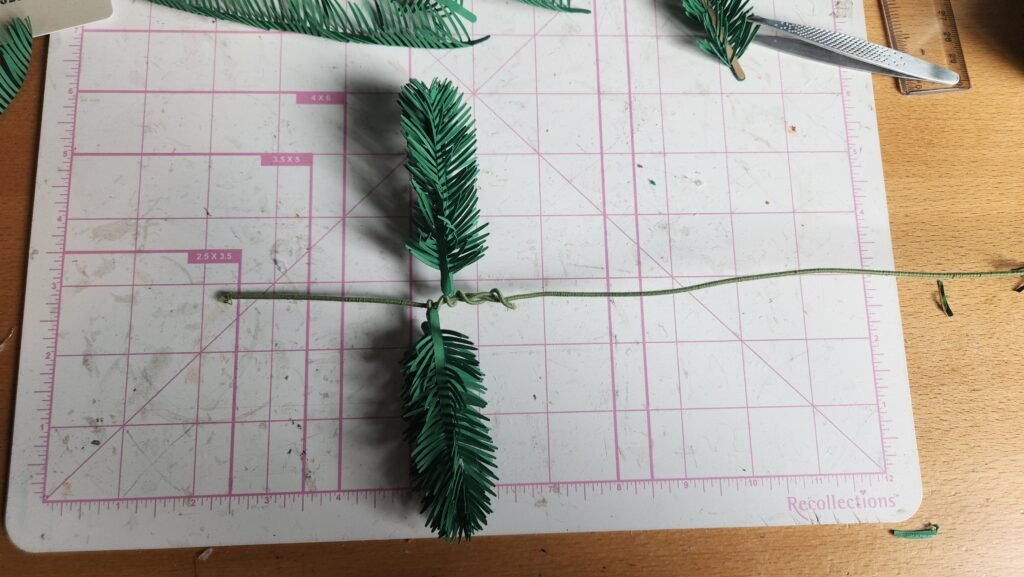
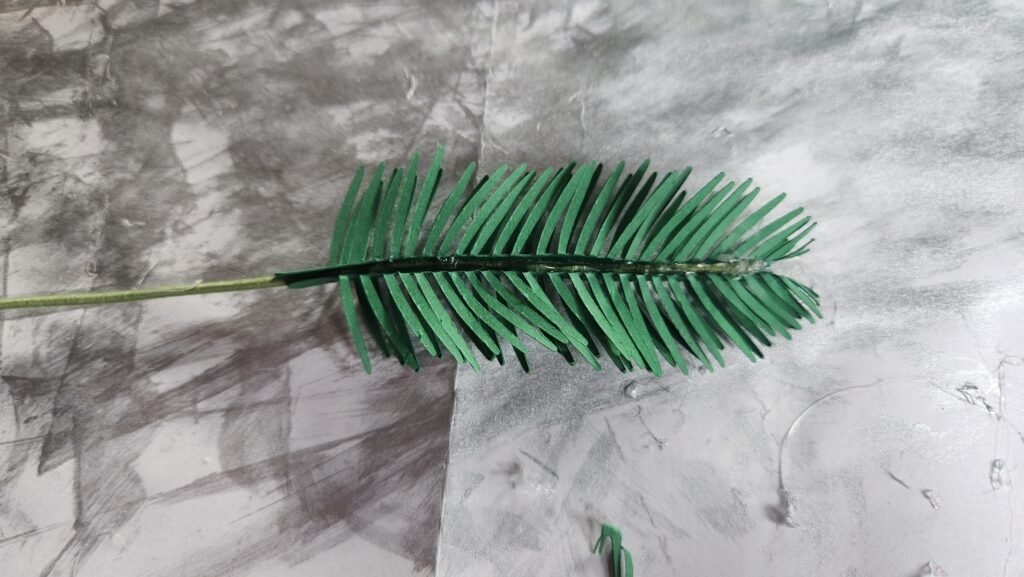
We then took one of the medium length panels and attached it along the entire length of the floral wire starting at the top. We found it easiest to apply some hot glue to the top part to get it in position then adding more hot glue to finish attaching the panel. It can be a little lumpy where the wire is wrapped but once everything is assembled you won’t notice any of that later.
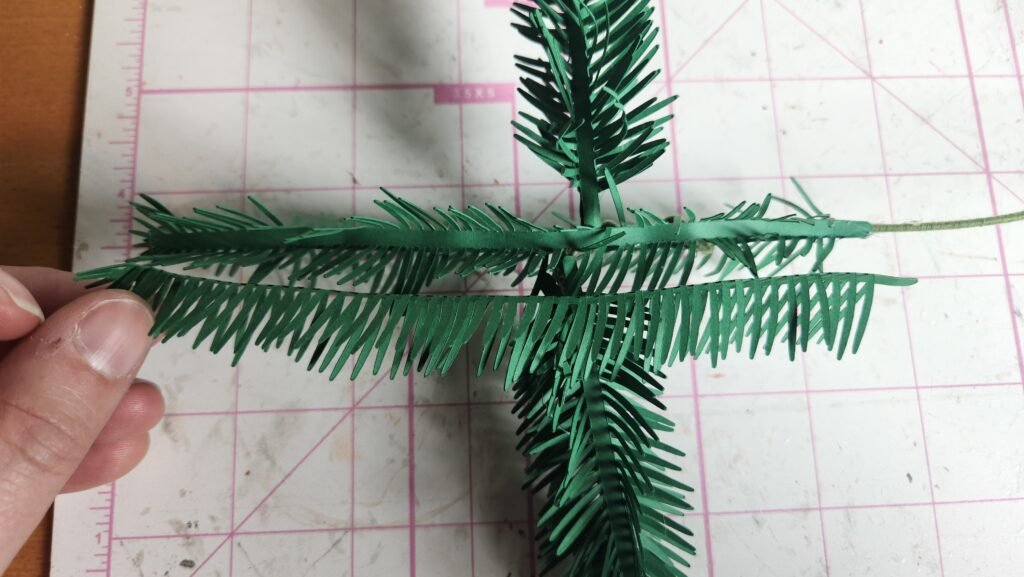
We then flipped the branch over and attached another of the medium panels along the entire length, making sure to get the top lined up with the other medium panel as best we could.

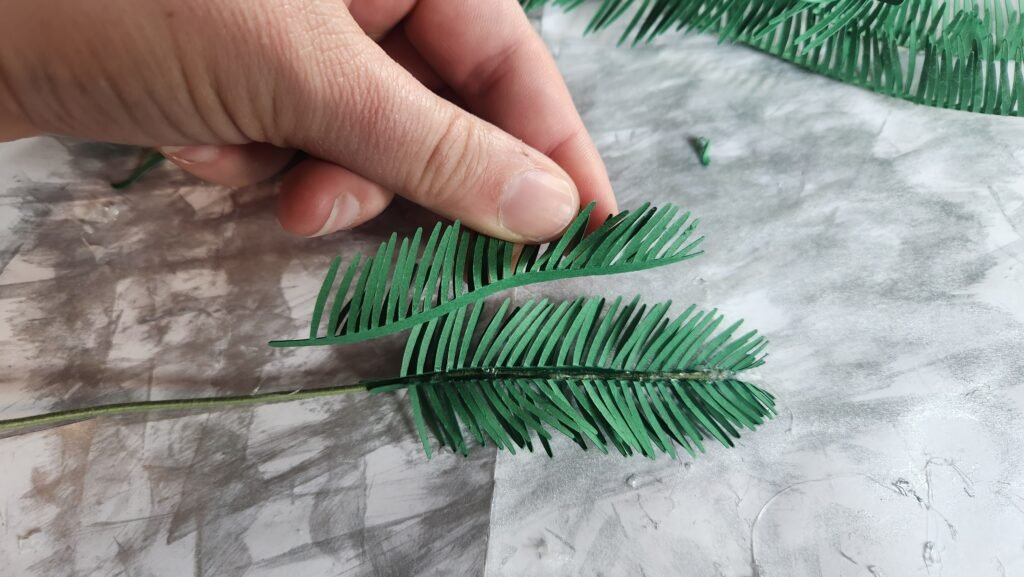
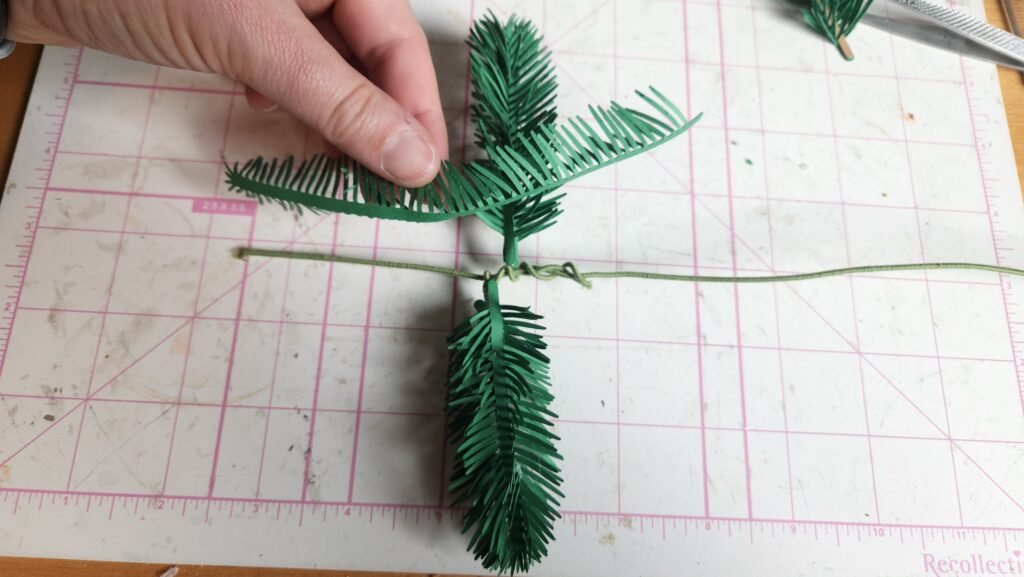
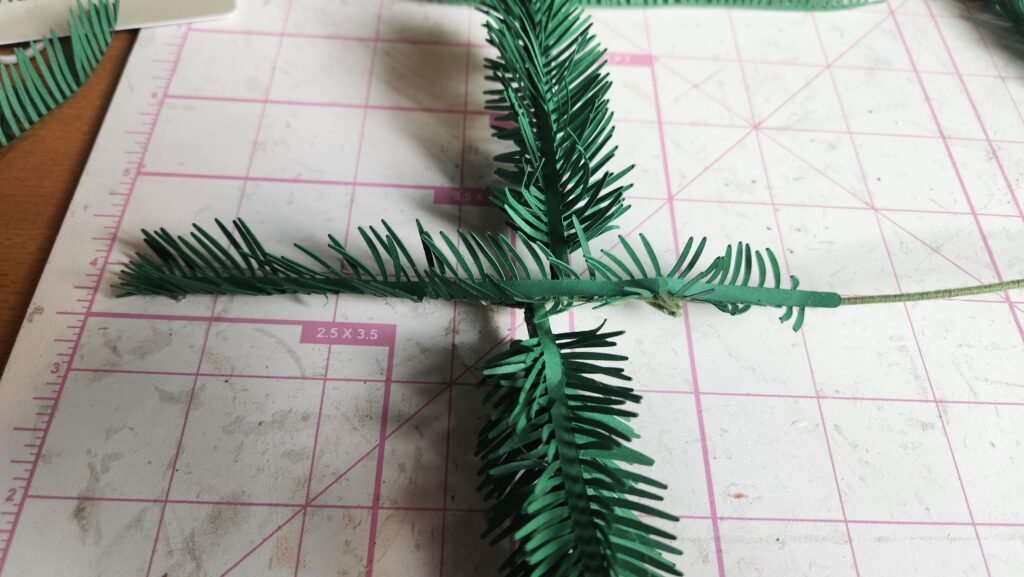
Next, we needed to attach the other two panels but they need to pass through the smaller branches we made. To do this, we held the panel over the branch and cut where the two intersect. Once that was done, we bent the small branch out of the way and attached half of the panel, then we moved the small branch up and attached the other half. You can then repeat this process for the other side.

We then decided to add another set of small branches, to do this we tried having the short wire lie next to the main floral wire and use tape to wrap it and hold in position. This worked as well as our first way of attaching the branches in the beginning. Both work so whichever you find easier will be just fine with this project.
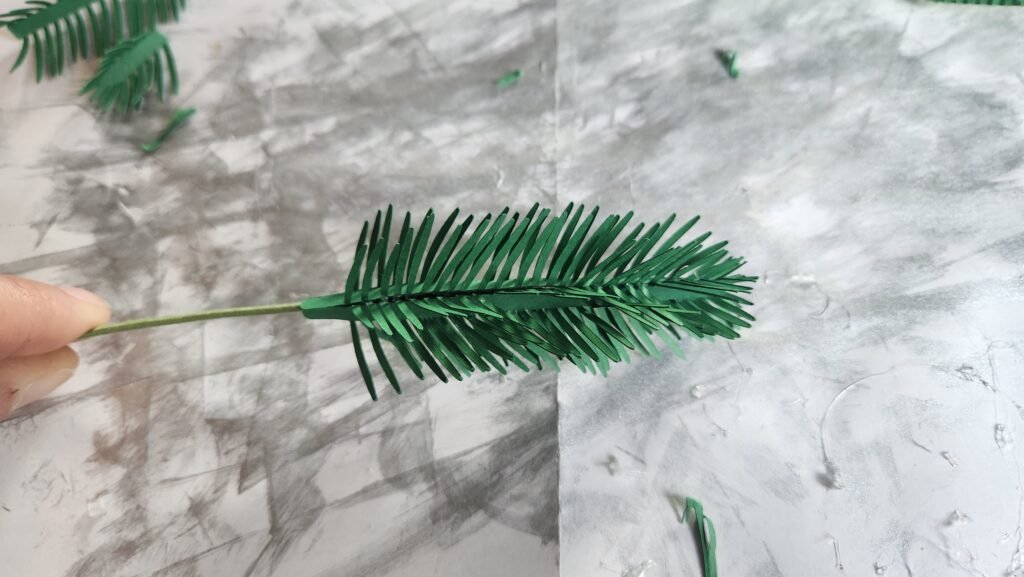
We added two extra small branches then another segment of the medium sized panels to complete our first branch.
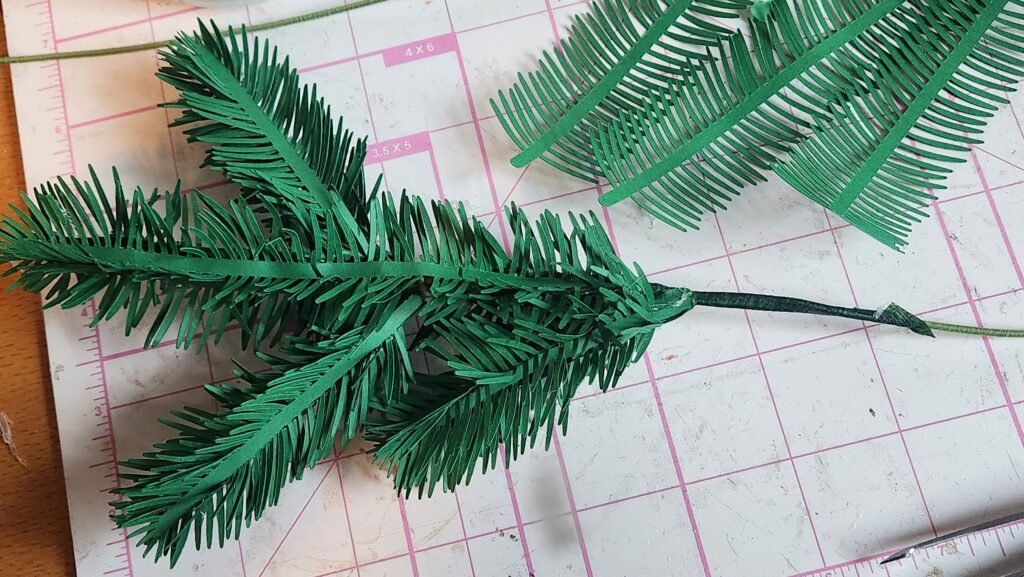


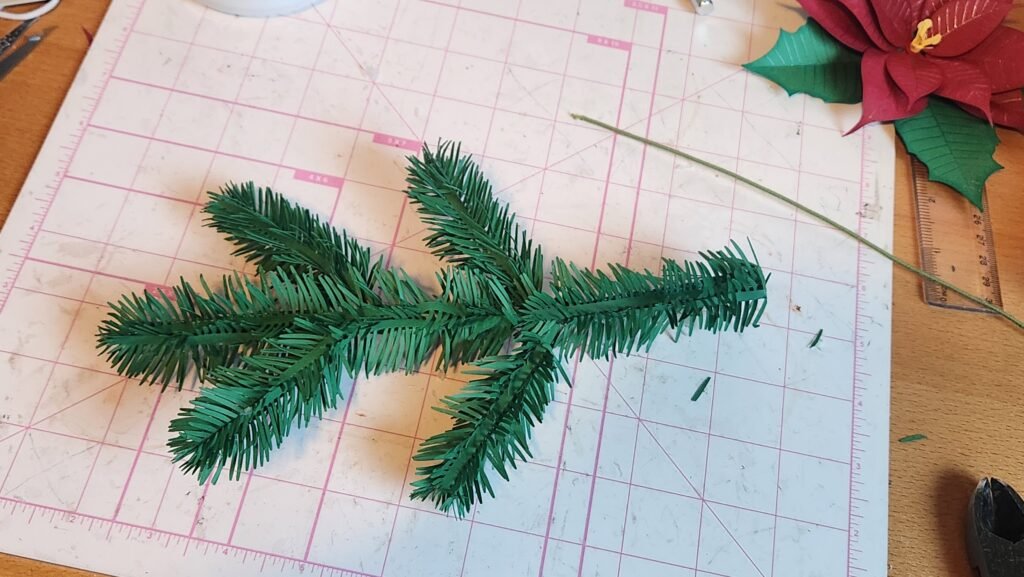
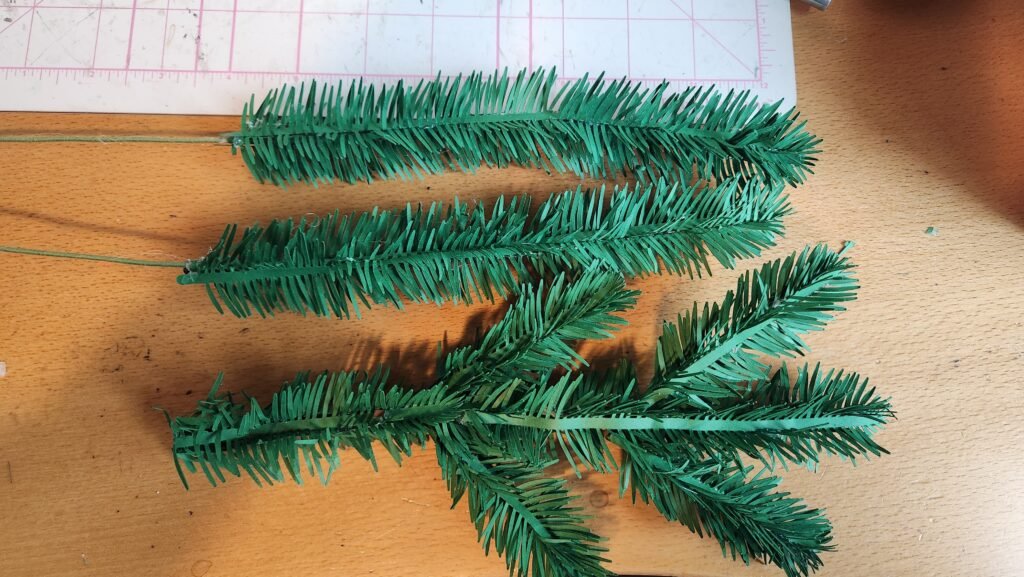
Included in the file are four long panels that can be used for a single branch or if desired you can use it to make a longer branch with the small segments. With the three different lengths it’s possible to make a lot of variations to give any project enough variety without it being too involved. Below we have two straight branches we made with the long panels and our forked branch as well.
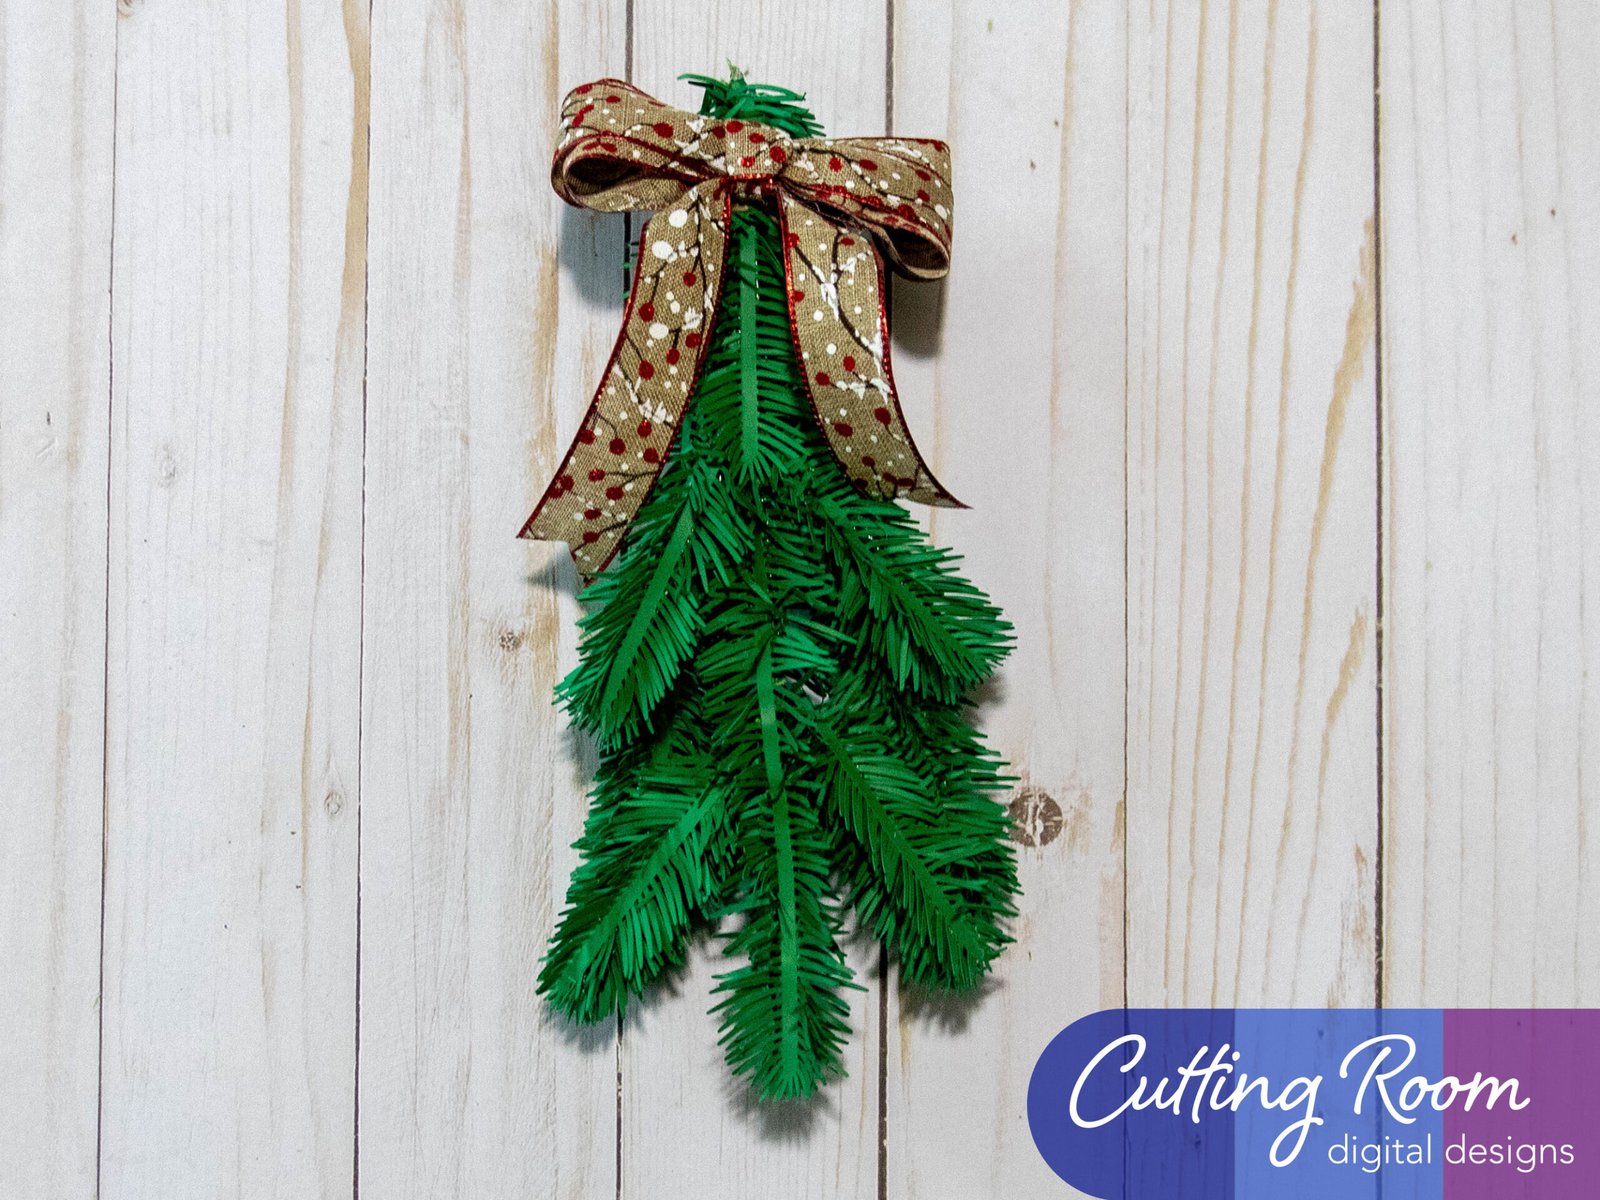
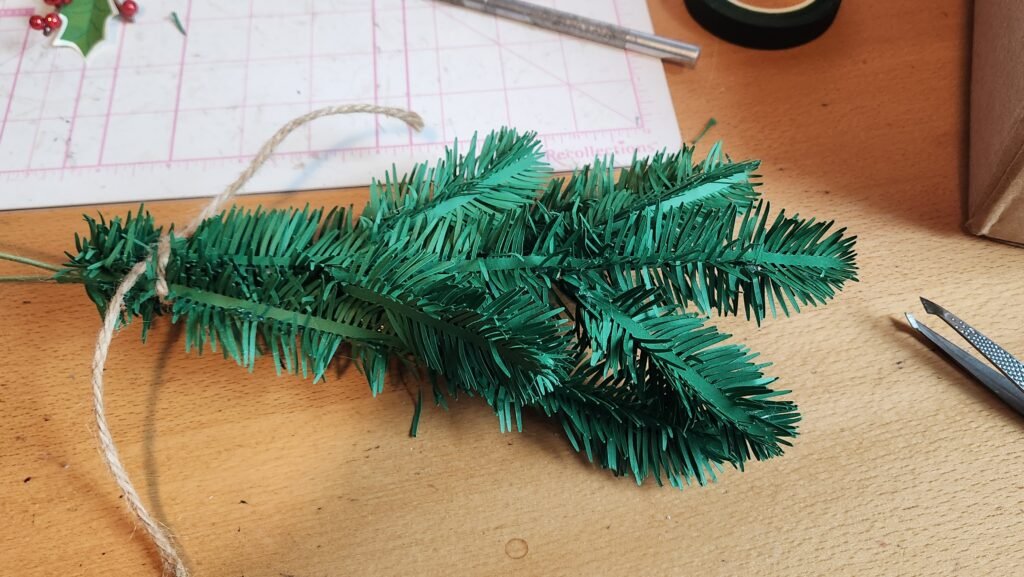
We chose to use just these three to bundle together to create the center piece for a Christmas wall banner. We stacked the three together and used a piece of jute twine to tightly tie them together before adding a ribbon to finish off our bundle. Once we had them bundled we moved and positioned the different pieces of the branches until we were happy with how they looked.
Leave a Reply