Materials Used
We used several products and supplies in the making of our antique sled decoration. Below is a list of what we used.
- Antique Sled Wall or Centerpiece Decoration for Christmas and Winter/18inch Doll Miniature Model/Santa’s Elf Fun – Digital Download SVG
- Recollections cardstock
- Cricut Glitter Pens
- Cricut Debossing Tool
- Macrame Rope
- Art Glitter Glue
- Electric Cutting Machine – Cricut or Silhouette
***Note that this post contains affiliate links and we may receive compensation if you buy something using one of our links. ***
This sled takes a bit of time to put together and has a lot of steps but nothing should be too difficult.
Note About Patterned Paper: If you are using patterned paper we recommend cutting the pieces with tabs in the patterned paper and the first set shaped panels in a plain paper as they will be covered later. Then when you get to the decorating phase, you can cut the decorative panels in the patterned paper.
Sled Rail Assembly
Below are directions on how to assemble one of the sled rails. You will need to cut and assemble two of the rails to get both rails for the sled. Wait to attach the decorative panels until both of the rails are completed. That will help make sure you have the decorative panels on the correct sides of the rails.
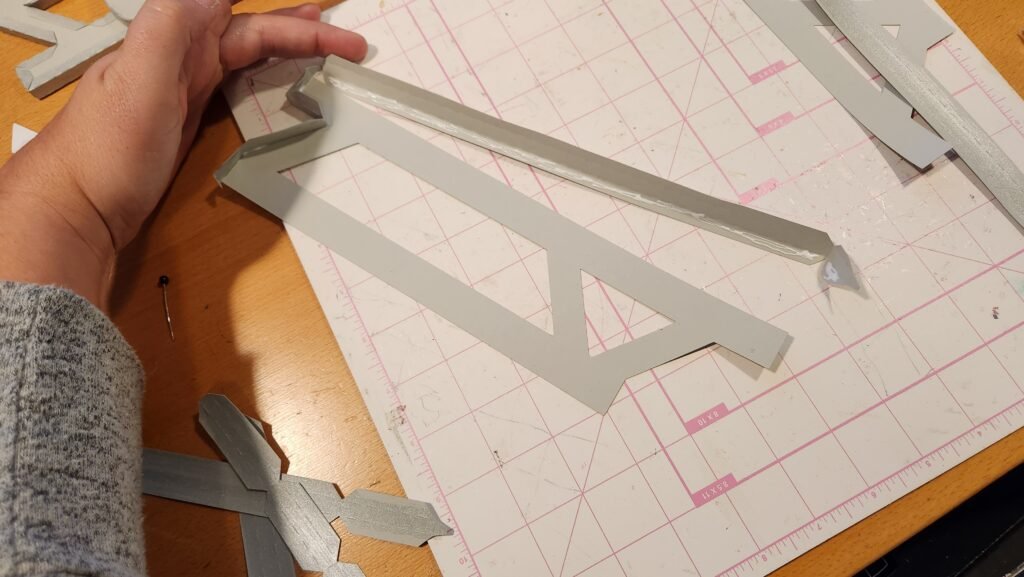
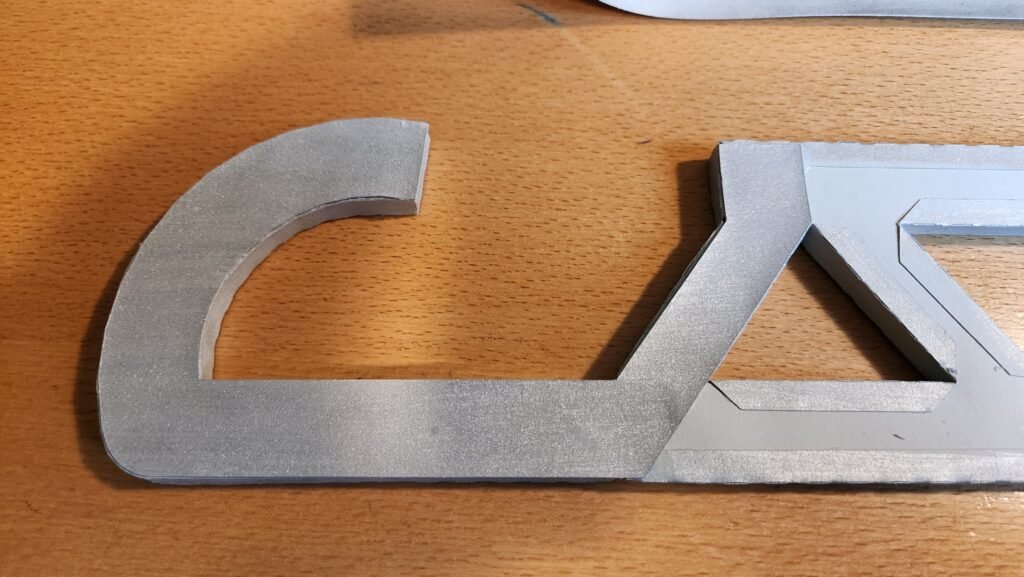
The Front Of The Sled Rail
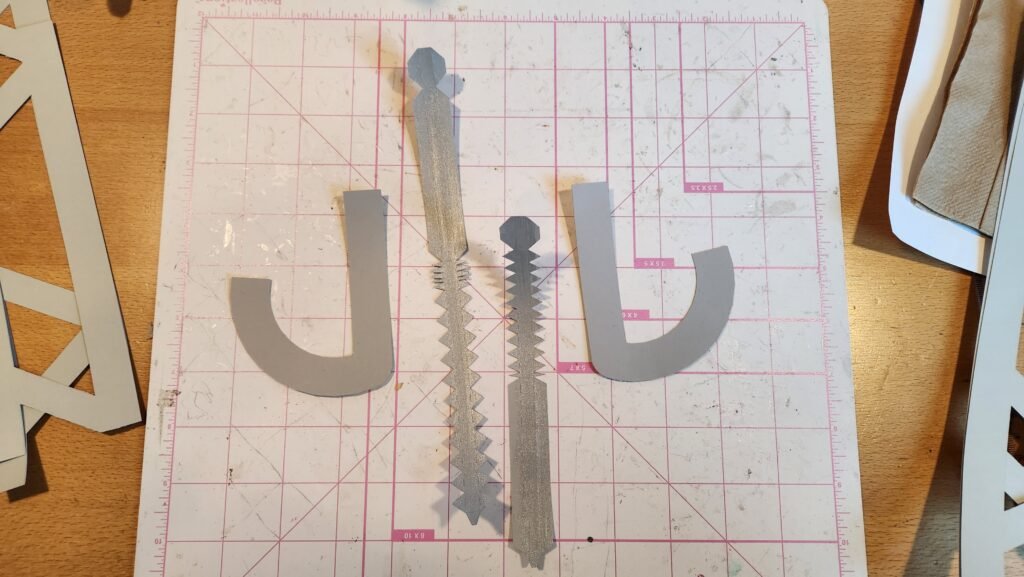
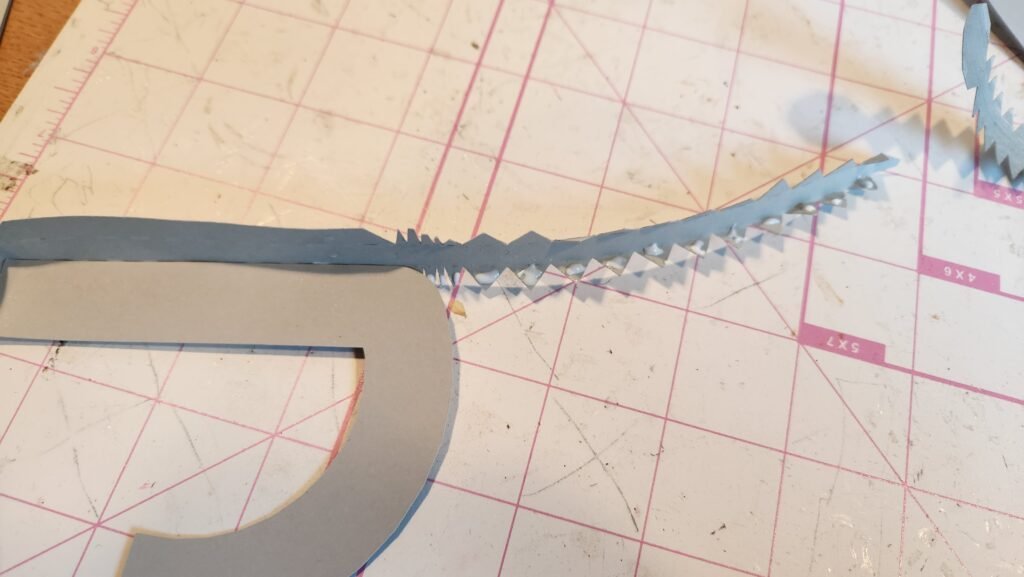
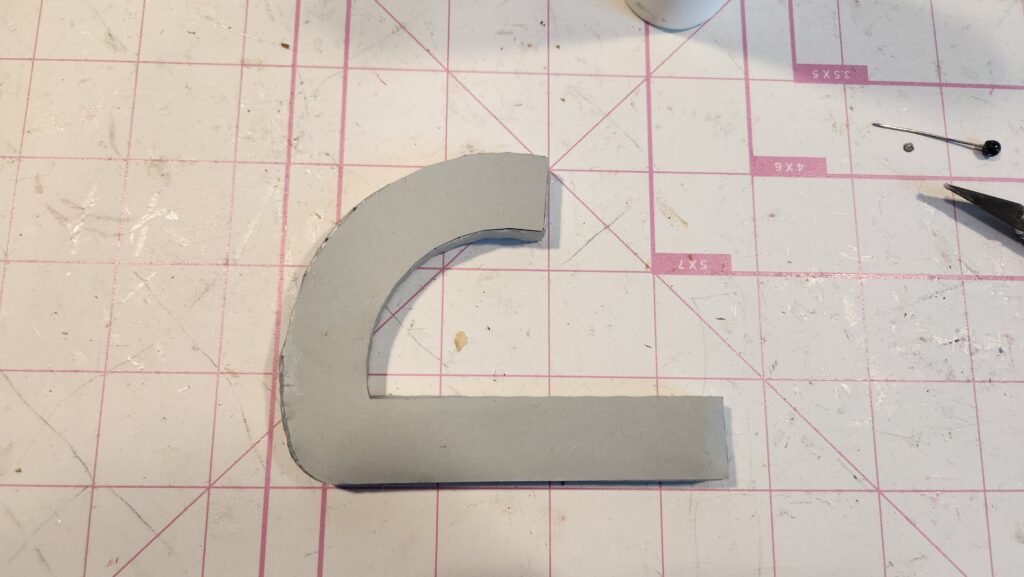
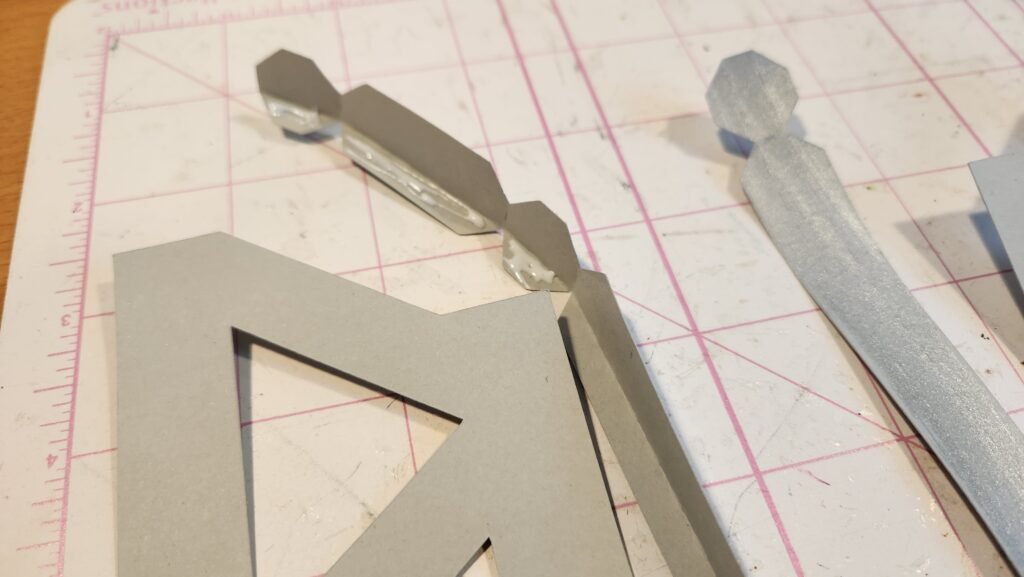
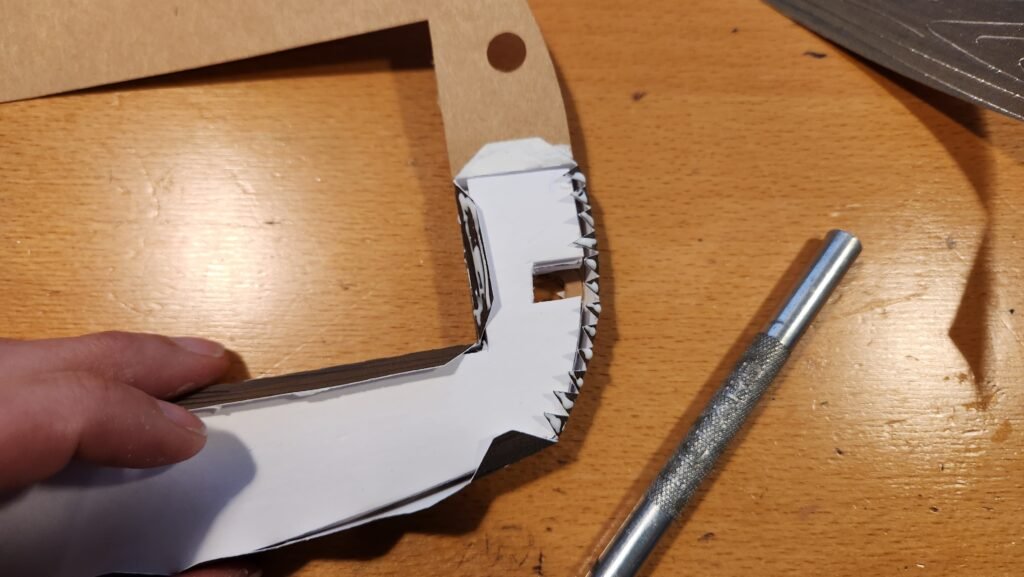
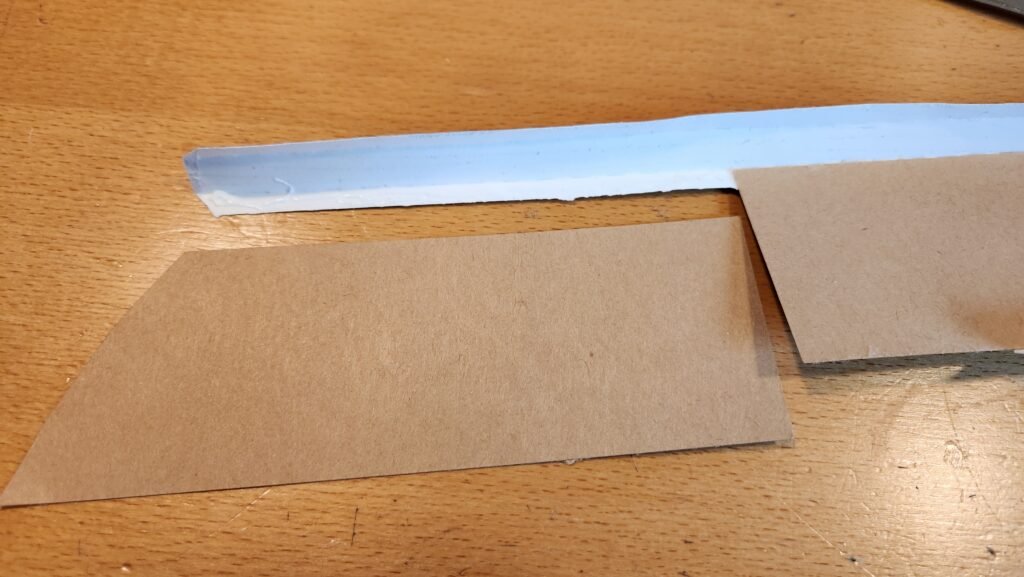
To start with making the rails, we assemble the front component. This is made up of two side panels shaped like a J and two panels with tabs that will be attached end to end.
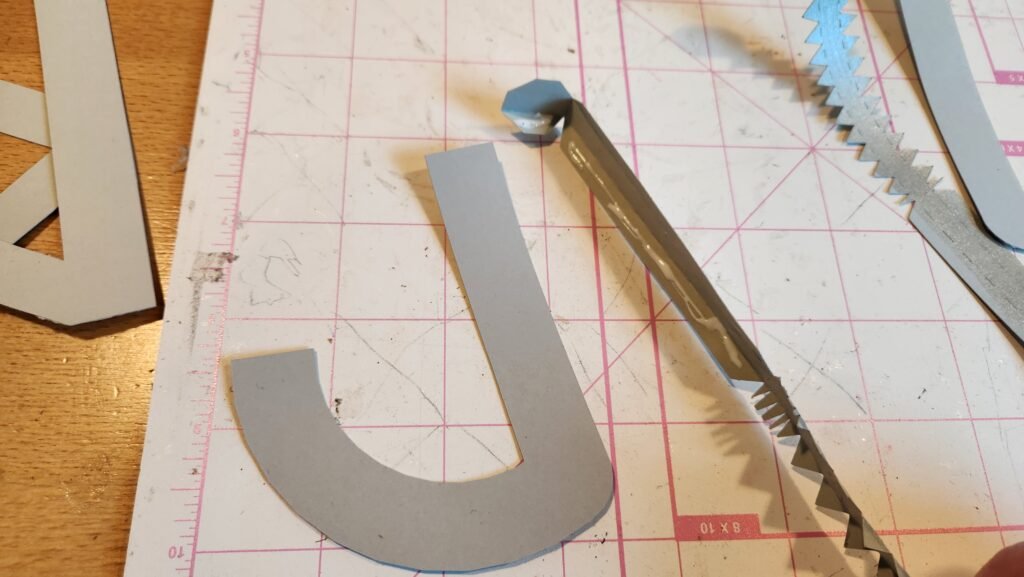
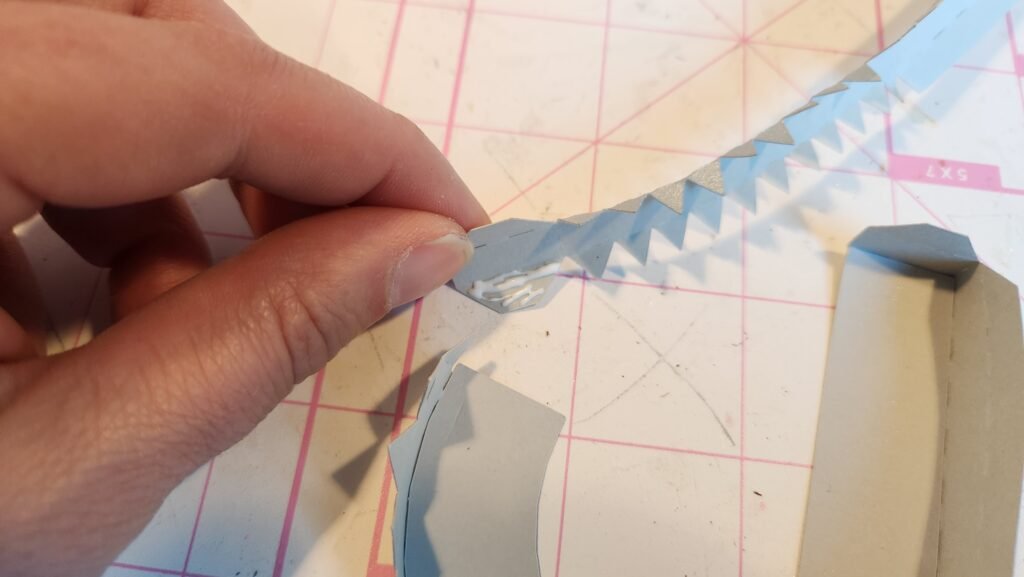
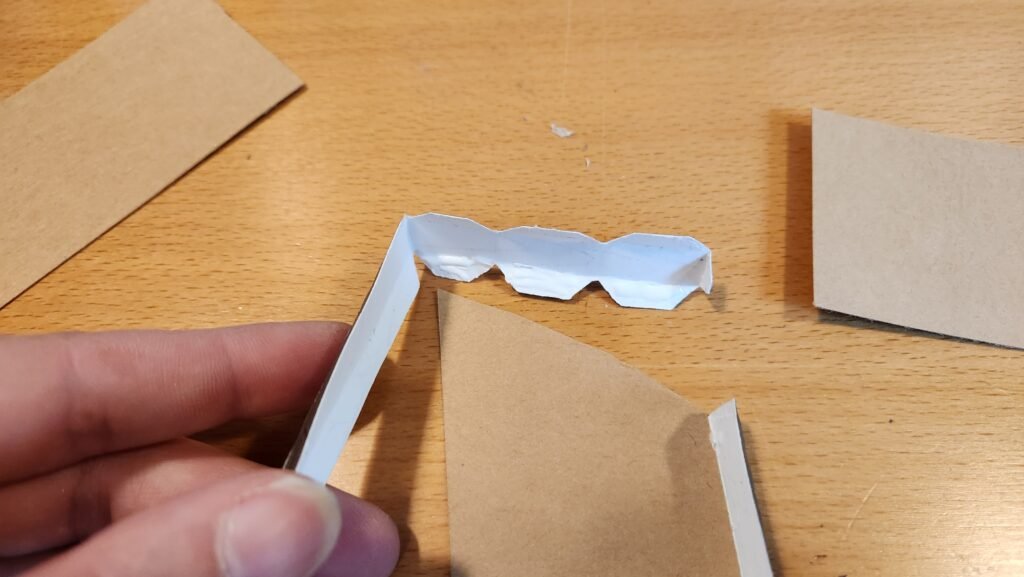
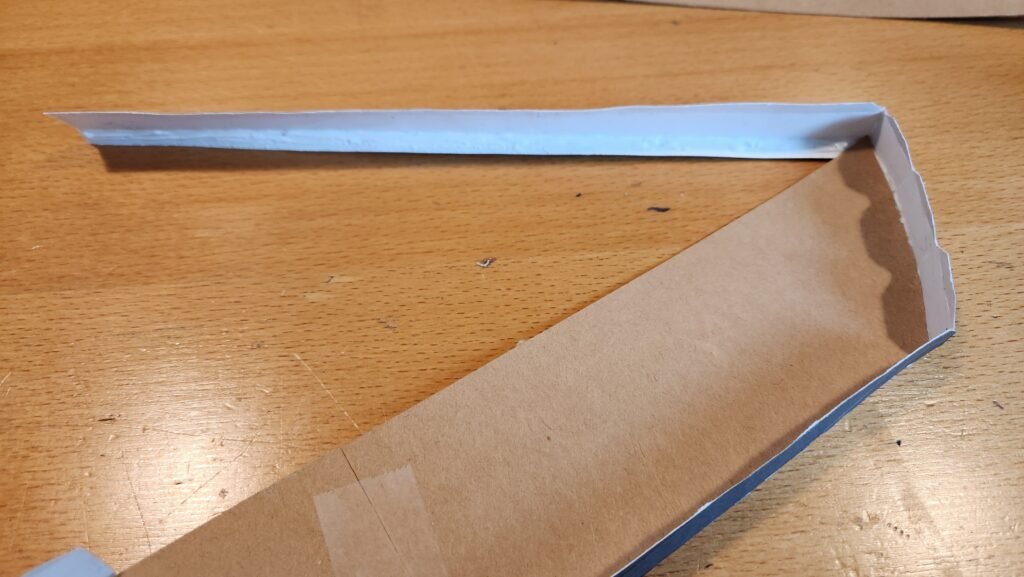
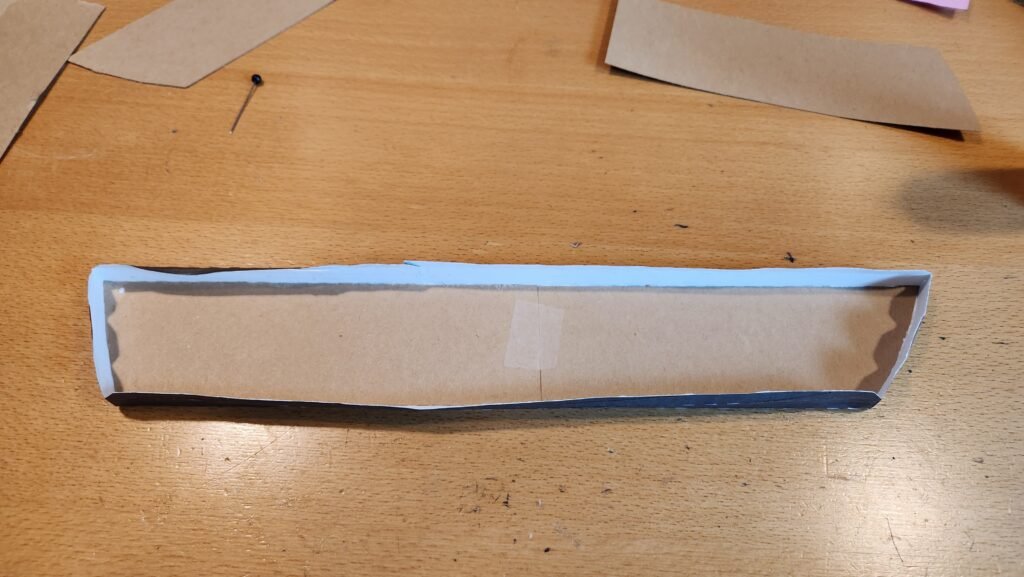
We folded along the score lines and tabs then began adding glue to the tabs and working our way around the J shape. We started with the short end, and the long straight tab, this gave us a 90 degree corner to help ensure we had the best possible alignment. Once this was secure, we worked our way around the large outer curve, then attached the second panel and continued until we completed the shape.
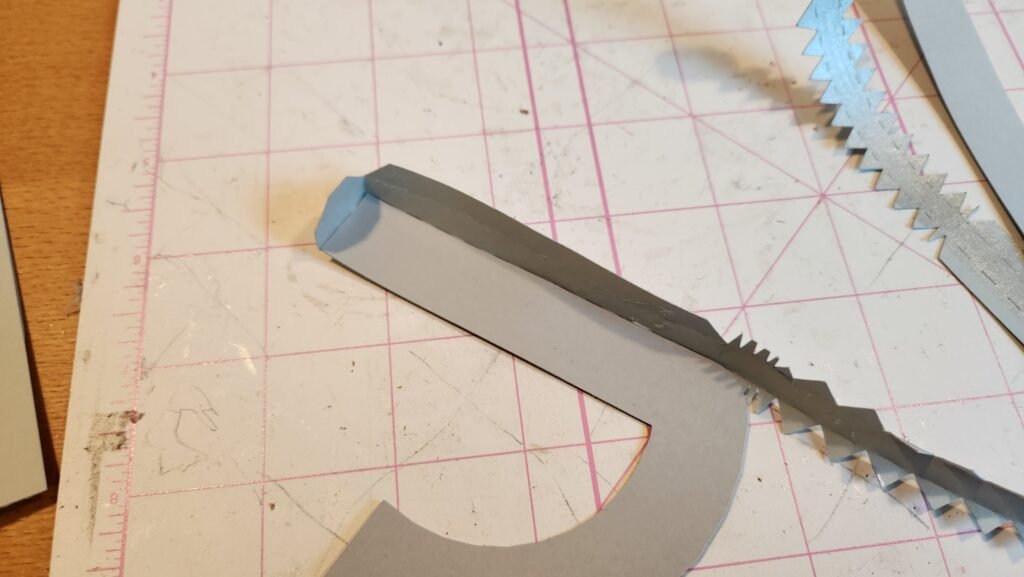
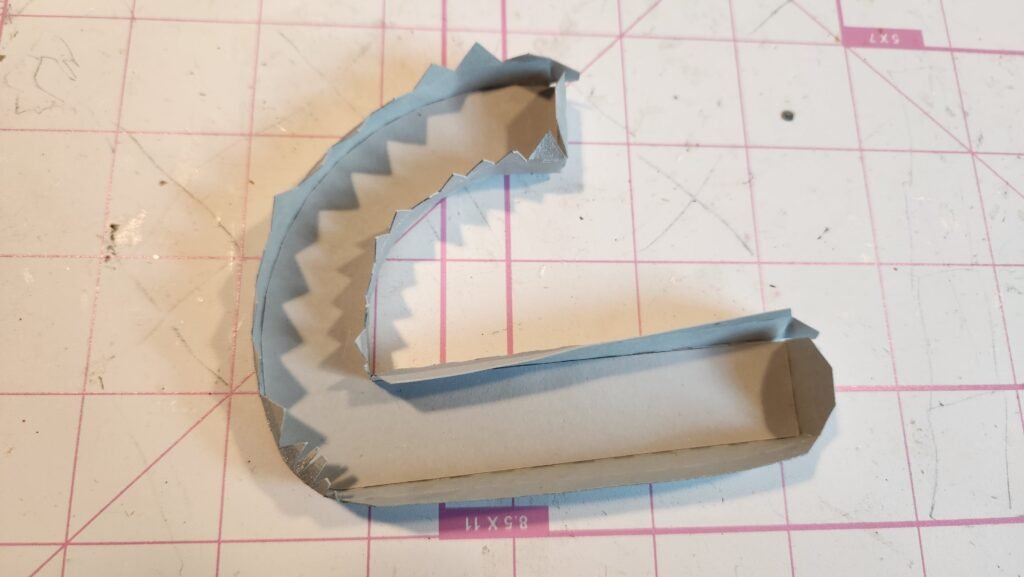

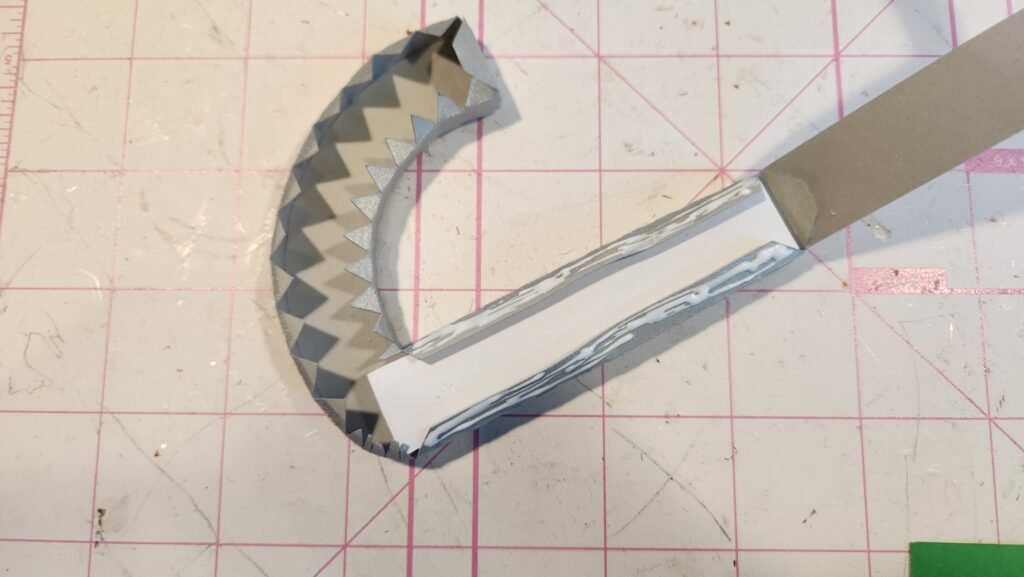
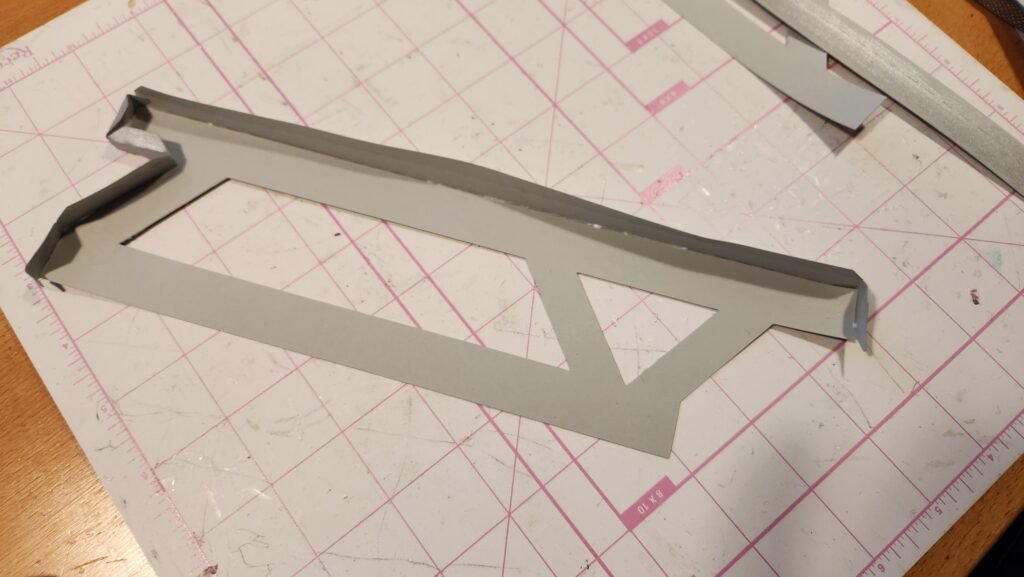
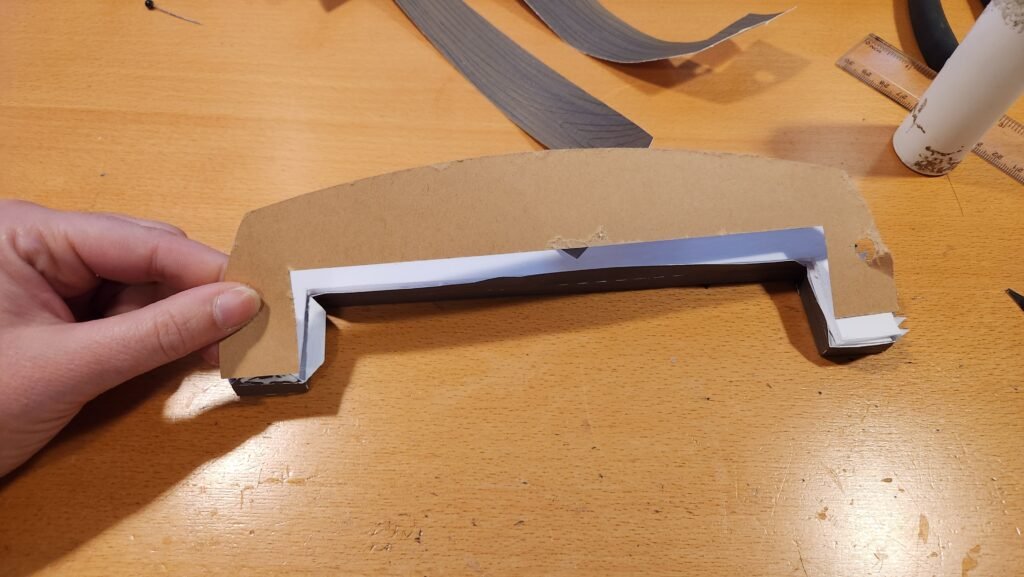
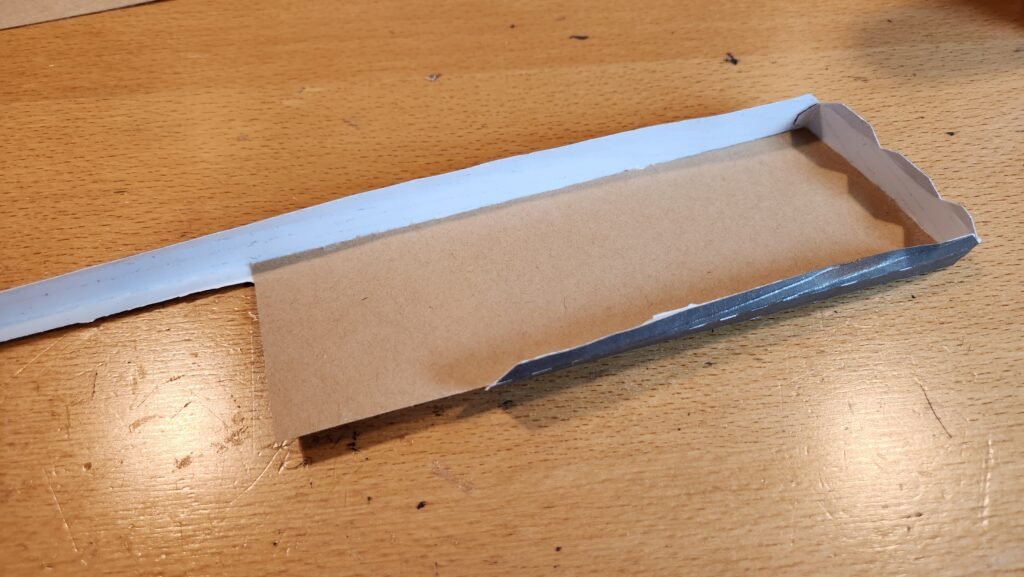
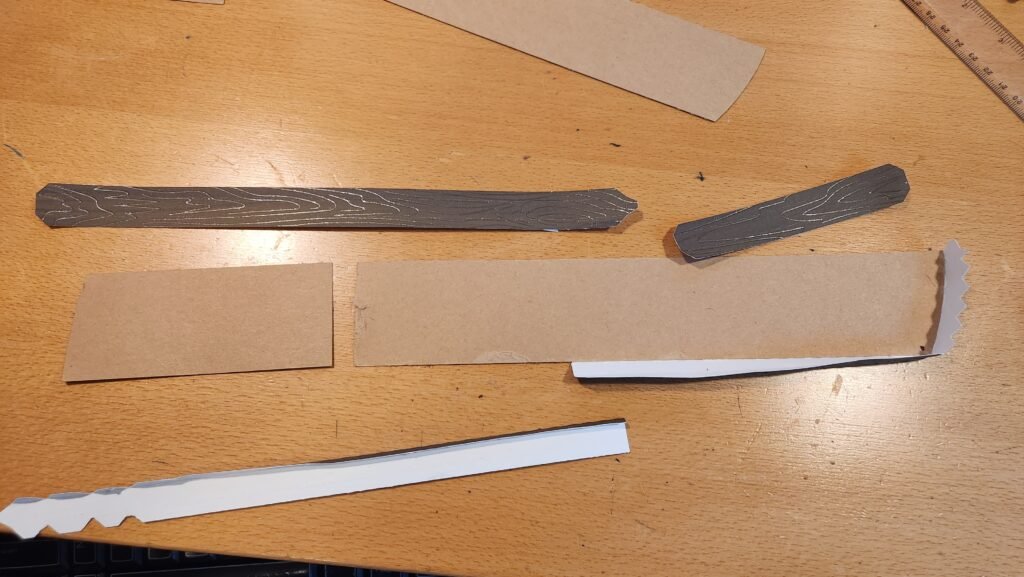
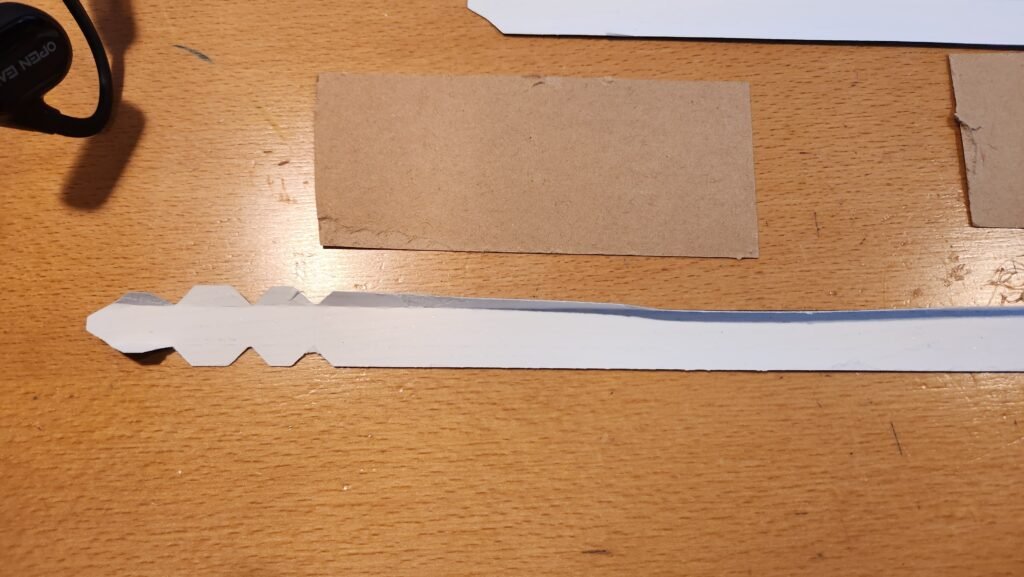
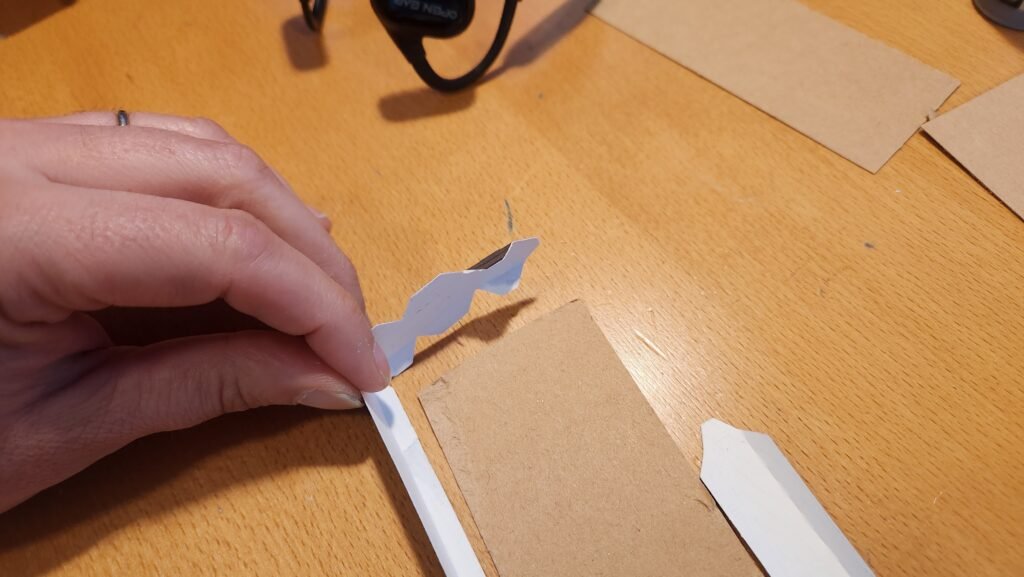
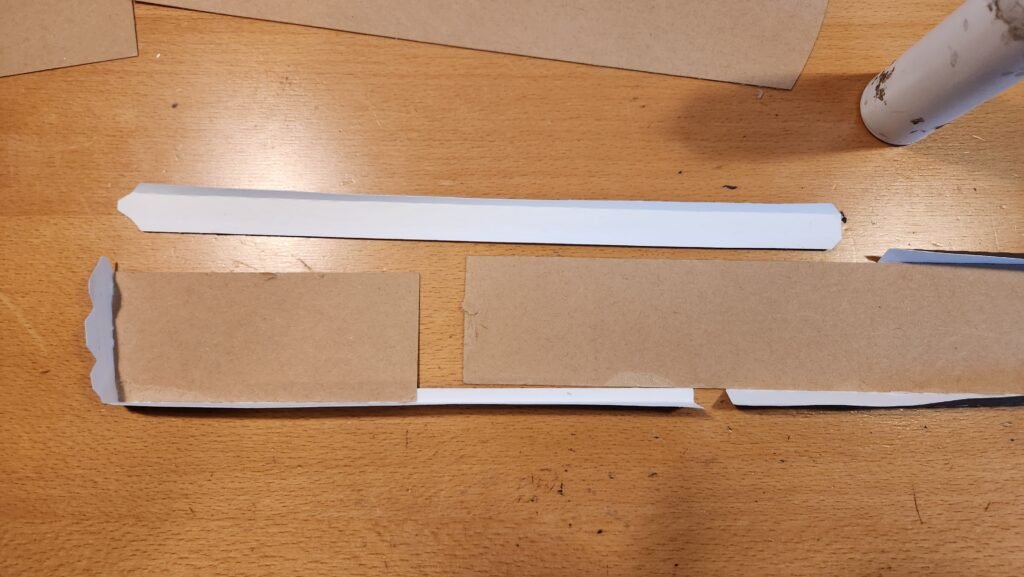
Once we had this shape complete, we used the filler template (pictured in blue on the digital download, cut in green paper here) to cut foamboard to fill the straight portion of the front of the sled. Depending on the thickness of your foamboard, you may need two or three pieces to fill the space. Once the foamboard is in place, you can start attaching the other J shape to close the shape. We started with the tab at the end then worked our way around a section at a time.
This piece can be set aside as the middle of the sled rails are assembled.
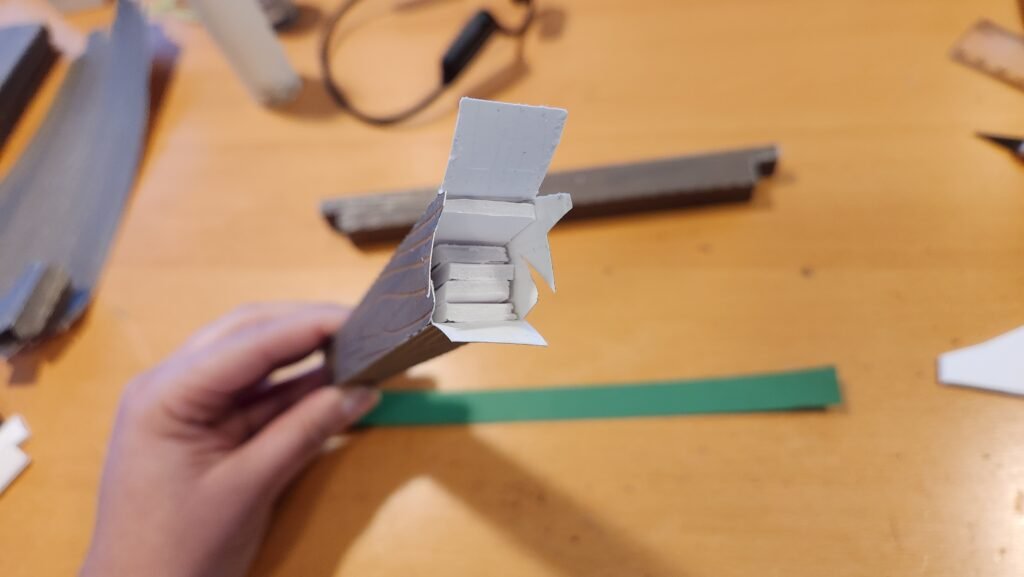
The Middle Section Of The Sled Rail
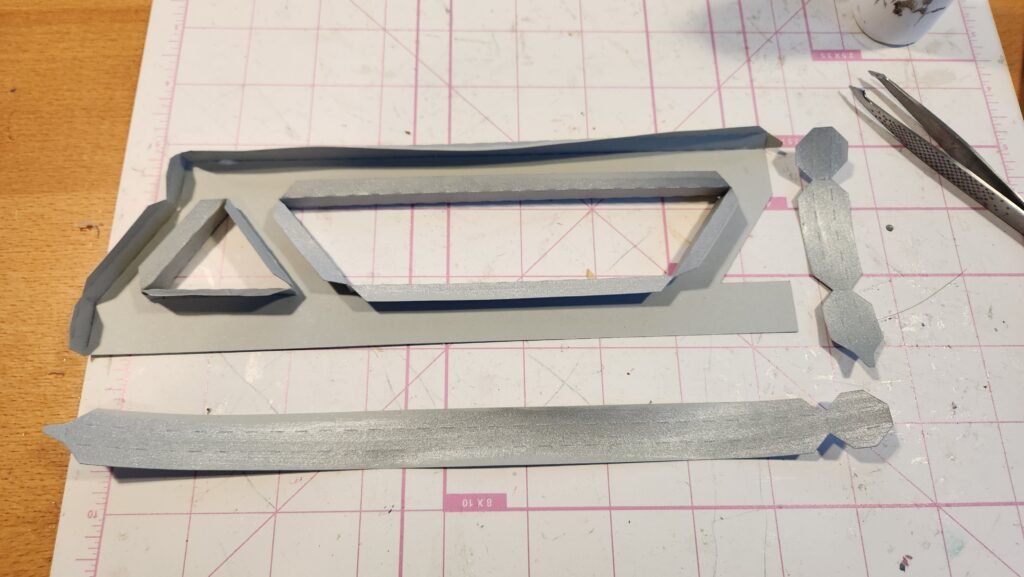
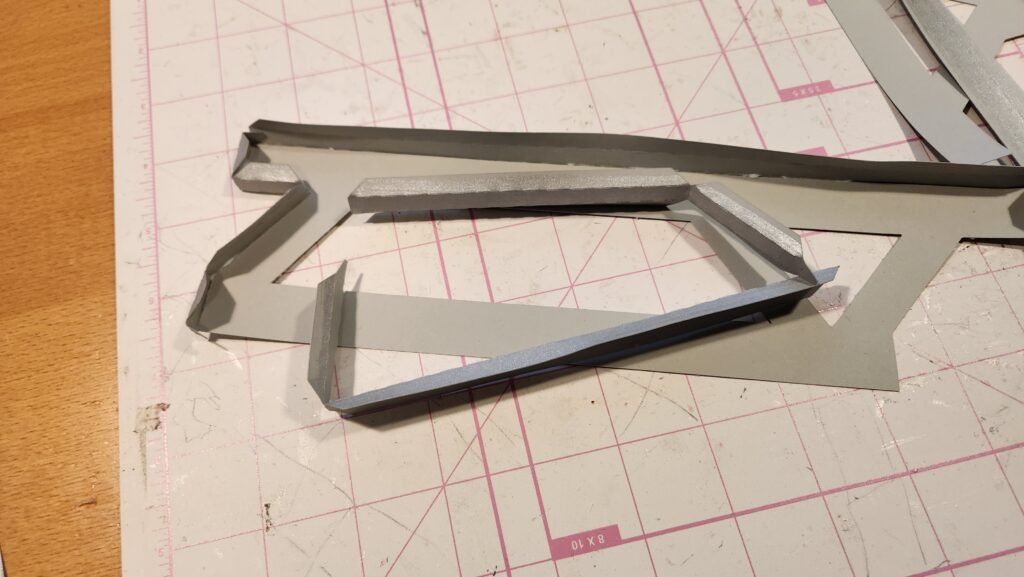
The middle section is made of three panels for the outer perimeter of the shape and three panels for the inner holes. You can choose to build the pieces for the cutouts and attach them first or do the perimeter panels, or a combination. Any order is fine, just what works for you. We chose to start the perimeter, do the inner pieces then finish the perimeter.
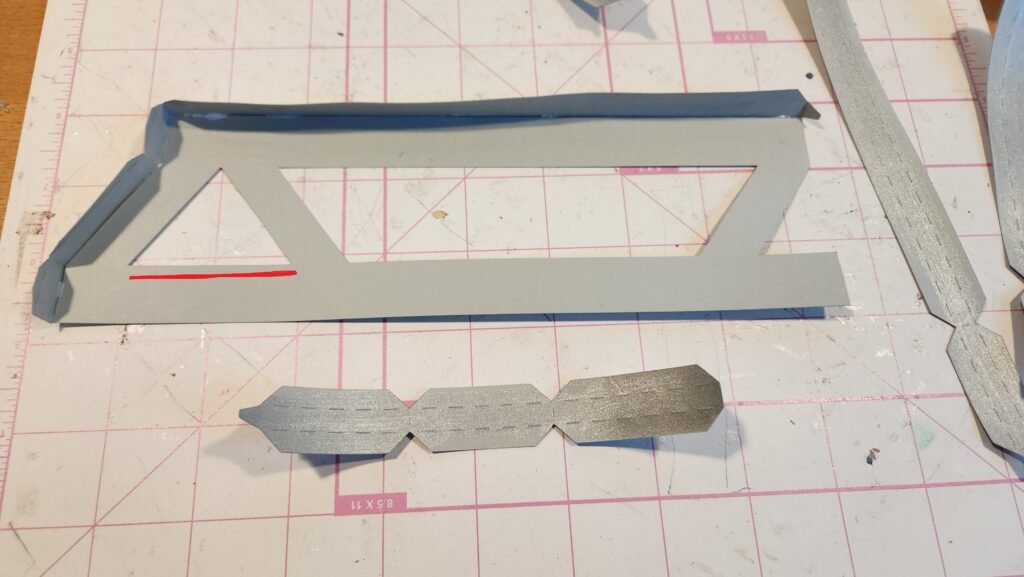
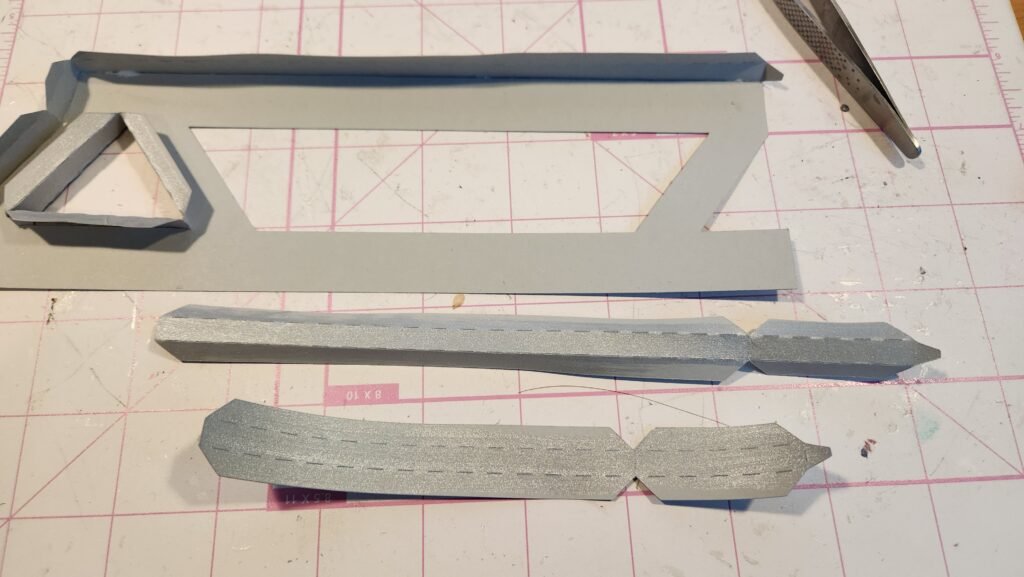
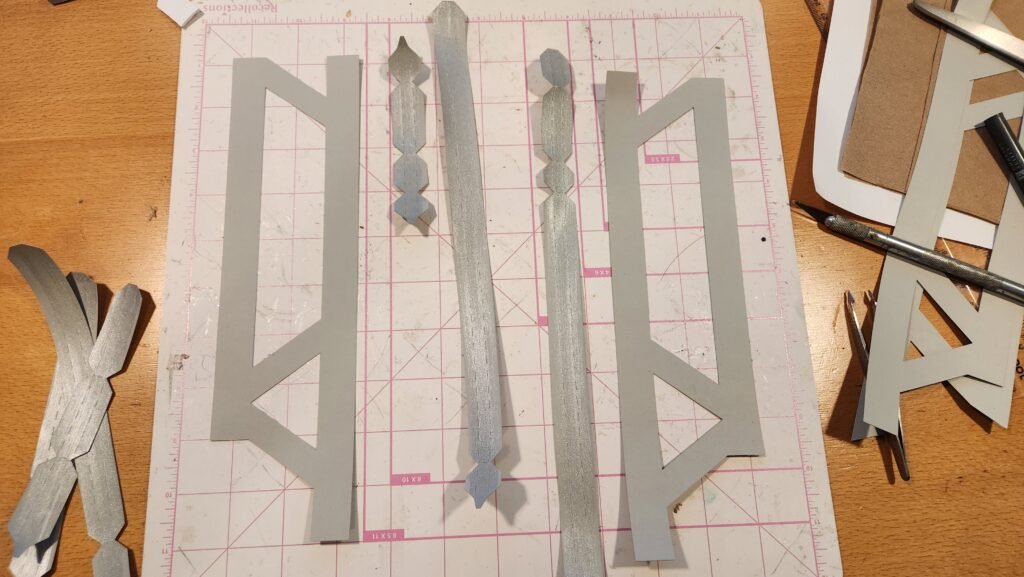
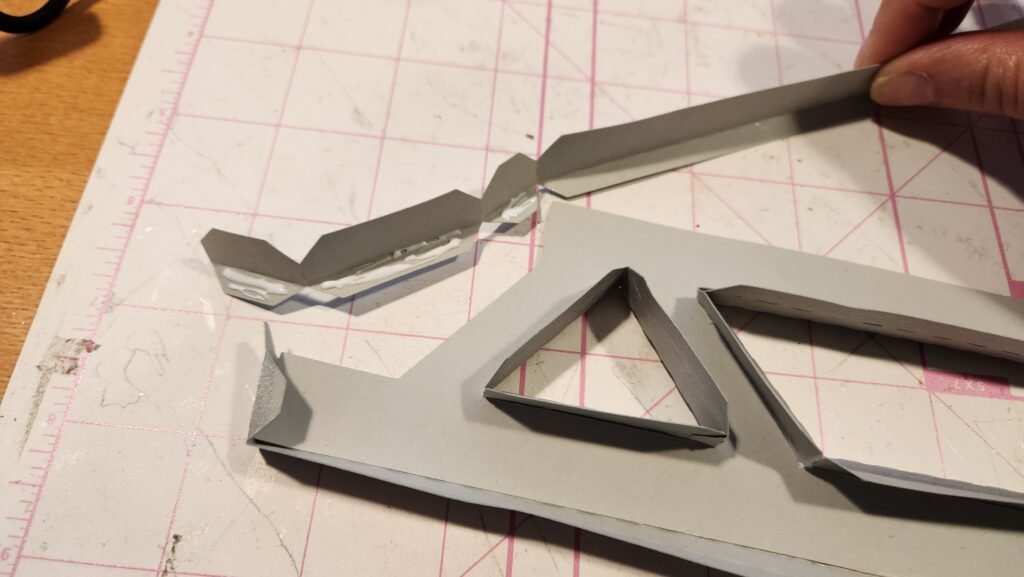
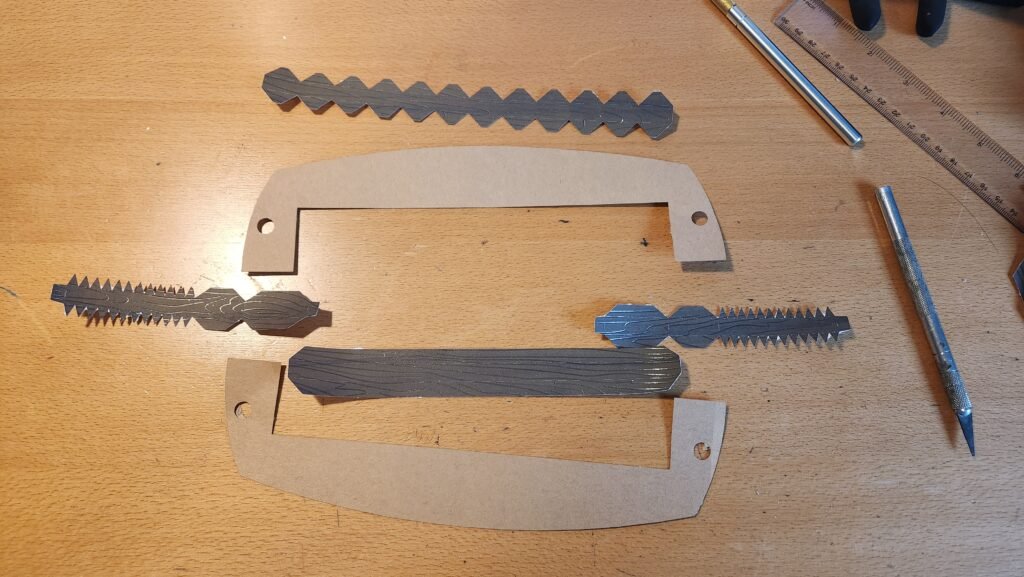
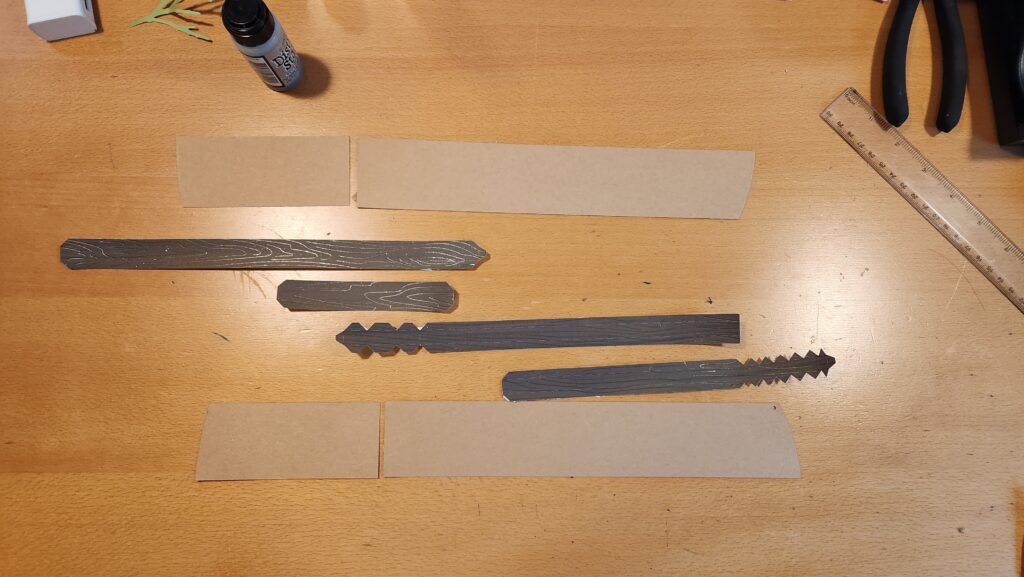
Pictured below, from left to right, side panels, the outer perimeter tabbed panels (in order left to right) then the other side panel. The three tabbed panels on the far right are for the cutouts in the center.
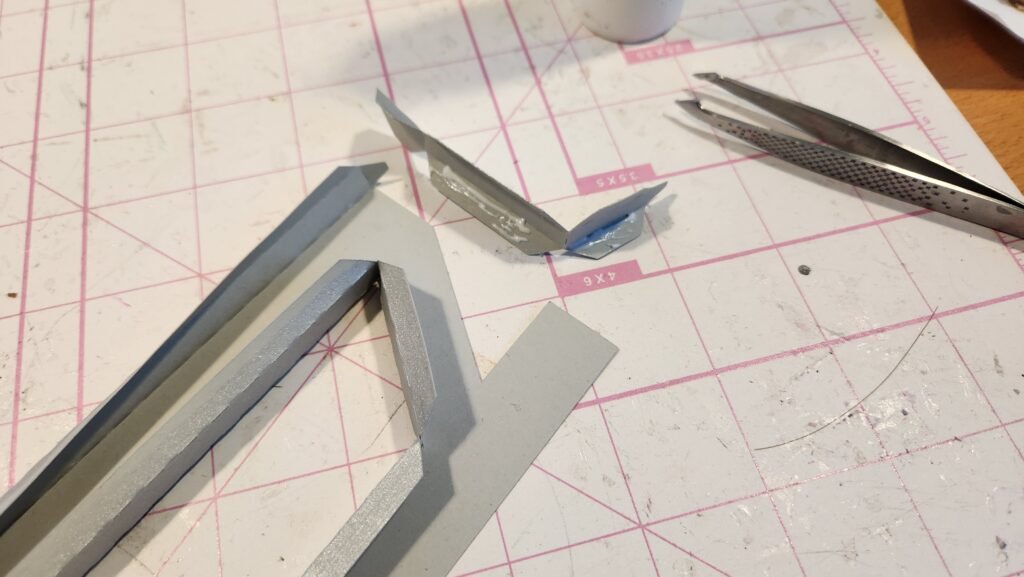
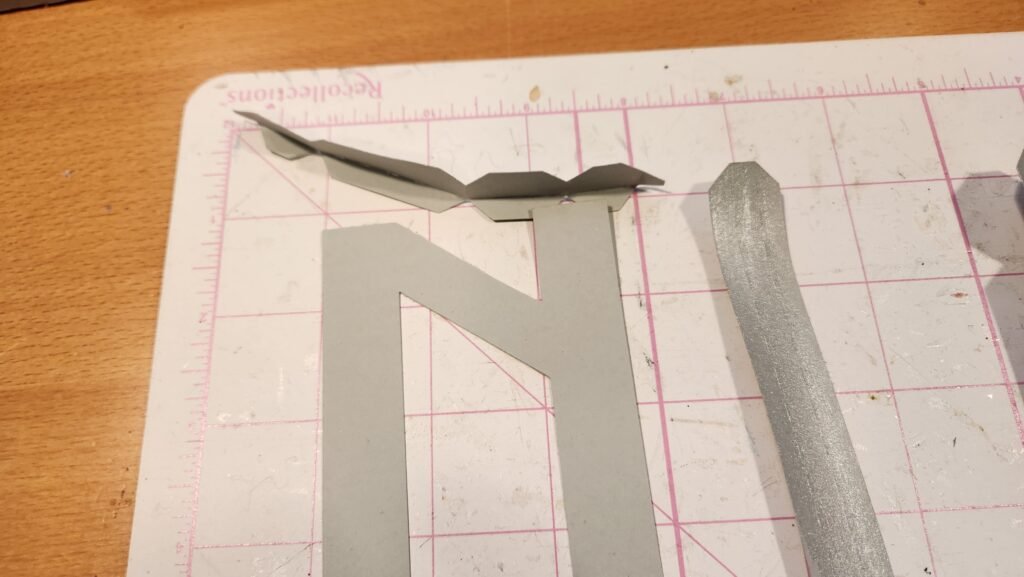
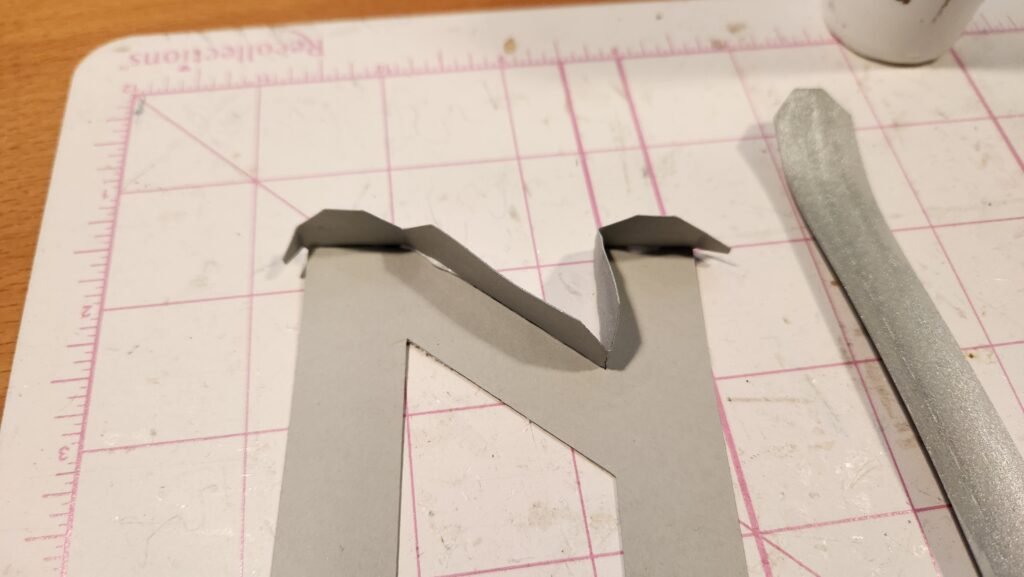
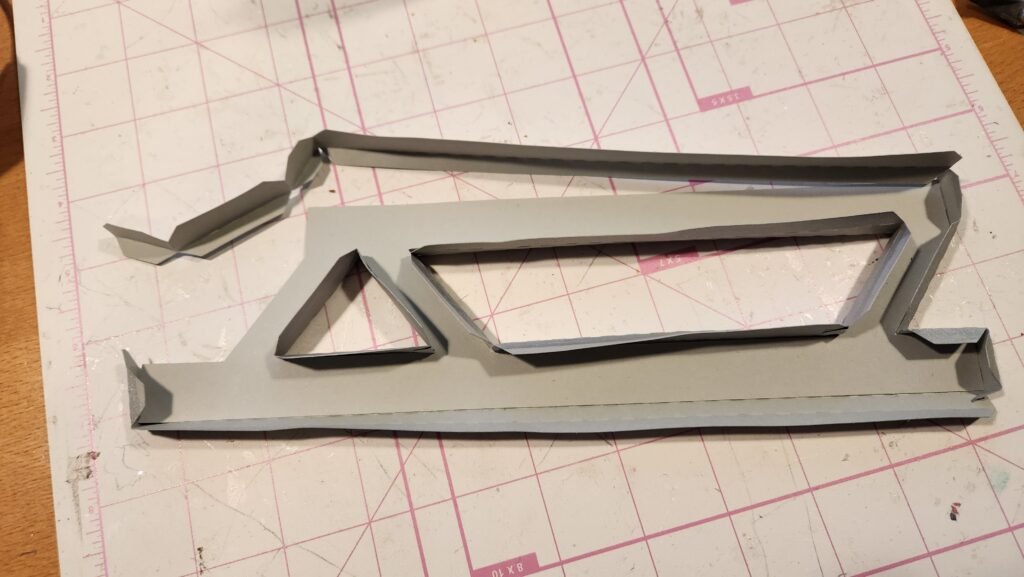
We started by attaching the long perimeter panel (pictured above it’s the one on the left with a short, medium, short, then long section). Folding at the score lines, we attached the short/medium/short/long side to the side panel.
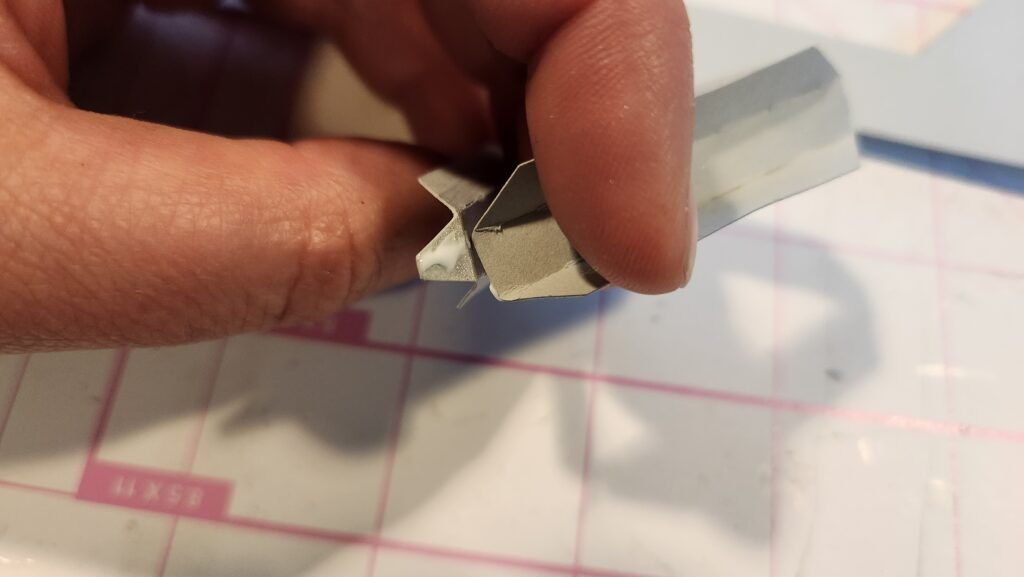
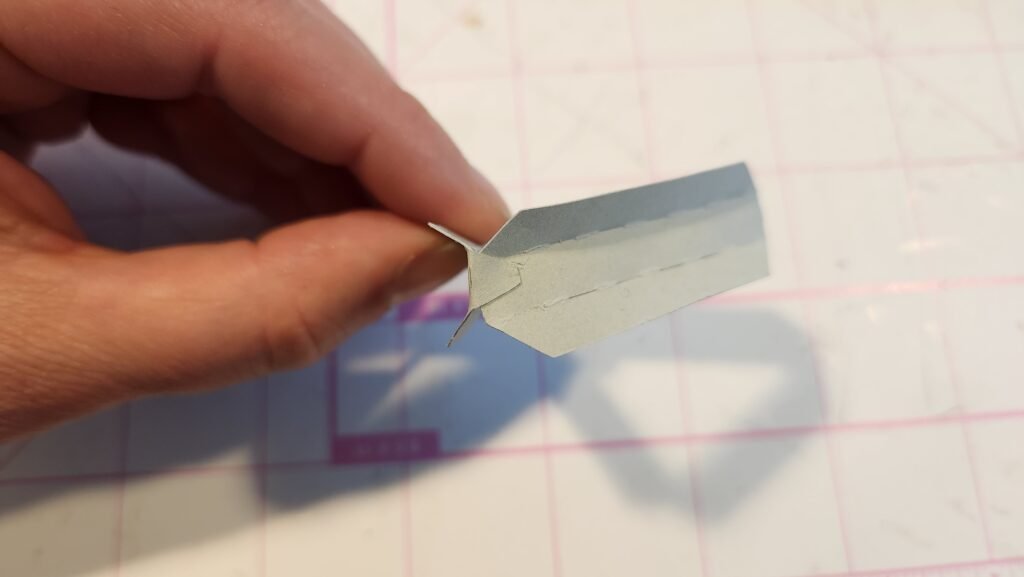
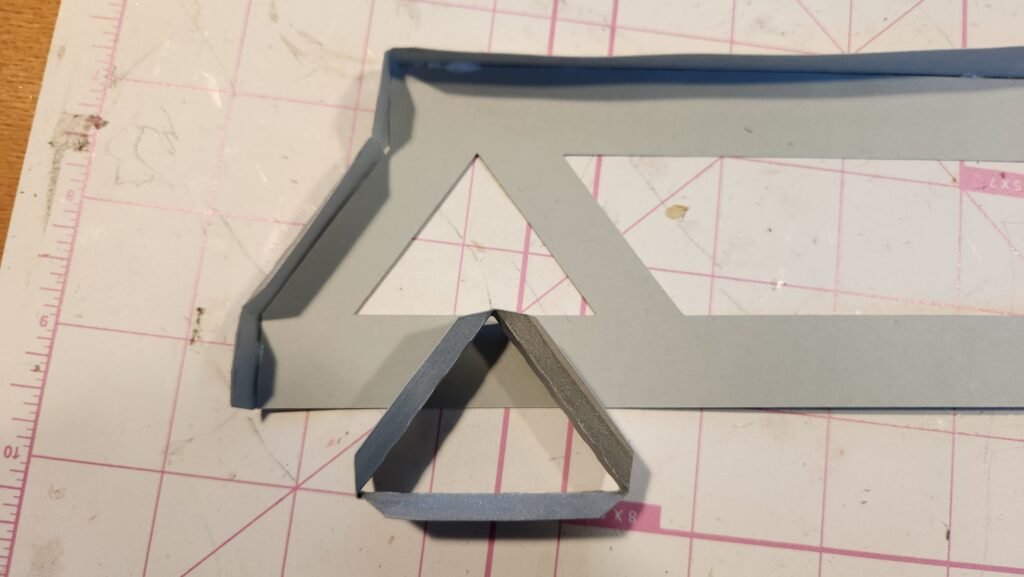
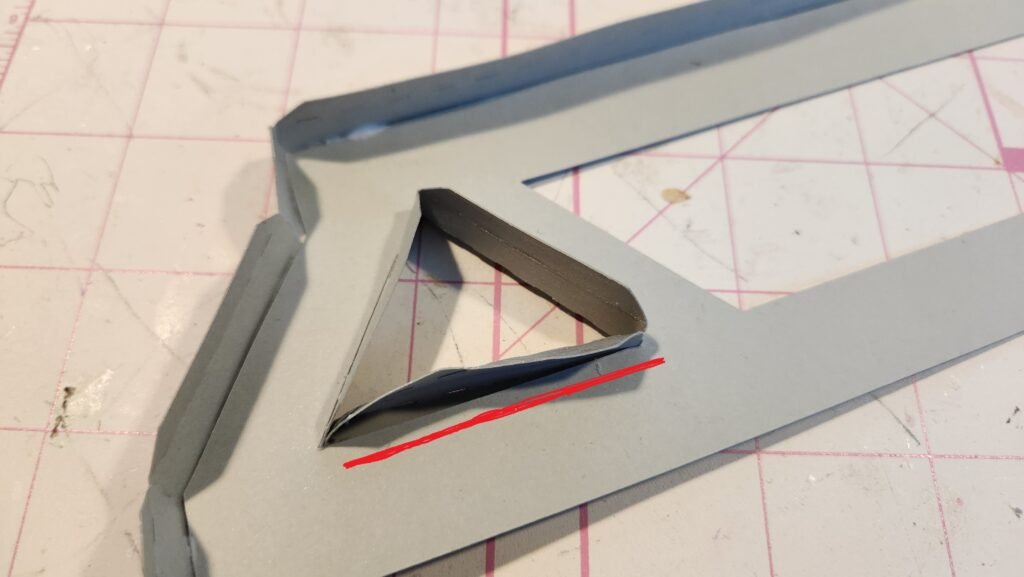
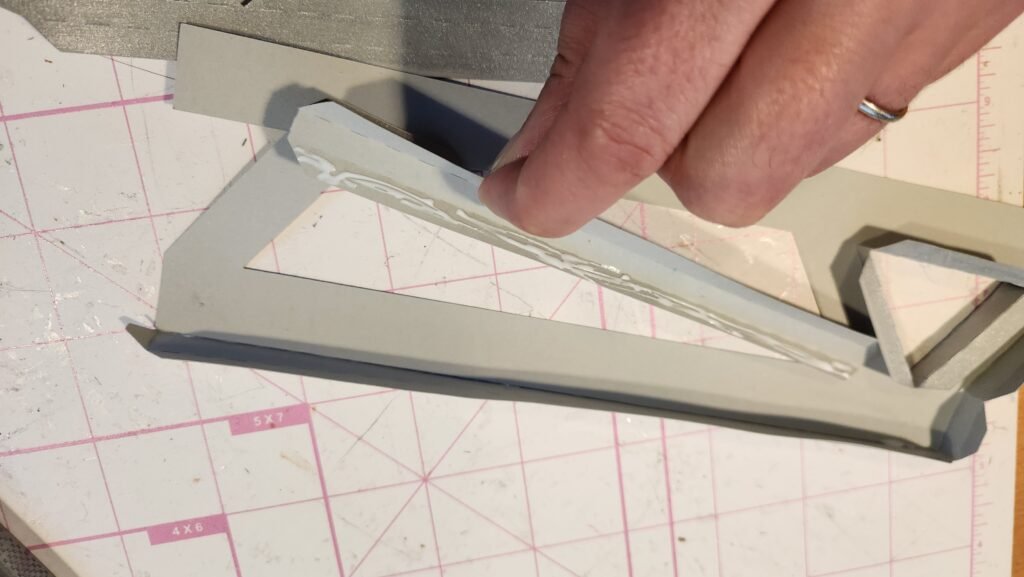
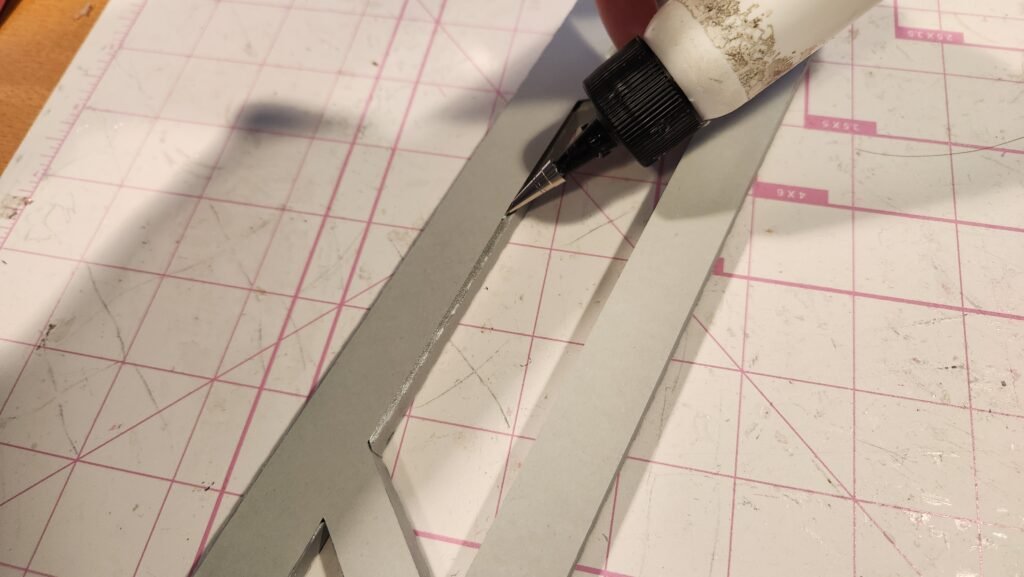
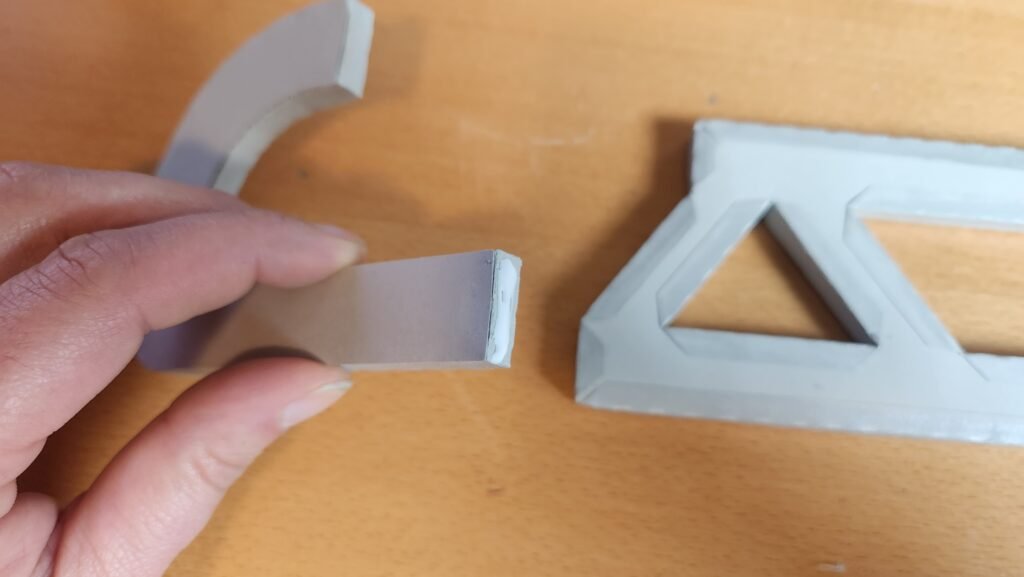
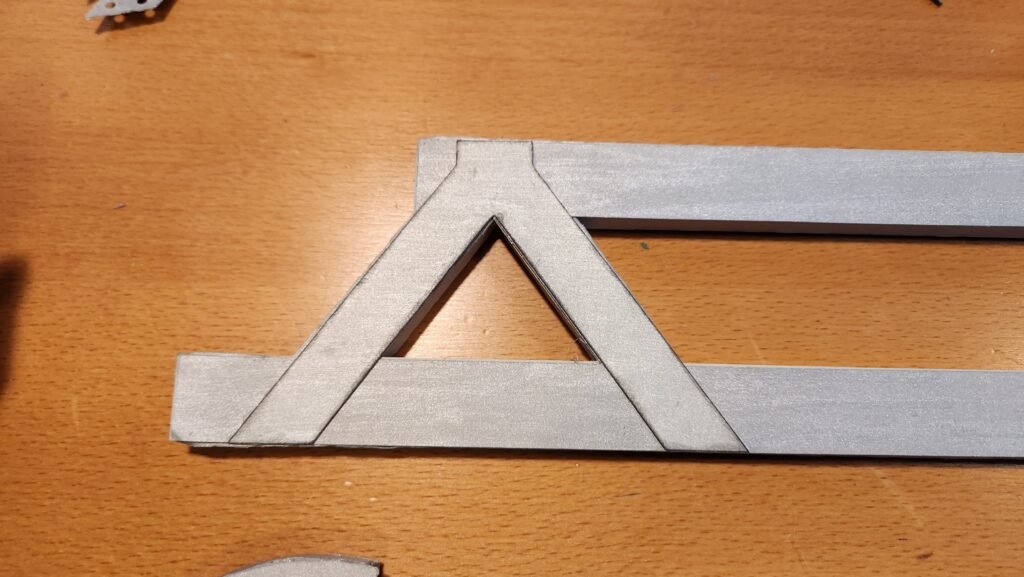
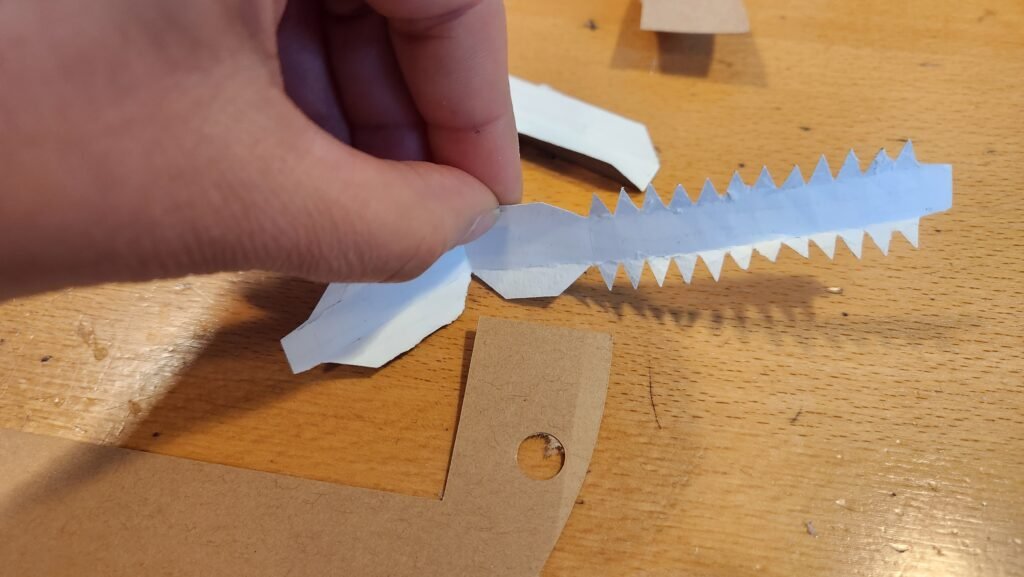
We then added the panels for the triangle cut out. This is the piece with three sides to create the triangle shape. You’ll note that one side is slightly shorter than the other two, this side is shown below with a red line. Once you have folded on the fold lines, fold out the tabs on one side, add glue and slide the triangle through the hole. This is snug and may require that you bend or curve one of the sides a bit to get the triangle through, that’s okay. It won’t be noticeable later and you and straighten it out once the triangle is through and in place. Once the triangle is in position, you can slide it so that you can press the tabs into place and secure them to the rail side panel.
We then added the panels for the other hole in the rail in the same manner. You can either take the two panels, and connect them end to end to create the trapezoid shape, or you can add the panels one at a time. Note that the angled sides are the same length but the long parts of each panel are different lengths so as long as you match up the correct one there, the short side will line up fine.
Be sure to close up the end/corner tabs once done.

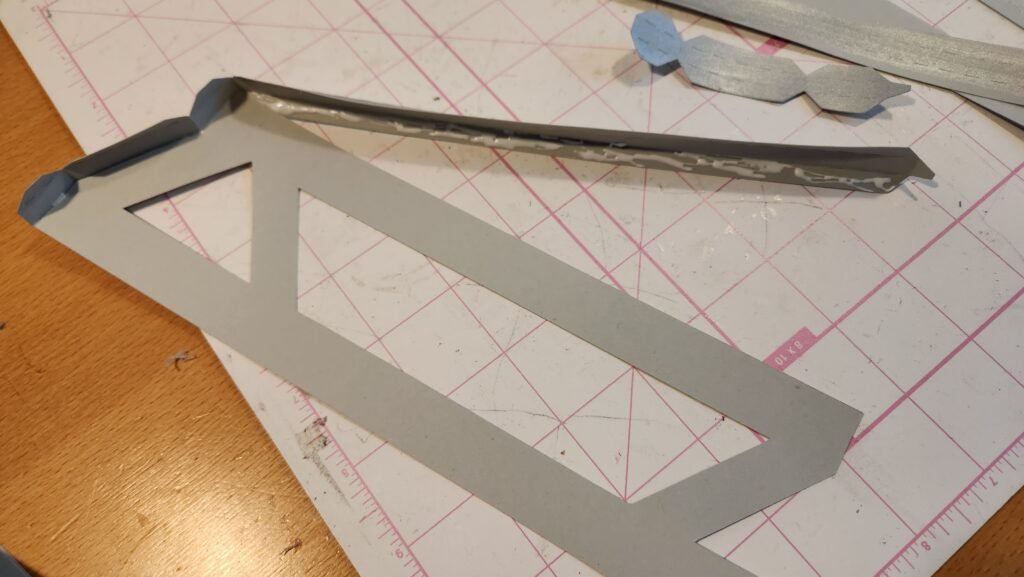
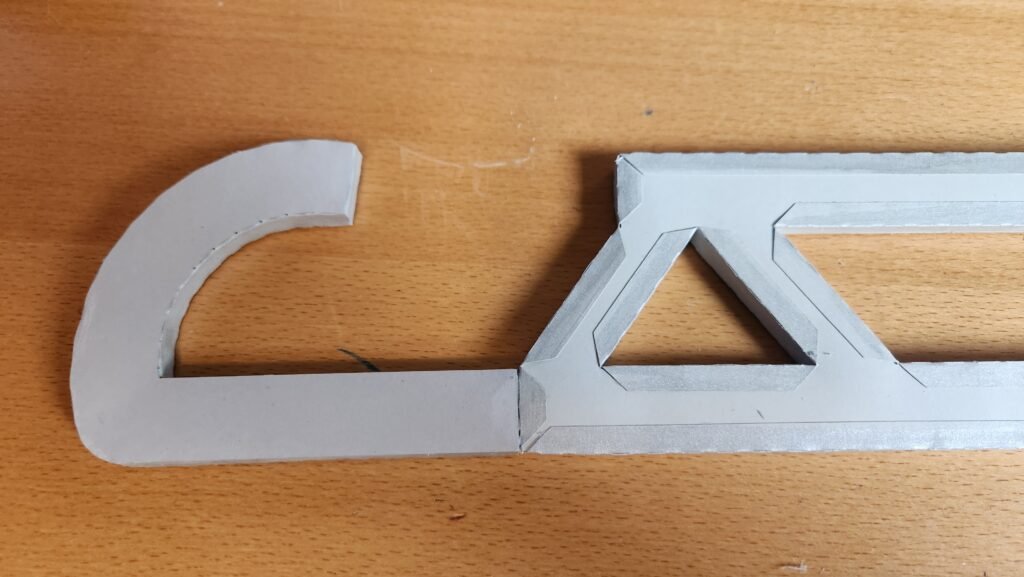
Next we finished adding the panels around the perimeter of the shape.
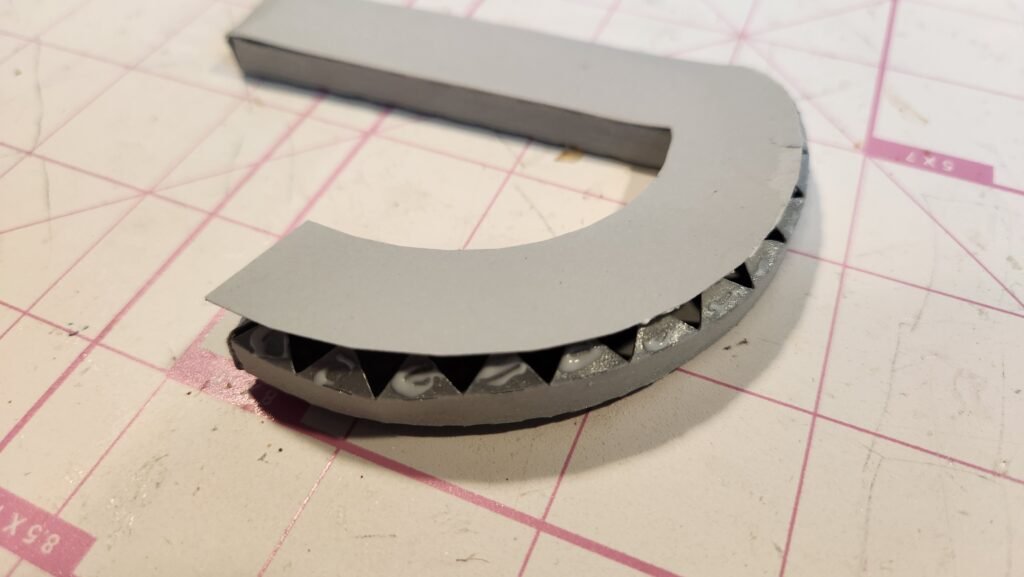
We used the foam board templates (in dark blue in the cutting file, we left them each with their shape so you could see what goes where, the diagonal pieces are all identical and can be placed in any spot, just flip it over front/back if needed) to cut the foamboard to fill the sled runner. We felt the foamboard was necessary to give the sled enough strength to withstand movement, add some weight to it while hung, and help prevent pieces from folding or collapsing when picked up. The final sled is quite large so the added integrity is strongly recommended.
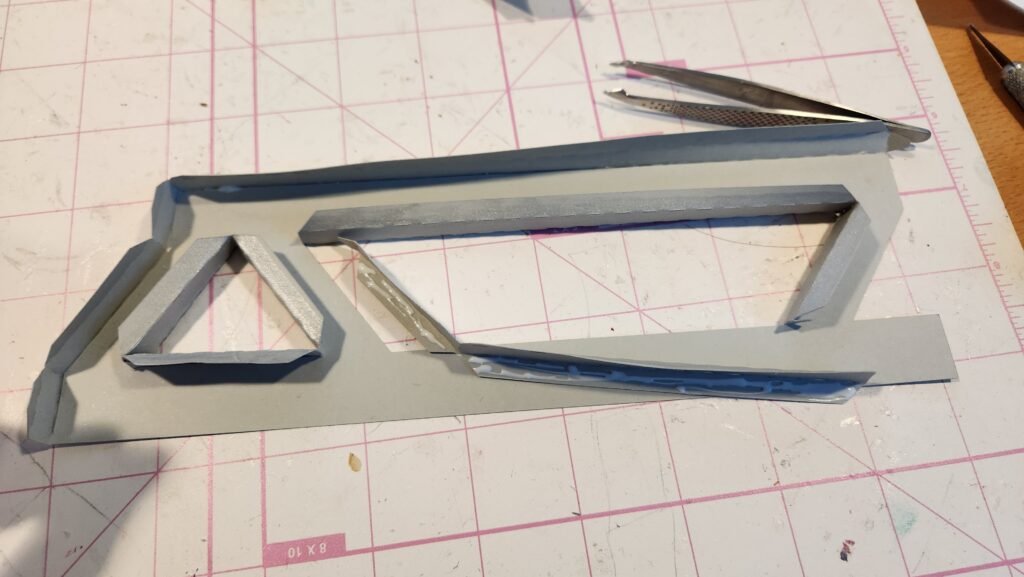
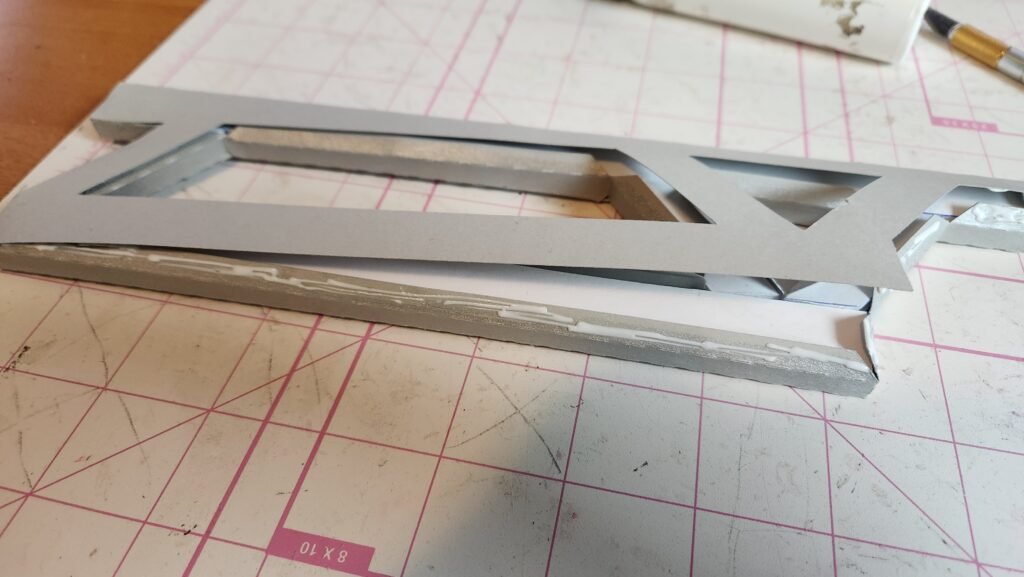
Once the foamboard was in place, we started closing the shape. To begin, we chose to attach the longest side tab. This helped to ensure good alignment for the rest of the pieces. We then worked our way around the perimeter of the shape a section at a time.
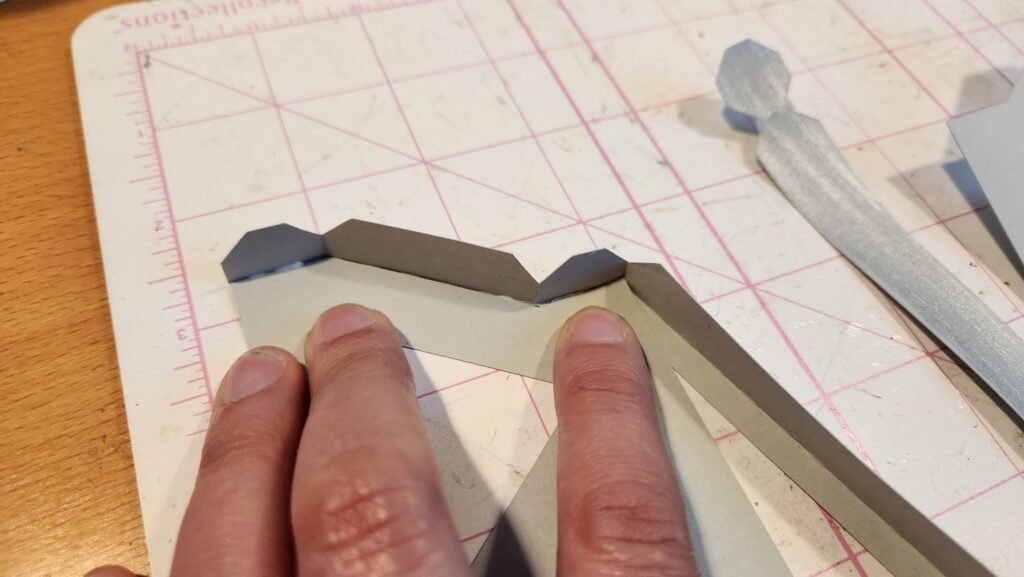
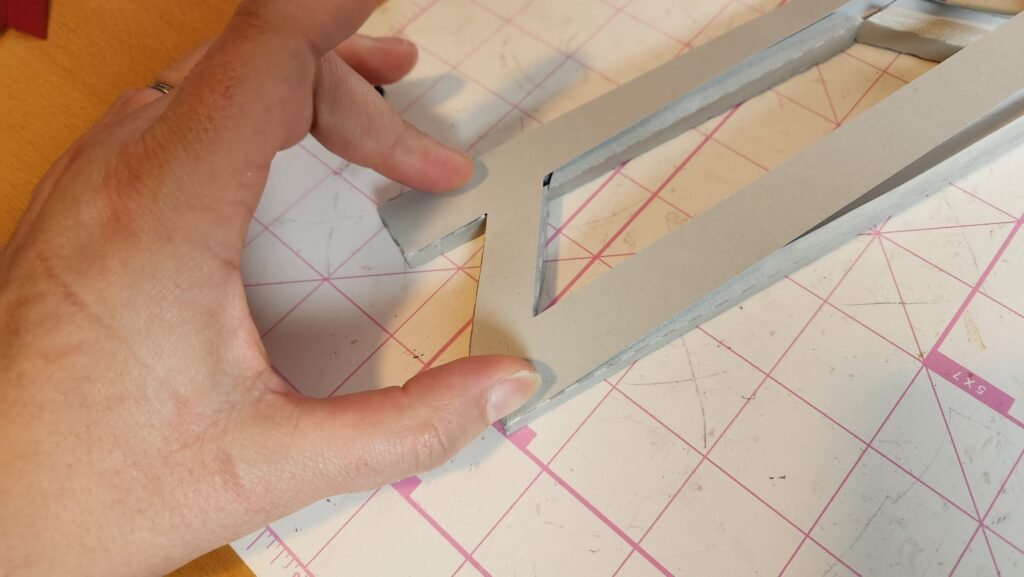
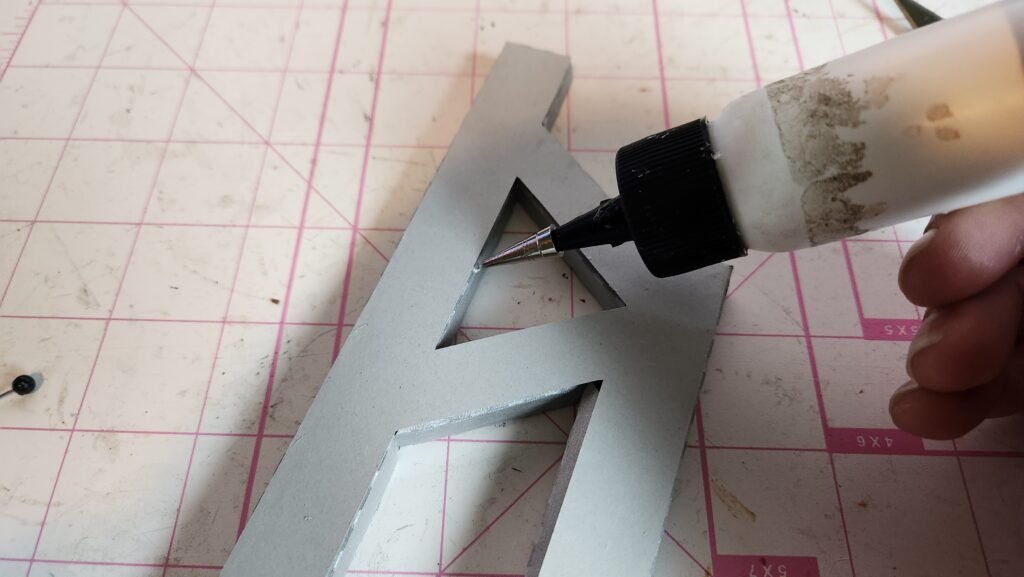
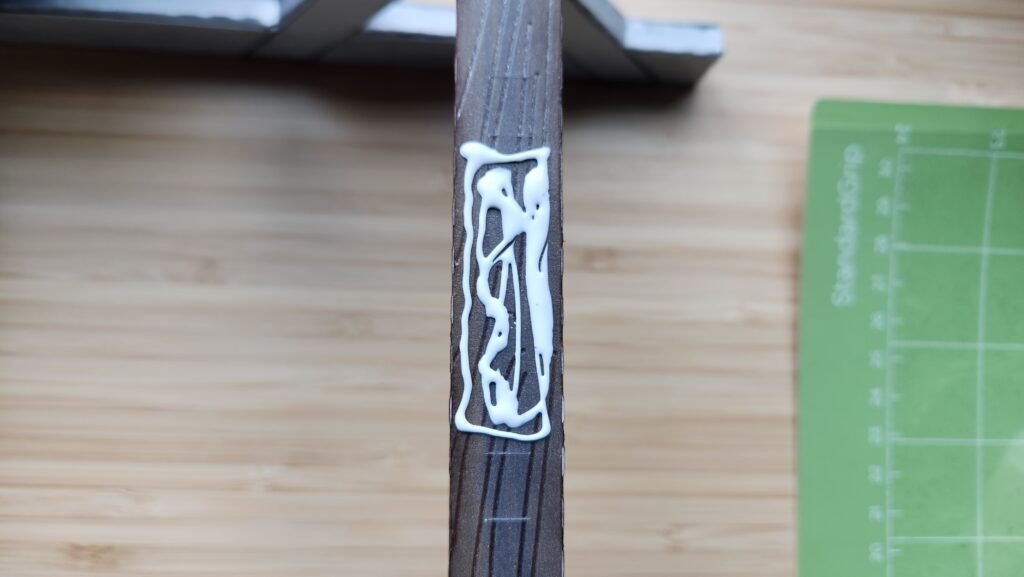
Note that we haven’t secured the tabs for the center cut outs. We found it easiest to do that now, after the perimeter was secure. To do this, we took the narrow end of our glue bottle and squeezed a bit in along each tab, then using our fingers we held the side panel in place and pressed the top panel down to secure. If you don’t have a super narrow glue top like we do, you can make a little puddle of glue and use a toothpick to move the glue to the tabs.
The Back Section Of The Rail
The back of the sled runners has a similar construction. There is the same triangle and trapezoid center cut out for you to fill. Below you can see the perimeter panels that you will use, going in order from left to right.
We started to attach the first, short panel to the end of the sled runner.
We then added the long panel, followed by the panels for the two center cut outs (follow the same procedure as the center part of the runner. These are identical cut outs). Once they were in place, we finished with our perimeter panels.
We added our foamboard filler pieces then attached the side panel using the same steps as before. The longest tab, then working your way around the perimeter. Once that was one, we secured the tabs in the center.
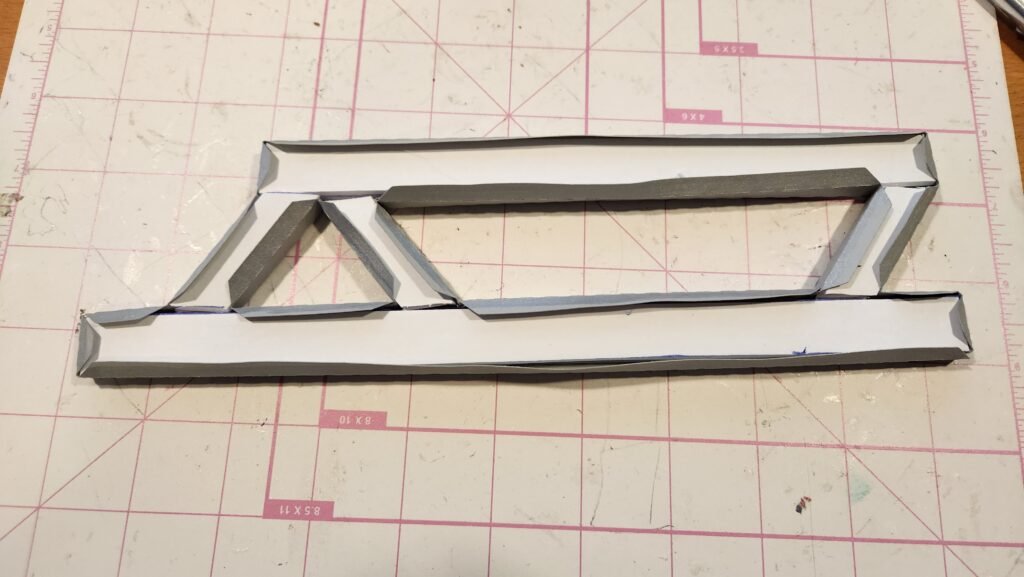

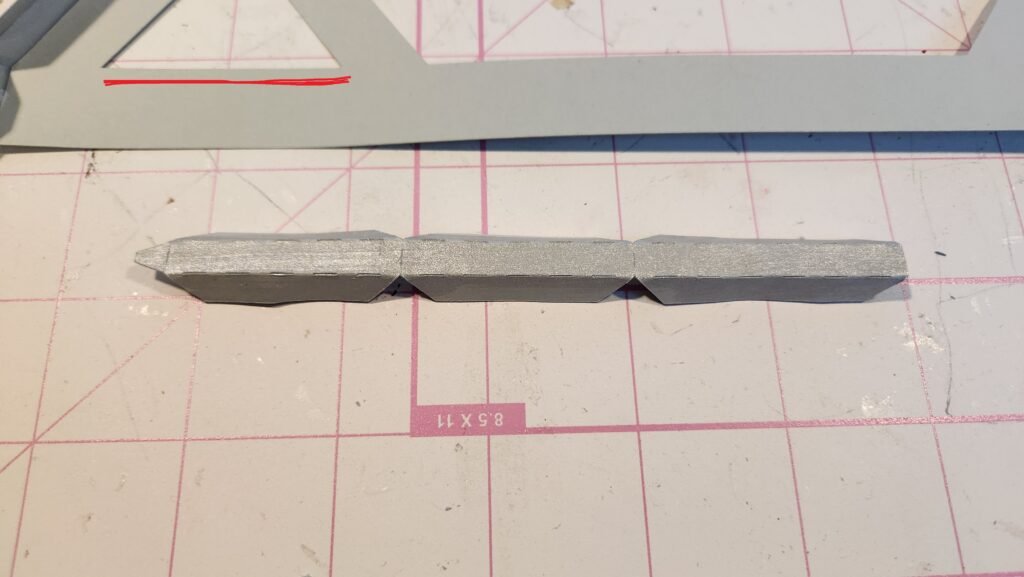
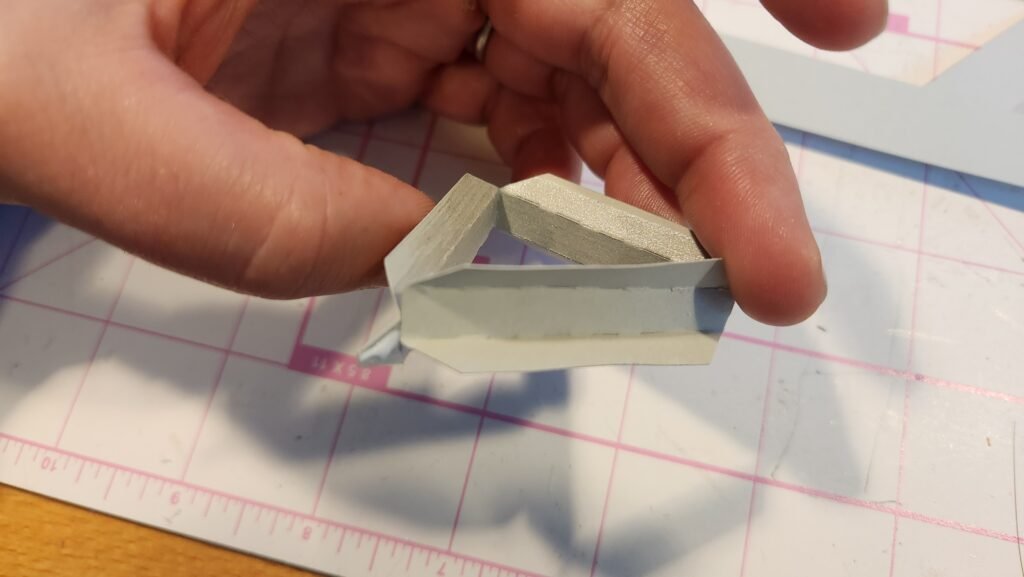
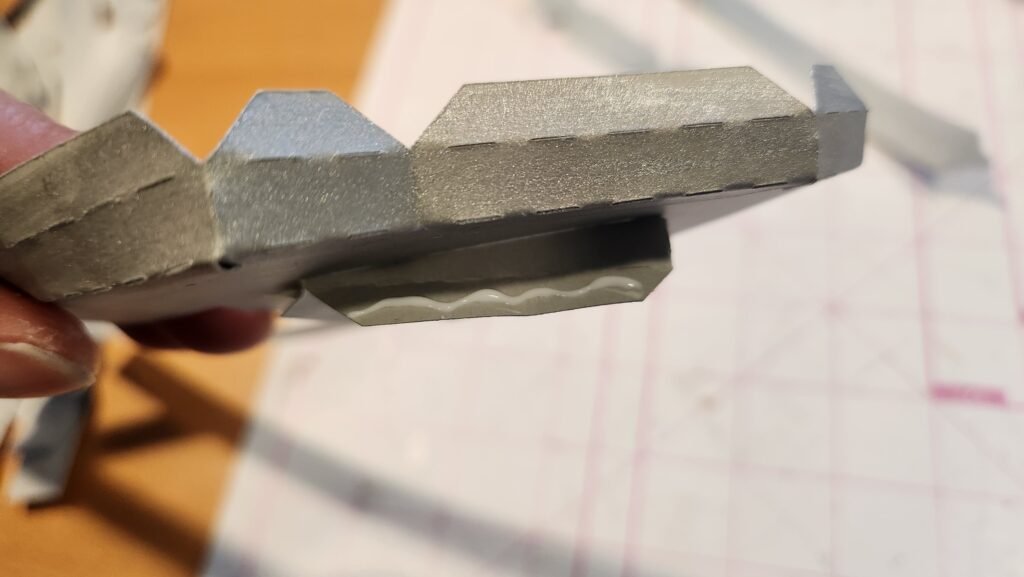
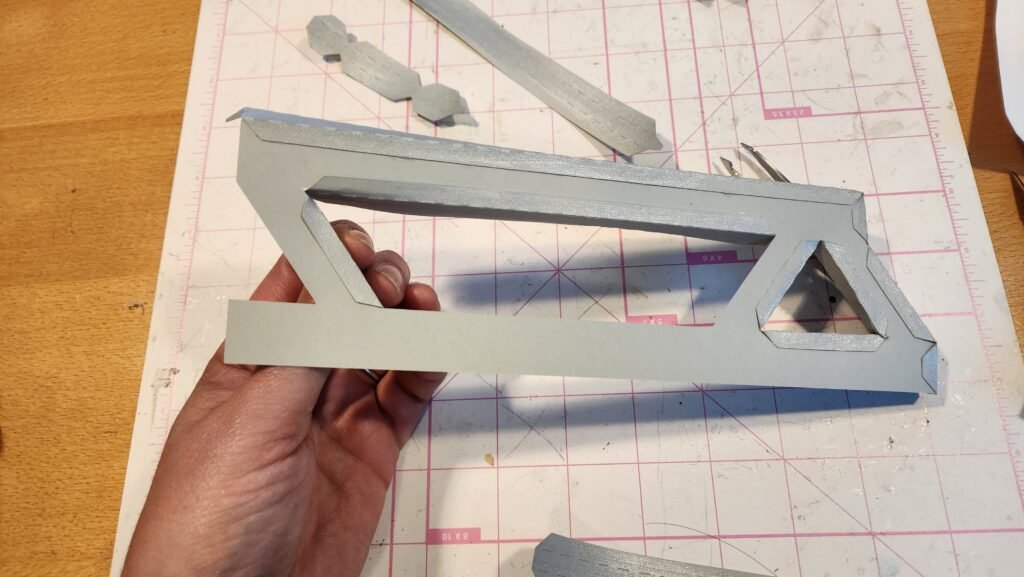
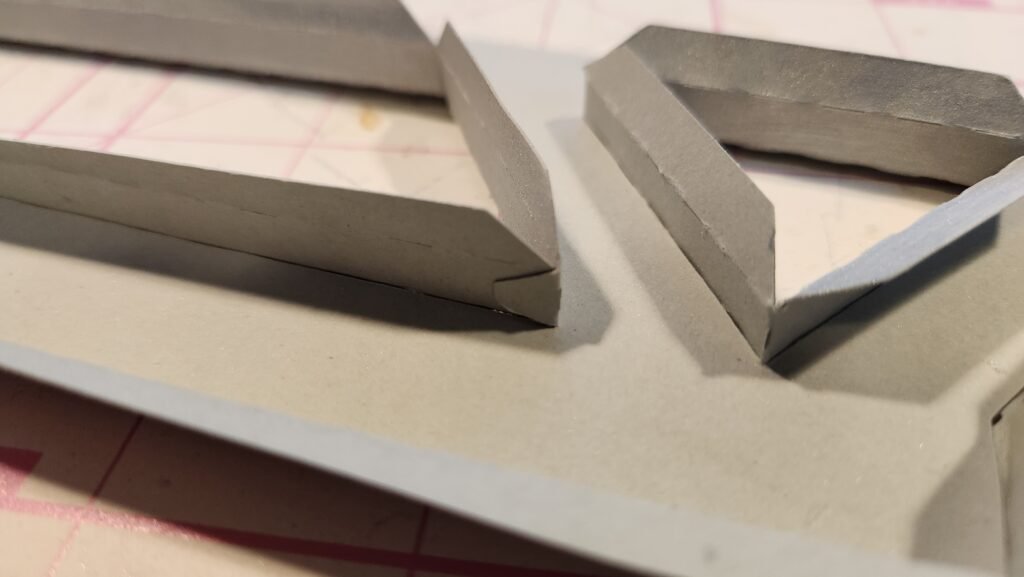
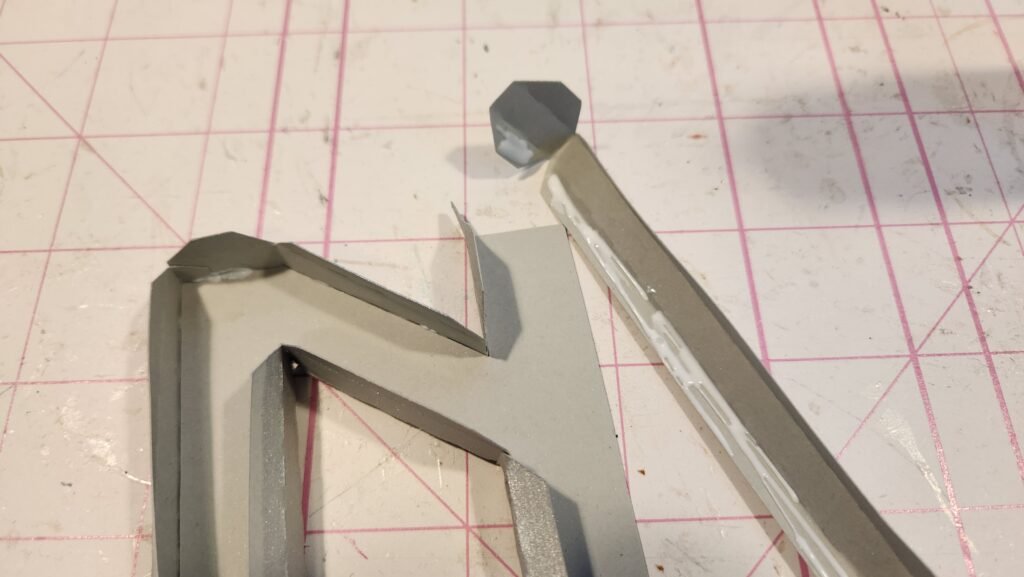
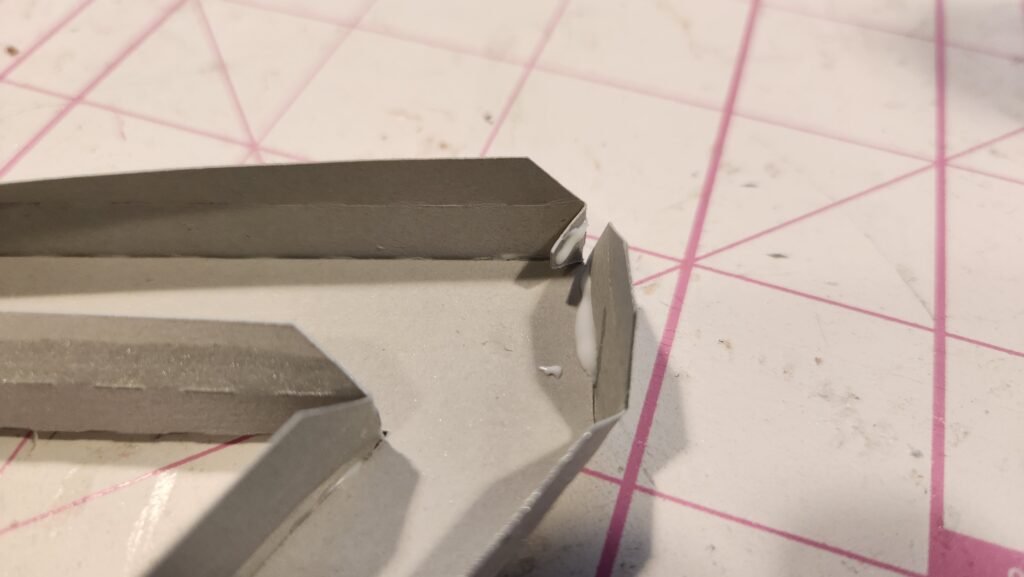
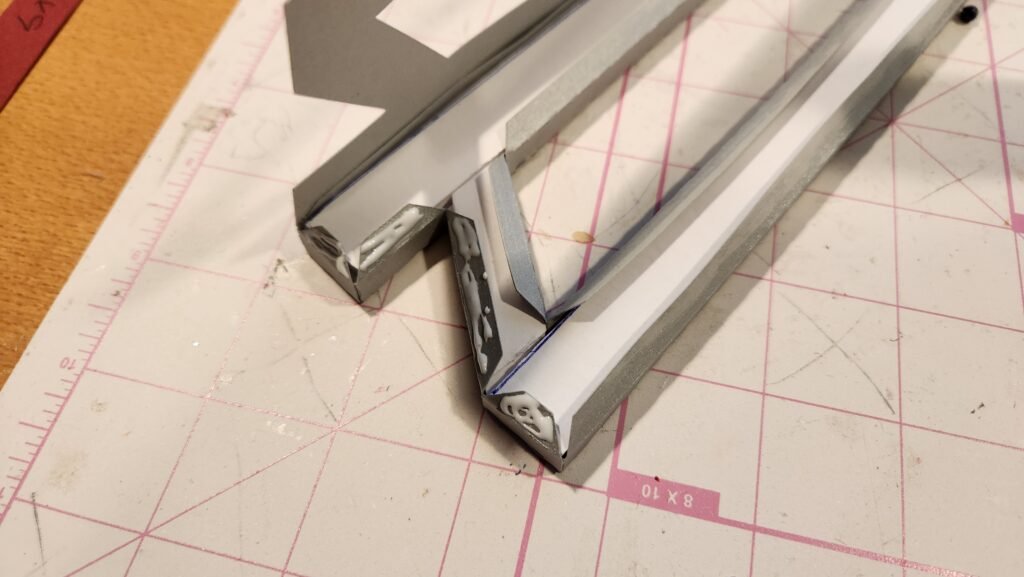
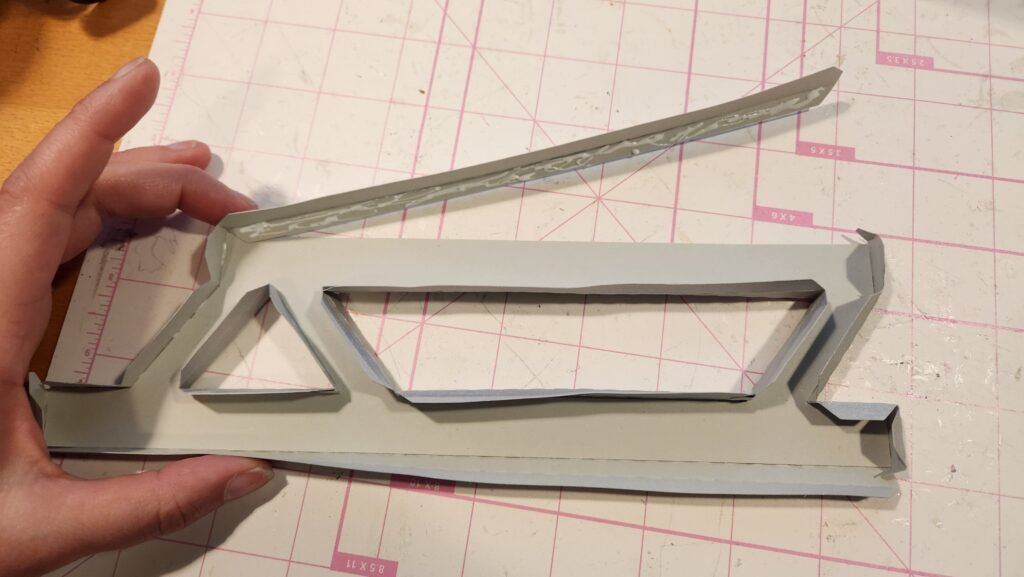
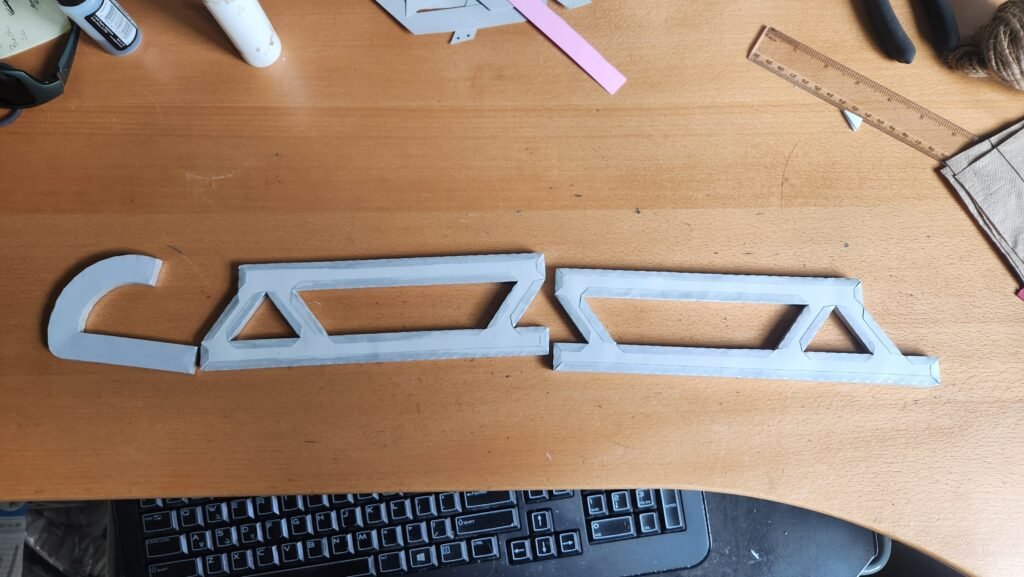
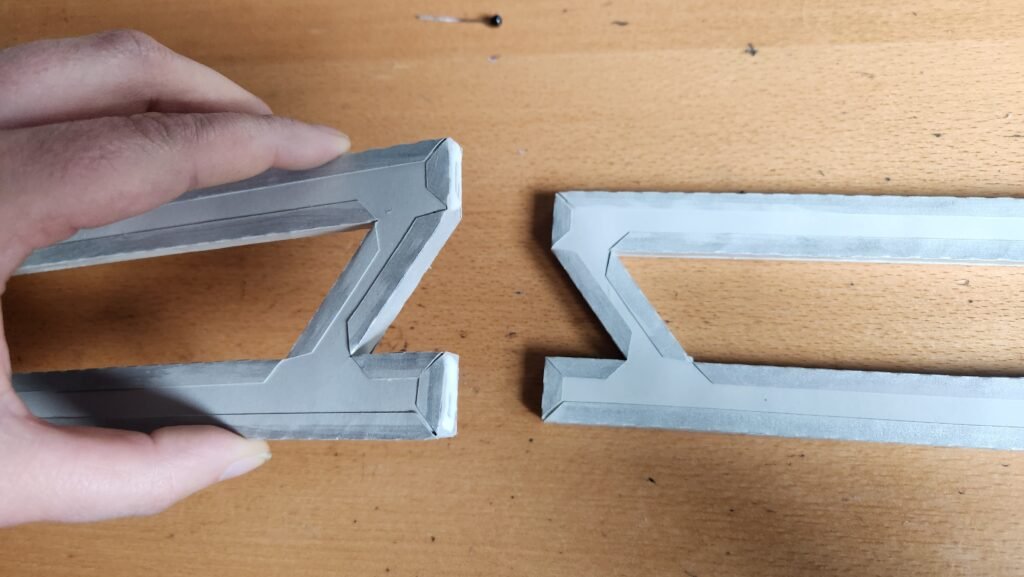
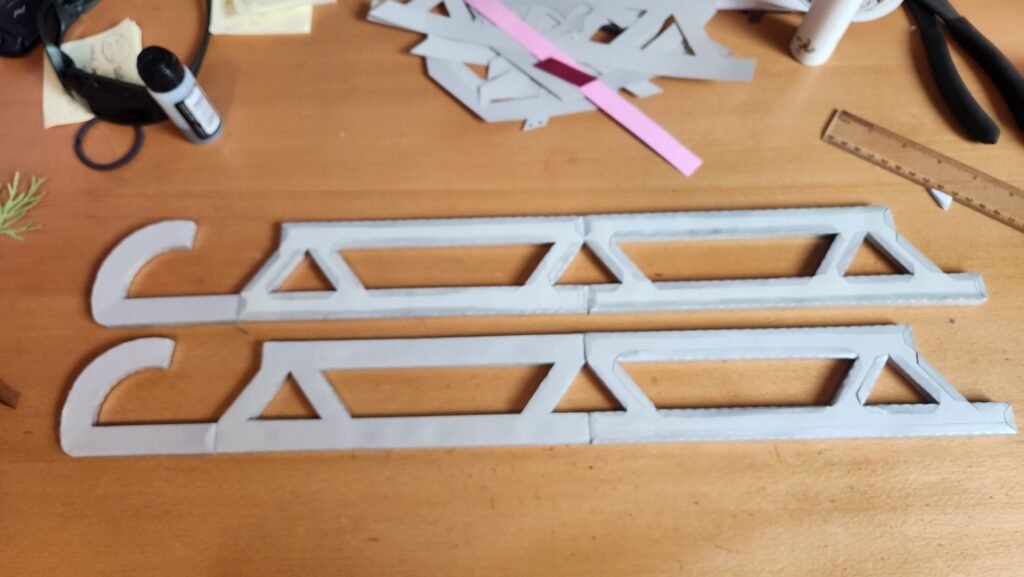
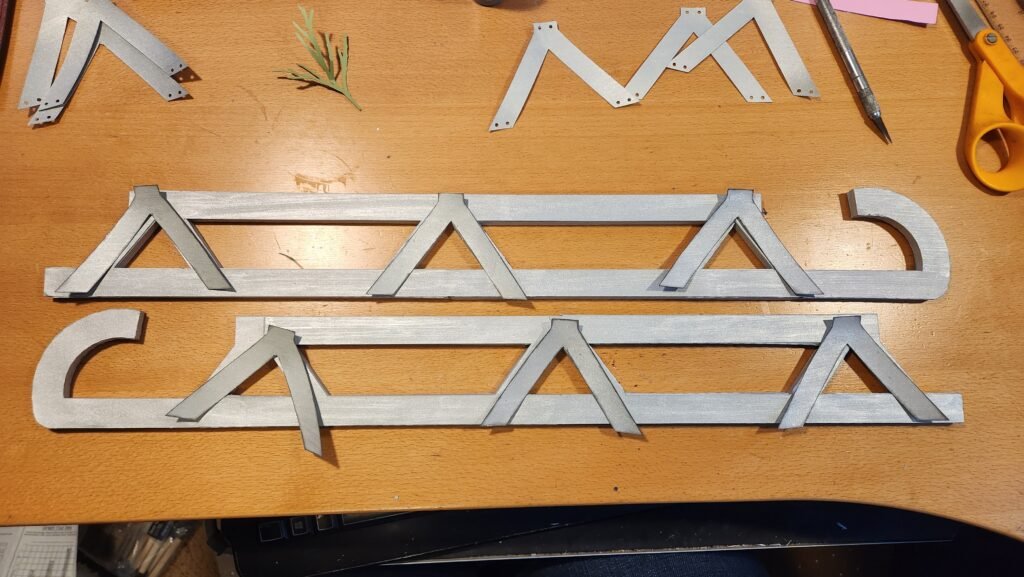
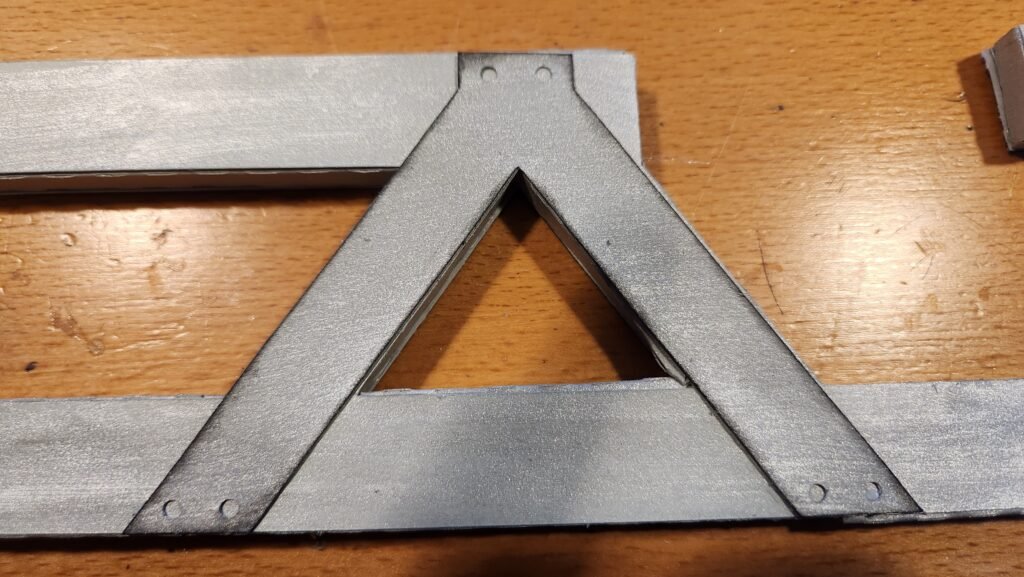
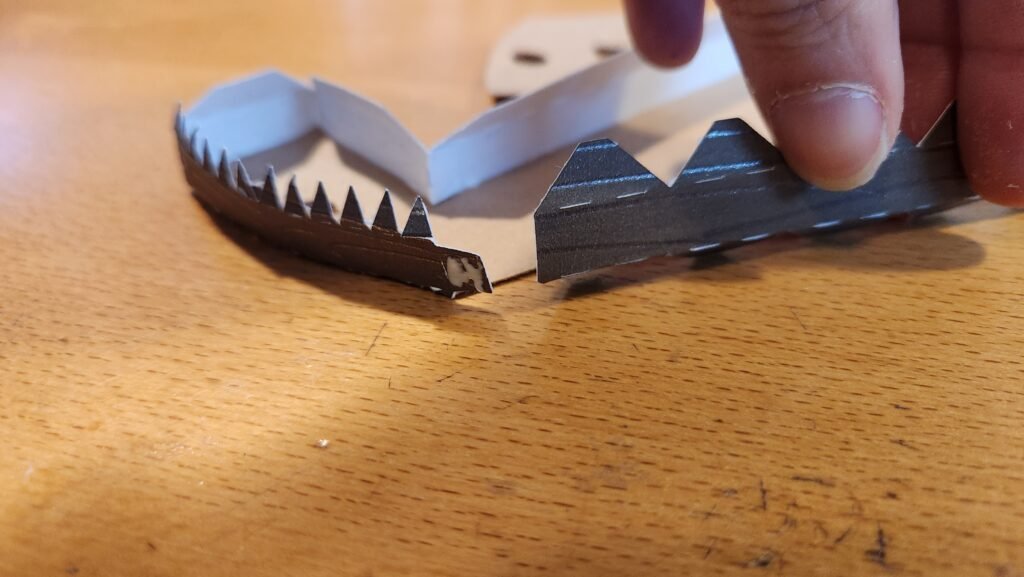
You will now have three finished components for the sled runners. You will want to line them up as shown below, so that when pressed together you have three triangles with the point going up and a flat side on the bottom.
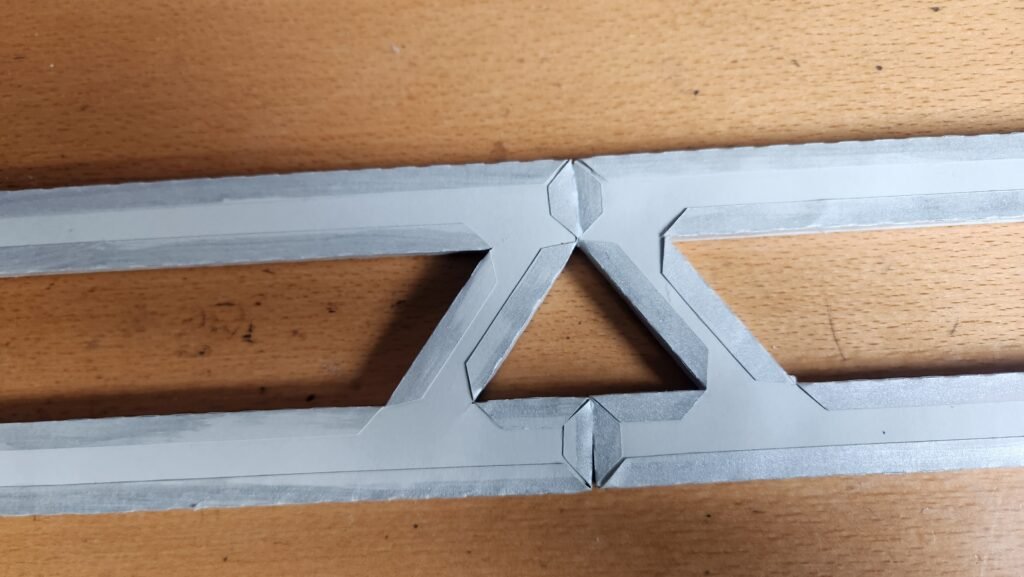
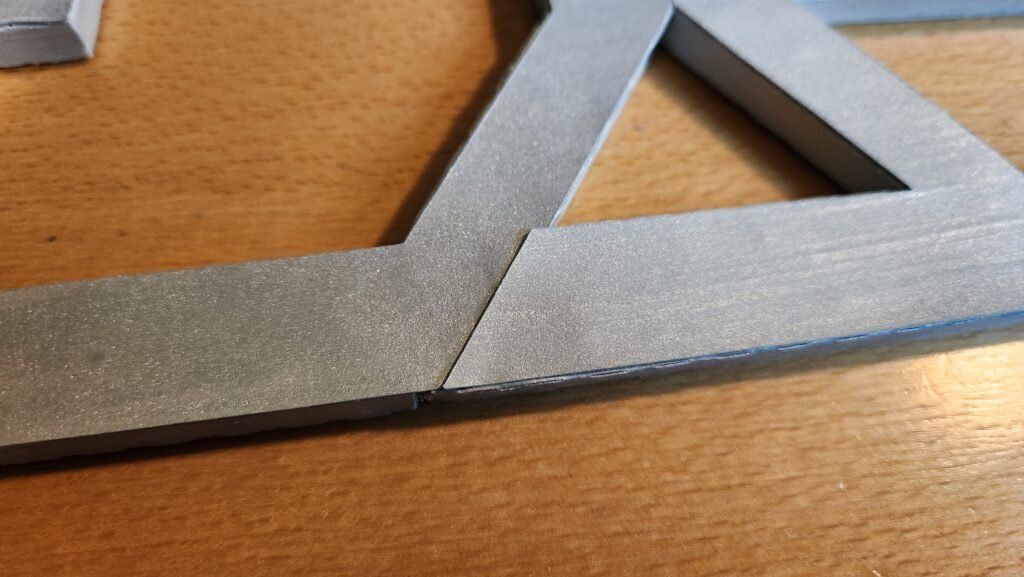
Connecting The Rail Sections
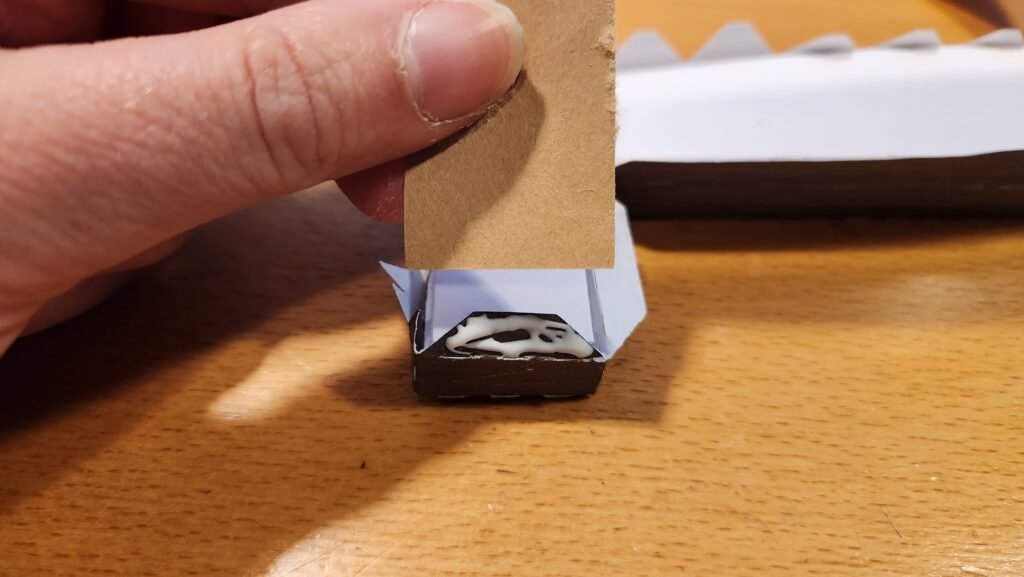
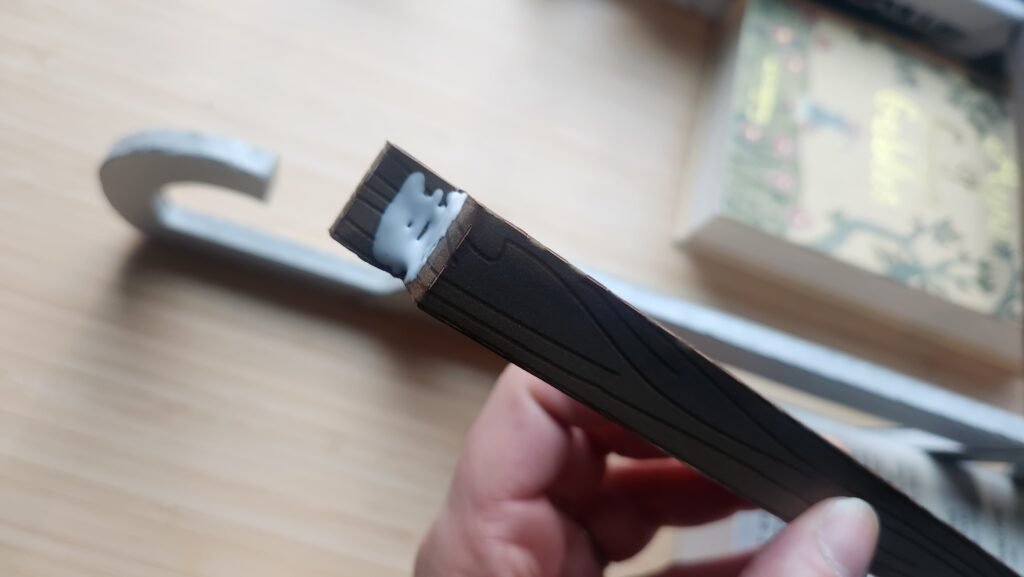
Once we had them lined up, we placed them on a flat surface, it’s important that you don’t have bends or wobbles in your final product. We added glue to the points where the pieces connect and held them firmly in place while the glue set. You could use hot glue, but it tends to be bulky which will interfere with the fit for the decorative panels and we find it tends not to be as strong in the long run so we opted for our regular crafting glue. It takes longer to set but was worth it in the end.
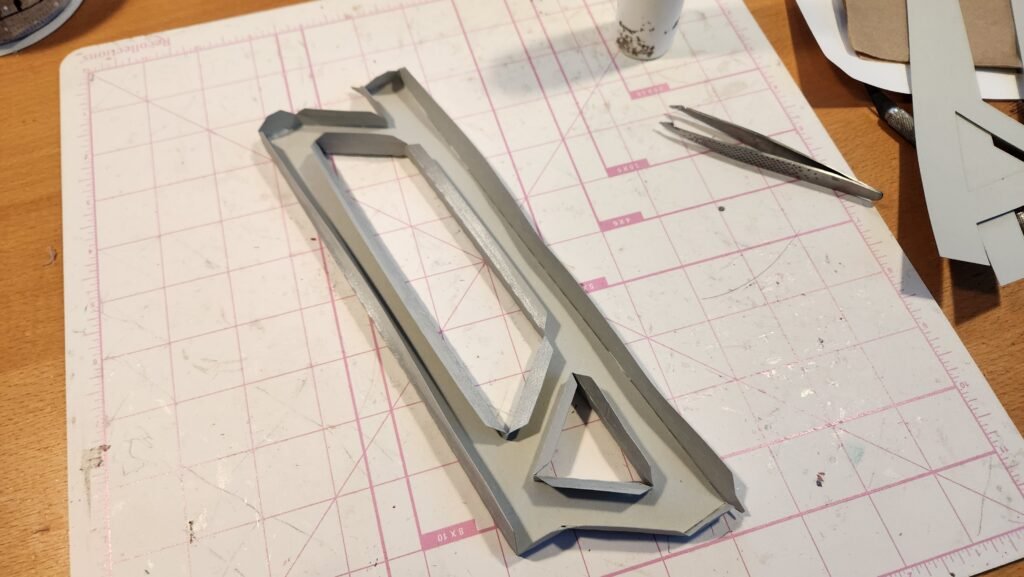
While the glue set we started work on the other runner. It’s best you have both complete before attaching the decorative panels, that way you can be certain you get them on the correct sides as they need to be opposite on one runner vs. the other.
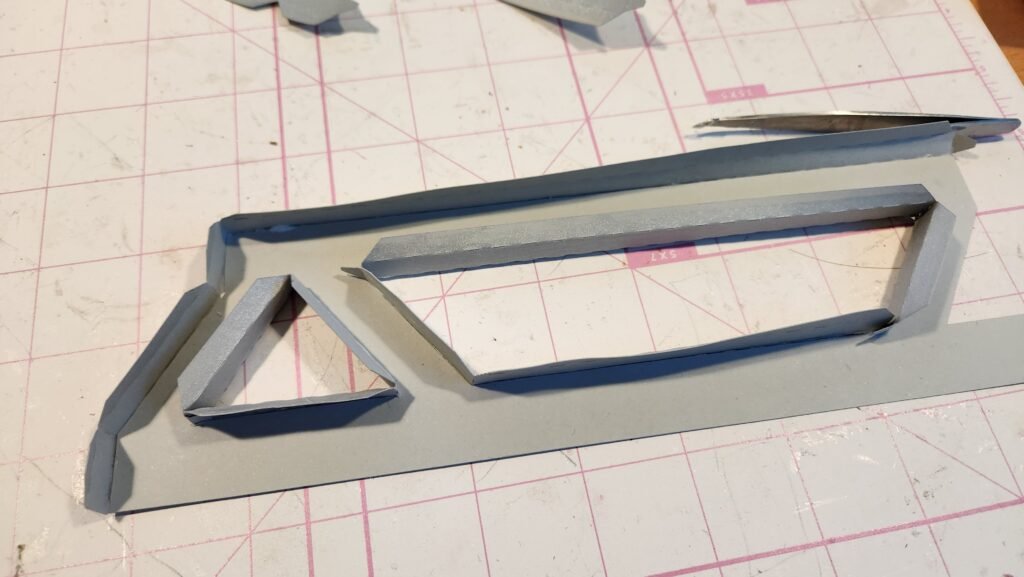
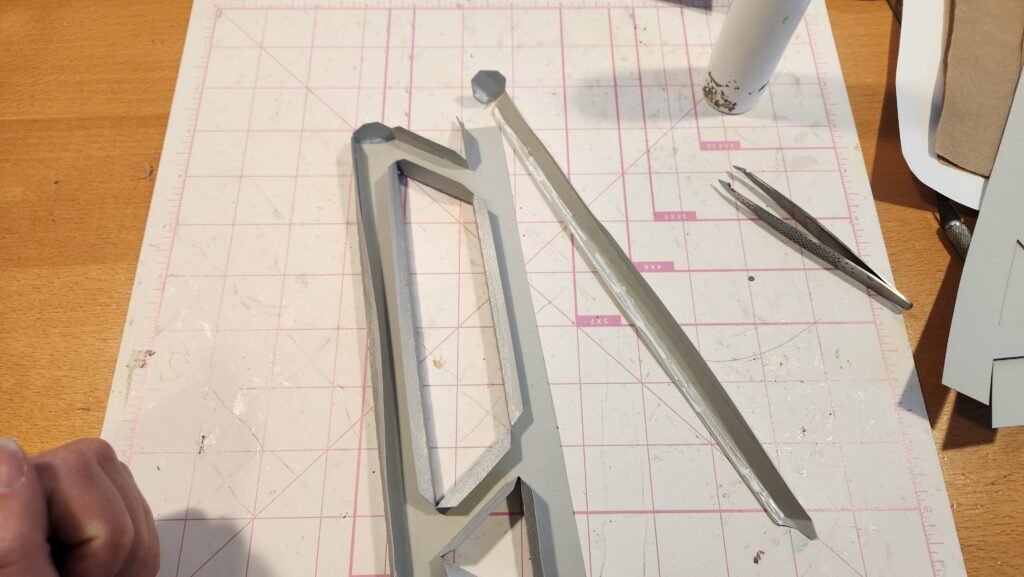
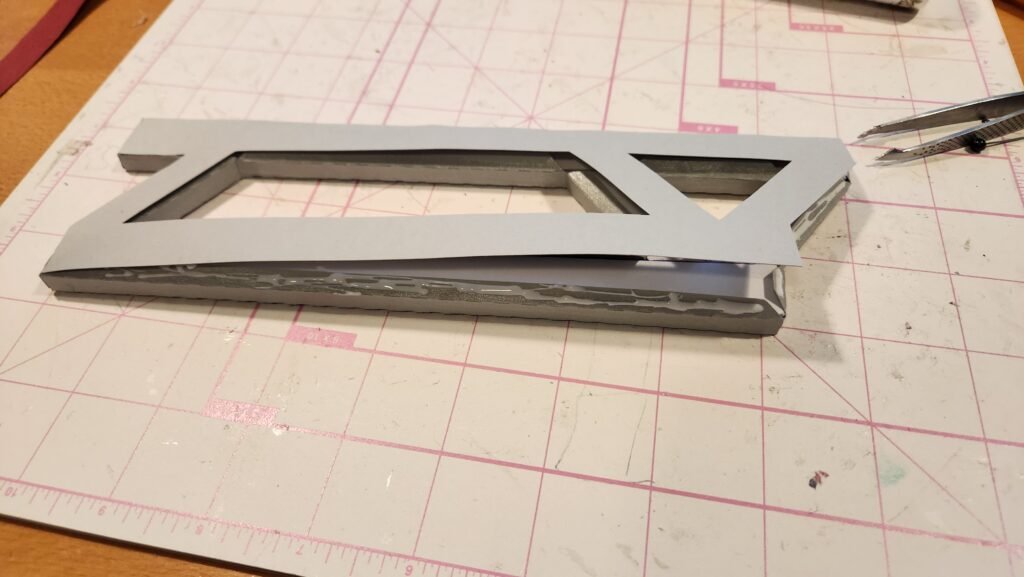
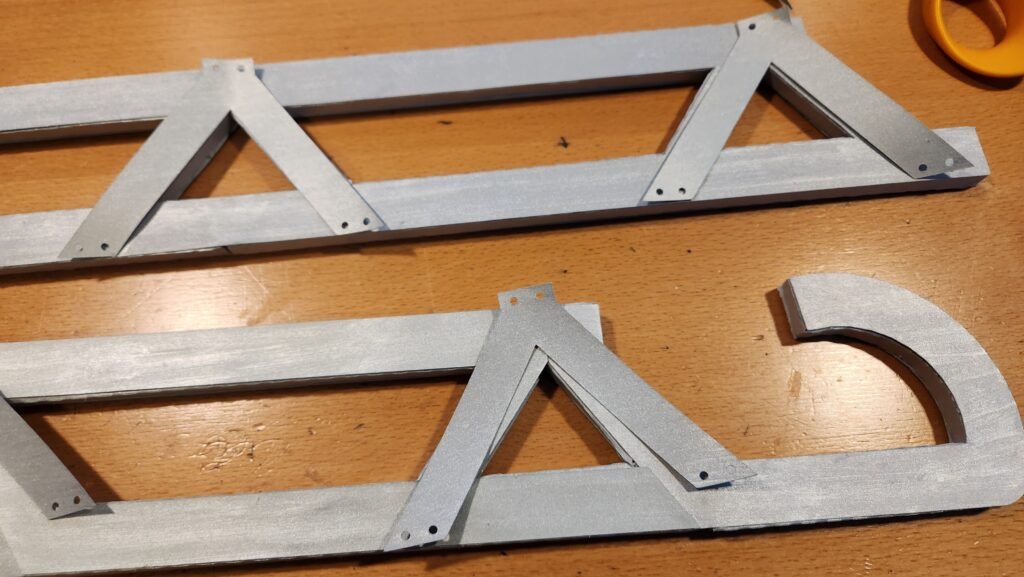
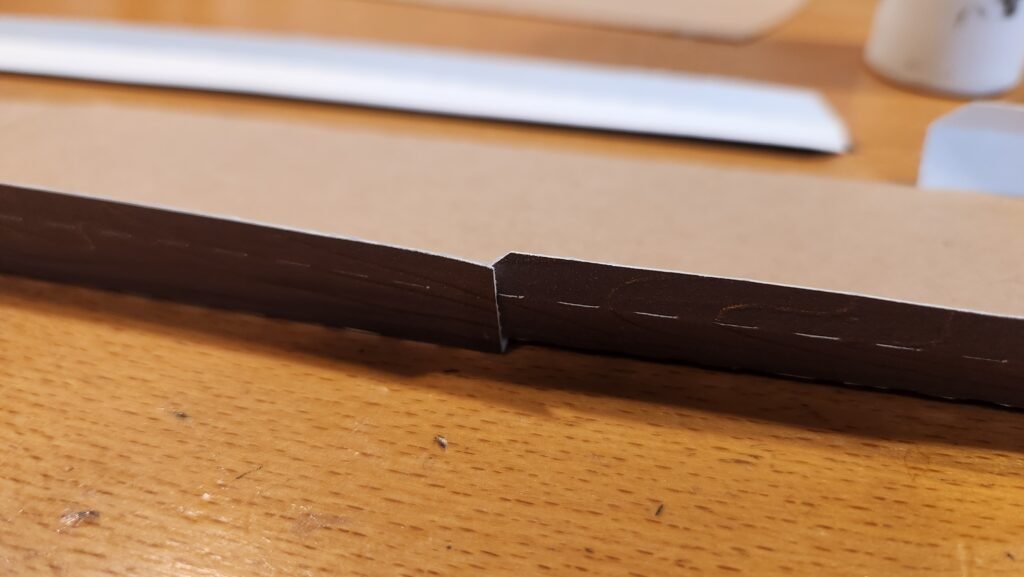
Our completed runners:
Decorating The Rails
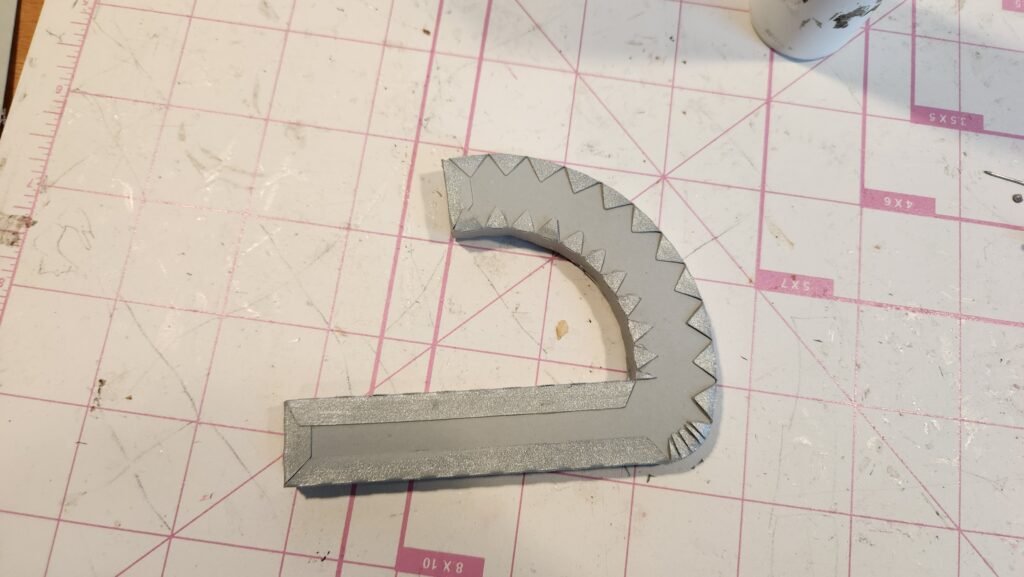
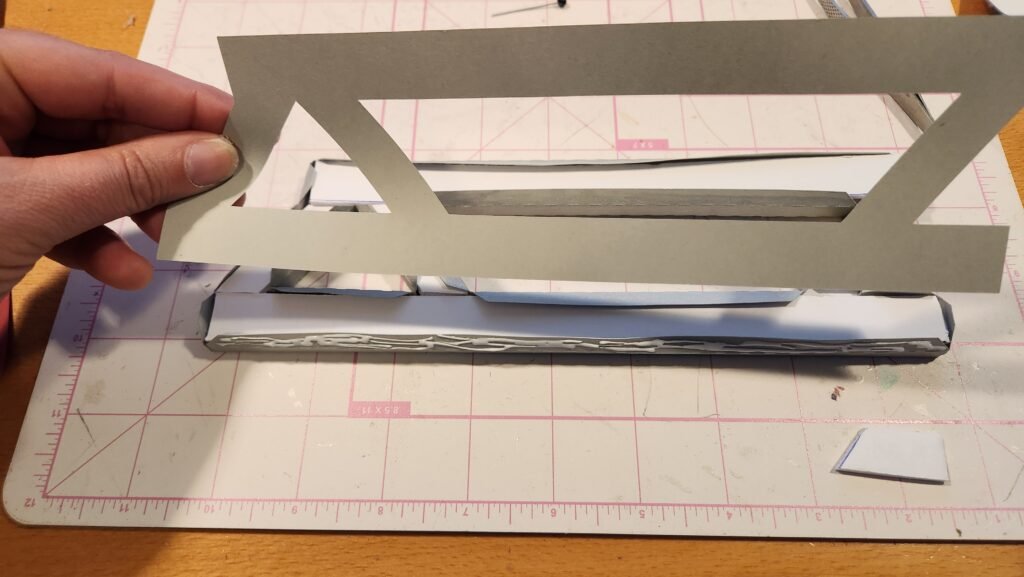
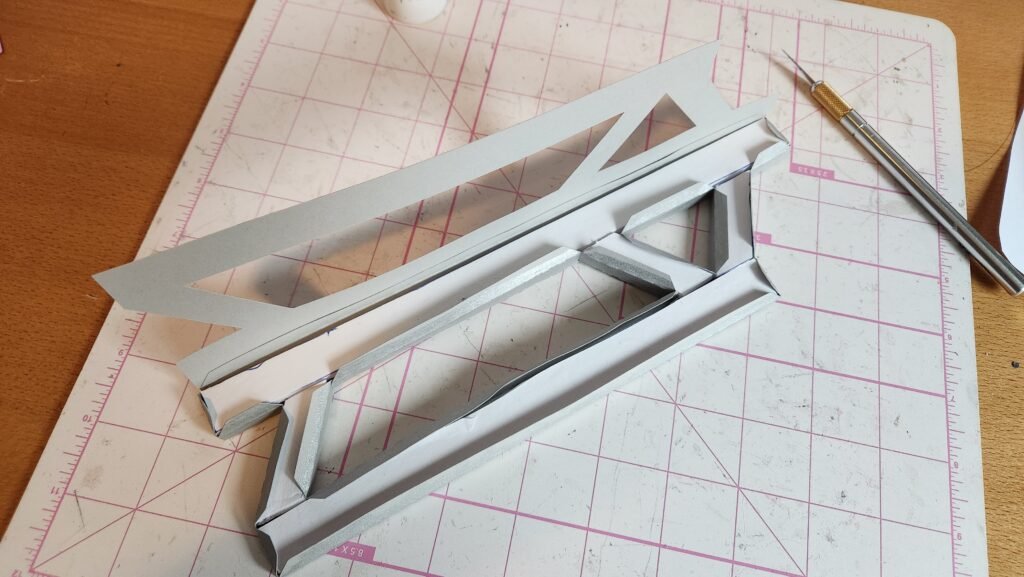
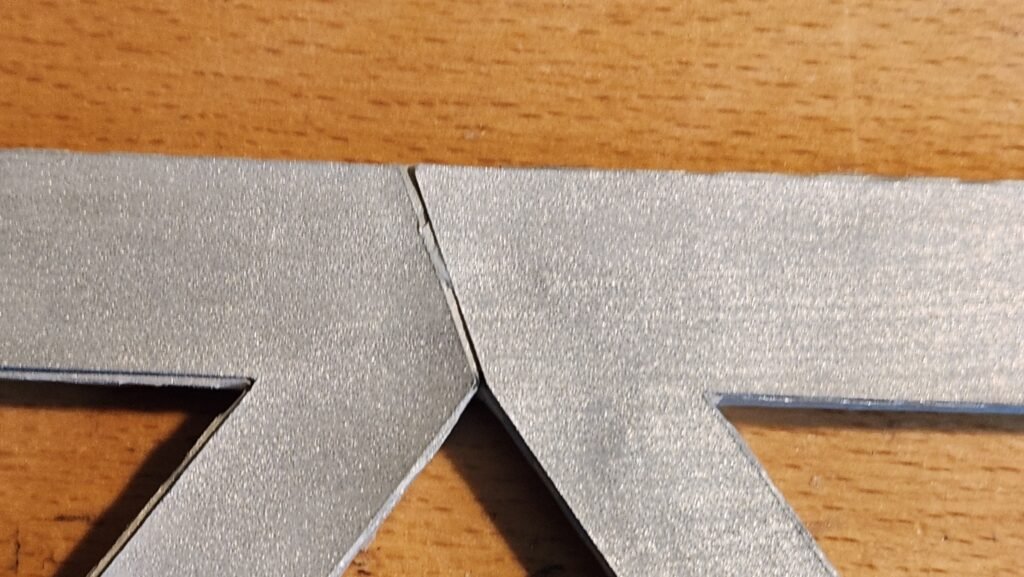
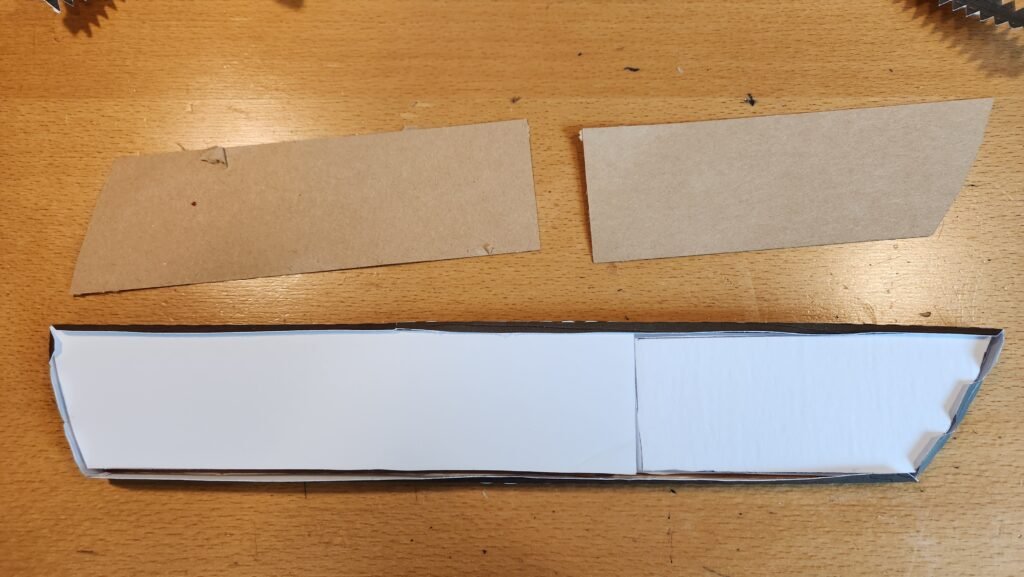
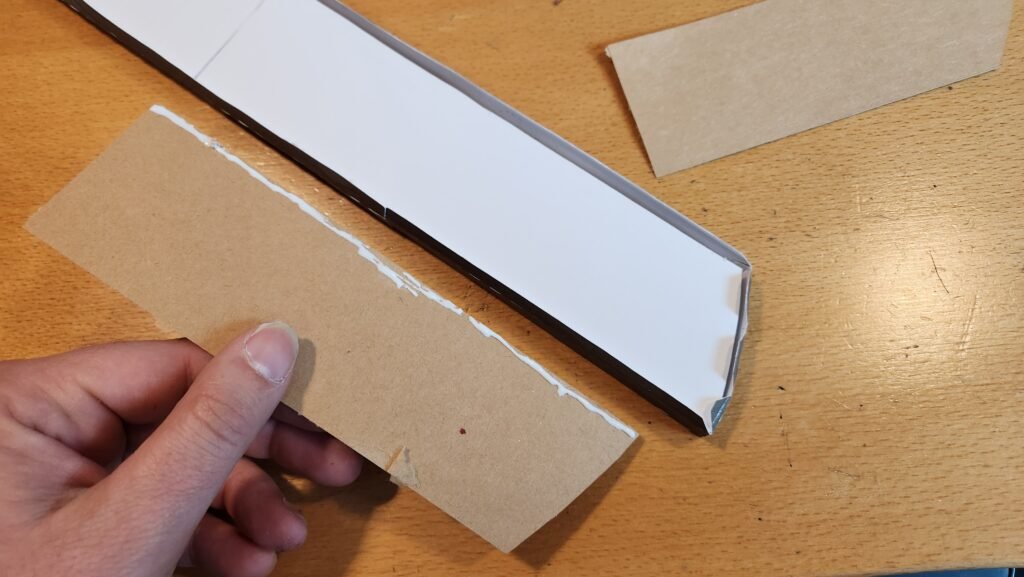
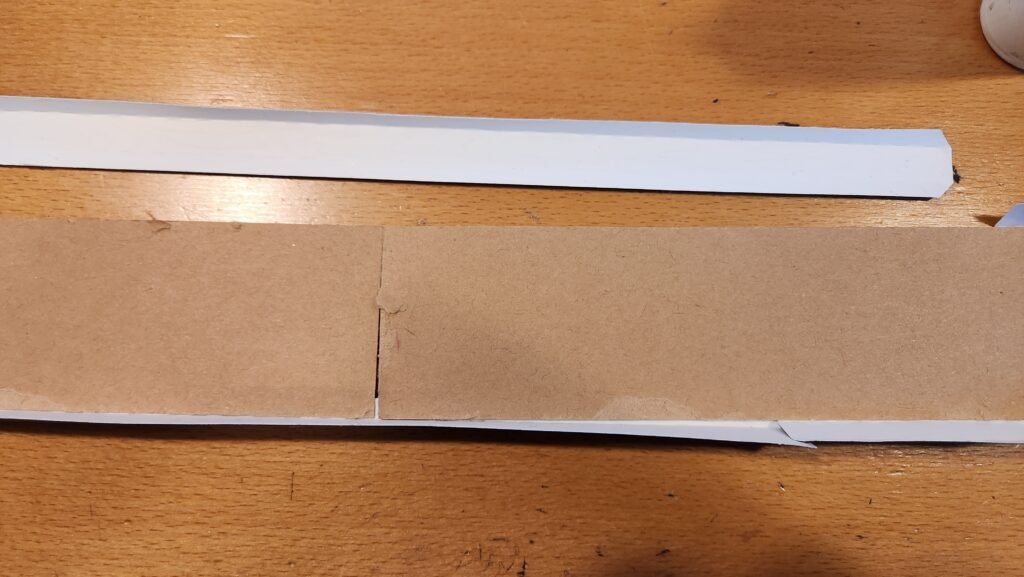
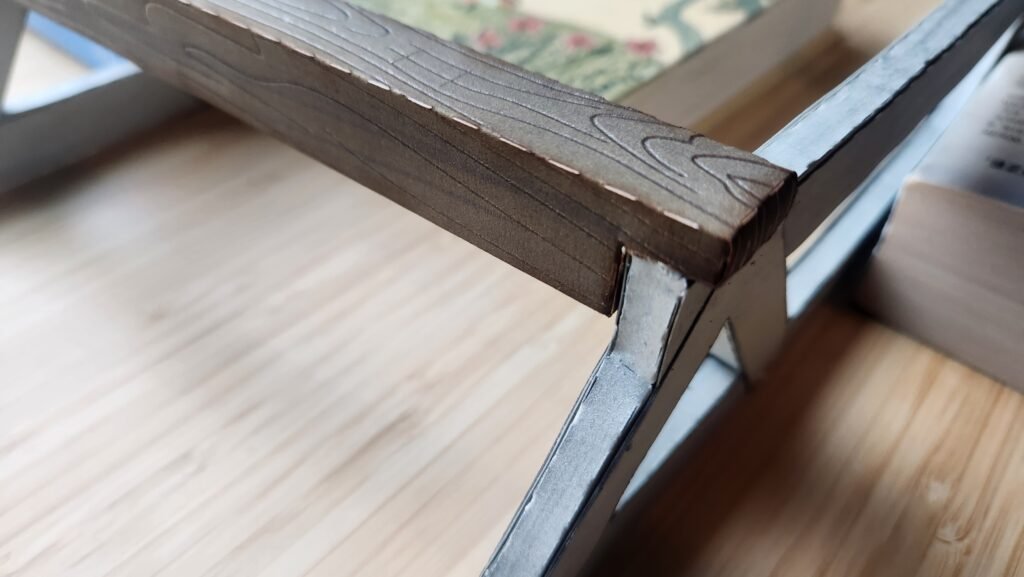
Once you have them both assembled (we left them overnight on a flat, smooth surface to ensure they dried right and it was truly set before moving on) it’s time to add the decorative panels. First you want to put the three large ones that form the overall shape of the sled rails. Depending on how the assembly of the base and attachment of the three pieces went, you may end up with a small gap or a small overlap in these panels. That’s okay, it’s designed to have those fall where the second decorative panels will cover the seam. You should attach a set of decorative panels to both sides of both rails. This will clean up and smooth out the rails and cover the exposed tabs.
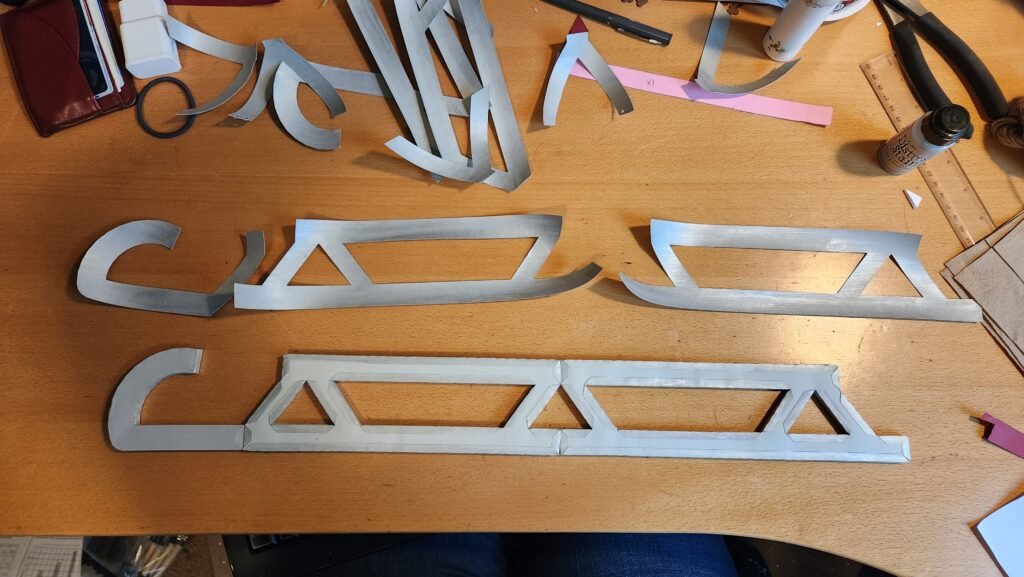
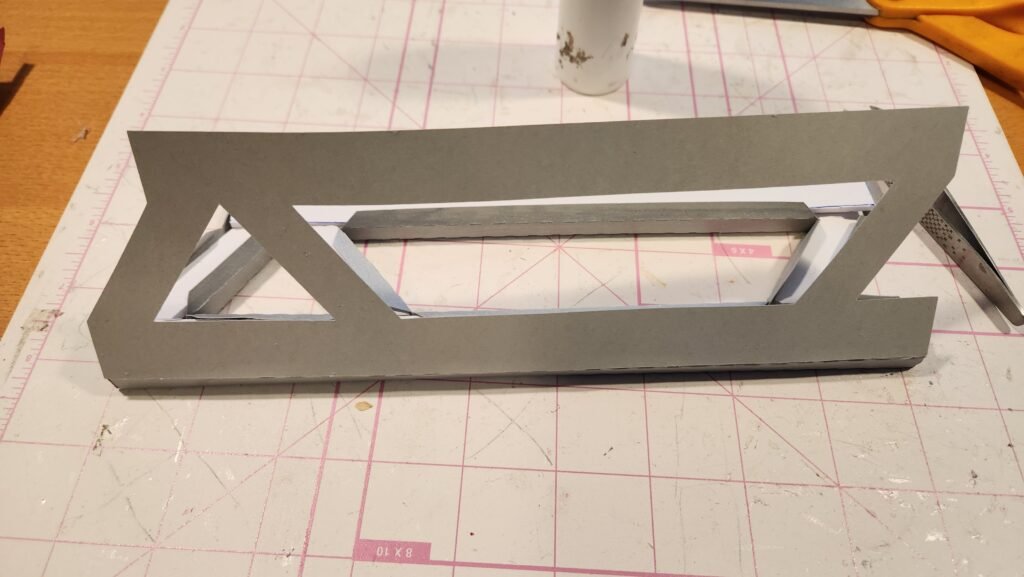
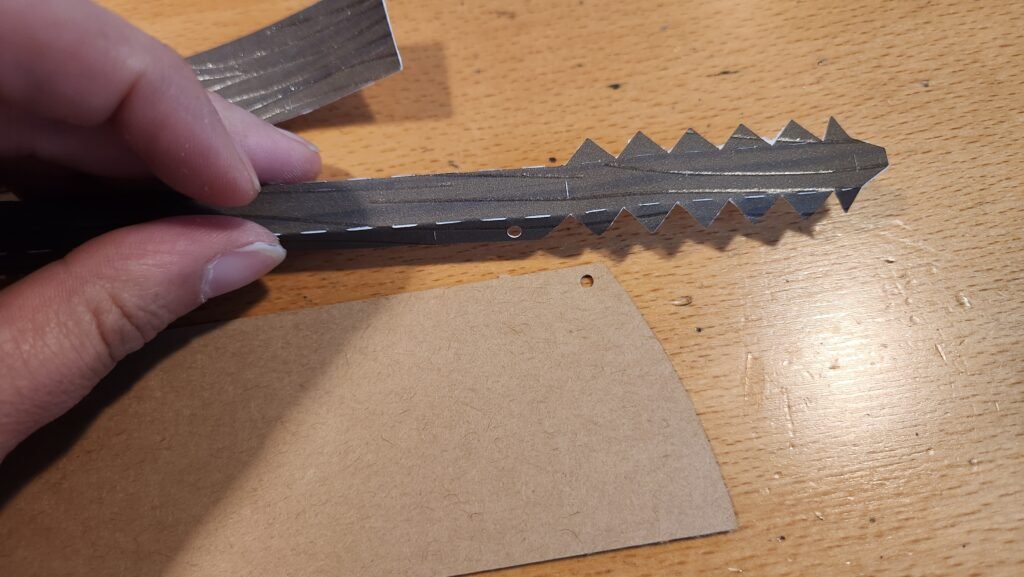
Once you have these in place, set your rails down facing opposite directions and attach the V shaped decorative panels that have no holes in them. This is the inside of the rails later when you assemble the sled.
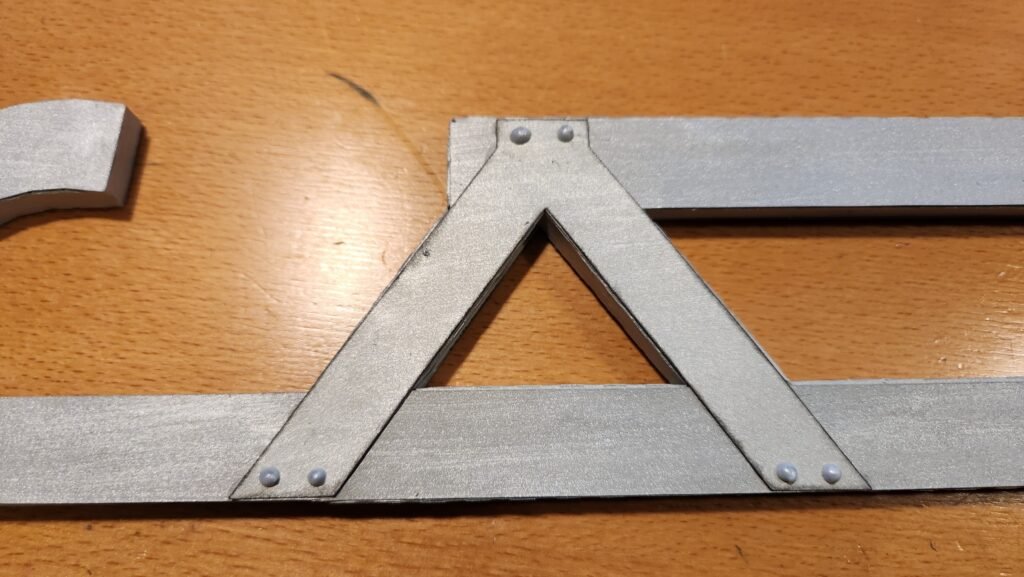
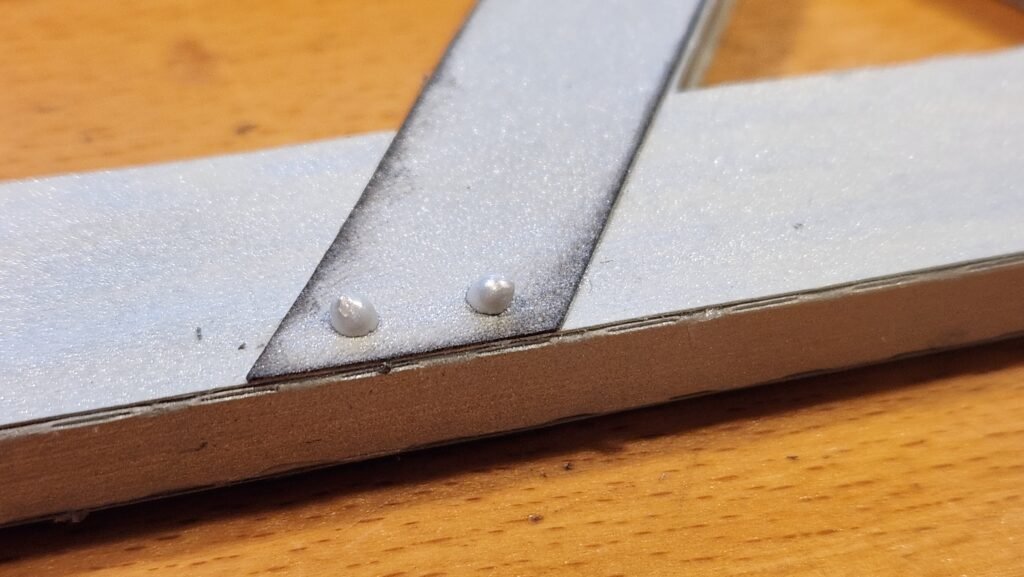
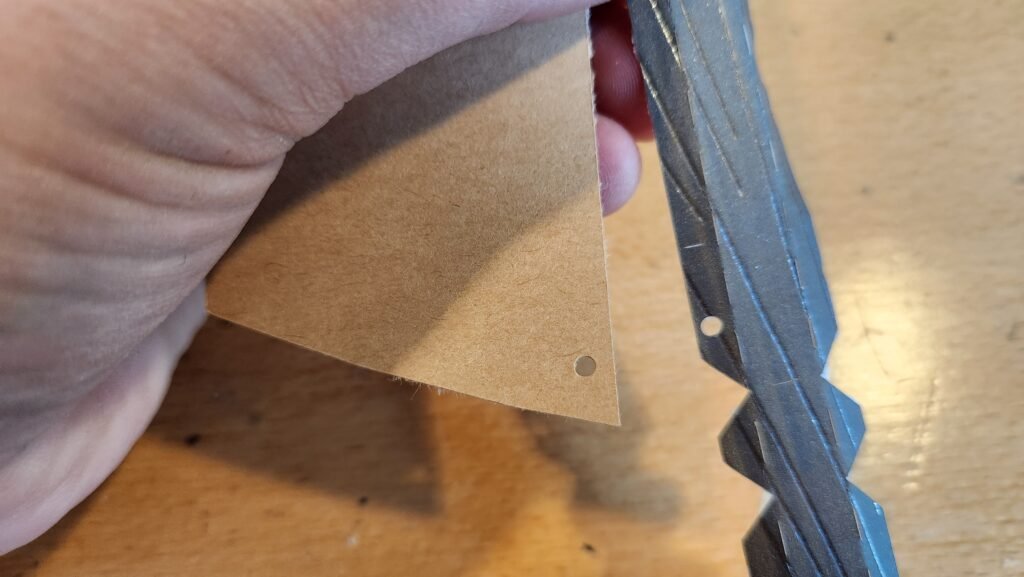
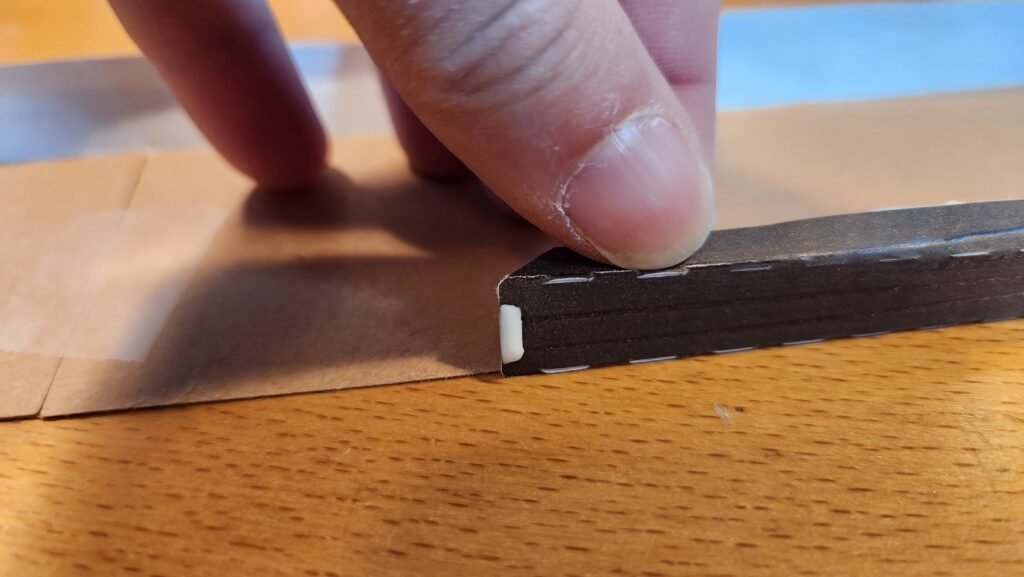
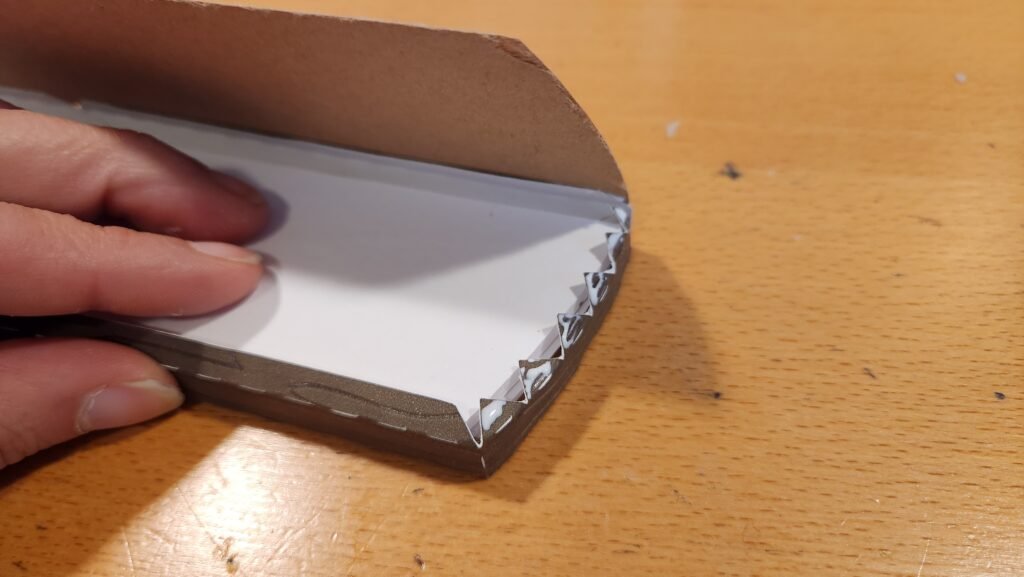
After you have all of these attached, turn the runners over and attach the set with the holes in them. This is the outside of the rail when fully assembled. The holes can be filled using a small brad, left open, or, as we did, filled with Liquid Pearls (we used Pewter color).
Handle Assembly
Note About Patterned Paper: If you are using patterned paper we recommend cutting the pieces with tabs in the patterned paper and the first set shaped panels in a plain paper as they will be covered later. Then when you get to the decorating phase, you can cut the decorative panels in the patterned paper.
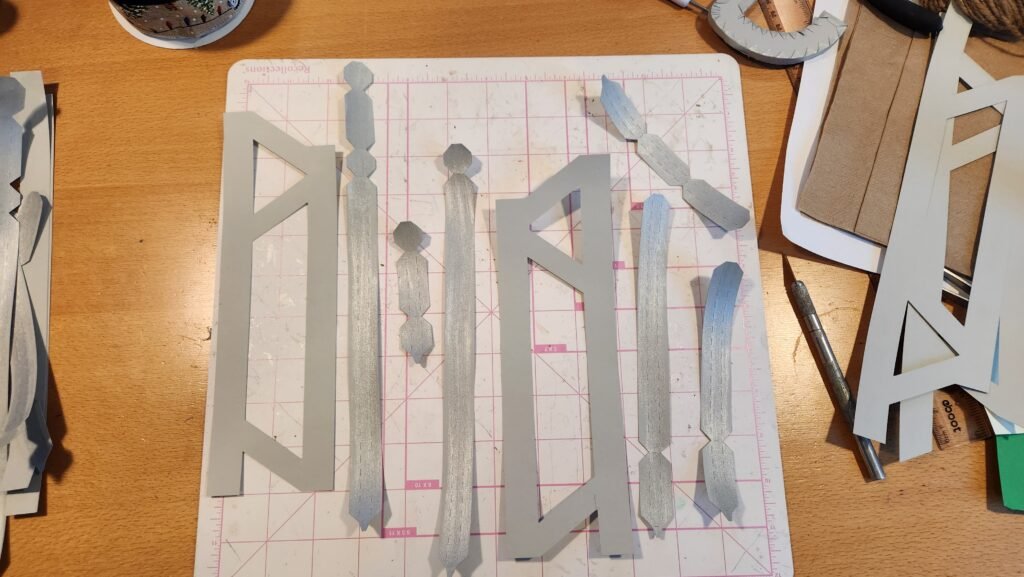
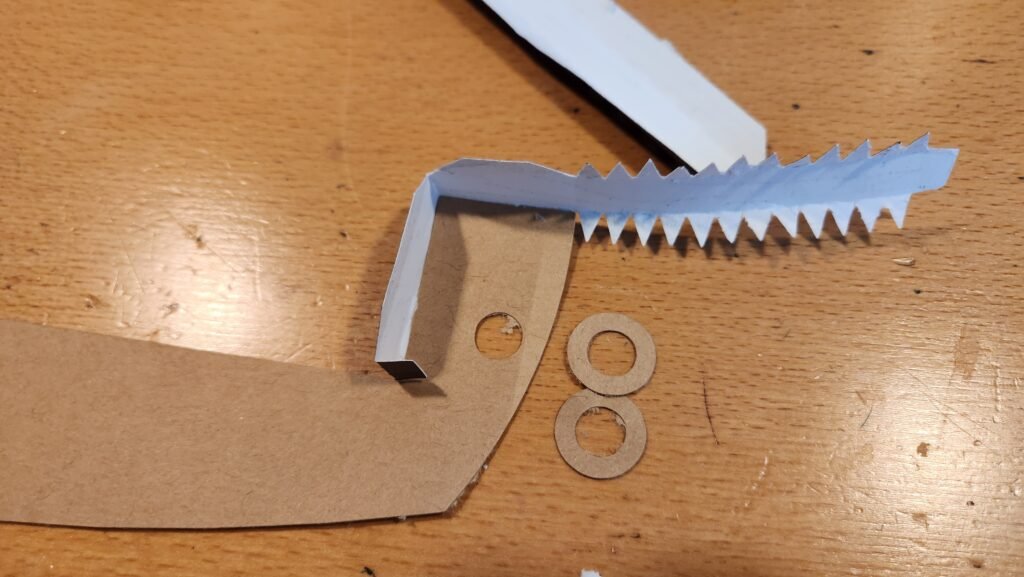
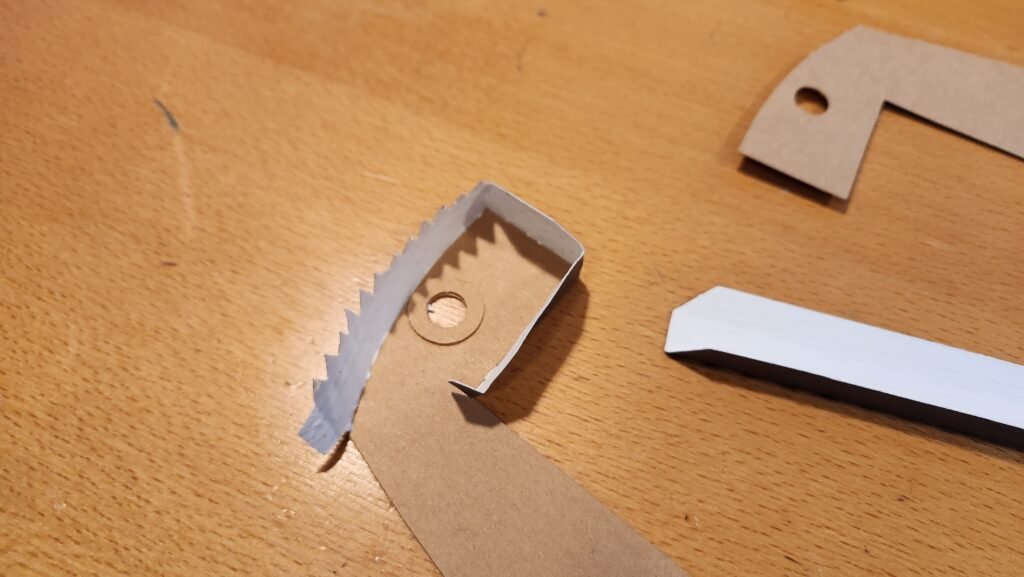
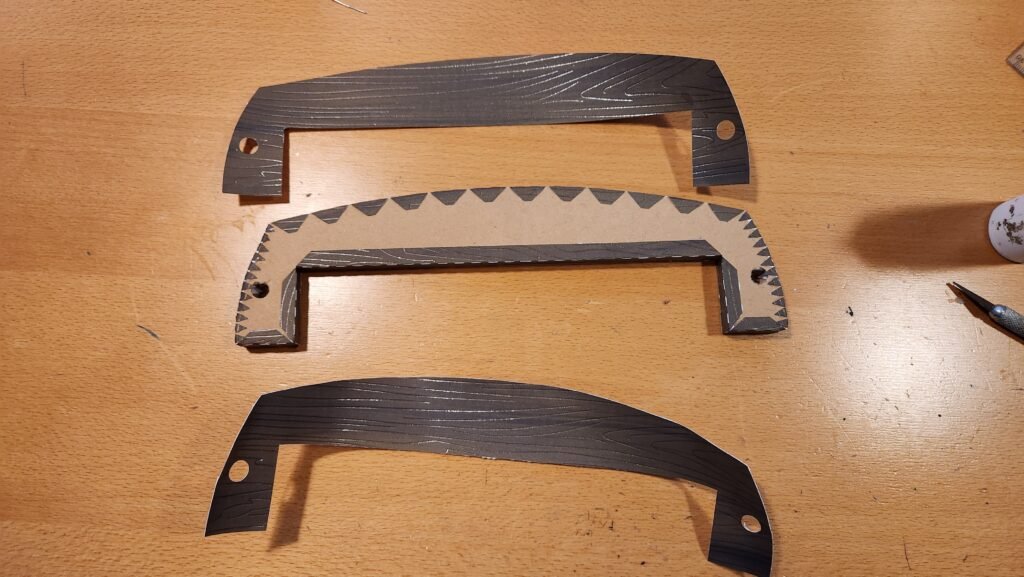
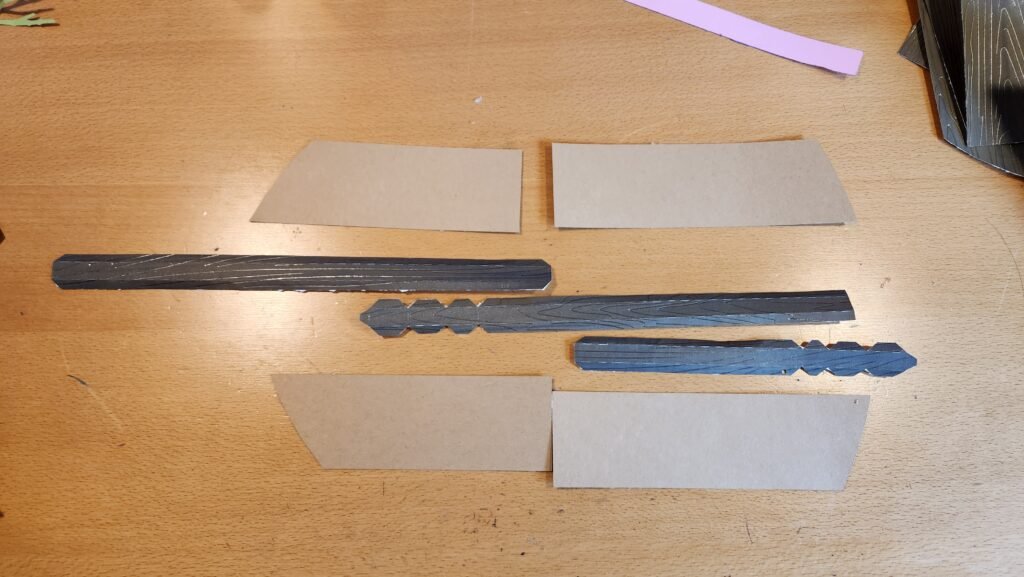
The handle is put together using four panels, we’ve laid them out below. The one with the many tabs (at the very top of the picture curves along the side it’s close to. The long straight one in the center is placed on the long straight edge and the other two bend around the corners to connect the two. There are also a couple circular disks that aren’t pictured. These should be glued to the inside of the two handle shaped panels to provide some extra support for the rope when attached later.
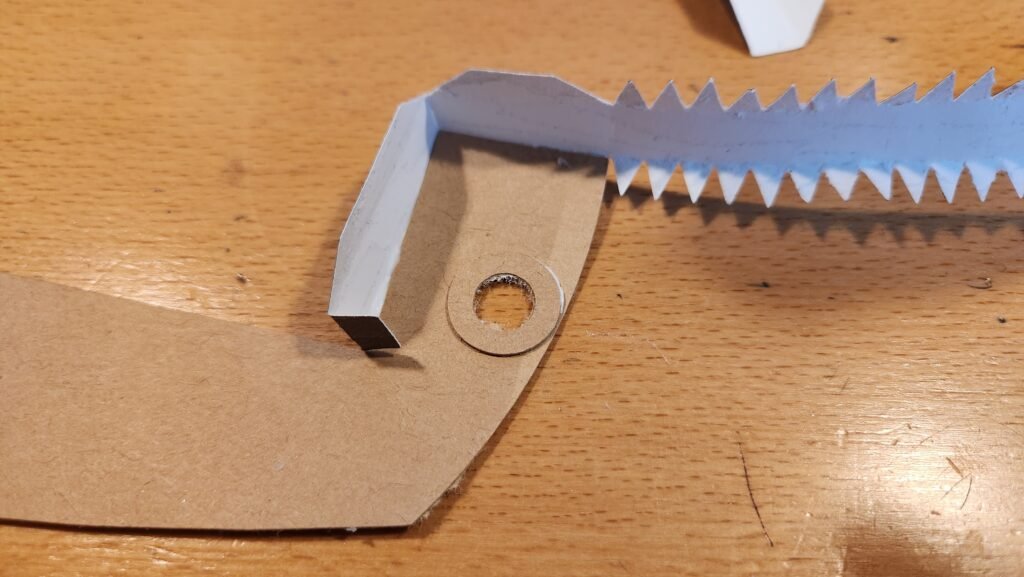
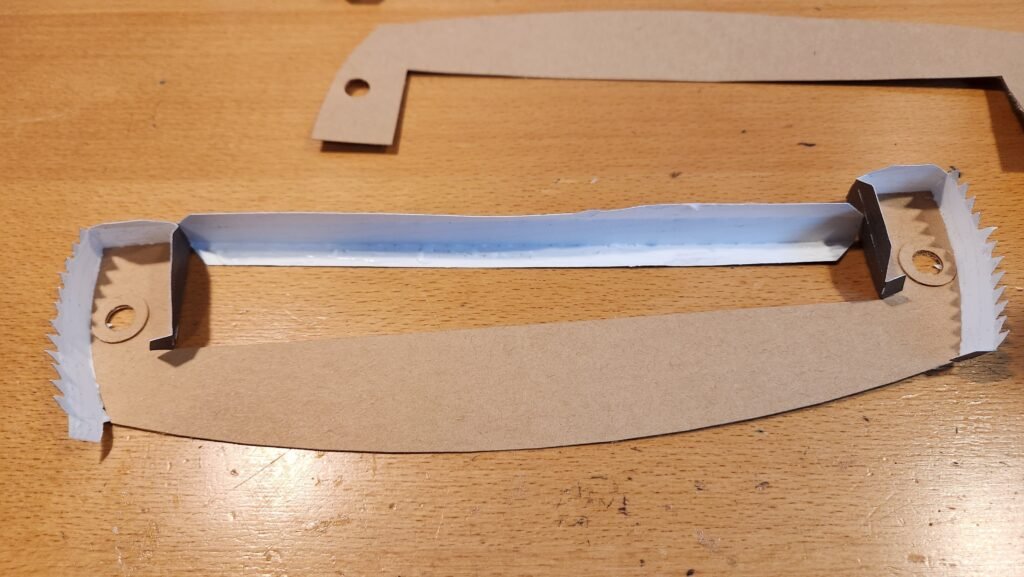
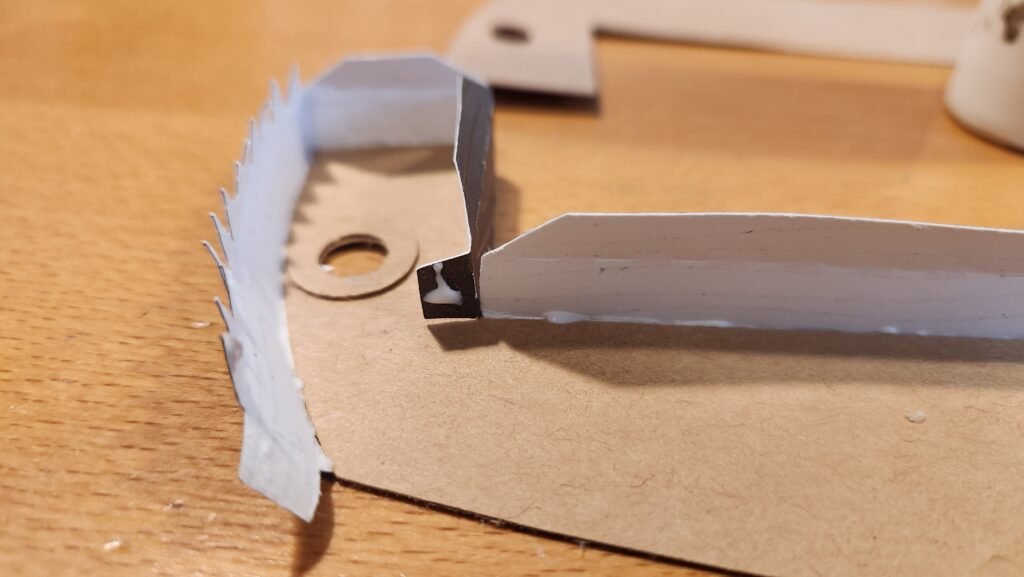
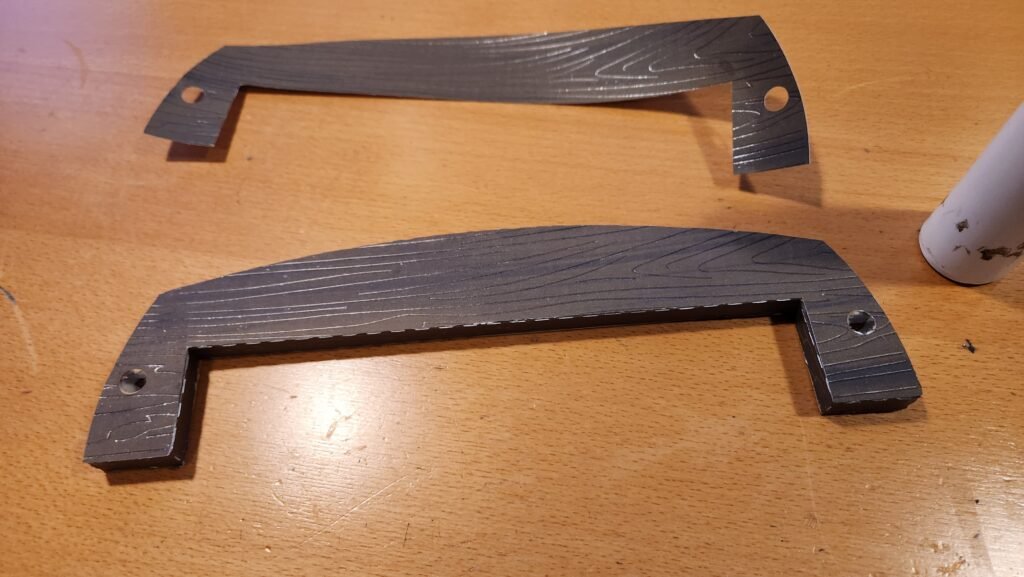
To assemble the handle, we chose to start with one of the panels that bends around the edge/corner of the handle shape. There’s not right or wrong place to start with this one, just make a full circuit around the handle.

Foam Board And Finishing The Handle
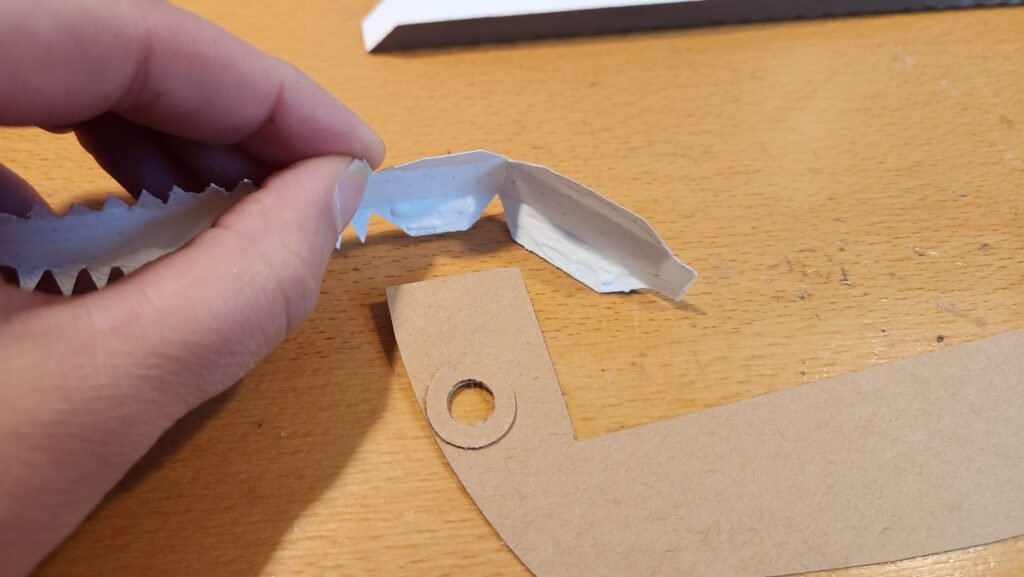
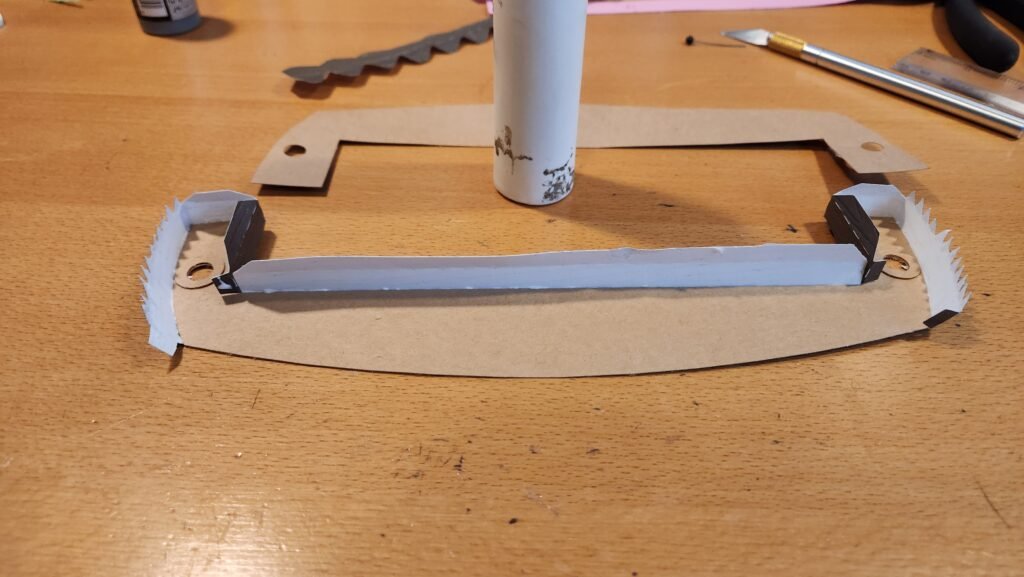
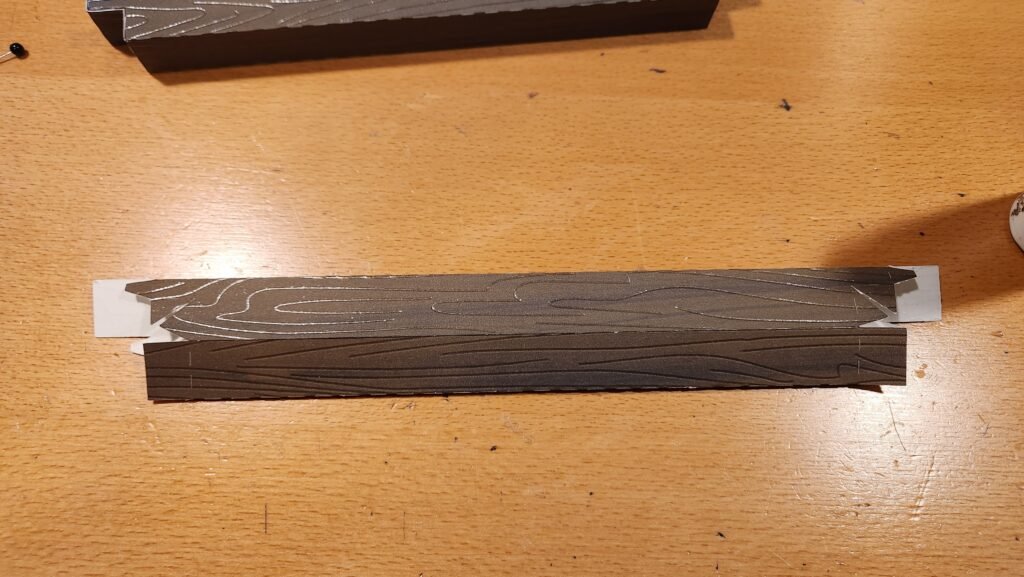
Our next step was to fill the handle with foamboard. The template for this is again in blue in the file. Once you have the foamboard filling the handle, you can attach the other side to close off your structure.
Decorating The Handle
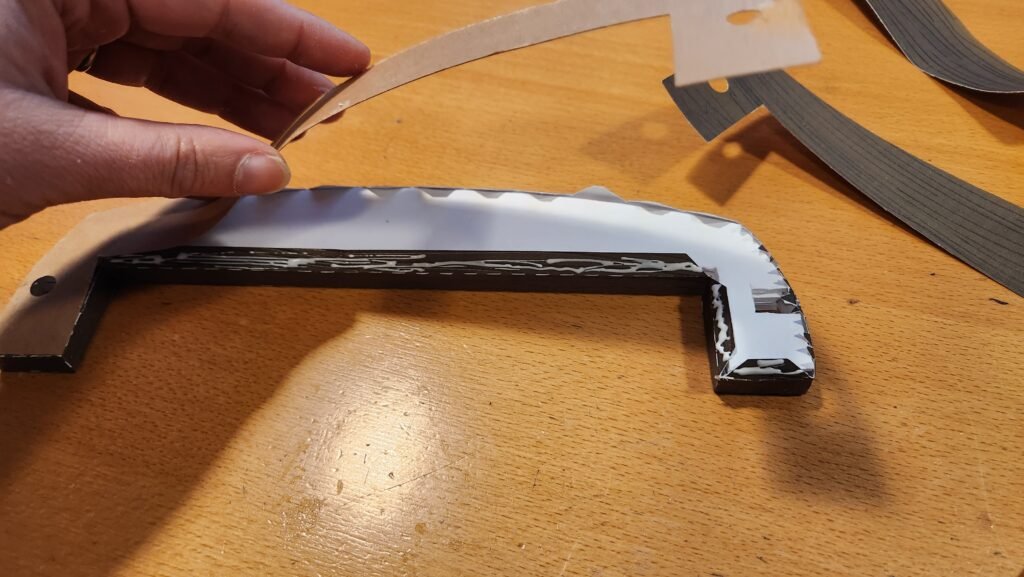
Once we had the completed shape, we added the decorative panels to the handle to cover the exposed tabs and assembly panel.
Sled Board Supports
The supports for the boards will also connect the rails to each other. There are three of them, two for the boards, one for the handle. All three are identical so it doesn’t matter which you put where. Note that there are small marks on one side of these supports. You will use these later to help align the boards. The support that’s not used for the boards will have these marks covered by the handle so if you want to mark with a pen that closely matches your patterned paper then it will help you later when attaching the boards but will be covered up so nobody should see them once fully assembled.
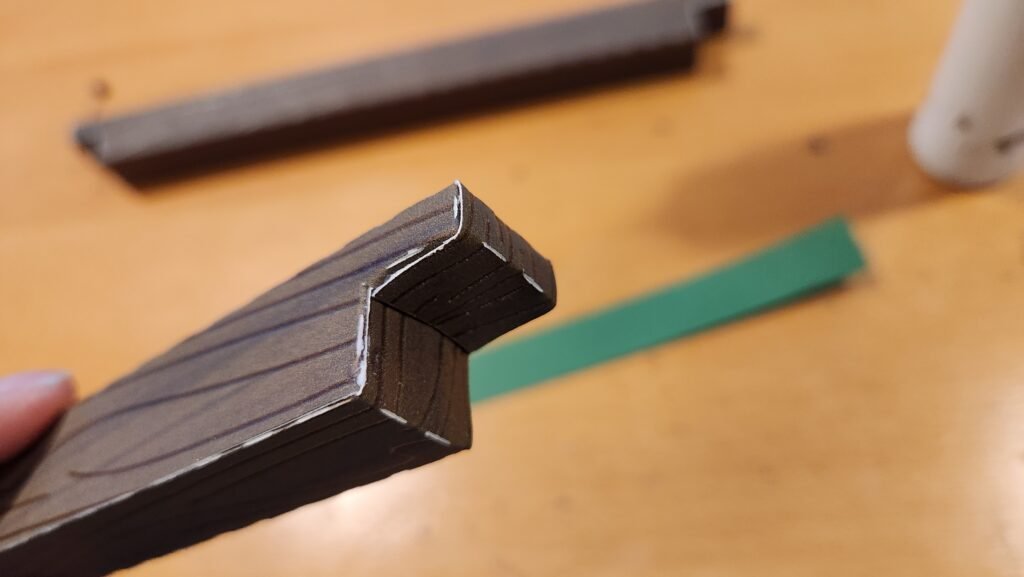
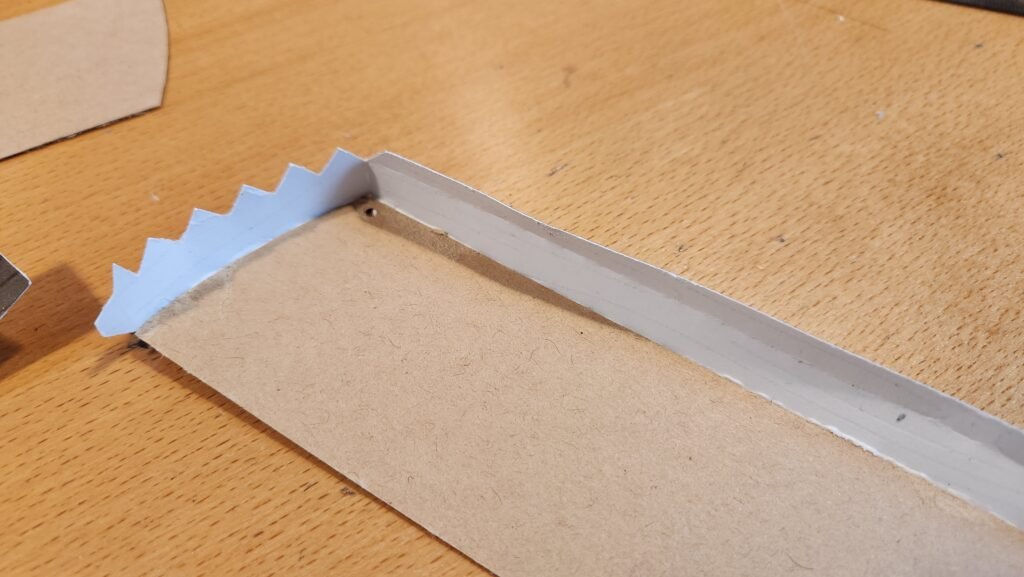
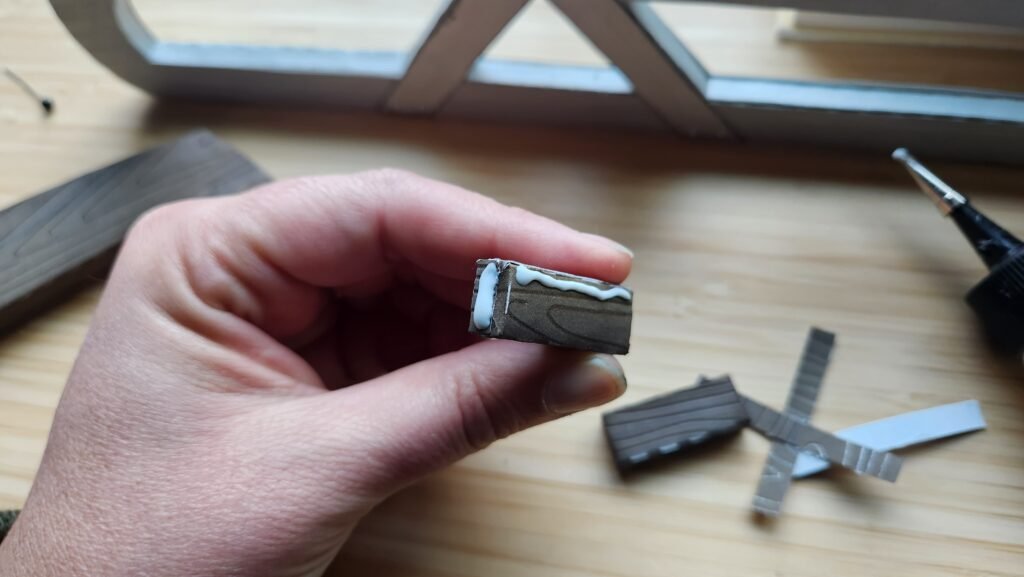
To assemble the board supports, fold along the score lines and attach the long tab to create a box(ish) shape.

Fold in and secure the tabs on one end of the box. Then use the included foamboard templates to fill the support with foamboard.


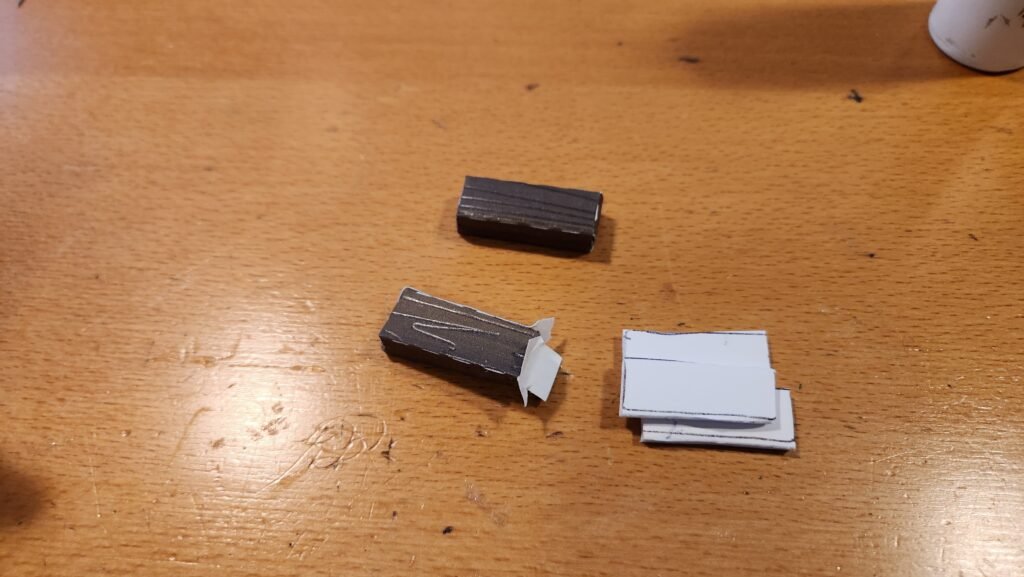
To help provide extra support for the handle, there are two small boxes that also need to be assembled and filled with foamboard. Once these are assembled, set them and the rectangular decorative panel aside with the handle for later use.


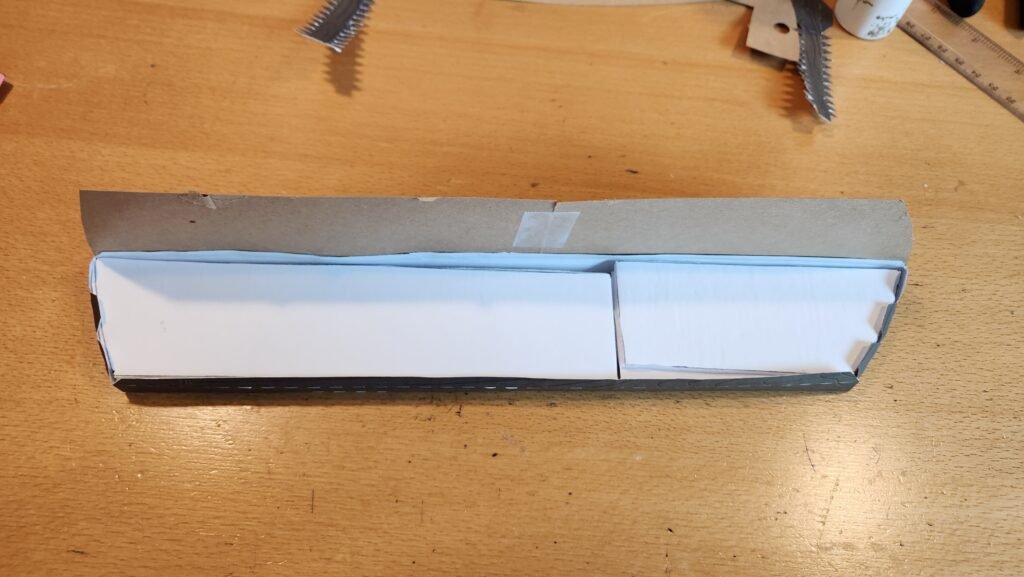
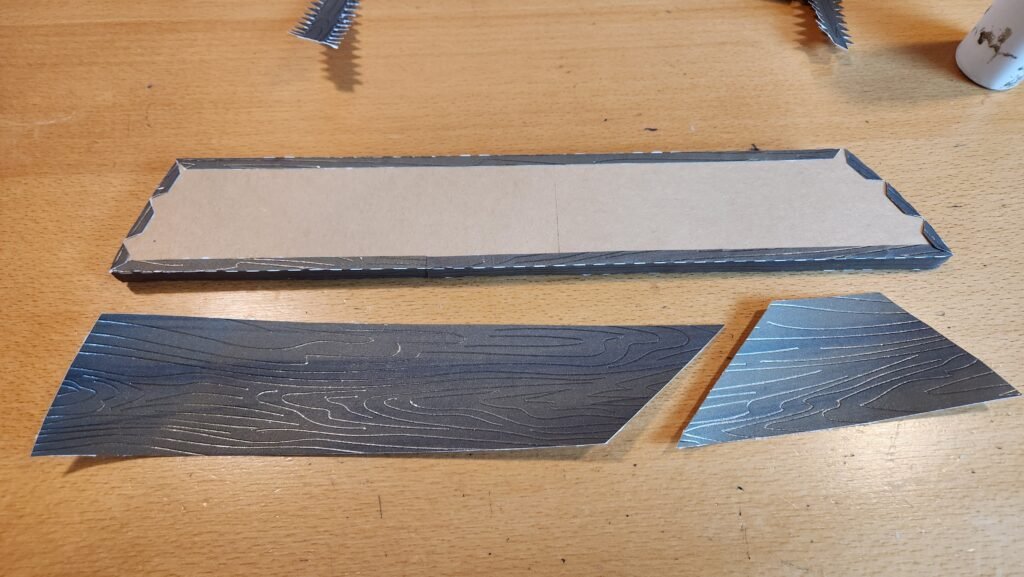
Sled Boards
You will need to make two long and two short boards.
Note About Patterned Paper: If you are using patterned paper we recommend cutting the pieces with tabs in the patterned paper and the first set shaped panels in a plain paper as they will be covered later. Then when you get to the decorating phase, you can cut the decorative panels in the patterned paper.
Short Board Assembly
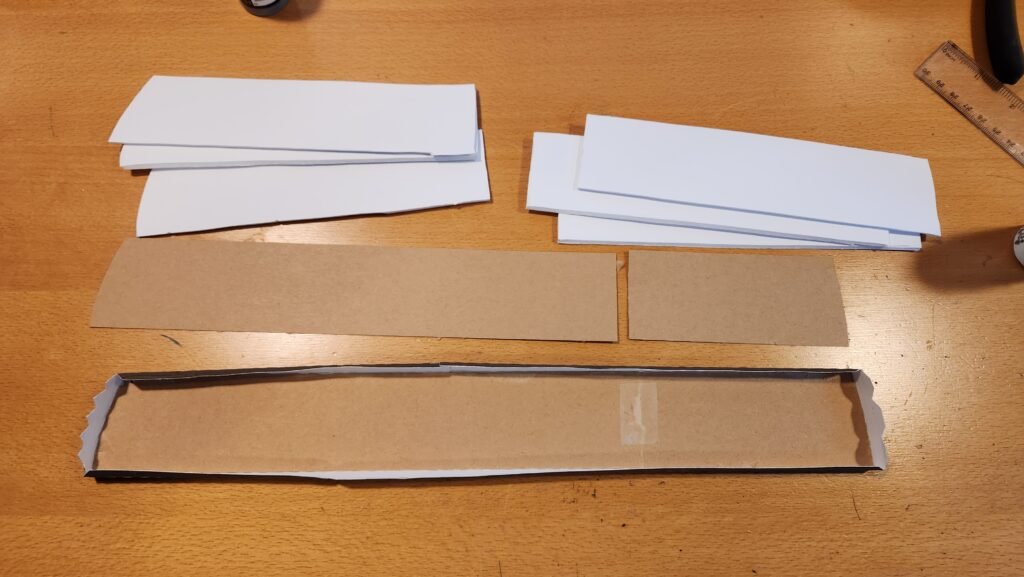
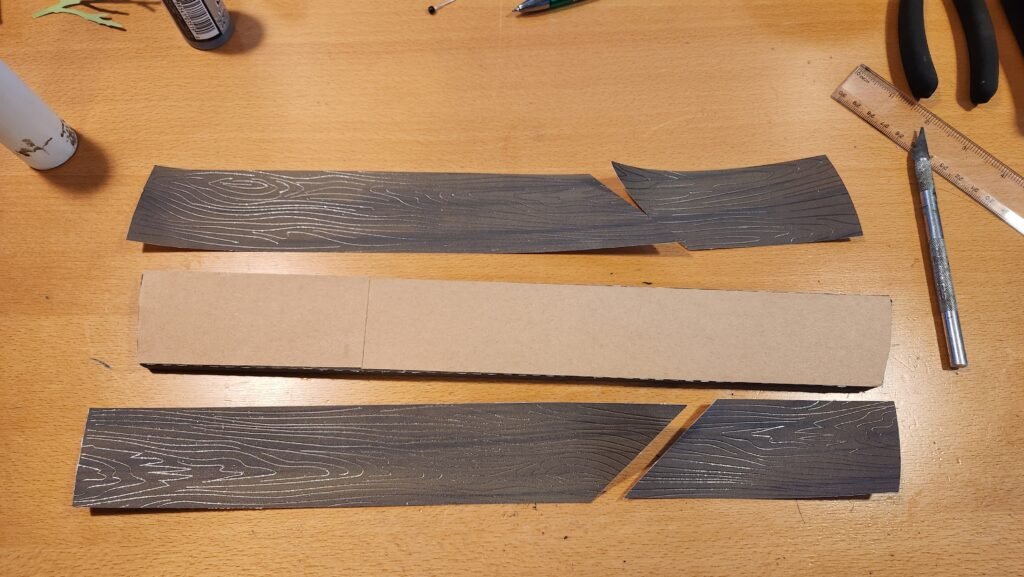
To assemble the short board we laid out the panels as seen below. Note that there is a small circle cut out of one of the tabs on the long folding panels and on one of the side panels. You will use these as a guide and attach the tab to the side panel so they are lined up (or very close, use the curves/bends in the panel for proper alignment.
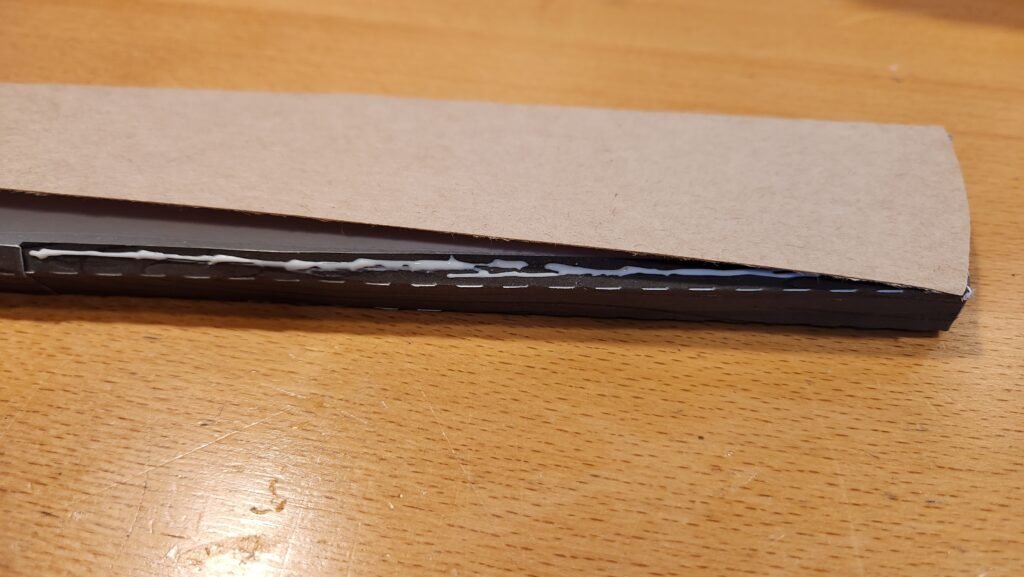
Because the overall length of the boards exceeds the cutting ability of most machines, we’ve had to cut the large side panels in half. This is why the tabbed panels are longer than the side panels. Align the two side panels end to end and continue attaching using the tabs. If you want to provide a little extra support, add some tape to the seam once assembled to help add some support.


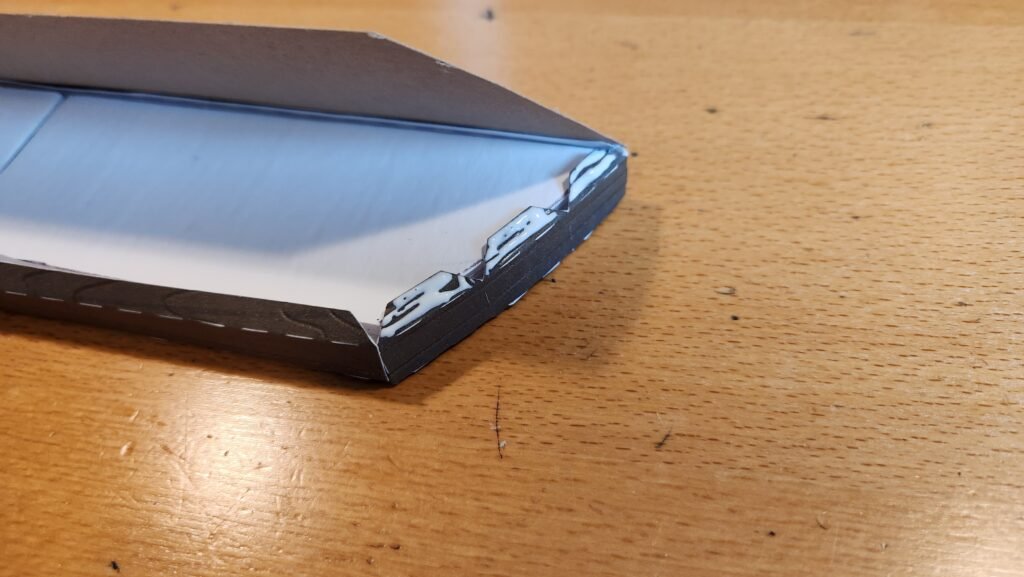
On the longest side, add some glue to one of the panels and secure it to the back of the other, this will help keep the sides of the board strong and supported.

Adding Foam Board And Decorating
Once you have the tabbed side panels all the way around, you can add the foamboard to the inside. If possible, we recommend not having the foamboard seam inside match with the side panel seam.
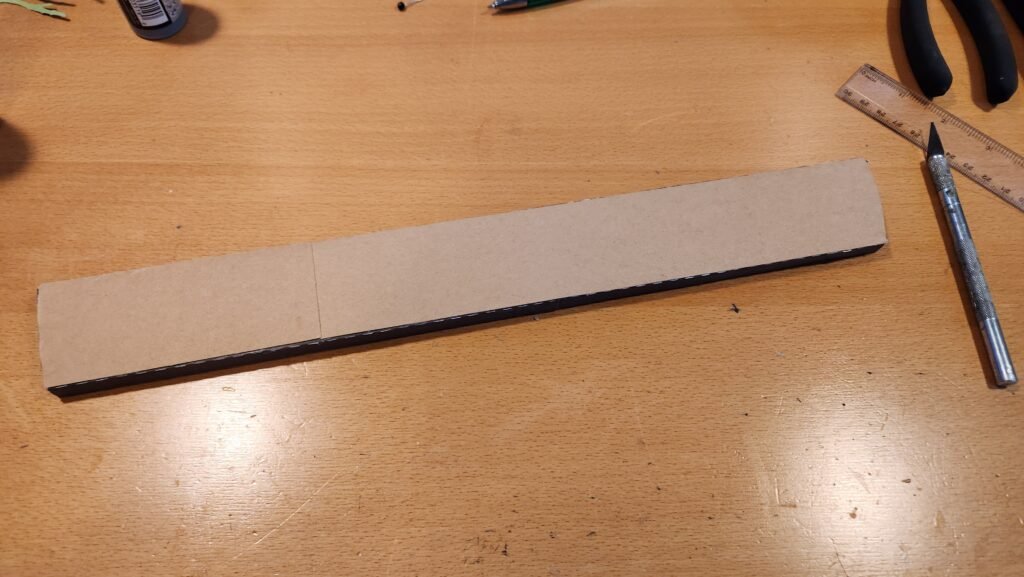
Once done, we added the other side panels to close off the board. Again, you can add some tape once done to support the seam in the middle.
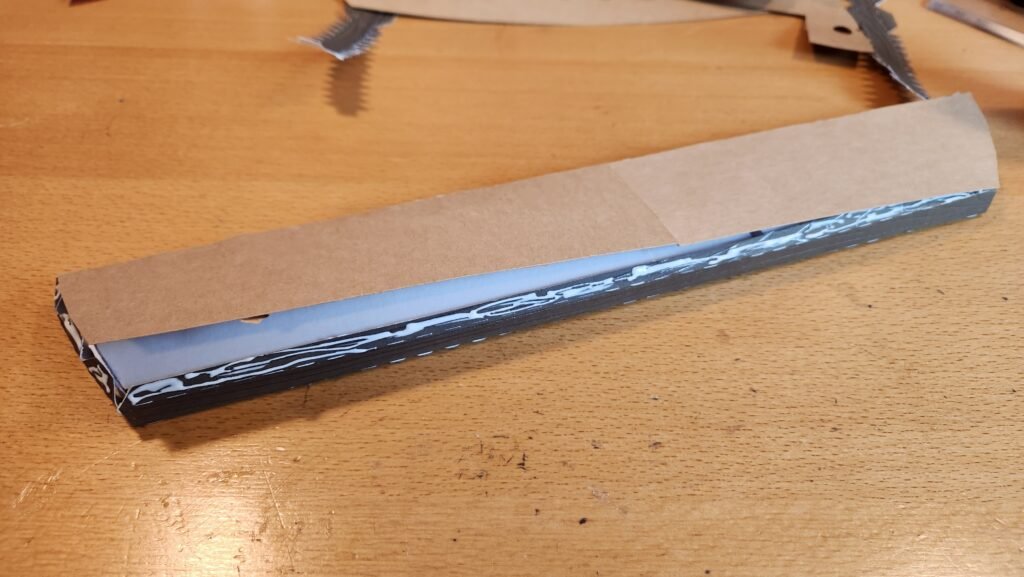
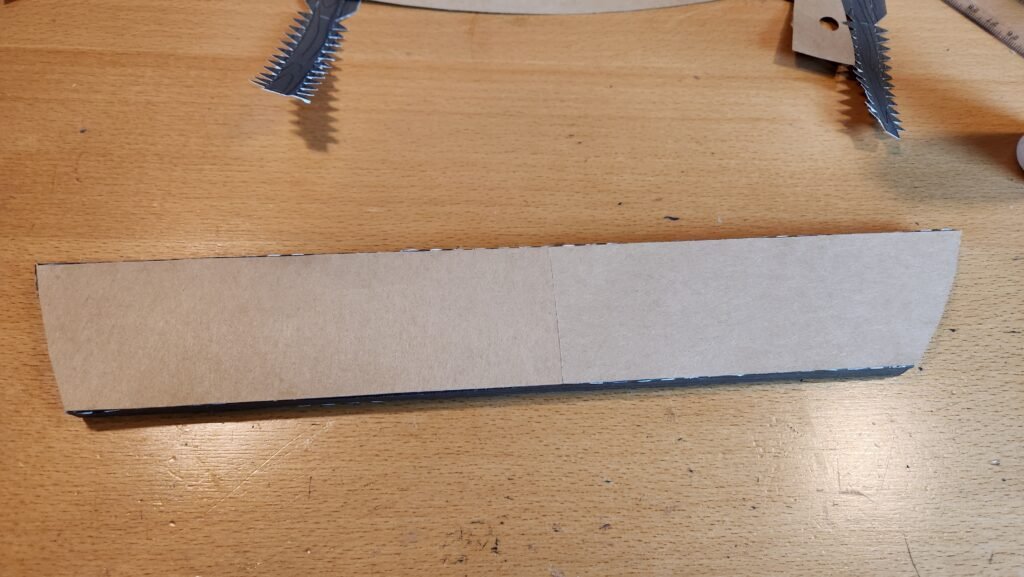
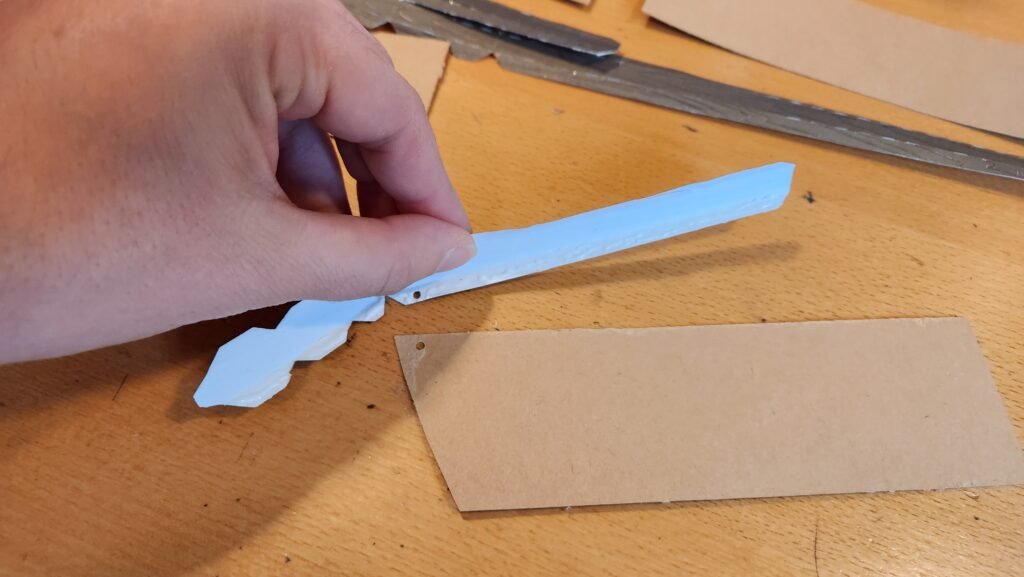
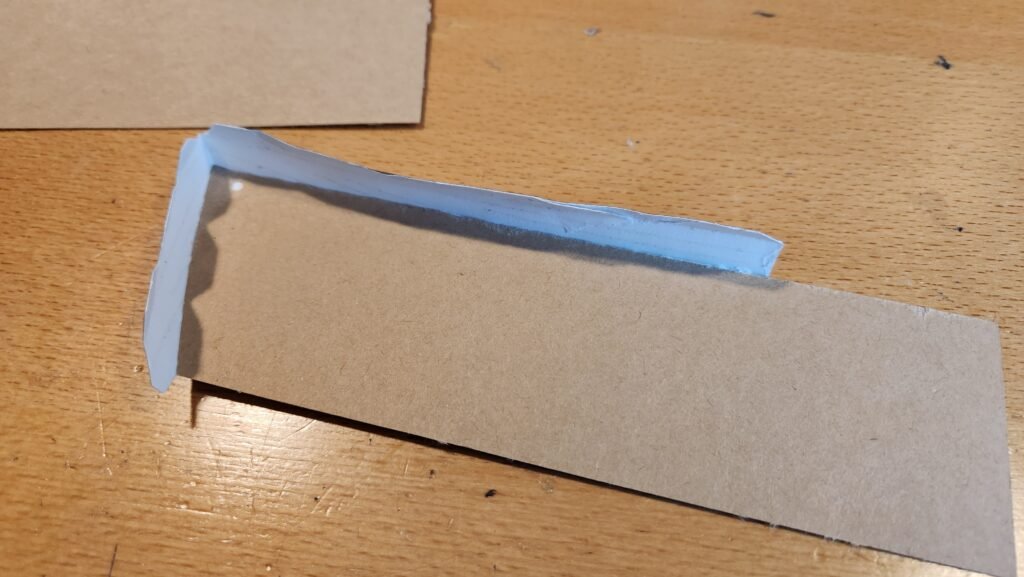
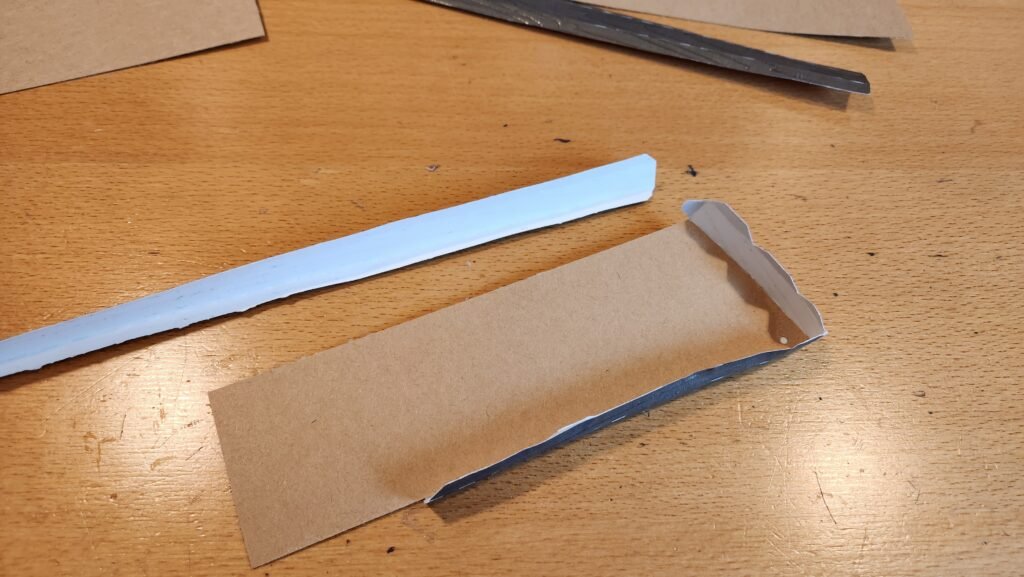
With the board fully constructed, now you can add the decorative panels to the sides. Put glue on the back of the decorative panel and align the panels to the end of the board. Once in place, do the other decorative panel. The decorative panels are intentionally slightly too long, causing a little overlap in the center, this prevents the undecorated under structure from being exposed.


Long Board Assembly
The longer board goes together in the same way, it is just longer. Lay out your pieces (they are in order, left to right) then work your way around the shape, starting with side panel that has a hole in it for reference.

Adding Foam Board And Decorating
Once we had the sided on the board, we filled it with foamboard then attached the two panels to close off the structure.
Once you have the completed structure you can add the decorative panels to the long board.
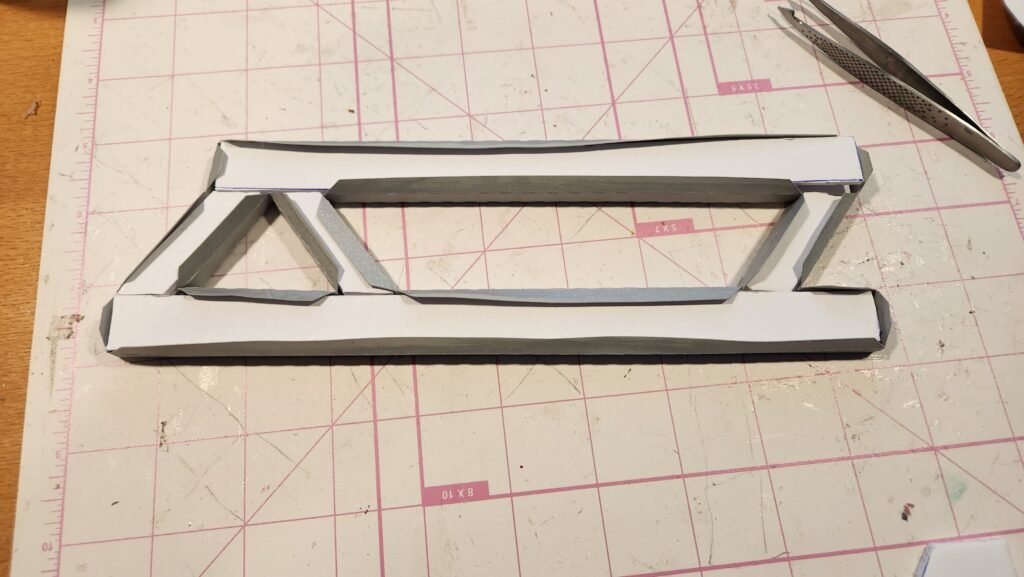
Assembling The Sled Components
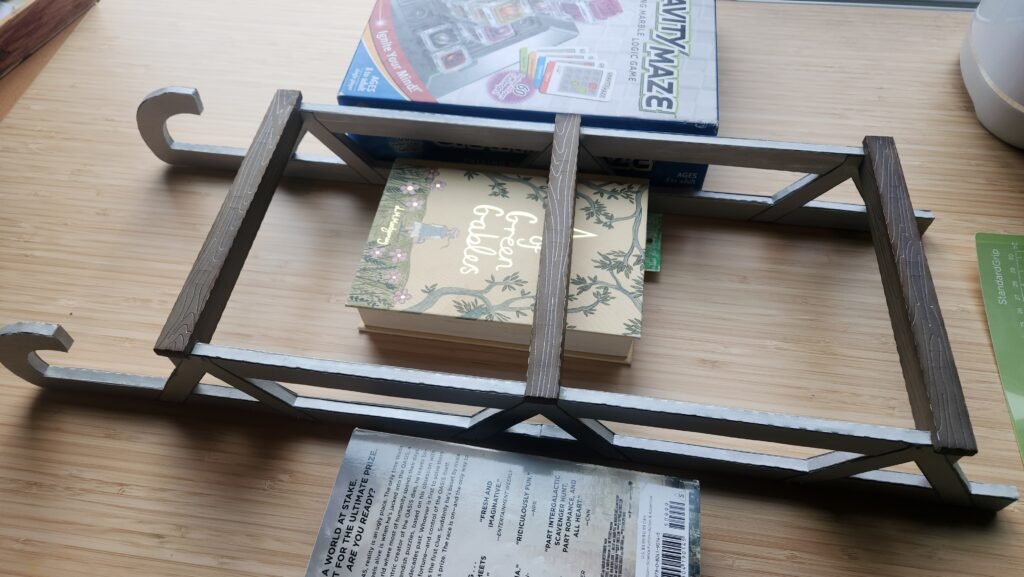
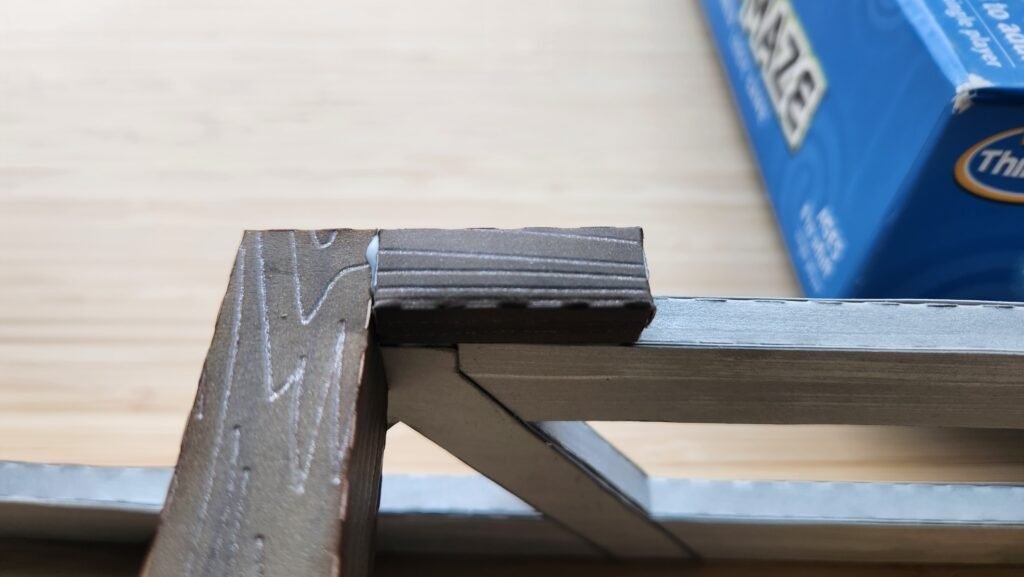
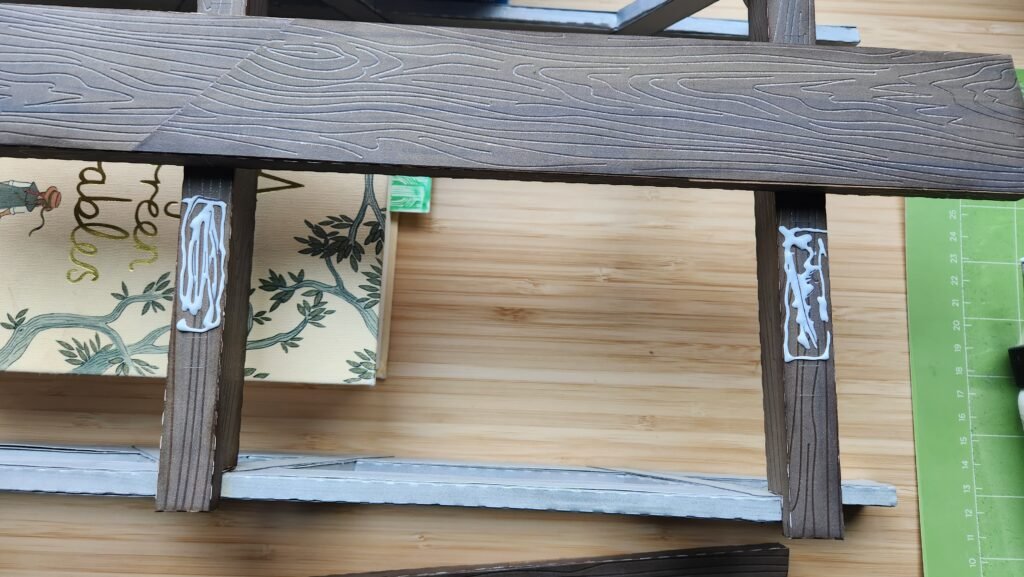
To put the sled together, we placed the rails on a table and used books, a game, whatever large flat sided objects available to support the sled runners and prevent them from tipping over. We then placed the board supports so that they are aligned to the front and back of the rail, with the third centered over the middle decorative V.
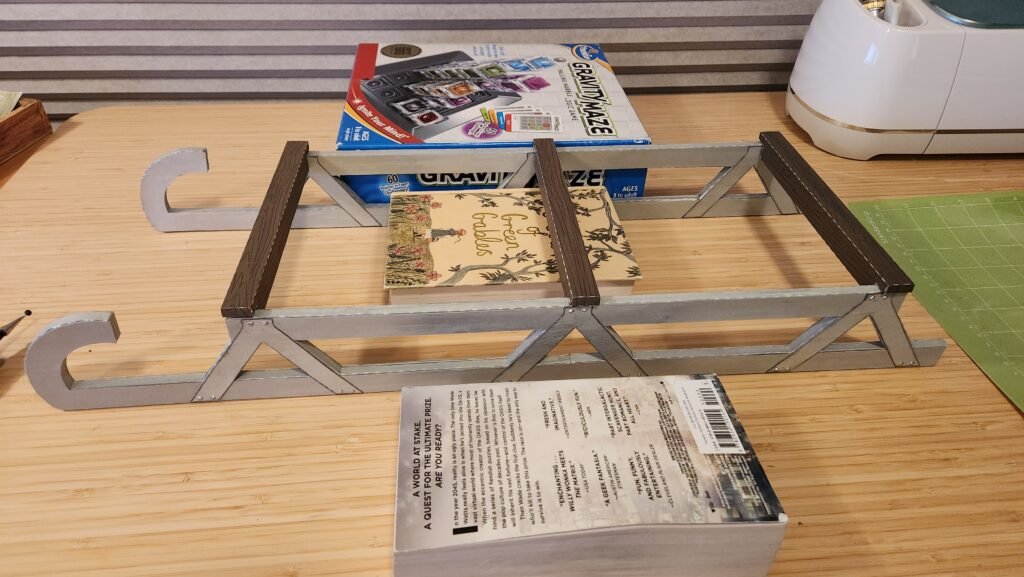
Once you are comfortable with your set up and have the cross supports in place, you can start glueing them one at a time. Place glue in the notch where each will be on the sled runners. We did one cross support, pressed it into place on both runners and counted a few seconds before moving on to the next one until all three are in place.

We recommend that you let this sit for a while. You need to be sure that the glue is entirely dry before continuing on. Once the glue is fully dry (we let it dry a few hours or over night) you can start adding the boards and handle.
Start with attaching the handle to the sled. Add some glue to one end and along the bottom of the little support boxes and attach it to the cross support at the front of the sled. Once secure, attach the other box support then use the long rectangle decorative panel to cover the seam.
With the supports in place, and the glue fully set (assembly takes a lot of time mostly because you need to give your glue time to be fully set) you can add glue to the cross support and boxes then gently press the handle in place.

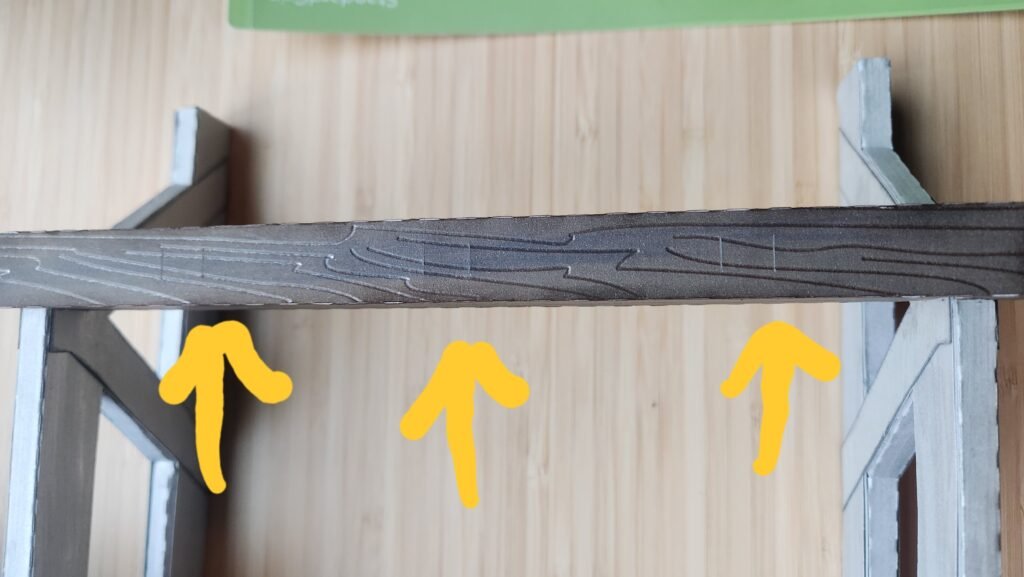
On the remaining cross supports, note the marks that we referenced earlier during assembly. These will help you make sure that the boards are straight when attached to the sled.
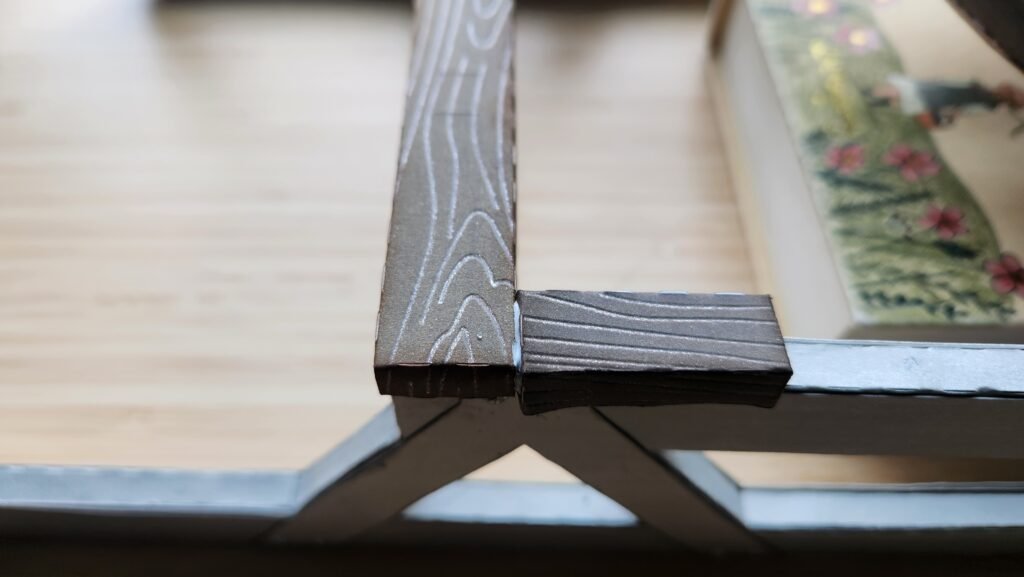
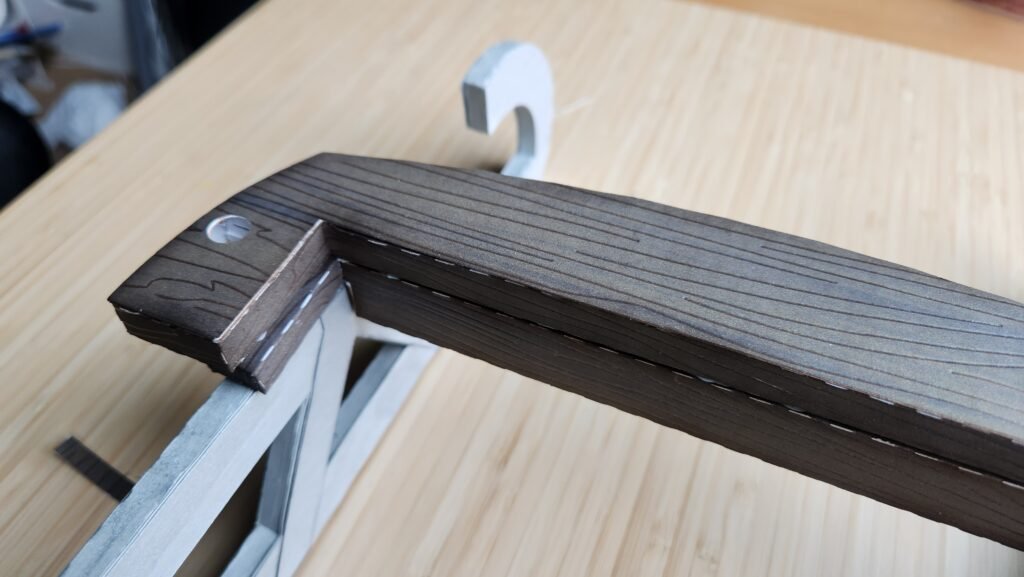
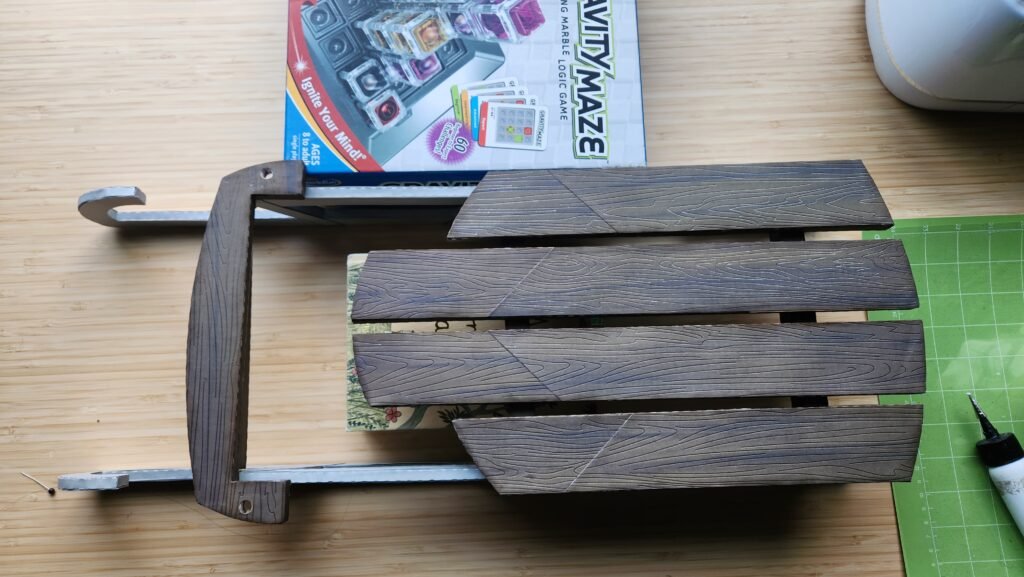
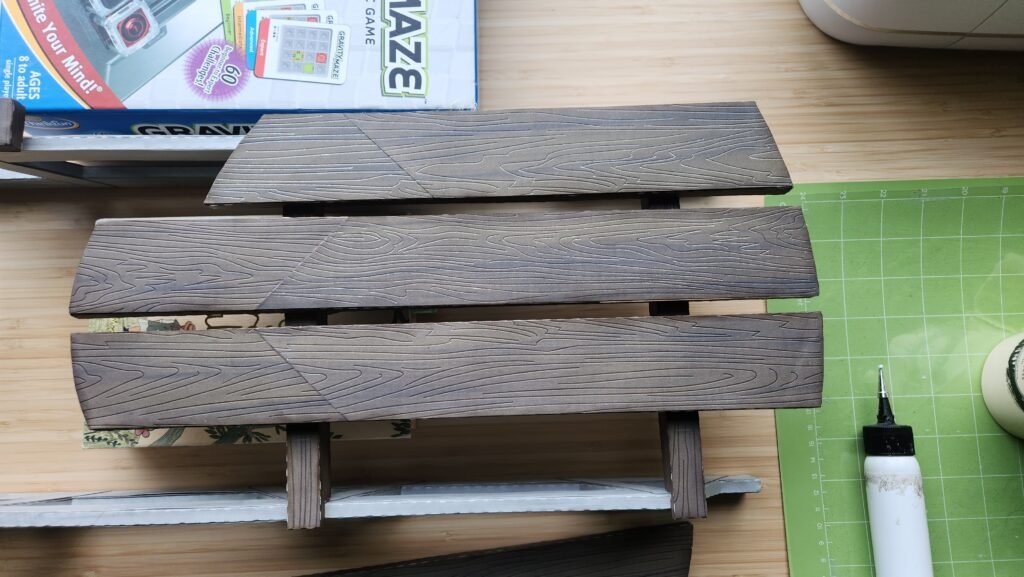
We started by attaching the long boards in the center first. Lay the boards out before gluing to determine how far forward/back you want the boards to be. The seam of the decorative panels on each board should be on the end closer to the handle and the curve at the end of the sled should create one continuous curve as shown below.

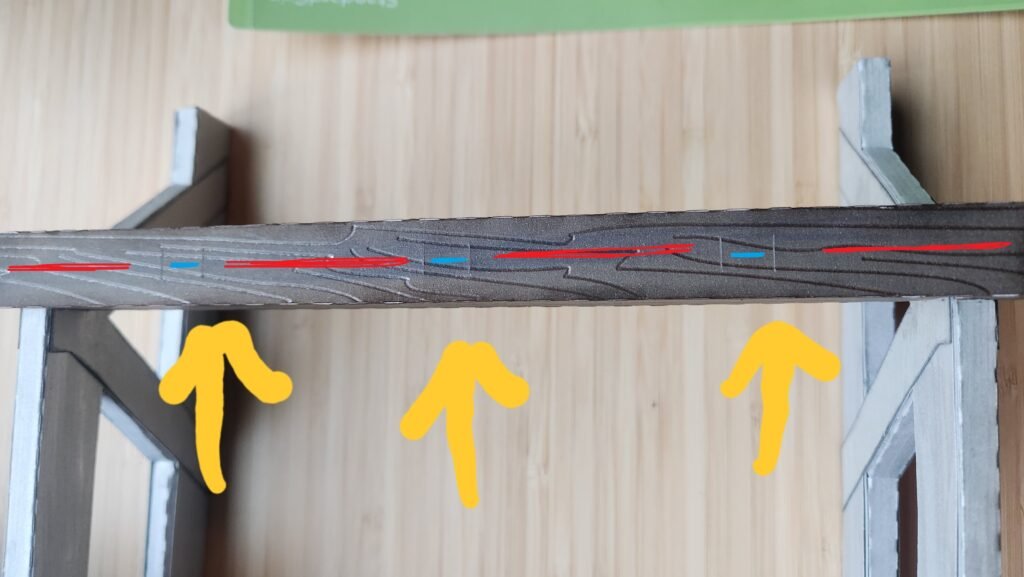
Once you have decided how far forward/back you want to set your boards, remove one of the long boards and place glue between the marks (the narrow gap between marks will be the gap between boards, the wider section is where you’ll want to put the glue). We have a diagram marking where you will have glue and where you won’t once done. It’s best to go one board at a time though so you can get the desired alignment and not have glue dry out while working. Red is where you will put glue, blue is the gap/space between the boards that will have no glue.

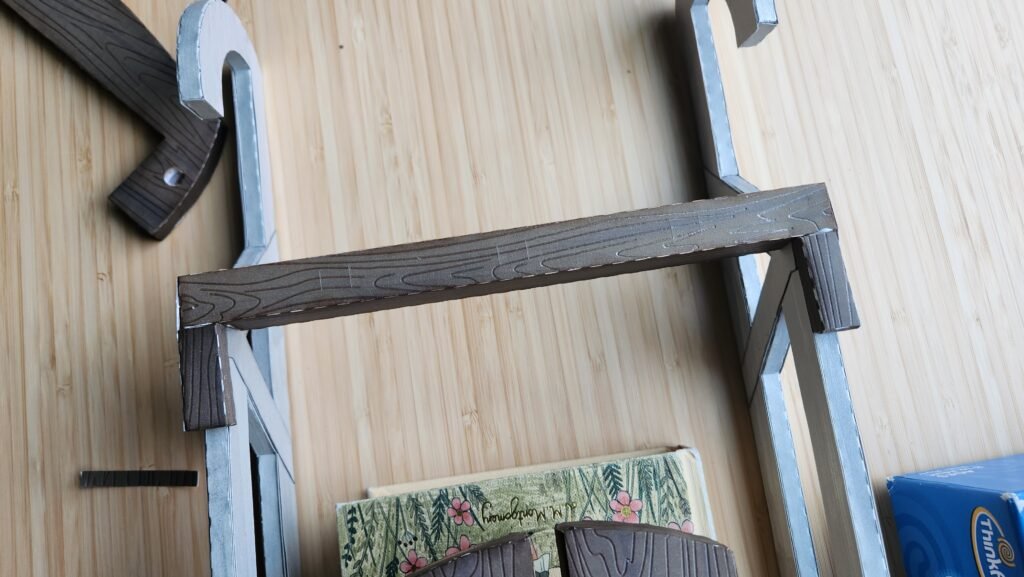
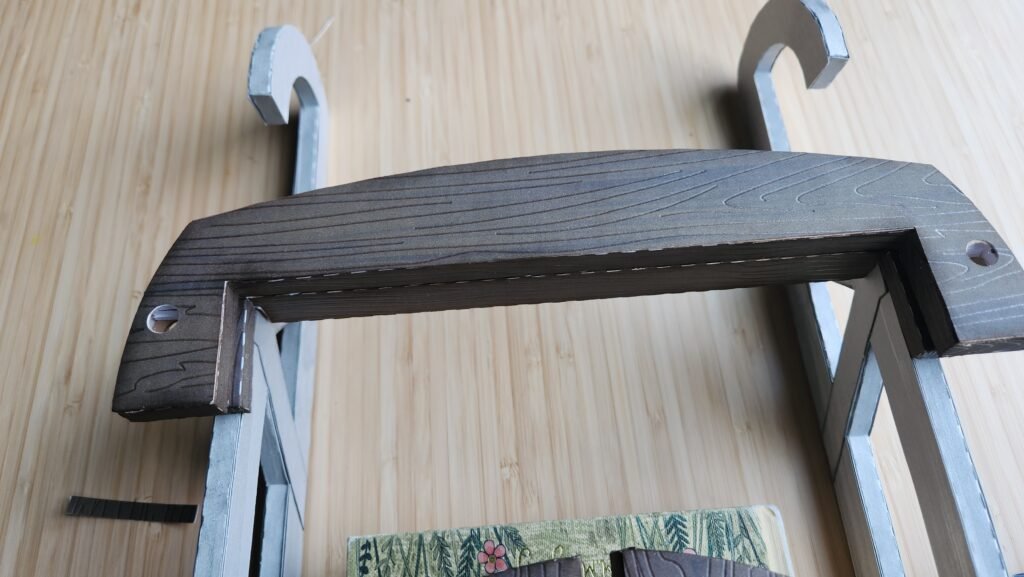
Once you have your two long boards in place, you can add your two outer/short boards one at a time. Place glue on the supports reaching from the score mark to the edge of the board. Make sure you align the end of the board to complete the curve desired at the back of the sled.

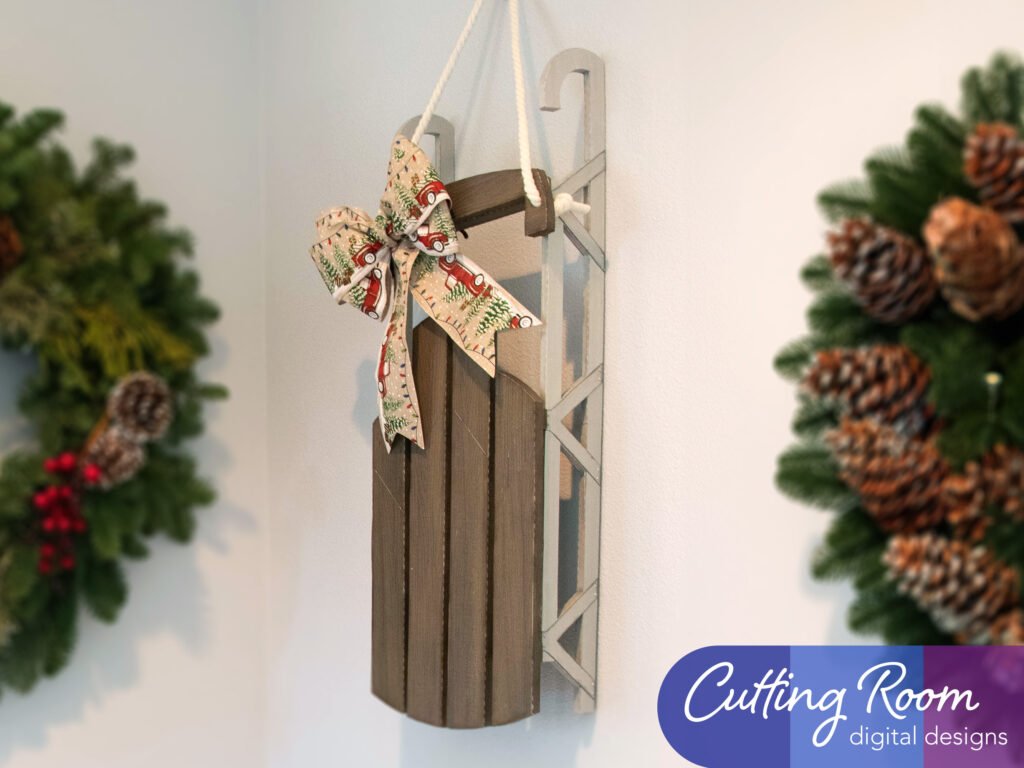
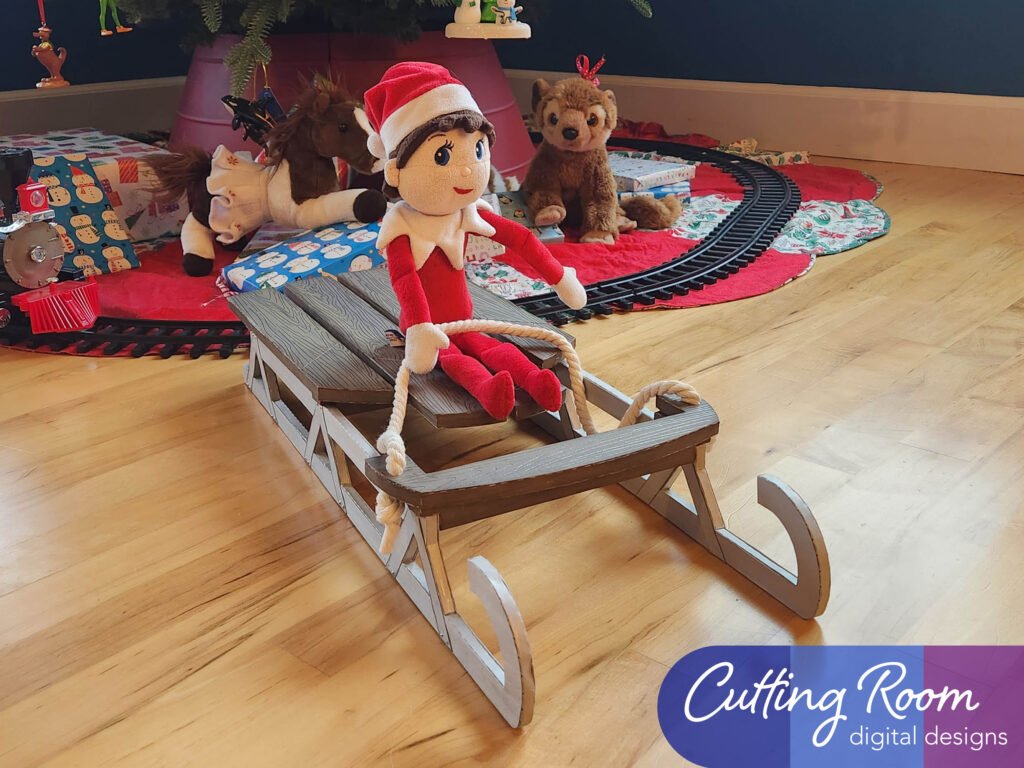
Once the sled was complete, we ran some rope through one of the holes in the handle and tied a knot to keep it from coming back out. We then cut the rope to the desired length (based on how we wanted it to hang) then ran the rope through the other hole in the handle and tied another knot.
Leave a Reply