Materials Used
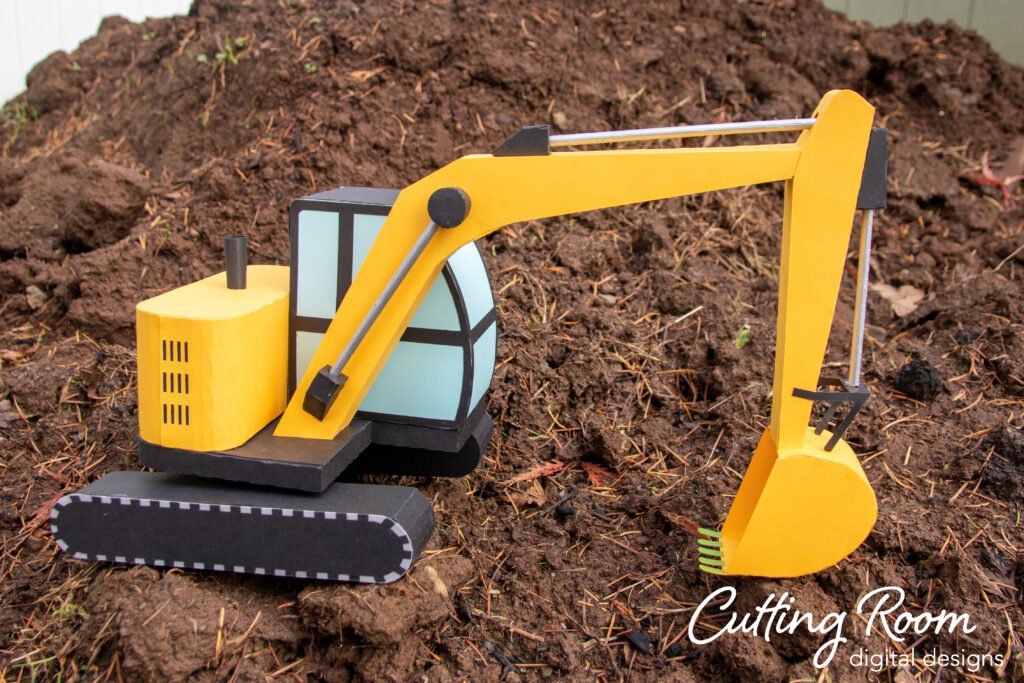
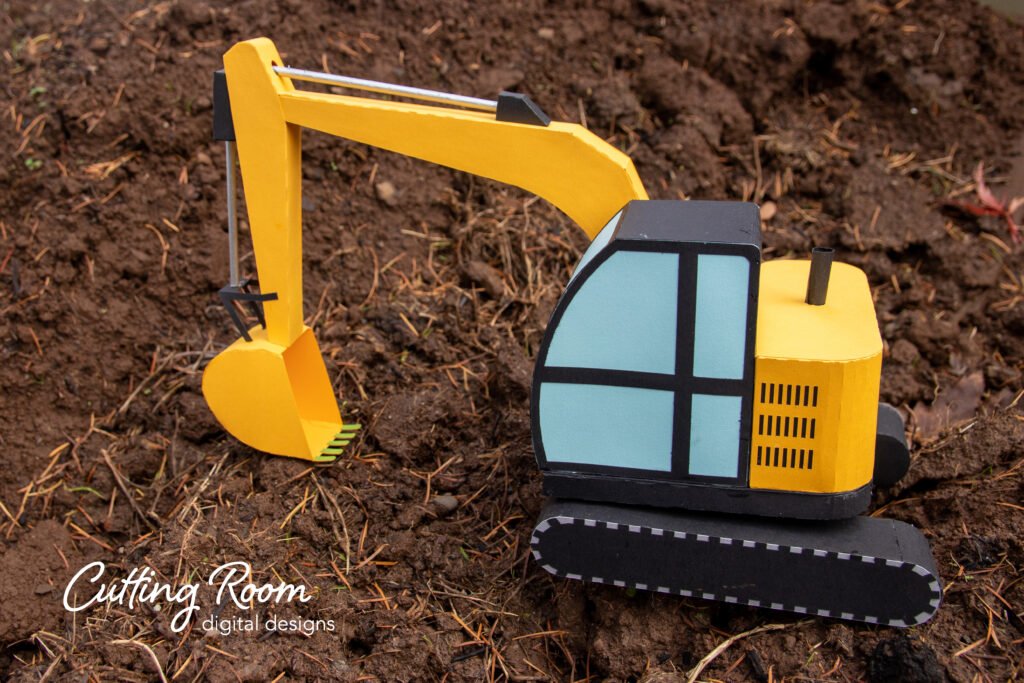
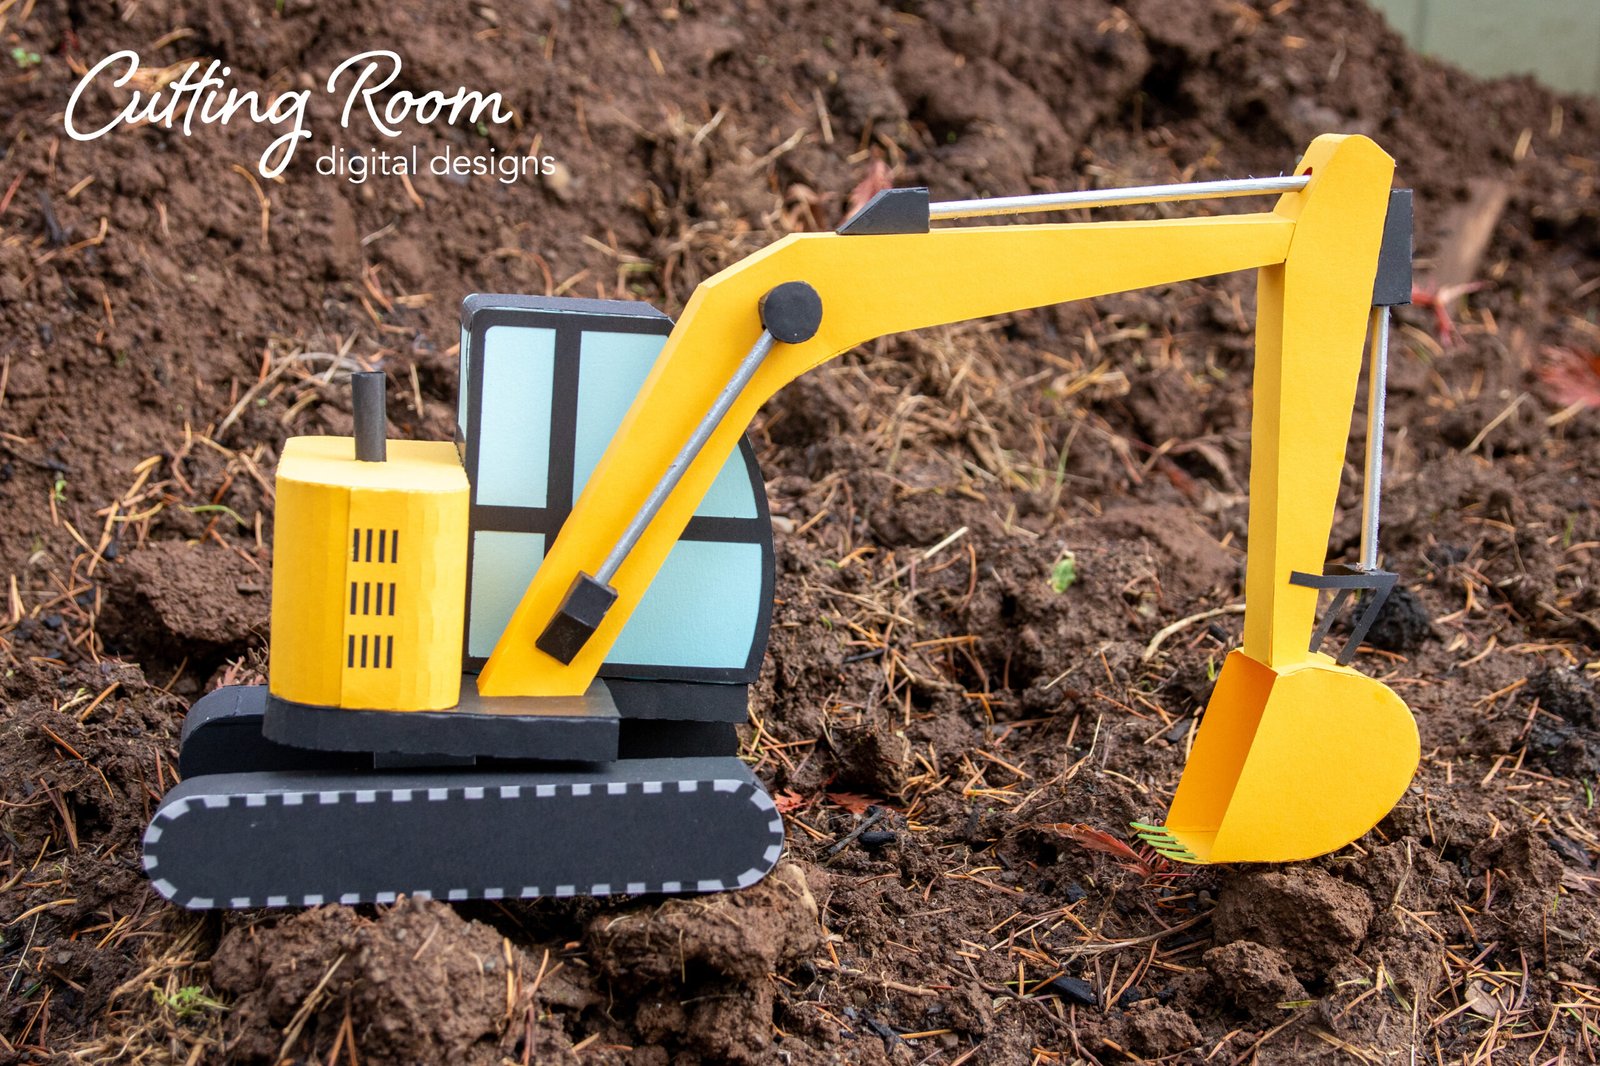
We used several products and supplies in the making of our excavator party decoration. Below is a list of what we used.
- Mining Excavator Miniatures Party Decor – Digital Download SVG
- Recollections cardstock
- 3/16 inch Wooden Dowel
- Metallic Silver Paint
- Art Glitter Glue
- Electric Cutting Machine: Cricut or Silhouette
***Note that this post contains affiliate links and we may receive compensation if you buy something using one of our links. ***
Assembling The Cat Tracks
To start, we made the cat tracks and center support post. The cat tracks are made of six pieces. Take the long panels with tabs and attach to each other end to end, creating an oval loop.
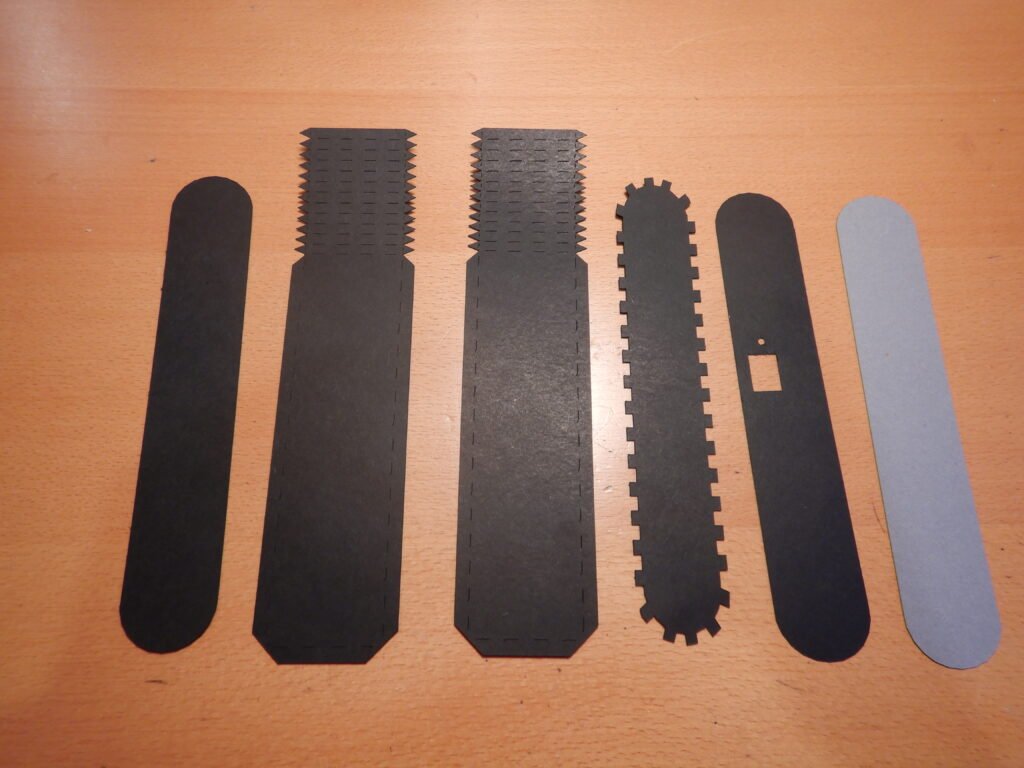
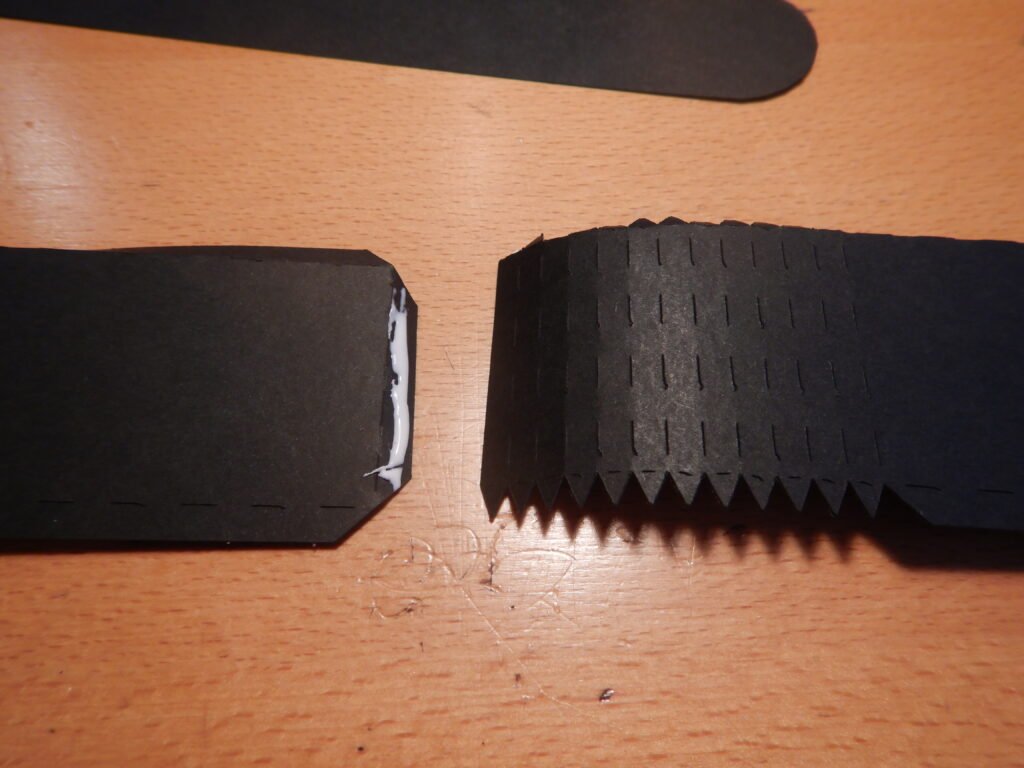

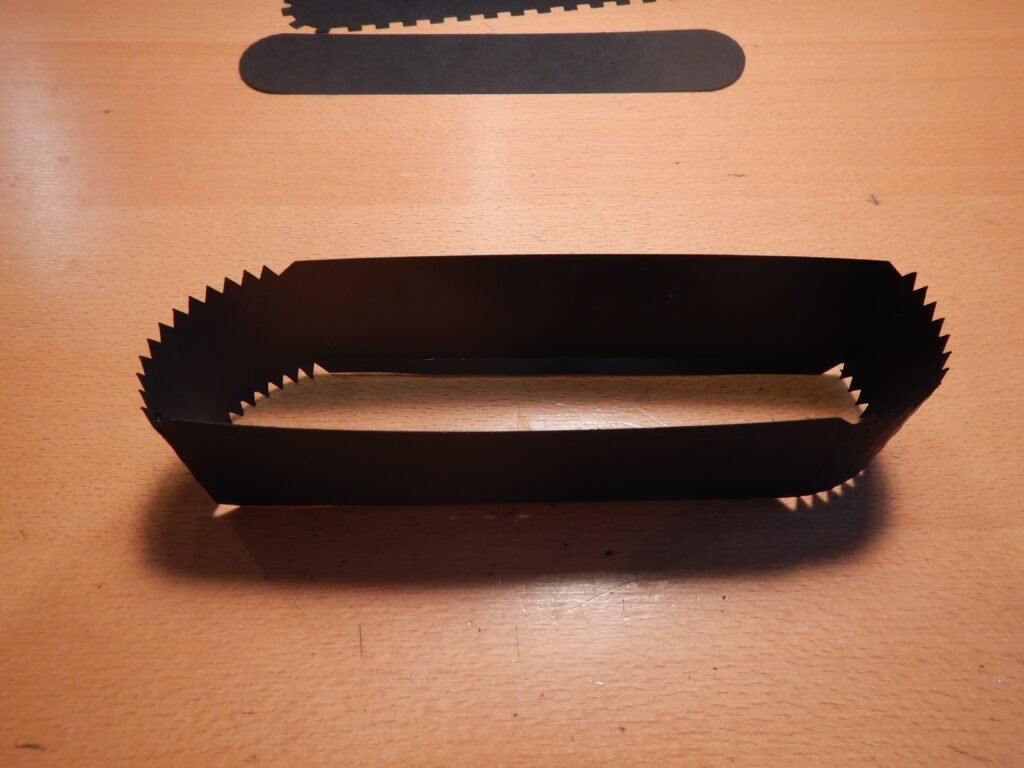
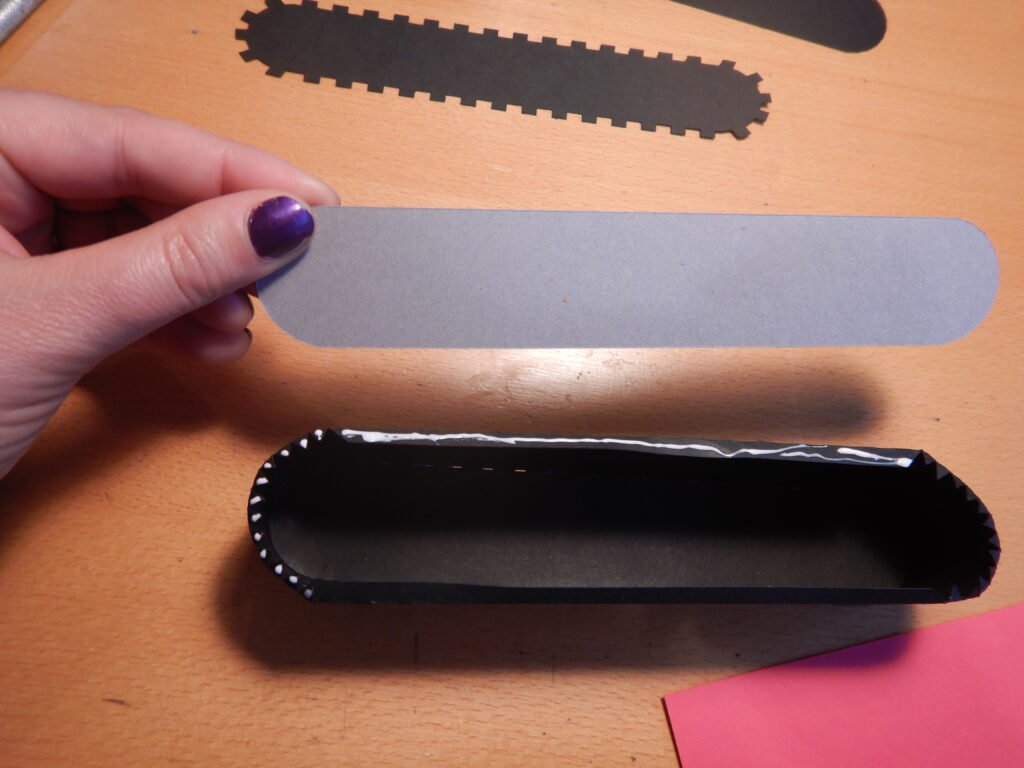
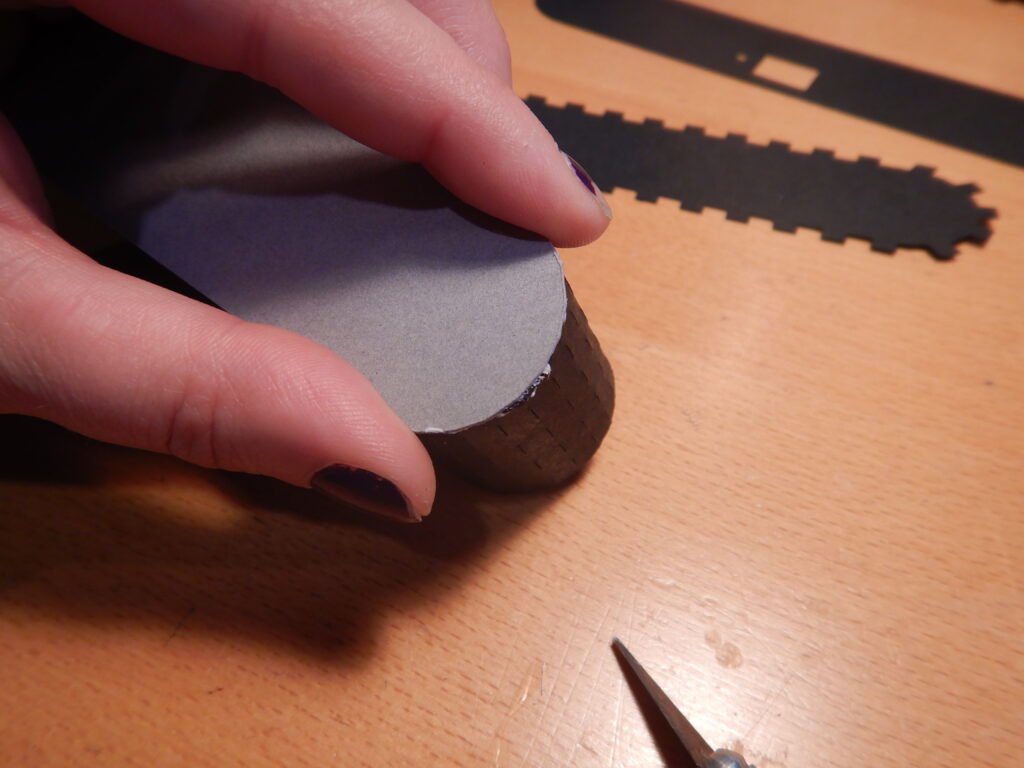
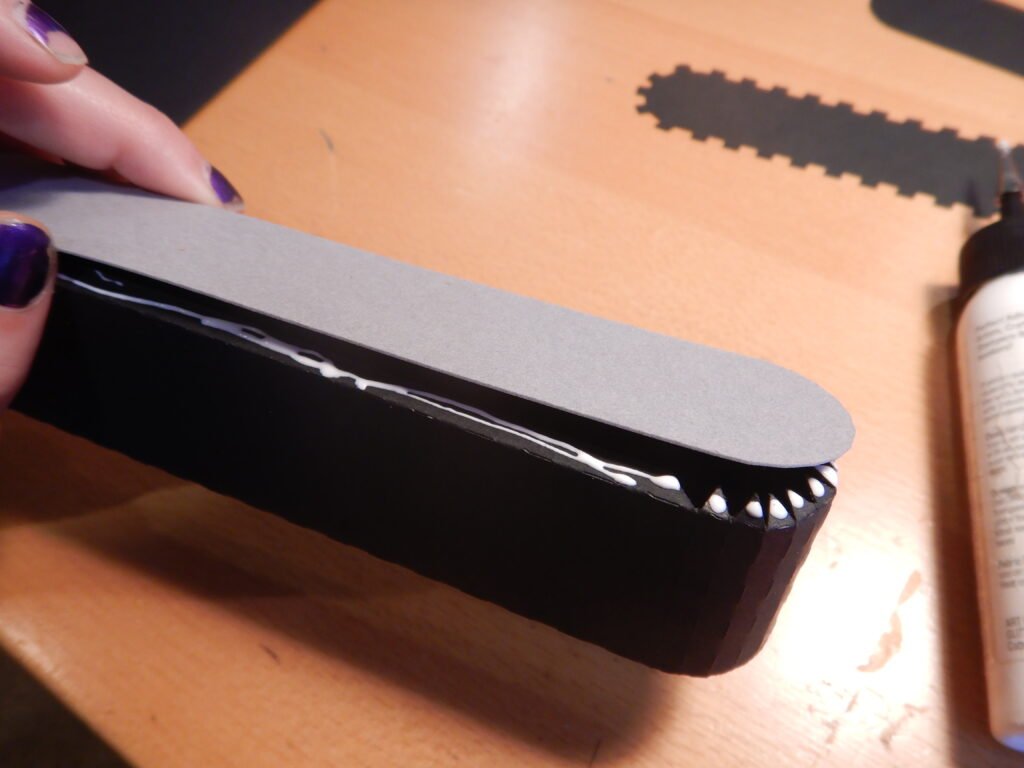
When the loop is complete, fold in the tabs on one side, and add glue. Place one of the solid oval pieces in the oval. We recommend the black one if doing the same color scheme as us. Take some time to get the rounded edge to match with the rounded part of the oval and the tabs are snug under the flat panel.
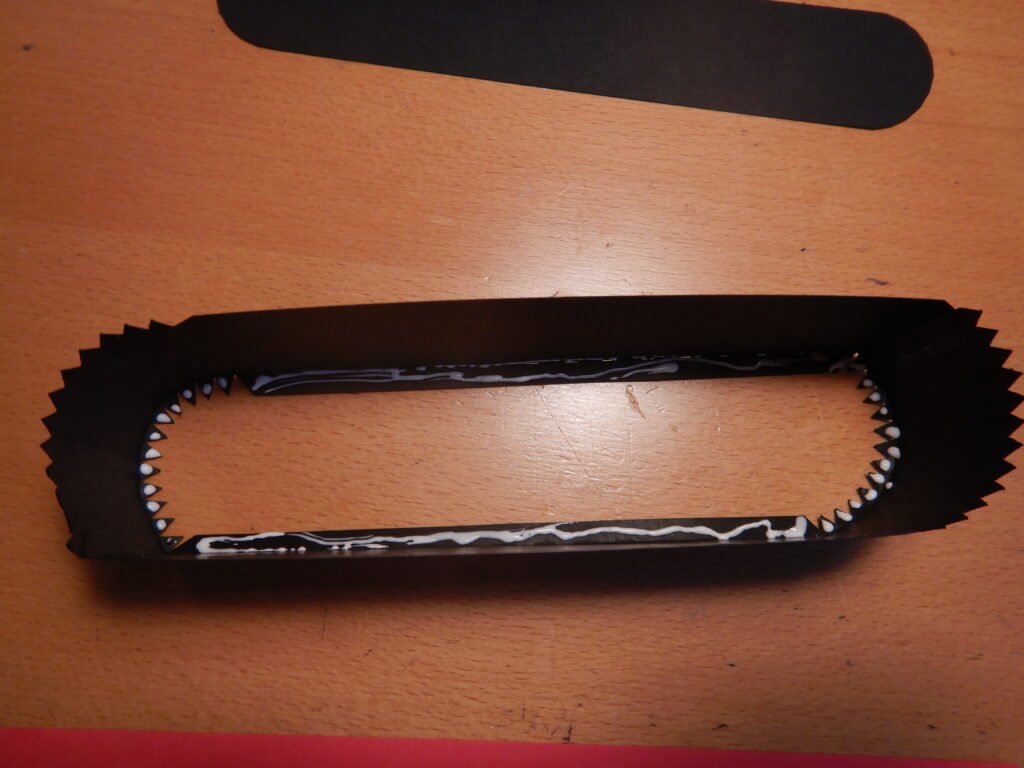
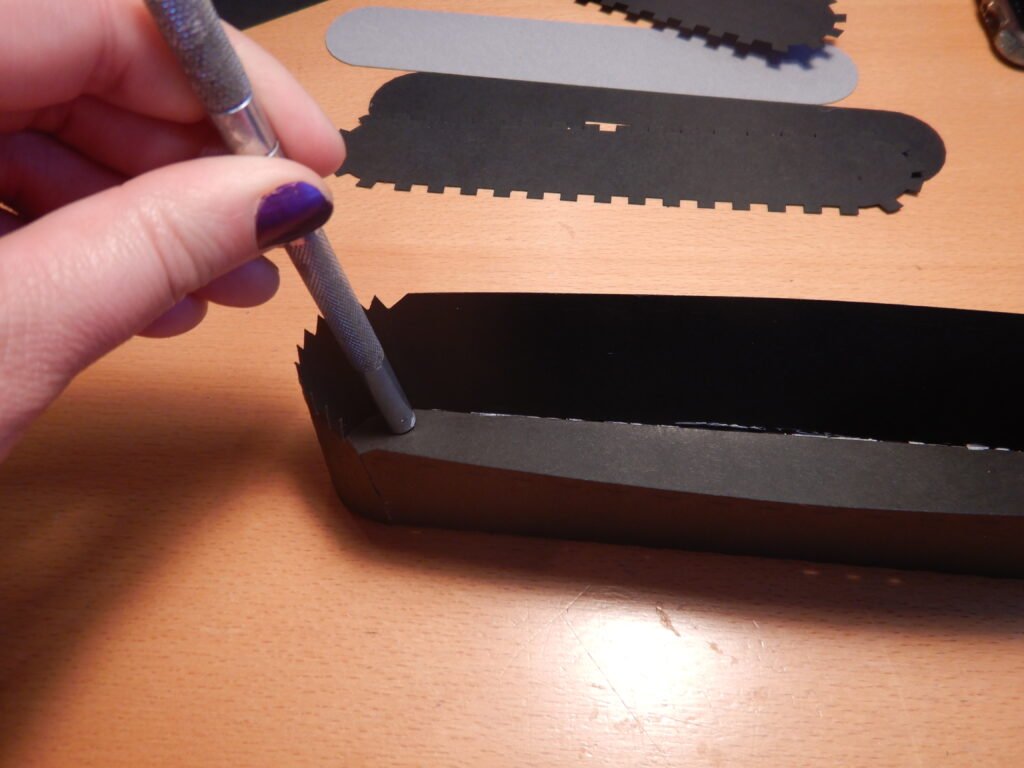
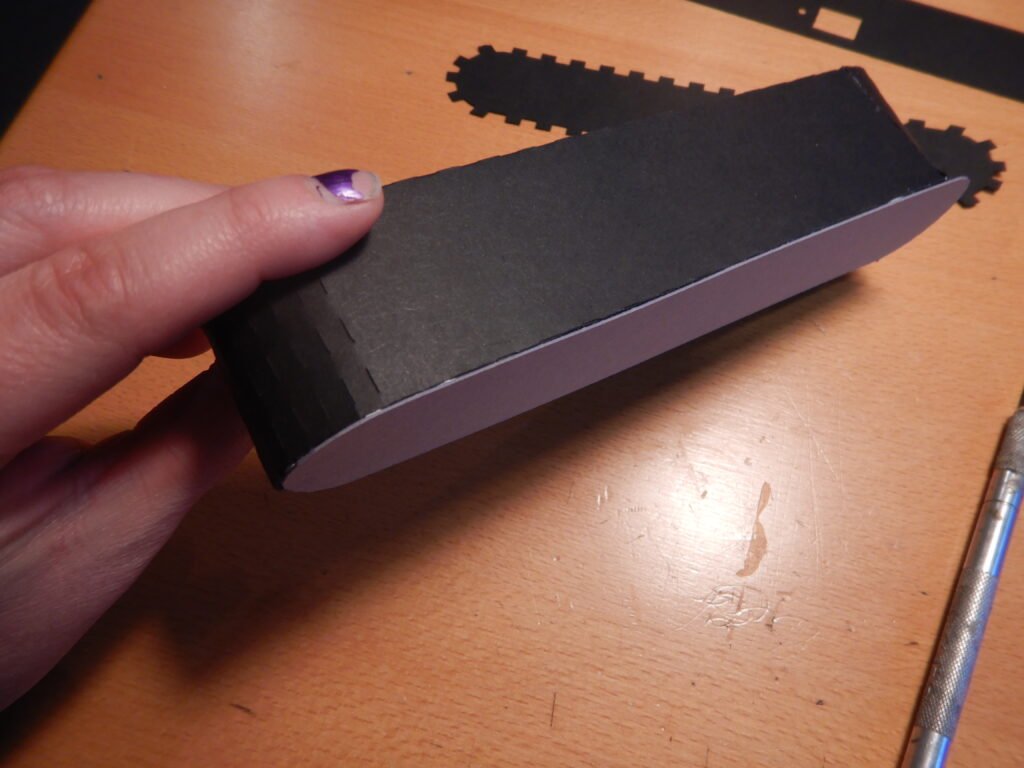
To close the other side of the oval shape, fold in the tabs, add glue. Position the other solid oval piece. We recommend using grey if following our color scheme. This cover the exposed tabs and give you contrast for the track piece later. We found it easiest to start by attaching one of the long tabs. Once the glue was set, we added glue to one curved end and attached making sure everything was positioned correctly. Then we moved on to the rest of the tabs. Doing it in sections gave us the chance to be sure the tabs were positioned as desired without having to feel rushed.
Decorating The Cat Tracks
Next, add the black track on the grey panel.
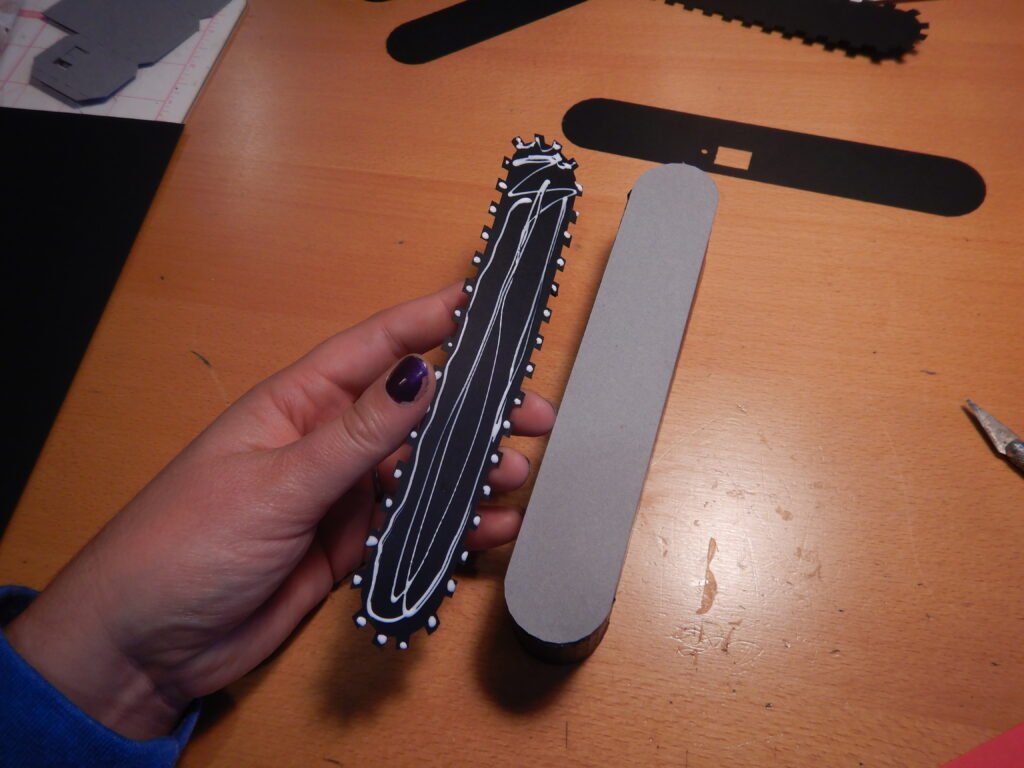
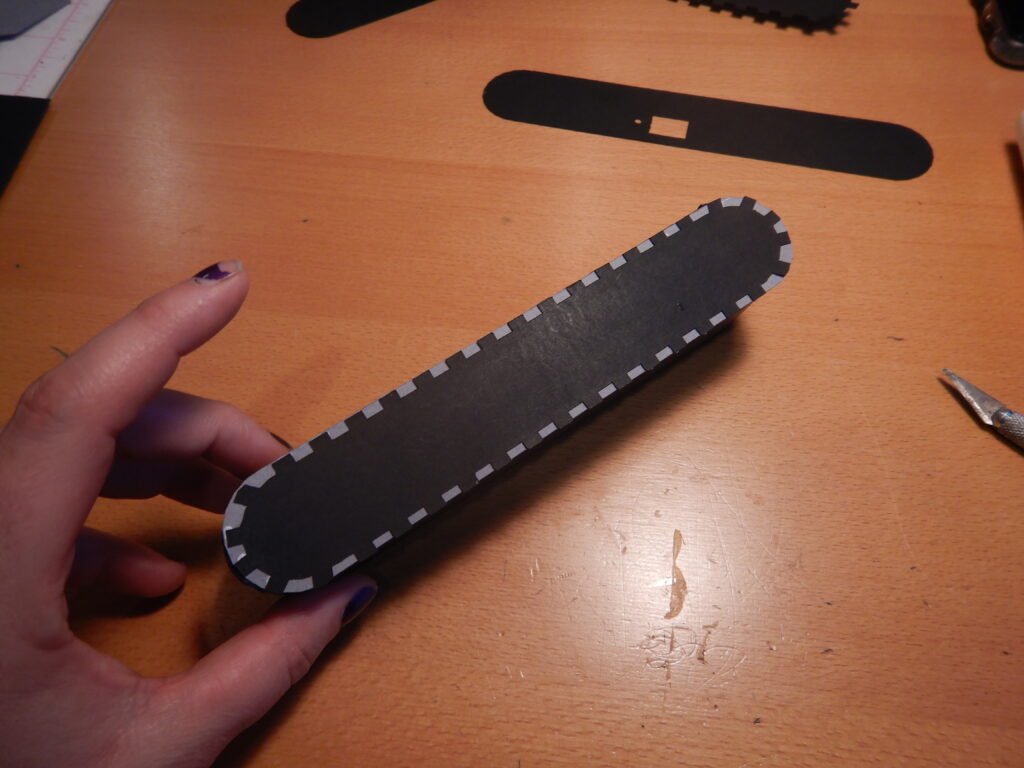
When done you should have two of these cat track pieces. Both are identical at this point. They will look like the below photos, the first photo is front, the other is the back.
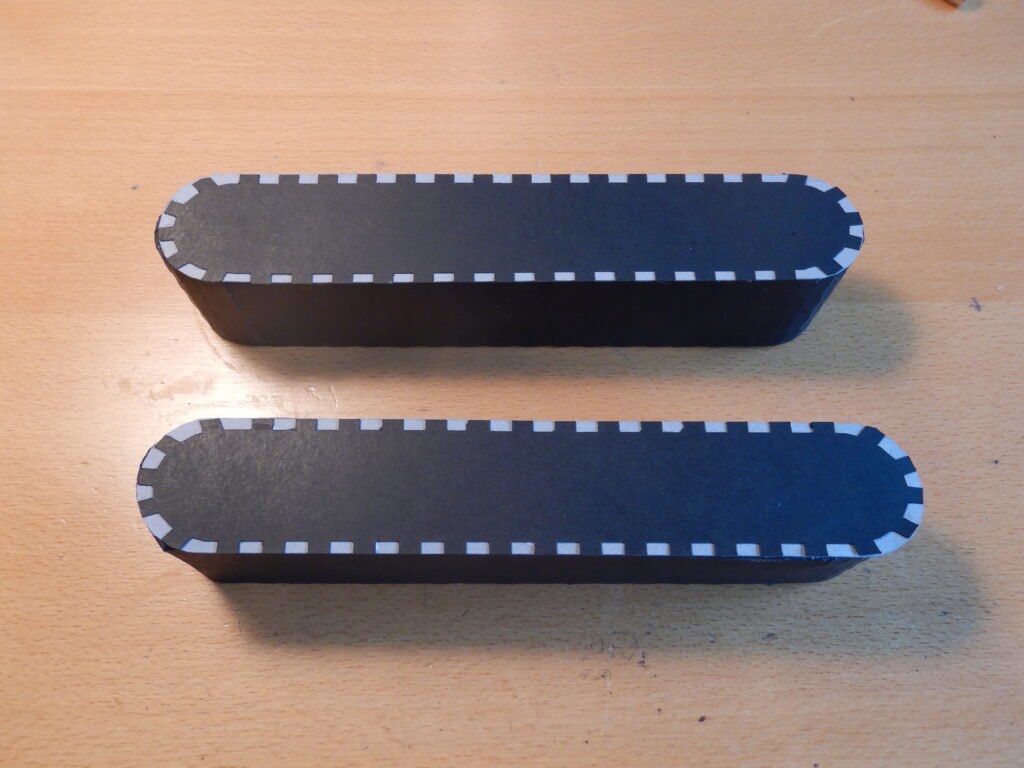
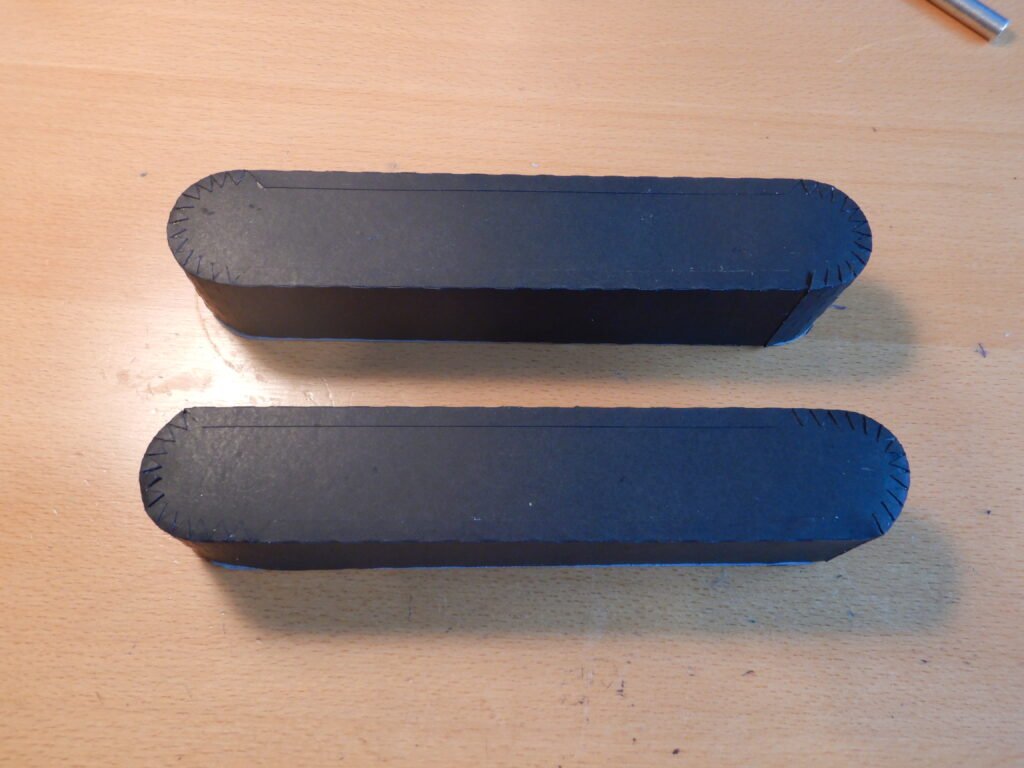
Interior Excavator Support
The next step is to build the support that will be in the center between these two cat tracks. It’s made of five pieces. Take the two smaller boxes and fold along the score lines to create a box that’s open on opposite sides.
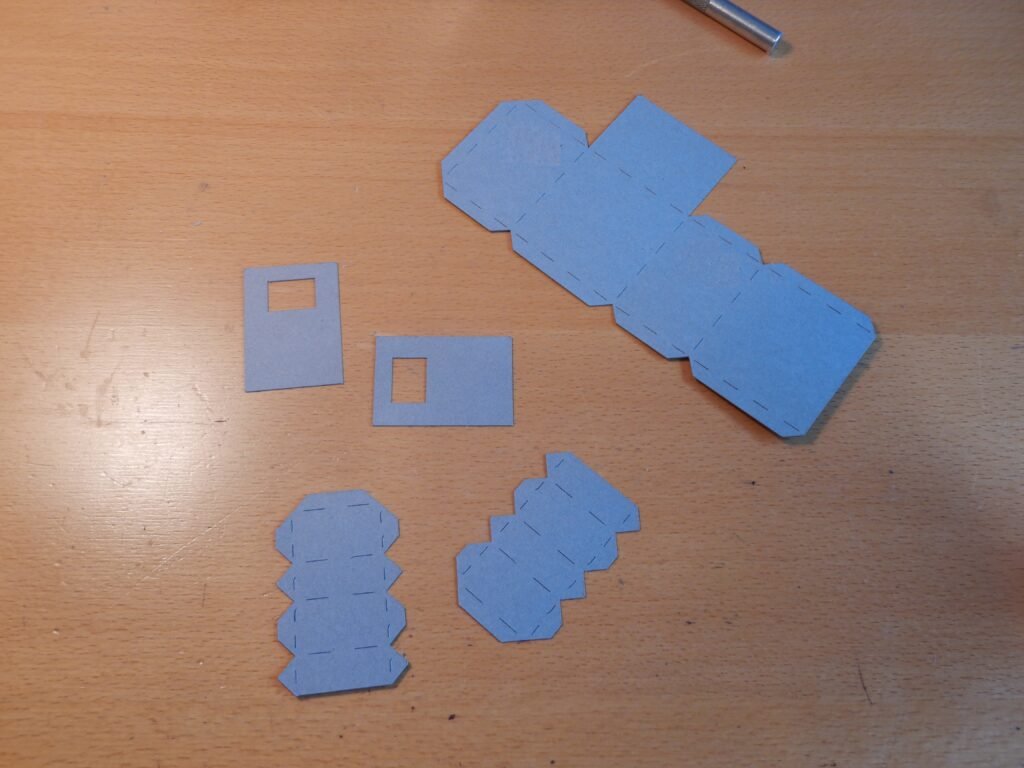
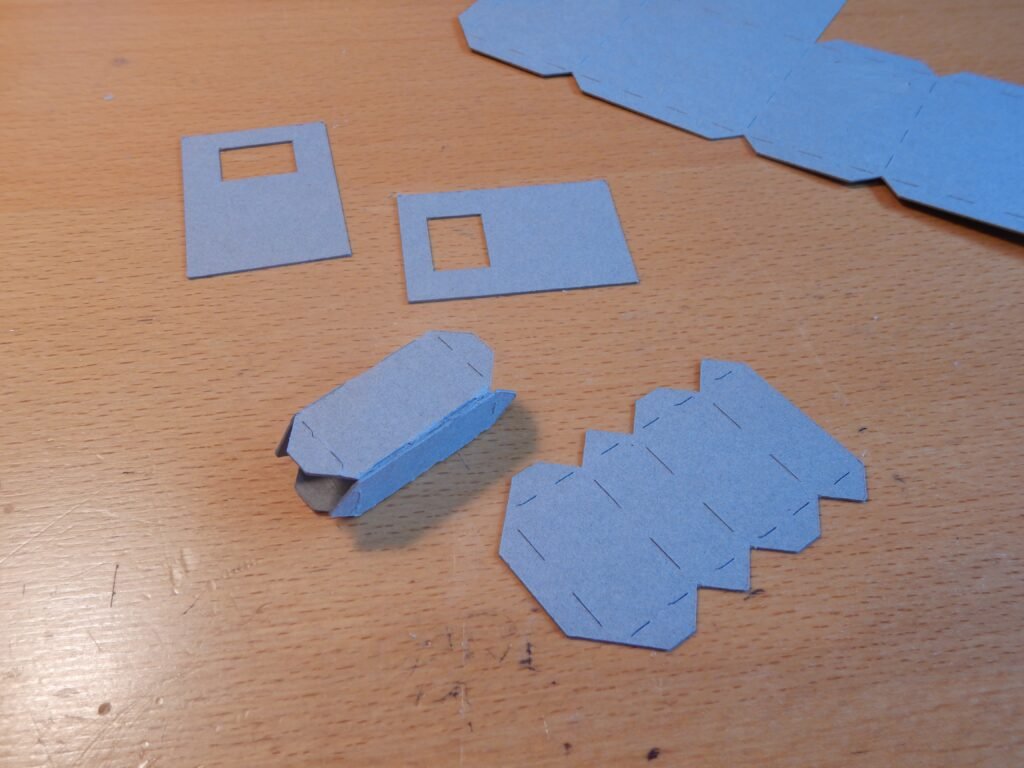
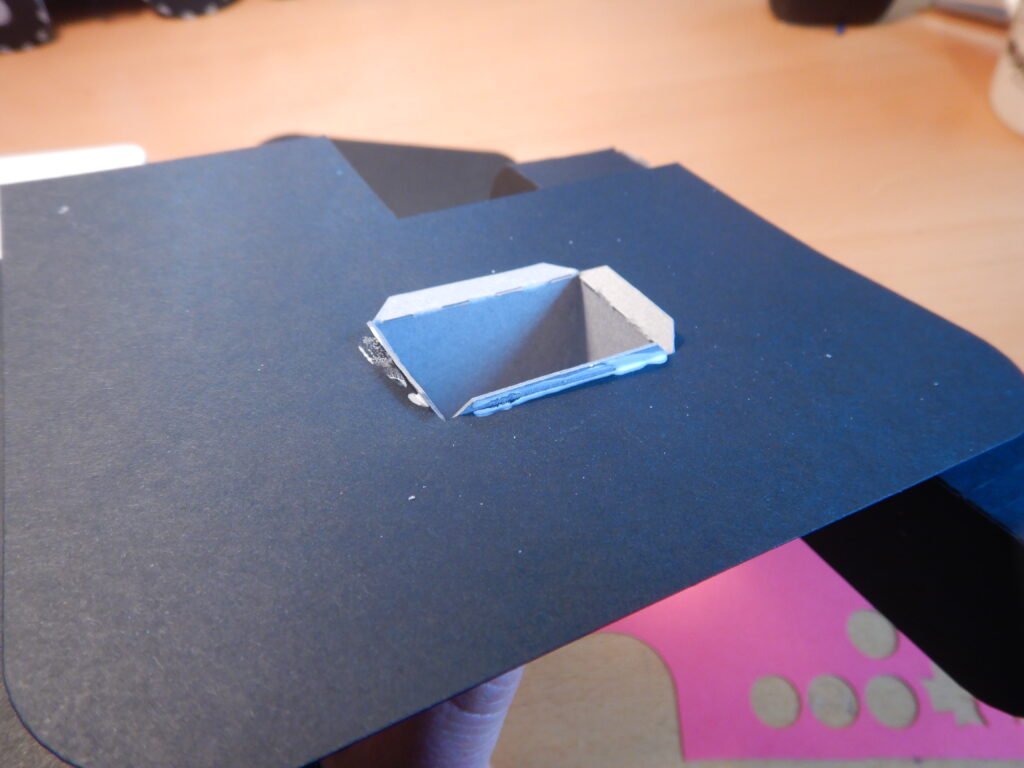
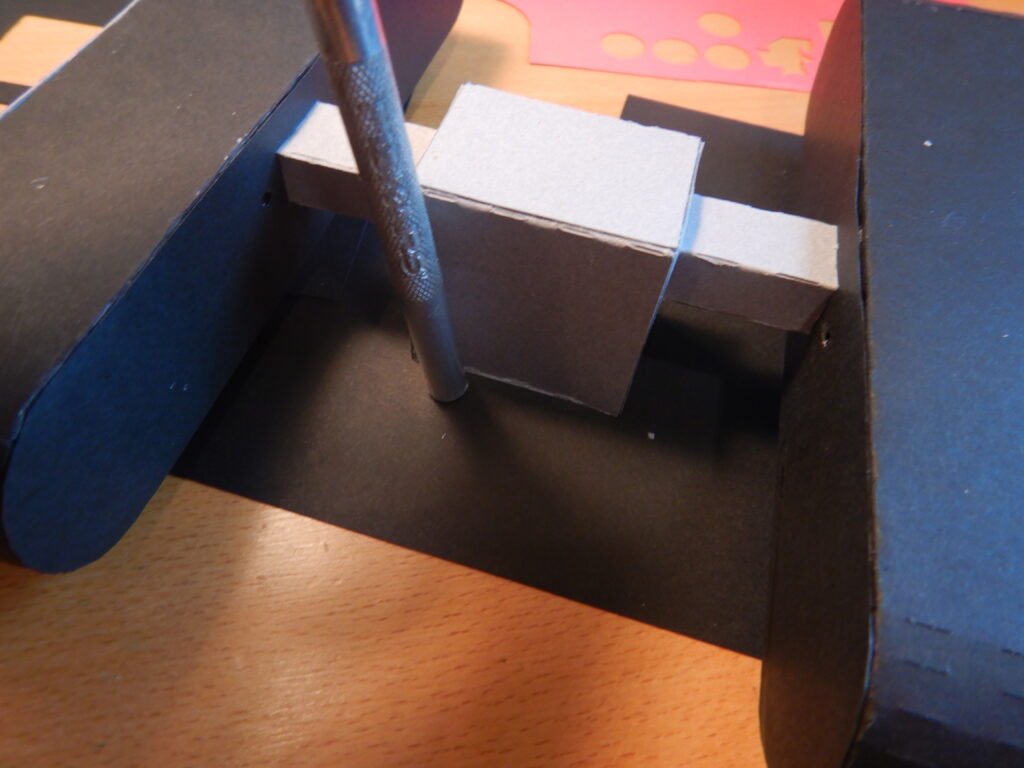
Take these boxes and put them through the panel with the cut-out rectangle. Then add glue to the tabs and fold them back to attach them to the panel.
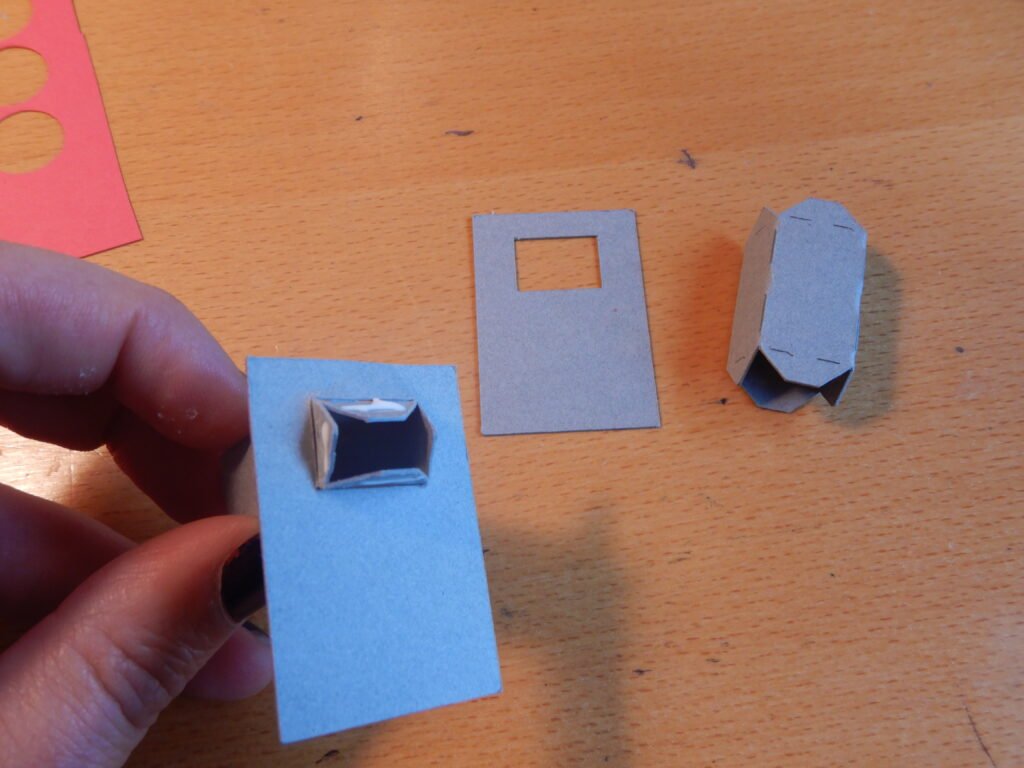
Once these are in place, you can attach them to the main box, making sure that the panels are oriented the same. Be sure that the two boxes are on the end with the square flap that will close off the box bottom.
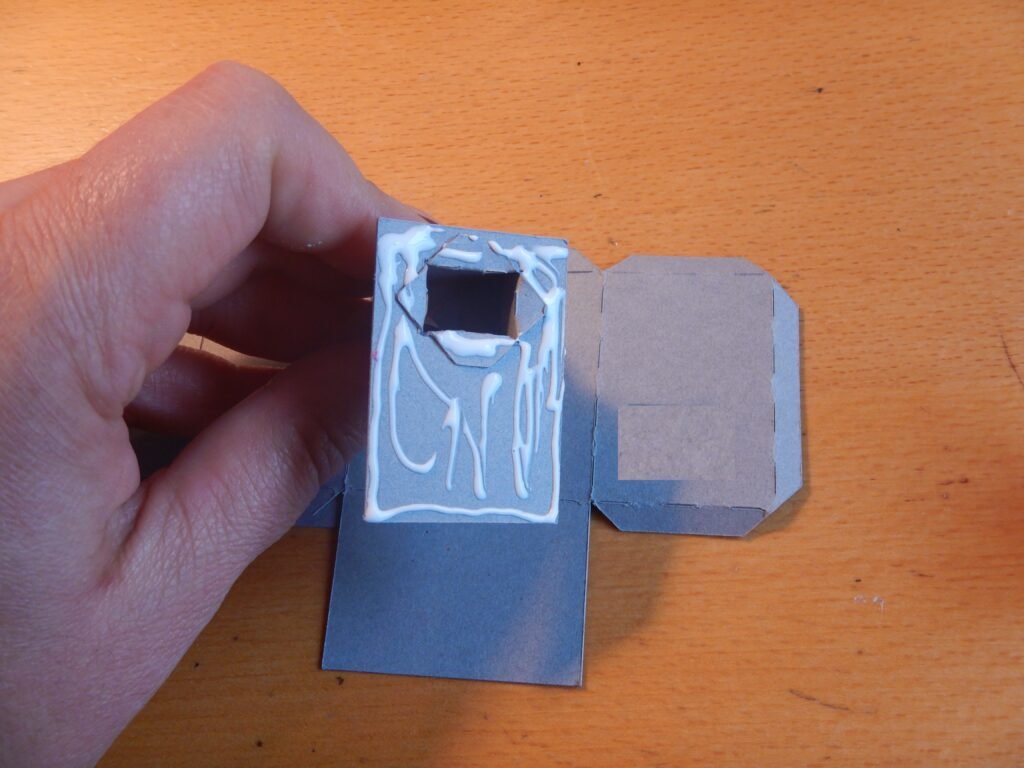
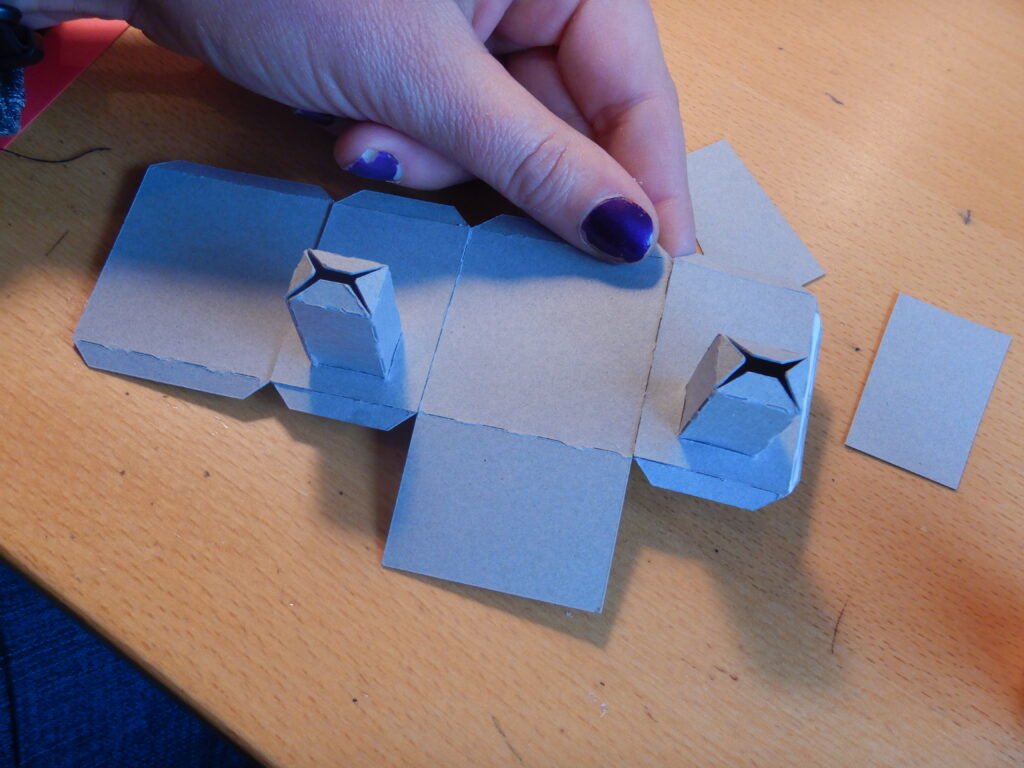
Now you can take the large box and close it up. One end will be closed off with a flat panel, the other will have four tabs that will be used to attach it the excavator cab base.
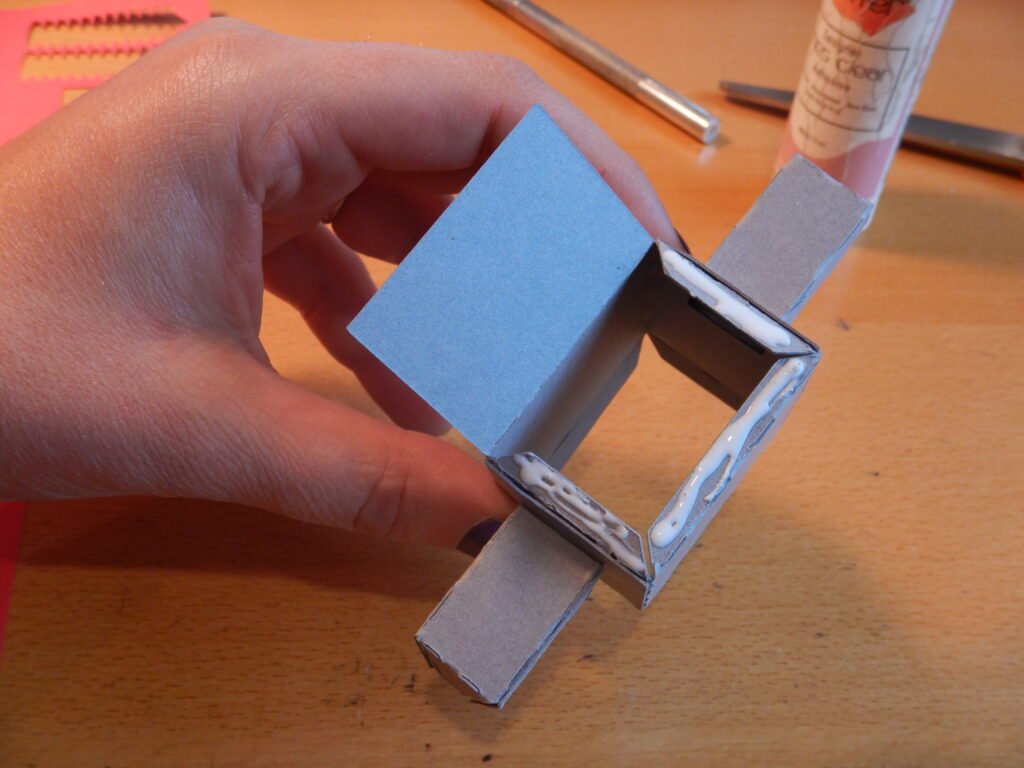
Connecting The Cat Tracks
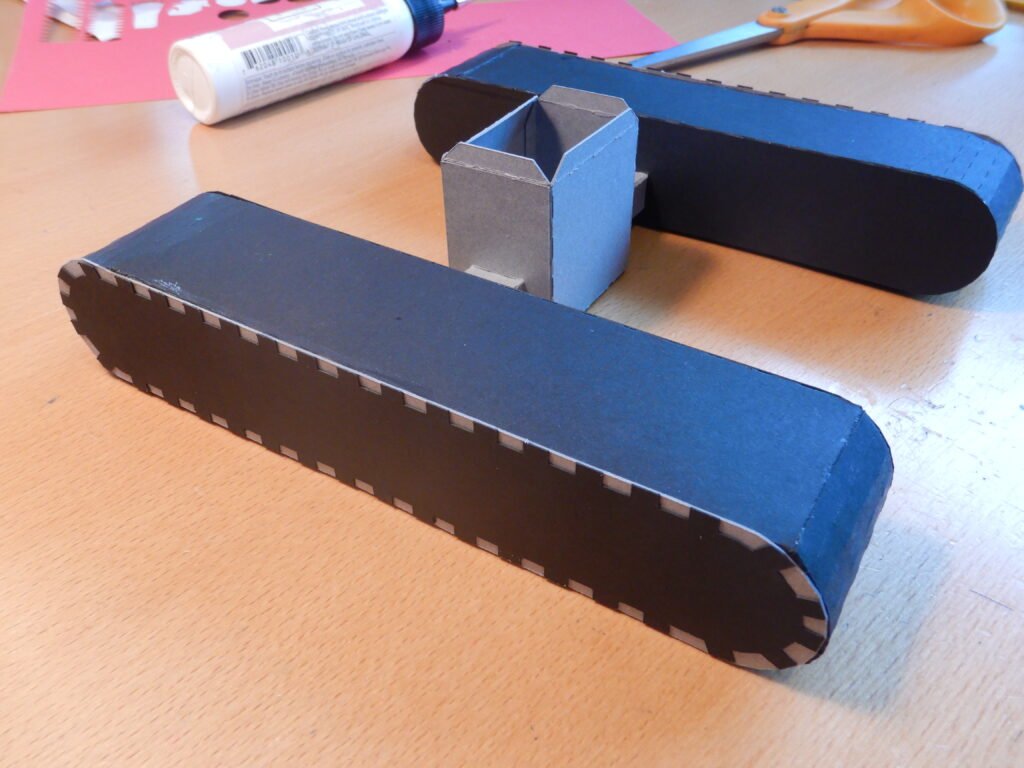
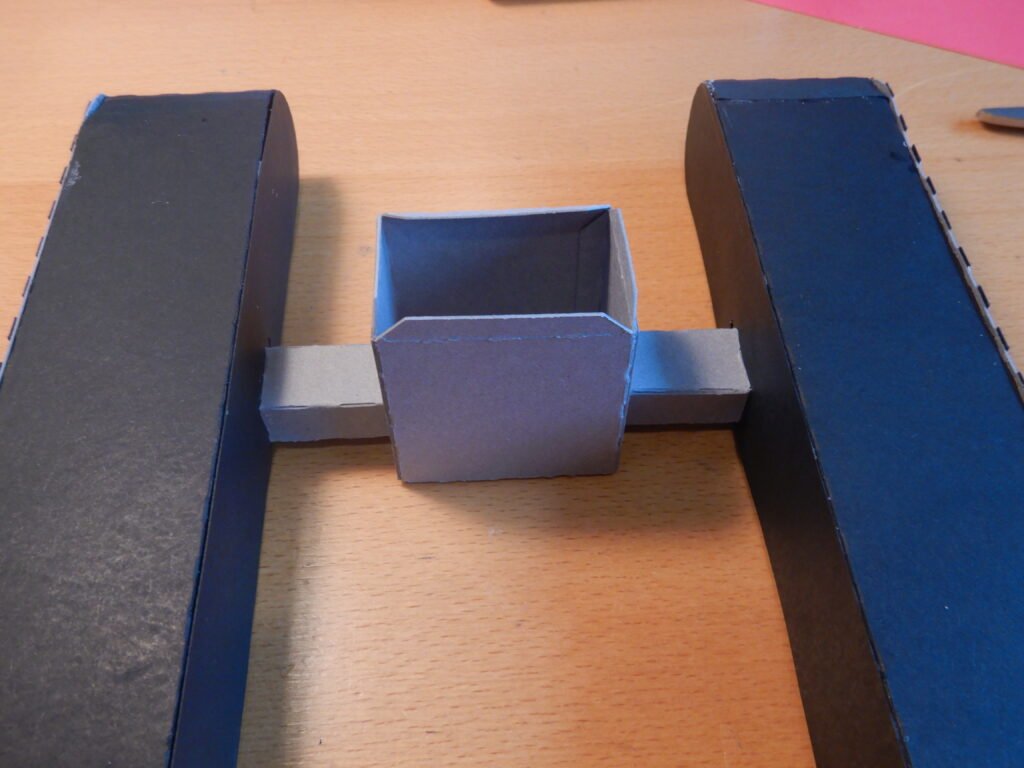
To attach the cat tracks to the center support box, we laid them out as shown. This will help make sure that the cat tracks are oriented correctly. The rectangular cut out needs to be oriented down and the circle in the same direction on both cat tracks. The circle is to help make sure they are both facing the same direction as the rectangle isn’t centered on the cat track. These circle dots also mark the back of the excavator and the back of the cat track.
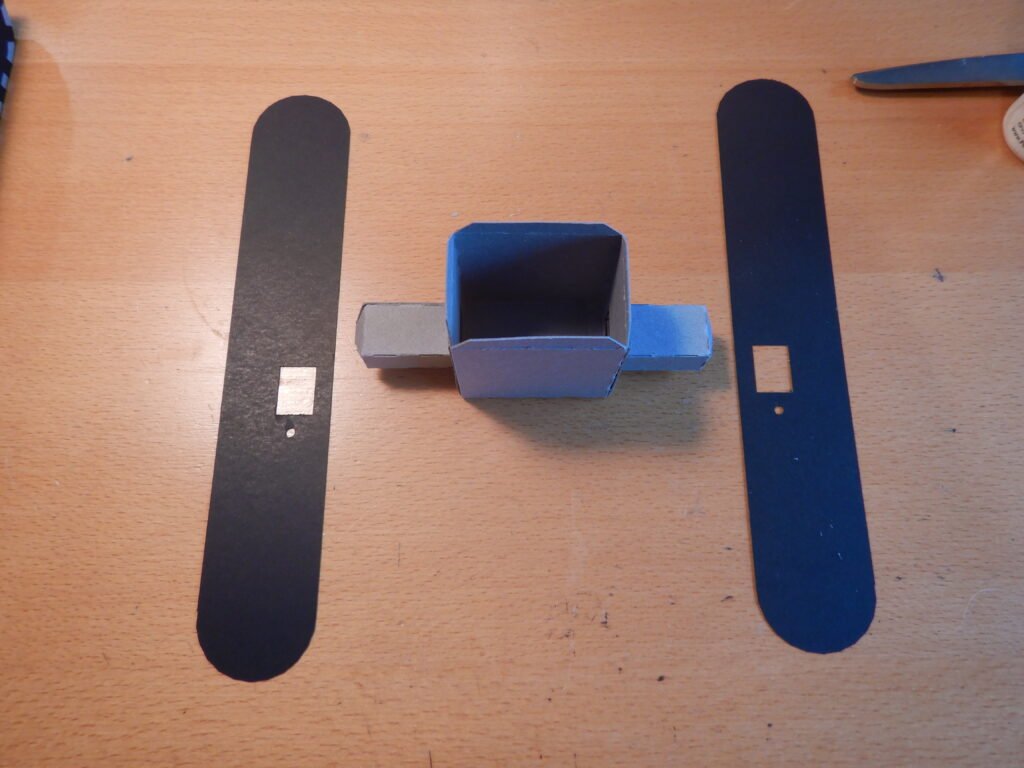
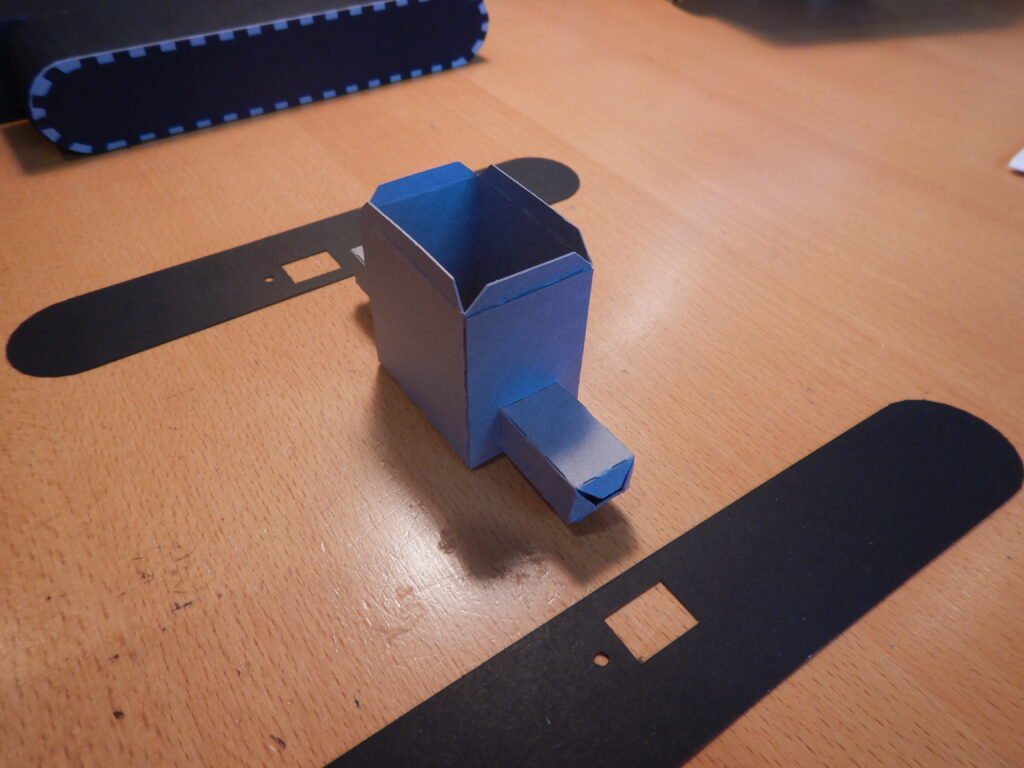
To attach the cat track panels, slide the box tabs through the rectangular hole, add glue to the tabs, and fold them back to attach. Do this to both sides, making sure to have the two panels oriented the same.
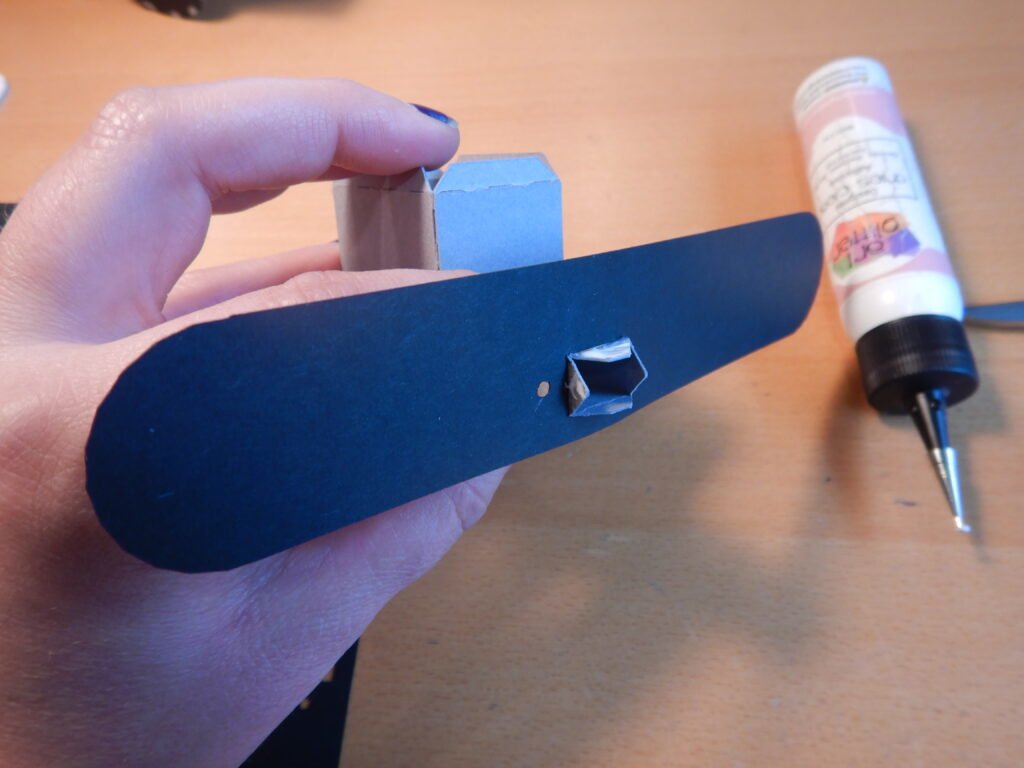
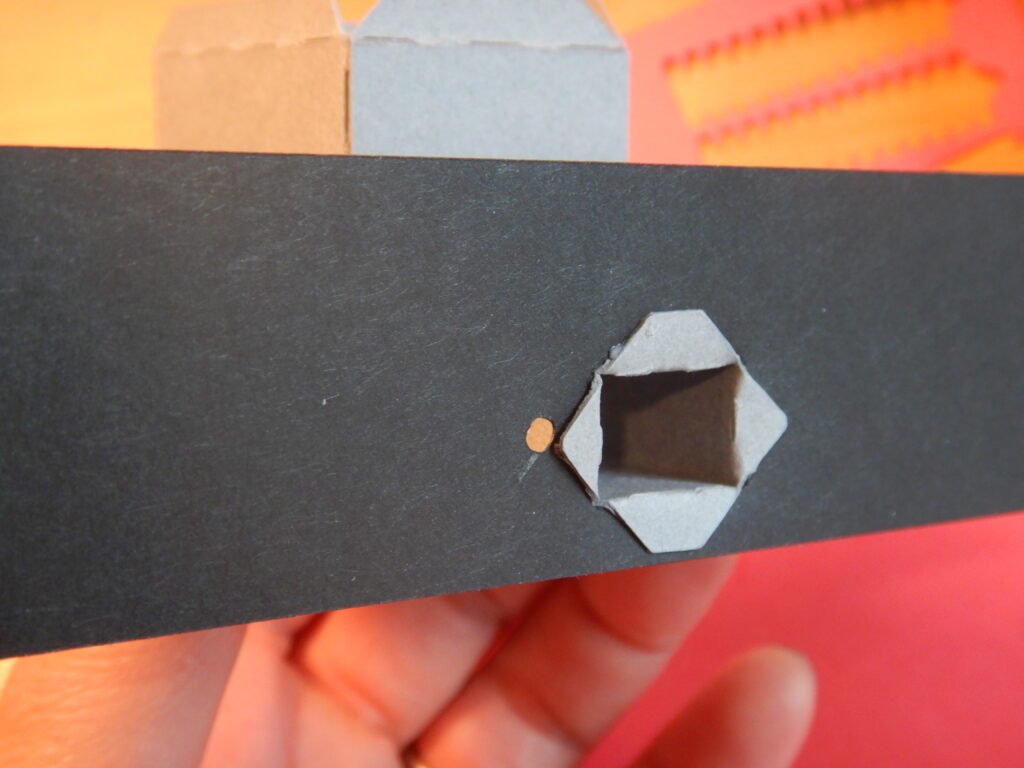
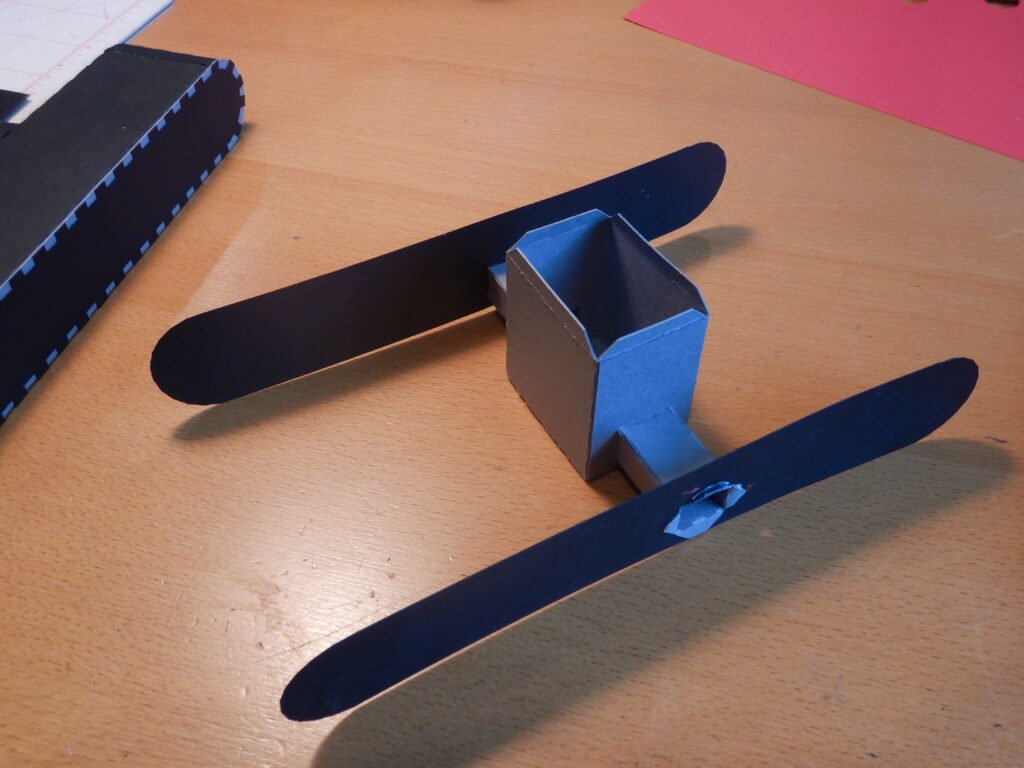
Add glue to the panels and glue the cat track boxes to each. The cat track boxes are identical so no need to worry about which is right and left. Just make sure the tracks themselves are facing out.
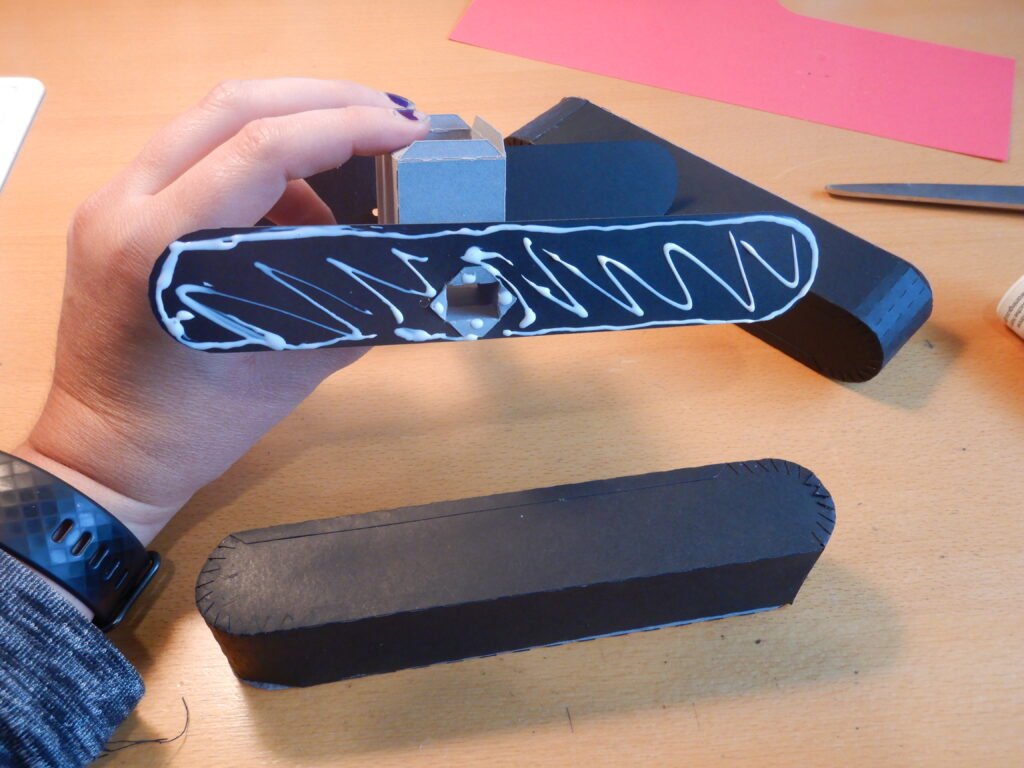
Excavator Cab Support
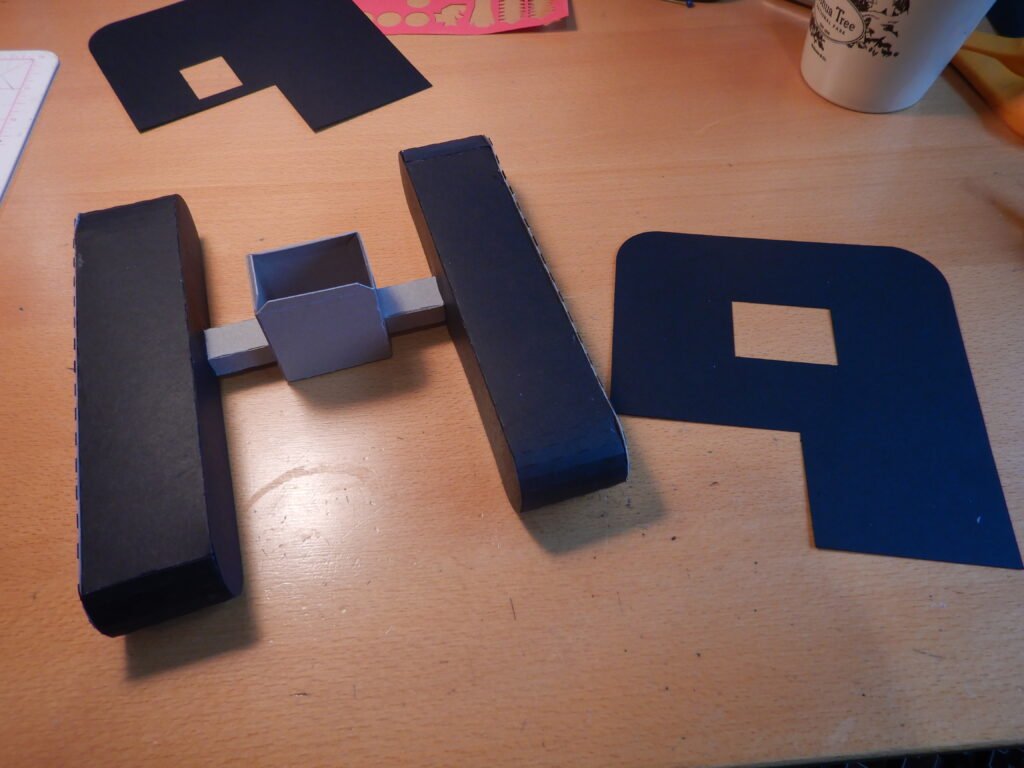
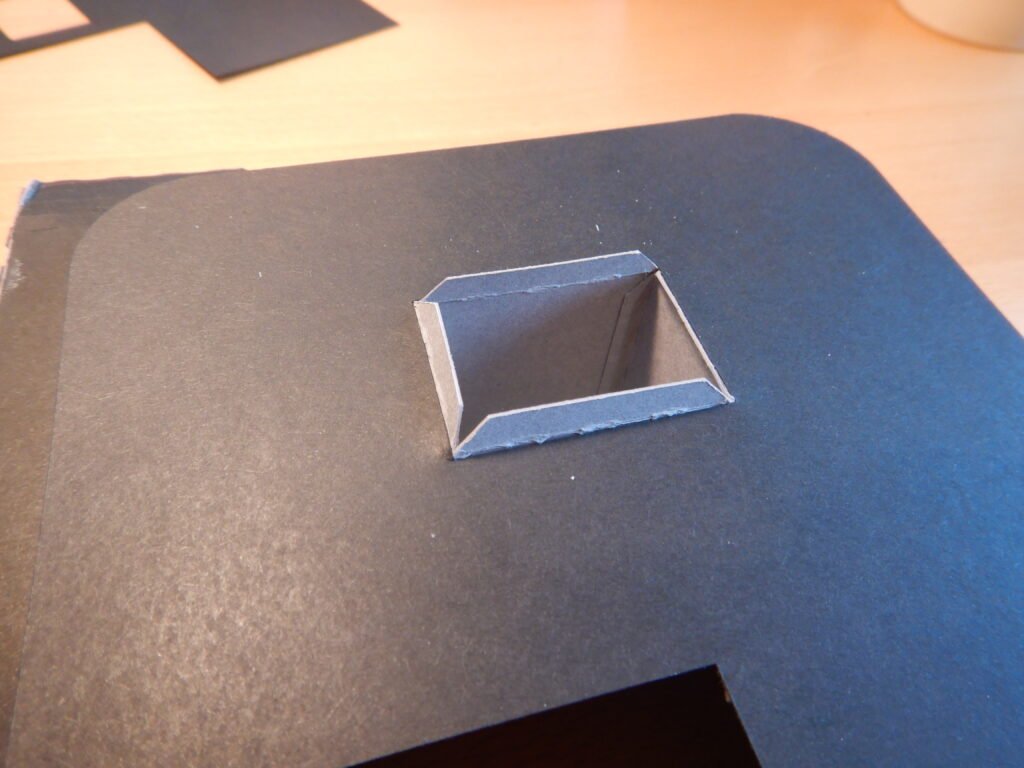
Place the cat tracks so that the circle guide dot on the tracks is away from you, and the front of the tracks are toward you. Take the cab base panel with a large rectangle cut out of the center. Slide this over the tabs in the center so that the bump out is on your right side. Add glue to the tabs and fold them down to attach this panel. We turned the whole unit over to apply pressure to the tabs.
Building The Cab Base
To assemble the cab base, attach the side panels to the base panel as shown. We folded in the tabs and added glue, then attached then attached them to the base panel. Be sure that you get a snug fit, placing the base panel against the fold line. Continue around the base shape, attaching each side panel to the next as you go until you have gone around the entire base panel.
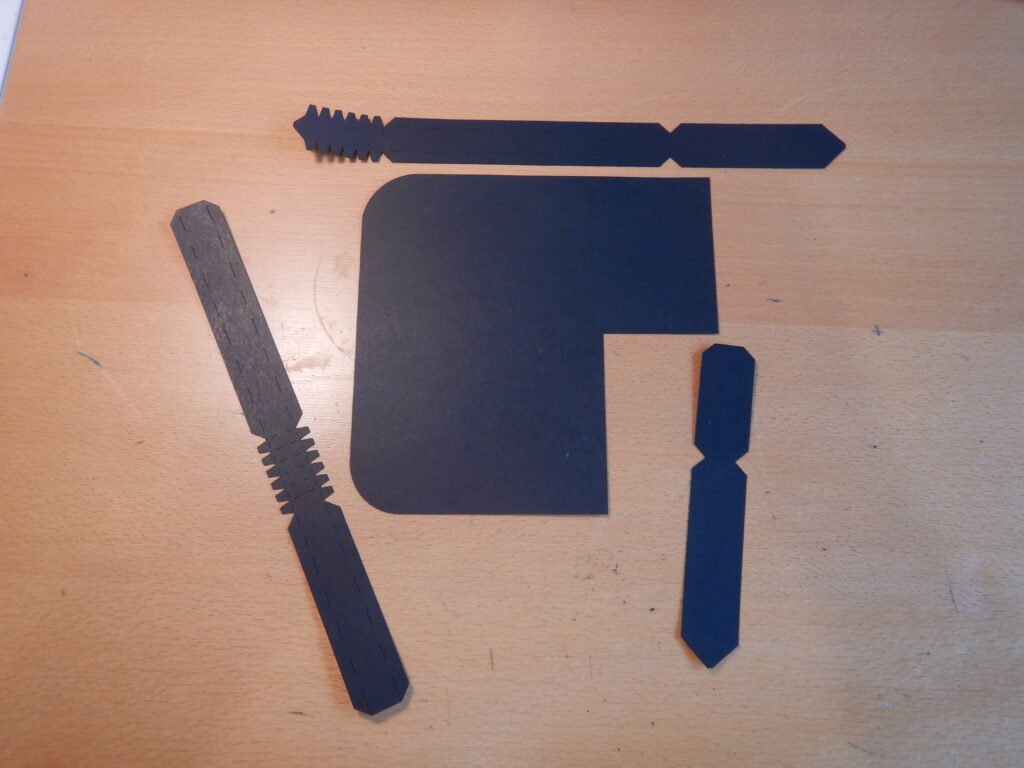
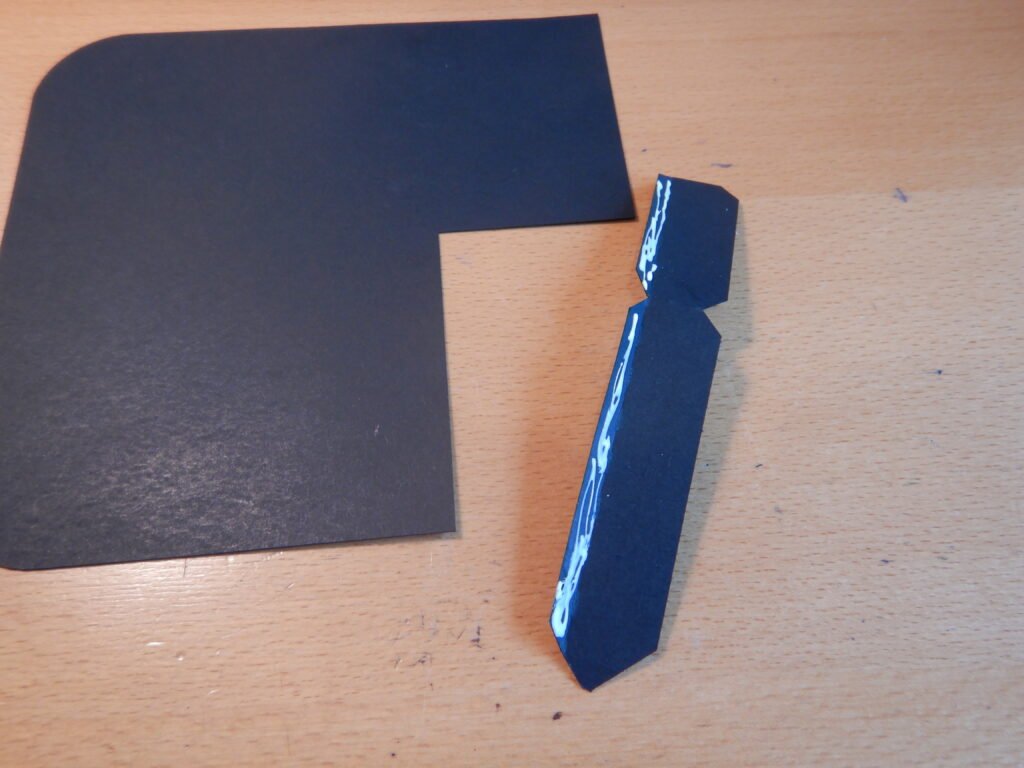
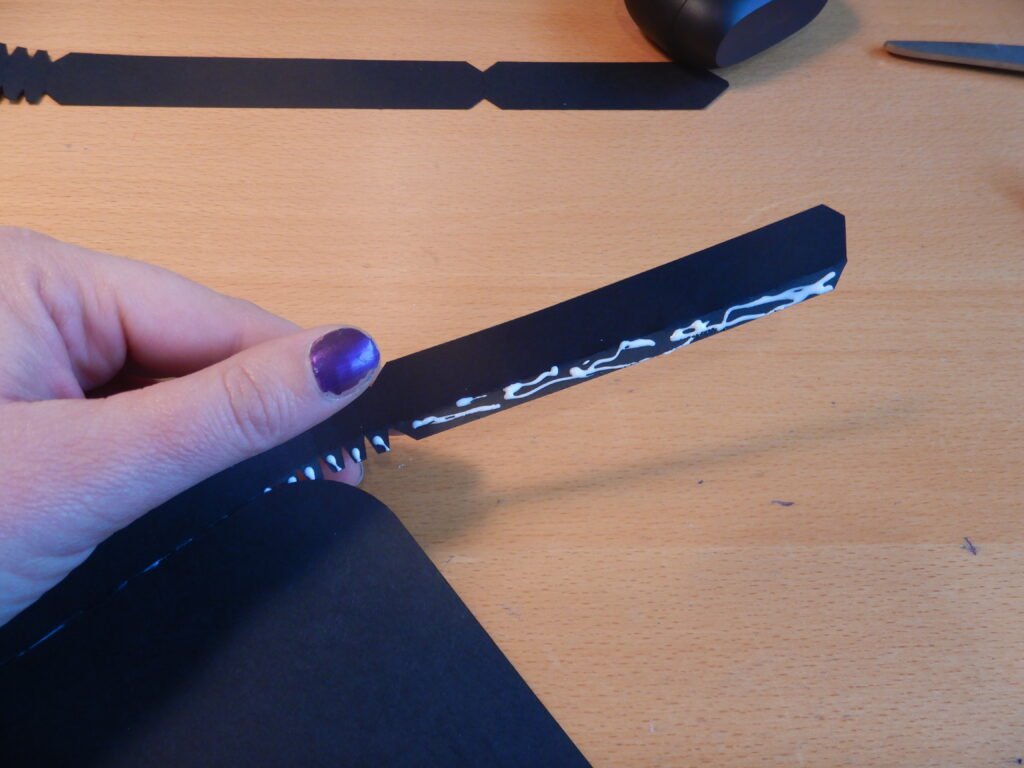
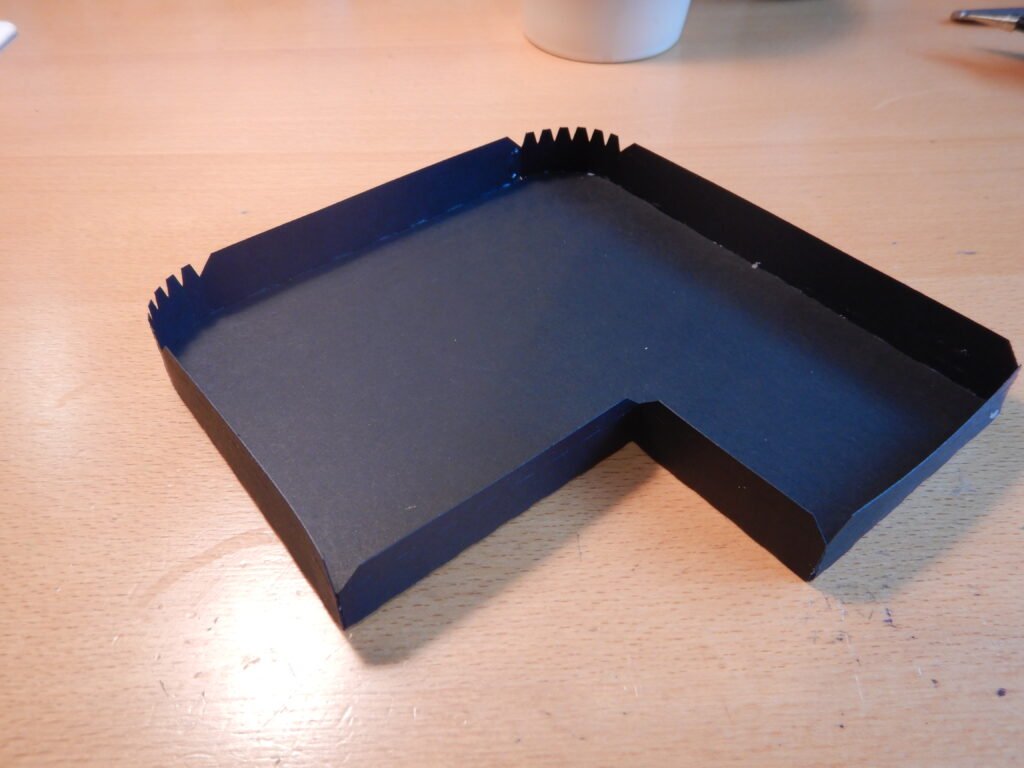
To close the top, we added glue to one tab and attached the top panel. Then we worked our way around the shape a few tabs at a time.
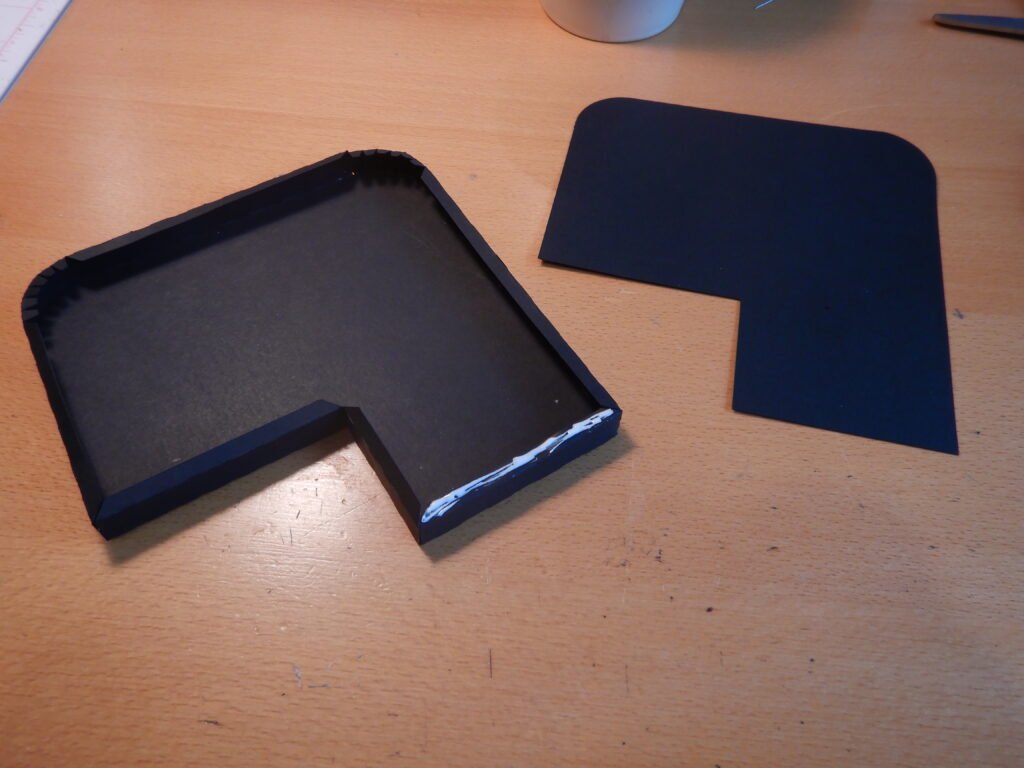
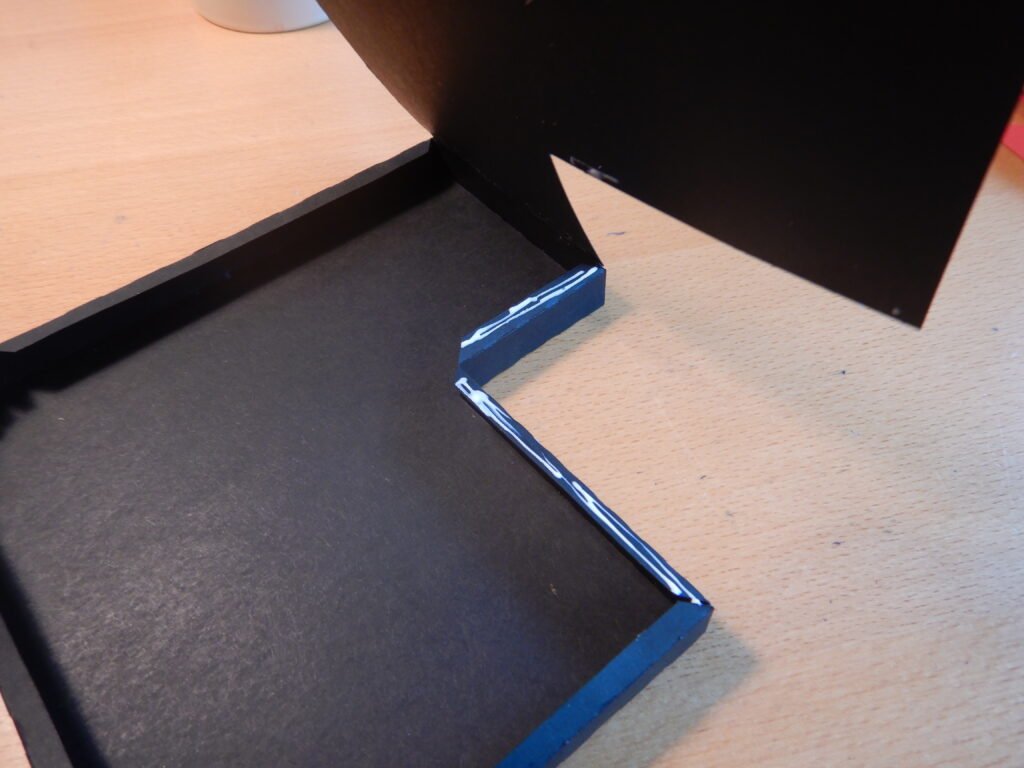
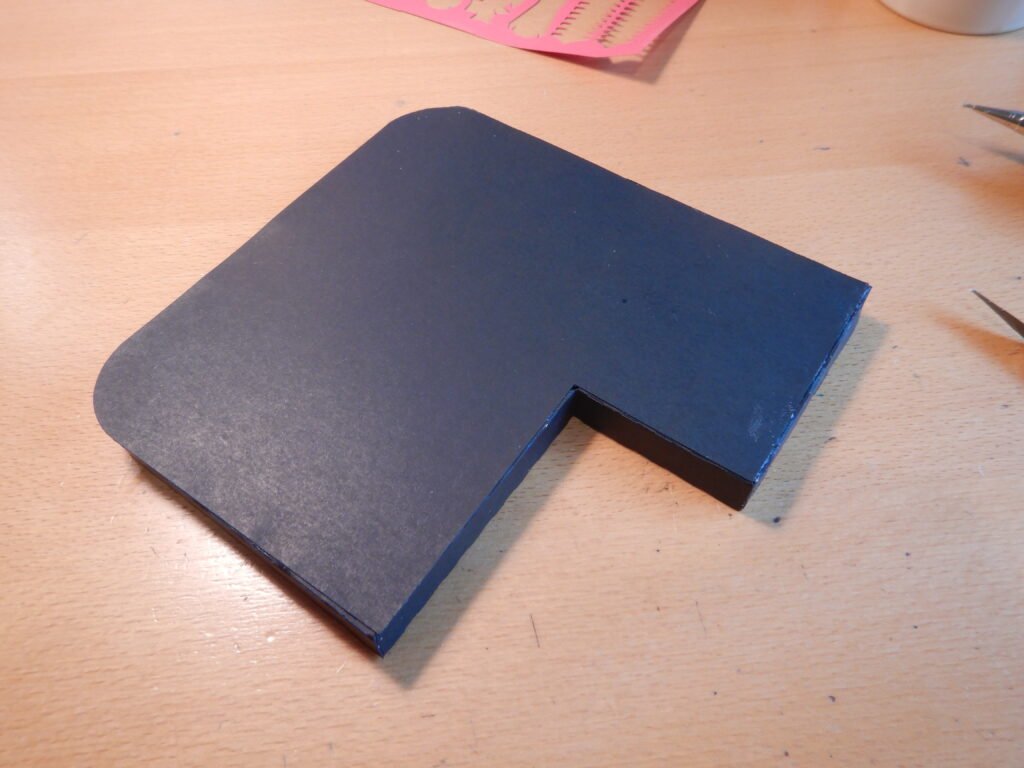
We then added glue flat panel on the cat tracks. Position the cab base on top and gently apply pressure using your hands all the way around to be sure there’s a full and firm hold.
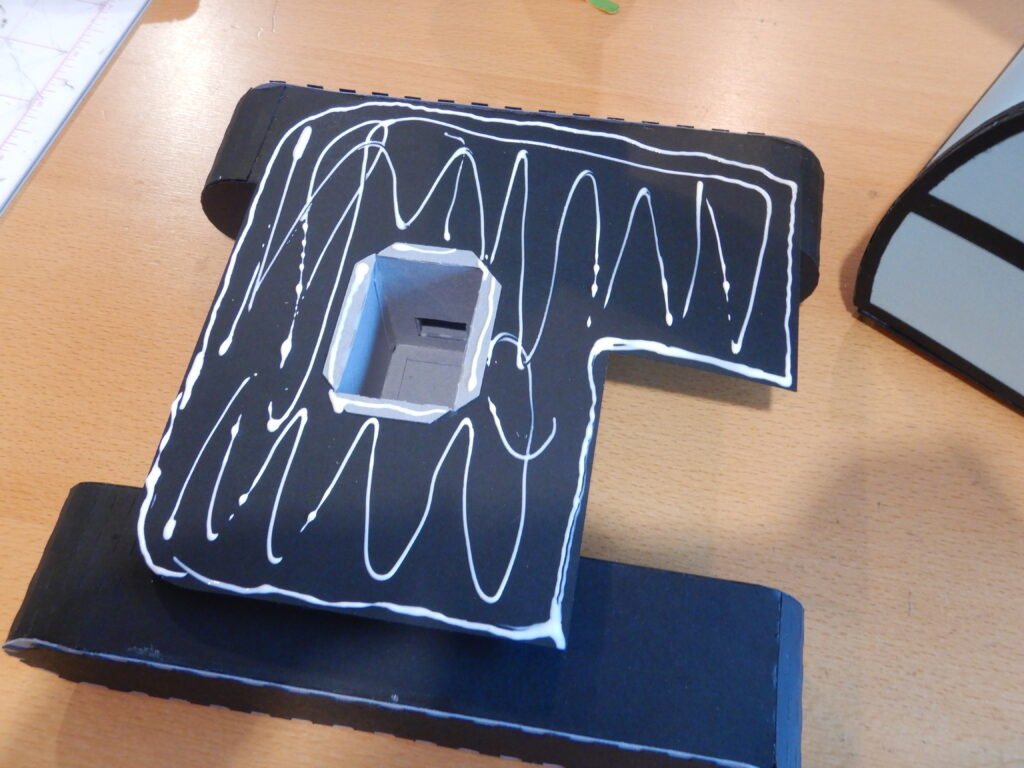
For now, we are done with the cat track portion. Set this aside and we’ll use it again at the end of our construction.
Assembling The Excavator Arm
Next, assemble the arm of the excavator. Start by attaching the two panels that make the shape of the arm itself.
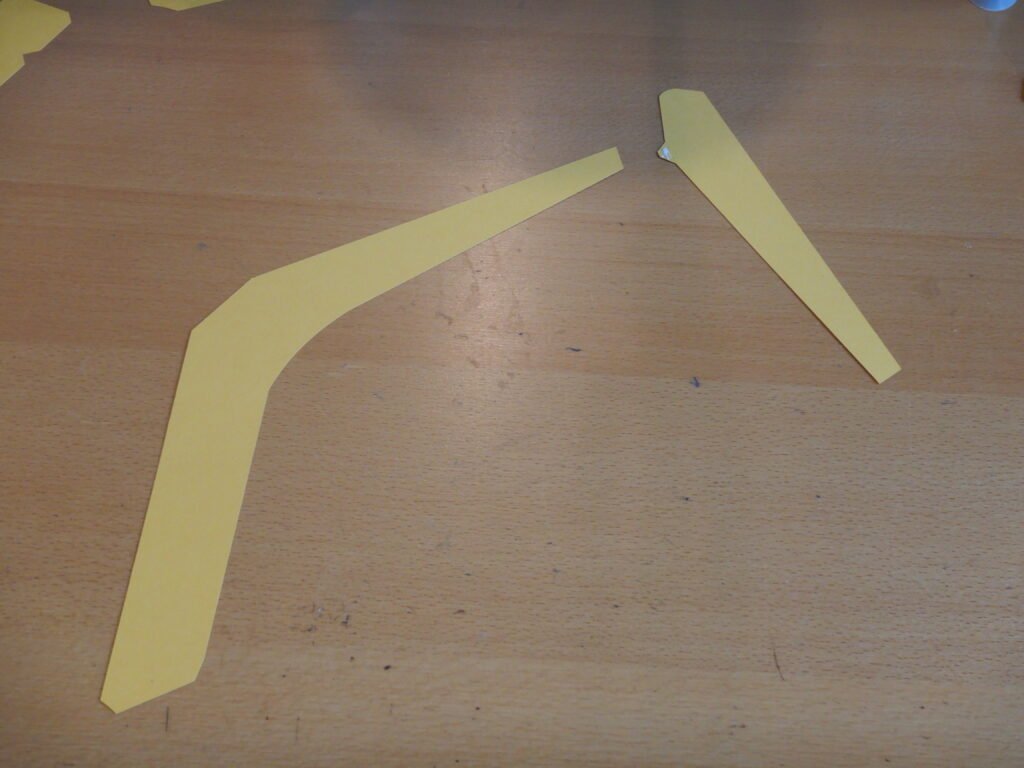
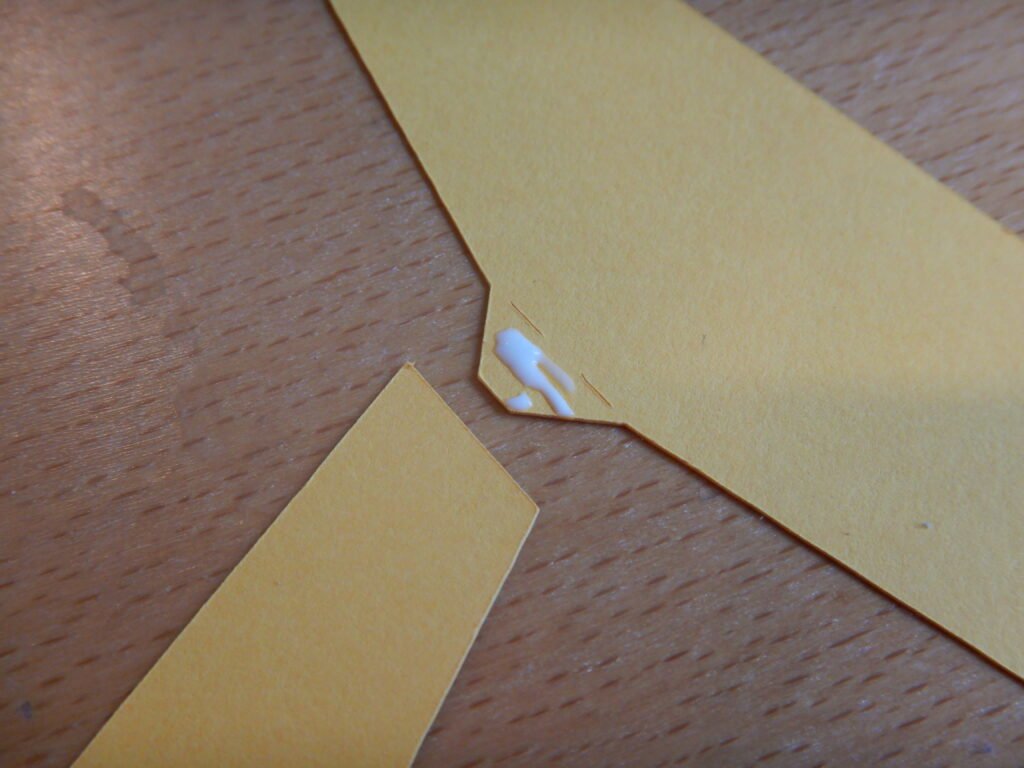
To help make sure the side panels are placed in order, we laid them out on the table as shown below.
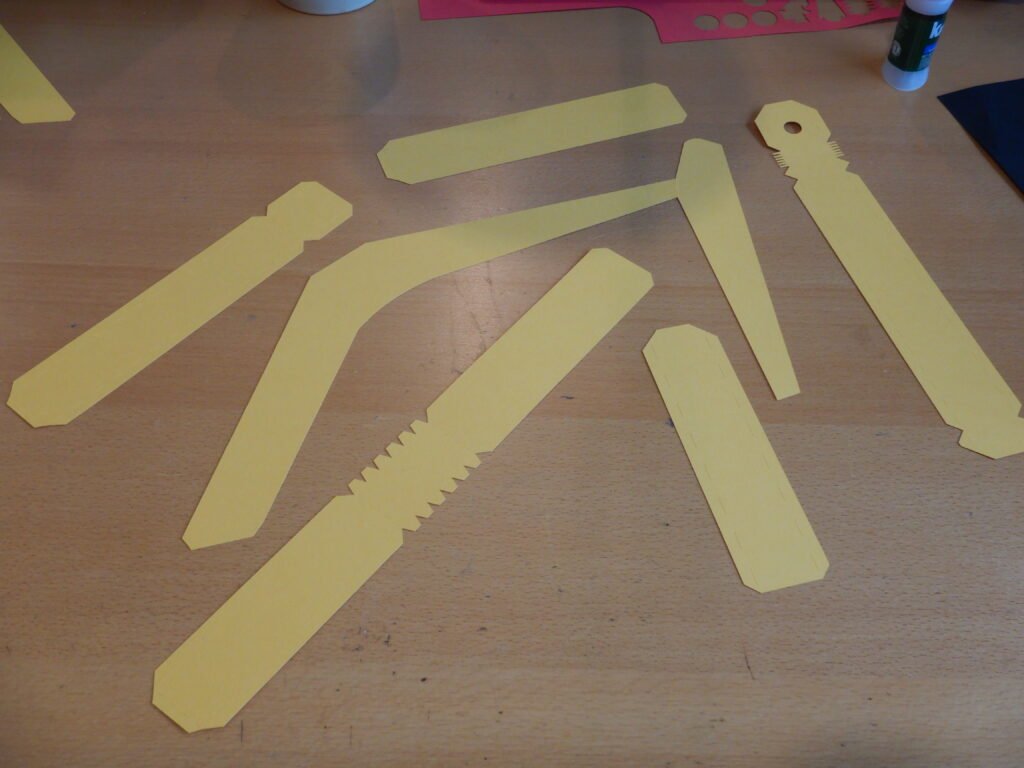
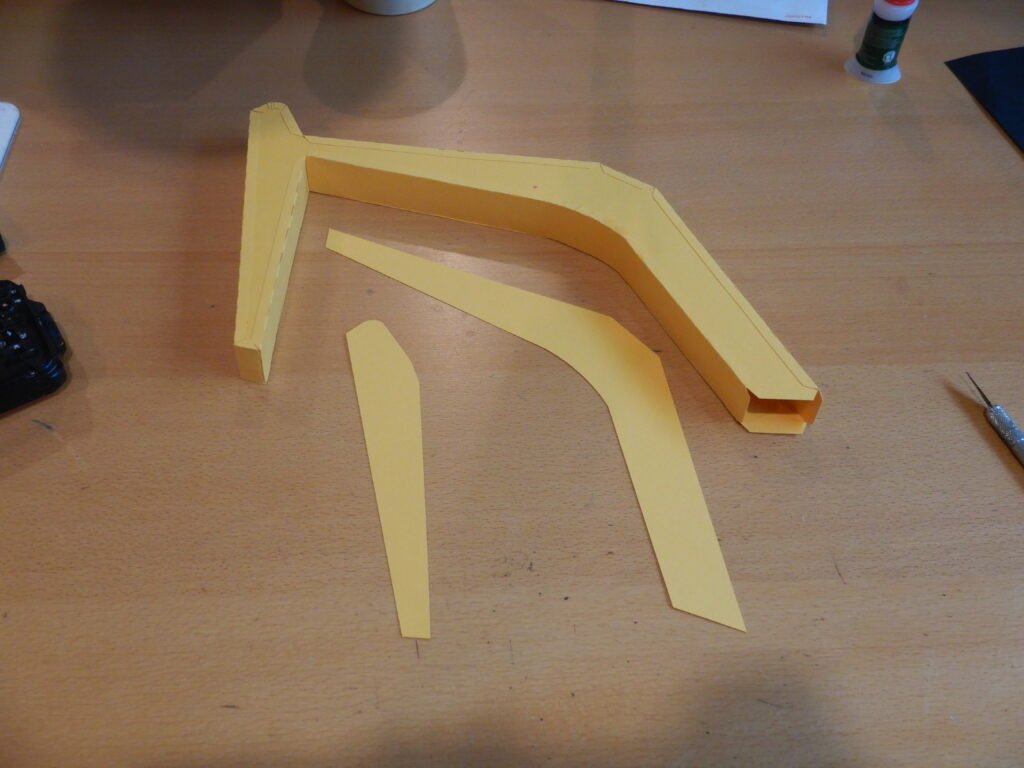
We then took the longest piece (you can start anywhere though) and folded the tabs in on one side, added glue and placed it, making sure that one end was snugly placed in the bend of the excavator arm. Make sure you have the flat arm panel snug into the fold of the side panels. Once you have one side panel placed, work on the next one. They will all connect to each other, except at the bottom of the excavator arm. This end remains open as those tabs will be used to attach it to the cab base later.
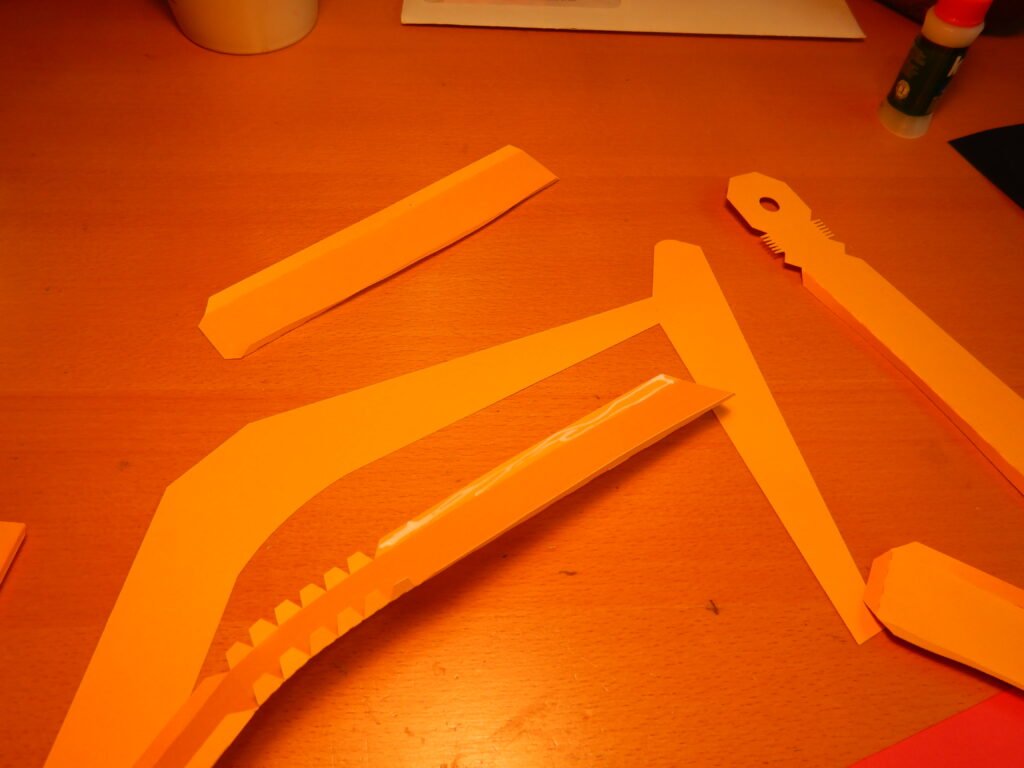
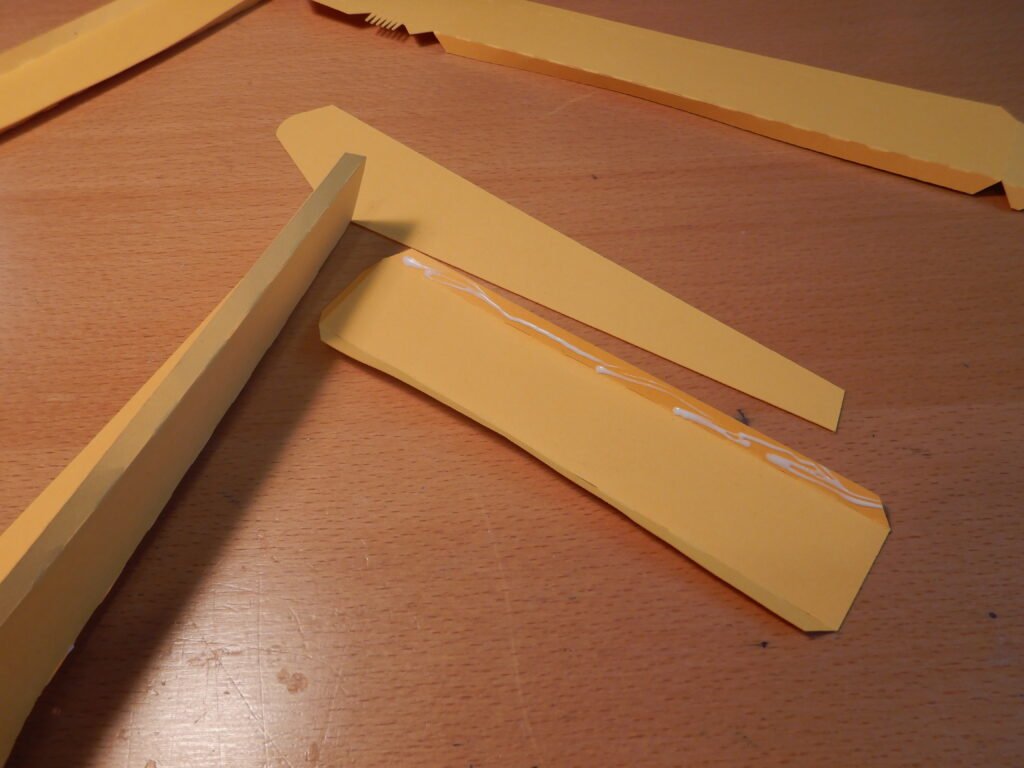
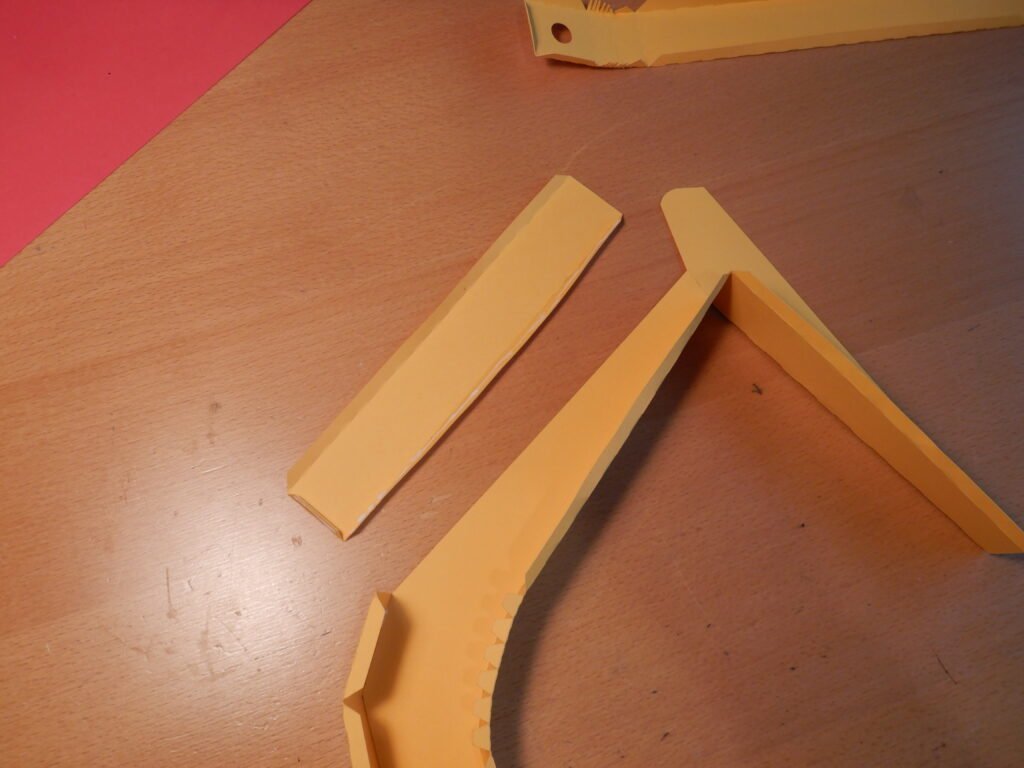
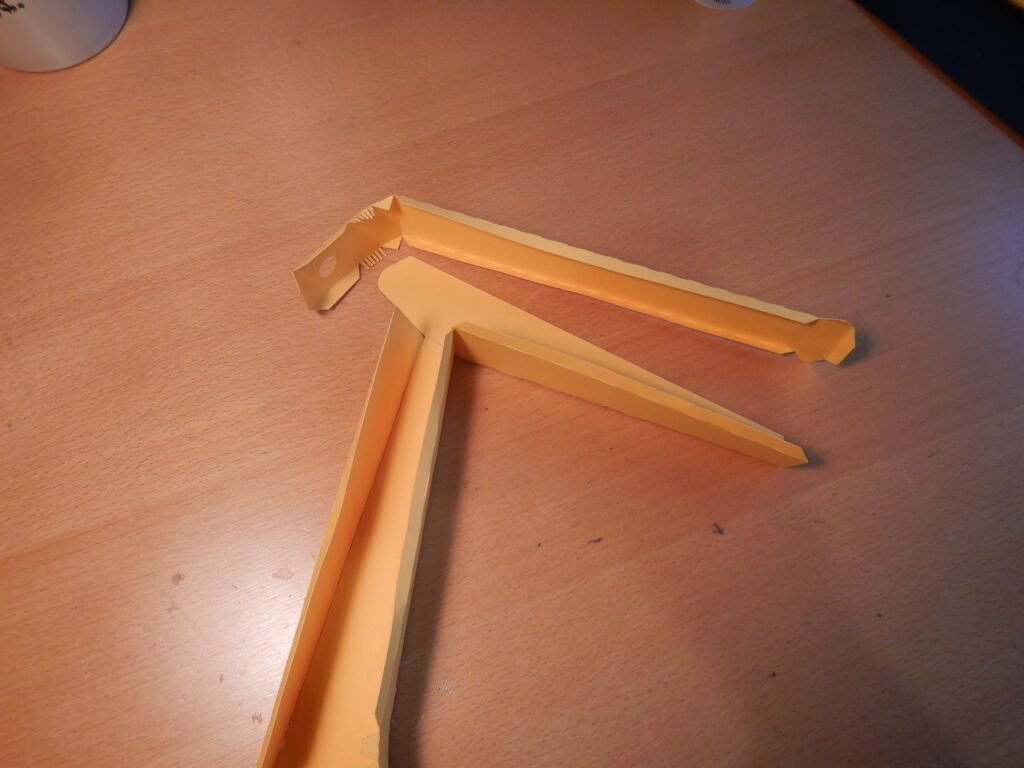
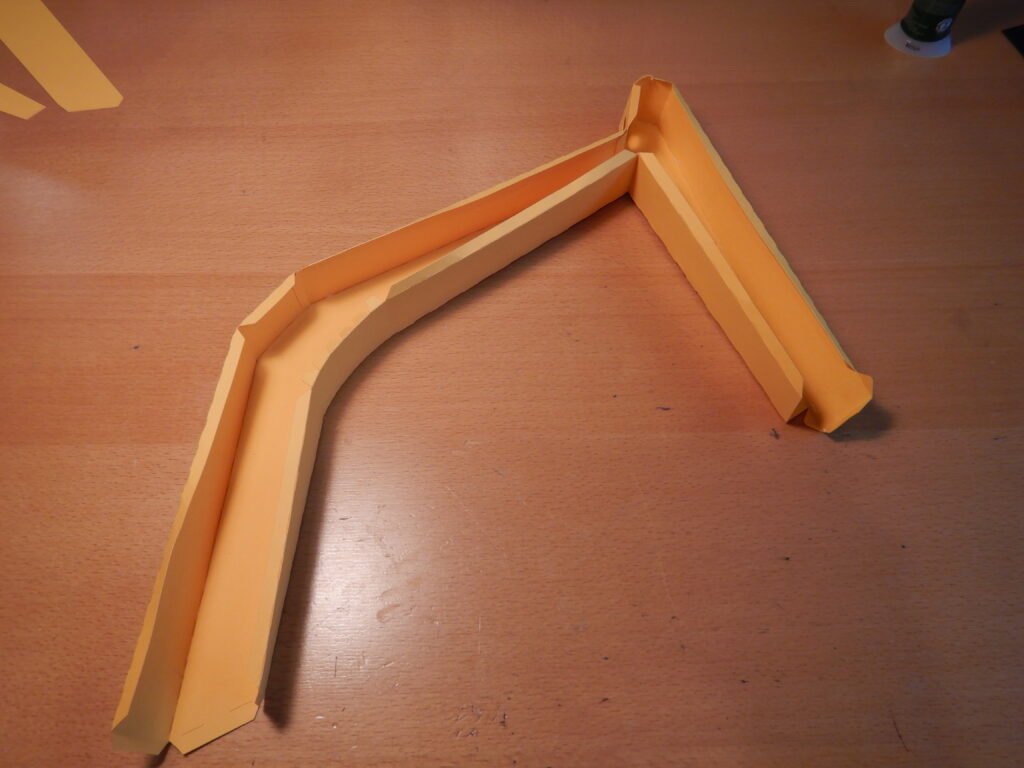
Once one side is complete, you can close off the shape with the other two flat arm side panels. Add glue to one or two tabs at a time and work your way around. There’s a small tab that connects these two panels together to prevent any gape in the side of the excavator arm. You can attach the two pieces with this before starting or wait as we did (see photos). Either is fine. There are decorative panels for both sides of the excavator arm so any exposed tabs will be covered.
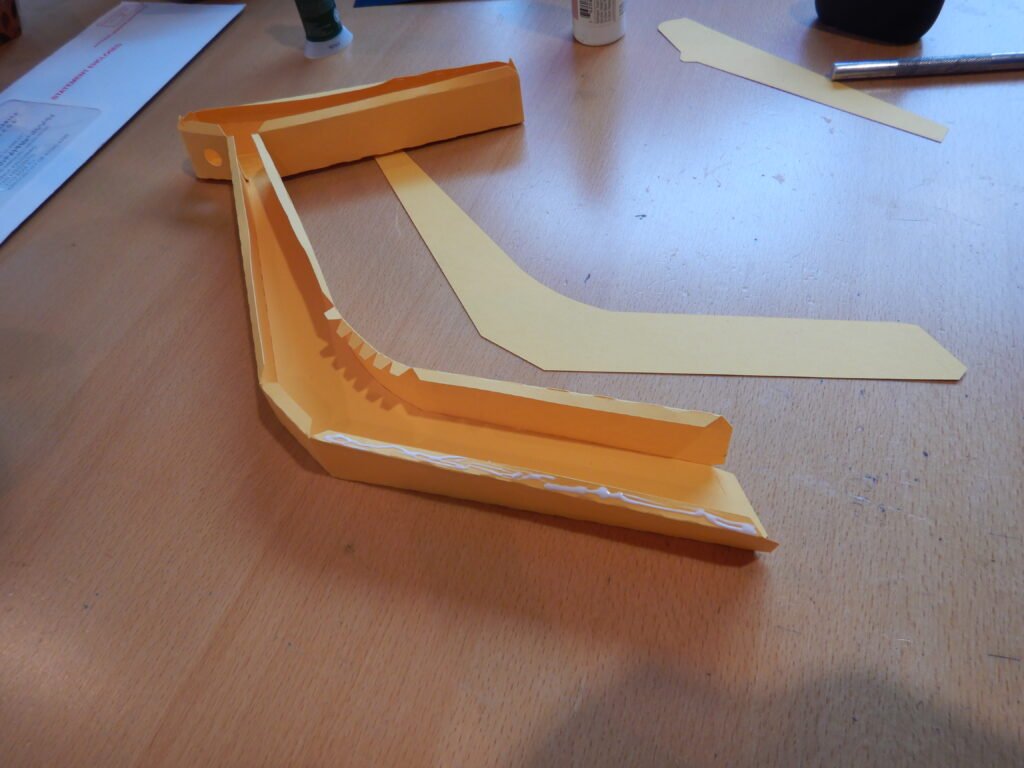
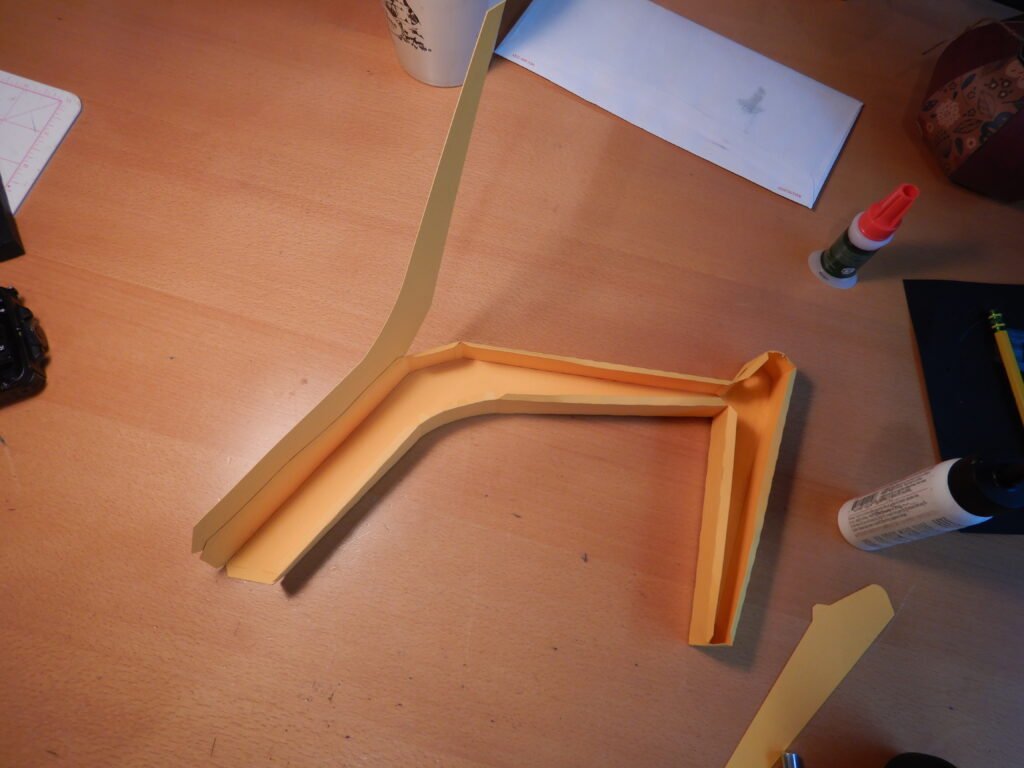
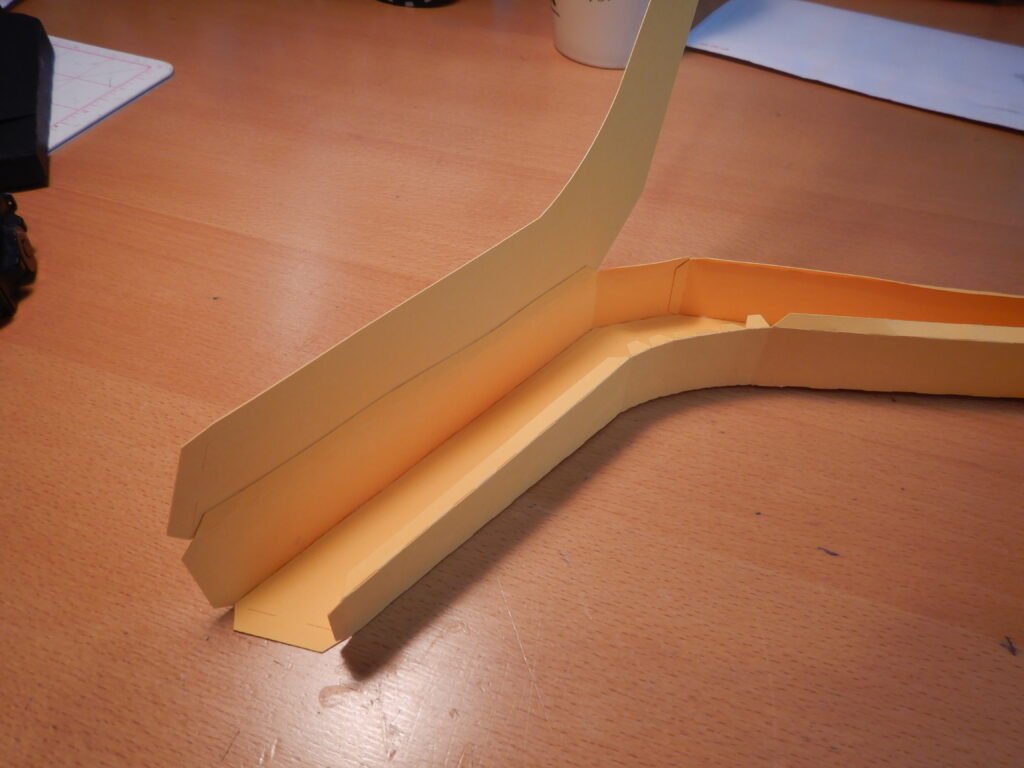
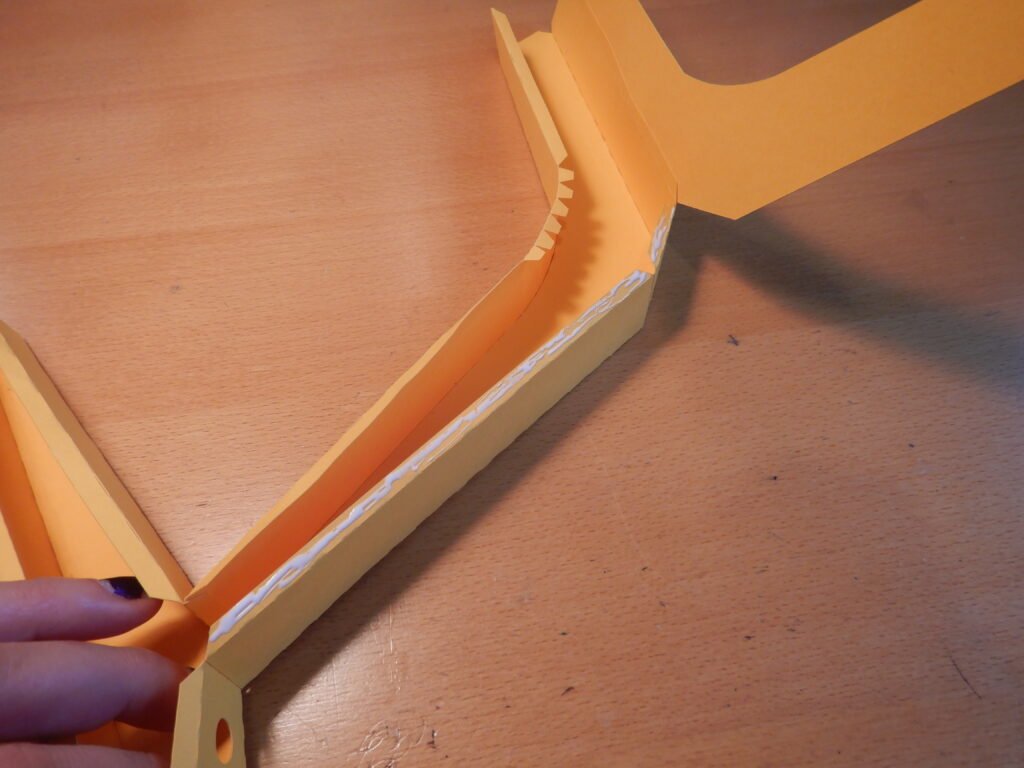
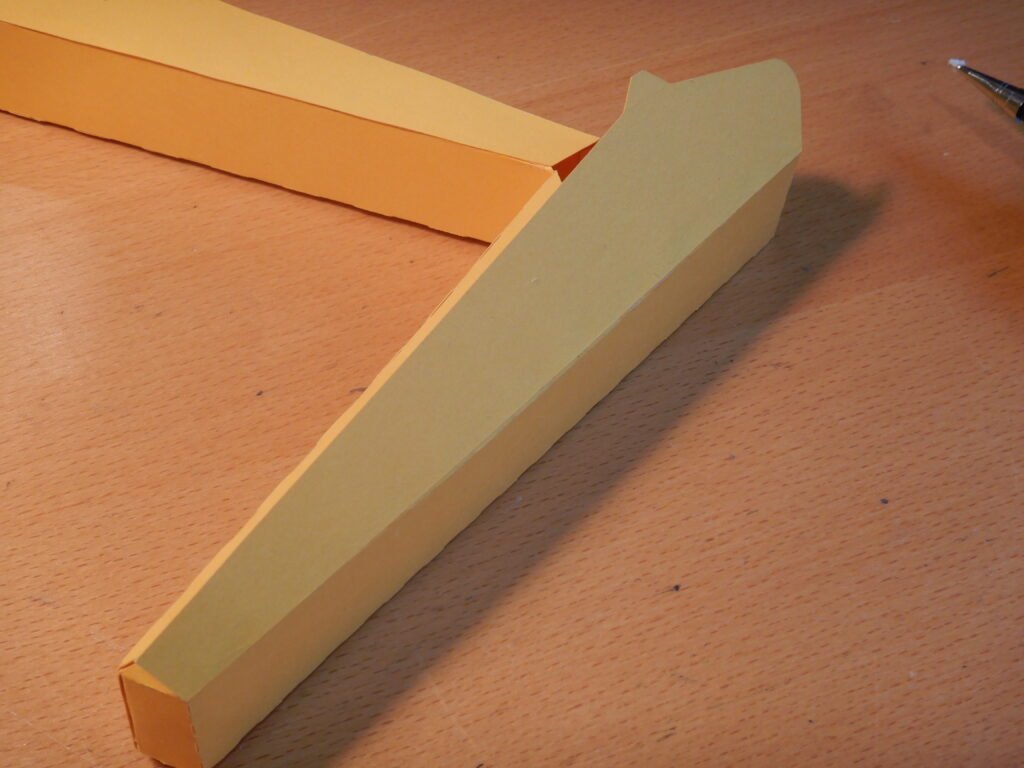
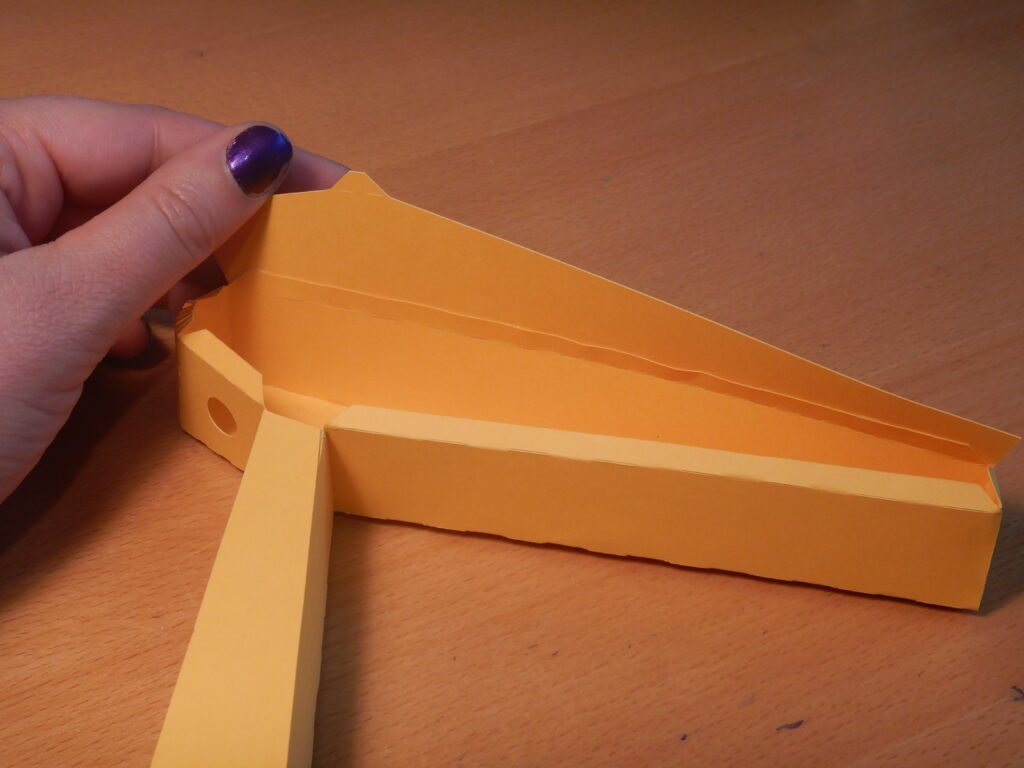
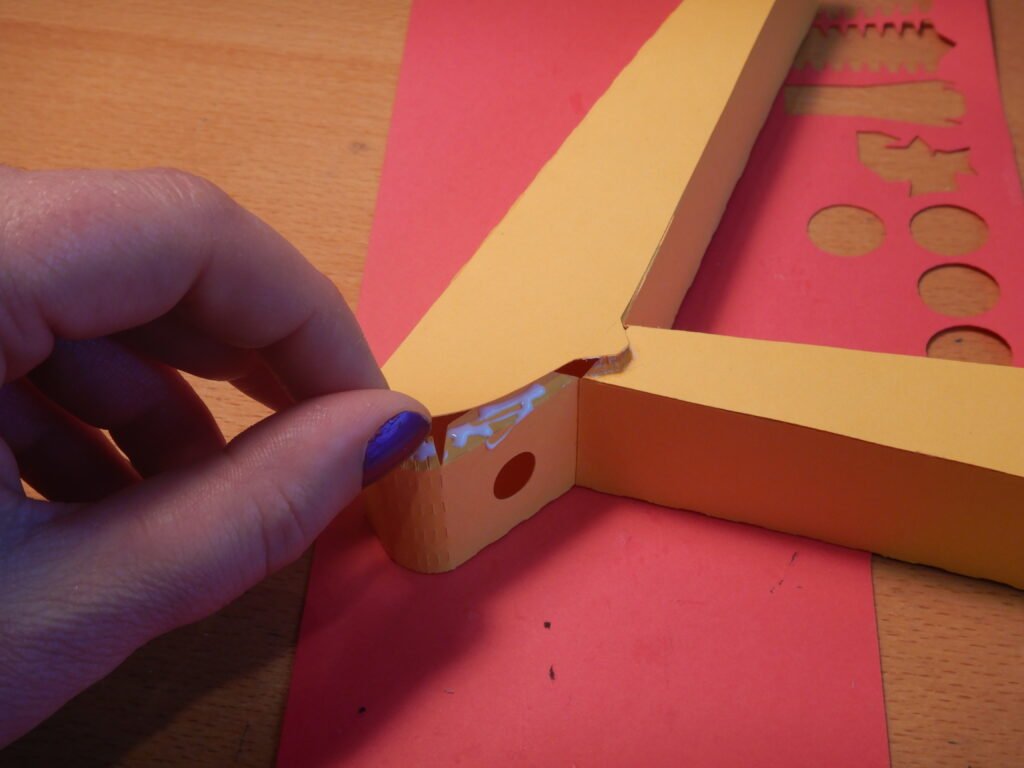
To finish the arm shape, we added the two decorative panels on each side. These panels don’t have tabs on them and can be decorated with a name, age, event, etc if desired. The panels will cover any exposed tabs giving both sides of the arm a clean and smooth look.
Making The Hydraulic Brackets
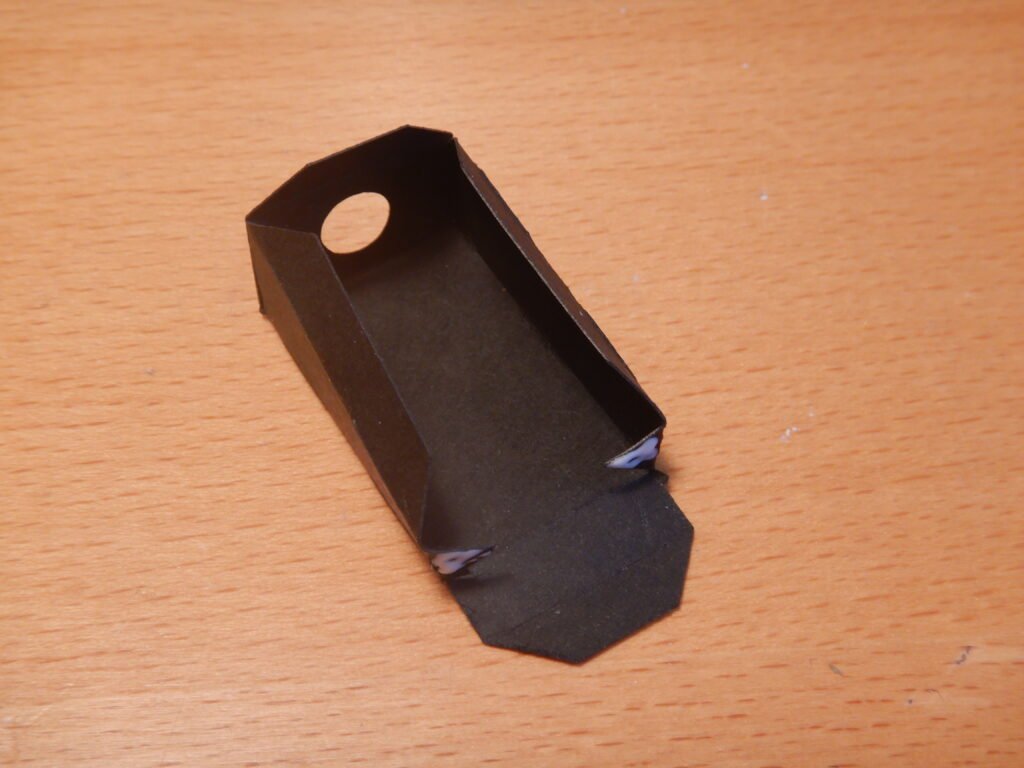
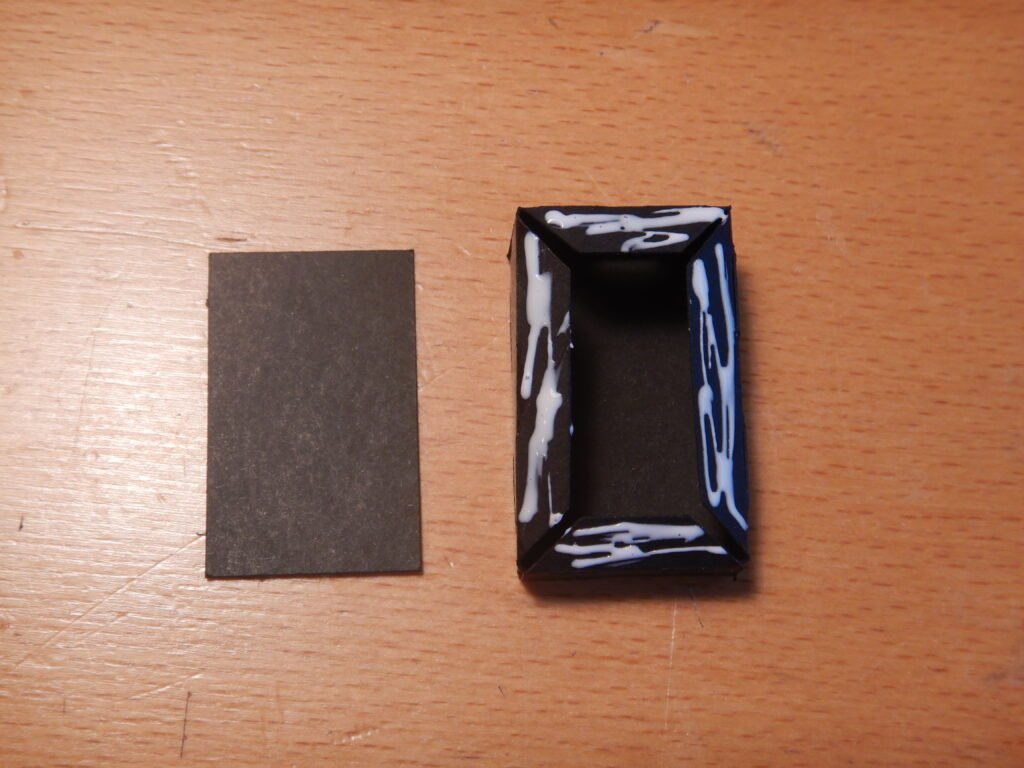
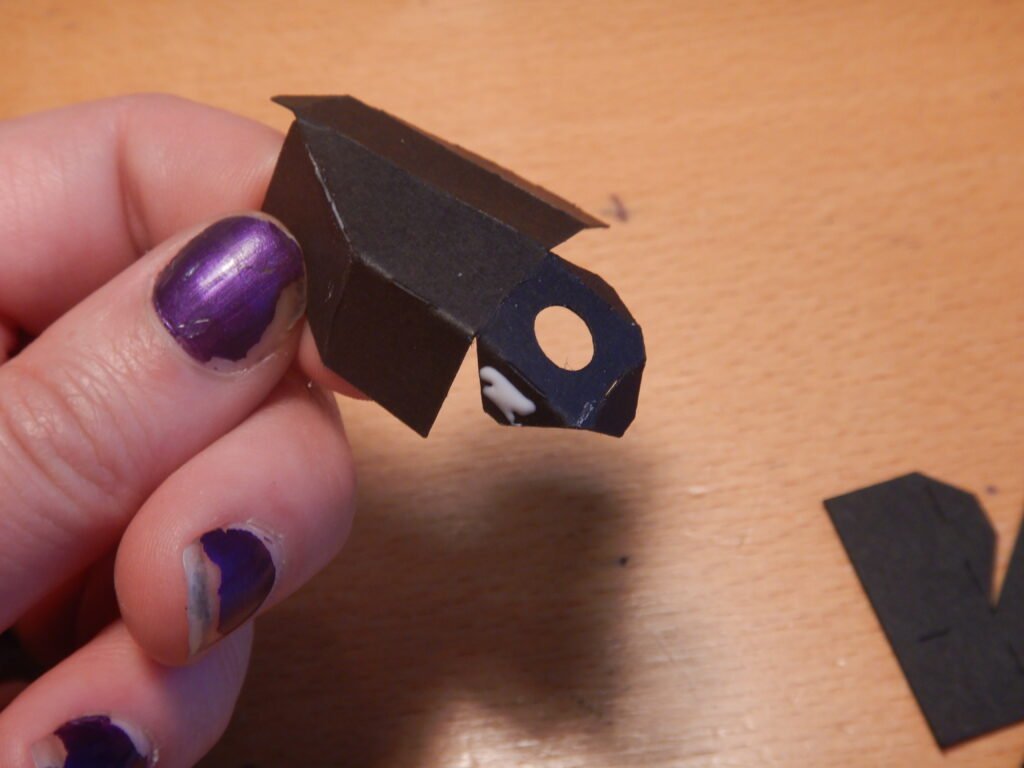
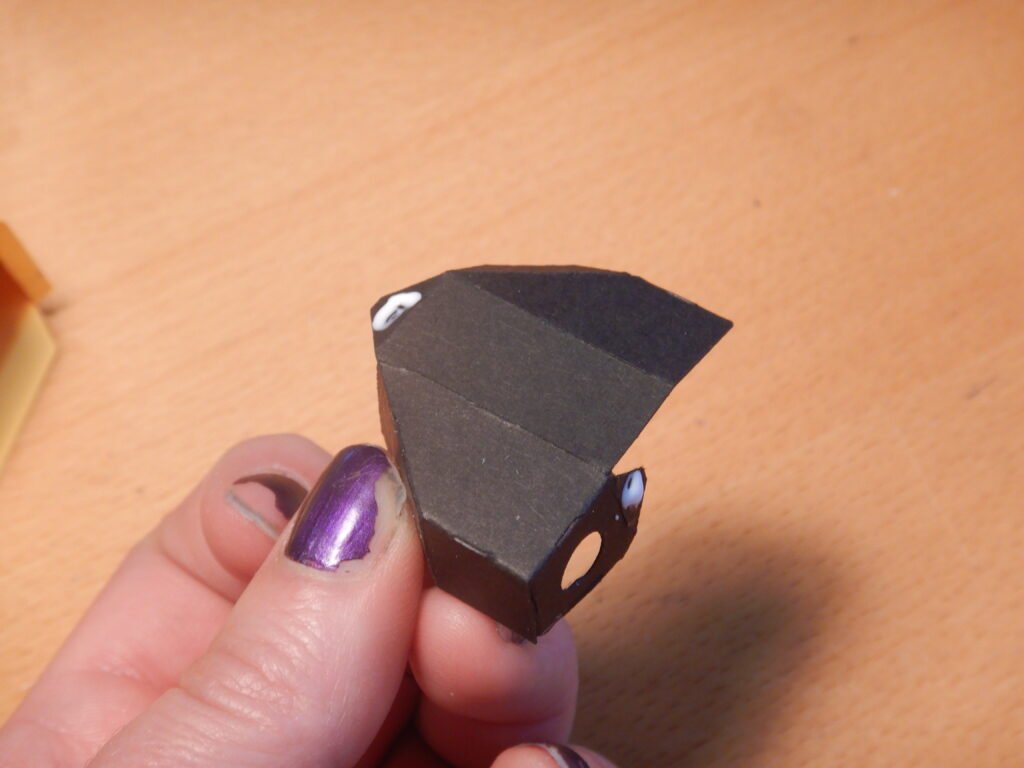
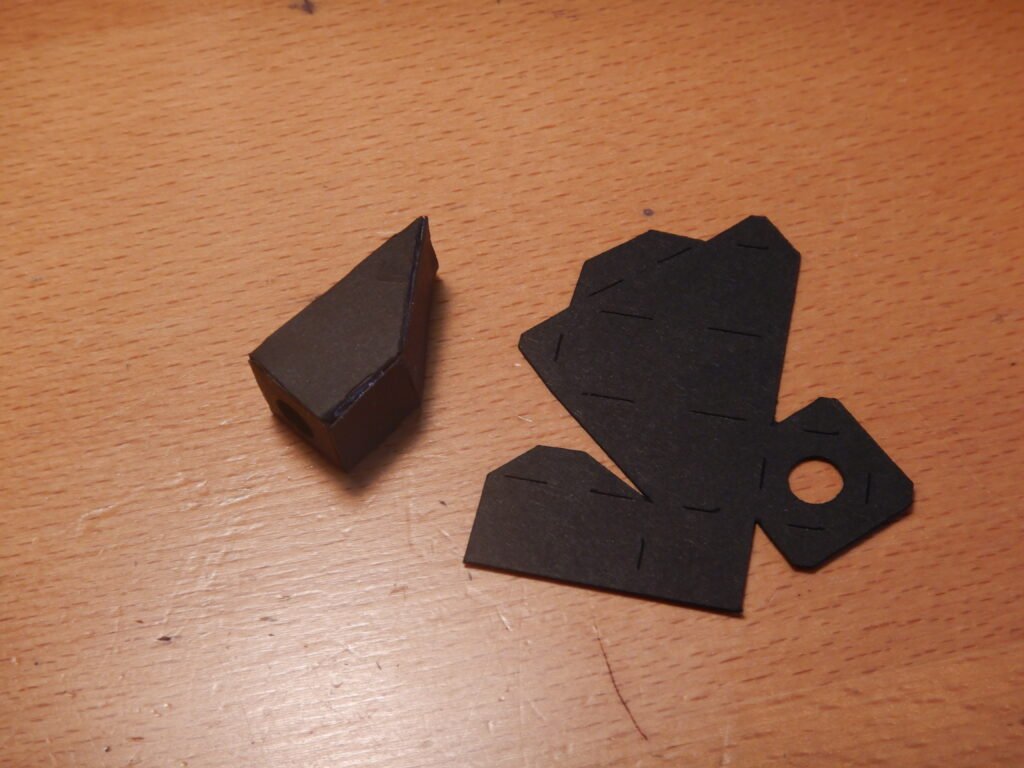
Before attaching the arm to the base panel, we assembled and attached the hydraulic brackets. There are four of them. The first (largest one), fold in on each of the score lines and attach the tabs to create a triangular shape. This is closed on the back with a rectangular panel.
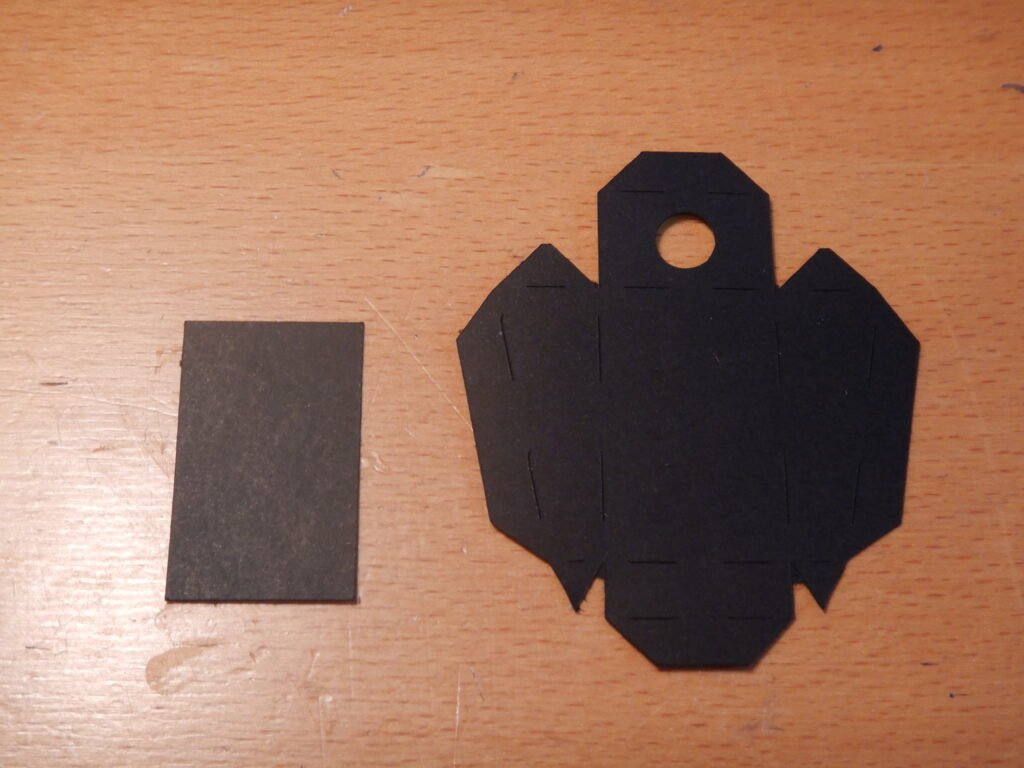
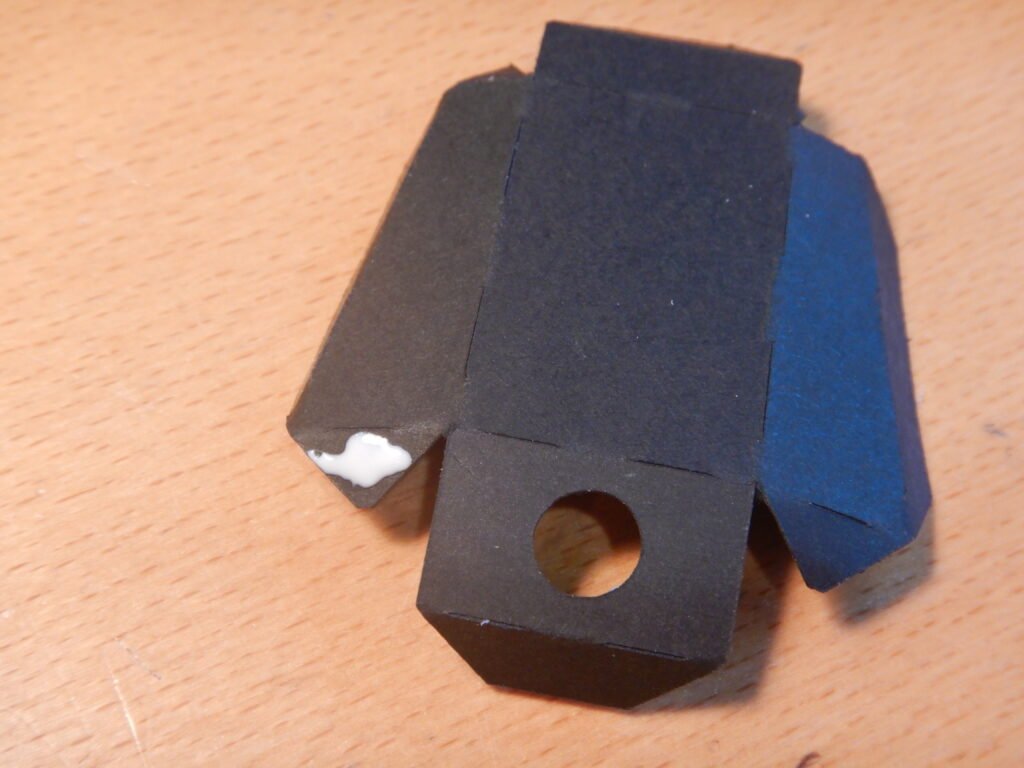
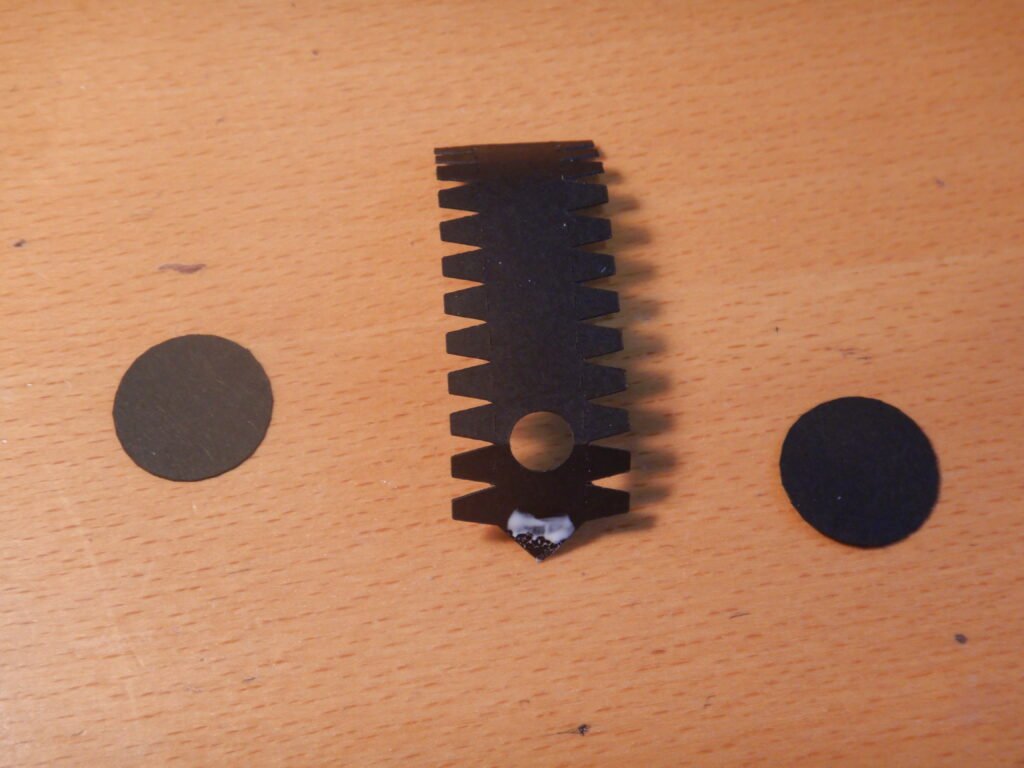
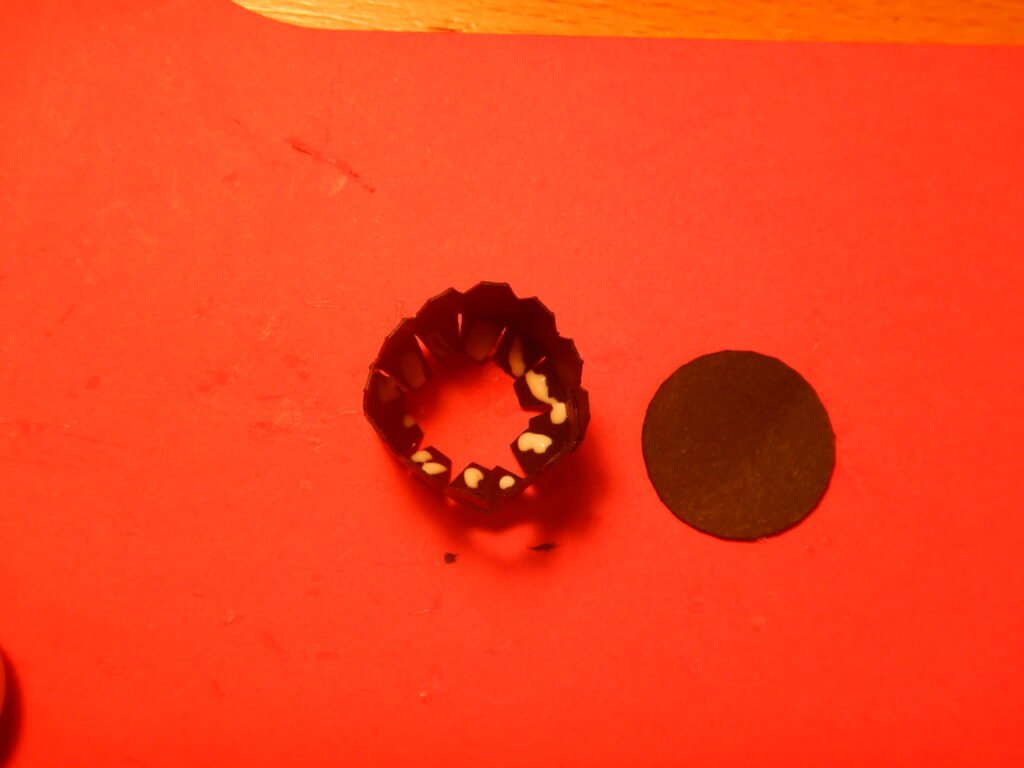
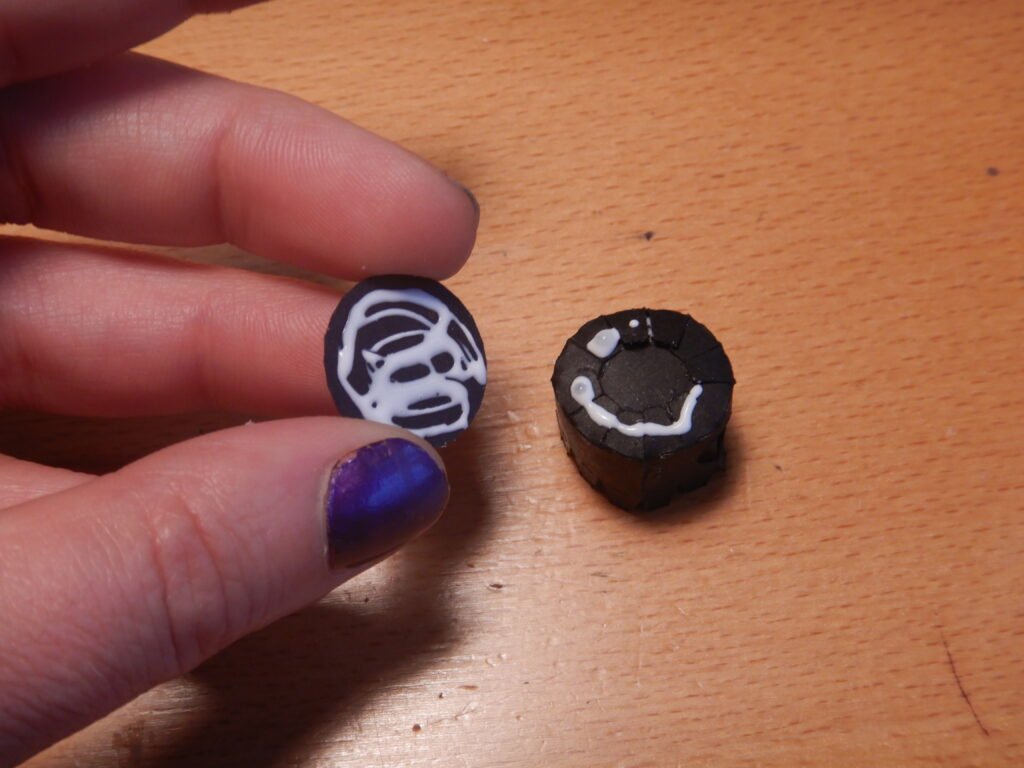
The round bracket is constructed with three pieces. Take the long panel and glue the tab on one end to the other to make a circle. Once this is secure, fold in the tabs on one side (either side can be closed off with the circles, it won’t matter which side you choose), add glue, and press the circle in to help create the round shape. You may need to use a pencil or something to push down on the disk to attach it to the tabs and be sure it’s fully in place. Once this is done, turn the shape over and glue the other circle in place, covering the exposed tabs.
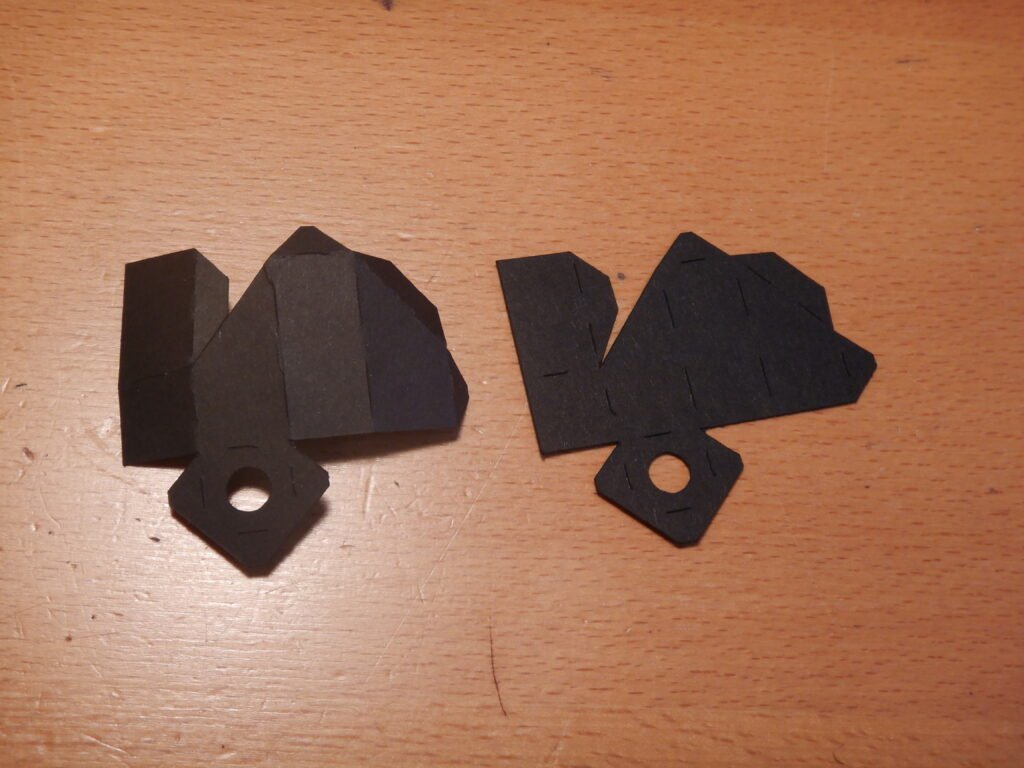
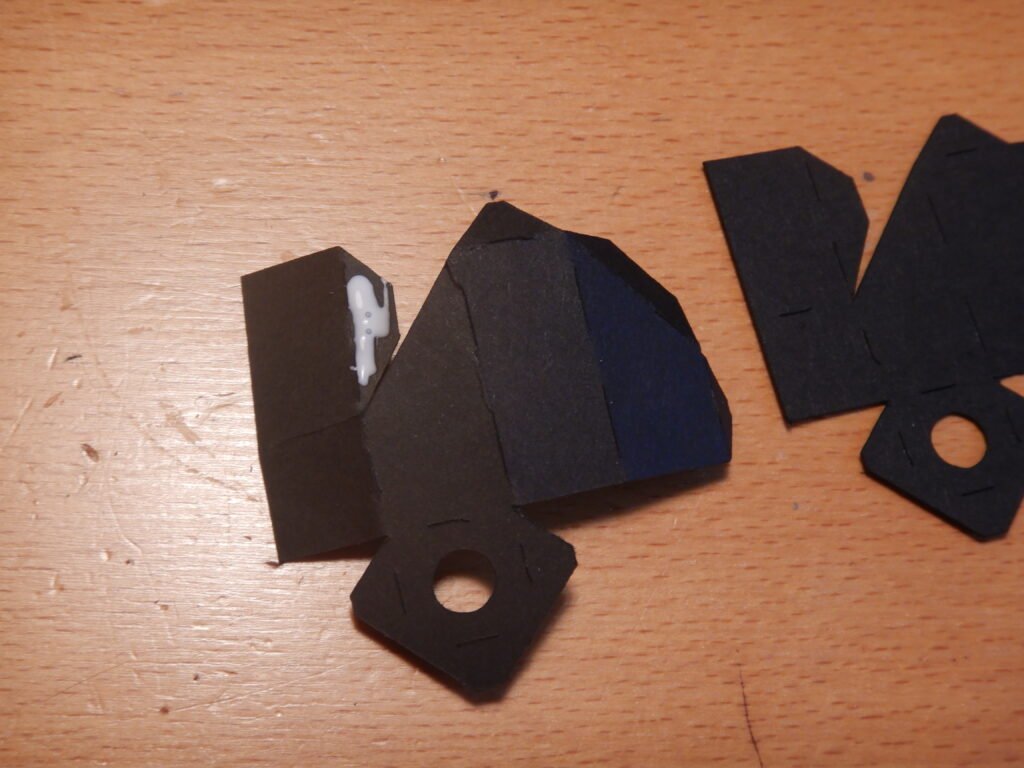
The final hydraulic holder, is assembled as below. There are two of them for the arm. Fold in on the score lines and attach with the tabs to create a wedge shaped box.
Building The Bucket
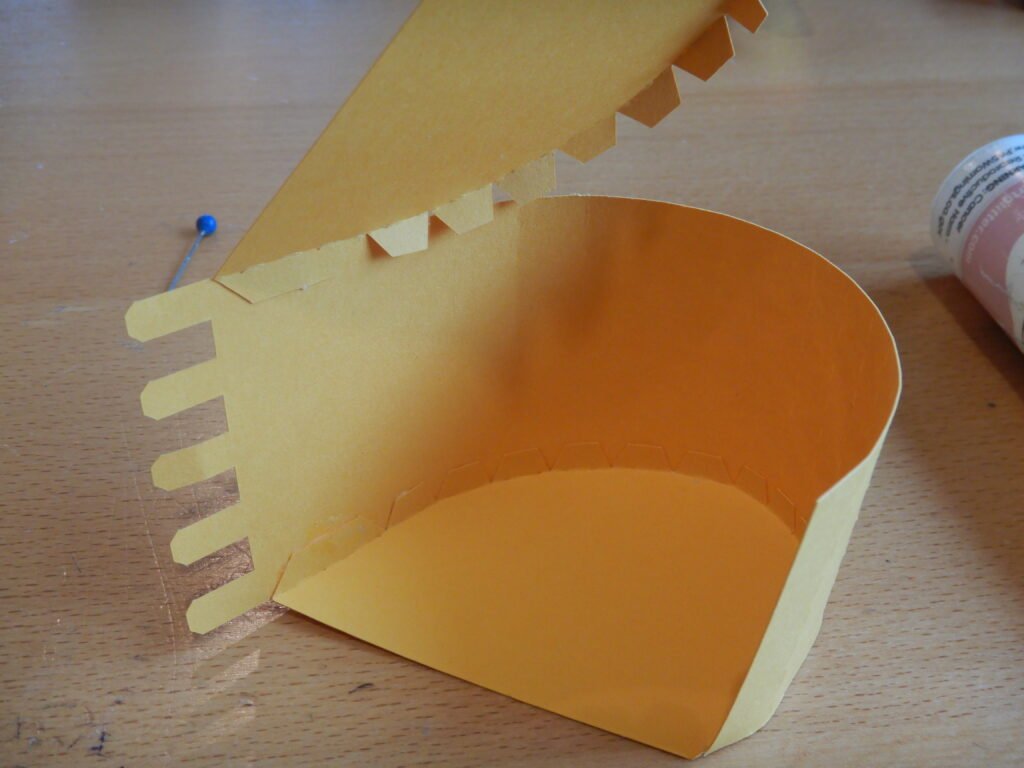
To assemble the bucket takes three pieces. One for each side and one that makes the curve. Start by folding the tabs on the side pieces Add glue to the one tab to get the ends lined up right, then you can add glue and attach a few tabs at a time. We started with the longest tab and attached it by the teeth of the bucket.
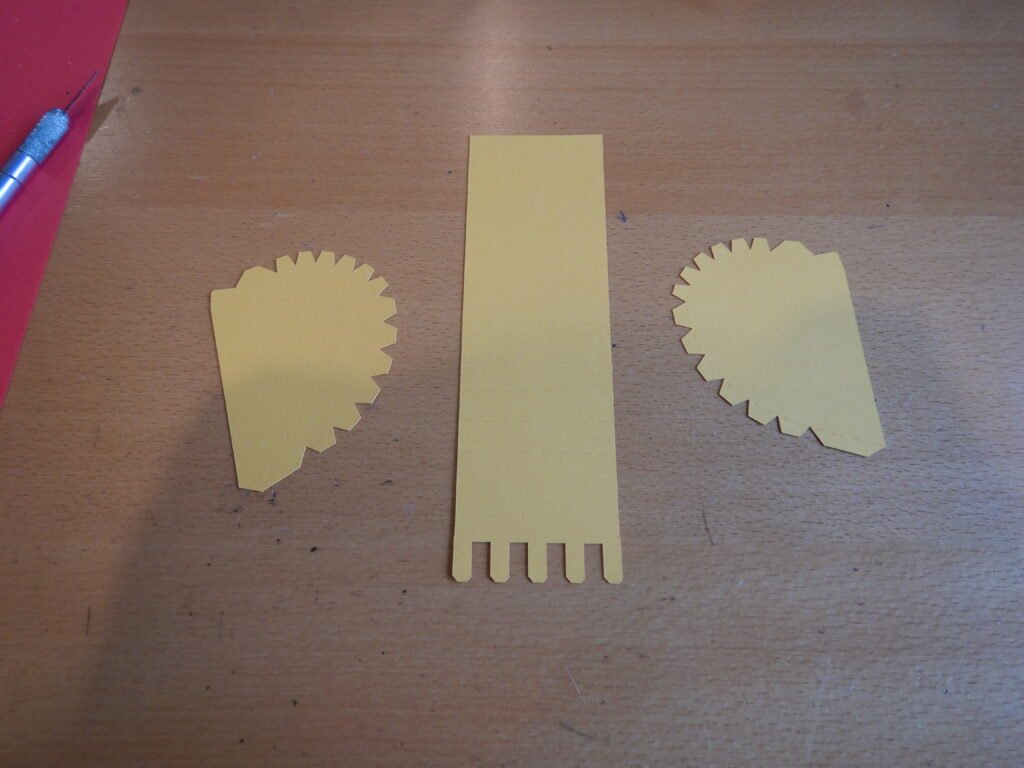
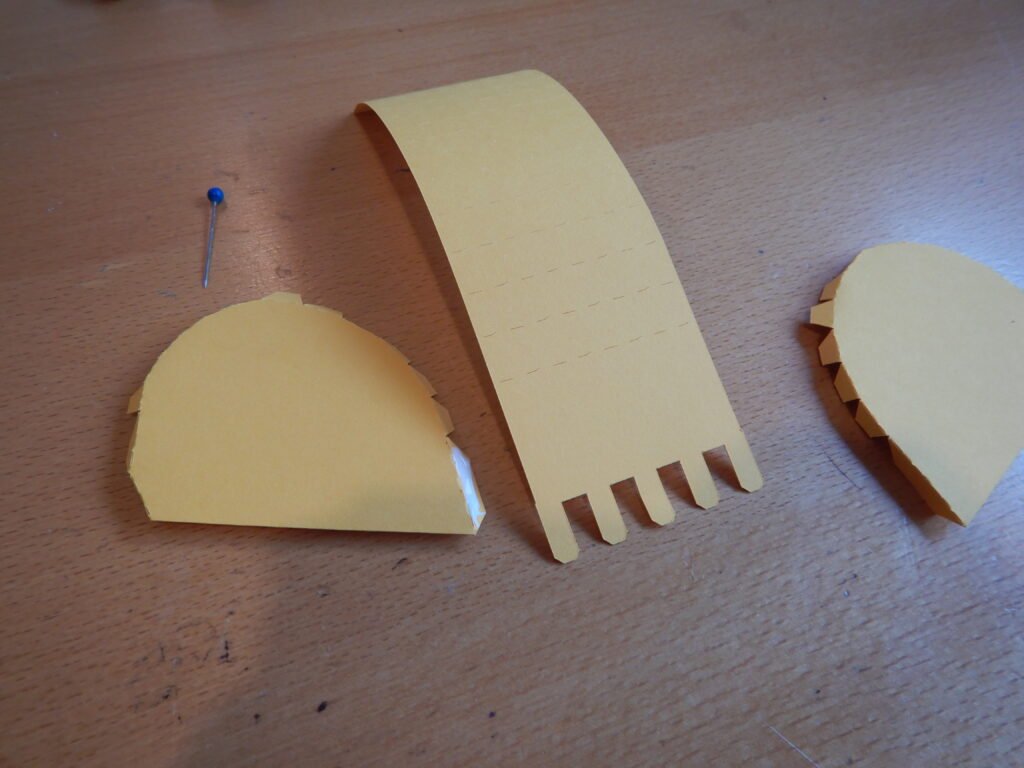
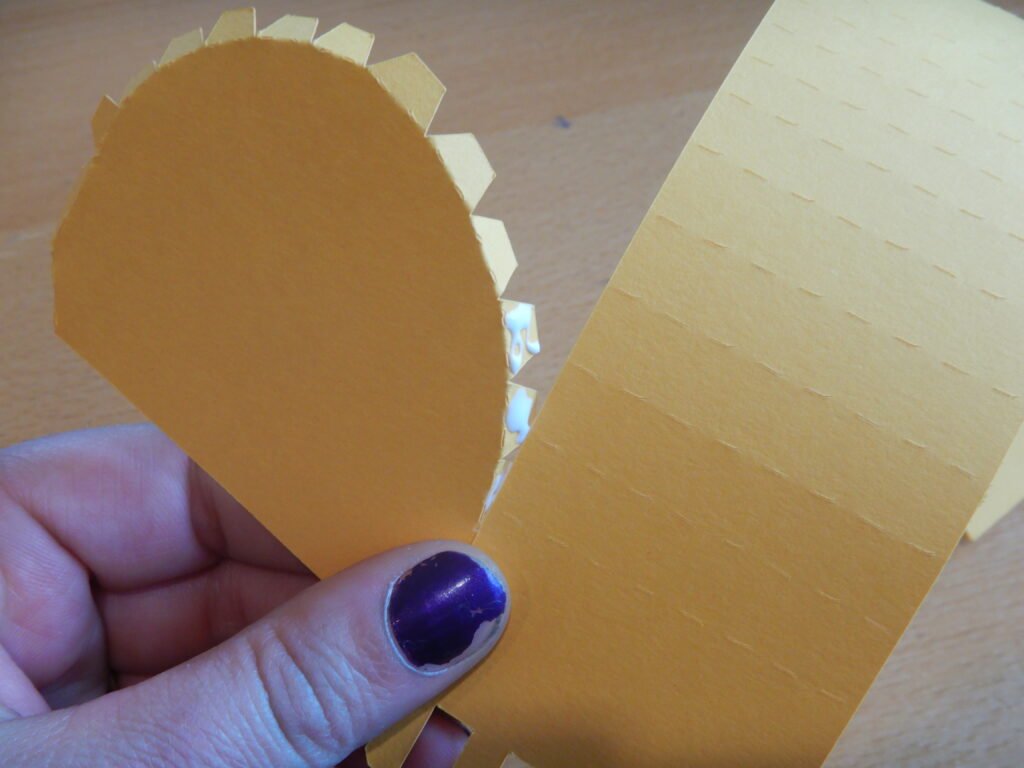
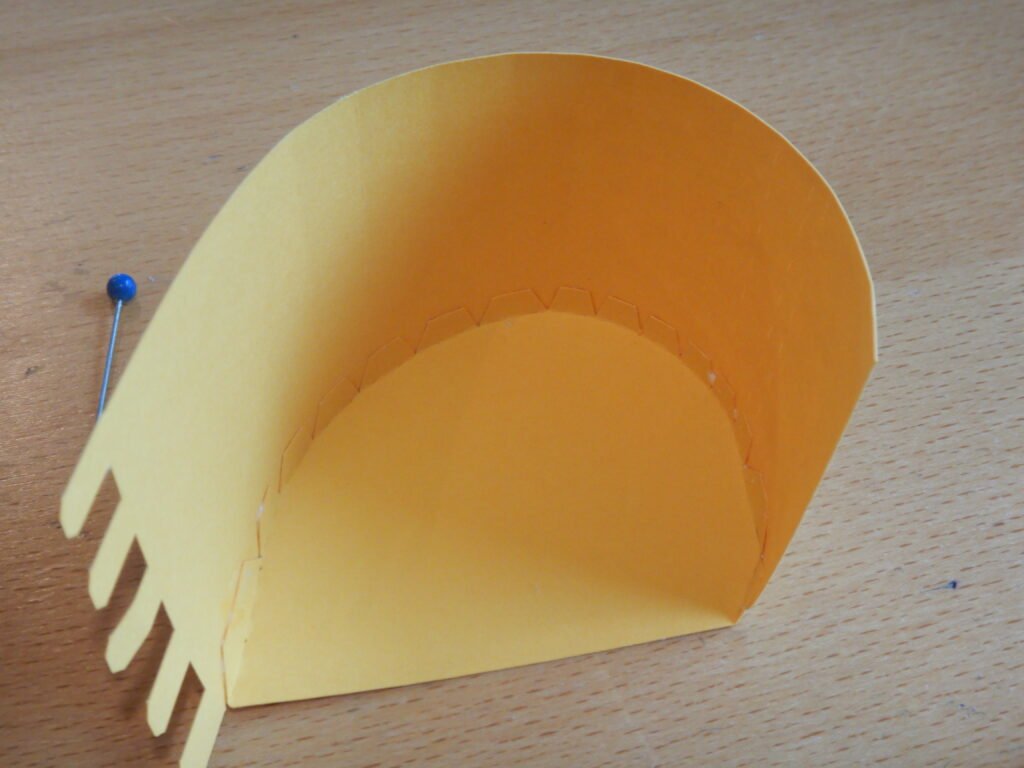
Once one side is done you can move to the other side.
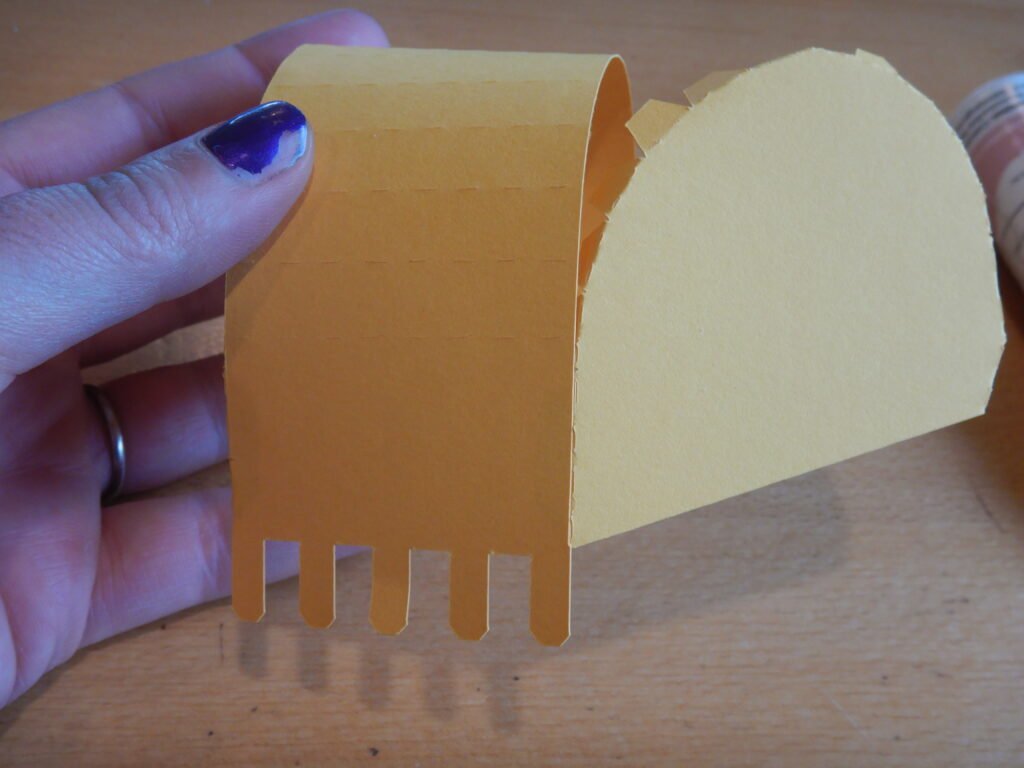
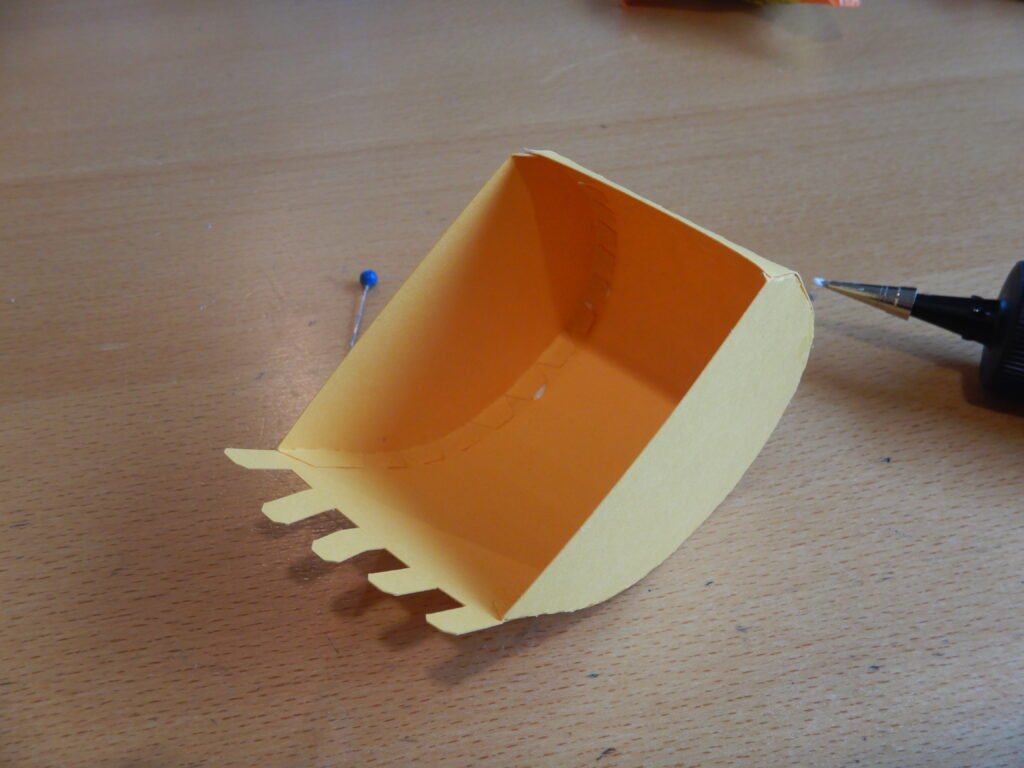
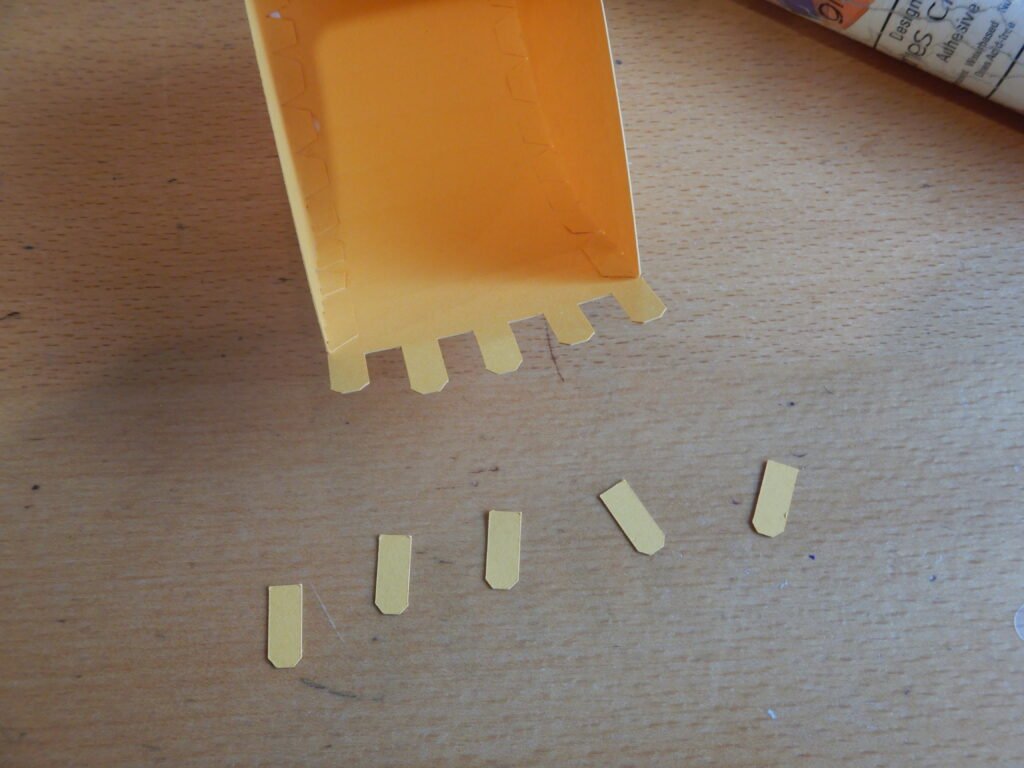
There are 5 teeth that you can choose to add to the bucket if desired. We chose to add them and color them green but you can do them in any color. Adding them gives the teeth a little extra strength so they are less likely to get bent while finishing construction of the excavator or while moving it around for your event.
Attaching The Excavator Bucket
The next step is attaching the bucket. Add glue to the end of the excavator arm then center arm, lining the arm up flush with the edge of the bucket. Press it firmly onto the bucket. Be sure to provide some back pressure with your fingers so the bucket doesn’t get bent or deformed.
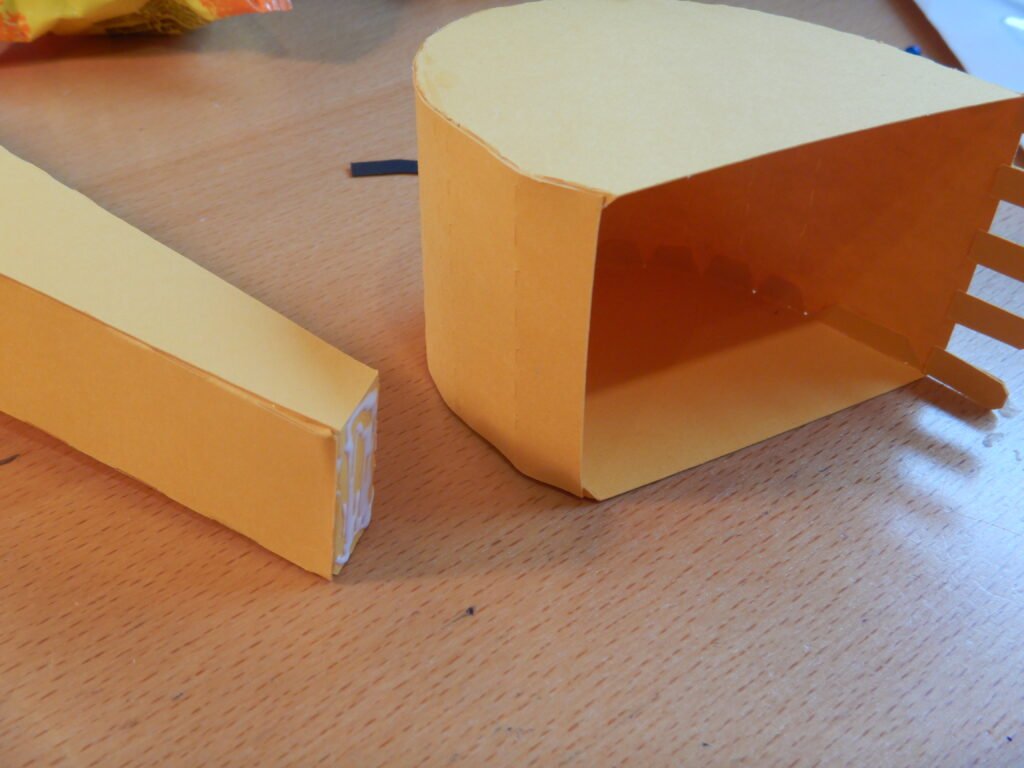
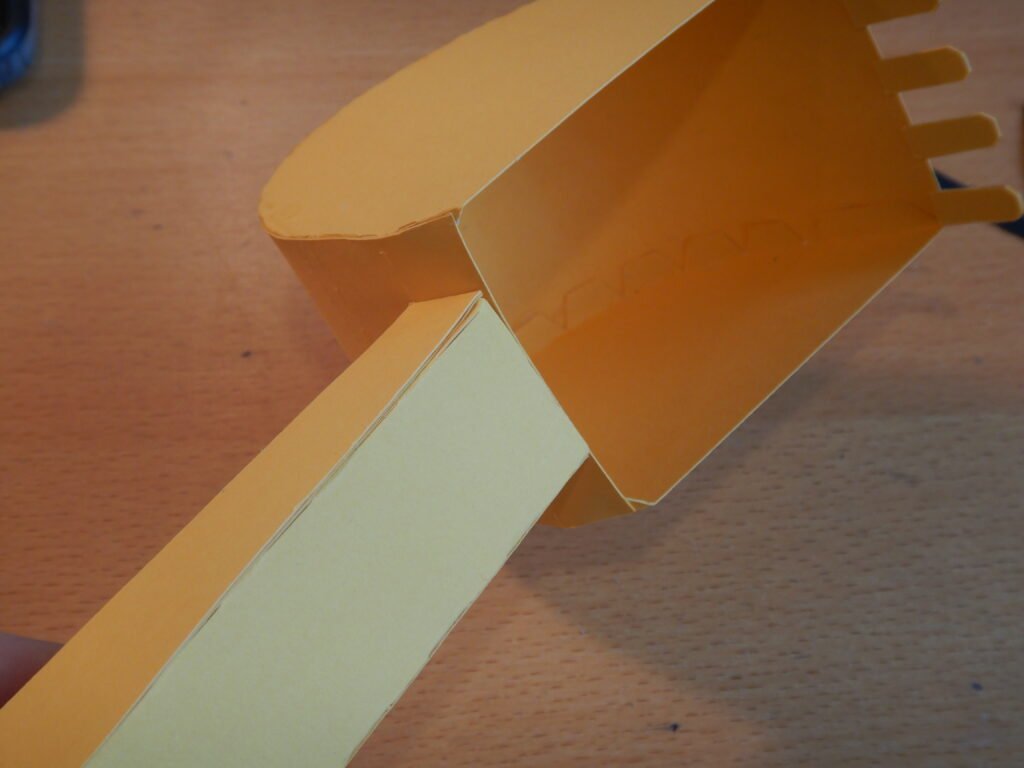
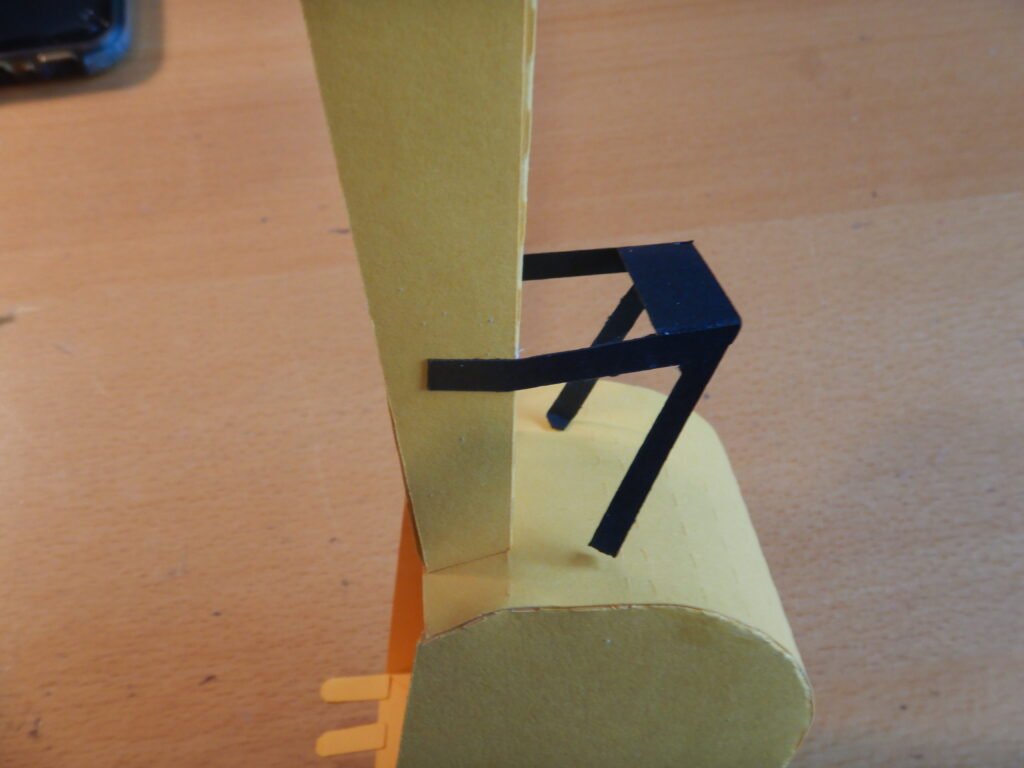
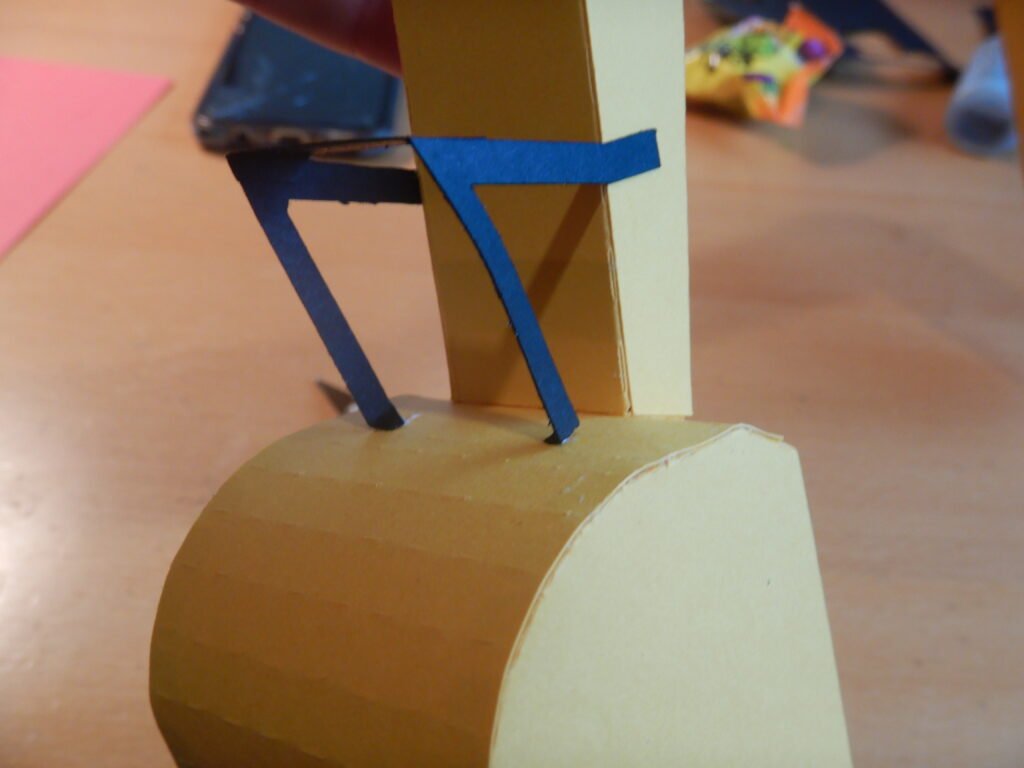
Next adding the black hydraulic bracing by the bucket. The bracing is made of three pieces. The two L shaped pieces have a very small tab, that end goes against the bucket, the other will be glued to the arm of the excavator. Frist, glue the middle panel to each of the L panels so that the middle bracket will be horizontal with the bucket when attached. In the photo below on the right, the bracket is in the center, the “L” that will be on the arm is on the top and the tabs are below, one in my hand.
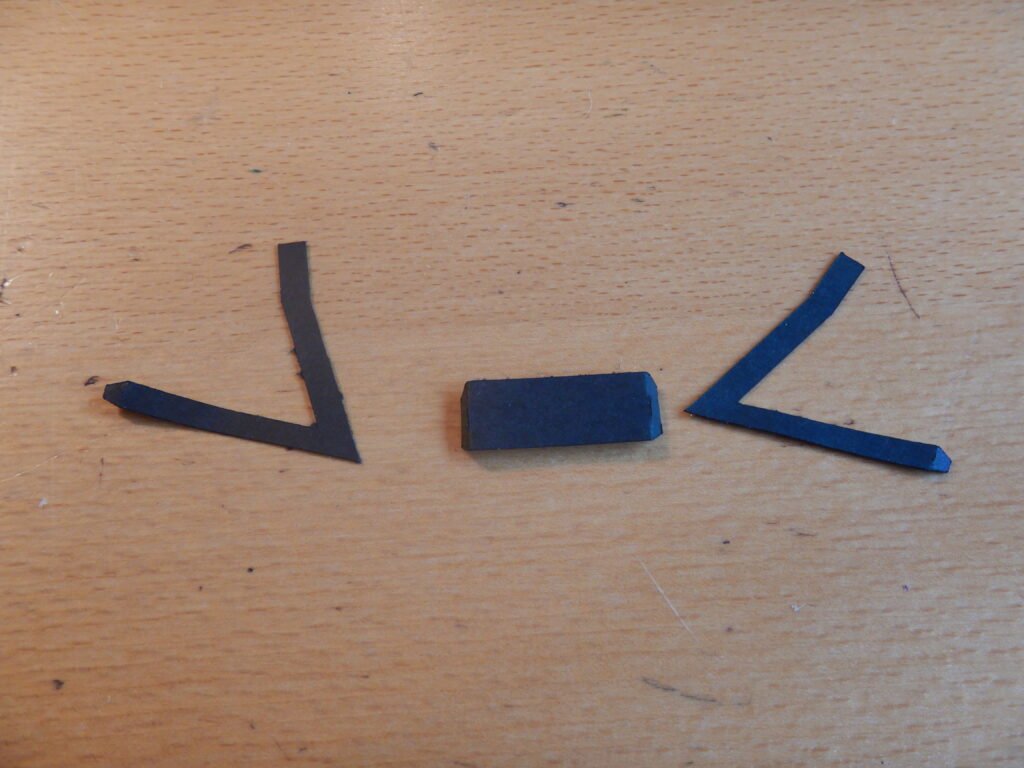
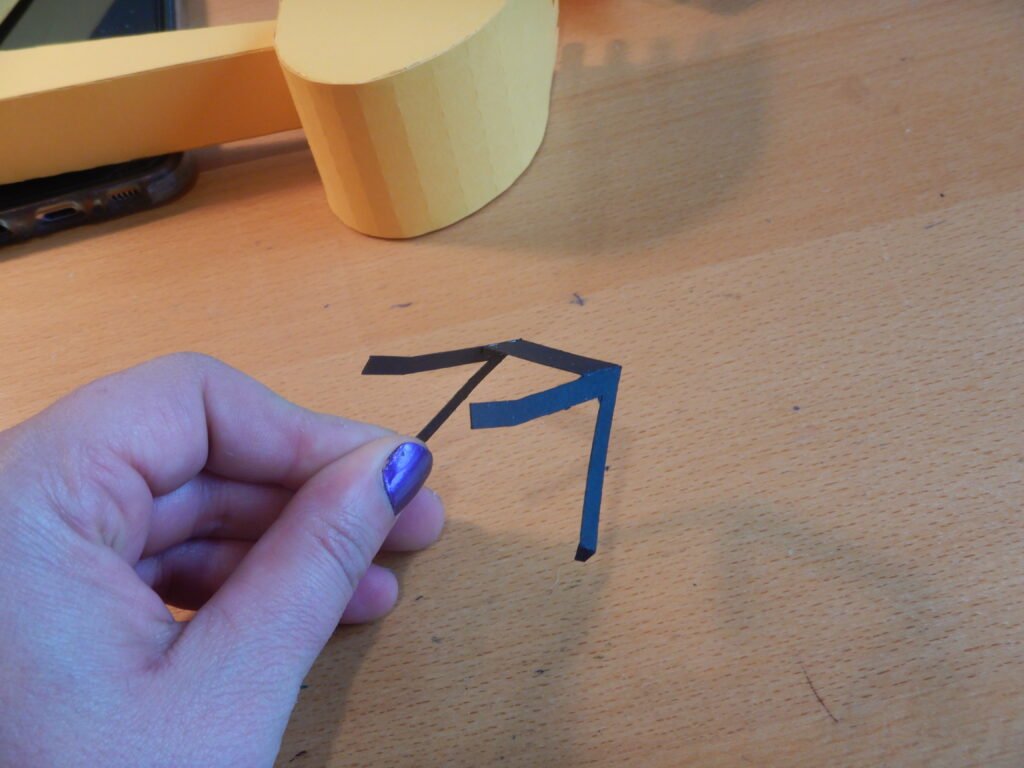
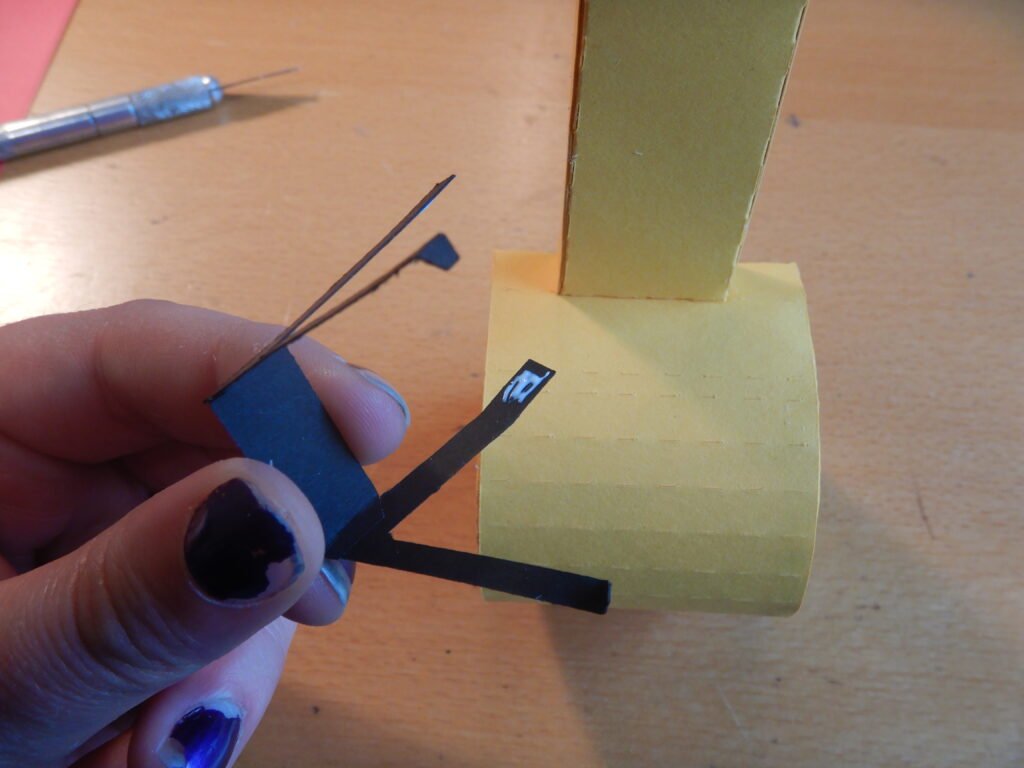
Next is to add a little glue to the tabs and to the L portion that will go on the bucket. Place the tabs on the bucket then attached the other end to the arm.
Attaching They Hydraulics
We then took the circular hydraulic holder and attached it to the excavator arm as shown. Be sure to have the hole in the side of the holder aimed toward the bottom (open end) of the arm.
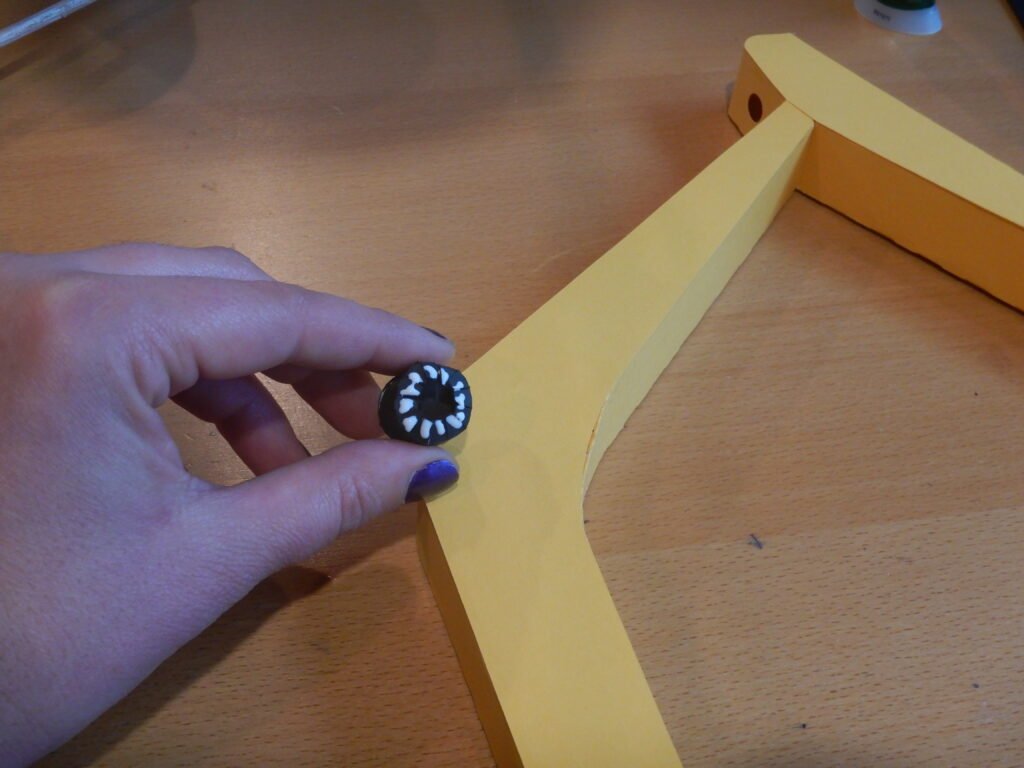
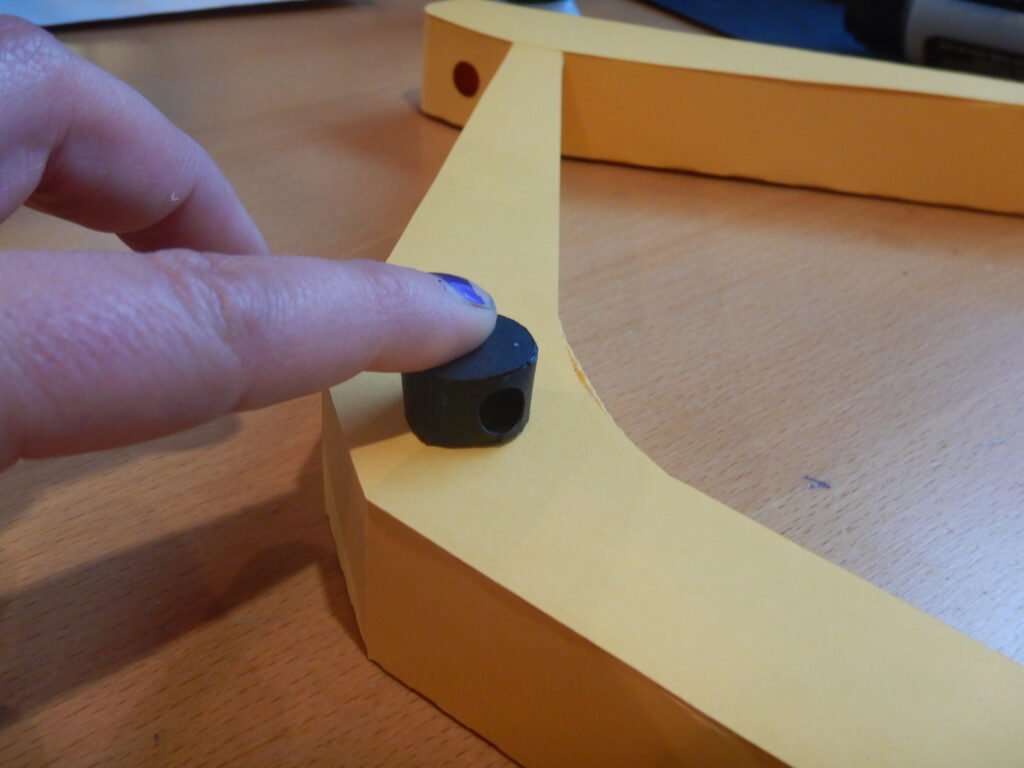
Next we added the hydraulic pieces to the excavator arm. When done it will look like this:
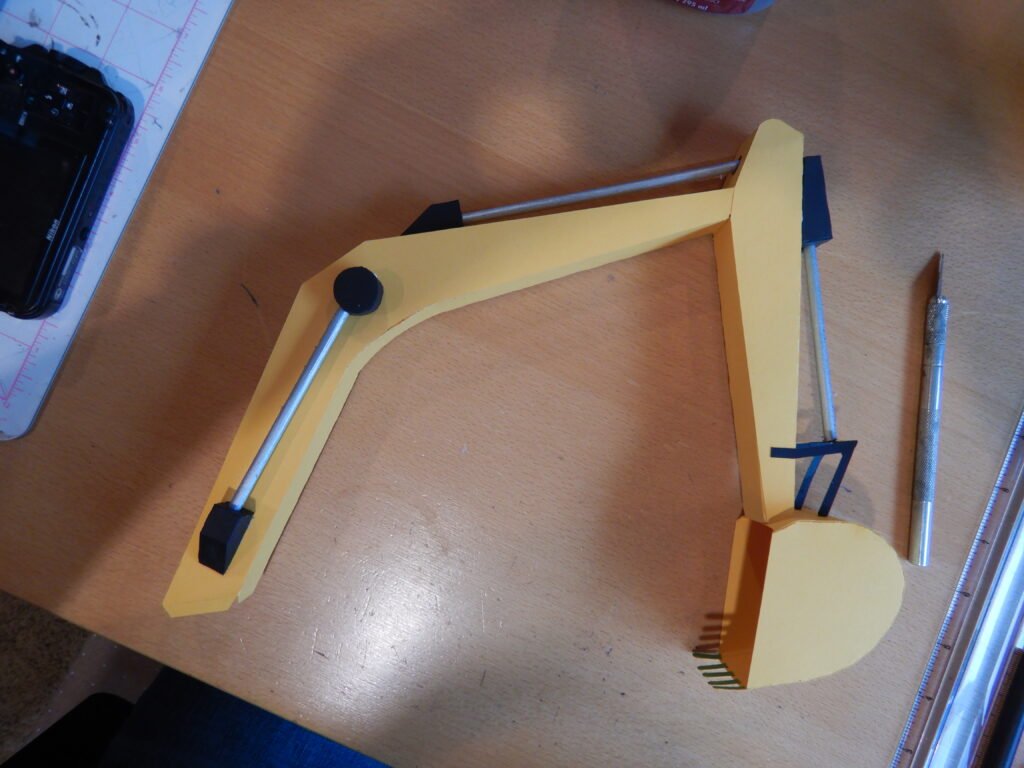
Using a 3/16” diameter wooden dowl, we painted it silver, then cut three pieces. One 6 inches long, the other two 5 ¾ inches long. Using one of the two smaller wedge shaped hydraulic holders, place one of the 5 ¾ inch dowels in it and insert the other end into the round holder already attached to the arm. Glue the flat side of the wedge to the arm, making sure it’s positioned so the dowel is in both holders enough that it won’t fall or slide out.
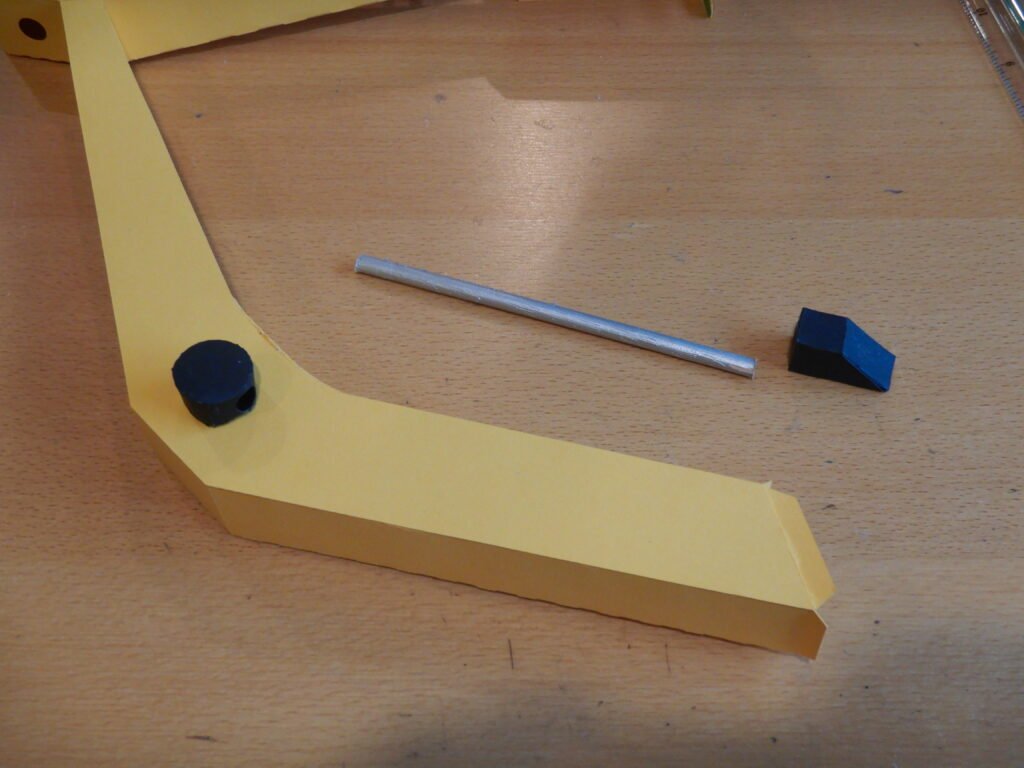
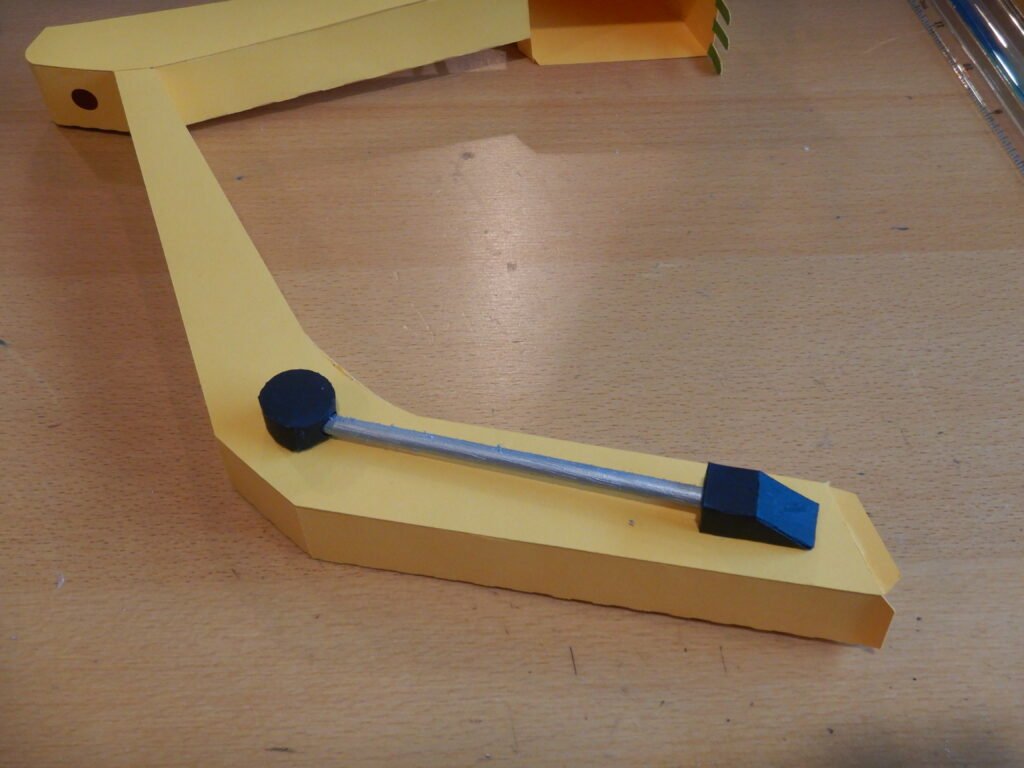
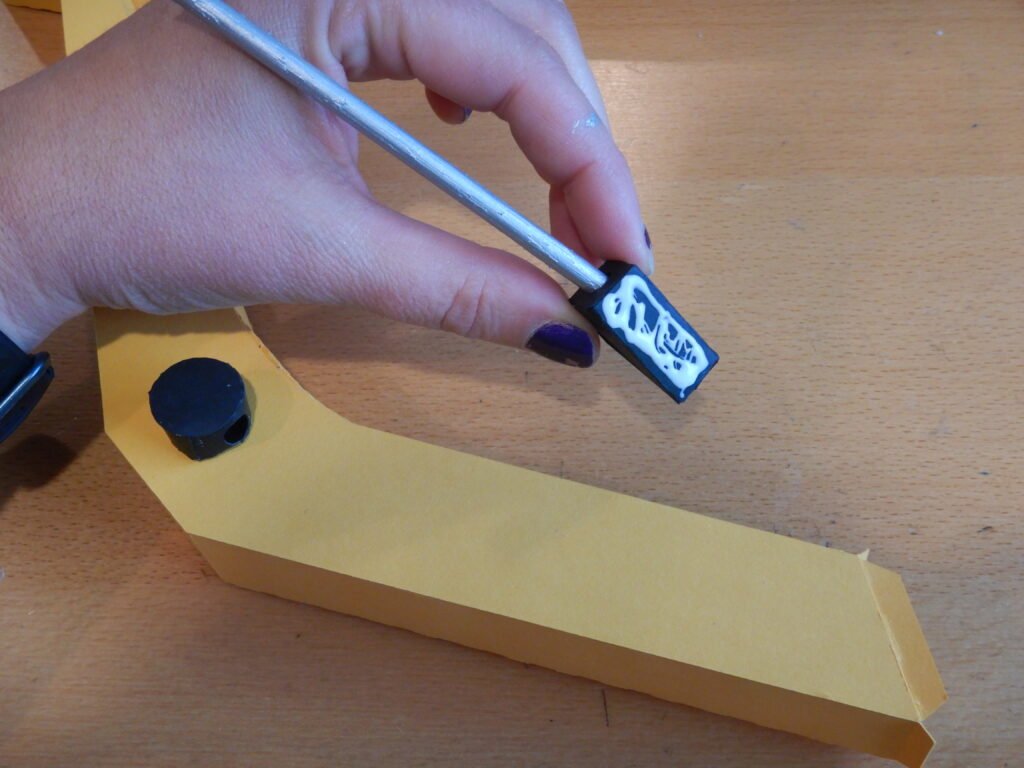
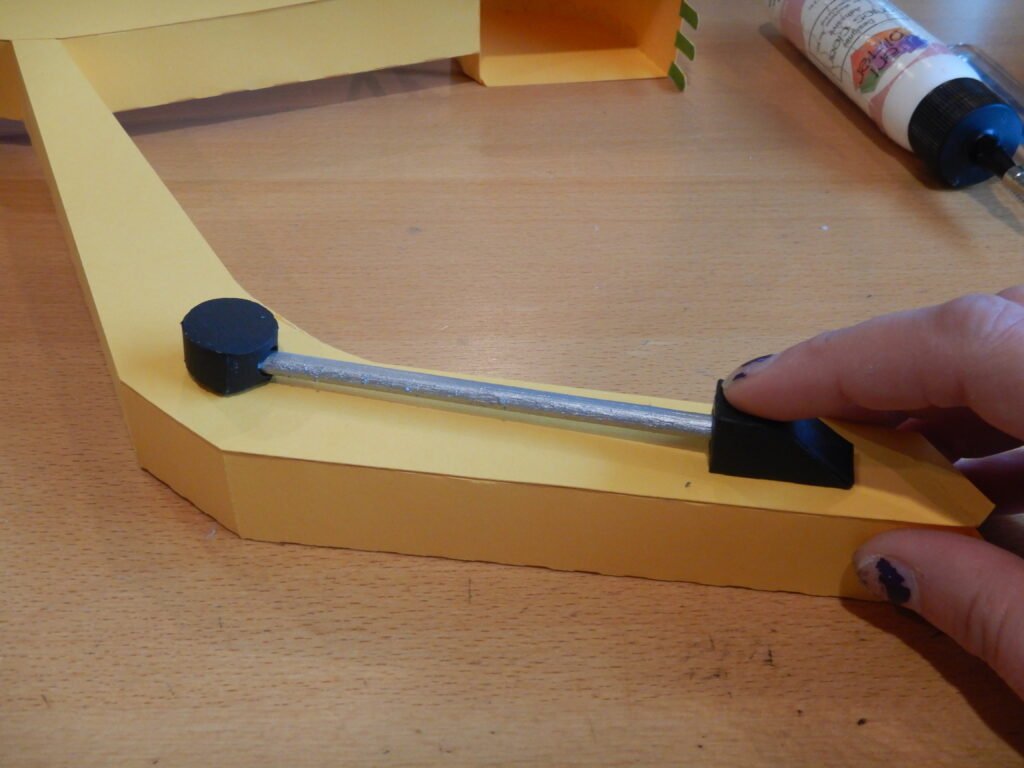
Using the other small wedge and the 6 inch dowl, repeat this process on the top of the arm, using the large hole in the excavator arm for the other end of the dowel.
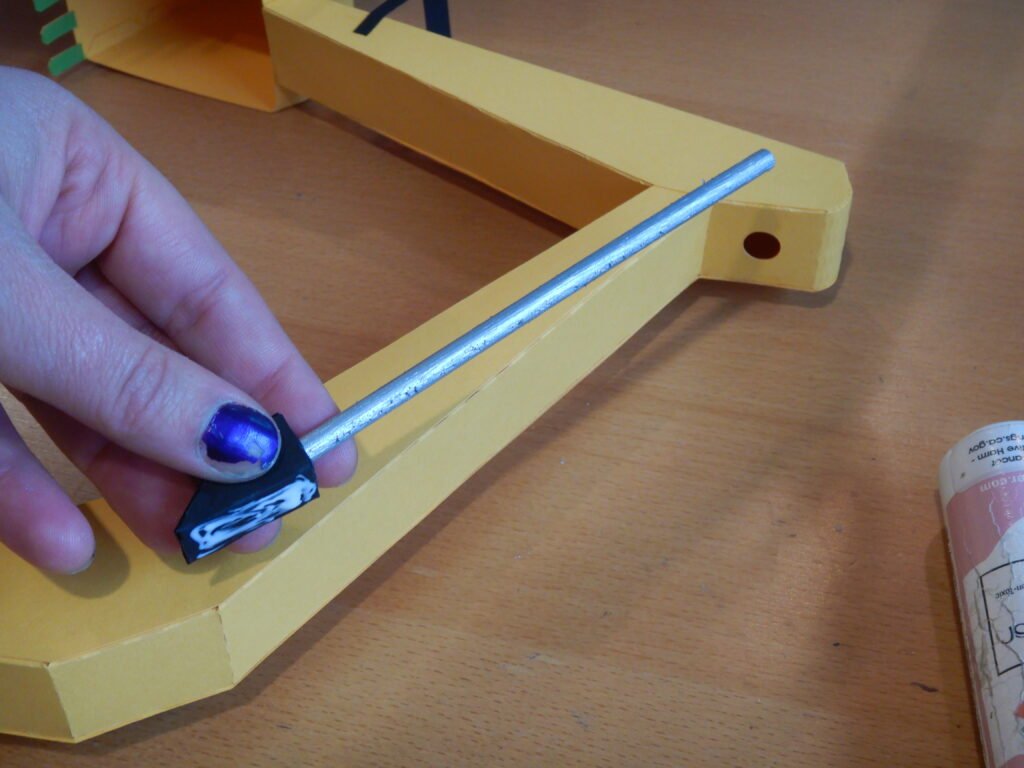

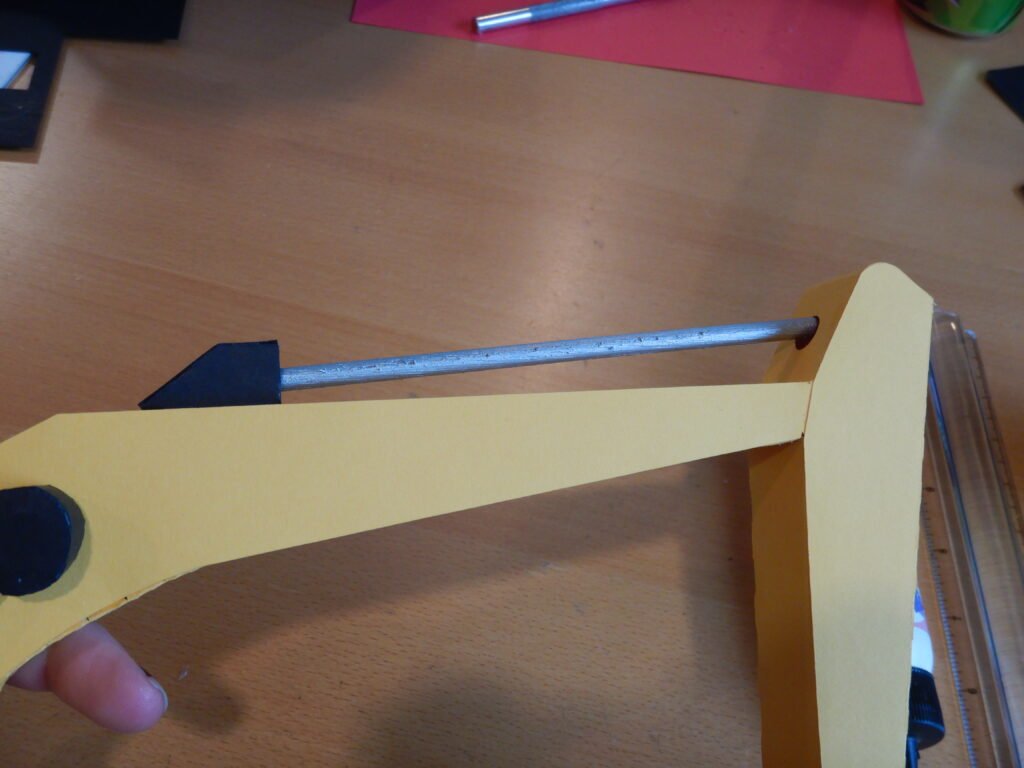
The final hydraulic piece is a bit trickier. Place the remaining 5 ¾ inch dowl into the large wedge, add glue to the back of the wedge and glue to the other end of the dowel. Place the glue end of the dowl against the cross bracket near the bucket and press the wedge onto the arm of the excavator. Hold in place until glue is set.
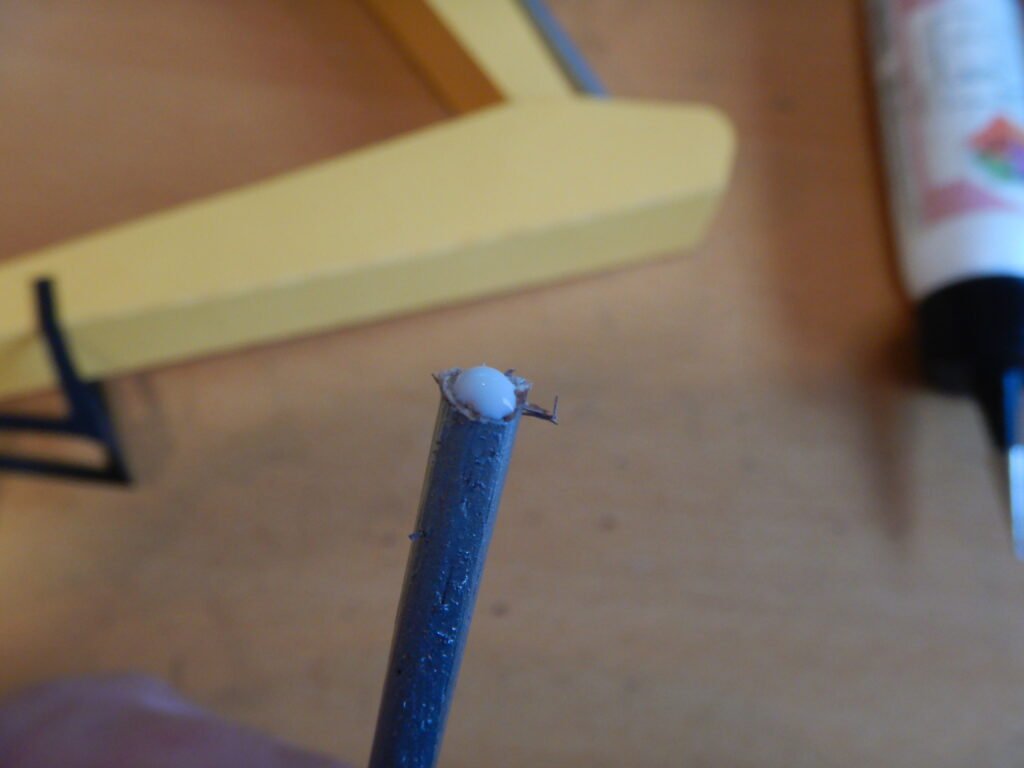
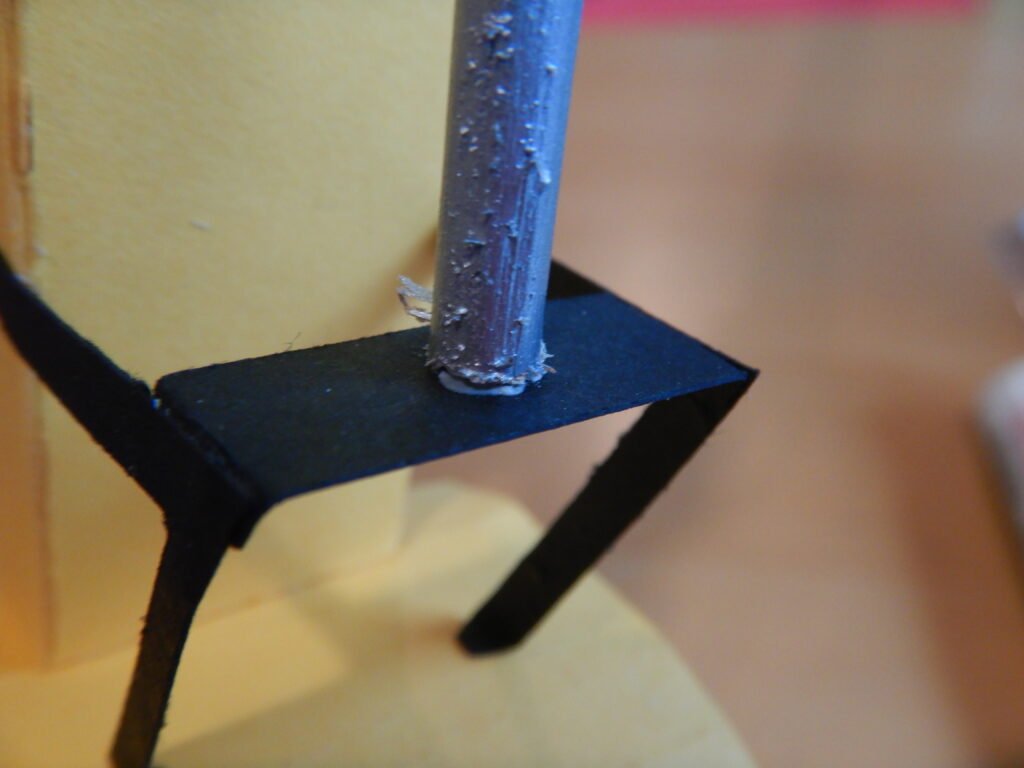
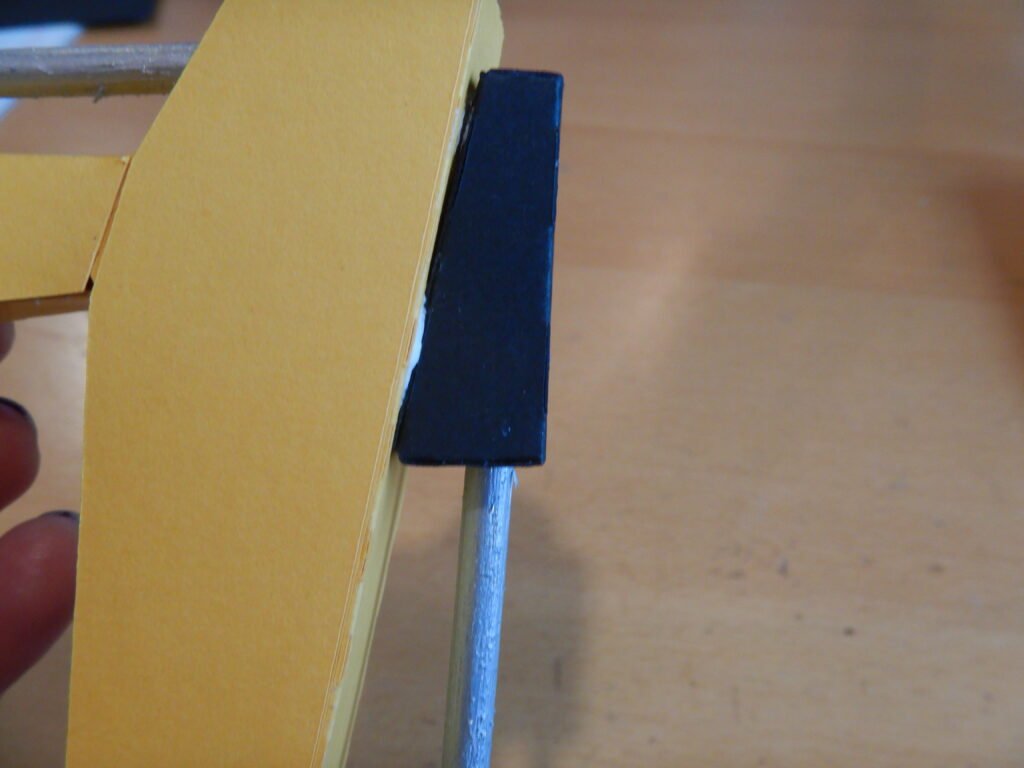
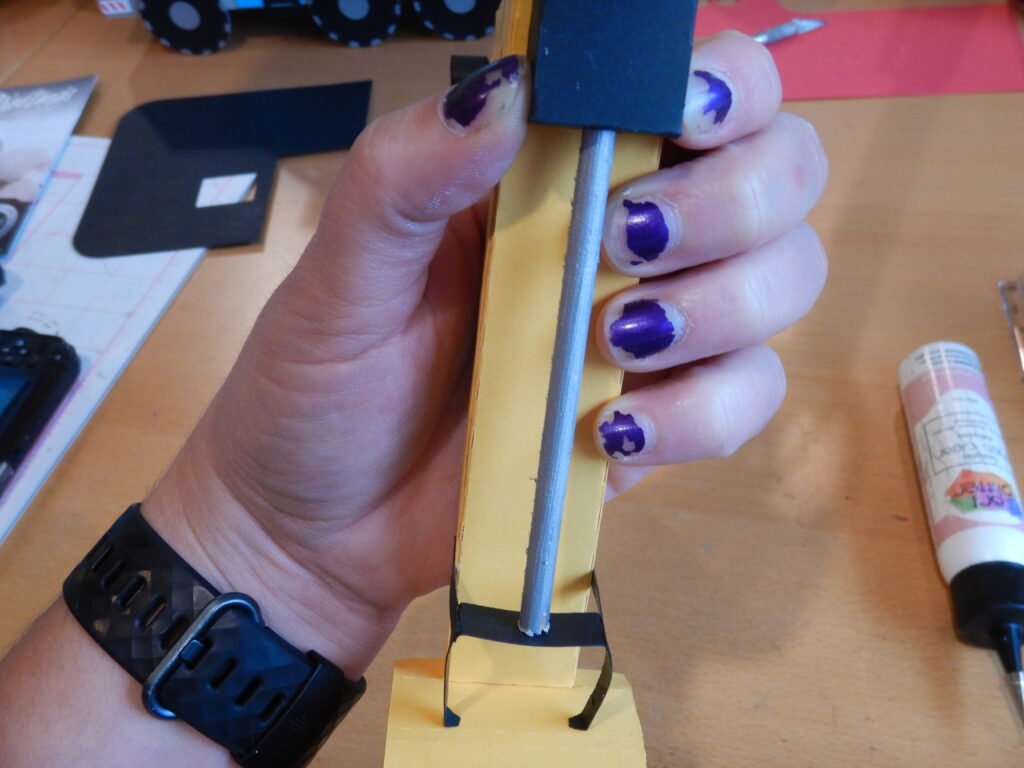
Set the arm aside with the other completed piece.
Excavator Cab Construction
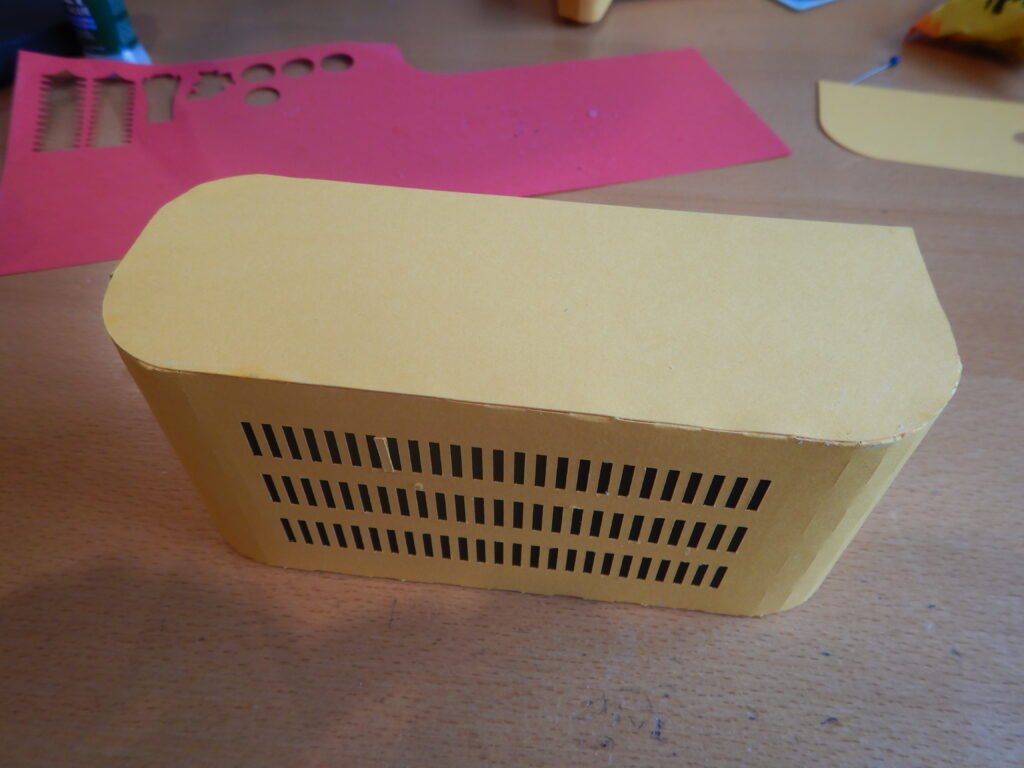
The engine portion of the excavator is made of several pieces. Start by adding the darker lining panels to the back of the engine panels with the cut out slots. Then attach the tabs of the two long panels to each other to form an oval shape.
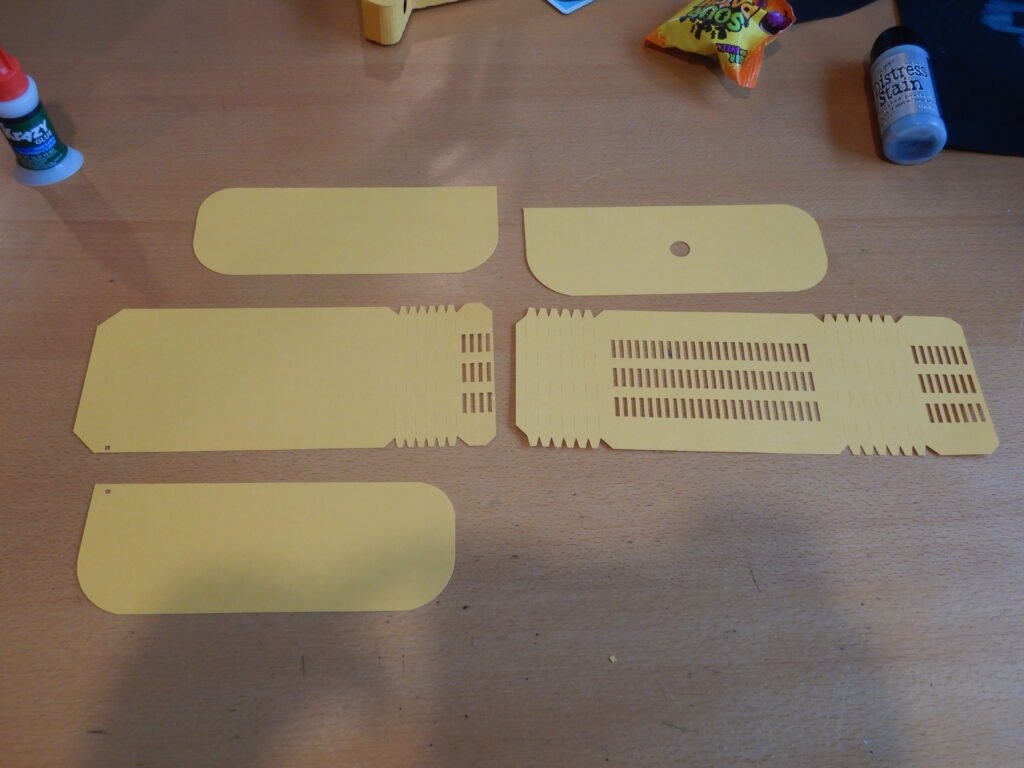
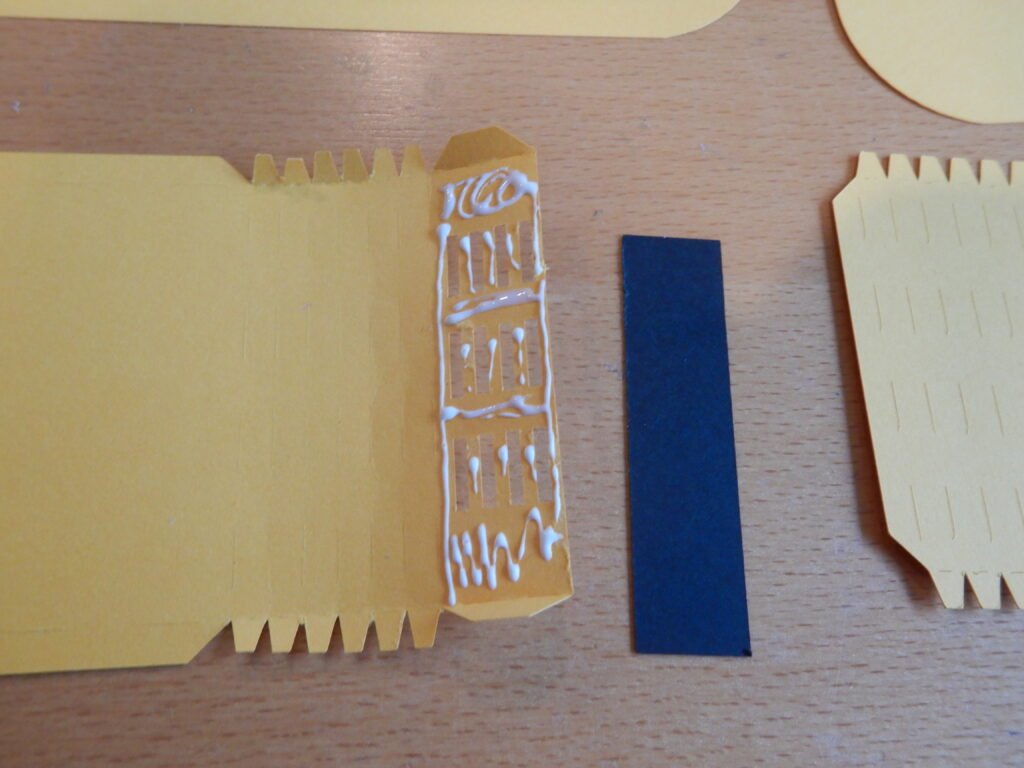
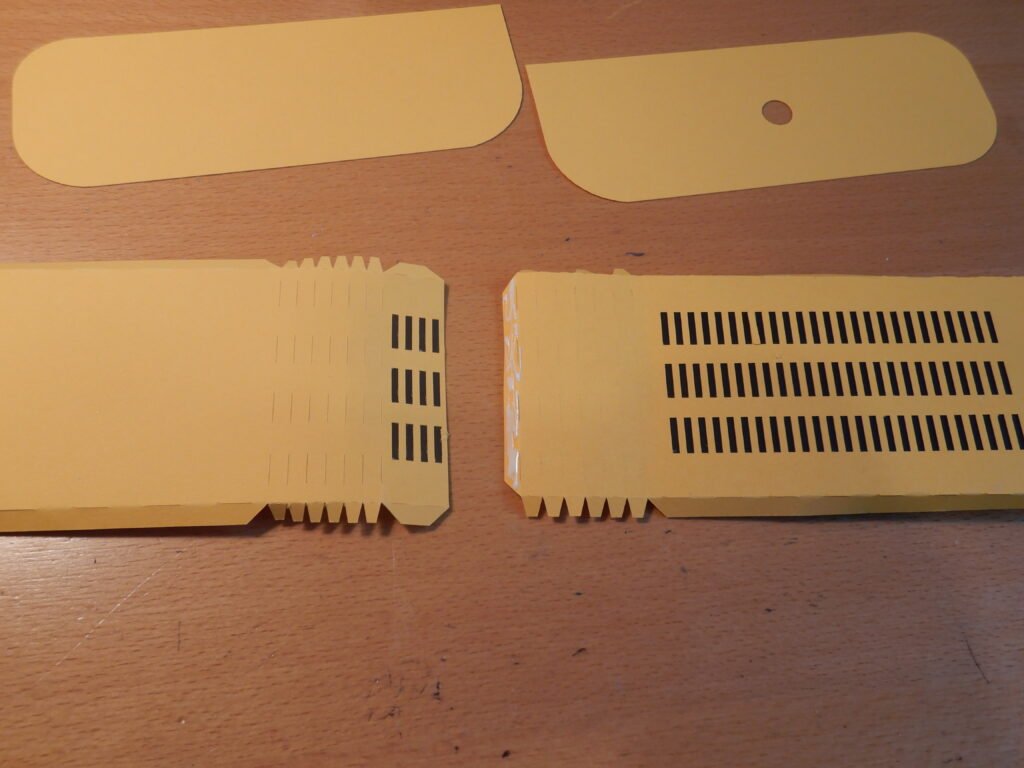
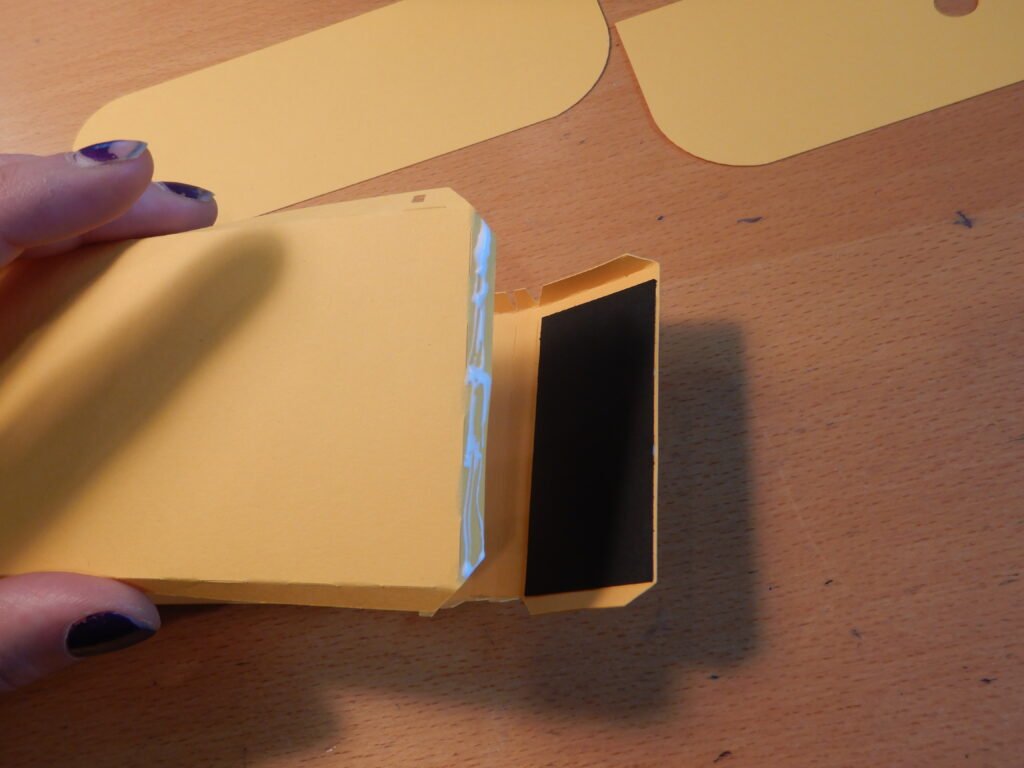
You’ll note that one of the long tabs has a small hole as does one of the top panels. Match these two up and glue the panel to the tab with a hole.
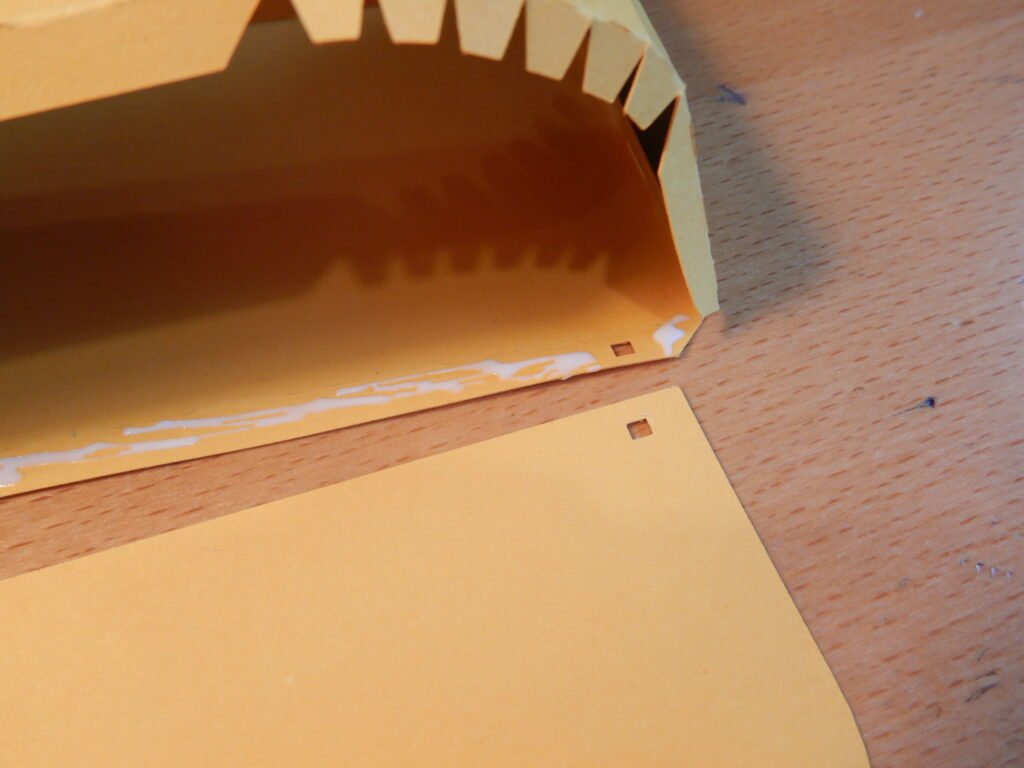
Once this is positioned, push the panel into the shape as shown, add glue to the tabs, fold them into position, then press the panel down onto the tabs. Use your hand or a tool to reach down and press the panel onto the tabs to get a secure hold.
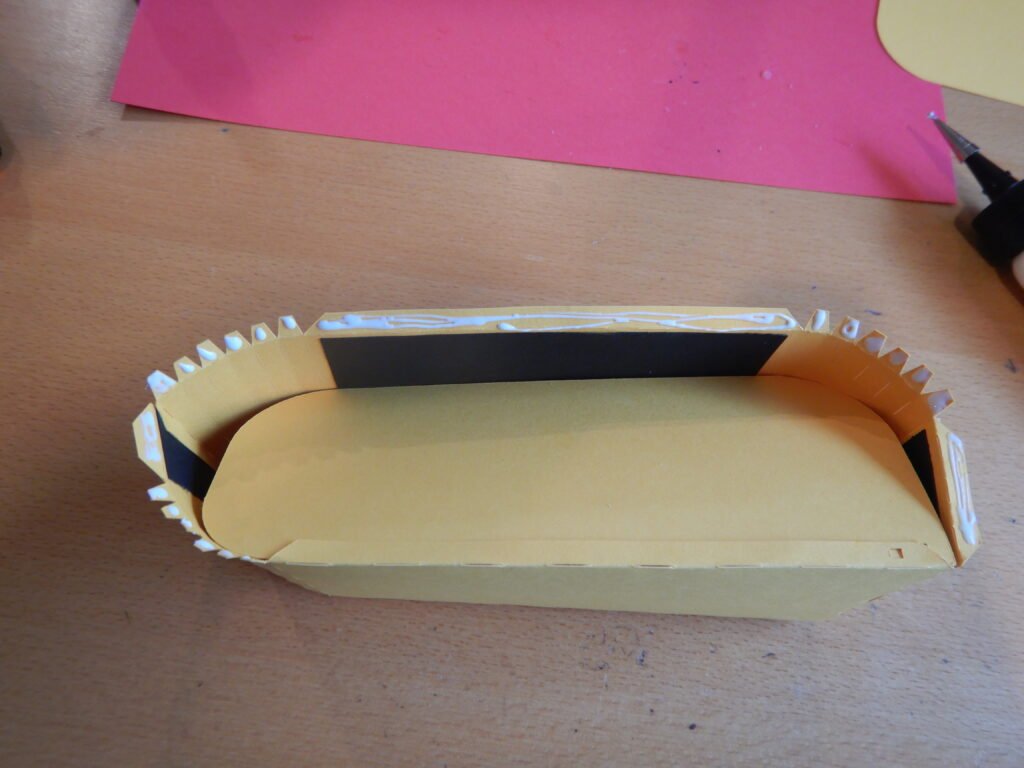
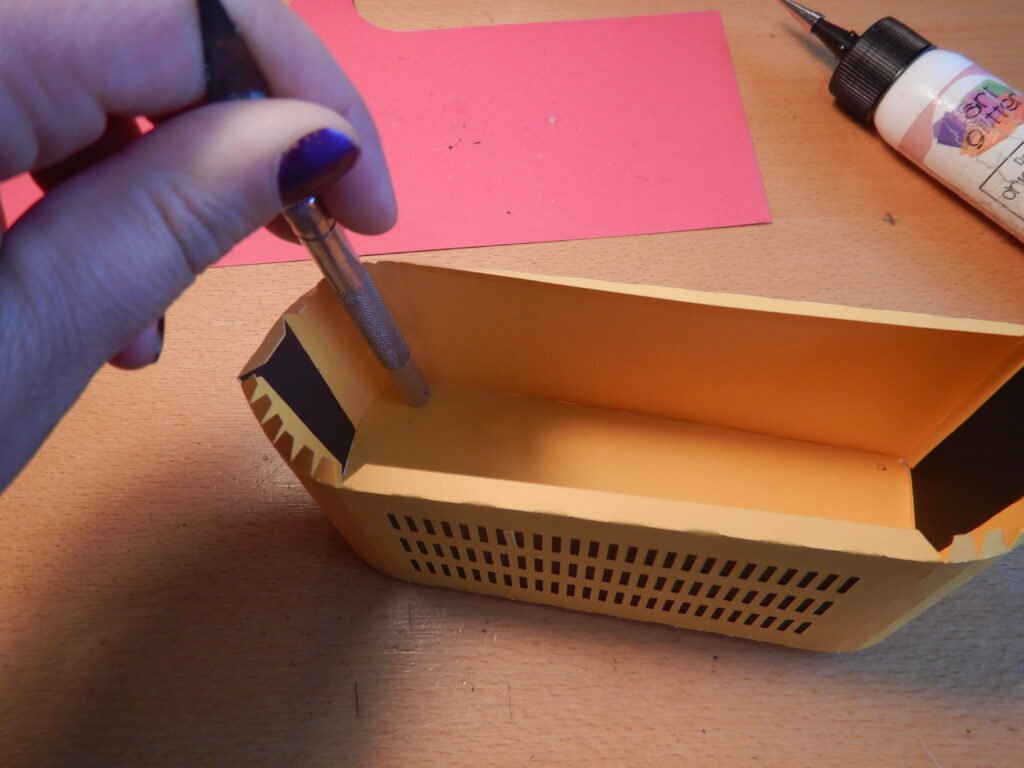
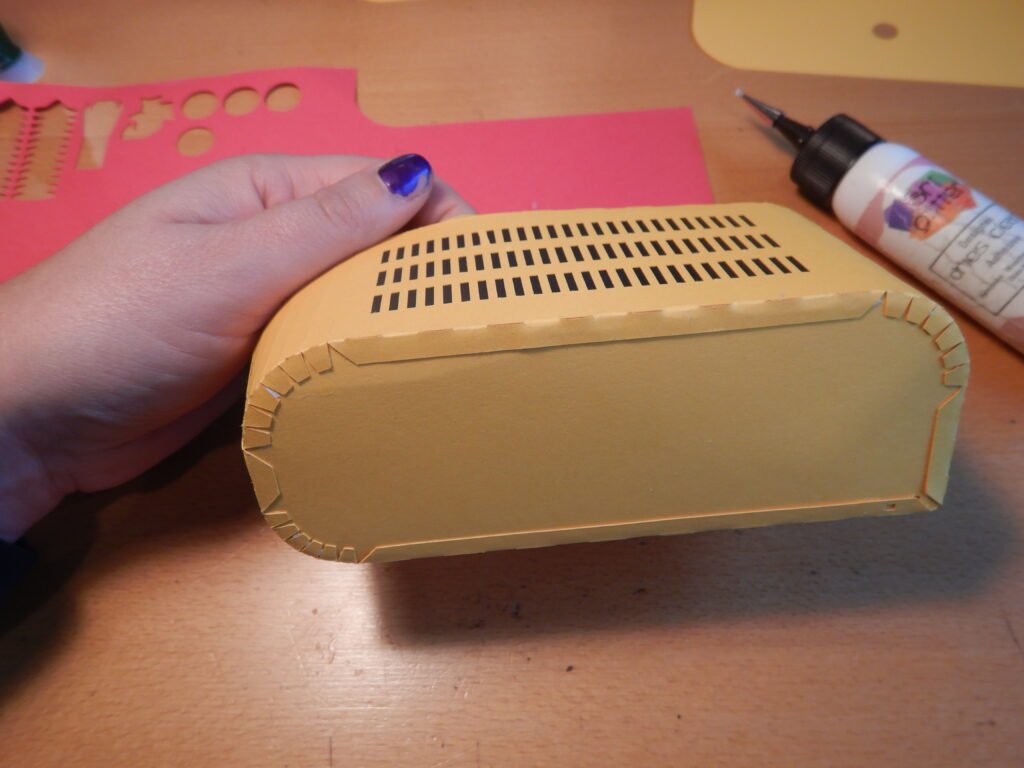
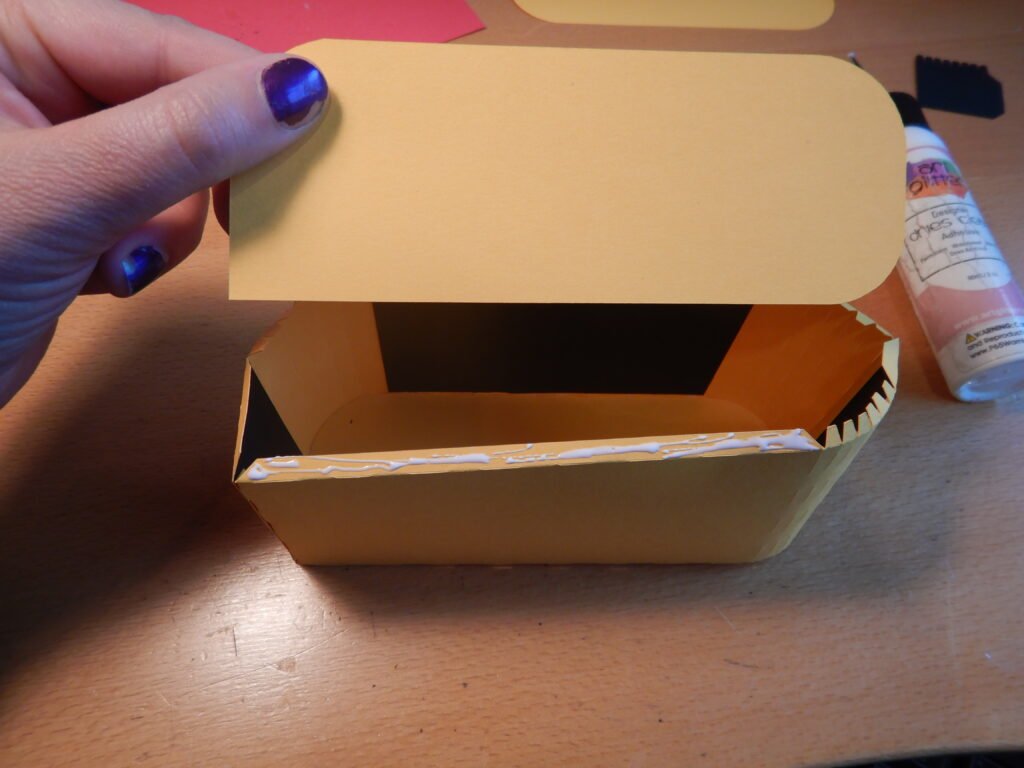
Close up the other end by adding glue to one of the longer tabs and attach the solid panel. This one doesn’t have any holes. Once the first tab is secure, work your way around, adding glue and positioning the tabs until all the tabs are in place.
Making The Engine Exhaust Pipes
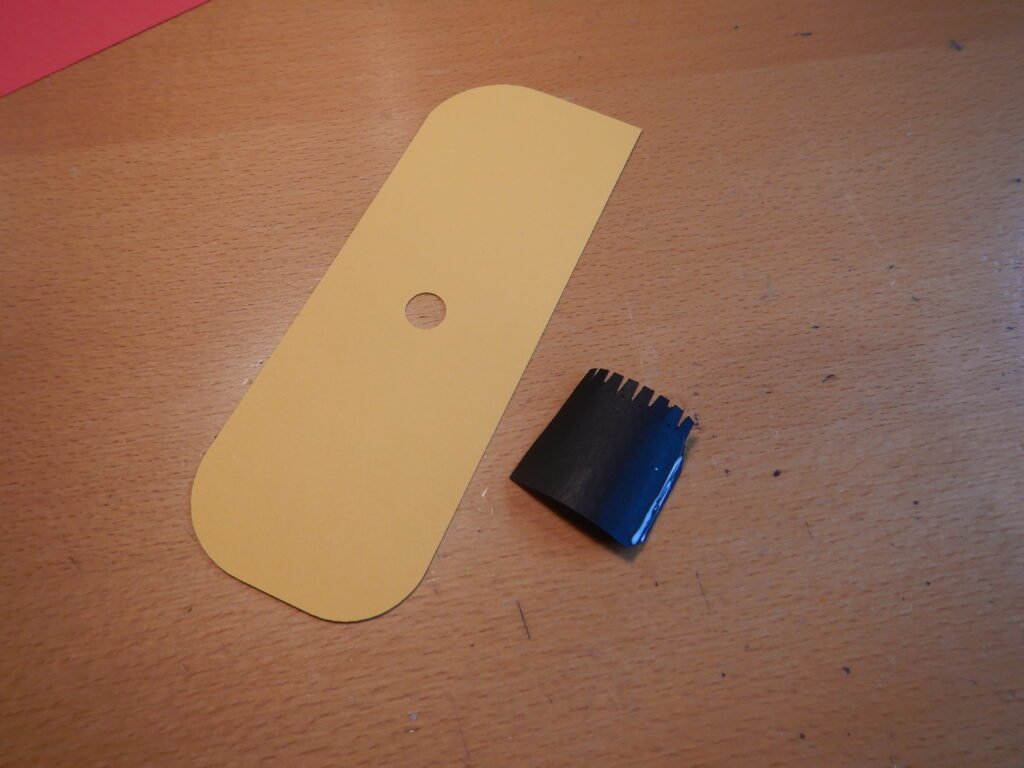
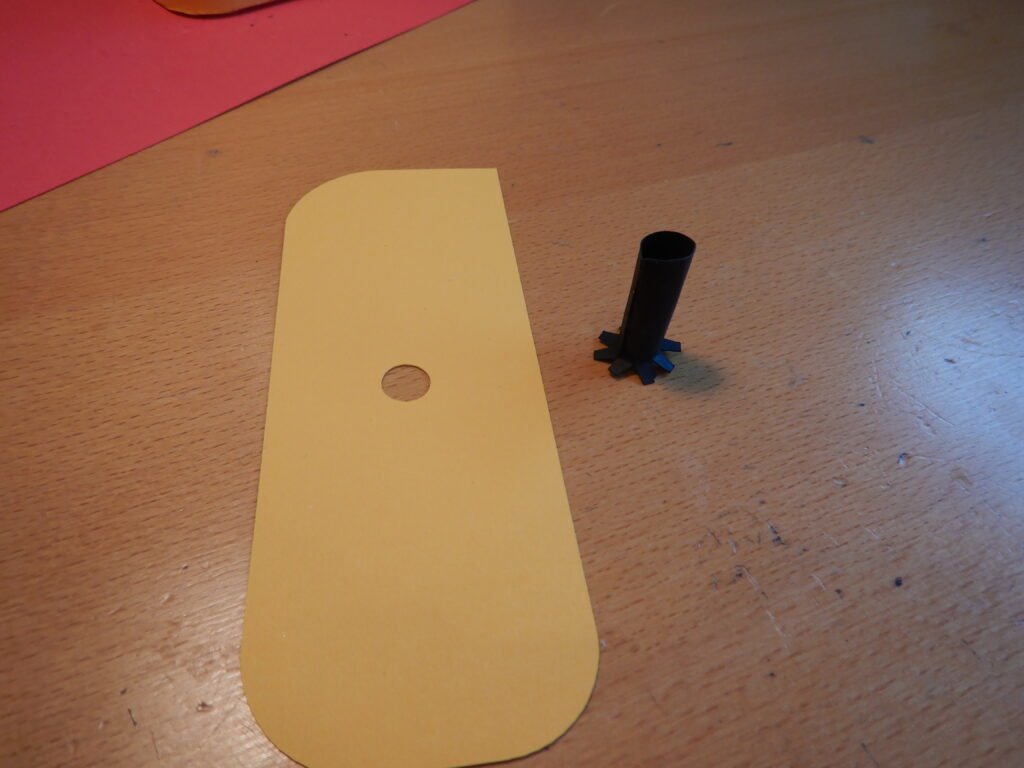
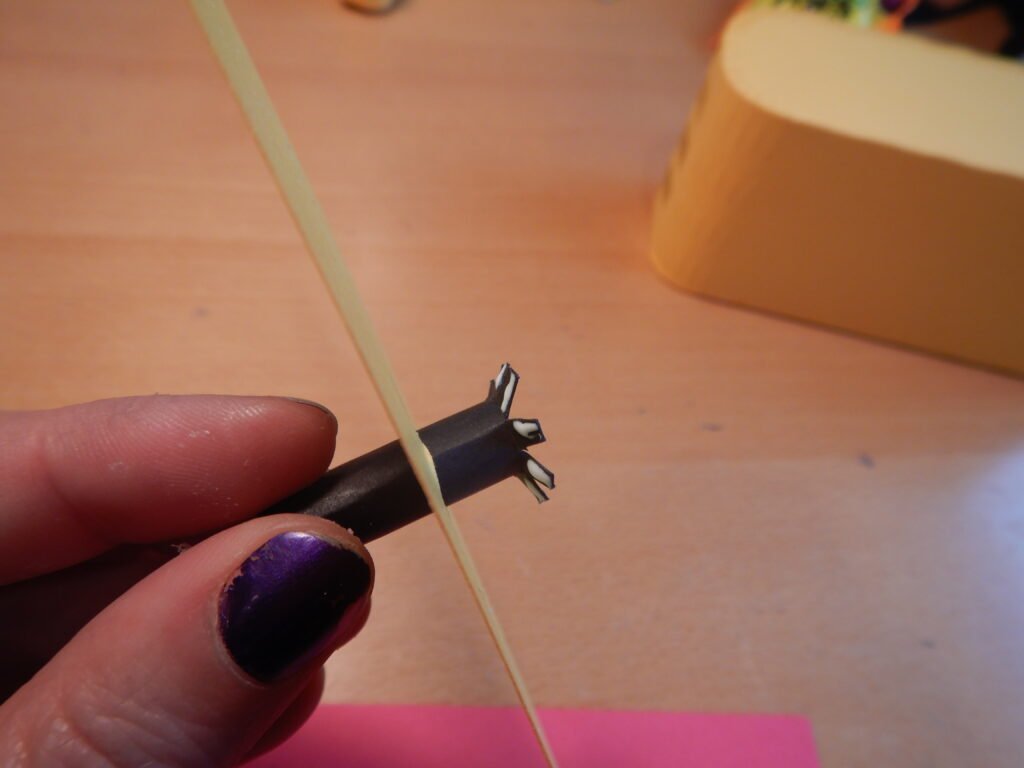
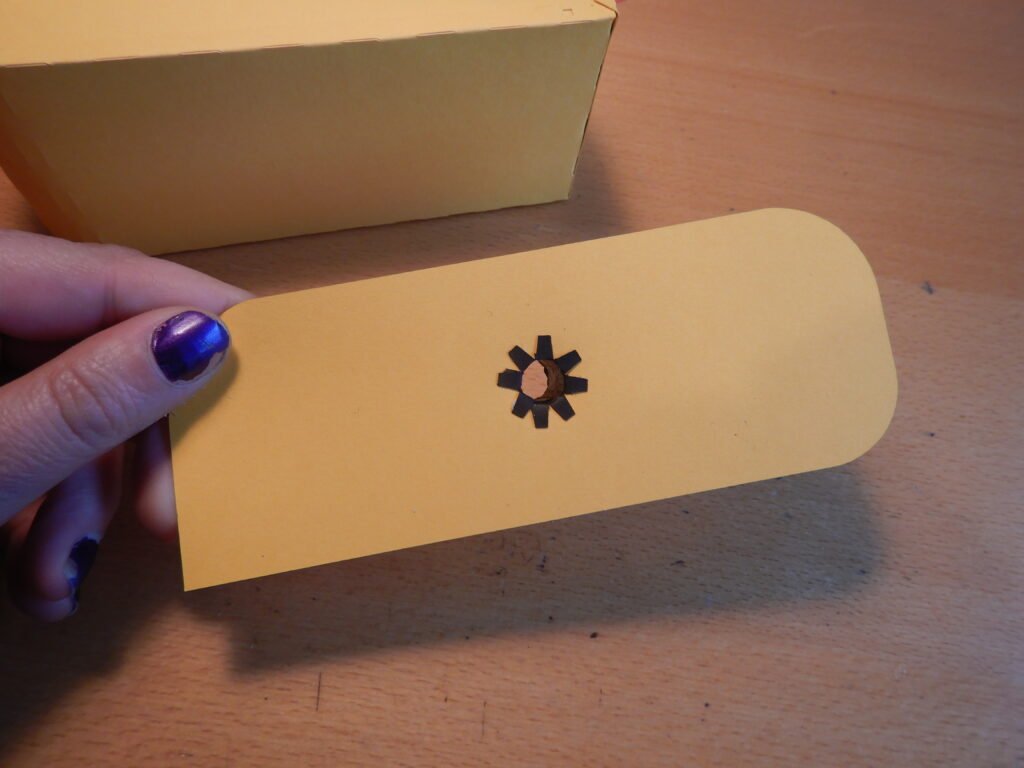
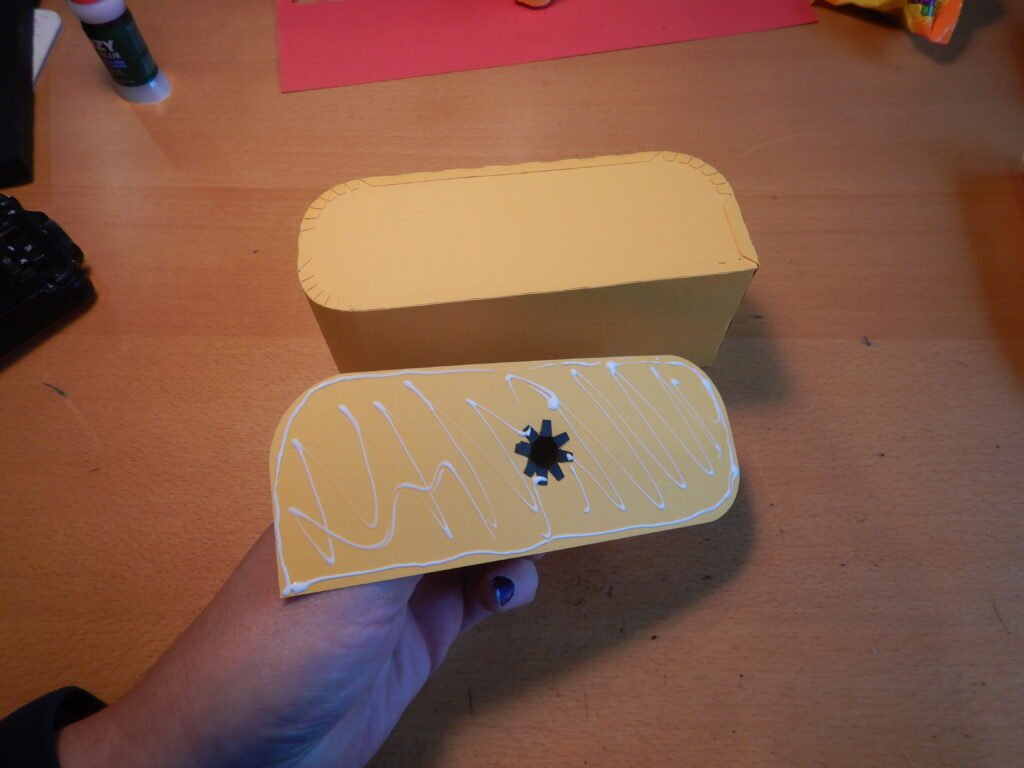
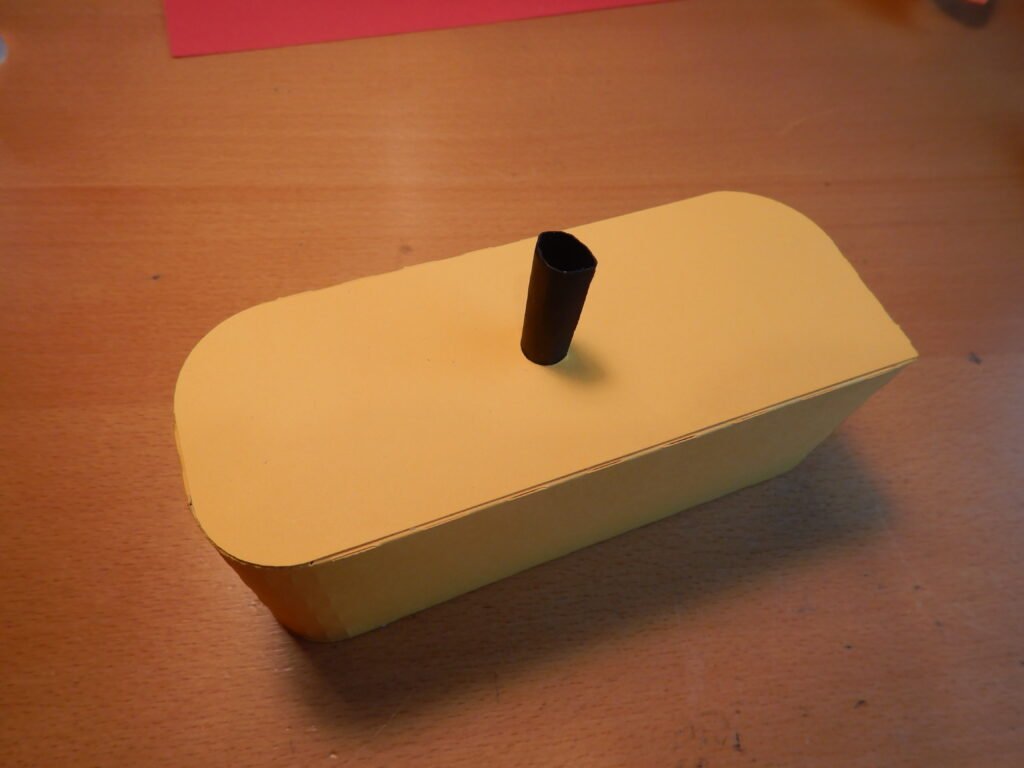
Next, take the exhaust pipe, encourage it to roll, then add glue to the tab and secure the tab with glue to make a cylinder. The top of the engine box is the end with the exposed tabs. Make sure that the top panel (the one with the hole in it pictured below) is oriented correctly when you put the exhaust pipe through so that it will fit correctly on the engine box when done. Slide the tabs of the exhaust pipe through the hole in the engine panel, add glue to the tabs and fold them to glue to the panel. Once this is in place, you can glue the panel to the top of the engine.
Assembling The Cab
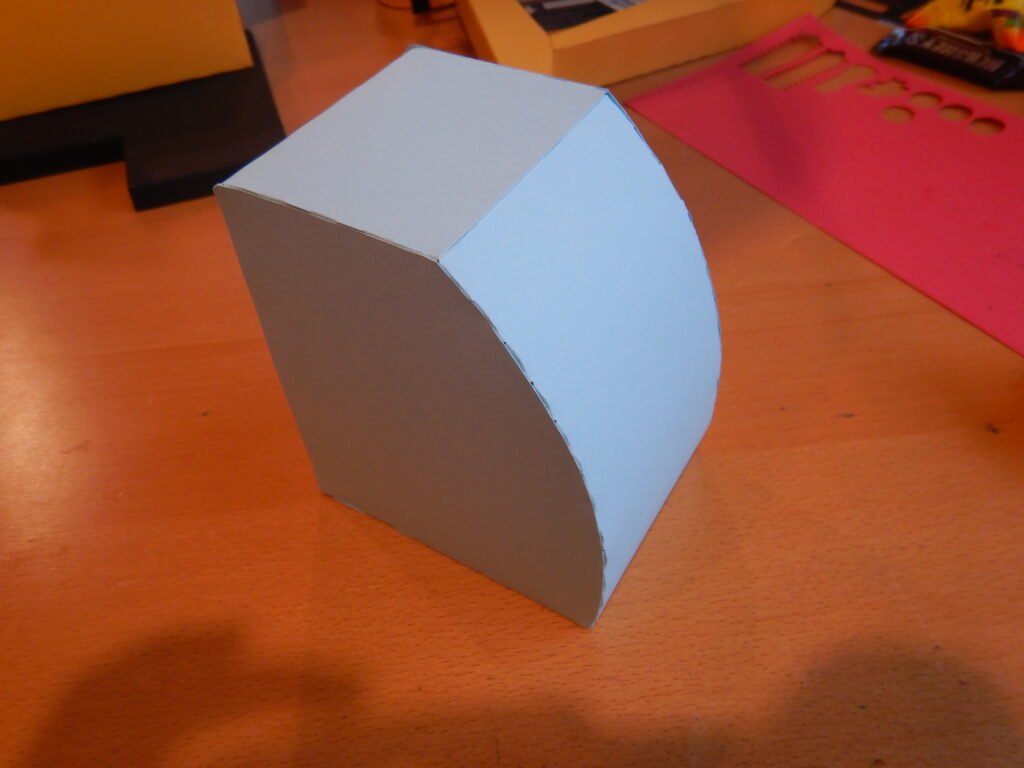
Next assemble the cab. Below are the pieces for the cab, the two “D” shaped sides and the panels in the middle that will connect end end.
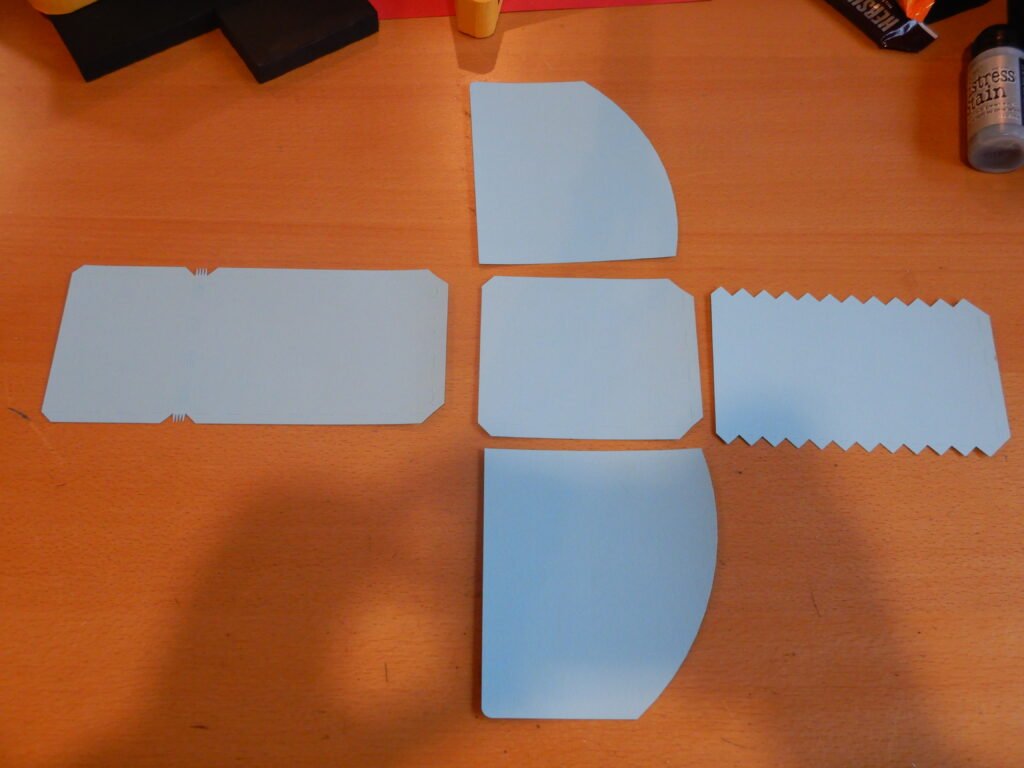
Add glue to the tabs to create a “D” shape.
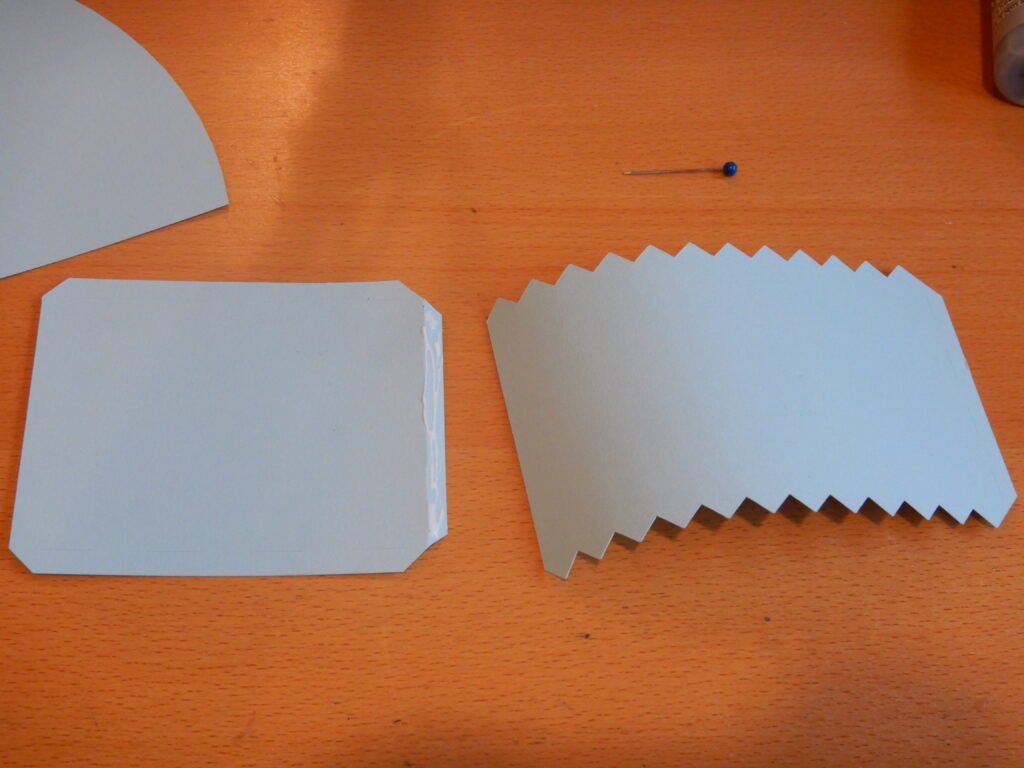
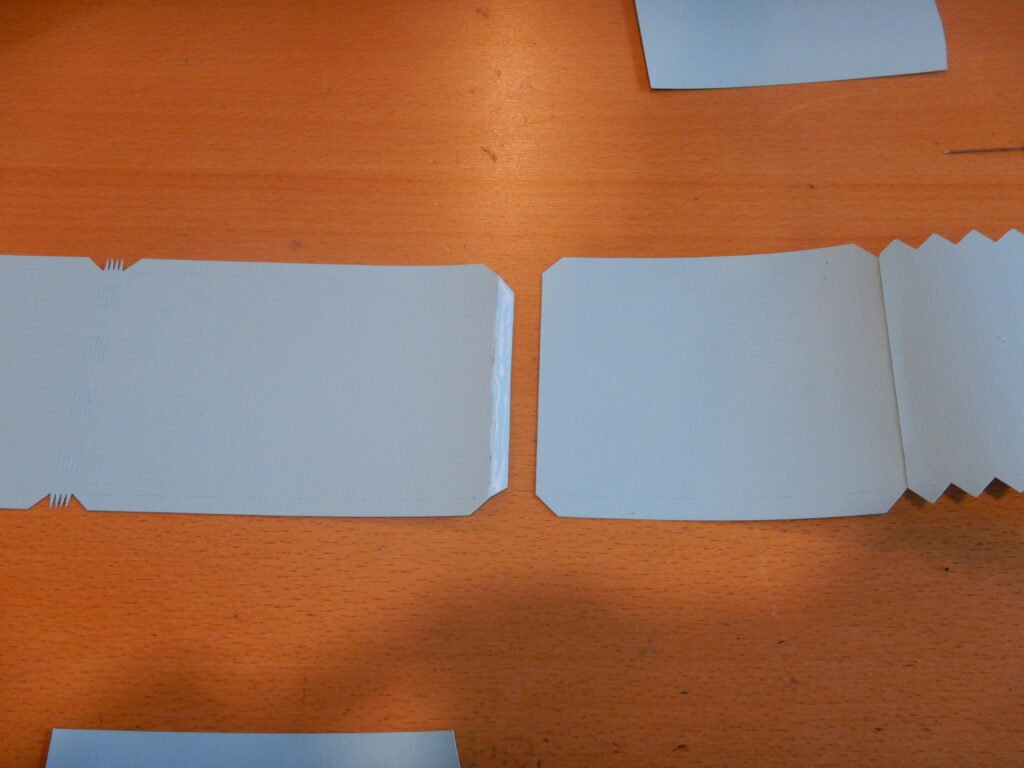
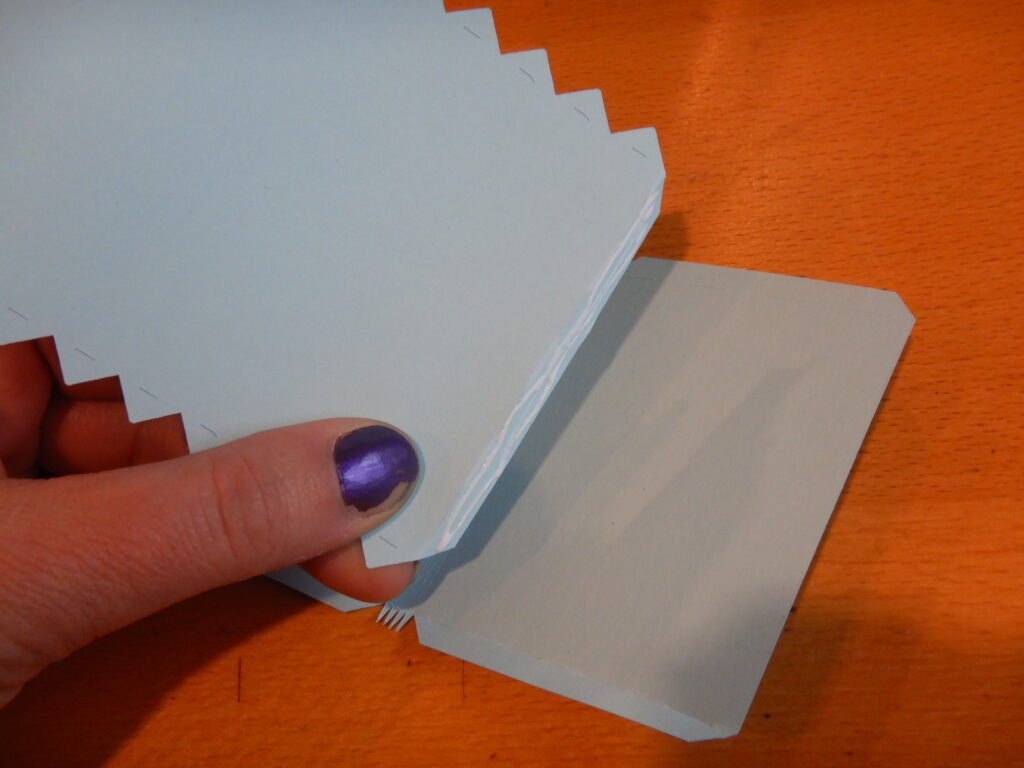
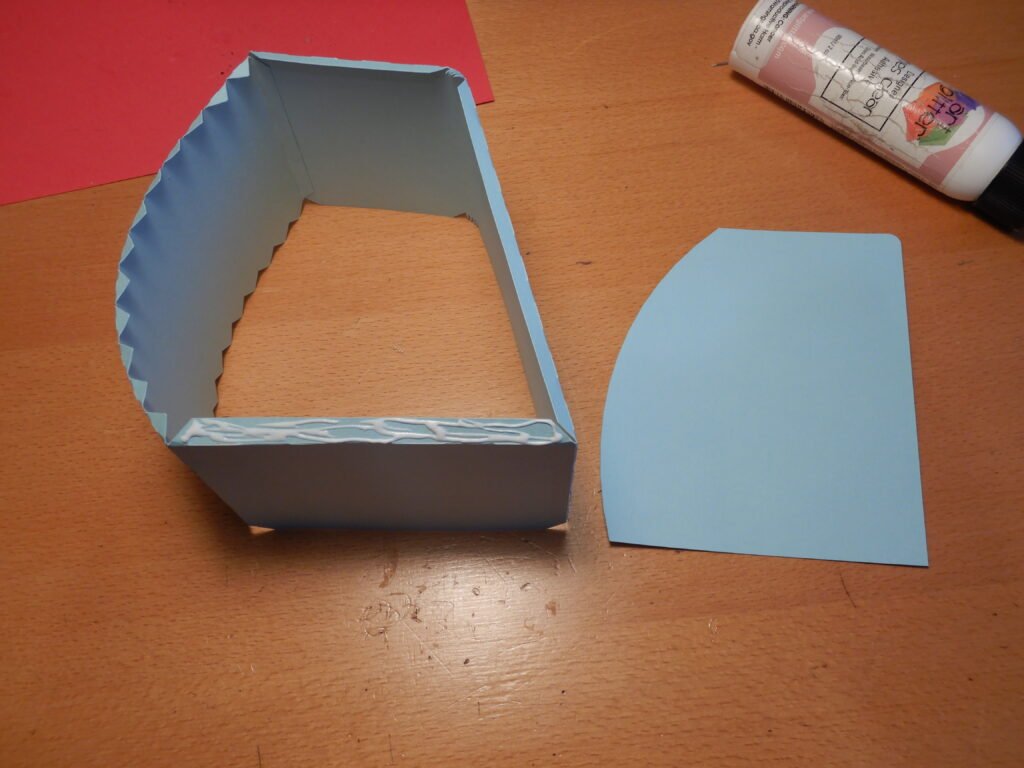
Once you have the “D” shape, add glue to the bottom tab and position one of the side panels along the tab. We found it easiest to then do the other straight tab. Once that is in place, we worked our way around the curved potion, making sure to get the pieces aligned correctly, not too far in or out. Once one side was finished, we moved to the other side and did the same.
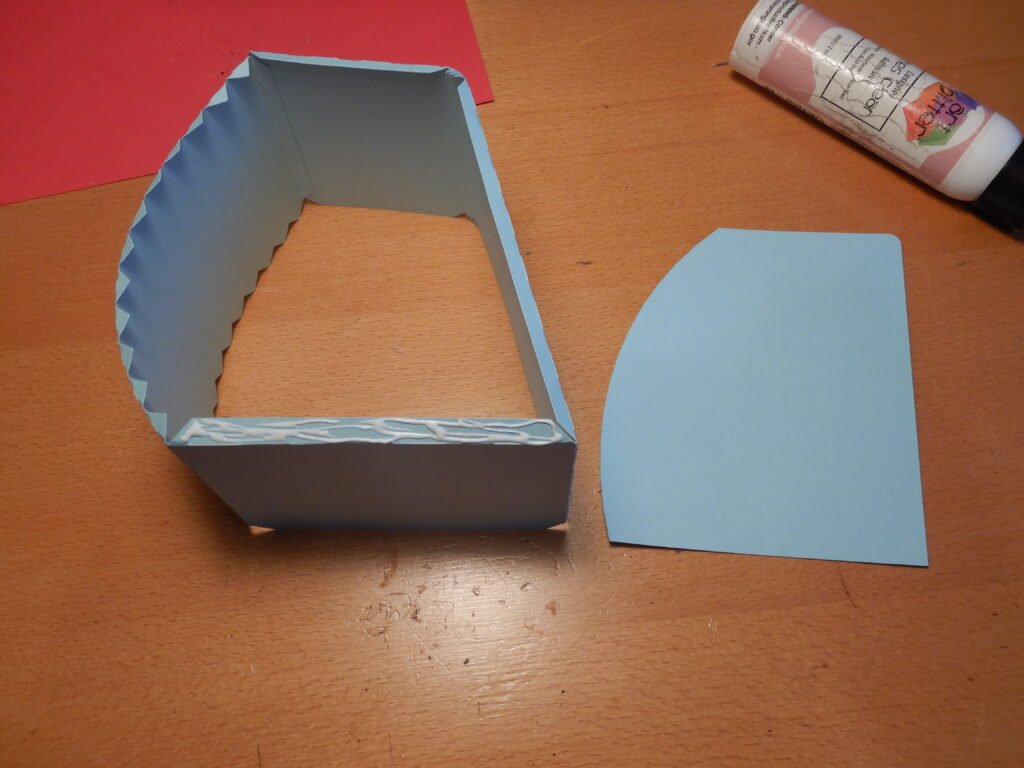
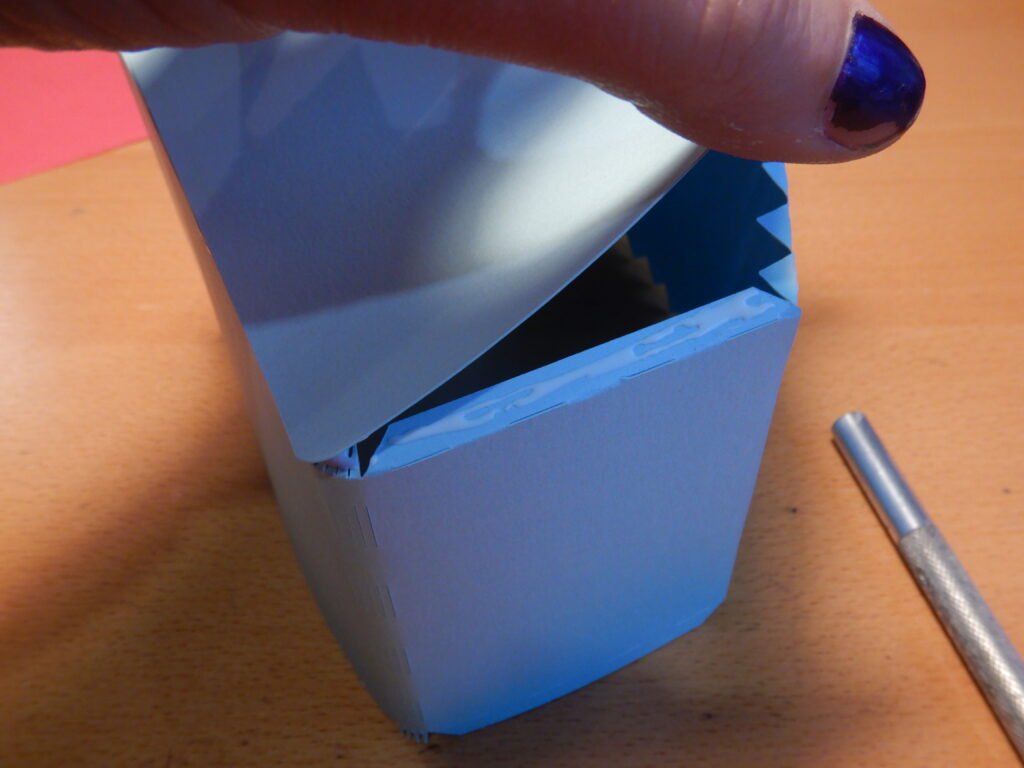
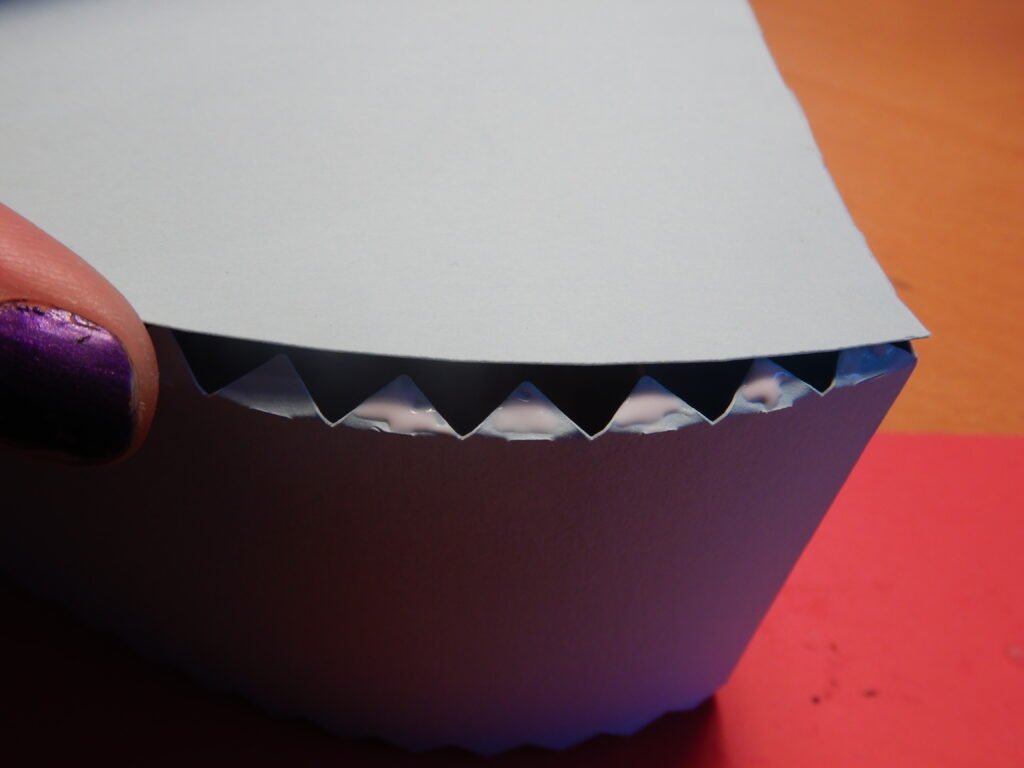
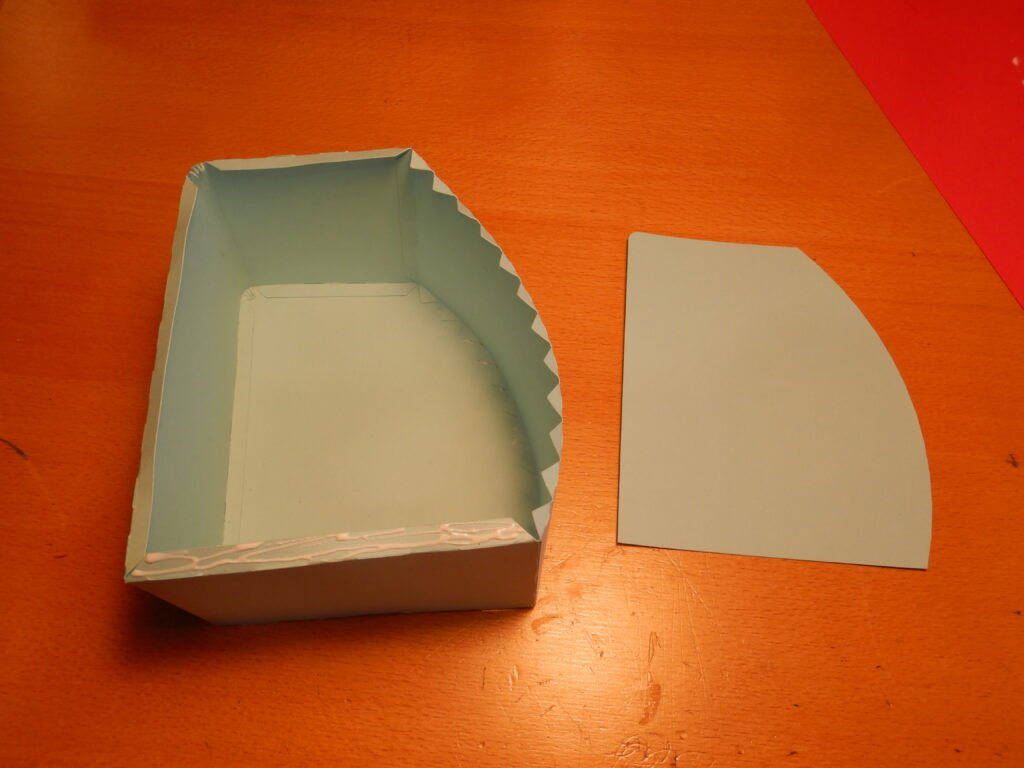
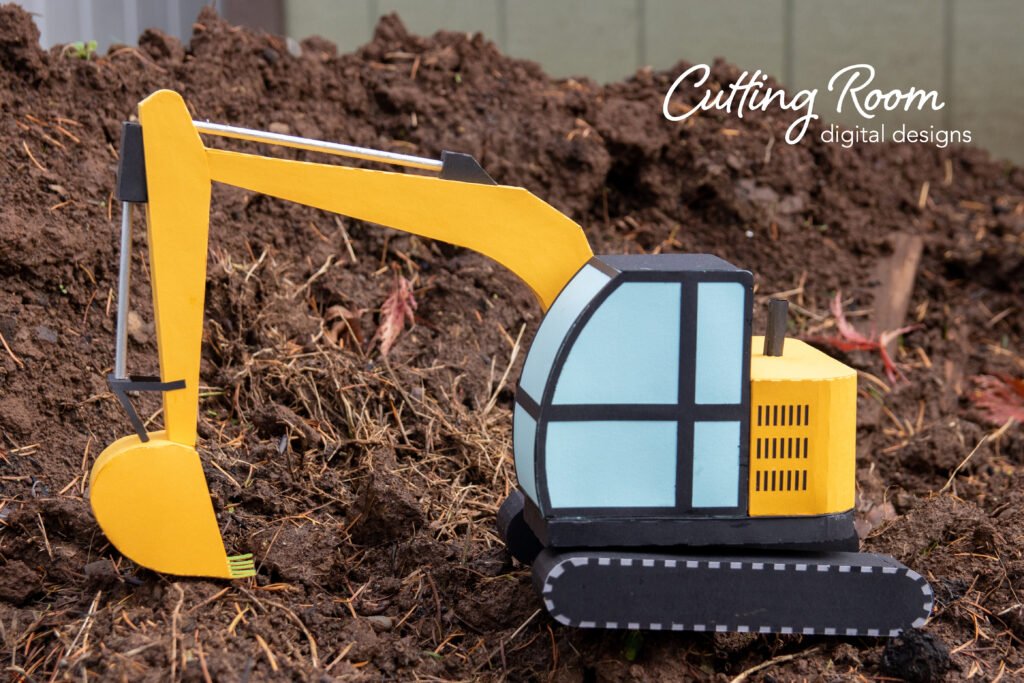
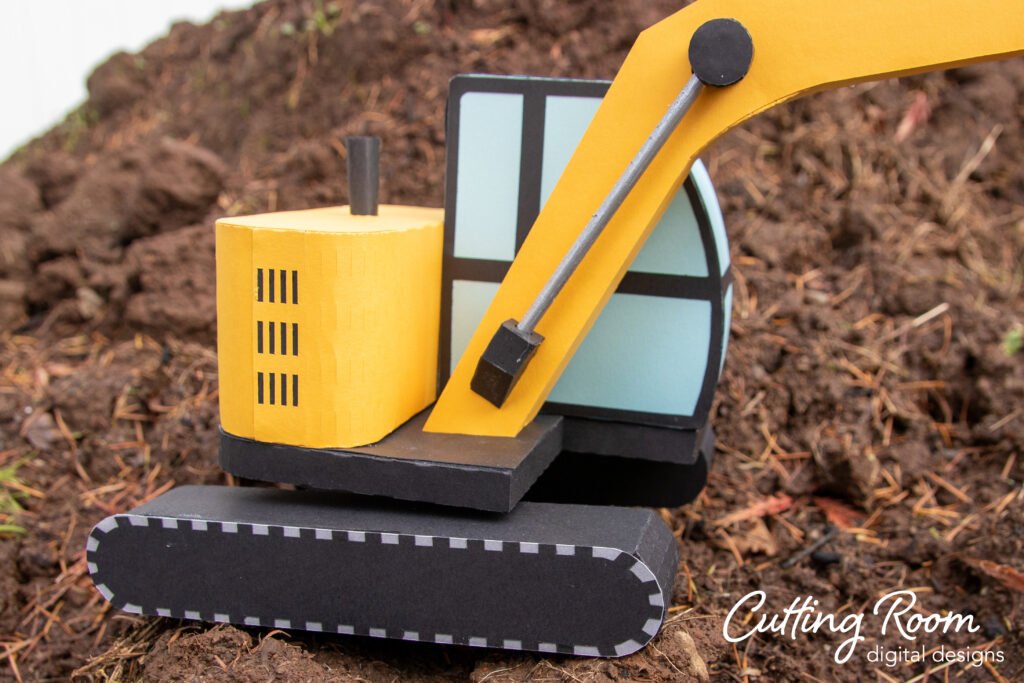
Next, we added the decorative panels to the cab. (Sorry, we forgot pictures of this step). They are pretty straight forward though. The two side panels have the “D” shape to them. The panel for the front has a single cross bar that goes toward the bottom of the box. The back panel covers the roof and back, with a window cut out for the top/back portion of the cab.
Putting Together The Components
Now it’s time to assemble all the varies pieces/boxes that have been put together. We started this by attaching the excavator arm to the base panel. Making sure the bump out is on the right, we put the tabs through the hole, added glue, then folded them back to secure the tabs in place.
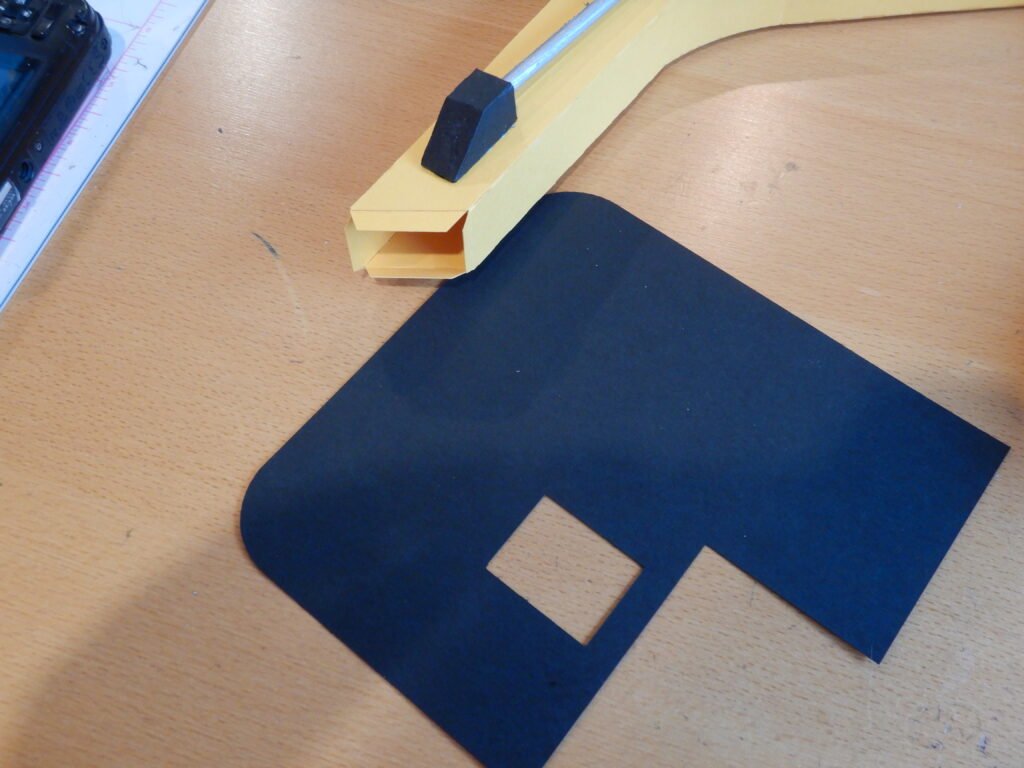
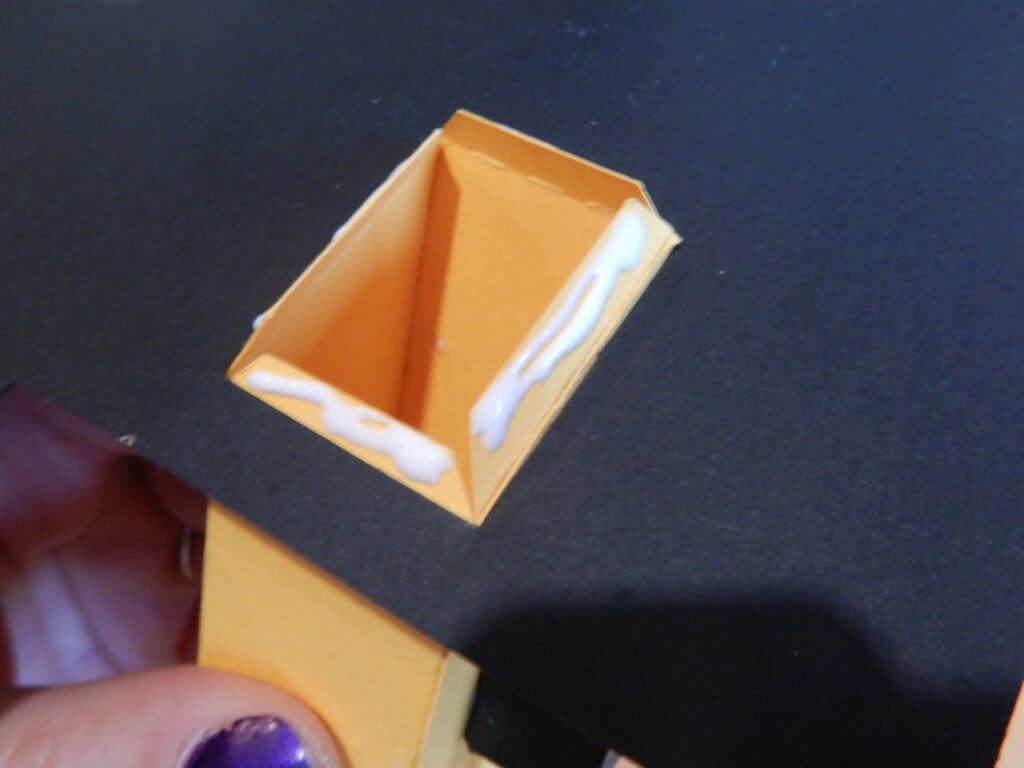
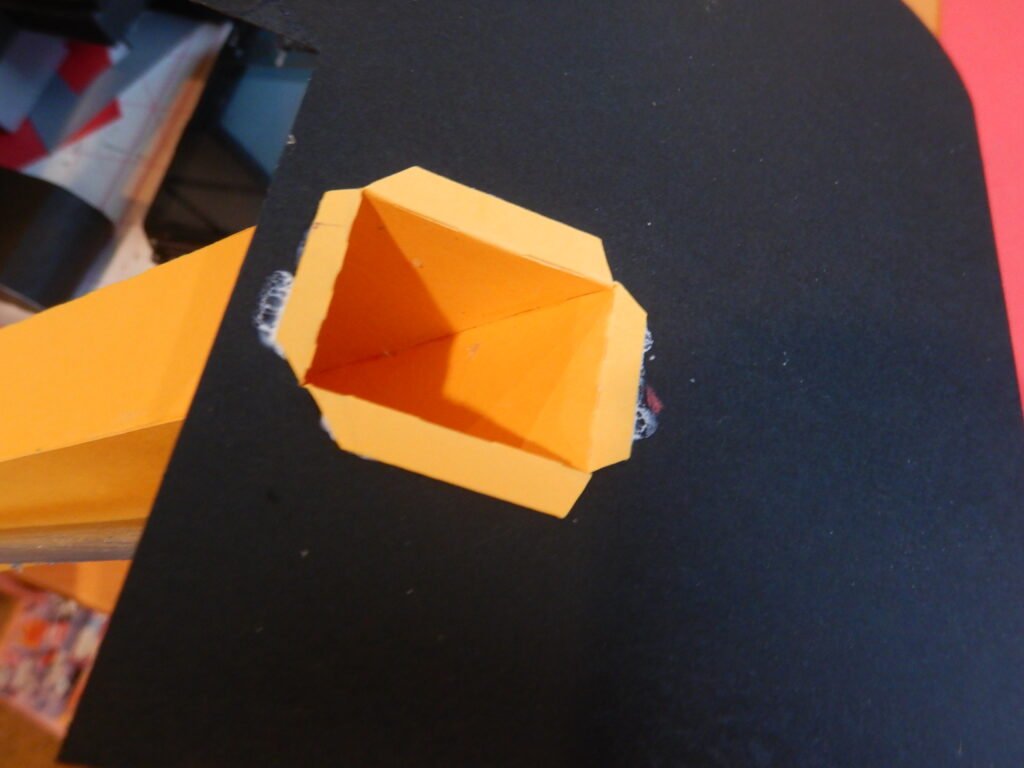
Once that is in position, we added glue to the bottom of the engine box and positioned it on the same base. Make sur the two rounded edges line up with the back and the square corner is furthest away from the excavator arm.
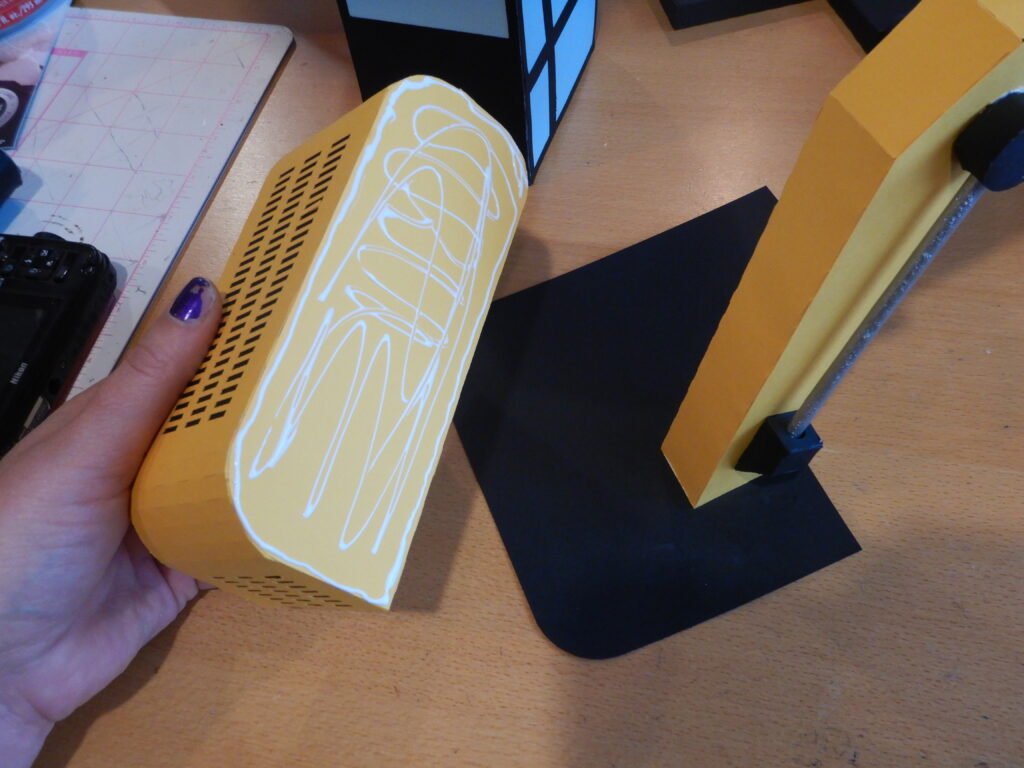
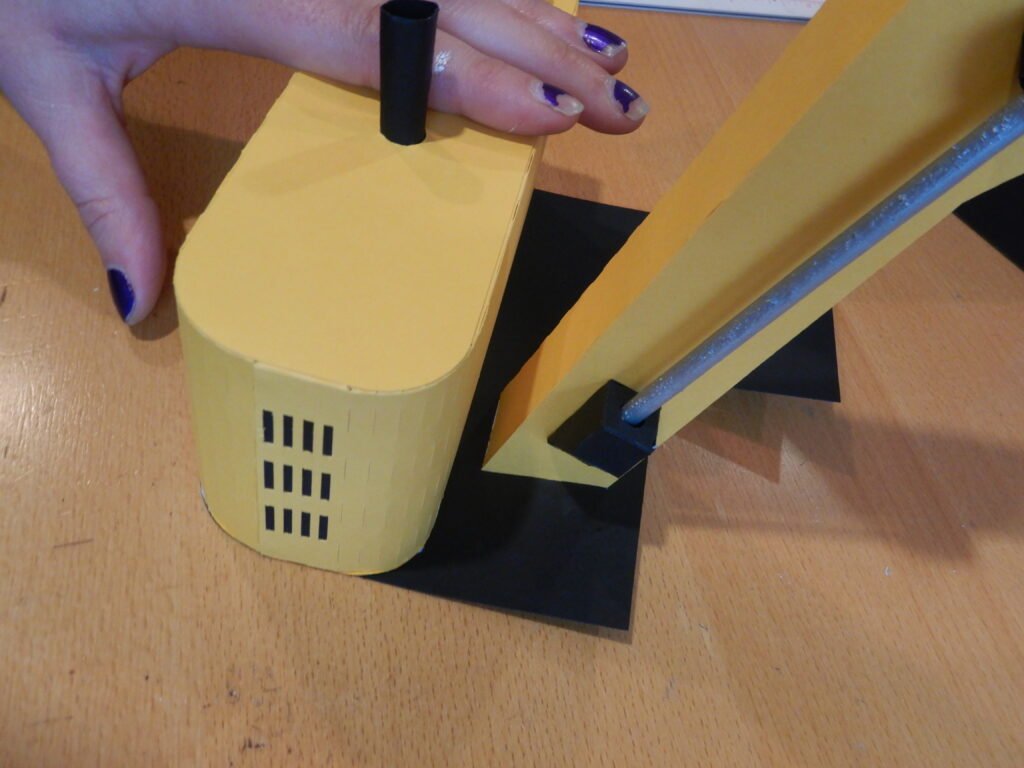
Next, glue the cab in to position. Add glue to the bottom of the box and the bottom portion on the back of the cab. Position the cab on the base in front of the engine/next to the arm and hold in position so the glue sets holding the cab and the engine together as well as the cab being firmly attached to the base panel..
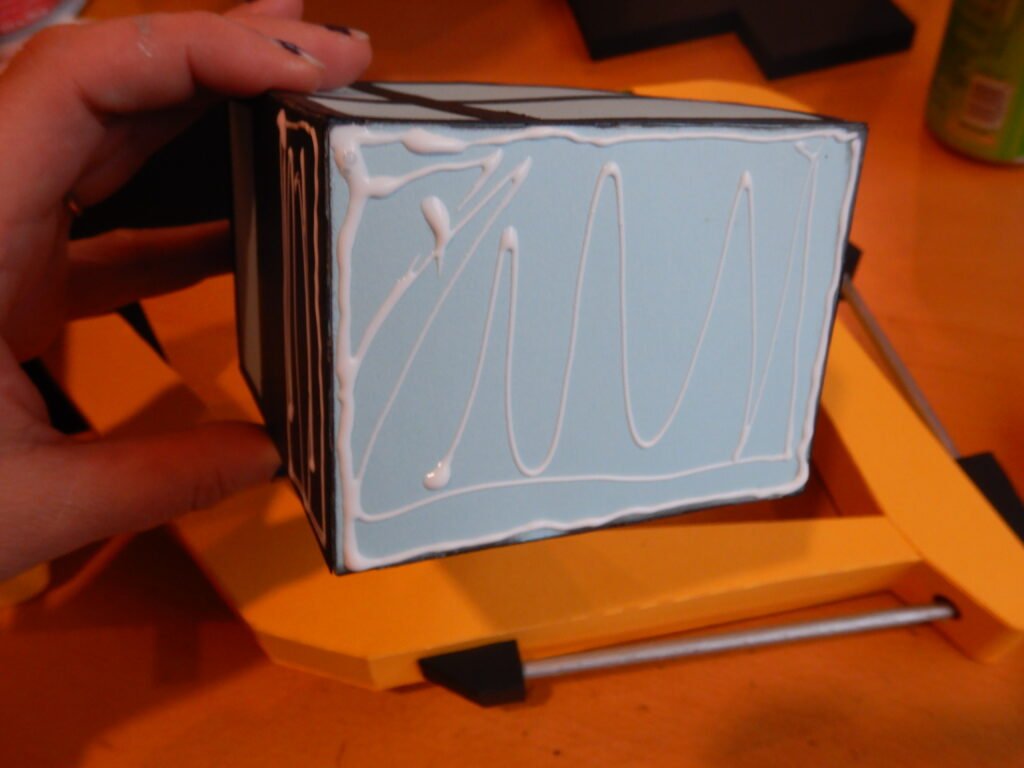
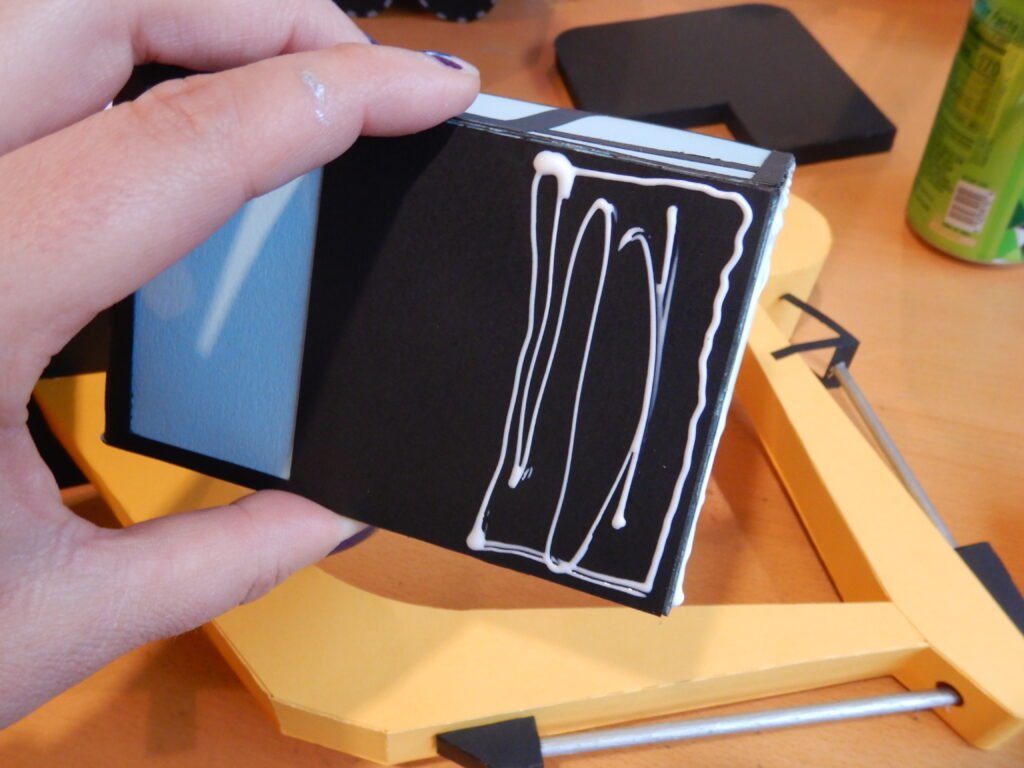
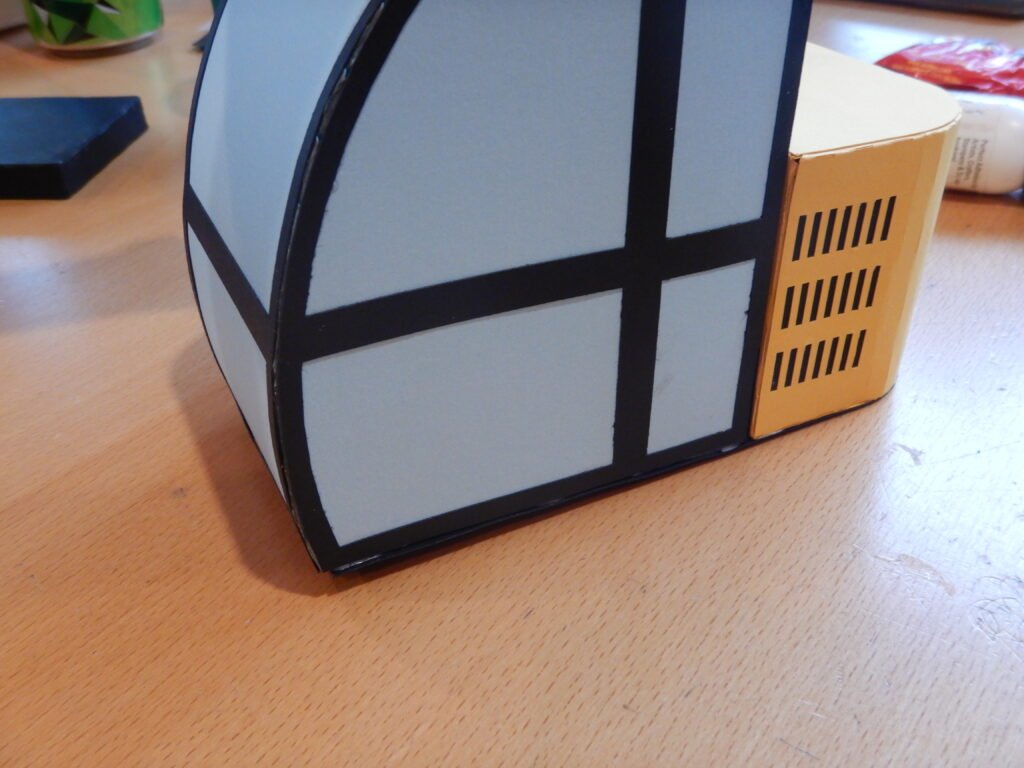
When this is complete, take the cat track base set up you completed earlier. Place glue on the cab base box making sure to get some glue close to the edges so you don’t have a gap between the paper pieces when complete. Place the cab/engine/arm assembly on the cab base and use your hands to make sure they are squared up. Once in place, support the structure with one hand underneath and gently apply pressure from above to help get a full secure hold.

