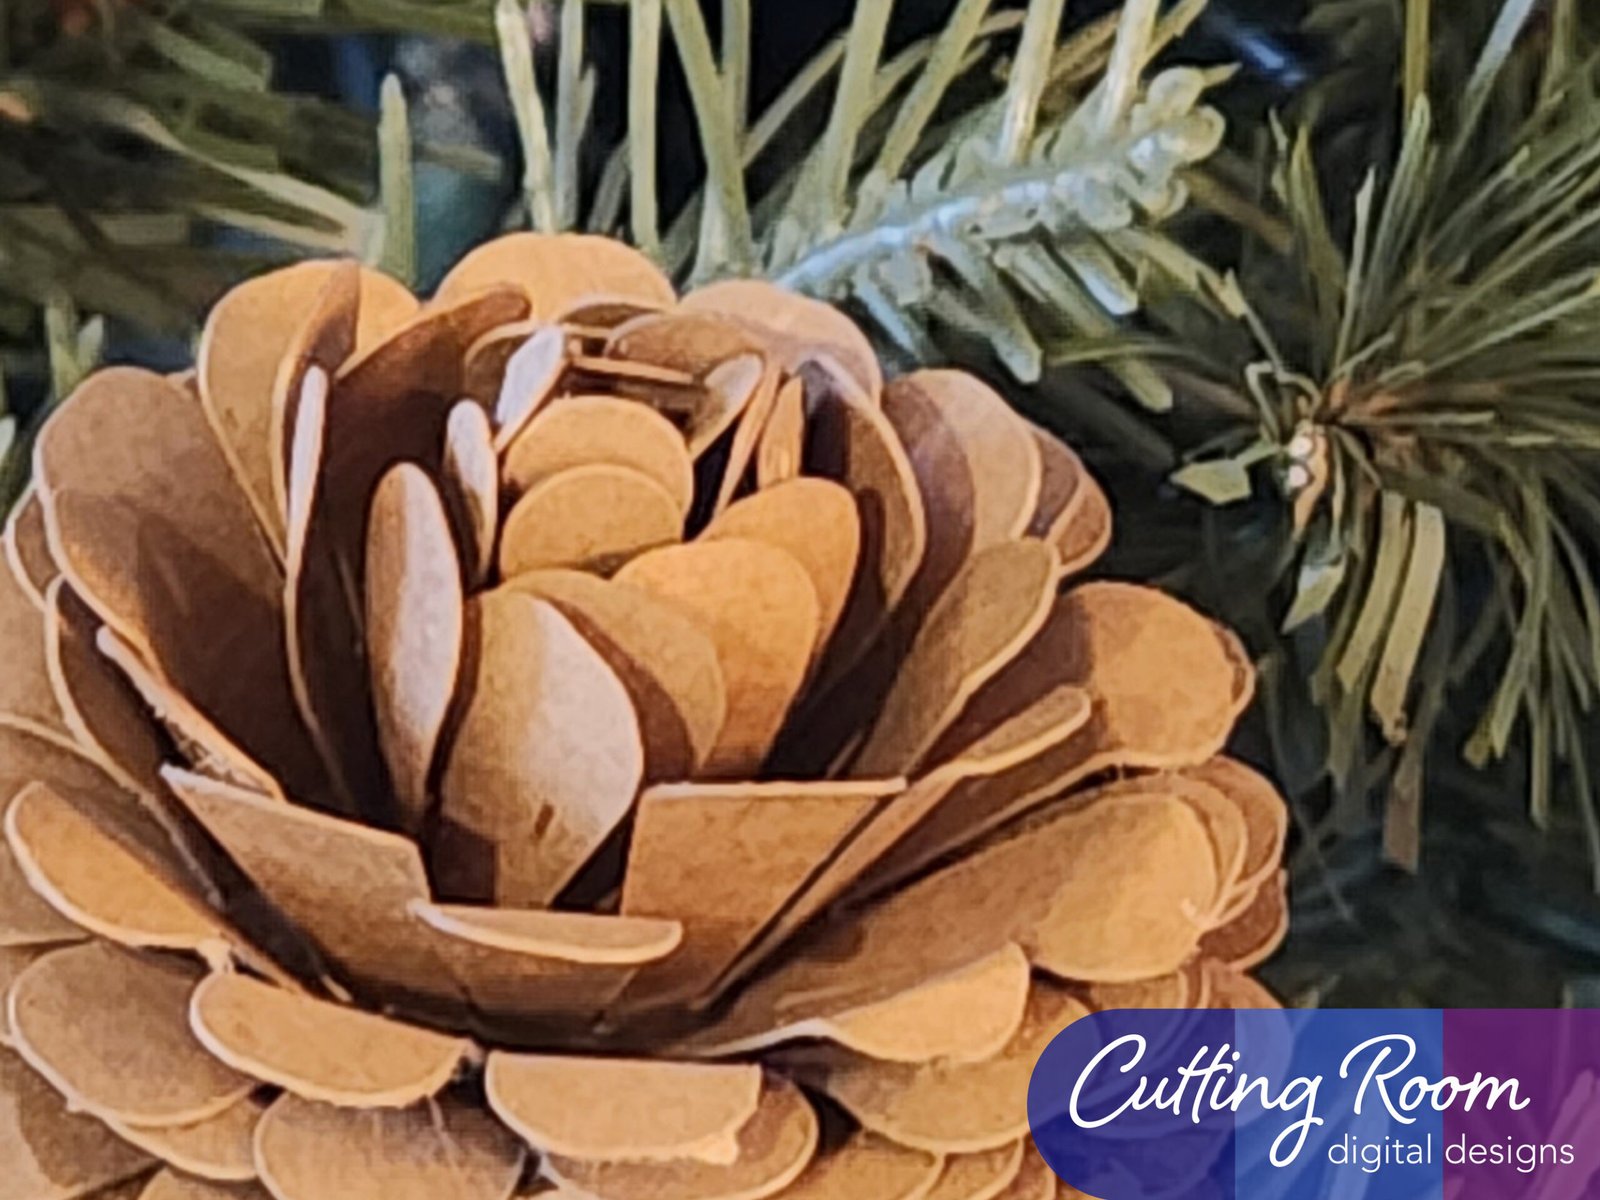
Materials Used
We used several products and supplies in the making of our pinecone decoration. Below is a list of what we used.
- 3D Pinecone Fire Cone Christmas and Holiday Decoration – Digital Download SVG
- Recollections cardstock
- Green Floral Stem Wire for Artificial Flower Making
- Hot Glue
- Art Glitter Glue
- Electric Cutting Machine – Cricut or Silhouette
***Note that this post contains affiliate links and we may receive compensation if you buy something using one of our links. ***
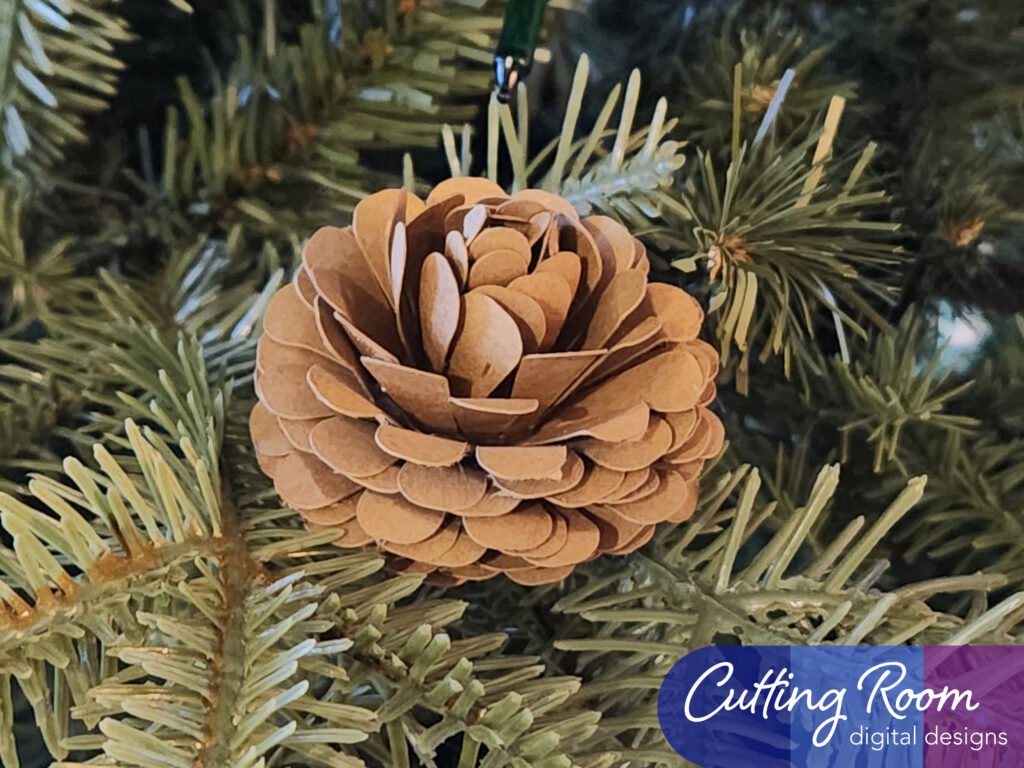
Customizable
This pinecone is super simple and can be customized to fit your project by adding in extra layers or taking some out. This will change the shape and size of the pinecone to change up how it looks and fit your project.
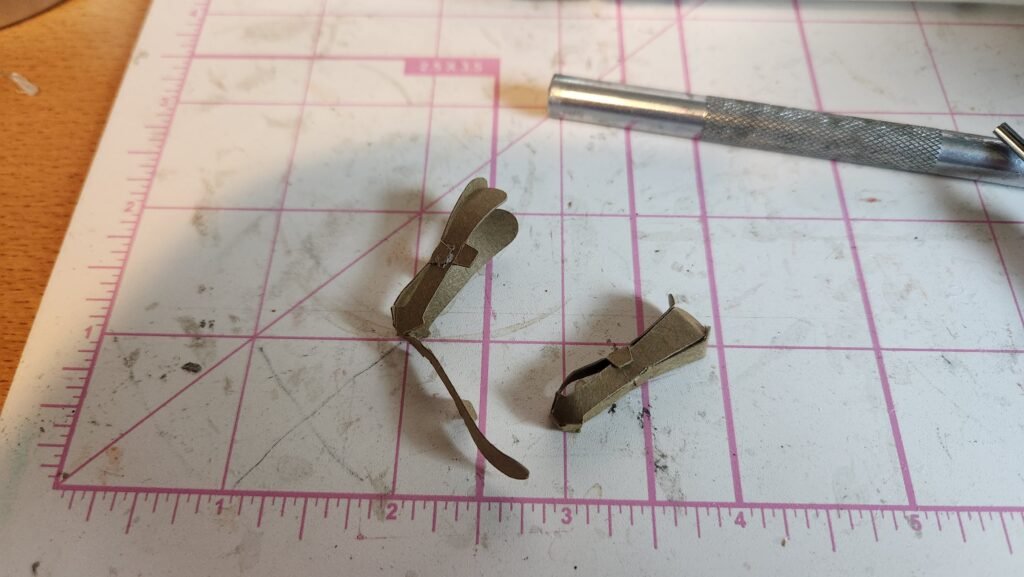
Making The Pinecone Core
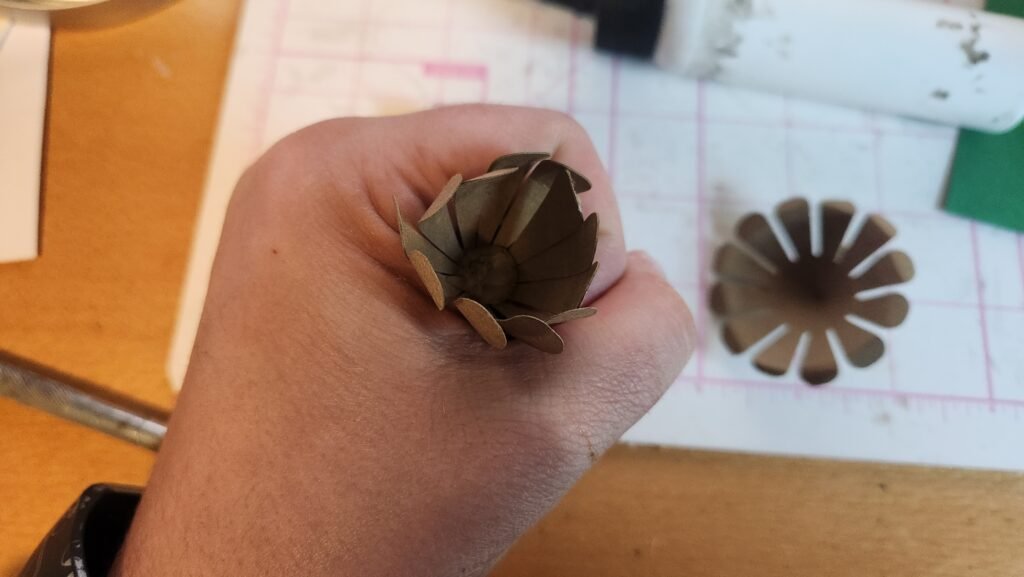
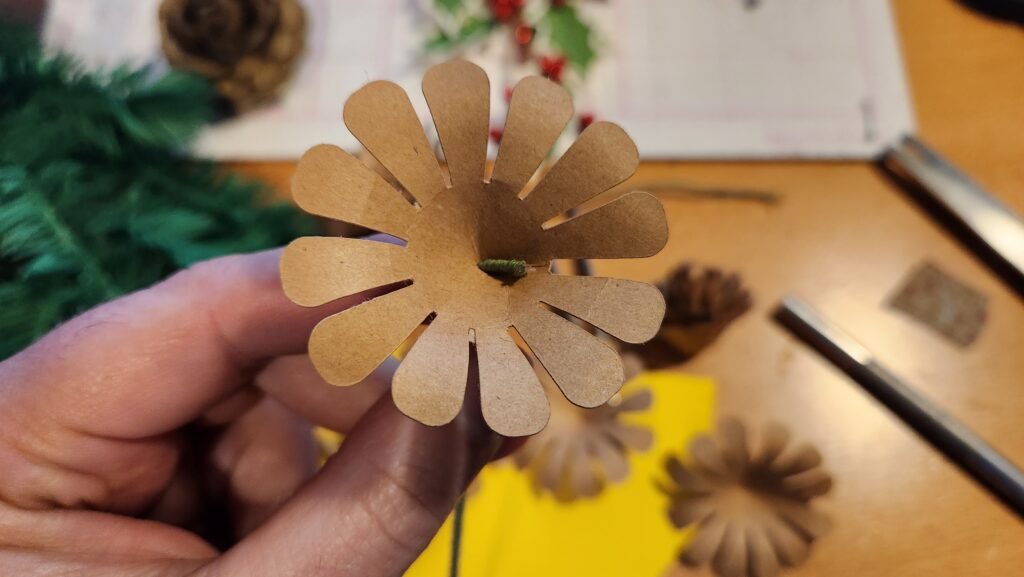
The pinecone starts with two identical center pieces. To prepare them, fold one of them to create a cone and attach each long piece to the neighbor using the tab to glue in place.
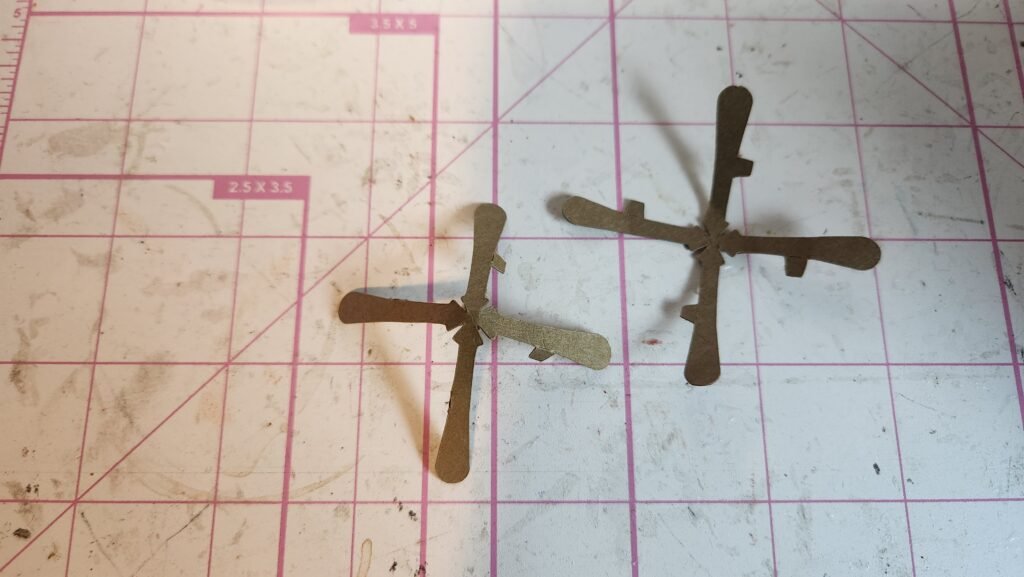
Once you have one assembled, do the same with the other core piece. After positioning three of the long panels, place the completed core in the center then close up the fourth panel. This fourth panel may not want to close all the way as the center cone takes up some space. That’s okay, you can glue the fourth long piece to the center cone if needed. This gives you two of the X shaped pieces nested together as the core of your pinecone.
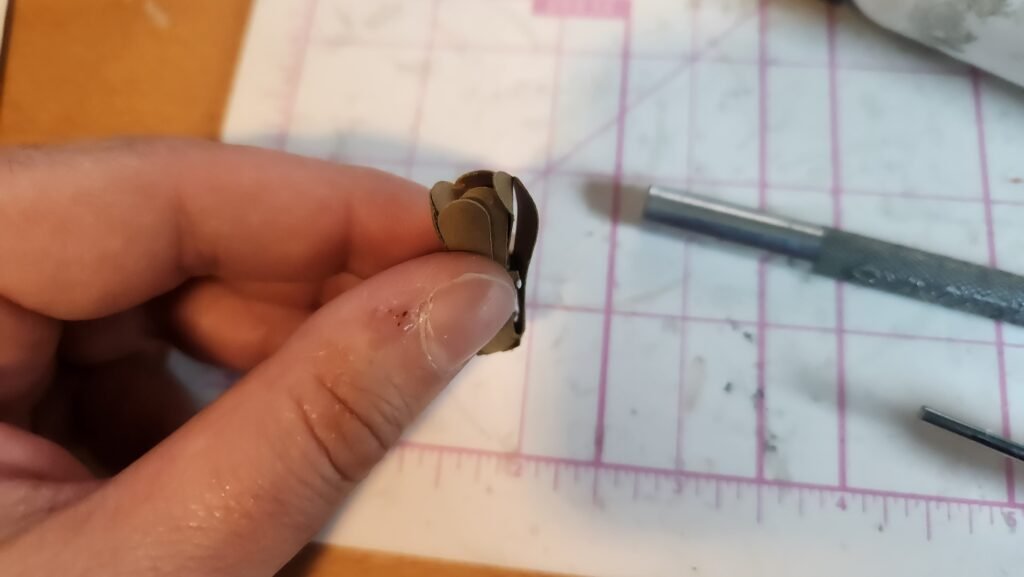
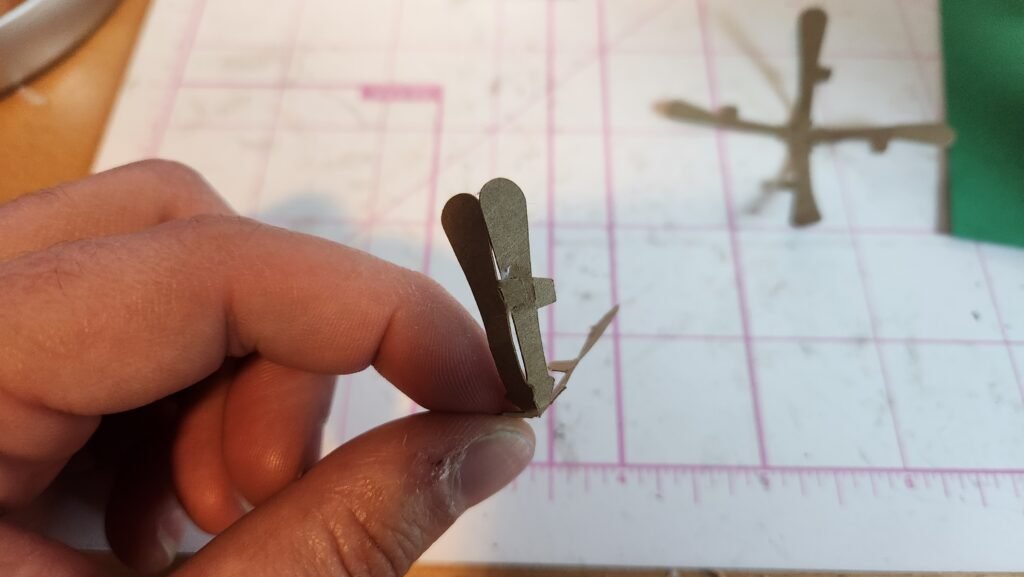
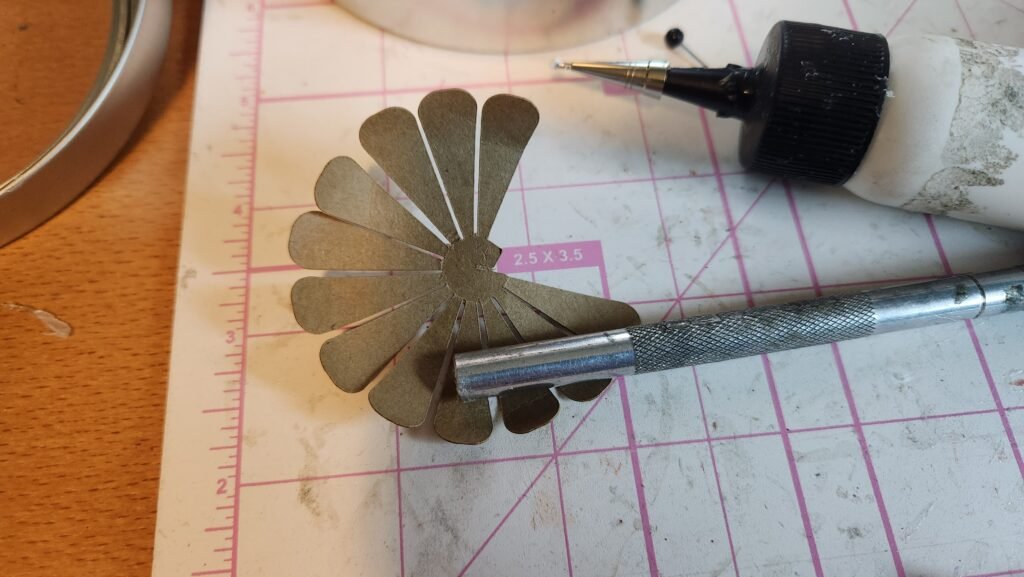
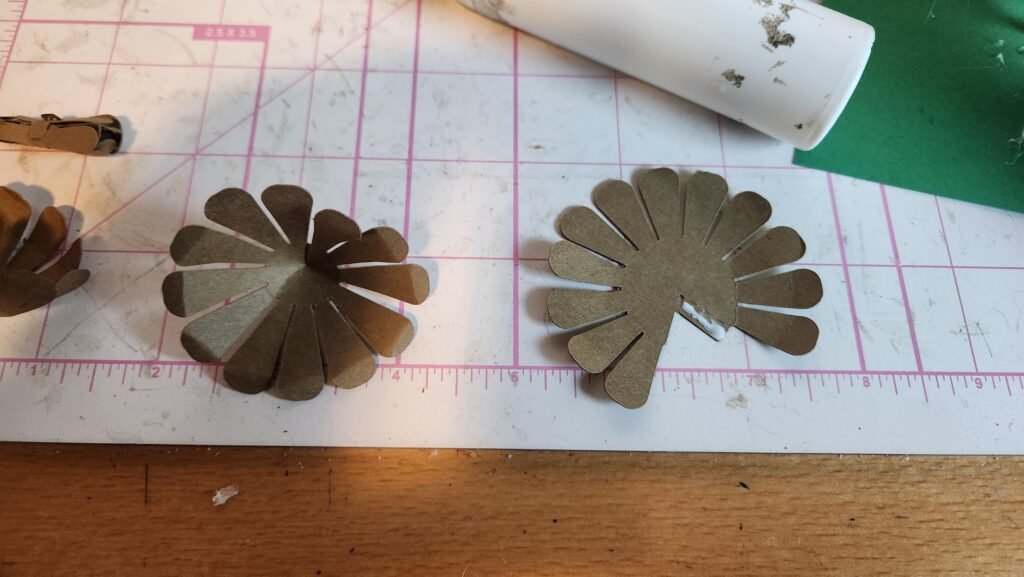
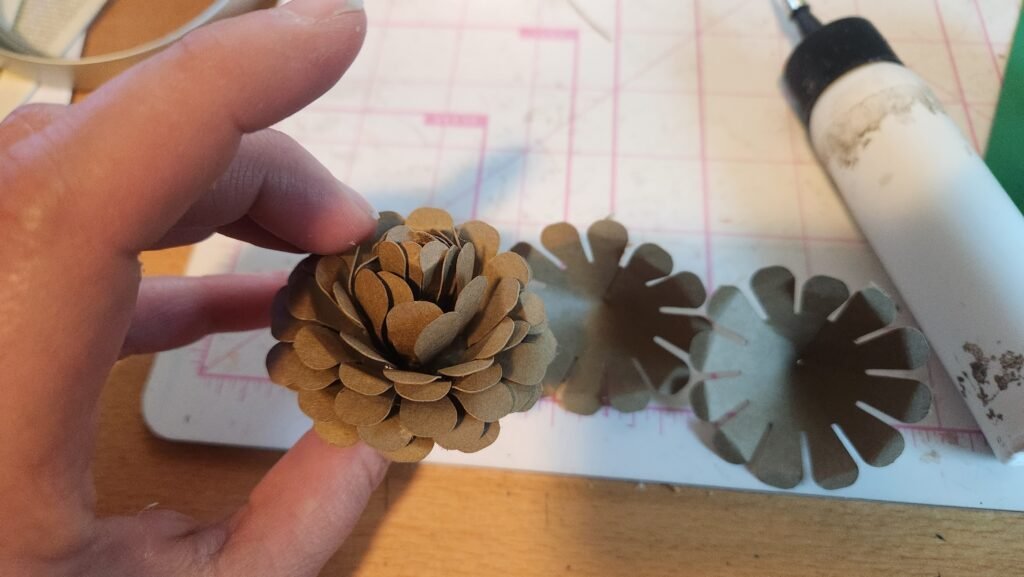
We then started assembling the rest of the pinecone. All the pieces are assembled the same way, what changes is the size and shape of the pieces. In the file, they are all arranged so that you can assemble them from left to right starting at the top.
Adding Layers
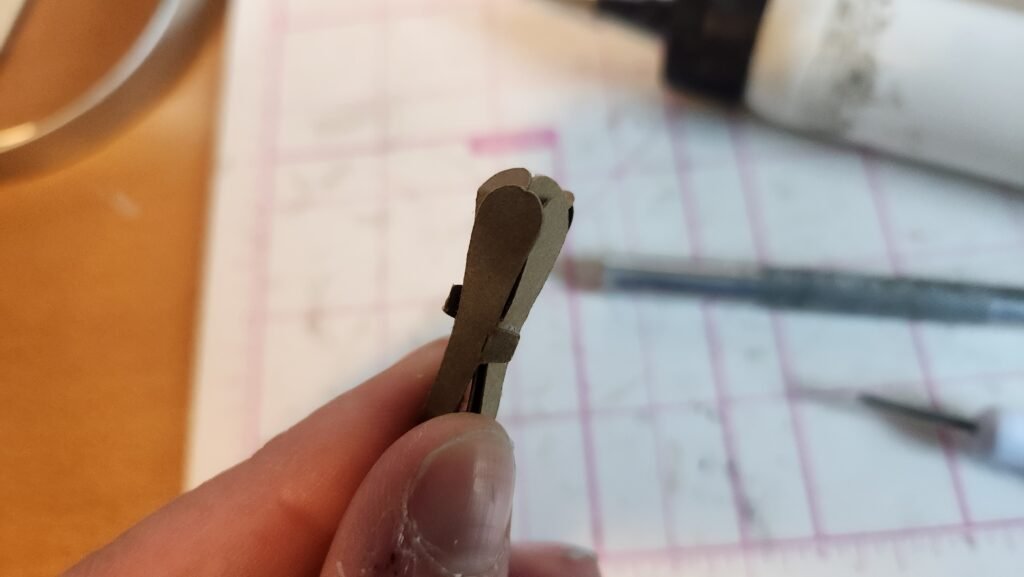
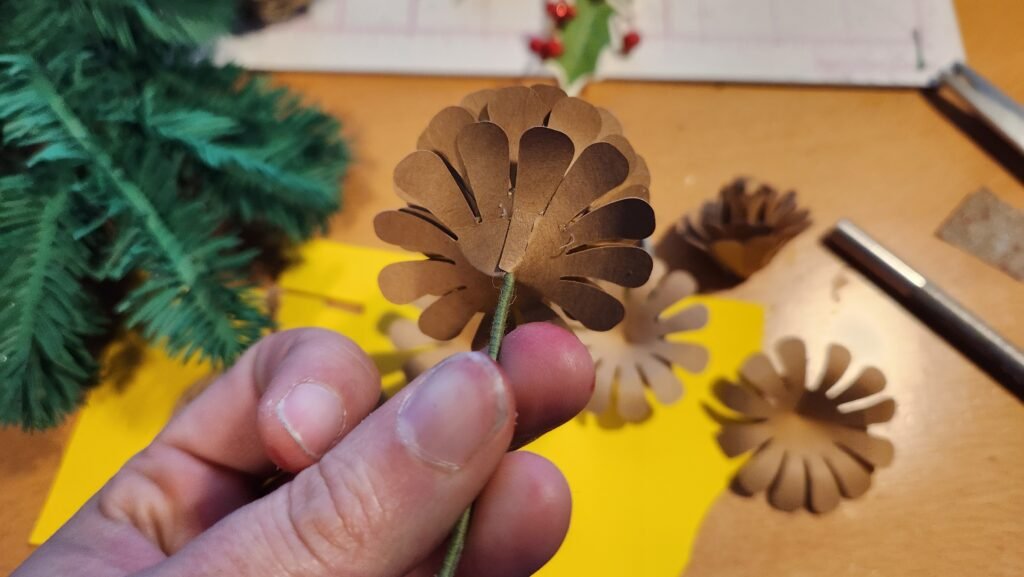
To assemble the pieces, we curved the ends of each petal. or the curve, we chose to curve the first few layers so they would go in/up, then did one or two layers we didn’t curve, followed by the rest curved down or out. We then attached the small tab in the opening to the opposite side, creating a V shape.
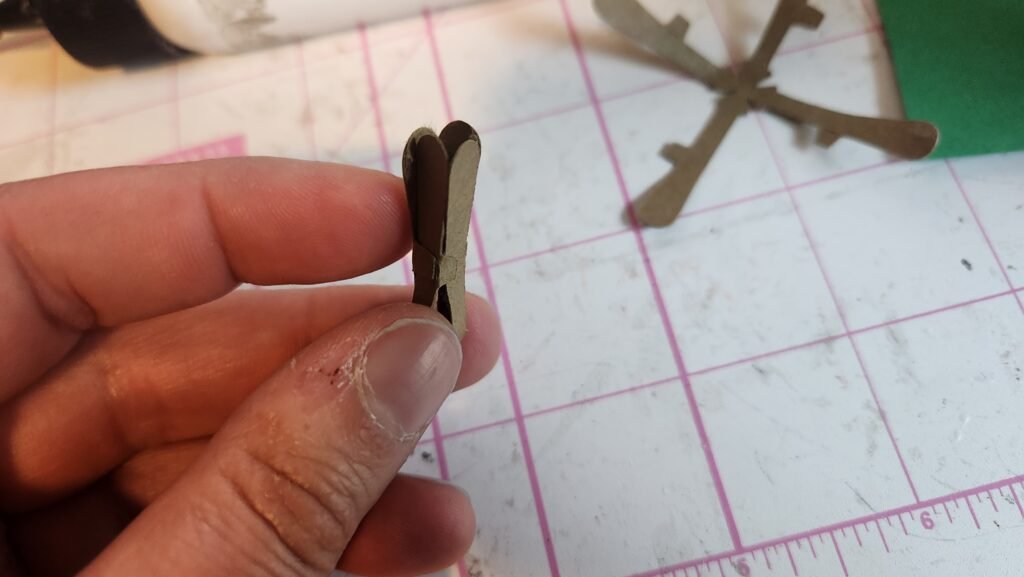
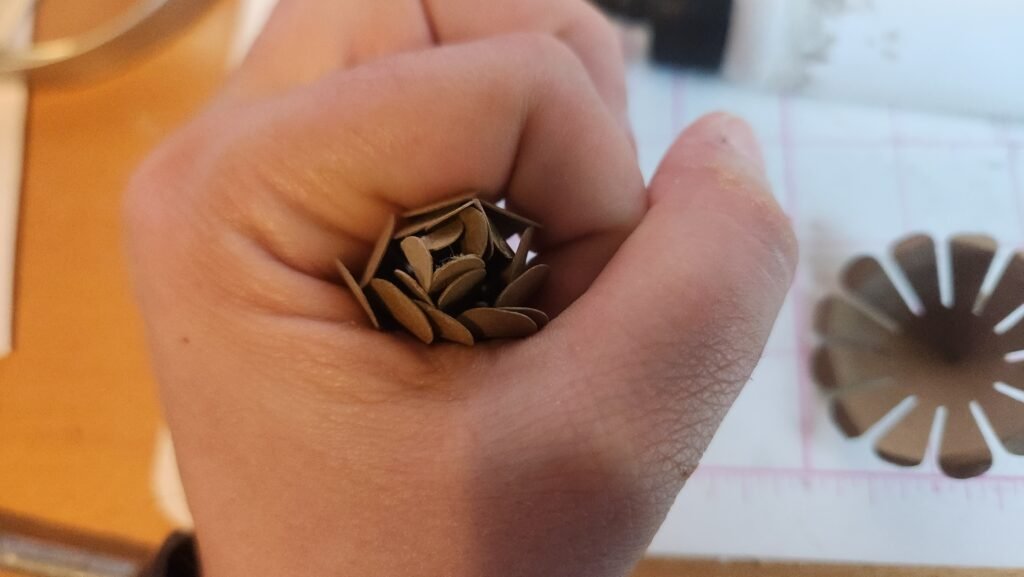
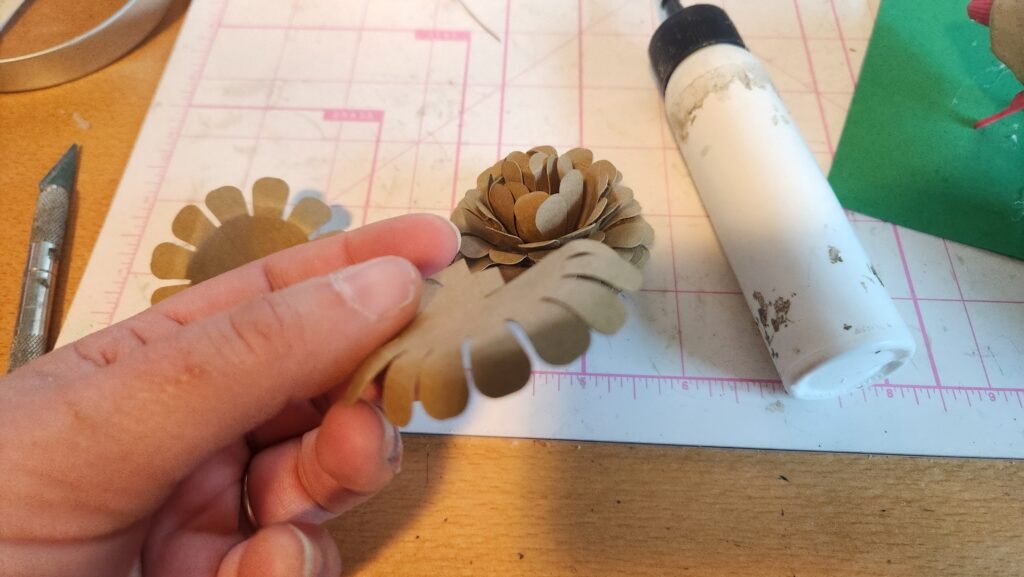
With the cone shape created, we placed a generous amount of hot glue in the bottom of the cone and placed our small core assembly inside. We held it together in the size/shape we wanted until the glue set. This can be a bit hot with the hot glue so be careful with how you chose to hold the cone shape.
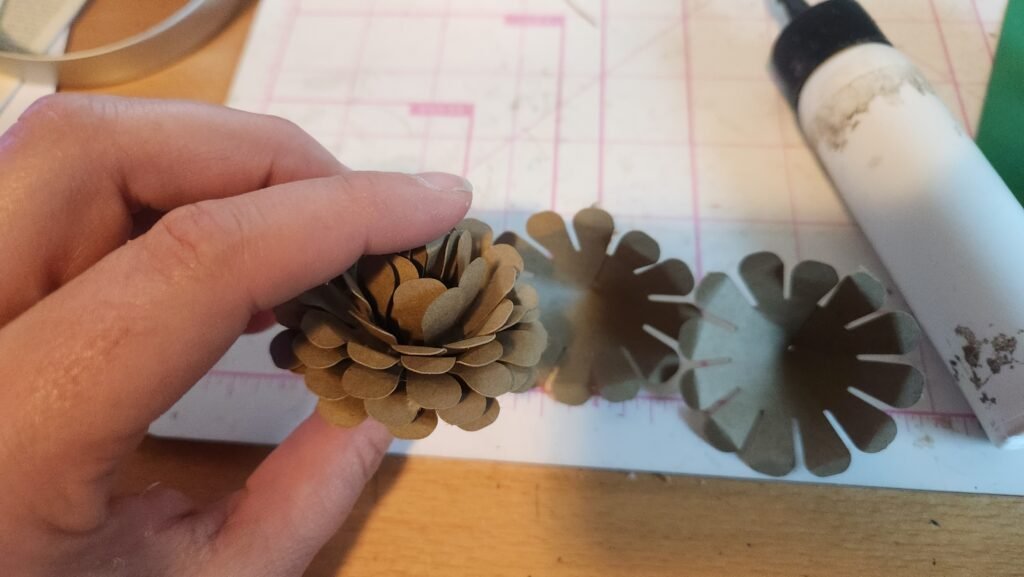
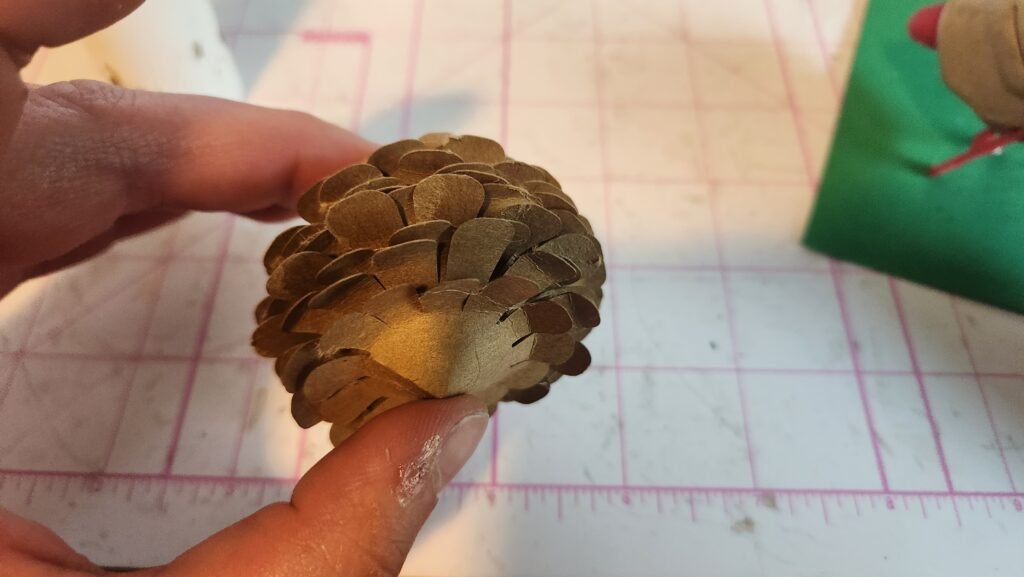
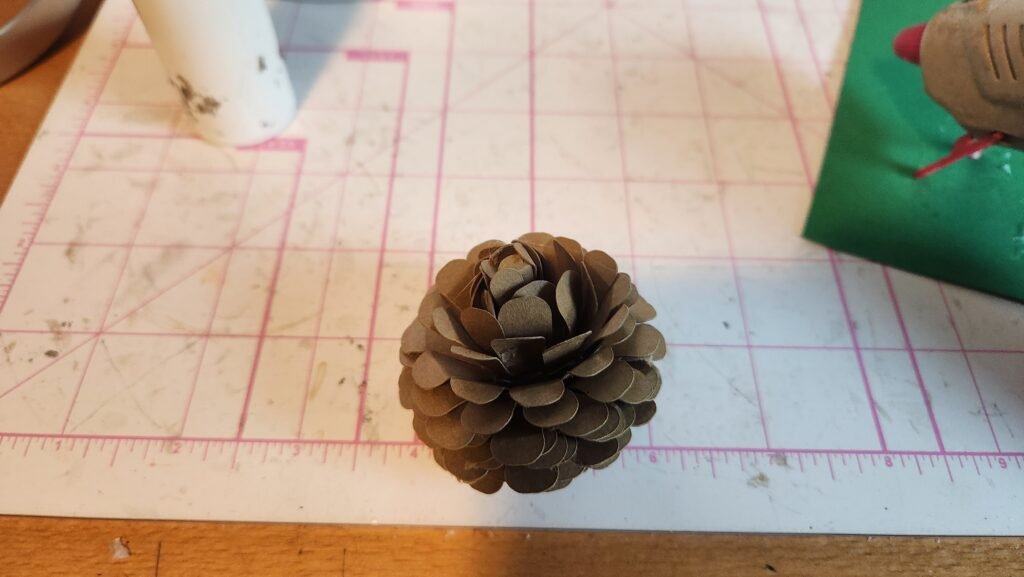
Repeat this step with the remaining segments of the pinecone until all are in place. You can chose to skip some, end it early, or add extra layers in to change up the shape and look of the pinecone.

Securing The Pinecone
If you want to add a floral wire to the pinecone, we recommend doing this on the last layer you chose to add. We bent the end of the wire and placed it in the cone shape while we attached the tab to hold the shape. Once the tab was securely in place we added hot glue in the center, on top of the piece of wire and positioned the assembled pinecone on top.

Leave a Reply