Materials Used
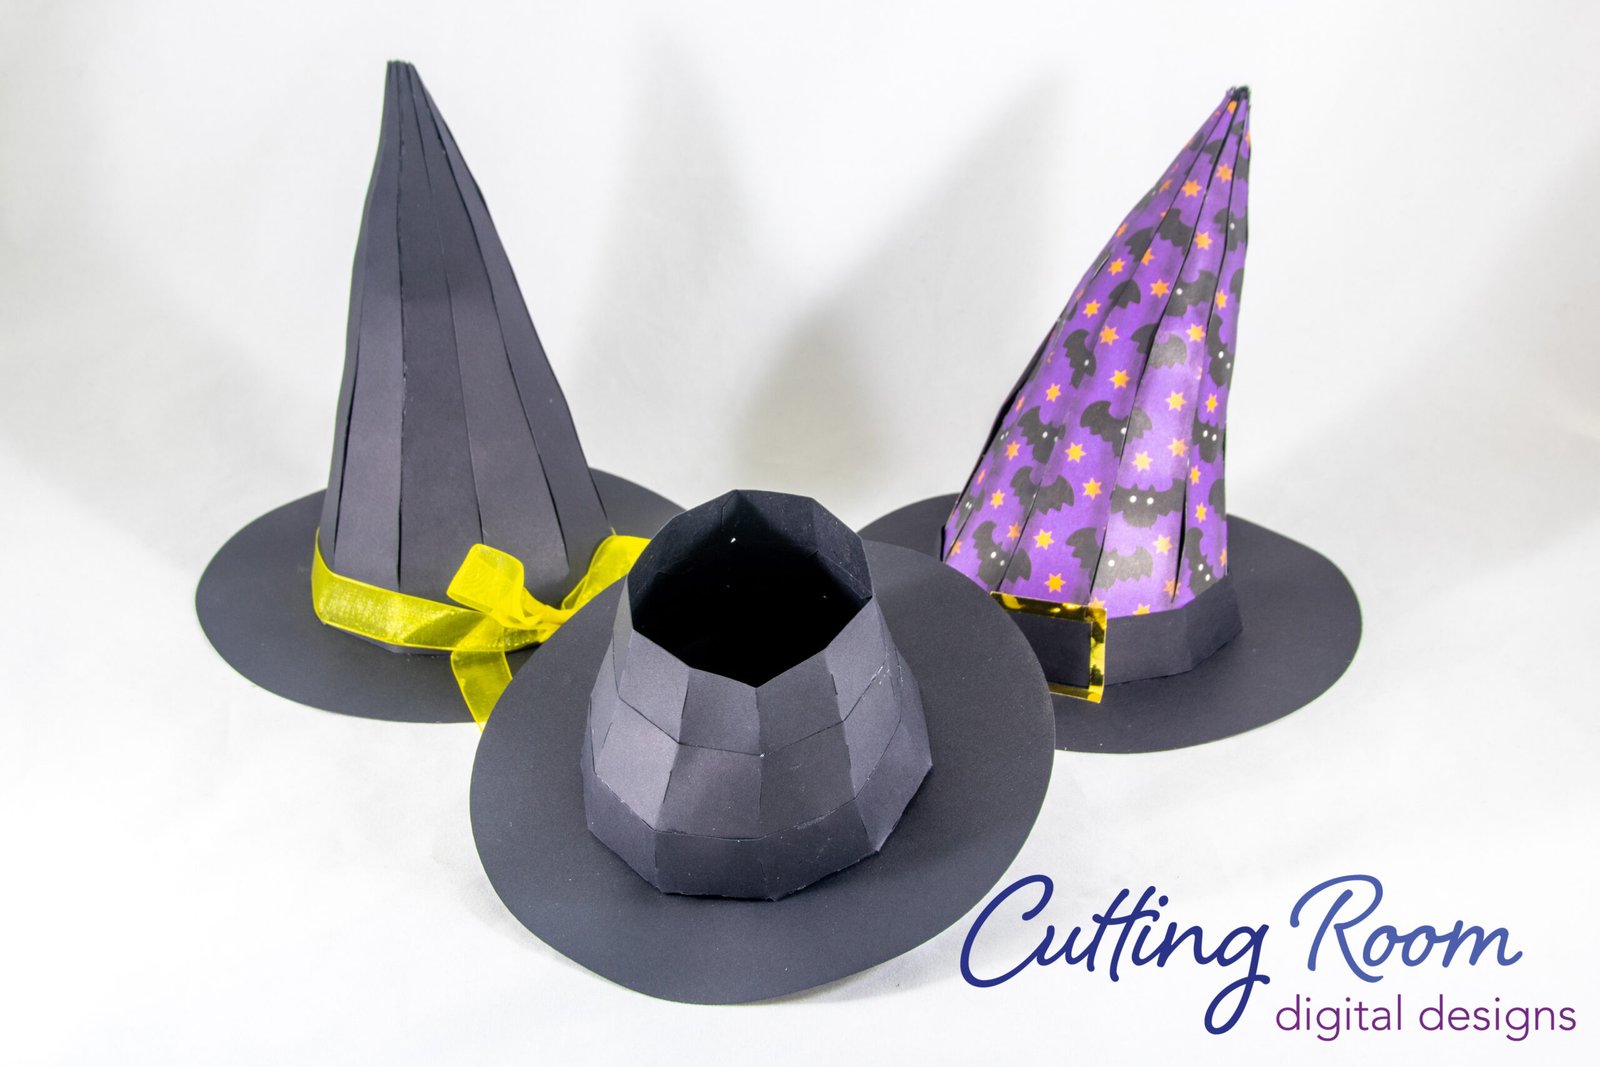
We used several products and supplies in the making of our witch hat treat box. Below is a list of what we used.
- Witch’s Hat Treat Box – Digital Download SVG
- Recollections cardstock
- Gold Metallic Recollections Cardstock
- DCWV Halloween Paper Pack
- Art Glitter Glue
- Electric Cutting Machine: Cricut or Silhouette
***Note that this post contains affiliate links and we may receive compensation if you buy something using one of our links. **
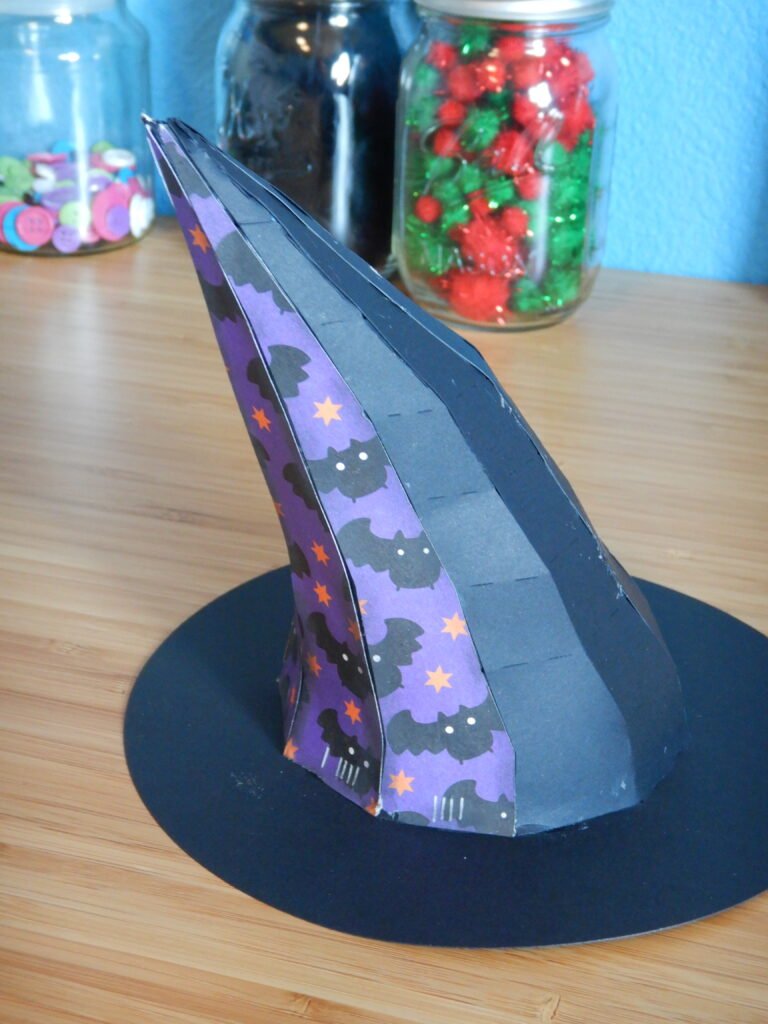
Witch Hat Panels
When you cut the panels for the witch’s hat you will see some very small lines by the long edge that makes wide part of the hat. These show you the order they are to be attached in. You can start anywhere that’s easiest, as long as the pieces are assembled in the right order. They go: I, II, III, IIII, IIII I, IIII II, make sure to arrange them with the numbers on the top and in order from left to right.


Assembling The Hat
Start at the larger end so you are sure everything in the front lines up just so, then work your way back, one or two tabs at a time until you reach the end. Then repeat with each of the pieces.


Once you are down to the last set of tabs, we found it easiest to again start at the opening and work my way back. Once the first tab was secure, we started adding glue a couple at a time and worked our way back. To do so I normally use the glue bottle directly on the tabs but given the small space it was easier to make a small glue puddle and use a tool (in our case a craft knife) to dip in the glue then wipe it on the tabs before holding them in place. You can start from the pointed end and work your way out if preferred, this was just the method we liked best.


The final step for the witch’s hat is to attach the brim of the hat. Crease each of the tabs to make them easier to work with. Once done, attach one tab inside the hat top and secure. Then continue around the hat, alternating tabs. Once the first half are done and dry, glue in place the remaining tabs.


Witch Hat Decorations
Each panel for the shape has a corresponding decorative panel. It also contains the marks to help keep track of which goes where. Just match them to their corresponding piece and glue in place.

We chose to mark on the decorative panels to help show the numbers on each. These will be covered by the hat band in the next step.


Adding The Hat Band
Lay out the band for the hat so you have it oriented the correct direction and have it lined up correctly. We chose to then glue on one square and make sure everything was in position as desired before gluing on the others.


Once the band was in place, we added the buckle.

Making The Witch Hat Box
To assemble the inside of the hat, arrange the three box pieces in order then glue together. Once all three are attached close the end, creating a closed shape.


We then attached the bottom of the box to one tab and let it dry before pushing the bottom up into the shape a bit which allowed us to put glue on the other tabs before folding them into position. Once this was done, we put the bottom of the box on the table and used a pencil to apply pressure on the tabs from the inside.


Once the tabs were secure, we put a thin layer of glue over the bottom of the box and placed the round circle piece. To maintain even pressure for a few minutes, we put rocks in the box while the glue set.


Leave a Reply