Materials Used
We used several products and supplies in the making of our great sailing ship. Below is a list of what we used.
- Sailing Ship Set – Pilgrim, Colonist, Pirate Ships – Digital Download SVG
- Recollections cardstock
- Self Adhesive Pearl Stickers
- Black Sharpie Pen
- Brads
- Craft Popsicle Sticks
- Tim Holtz Distress Inks
- Metallic Sharpie Markers
- Fine Grit Sand Paper
- Hot Glue
- Bakers Twine
- Art Glitter Glue
- Electric Cutting Machine – Cricut or Silhouette
***Note that this post contains affiliate links and we may receive compensation if you buy something using one of our links. ***
High Seas Assembly
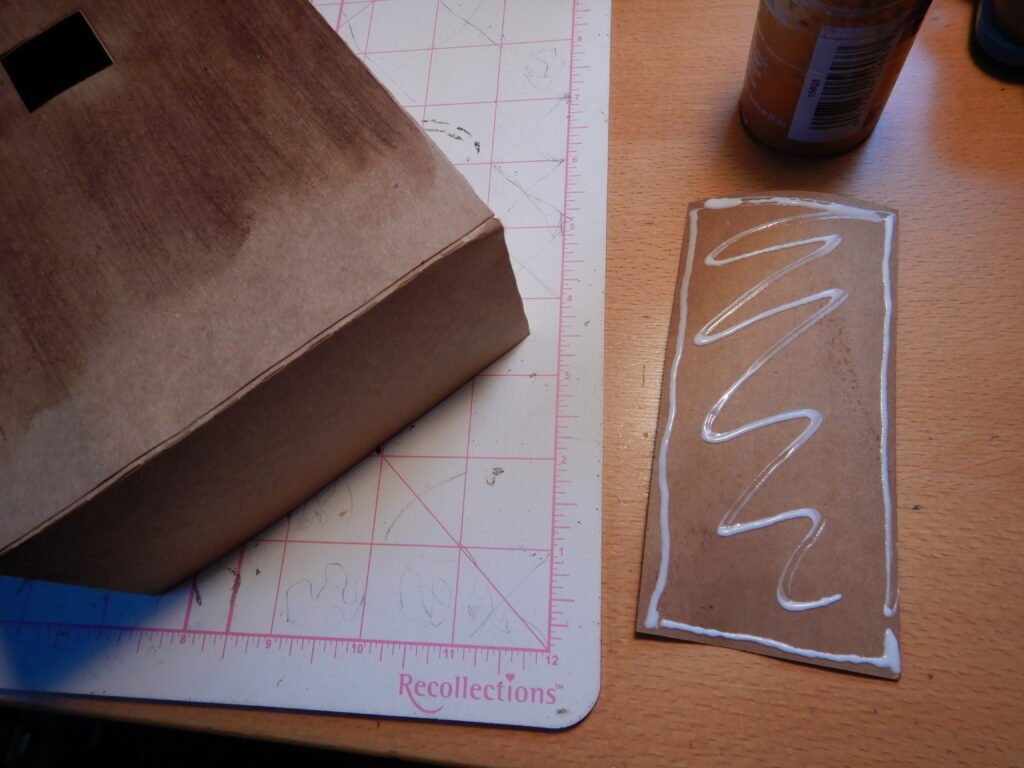
To start building our sailing ship, we made the water/bottom of the box. To do this, line up the side pieces and connect end to end. The two longer rectangles make the sides of the box, the short is the back, and the one with all the little tabs will fold in the middle to make the front. Once you have these lined up, you can start gluing the tabs together end to end as shown below.


Once you have them all glued to make the shape of the box, you can fold in the bottom tabs and apply glue to one of the the box bottom liners. There are two, they are identical so either is fine. Once you have glue on these tabs you can put the liner down into the box. Use a pencil or your finger to apply pressure to the bottom where it lines up with the tabs.


Once the first liner is in position and the glue set, you can turn over the box and apply glue so you can attach the other liner. This will give a little more strength to the bottom of the box and cover up the exposed tabs for a cleaner and more finished look. Once done you can set this aside until the sailing ship is complete.

Building The Sailing Ship Hull
The next step is to make the ship’s hull. The hull is made in the same way as the base. Sorry, the pictures are from the pirate ship but it works the same. This sailing ship is just bigger and there is only one mast on the main part of the hull. The other two masts are on the front and back boxes you’ll build soon.


You’ll notice that there are three liners for the top. Two have holes and one does not. Take one with holes to make the initial hull. The second one with holes goes on the other side to cover the tabs. If you want to distress one or anything this second one with holes is the one to do it to. Once all the masts are in you’ll put the liner without holes in on the inside to cover everything up. That step is toward the end though since you need your masts in place first.
Once this liner is in place, you can assemble the stern and bow boxes. The stern box is made of one piece. Fold on the fold lines and glue the tabs in place as shown.


When complete, you’ll attach this to the rear decorative panel pictured below.

Place some glue along one long narrow side and put the box into the panel, lining it up with the bottom of the windows. If you are slightly off and go a little below, that’s fine, it won’t cause any problems later.


When this is secure, you can add glue to the sides of the box and attach the decorative panel to each side. Be sure to make the corner nice and snug and to apply some pressure to the sides for a good hold.


The second and third panel from the left in the photo below are meant to cover the corners. They don’t reach all the way from top to bottom so line them up with the top/railing end of the decorative panel as shown. You’ll cover that bottom part later when you attach this assembly to the hull of the ship.


Now you can add the railing to the sides and back.


Set this part aside for now.
Adding To The Sailing Ship’s Deck
The stern box is made of a couple pieces. I forgot to take photos but there are two pieces that make up the sides. First, line them up end to end and glue the tabs in place creating a wonky circle shape. Now you can then fold in the tabs on one side and place the liner panel. There are two more liners, one to close the other side and one to cover the exposed tabs. You can skip covering the exposed tabs if you plan to put this side face down on the ship. Once complete, apply glue to the bottom and place in the front of hull. Make sure to line up the edges so you don’t have a ledge.


Preparing the Sailing Ship’s Hull
Next up is the decorative panels for the hull. The starboard and port sides are the same size but the holes on each panel are intended to be placed closer to the front of the sailing ship. First, attach then small rectangle, lining up the holes in the rectangle with the holes of the panel. To attach the rigging (we used embroidery thread for this) later, you’ll need to add brads to each of the holes. Be sure to leave the brads a little loose so you can get the thread tied around the brad later.


Do this for both panels. When complete, add glue to the back, paying extra attention to the area around the brads. Then attach the panel to the hull of the ship with the empty (non brad) end lined up with the back of the ship as shown.

Add the decorative panel to the back of the sailing ship.
Now you can add the panels to the front of the ship. They go on pretty easily. Just add glue to the panel below the line of holes for the railing. Line up the panel so it fits nice and snug against the side panels you’ve already placed on the hull. If there is a slight gap at the front or your railing doesn’t feel very strong, that’s okay. We have a panel that will go there to secure, close up, and strengthen the front of the sailing ship. The support panel for the front of the ship is the one on the far left in the second photo below. It is the tallest of the corner panels. Once you have the front panel and vertical support in place you can add the railing.


Adding The Back Deck
Now it’s time to add the stern box that you assembled and decorated earlier. Apply glue to the front portion and sides as shown below.

Now slide the box in position. Making sure the corner lines up with the back of the sailing ship. This piece will overlap the decorative panel you already placed on the hull.


When this is secure, you can take the last two smallest vertical supports to the corners.

Now it’s time to add the water to the bottom of the hull. This comes in four pieces. One for the back, and two for each side. The side pieces are set so they should line up well if you put the short one toward the front/curved part of the ship and the longer one along the side.


Adding The Windows
You can now add the windows to the sides and back of the ship. It’s easier to do it now when there’s less on the deck than if you wait until later, though if you chose to wait it’s still pretty easy to do.

To finish decorating the deck of the ship, you need to add the support panel over the holes of the panels that cover the aft and stern boxes as shown in these photos.


Assembling The Sailing Ship Masts
Once that’s done you can assemble the masts. There are two holes on the opposite sides of each mast. Before you assemble them, add a brad to each, leaving it a bit loose (especially on the main/center mast! It gets a big snug with four lines going up!). Once you have the brads in place, glue the long tab to the long side so that you have a box then close in the end by folding down the tabs and gluing the square tab down on top. Do this for both the decorative panel you assembled above.


Add a line of embroidery thread or other thick thread to each of the brads on the base, leaving each about 7-8 inches long. Then glue the mast into place by putting it through the hole in the deck and add glue to the tabs. Be sure to apply lots of pressure to get a good hold. Make sure that the brads on the mast face the brads on the decorative panel. If they do not face each other you will not be able to attach your rigging correctly.


Now add glue to the bottom of the panel and place it on the deck of the sailing ship. Wait until you are sure the glue is well secured and dry before doing the next step. While waiting for the glue to dry you can do the stern panel and mast in exactly the same manner. The strings should each be 6-7 inches for the stern rigging. We chose to add some rocks to the top of the panel while the glue set to provide regular pressure and a little weight.

Now you can add the main, center mast to the ship. Slide it through the hole in the middle and add glue to the tabs. Then hold it in place until the glue is set. You can also now add the solid panel for the hull that will cover the entire inside so that the tabs are hidden.


Tying Up The Rigging
When the glue is fully set, it’s time to tie up the rigging. Take one of the strings and wrap it over the brad on the mast. Then take the second one and wrap it in the opposite direction. Use these two pieces to tie a knot then cut ONE of the strings so it can’t be seen. Now take the third string and wrap it over the brad and use it and the remaining string to tie a knot. Cut both remaining pieces of string so you don’t have any hanging. Once complete, repeat for the other side of the mast. Do this for both the aft and stern mast rigging. (you’ll see in the picture that the center mast is not attached. We did it later and it was very cumbersome, now is the best time to place the main mast, not later)


Now that you have them in place, you can add the round panel to the top of each mast. Place it so that it sits level just touching he brad on the mast and glue the tabs to hold it in place.


While doing the aft and stern masts, it’s also time to do the main mast. Attaching the rigging is a little different since there are four. You can do two and tie them off and cut both excess strings then do the other two and tie them off. Also, just be ready for the last string to be put on the mast brad to have a hard time getting into place since the space might be a bit tight depending on how loose you left the brad. We had to use a craft knife to hold the brad out a bit while placing the string over it. A third hand would have been handy for that!


Now you can slide the little round disk like piece to sit just above the brad the same as you did with the other two masts.


Building Crow’s Nest
Now it’s time for the crow’s nest. This is made of three pieces, the outer part that loops to make a circle, and the two liner pieces for the bottom of the crow’s nest. First, make the circle as shown, then fold in the tabs and glue the liner with the tabs in the center in place. Later you’ll fold those tabs up and use them to attach the crow’s nest to the main/center mast. For now you can leave them flat. Once this liner is secure, turn over the shape and attach the other liner so that the tabs are covered.


When your glue is dry you can fold up the tabs in the center and slide the shape down over the main (rear) mast. We put it down just low enough so the top of the mast stuck just up above the top of the crow’s nest. When you are happy with the position, place some glue on the tabs and press them against the mast.


Anchor’s Away!
When assembling the sailing ship we made a mistake and waited to do the anchor later so we had to fight past the sails and cannons to place the string. That made the job much harder! To make things easier, we suggest doing it at this stage. This way you don’t have to try to reach around or through the sails while holding and positioning things. First, assemble both the anchor pieces then attach them back to back. This gives you a two sided, decorated anchor. We chose to use some sewing thread as the anchor chain. To hold it in place we placed the thread in a bit of glue on the deck. The photos from the pirate ship since they are clearer but the same situation applies for the sailing ship. We used our craft glue for this but would recommend actually using a spot of hot glue instead.


Using bakers twine, we made as small coil of rope, and glued it on top of the anchor chain on the deck.


The Sailing Ship’s Wheel
Next is the ship’s wheel. It’s better to do this now than when the sails are in place. We found it was easier to reach in without the sails in the way. The wheel is made of two pieces that go together back to back for the stand. When attaching them , make sure to not glue the tabs together at the bottom. You will need them to glue the stand onto the deck of the sailing ship. Attach the wheel to one side, then glue it just behind the main/center mast. You can choose to position it in another spot on the deck if desired.


Sails For The Sailing Ship
Now it’s time for the sails! Each sail has four crossbars, two for the top and two for the bottom. If you look closely two of the cross bars have a small vertical cut line. This is not a fold line, instead it’s marking the center of the cross bar so you can use that as a reference point when placing the sails on the mast. Be sure that you use the bar with this line on the back side of sail.

Attach the crossbars to the sails, one on the front of the sail at top and bottom and one on the back of the sail at top and bottom, remembering to put the marked crossbar on the back.

To attach the sails, we started with the front mast, but you can do them in any order really. First, hold them in place on the mast so you have an idea where you want to place them. Determine how much of a bend you want in your sail. Make a mental note of where you want the bottom bar to land. We put our front and back sail so the bottom sits just above the railing. Now place some glue on the mark on the bottom crossbar and hold it in place on the mast until the glue is set. Then you can add glue to the back of the top cross bar and hold that in place. We thought it was easier to do one at a time but you can do both together if that works for you. Make sure that the top bar is snug against the bottom of the round panel sitting on the brads. Do this for both the front and back masts.


The only difference between the main/middle mast and the other two is that it has two sails. Start with the bottom sail, positioning the crossbars one at a time. Then do the top sail. The top of the lower sail is meant to be attached at the same level as the brads on the mast. The tops sail just sits snugly between the round disk on the mast and the crows nest.

Assembling The Canons
Next up are the cannons! They are made of the black canon piece, the wood sides, and the wheels. Glue the wheels into place on the sides making sure to place them on the rounded spot, leaving the tabs hanging below. The tabs will fold in and be glued to the deck of the ship later.

Once you have the wheels in place it’s time to roll up the canon part. Take the black piece of paper and wrap it around a pencil to make the tube. We added glue to the tab end (that goes on the inside of the tube) and pressed the end over the tab to create a tube. The pencil helped us get the tab in position and something to press against.


With the canon piece ready, place some glue on the inside as shown then place the canon on the glue. We made sure to have the canon angled a bit so the front (the wider end with the larger wheel) was higher than the back.


When the glue is dry, we added some more to the other side and held it in place. At this point we folded the tabs in and stood the canon on the table to help make sure that the two sides were level and even. Then add glue to the tabs as shown and place on the deck where desired. We chose to place one on each side in front of the main sail. This left us with four remaining canons. We chose to place two on either side behind the rigging on the deck.


Our Sailing Ship’s Flag
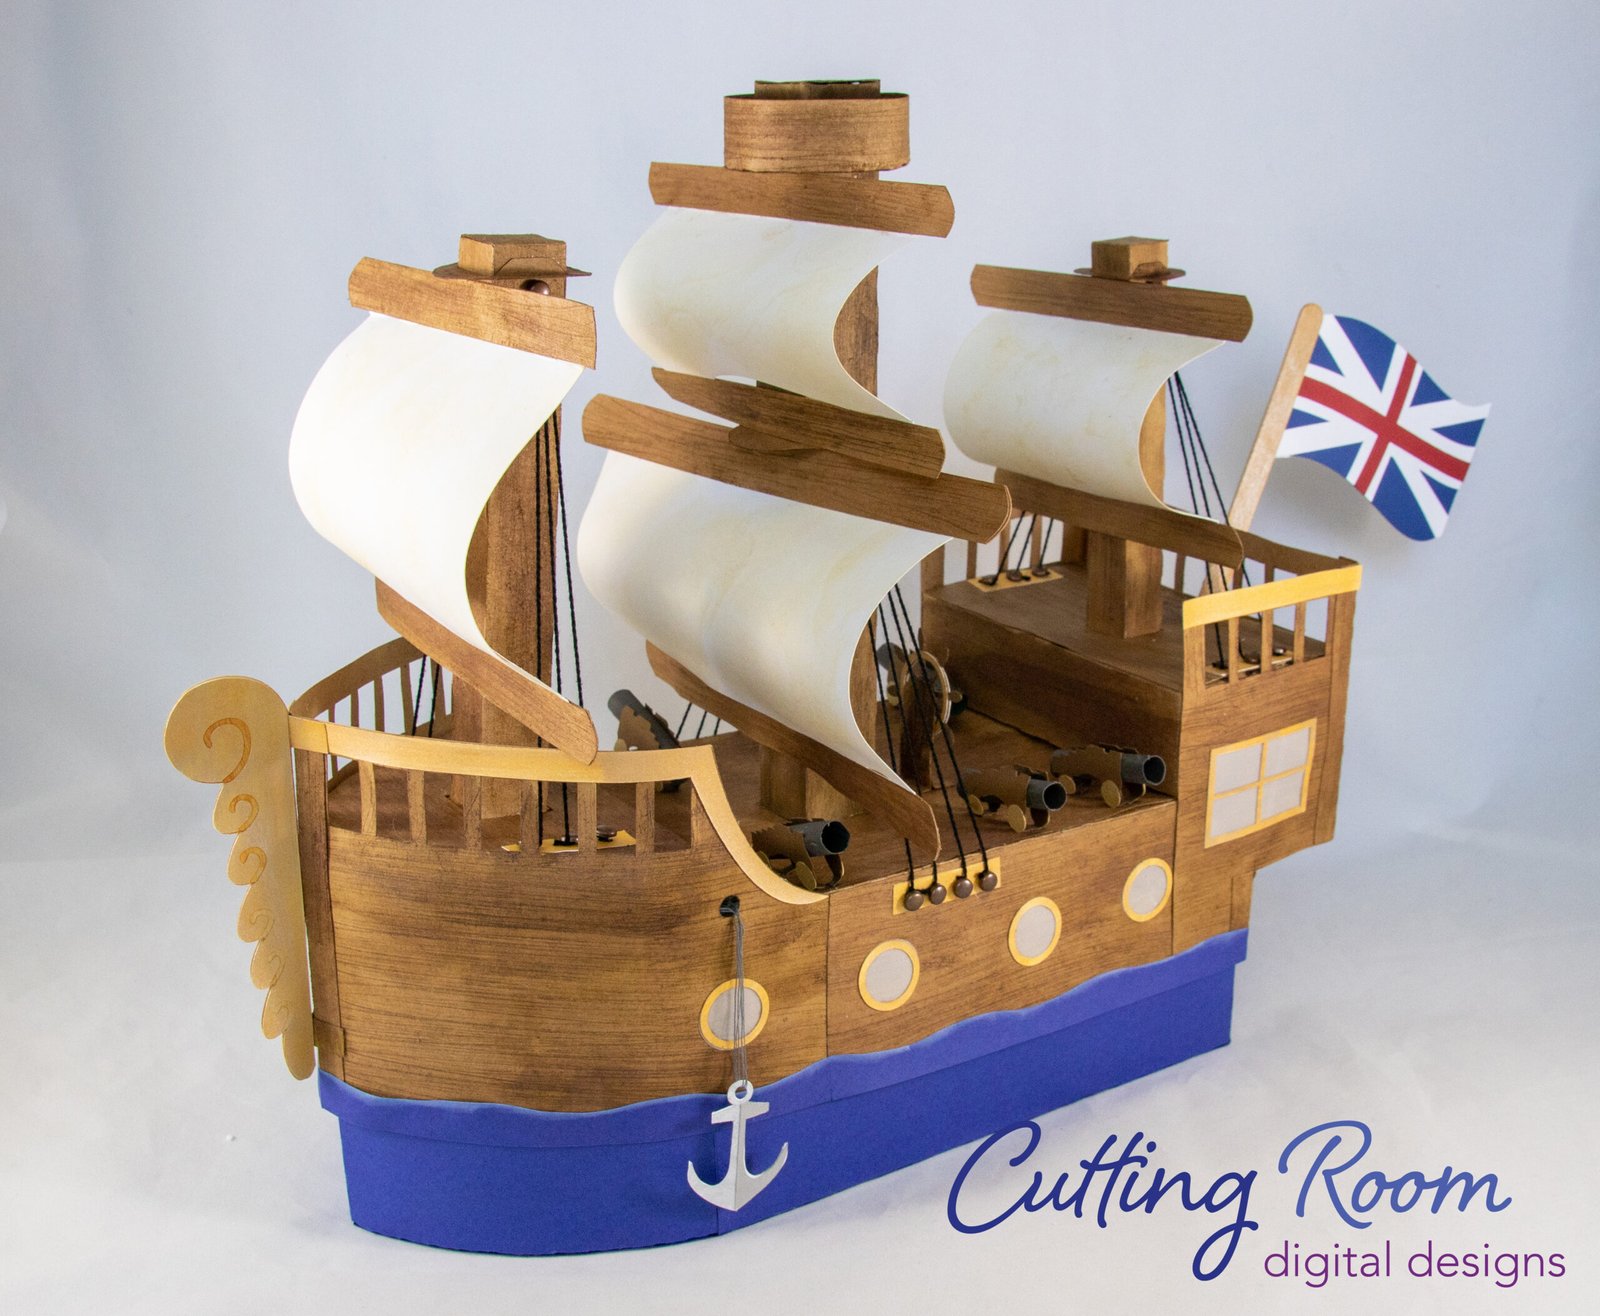
The flag is made of a couple pieces, the center (blue) and the two outer (white and red) pieces. Assemble this so that they line up and you have the image of the British flag on either side. For the flag pole, we used craft stick. We colored the craft stick with a metallic marker then used the same distress stain we used on the handrails and ran that over the craft stick. Once the ink was dry we added a line of glue to the craft stick and pressed one edge of the flag into the glue. This took a while to dry but once the glue was dry, we added some hot glue to the back deck and pushed the flag pole into the glue.


Adding The Figurehead
Last step, finally!! The figurehead. We started by decorating the top tab with the same distressing stain we used on the railing and we bottom tab to match the hull. This will help them blend in better when attached to the sailing ship. We then assembled each side of the scroll figurehead and glued them back to back, leaving the tabs free.

To attach the figure head to the ship, add glue to the tabs. Line the top one up with the railing and apply pressure to the two. Make sure that the figure head stays in position facing forward. Once these are secure, press the bottom two into place.


Leave a Reply