
Materials Used
We used several products and supplies in the making of our fire truck box. Below is a list of what we used.
- Fire Truck Box Digital Download
- Recollections cardstock
- Brad Fastener
- DCWV Holiday Glitz Paper Stack
- Rhinestones
- Art Glitter Glue
- Electric Cutting Machine: Cricut or Silhouette
***Note that this post contains affiliate links and we may receive compensation if you buy something using one of our links. ***
Fire Truck Ladder Assembly
To assemble the fire truck ladder we started by adding a hole to the back of the truck so the ladder can swivel. This is optional. The truck is actually designed to have the ladder be glued down so it moves back and forth. Adding the hole allows the ladder to swivel as well. To put together the ladder, fold on the score lines and glue the long tab in place to create a rectangular shape. Before closing the ends, put the ladder bracket on with brads. Then secure the ladder to the truck either with glue or another brad, whatever you prefer.

Decorating The Truck
Next we added most of the decorations to the sides of the truck. We didn’t do all of them since we wanted to use some black rhinestones as handles on the storage doors and figured they might be better done later. We did emboss the doors to help give them more of a garage door/roller door look.

Note the circle on one of the tabs for the top piece. This is to help you know which end goes to the front of the truck and which end goes to the back. The circle indicates the front.

Putting together the back of the truck is a little tricky. There are a few tabs close together. Fold and place them prior to gluing so you can see where they go. Once ready, add glue to the tabs and glue them to the top of the truck, creating a box shape on either side of the truck.
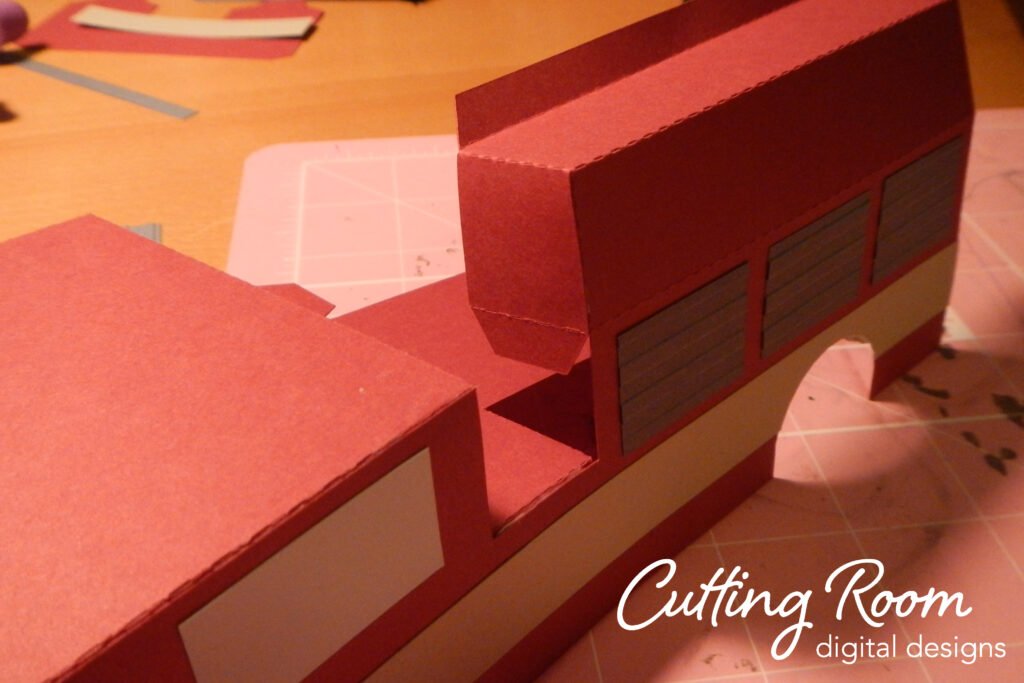
Once both sides are in place attach the back to the truck.
Assembling The Box Bottom
Set the body aside and put together the bottom of the box. The box bottom does not have a front or back yet. To assemble the box bottom, attach the side panels end to end to create a rectangular shape. Once done, fold in the bottom tabs and add glue. Place the bottom rectangular panel in place to close off the bottom of the fire truck box.
Place the fire truck on the bottom box and lay it on its side. This will help with placing the tires on the box. We then removed the truck body so we could apply more pressure to the tires from ether side. Replace the body, then do the tires on the other side.

Assembling The Fire Truck Lights
The very last thing for this box is the lights. The lights come in three parts. One long piece we chose to cut in white and two more that wrap around the ends. Fold in the tabs on the base piece and attach to create the shape below. Start with the long tab to get the rectangle shape then clos off the slanted ends. Once this is done, you can add the two decorative end panels.


