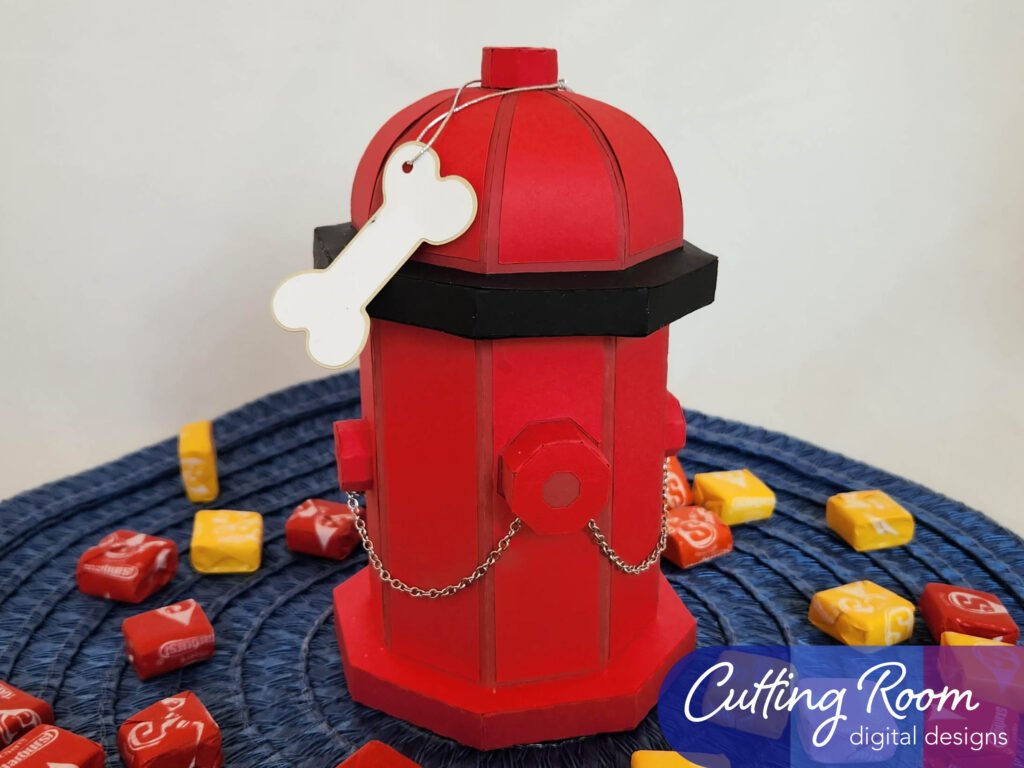
Materials Used
We used several products and supplies in the making of our fire hydrant box. Below is a list of what we used.
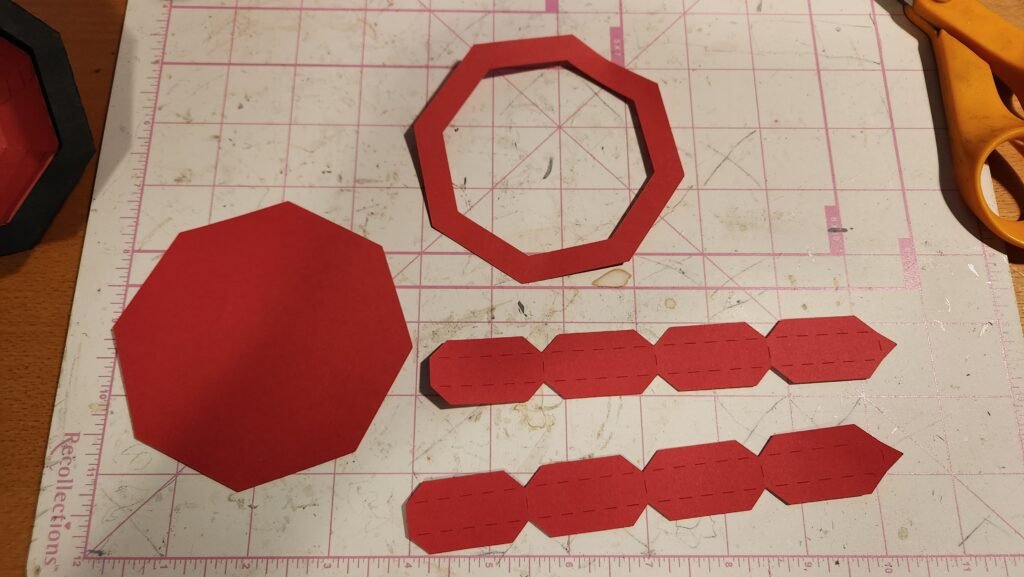
- Fire Hydrant Gift Box and Party Decoration – Digital Download SVG
- Recollections cardstock
- Art Glitter Glue
- Jewelry Cable Chain
- Elastic Jewelry Cord
- Electric Cutting Machine: Cricut or Silhouette
***Note that this post contains affiliate links and we may receive compensation if you buy something using one of our links. ***
Assembling The Fire Hydrant Lid
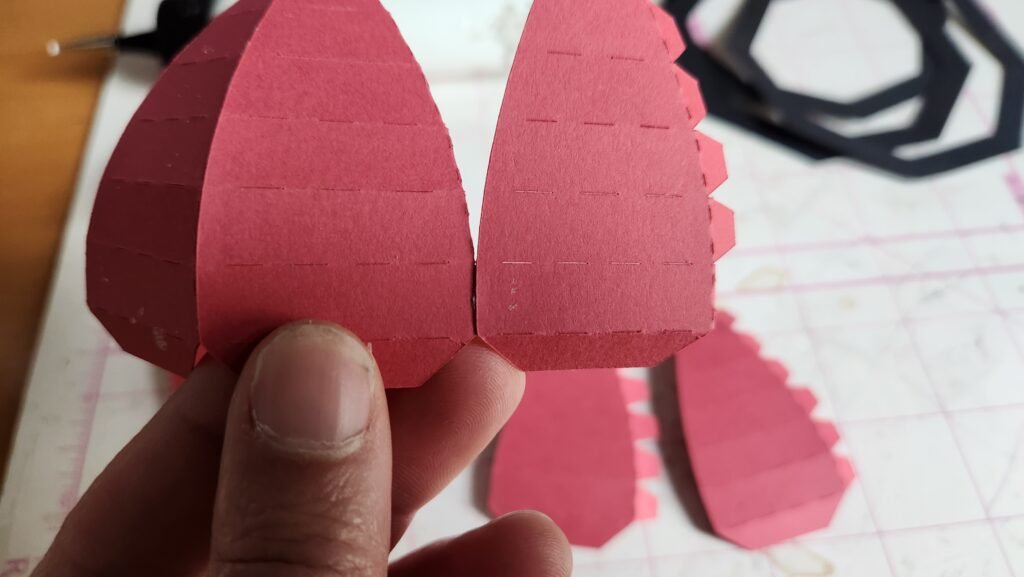
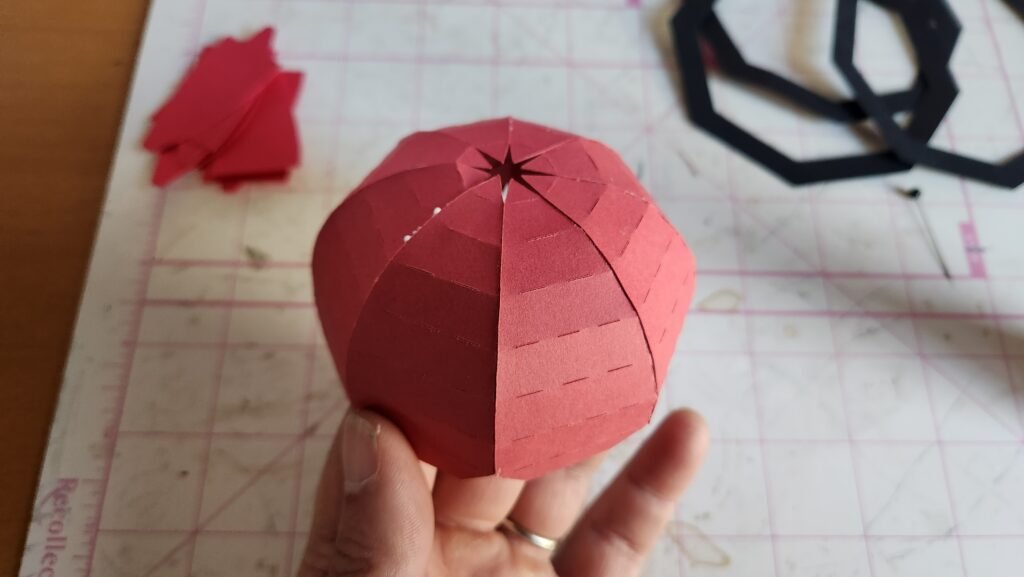
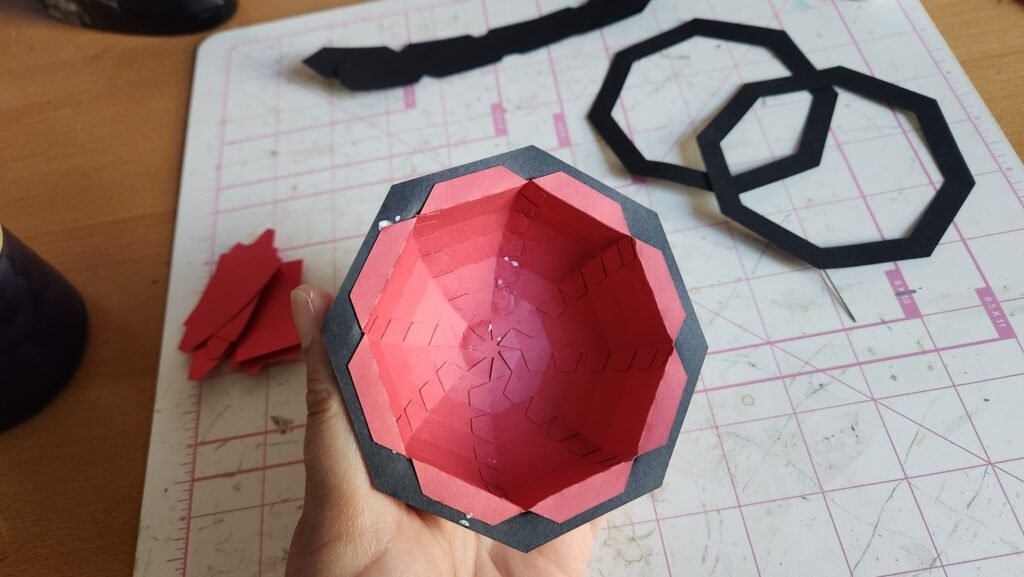
The lid is assembled in a couple steps. First, we took the eight triangular pieces and started attaching them one at a time. We found it easiest to start with the bottom side tab and secure that in position first. Then we began working our way up the rest of the tabs a couple at a time. Once one panel was attached to its neighbor, we moved to the next one.
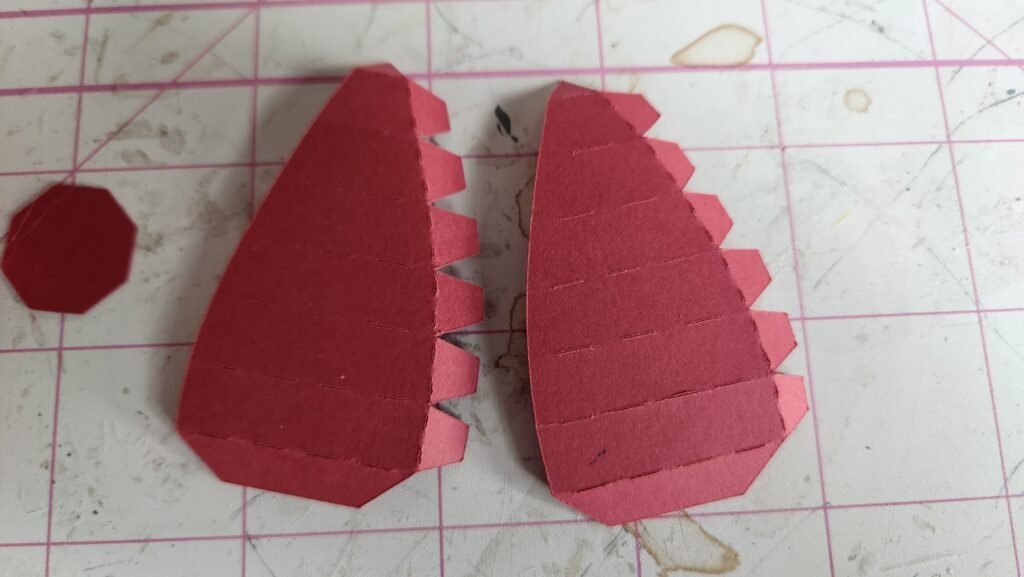
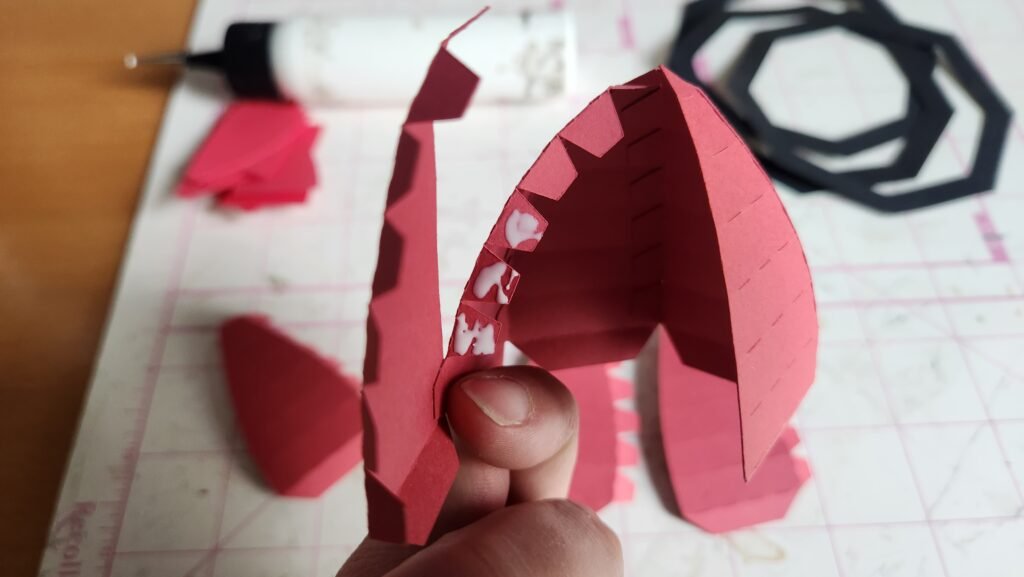
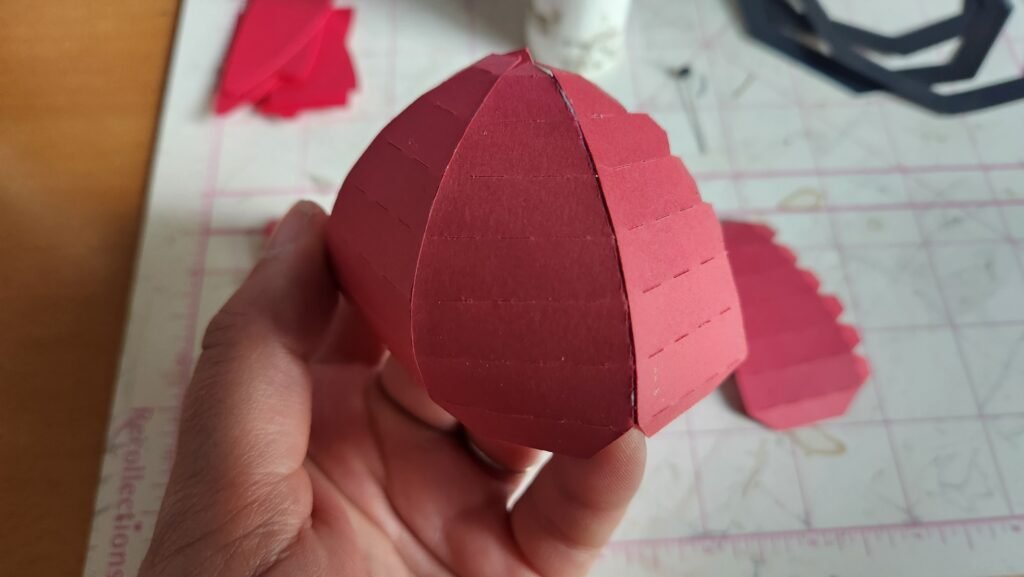
With all eight connected, we attached the last to the first, again starting with the bottom tab then working our way up. Once this was complete, we added glue to the triangle tabs at the top and placed our octagon panel to close off the top.
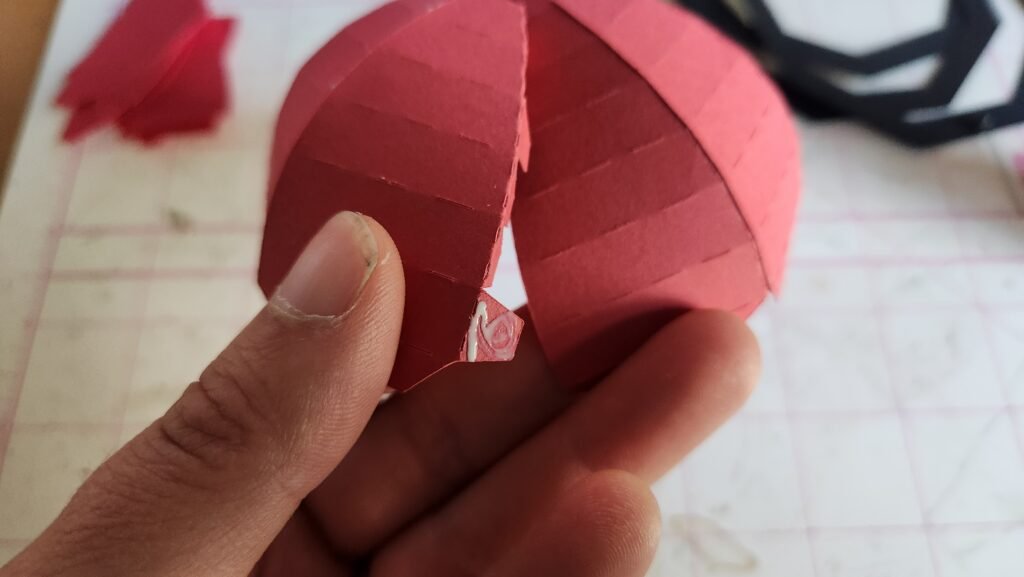
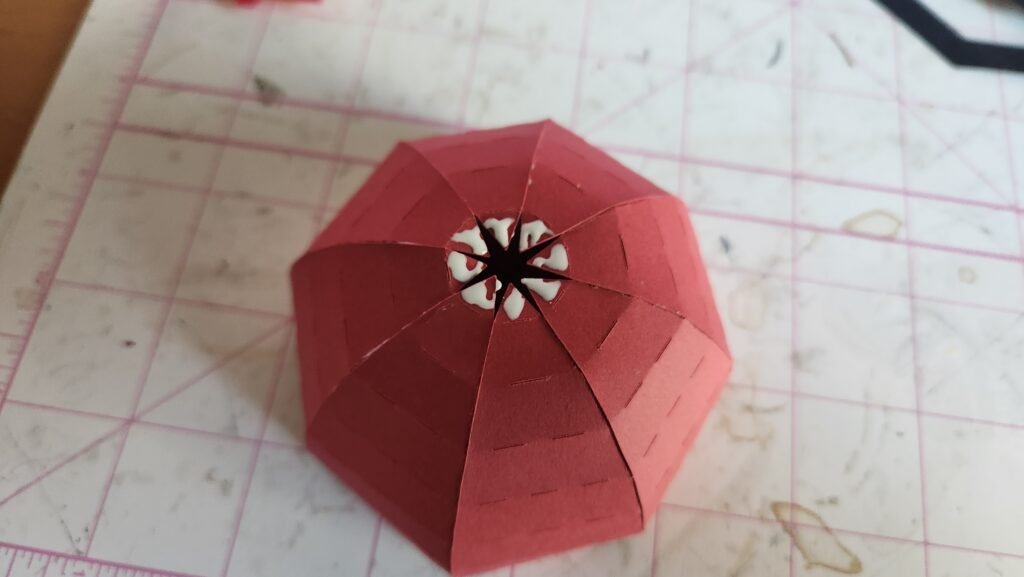

Our next step was to take the bottom tabs and fold them outward. We then added glue to the tops of each tab and slide the octagon ring over the top. We pressed down on the octagon to attach it to the tabs. Tip: it might be easier for you to have the ring in position first before adding the glue. Try placing the ring first and see how you feel before adding glue to the mix.
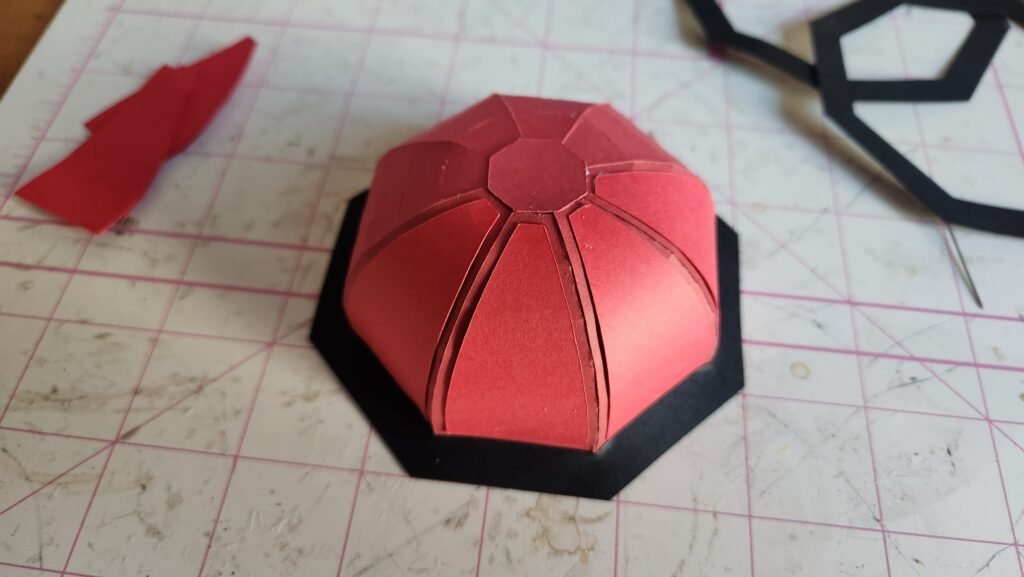
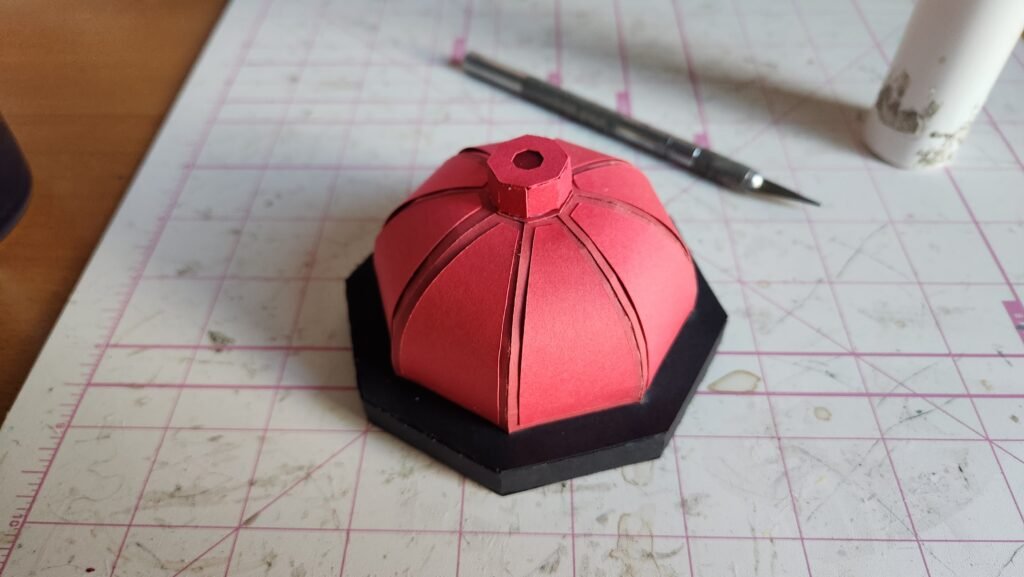
Decorating The Lid
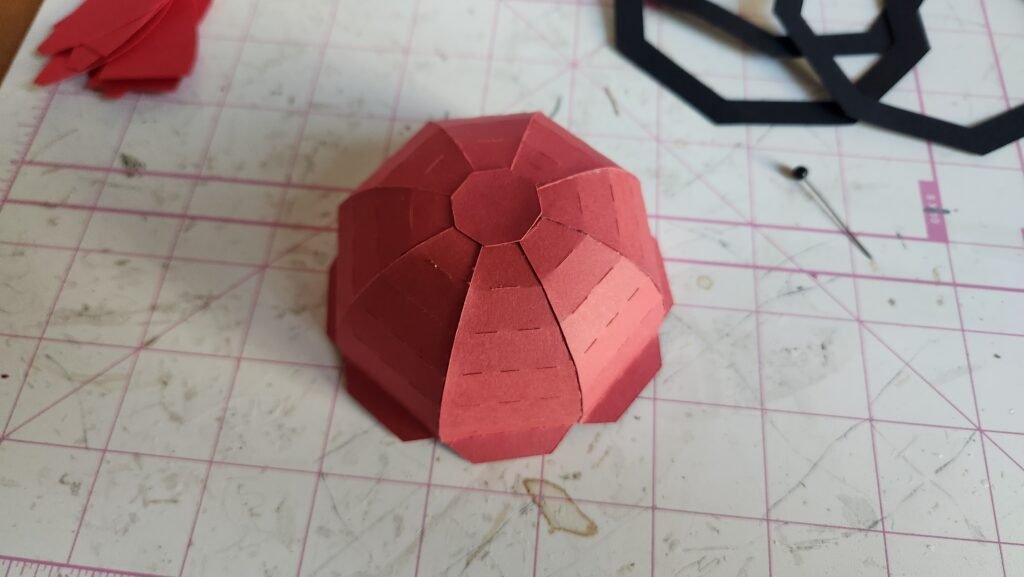
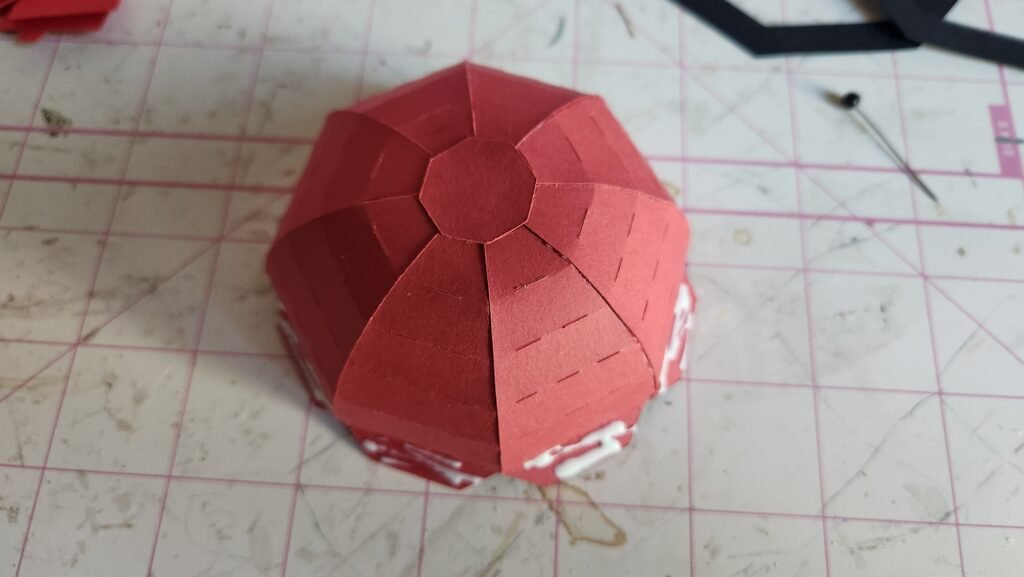
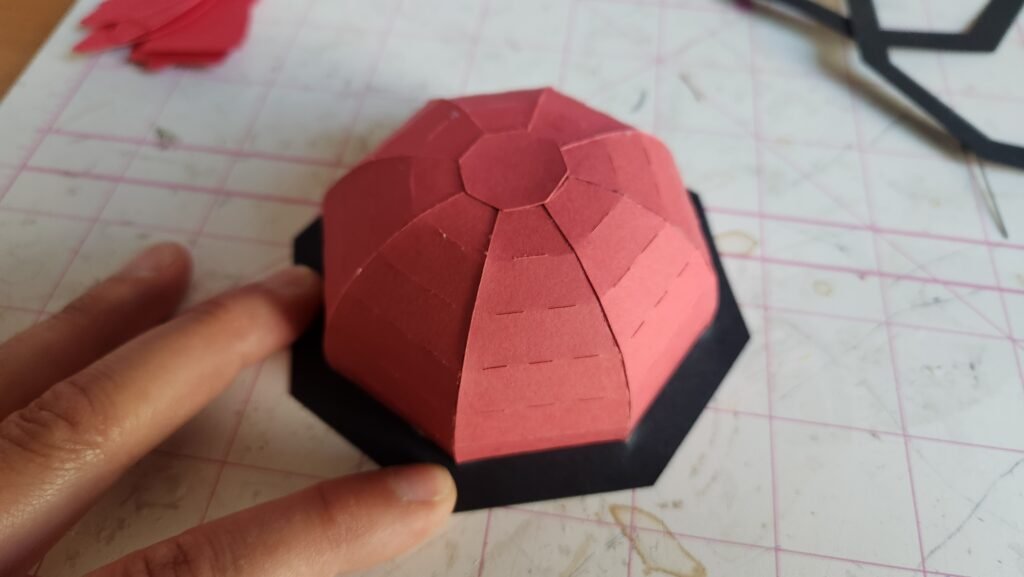
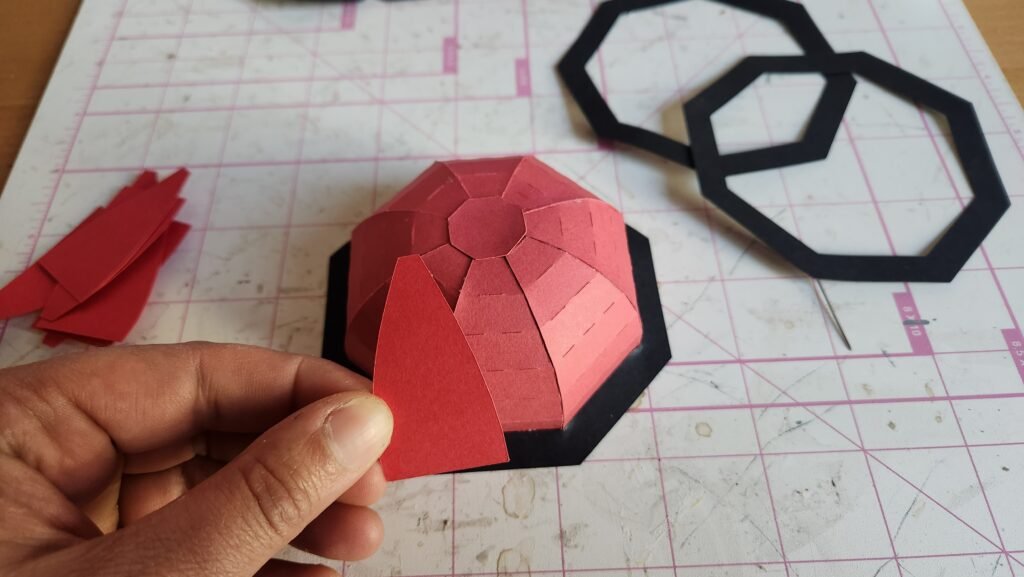
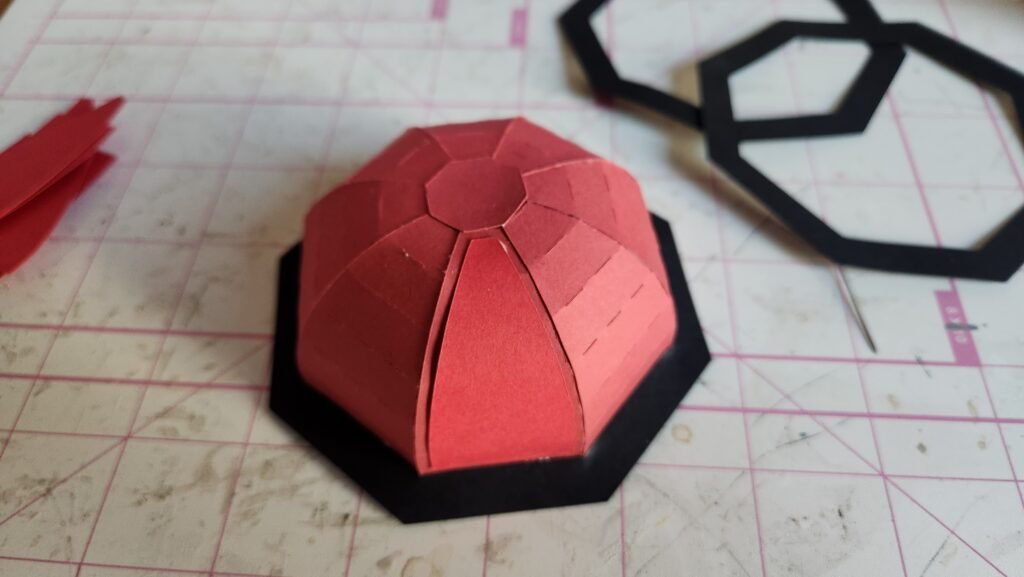
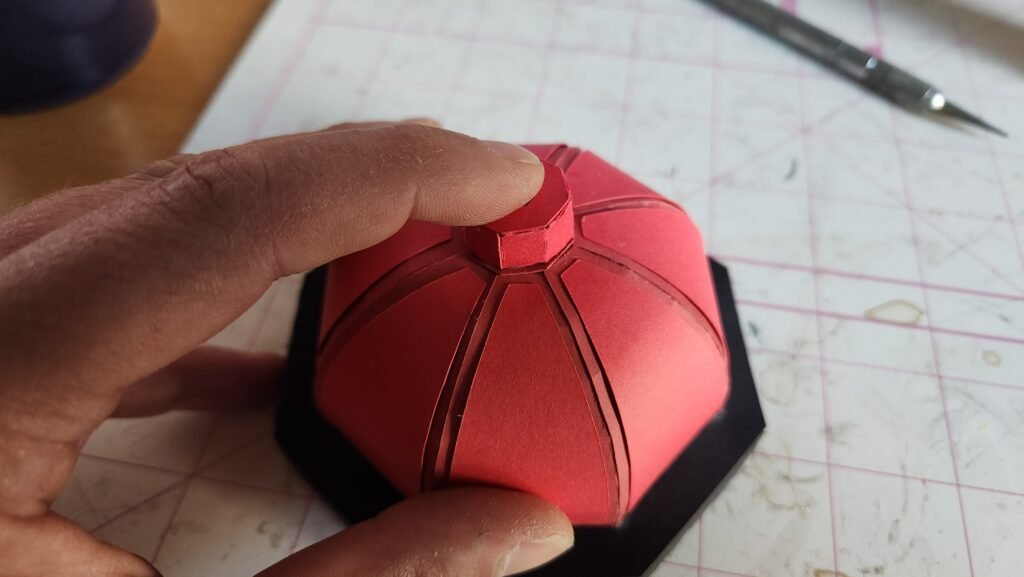
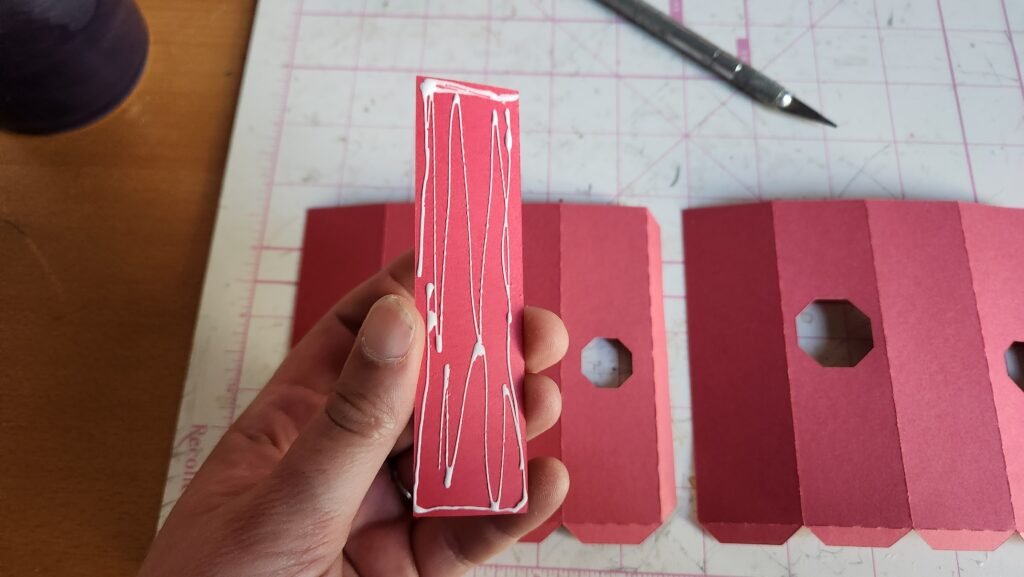
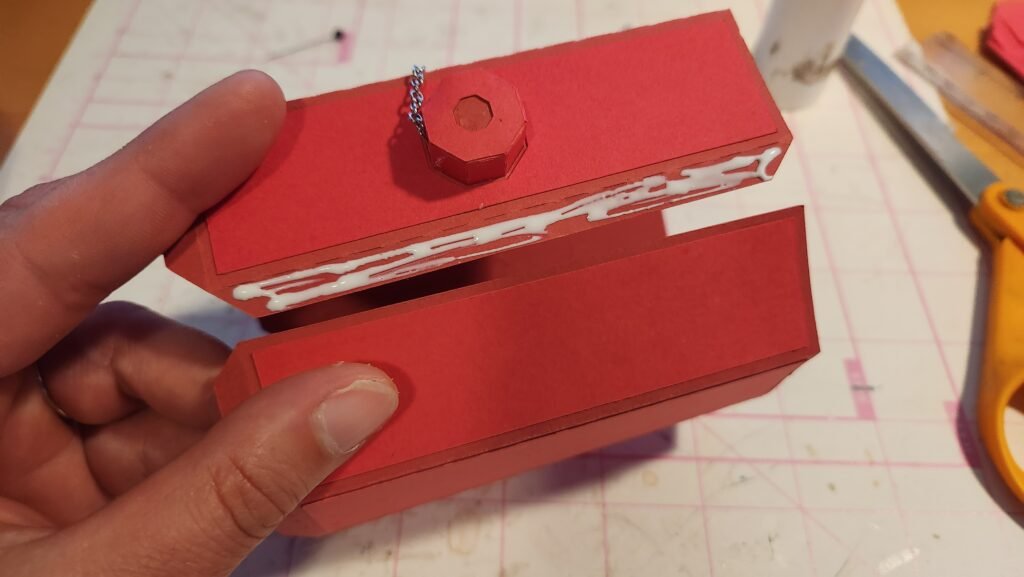
Our next step was to add the decorative panels to the top of the dome. These are to cover the score lines and give the top a smoother look. To help keep the smooth look, we only placed glue on the bottom and the top of the decorative panel, rather than on the whole thing. The panels are designed to be a little smaller than the base pieces, so they are placed in the center of each, leaving a frame around each one.

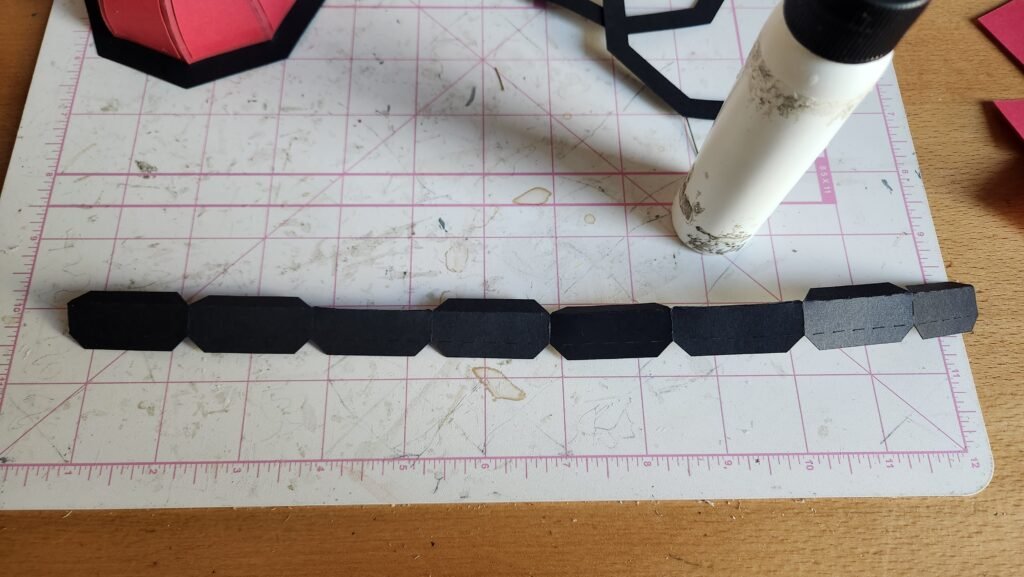
Fire Hydrant Lid Ring Assembly
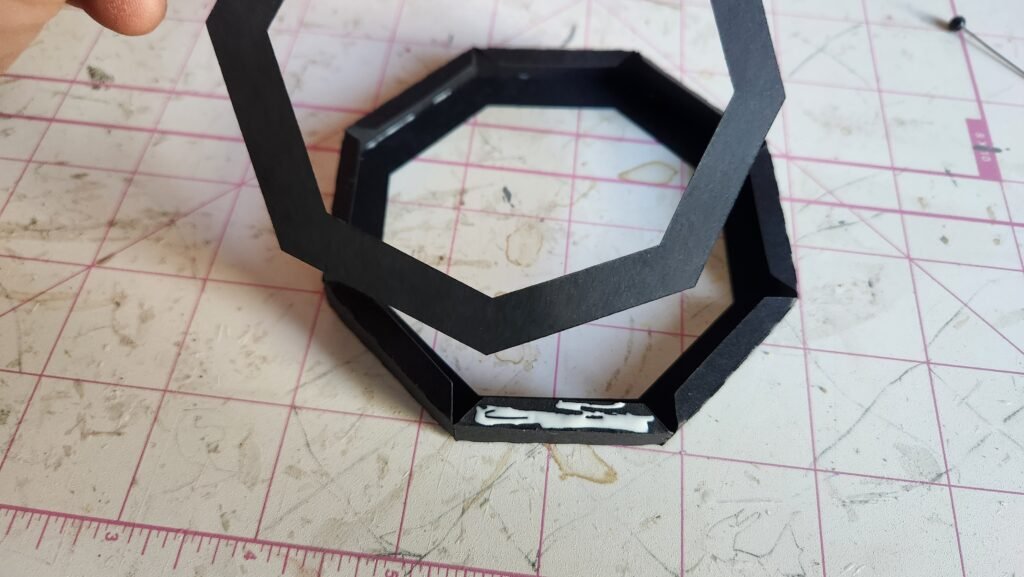
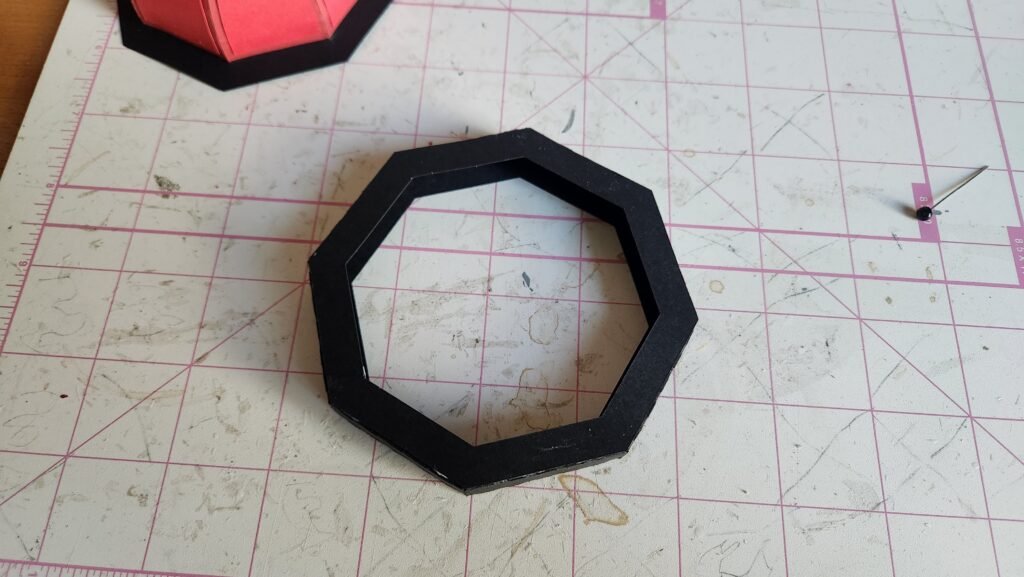
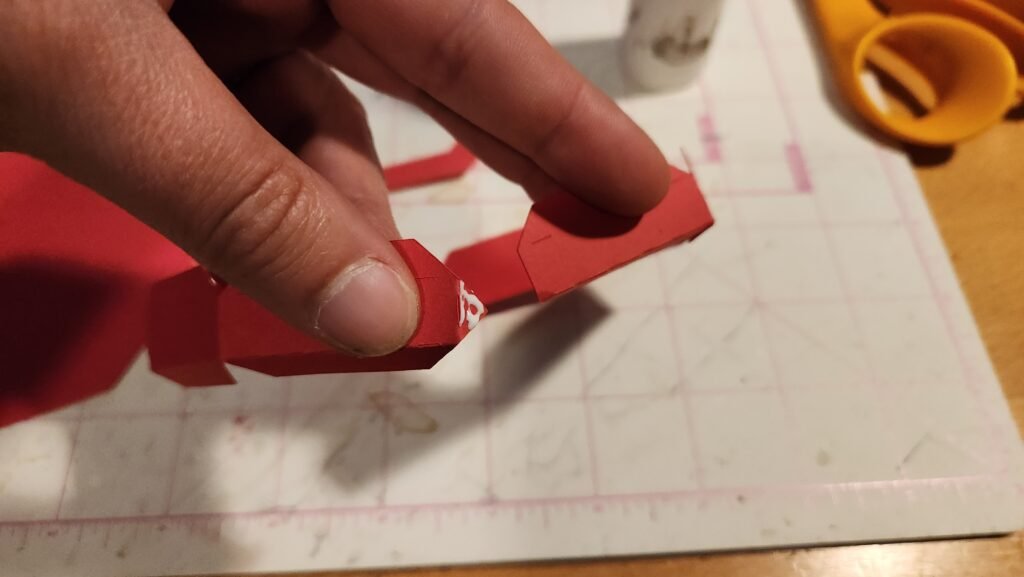
The final step of assembling the hydrant lid is to make the ring. This is done by first connecting the two long panels end to end to create an octagon shape.
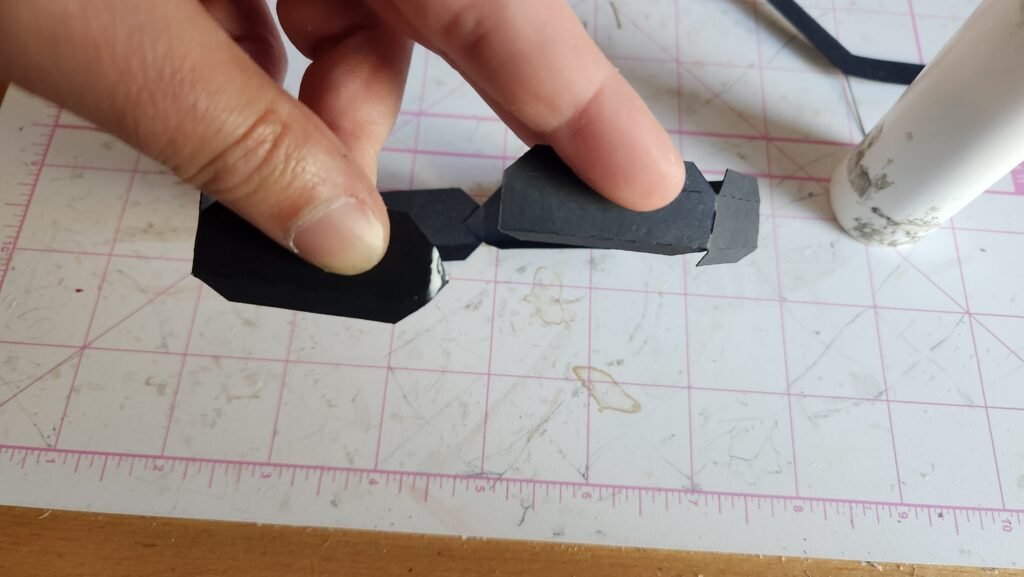
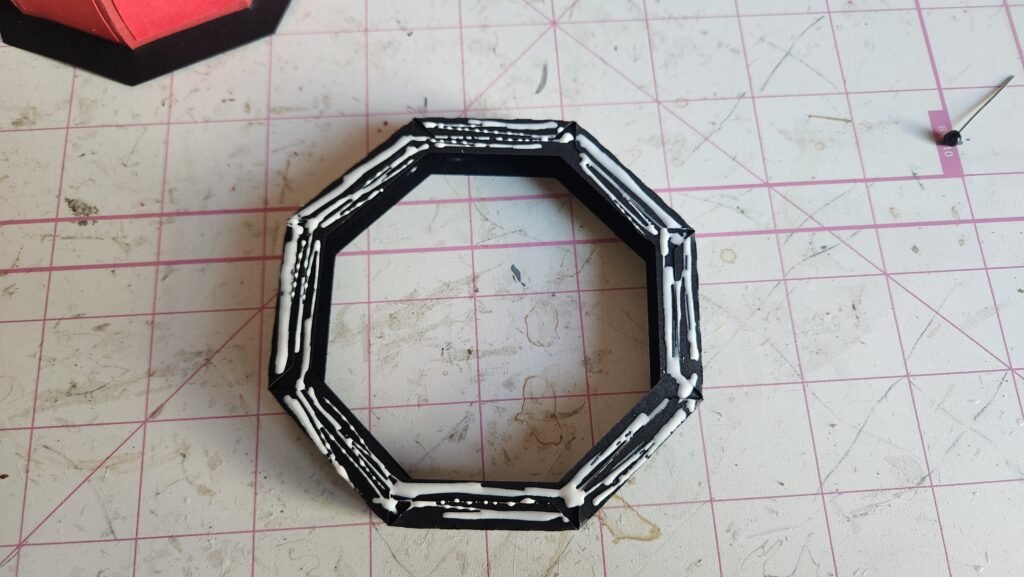
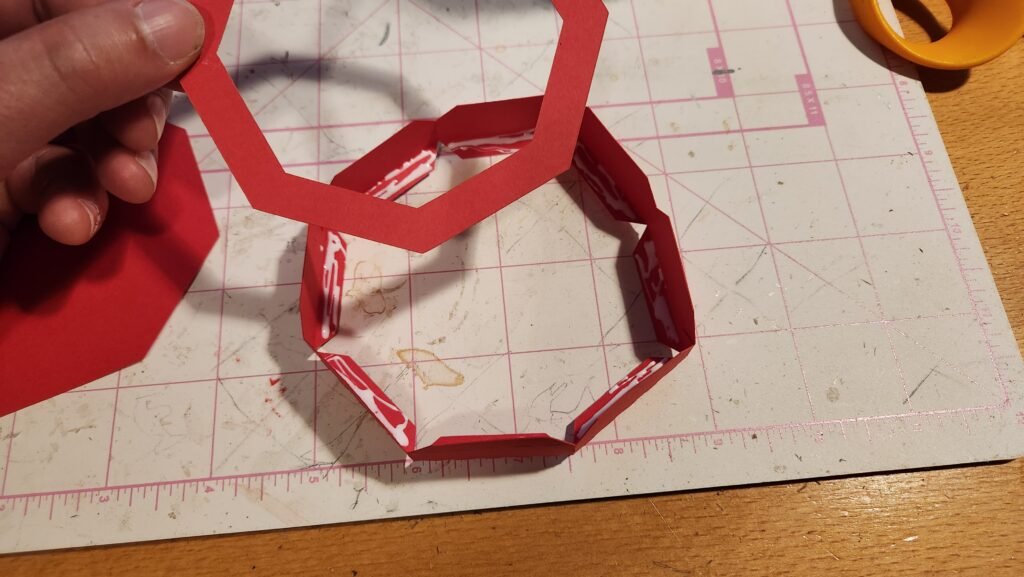
Once this is done, fold in the tabs on one side. With the tabs folded in, add glue, and place one of the octagon rings inside the shape.
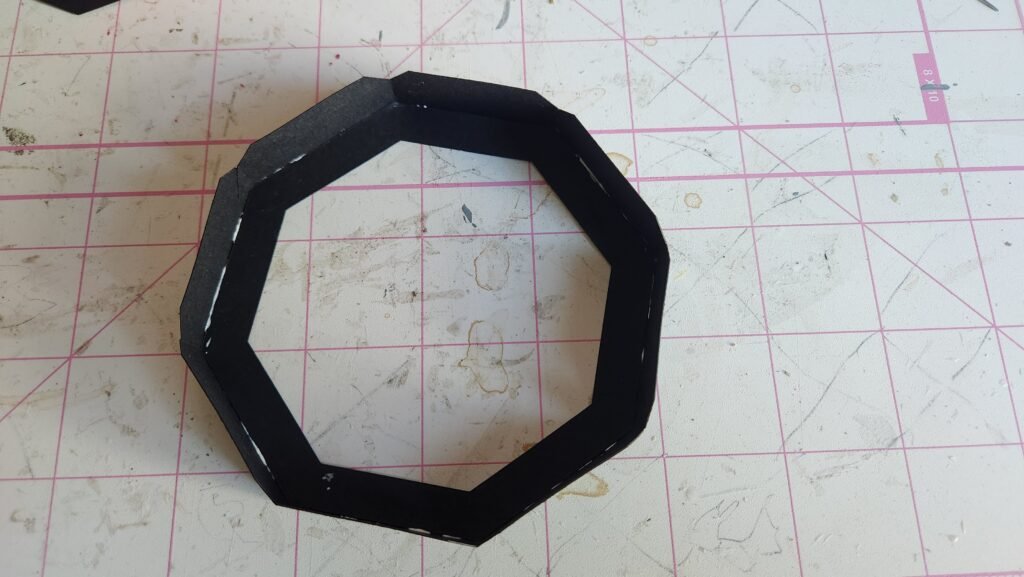
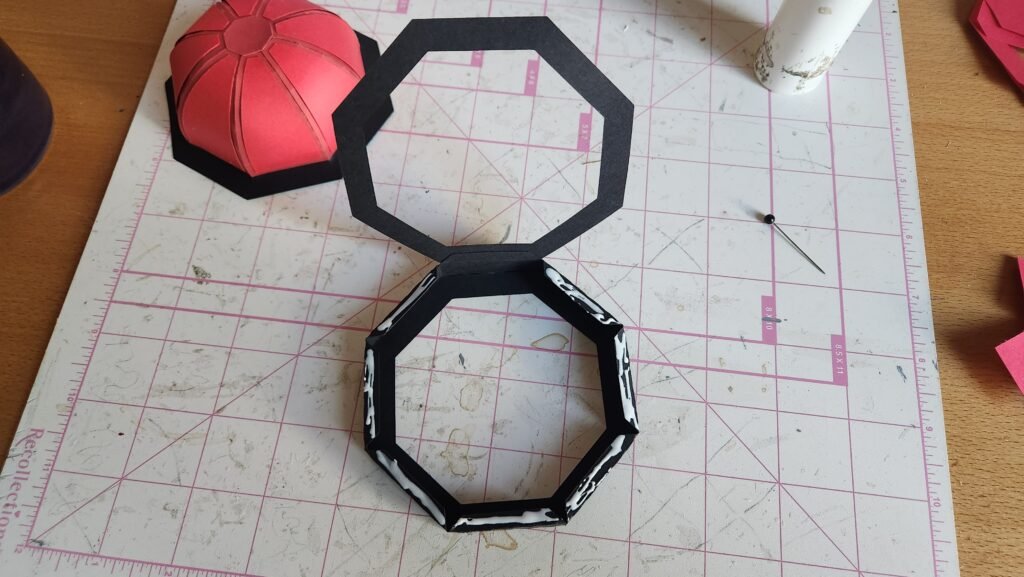
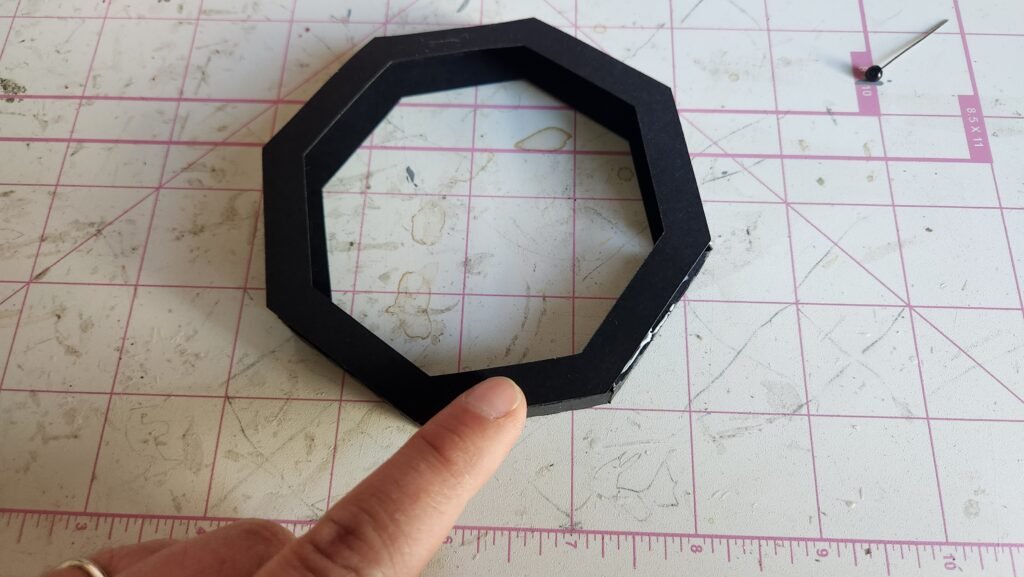
You can now fold in the other set of tabs and add glue to one tab. Use this tab to secure the other octagon ring. Once this was properly placed, we added glue to the other tabs and secured ring.

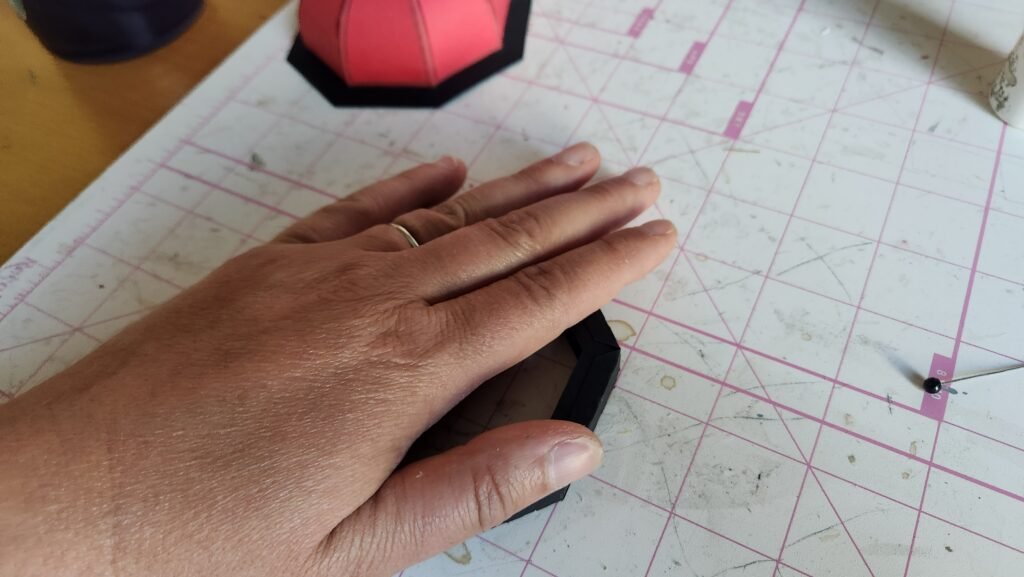
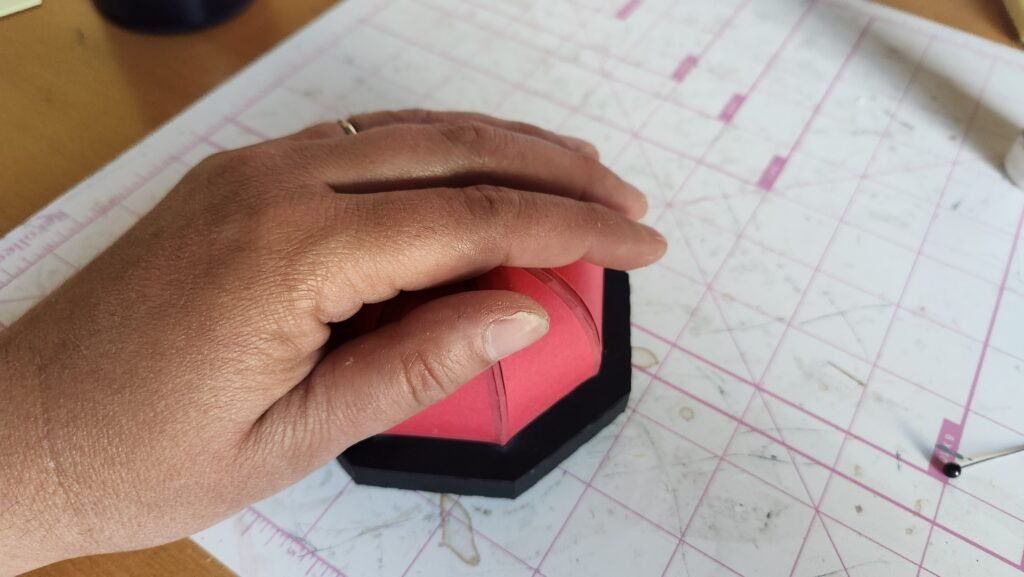
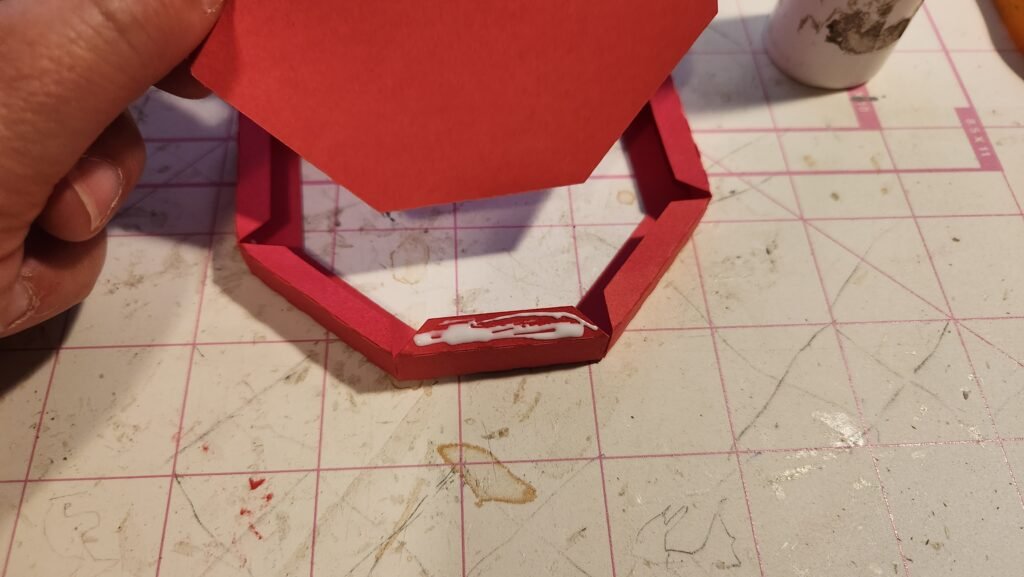
Turn your shape over so that the side with the exposed tabs is facing up. Add glue and gently press the dome of the lid in place, covering the tabs. Run your fingers around the outside to help get a secure hold. Make sure that the sides and corners are squared up.
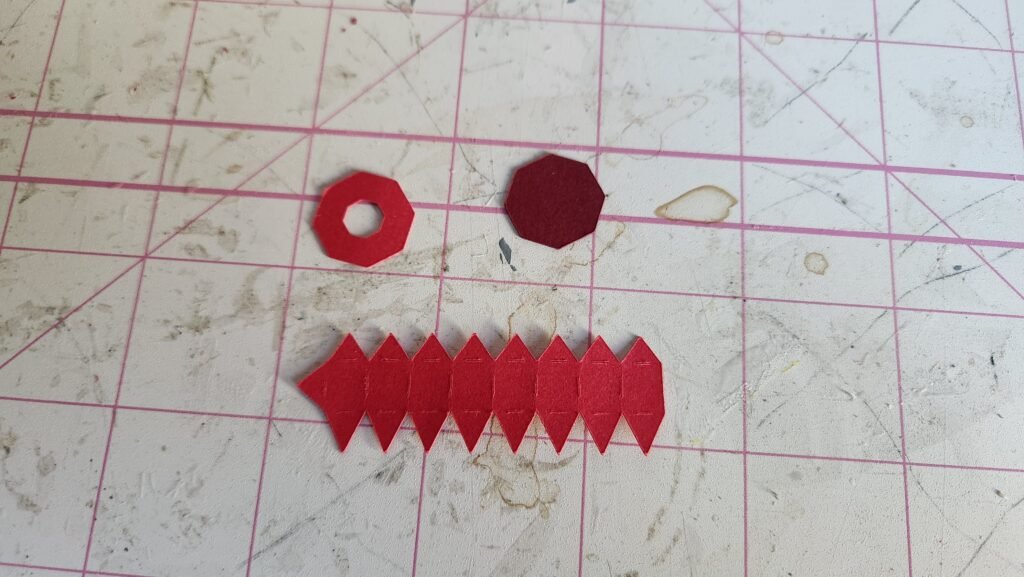
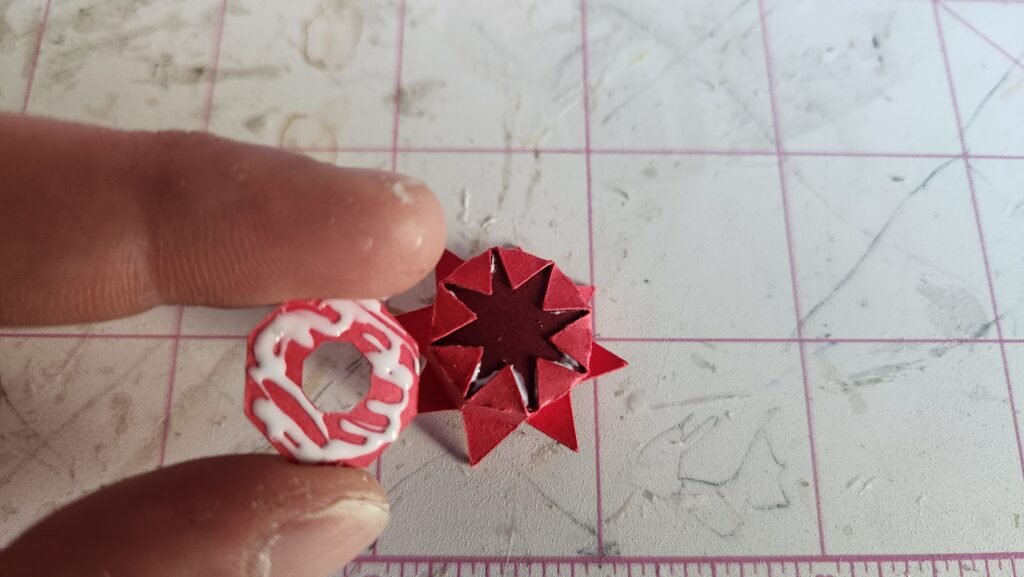
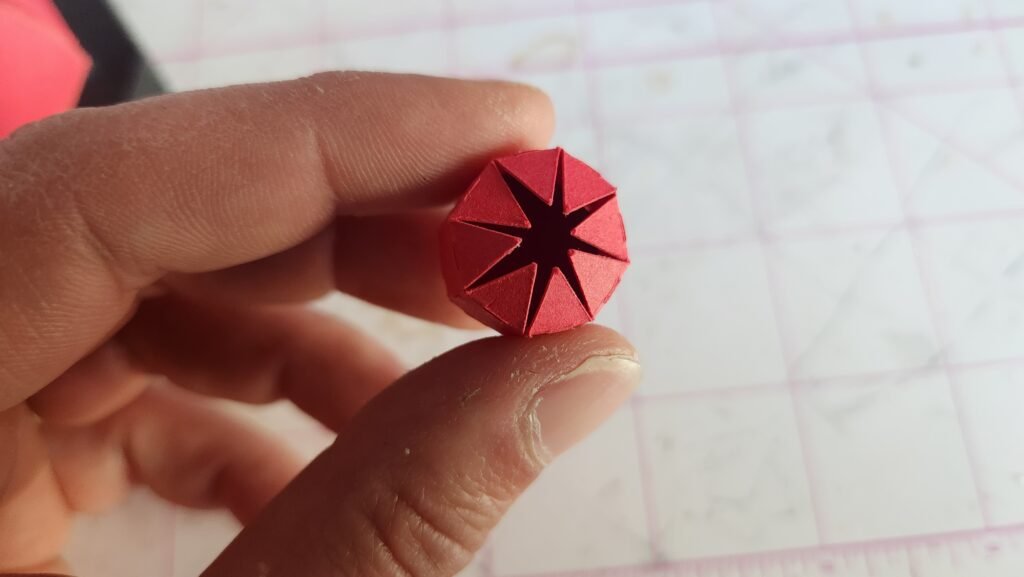
The final step for making the lid, is to create the nob on top. This is done using three pieces, make sure to use one of the sets that doesn’t have holes in the side. Take the long panel, fold along the score lines, and attach the end tab to the other side to create an octagon shape.

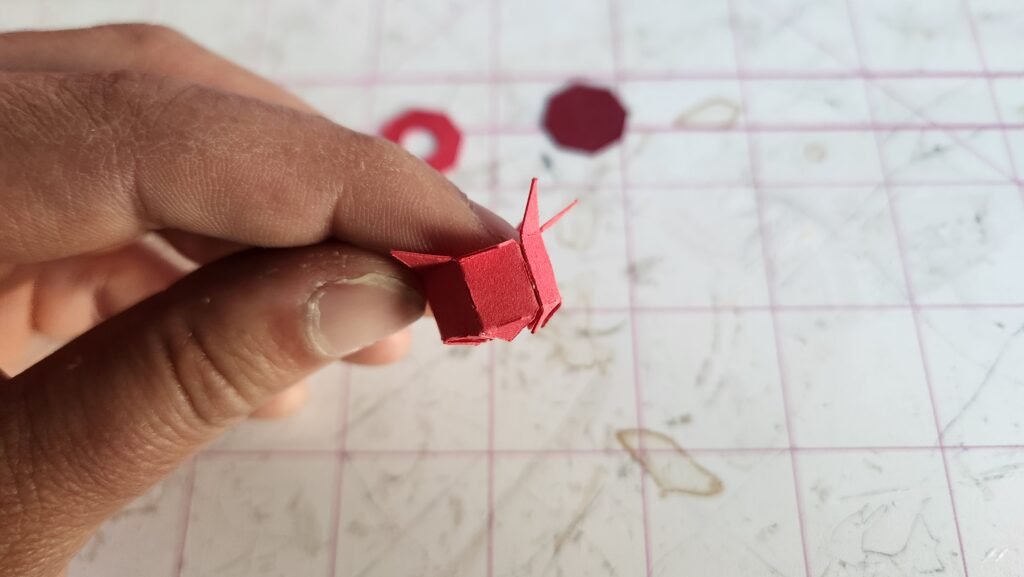
Hydrant Knob Assembly
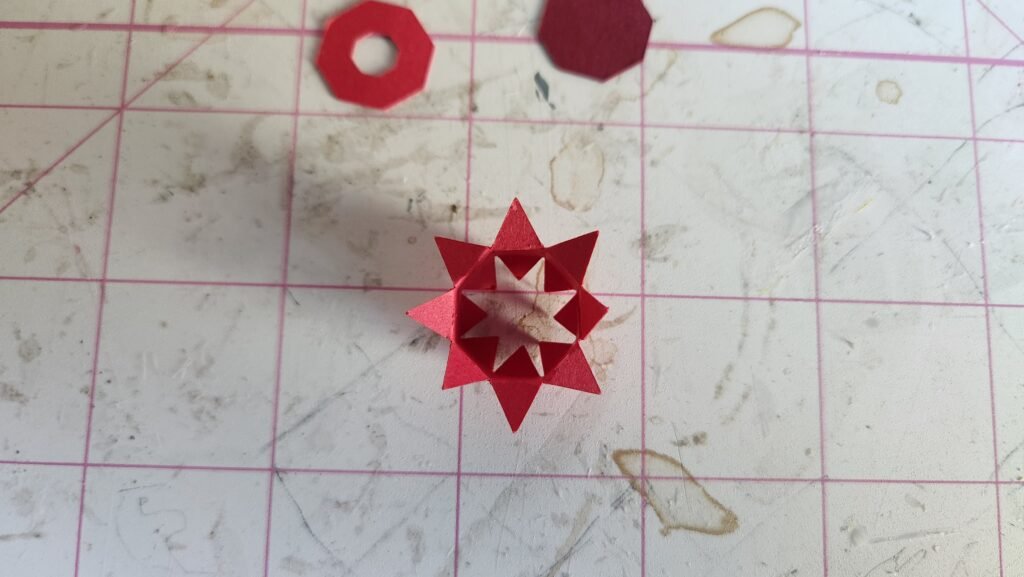
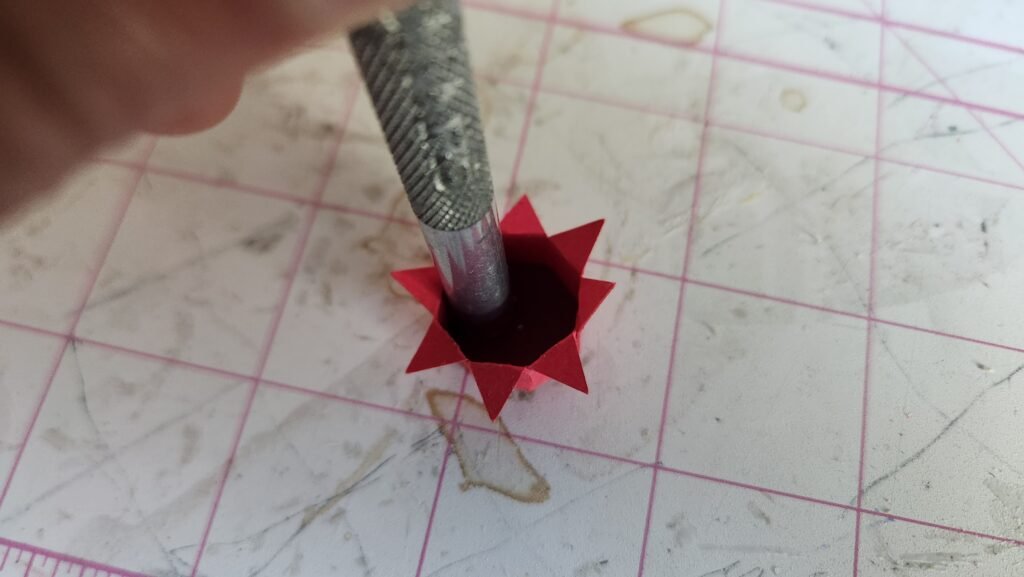
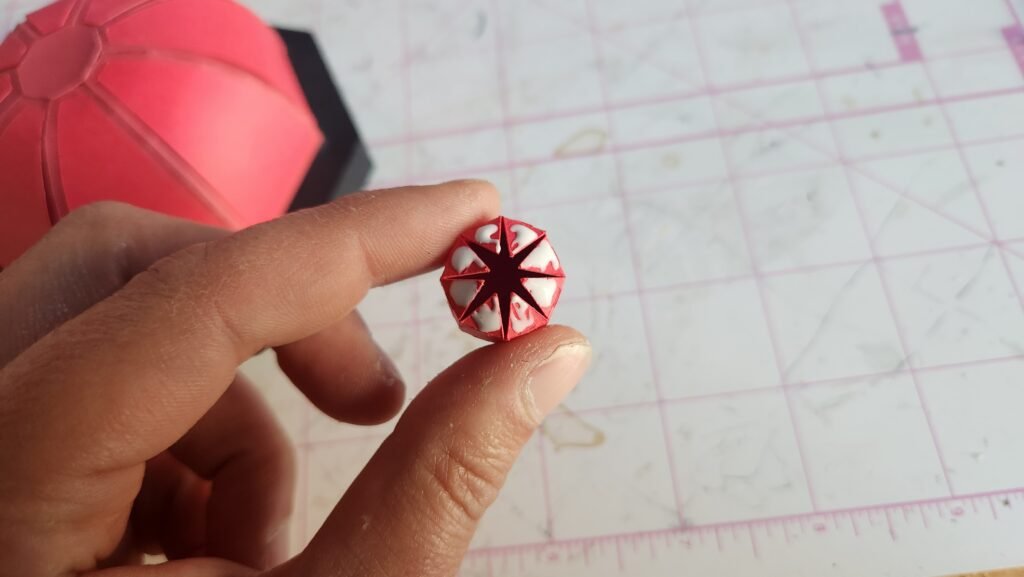
You’ll notice that one side of tabs is longer than the other. The shorter set of tabs are intended for the decorative side panel that close off the shape. The long ones are intended for attaching it to the fire hydrant. This is the case for ALL the knobs. Always use the short ones for the decorative panels and the long to attach to the box. Once you have the short set folded in, add glue to the inside and place the solid octagon shape. Press down using a pencil or something that will let you reach inside and secure the panel to the tabs. With this done, you can turn it over and add the octagon with the hole in the center.
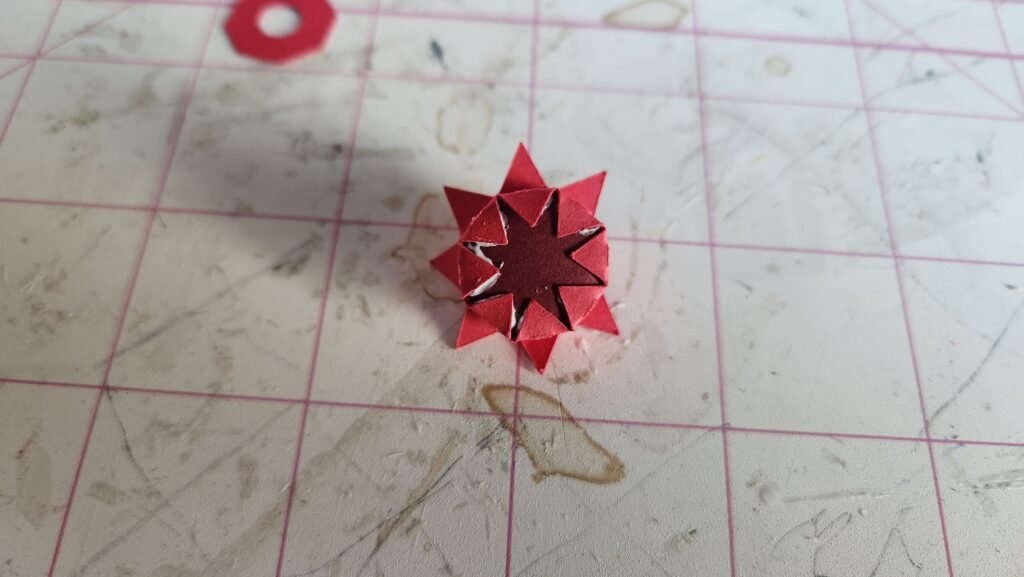

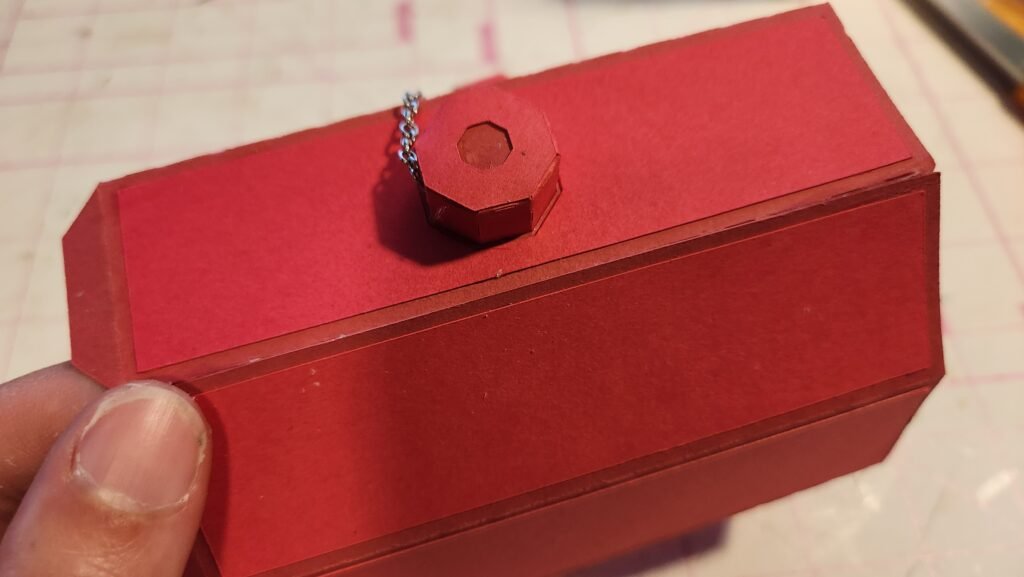
Now you can fold the long tabs in, add glue, and press the knob onto the top of the lid.
Assembling the Fire Hydrant Box
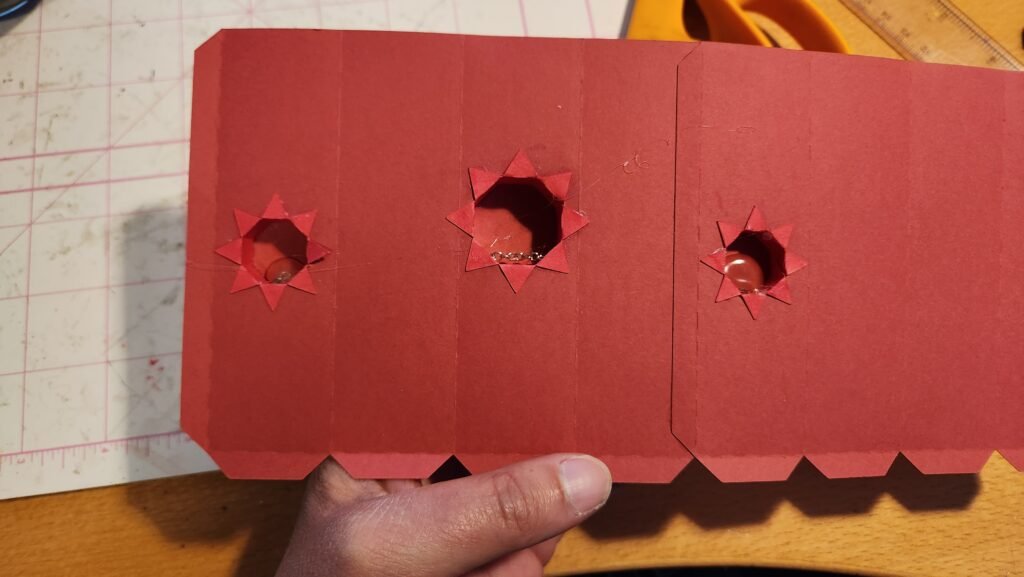
To start the base of the fire hydrant, we folded along the score lines of the body side panels. We then added the decorative panels to each segment.
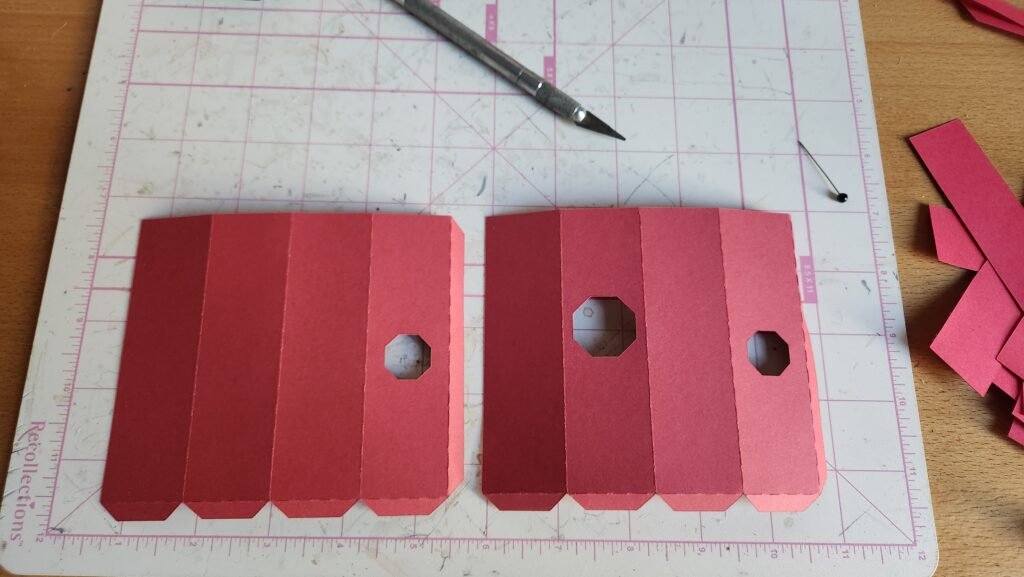
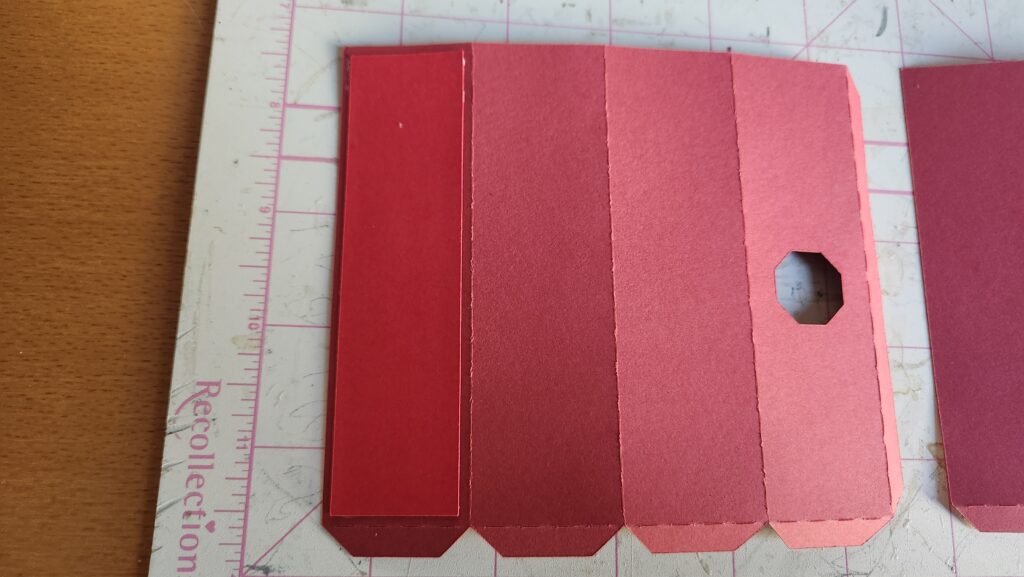
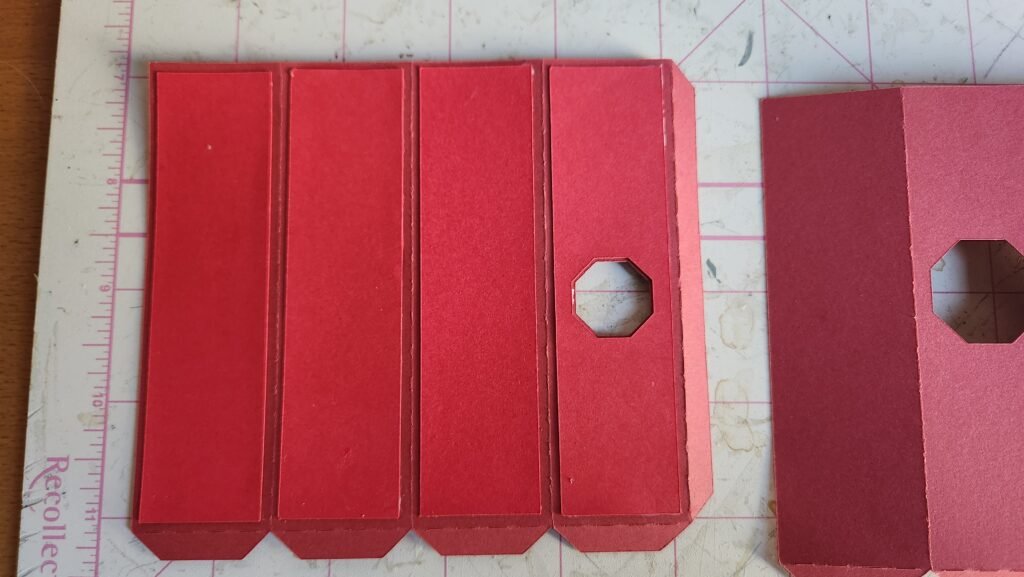
Once all these were in place, we took the two panels and attached them to each other, along just one side, allowing them to continue to lay flat. We’ll need to assemble and attach the knobs on the side before completing the octagon shape.


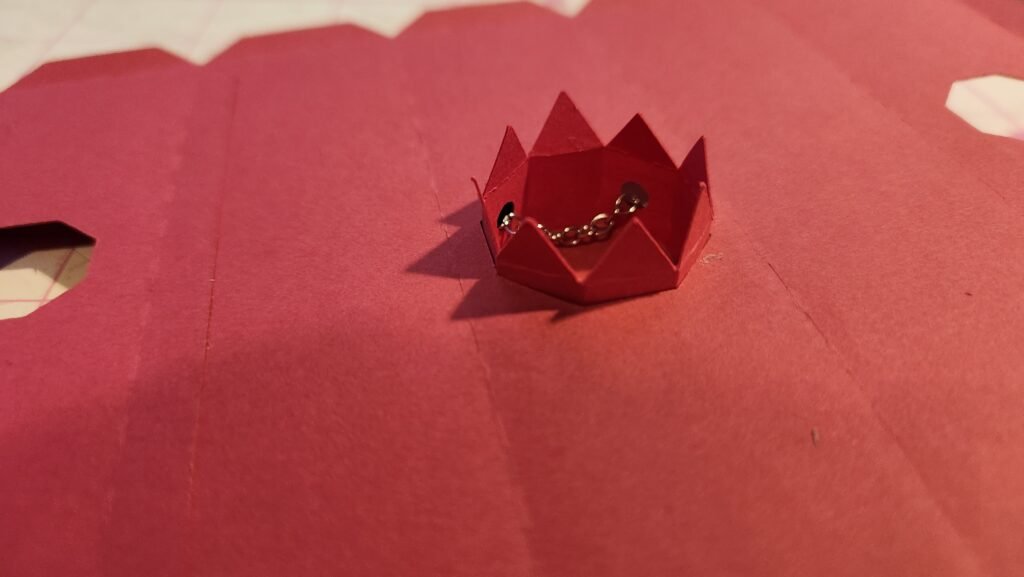
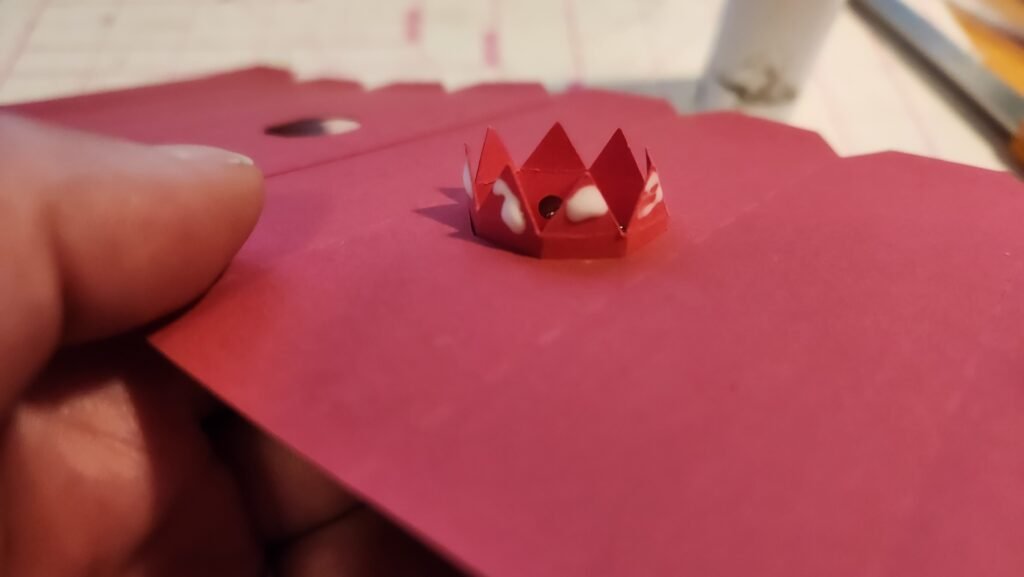
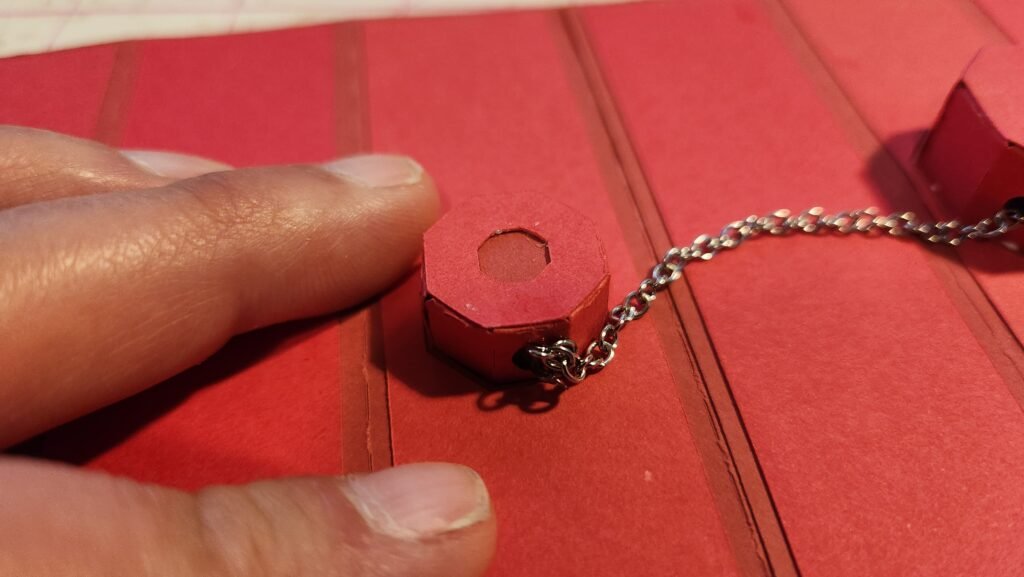
There are three knobs for the side. The left and right knobs are identical and the center one is a little larger. Assembly for them goes exactly the same as the knob for the top of the lid. For the knobs on the side of the fire hydrant, there are two options. One with holes as shown here, and one without. The one without can be used if you don’t want to have a chain attached, or if you want to attach one in a different way. The option with the holes makes it pretty quick and easy to run a chain or string through without too much extra fuss.
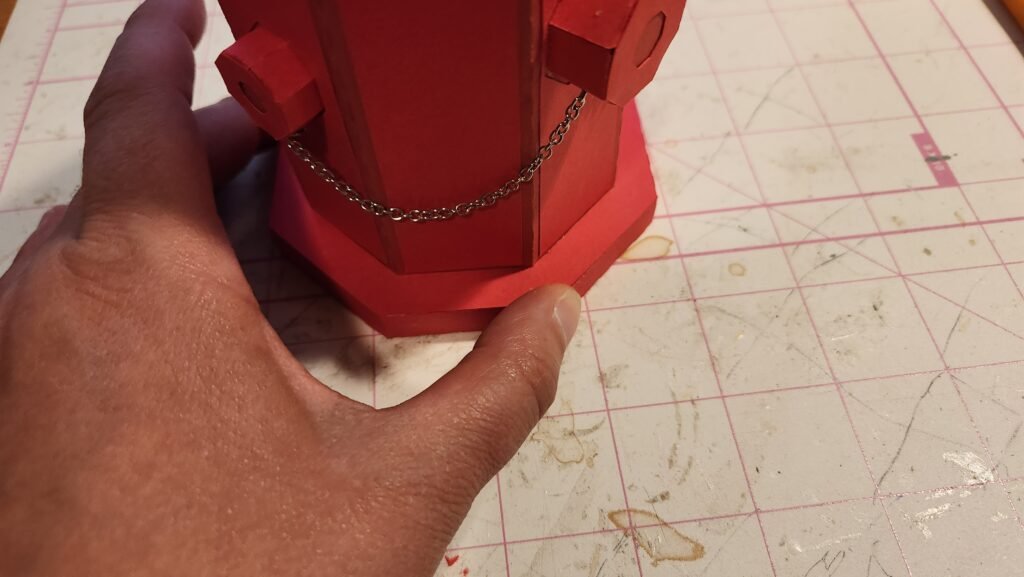
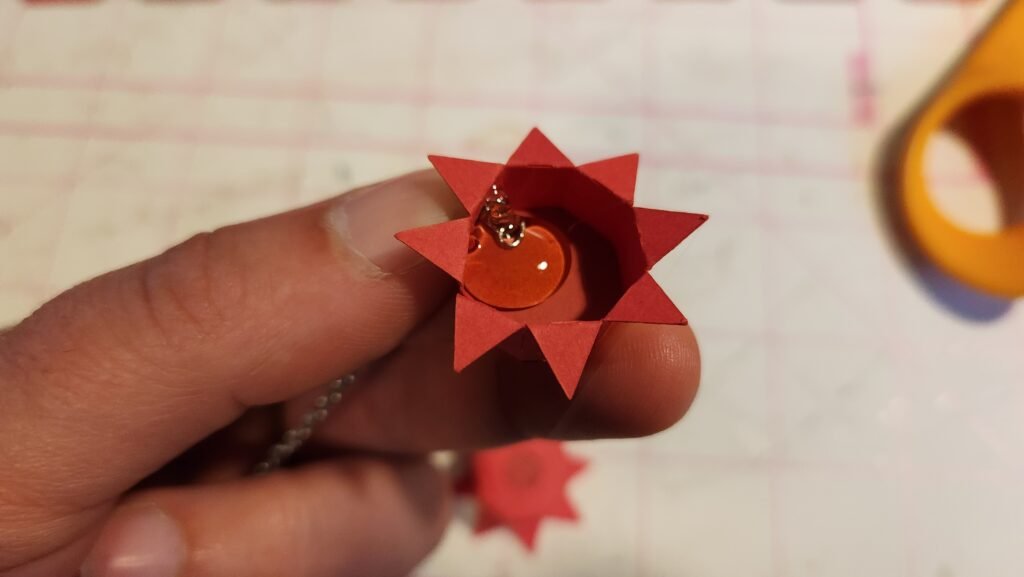
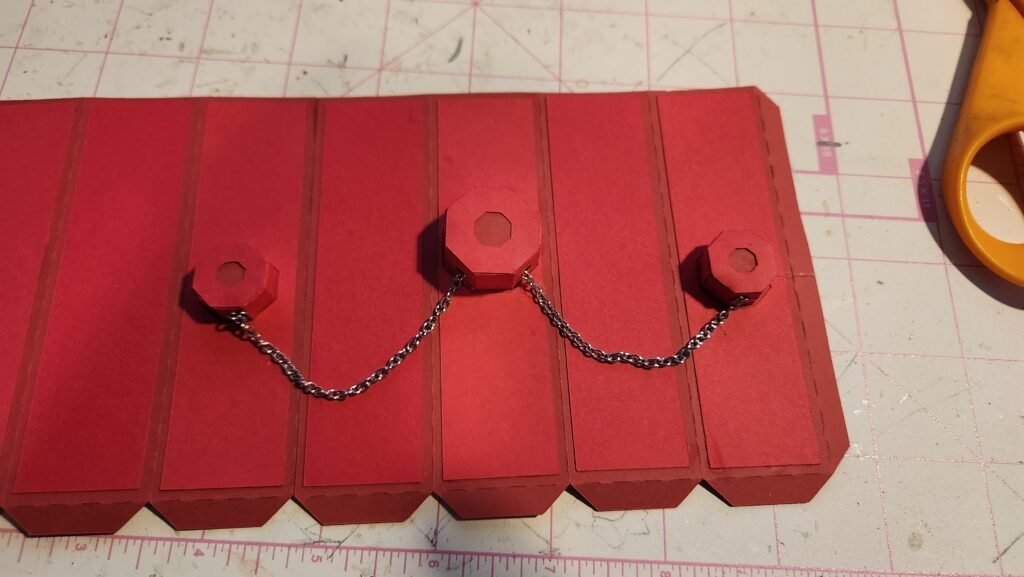
Once you have all three of the knobs assembled, cut your chain to length. We chose to cut ours at 6.5 inches long. Then we hot glued one end to the inside of a small knob, ran the chain through the two holes on the large knob, and hot glued the end in the other small knob.
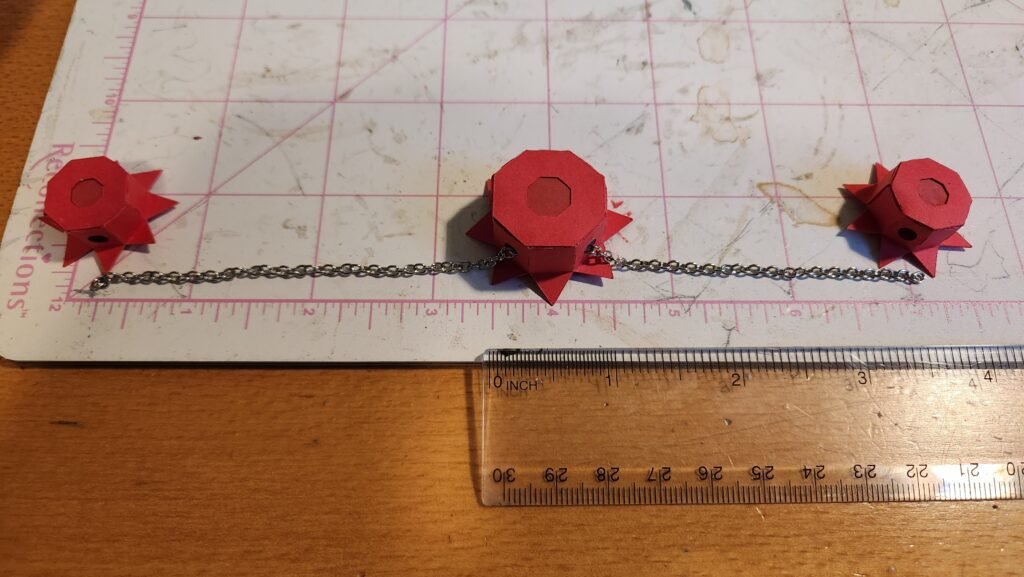
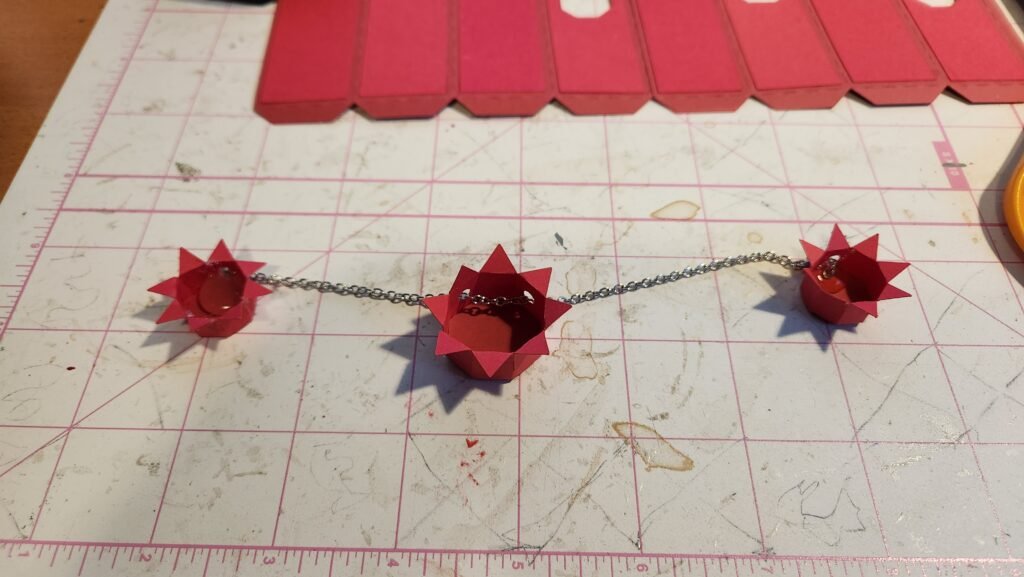
It’s a little cumbersome dealing with the three attached already, but for us this was the easiest way to handle assembly. If you wanted, you could put the knobs on the hydrant before adding the chain to the knobs.
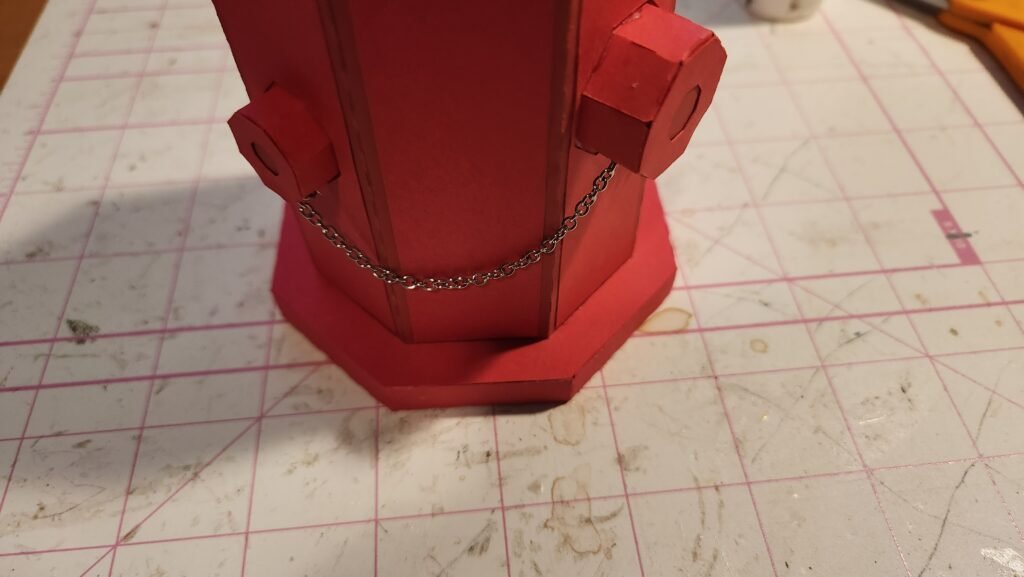
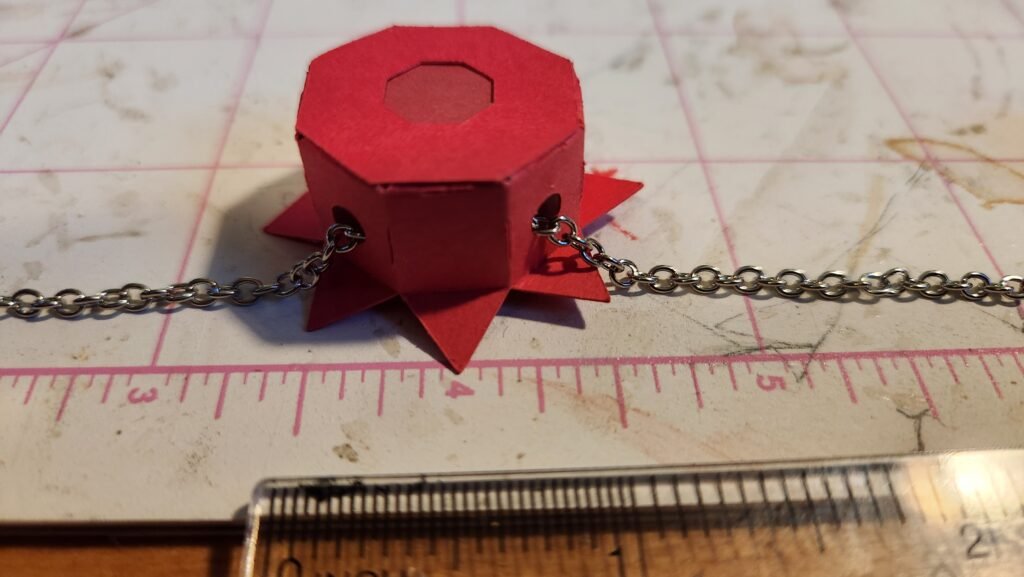
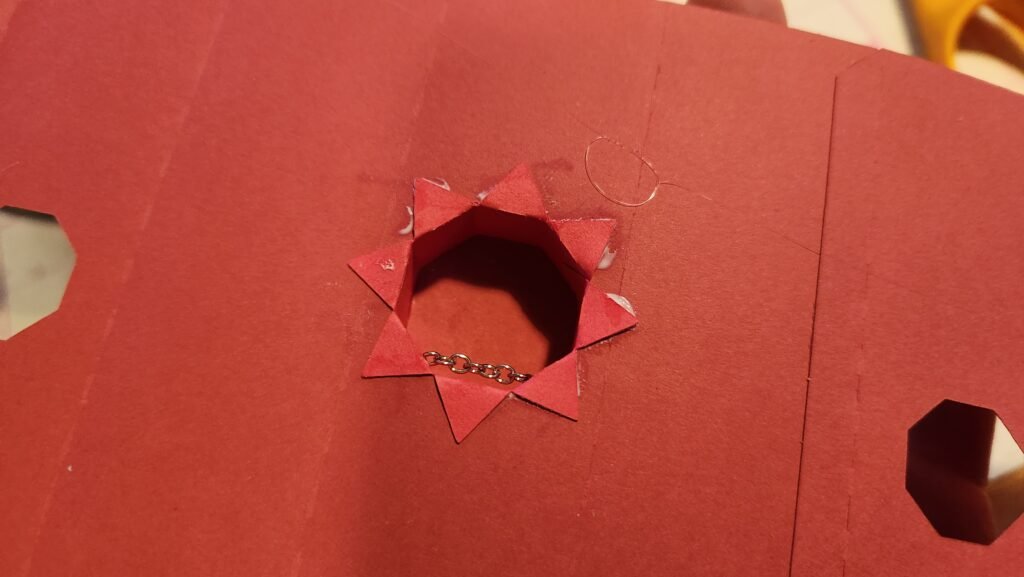
To place the knobs, we folded the tabs inward, slid the open end through the opening in the side panel, then folded the tabs out and added glue. Make sure that the holes with the chain are facing toward the bottom of the box (the end with tabs). We then pressed the tabs against the back side of the side panels. We repeated this process for each of the knobs.
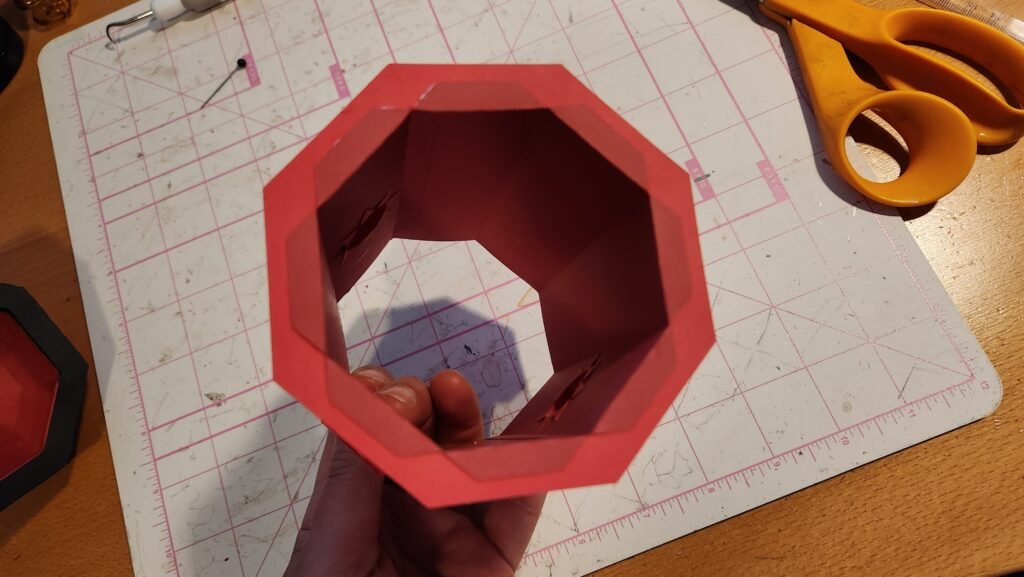
Now that the knobs are attached, you can add glue to the long tab on the end and fold around to create an octagon shape.
Building the Fire Hydrant Base
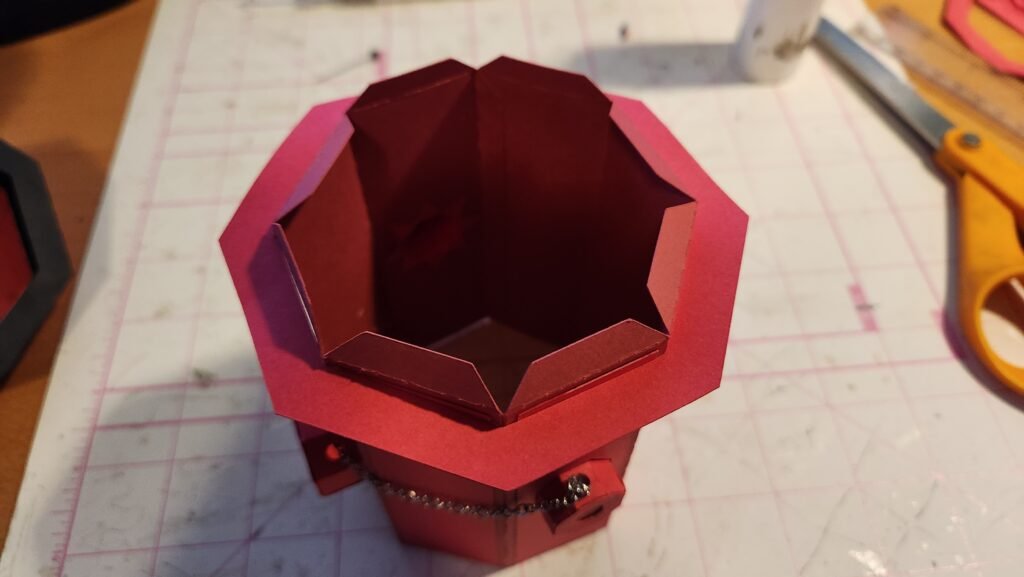
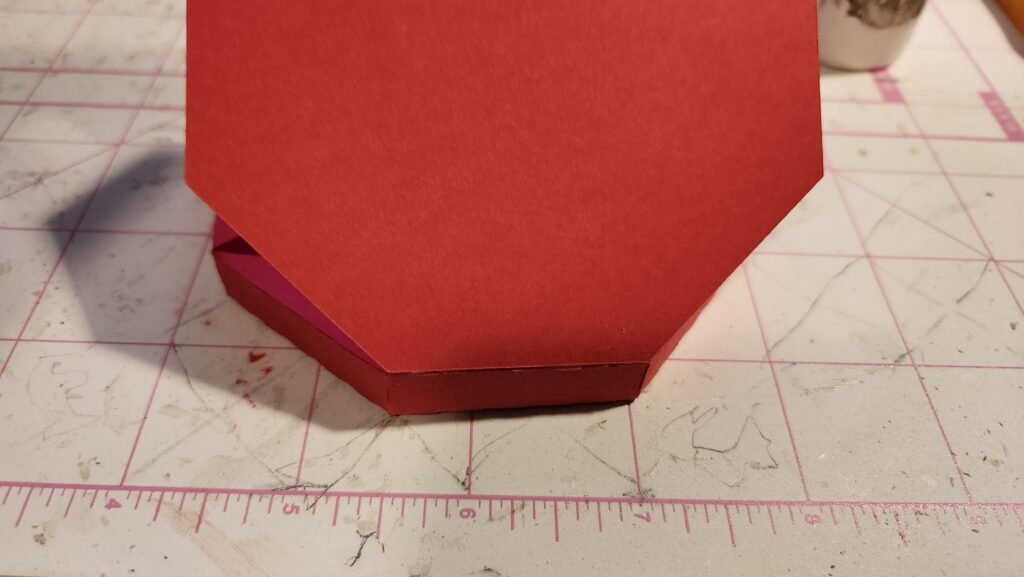
Place the hydrant body on your work surface with the tabs facing up. Slide one of the octagon rings over and fold the tabs outward. Add some glue to the tabs and slide the octagon to attach them together. We found it helpful to place the hydrant right side up and press down on the octagon to get it all the way at the bottom and the tabs secure.

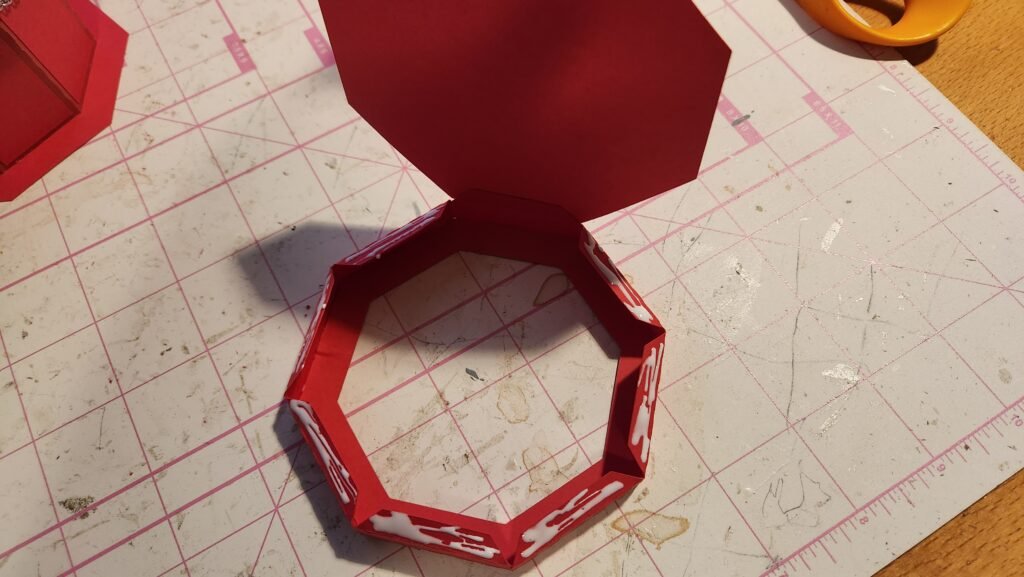
You can now set this aside and assemble the bottom ring. The assembly for this is similar to the ring on the lid, the main difference being one of the octagons is solid. This allows bottom of the box to be closed off. To make the bottom ring, first connect the two long panels end to end to create an octagon shape.
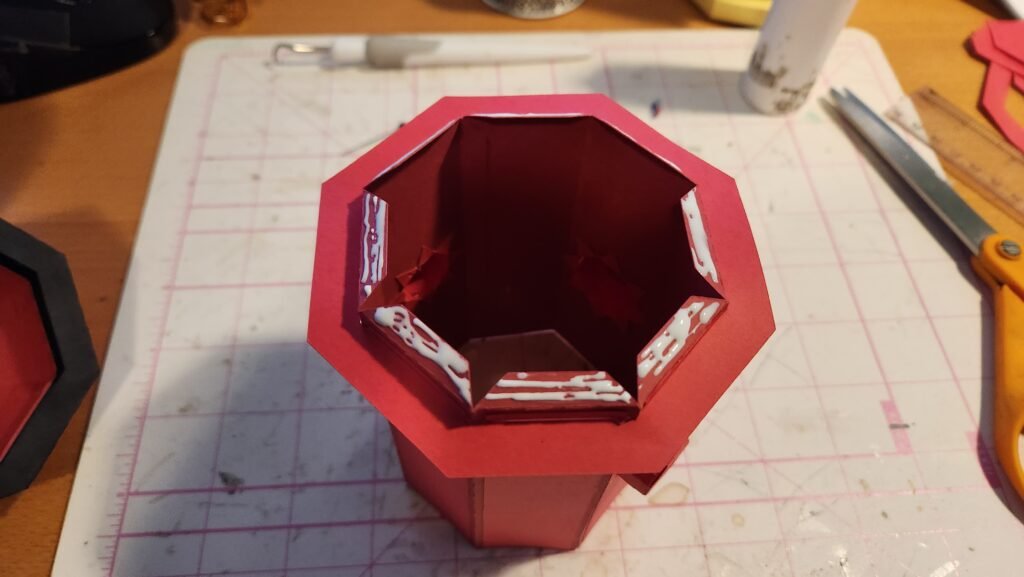
Once this is done, fold in the tabs on one side. With the tabs folded in, add glue, and place the octagon ring inside the shape.

You can now fold in the other set of tabs and add glue to one tab. Use this tab to secure the solid octagon ring. Once done, we added glue to the other tabs and secured the octagon.
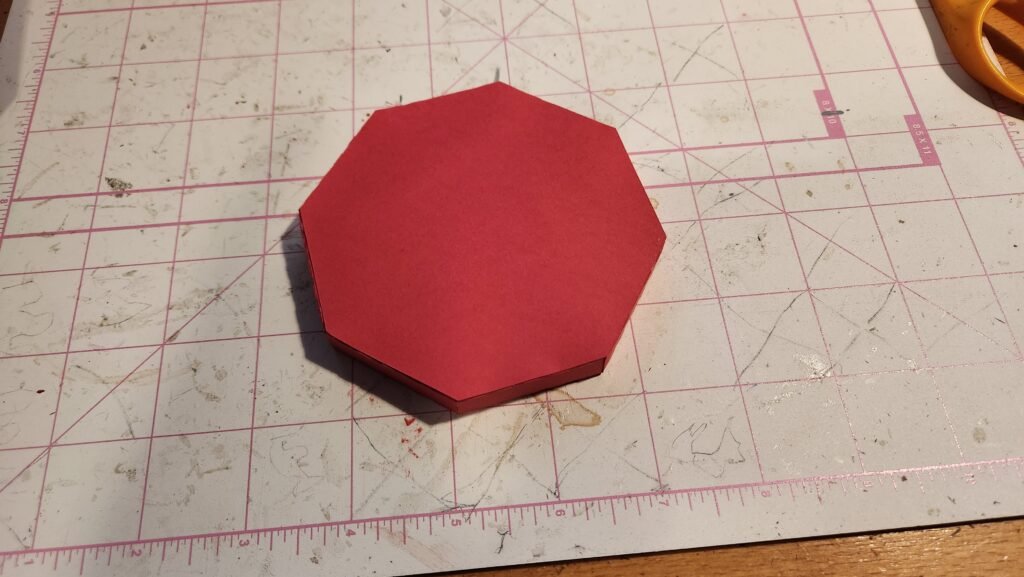
Now turn the ring shape you’ve made so the open side with exposed tabs is face up. Add glue to the area with the tabs and firmly place the hydrant structure on top. Use your fingers to make sure the hydrant is on square and to press gently down to secure the two structures together.