
Materials Used
We used several products and supplies in the making of cheer-ful (haha) cheer box. Below is a list of what we used.
- LOVE Cheer Gift Box – Digital Download SVG and DXF
- Recollections cardstock
- DCWV Holiday Glitz Paper Stack
- Recollections Silver Cardstock
- Art Glitter Glue
- Electric Cutting Machine – Cricut or Silhouette
***Note that this post contains affiliate links and we may receive compensation if you buy something using one of our links. ***
Cheer Box Bottom
The box is assembled in a couple steps. We started by assembling the bottom of the box. To do this, there are four identical sides with tabs and 2 squares that close up the bottom.

We folded along the score lines for the tabs and attached the panels end to end. This will make a square shape when done.


We then took the tabs around the bottom, folded them in and added glue. Using one of the bottom panels, we pressed it into place along each tab. Make sure to have the fold of the tab snug against the bottom panel on each side. Once the panel is secure, we turned the box bottom over and glued the other panel in place. This will cover the exposed tabs and provide some extra support for the bottom.


Cheer Box Top
The lid is assembled very similar to the base. To start, we added our decorative panels to the sides. We chose white for our panels with tabs, and added black to the back of the panels, then added red to the front.


Then we took the panels and attached them end to end. We wanted the words to read “GO, FIGHT, WIN” when you turn the box so we made sure to orient them correctly when attaching them end to end. “CHEER” filled the fourths pace between “GO” and “WIN.” The panels are all the same size so you can put them in whatever order you want.

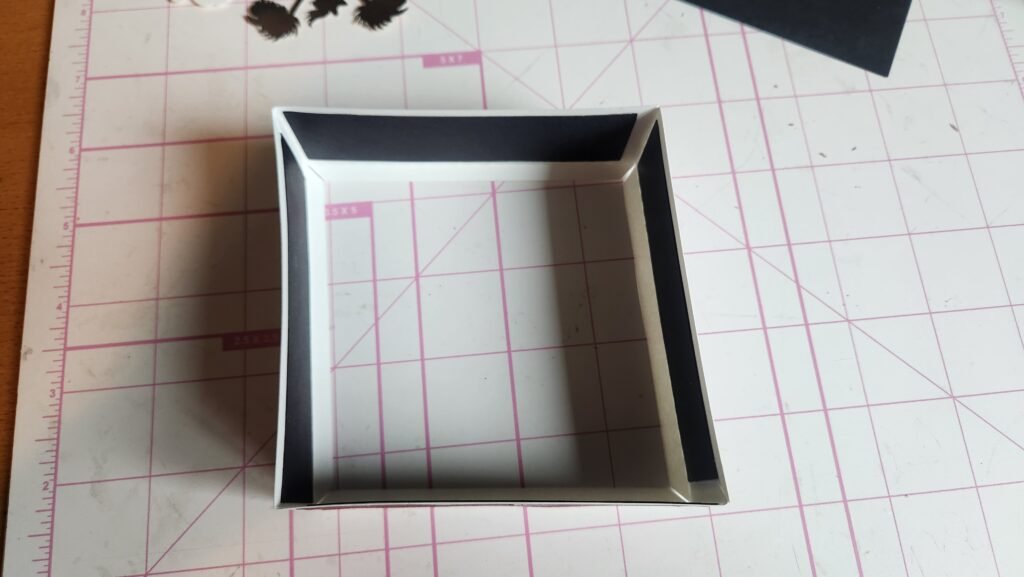
Next we folded the tabs in and added glue, then added our bottom panel of the decorative top (black in our case). By putting it on the inside, we covered up the tabs and ensured that our box was in a solid square shape with the tabs all aligned correctly.


Next, we added the remaining decorative layers to the top of the box. First we placed our top panel on our “middle” layer. We chose to cut this “middle” layer (shown in white) the same color as our tabbed side panels. This helps give the box a cohesive look, though depending on your teams color scheme, you way want to chose a different look for your box. We then layered and added the cheerleader silhouette.


Once we finished assembly of this decorative panel, we added it to the top of the box top.


