Materials Used
We used several products and supplies in the making of cheer-ful (haha) cheer box. Below is a list of what we used.
- Cheer Gift Box and Greeting Card – Digital Download SVG
- Recollections cardstock
- Acetate
- Art Glitter Glue
- Permanent Vinyl
- Ribbon
- Electric Cutting Machine – Cricut or Silhouette
***Note that this post contains affiliate links and we may receive compensation if you buy something using one of our links. ***
Cheer Box Base Assembly
Our cheer box is assembled in a couple steps. First, started by assembling the bottom of the box. To do this, there are four sides, 2 long, 2 short, and the 2 that close up the bottom.
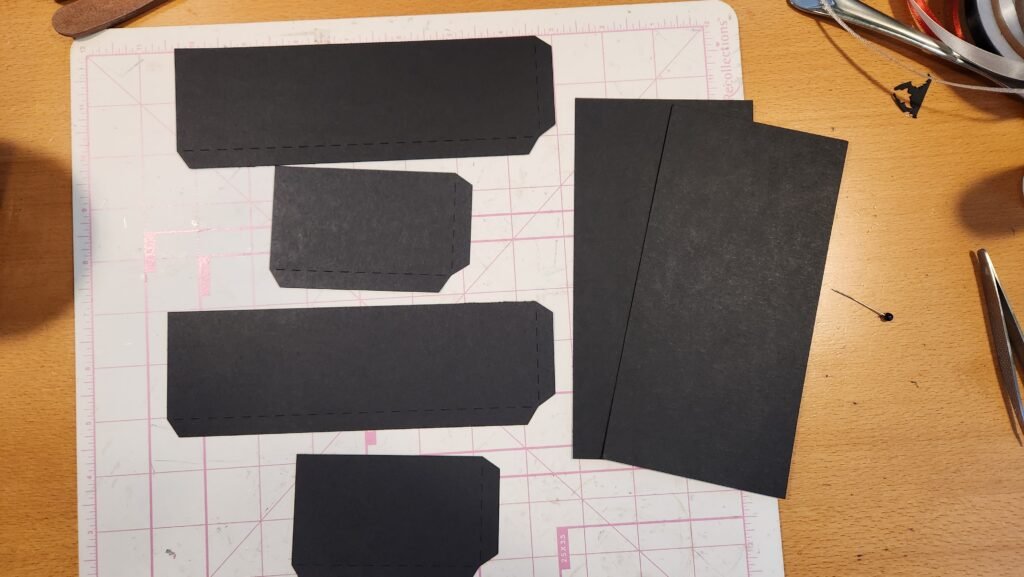
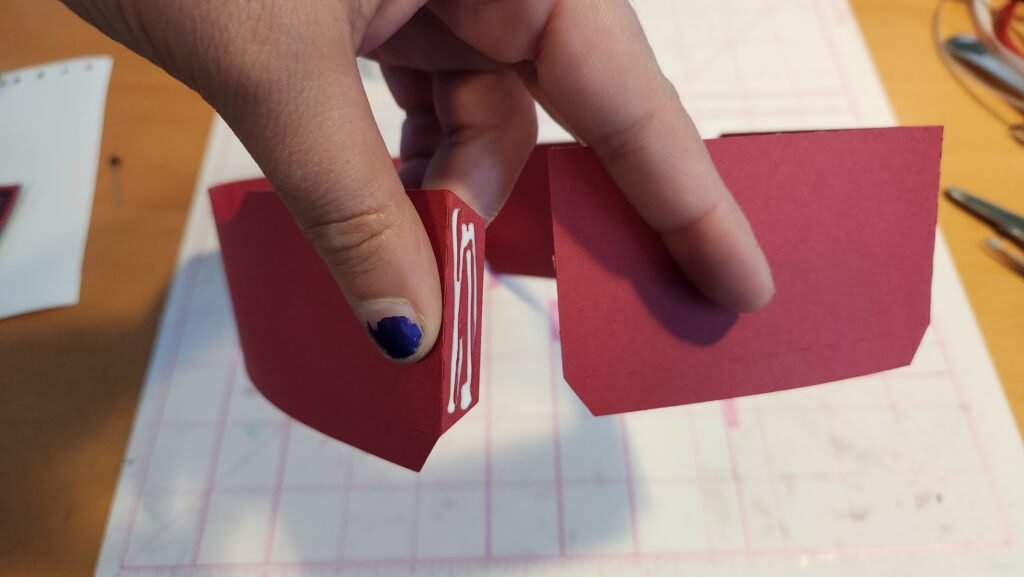
We folded along the score lines for the tabs and attached the panels end to end. Make sure to alternate the sides – long/short/long/short. Doing this will give you the desired rectangular shape when done.
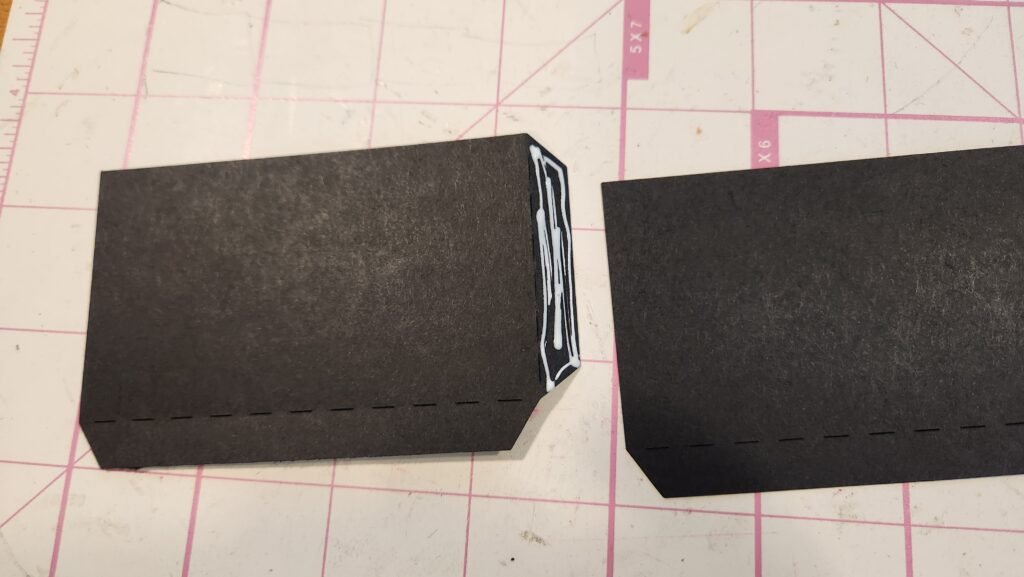
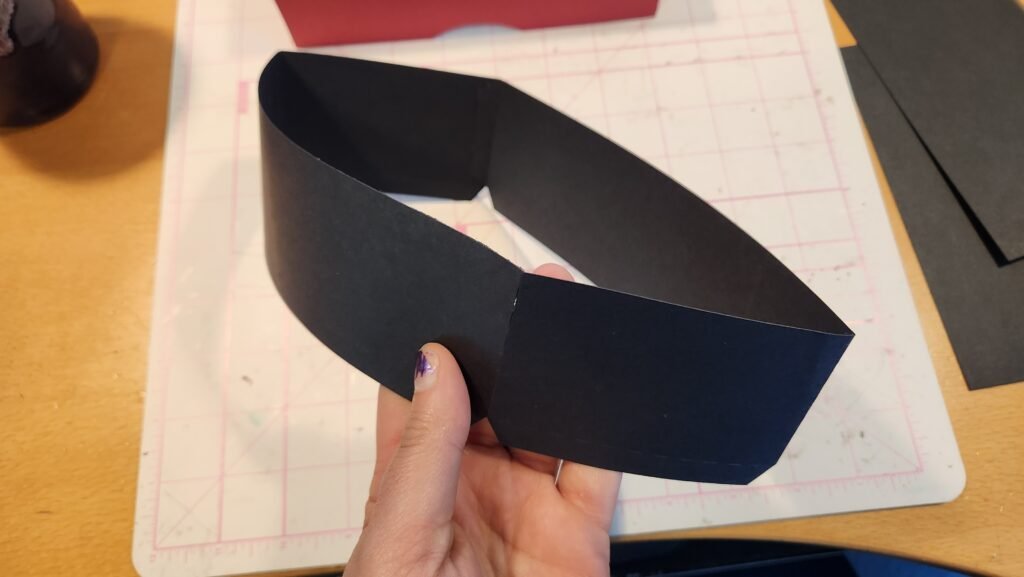
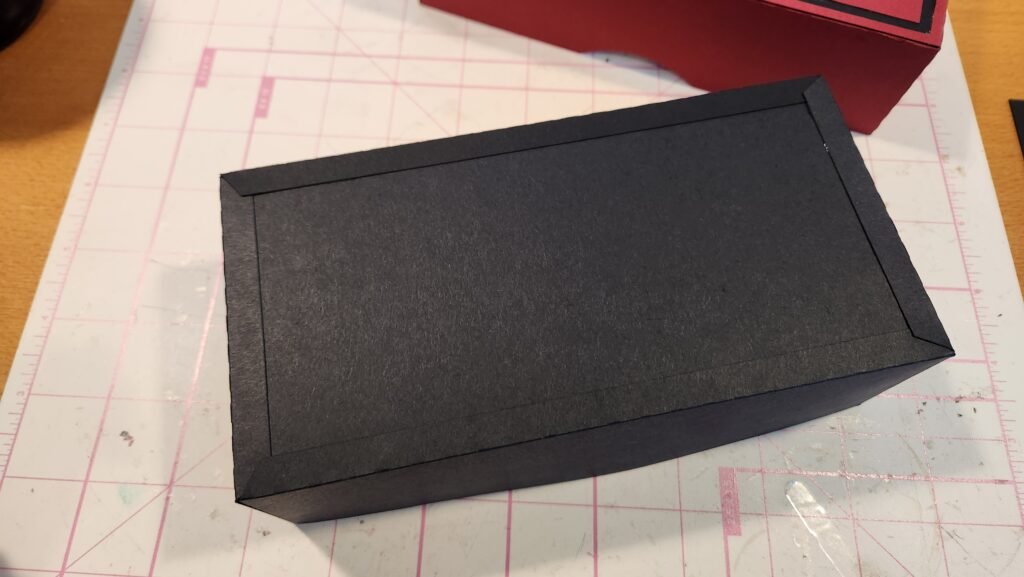
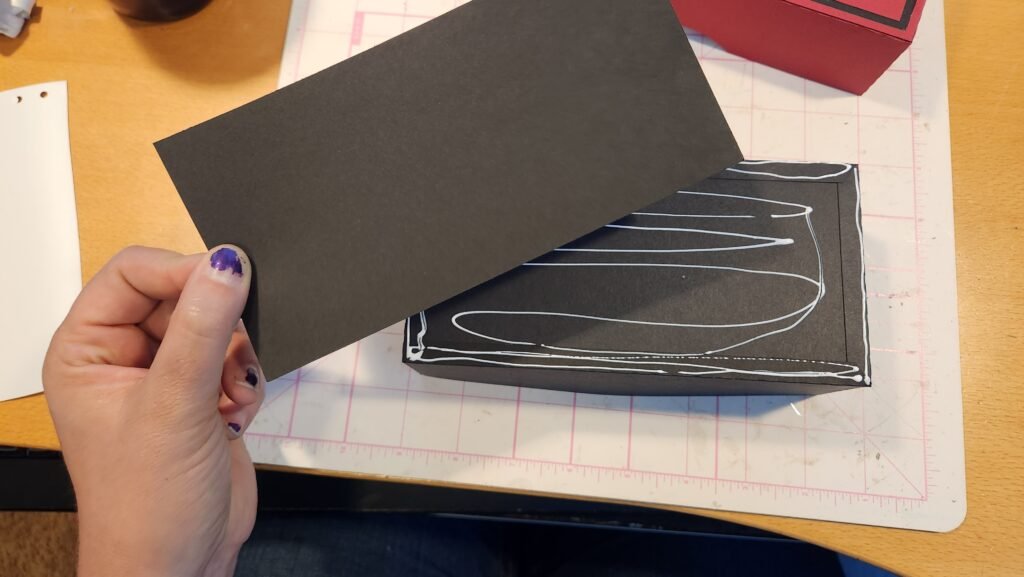
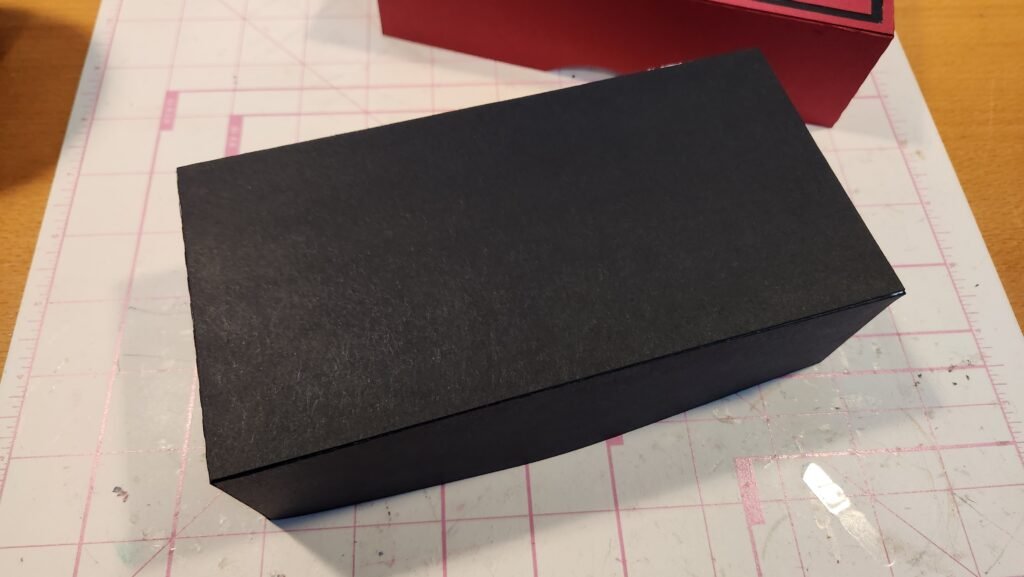
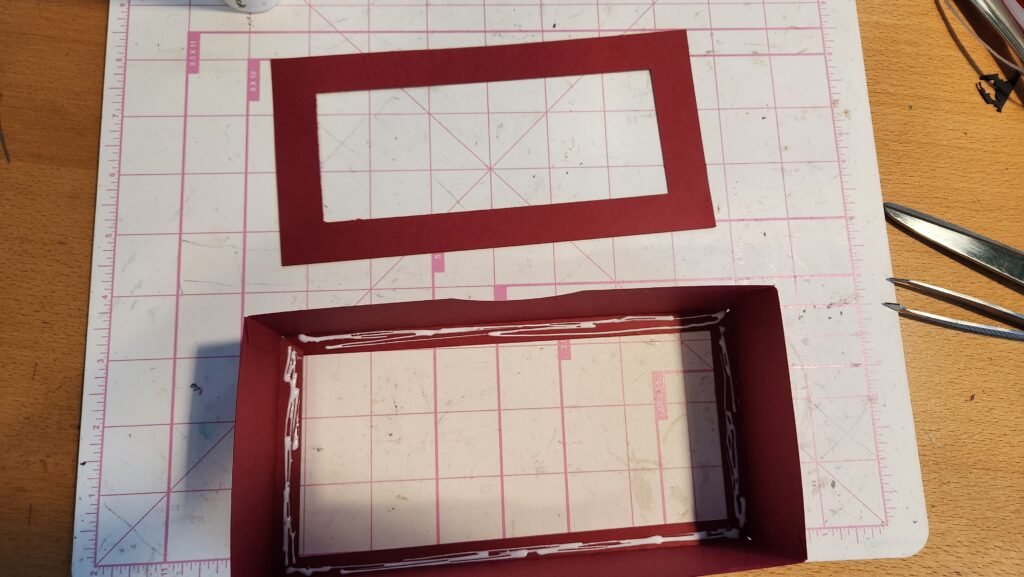
We then folded in the bottom tabs and added glue to the inside. Using one of the bottom panels, we pressed it into place along each tab. Make sure to have the fold of the tab snug against the edge of the panel on each side. Finally, once the panel is secure, turn the box bottom over and glue the other panel in place. This will cover up the exposed tabs and give the bottom extra strength.

Cheer Box Lid Assembly
The lid is assembled the same as the base. However, the first rectangular panel placed after the sides are assembled has a hole in the center.
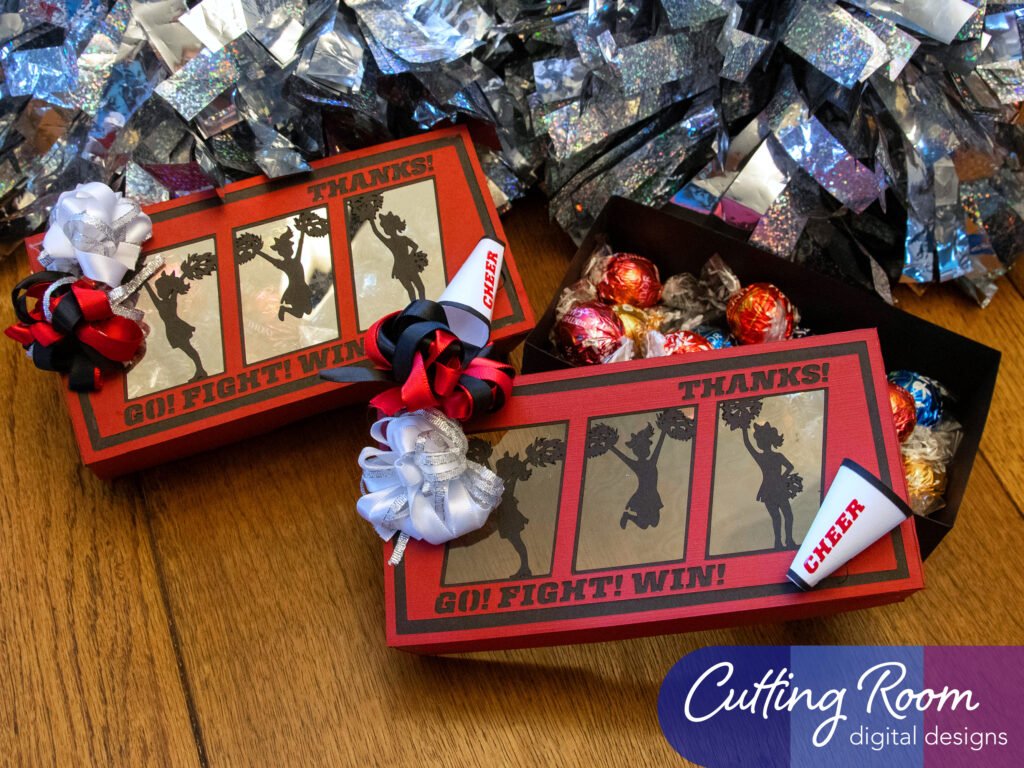
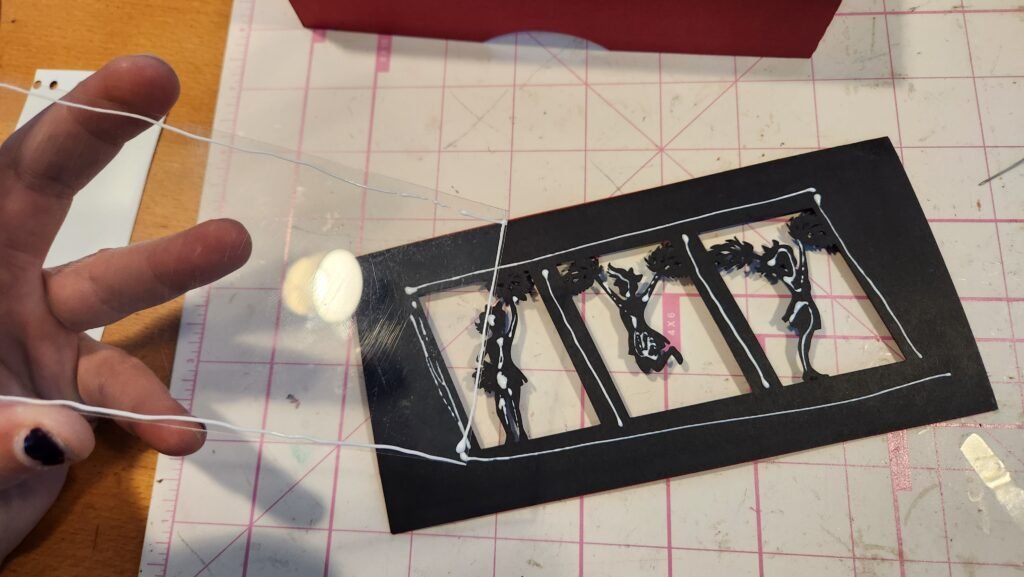
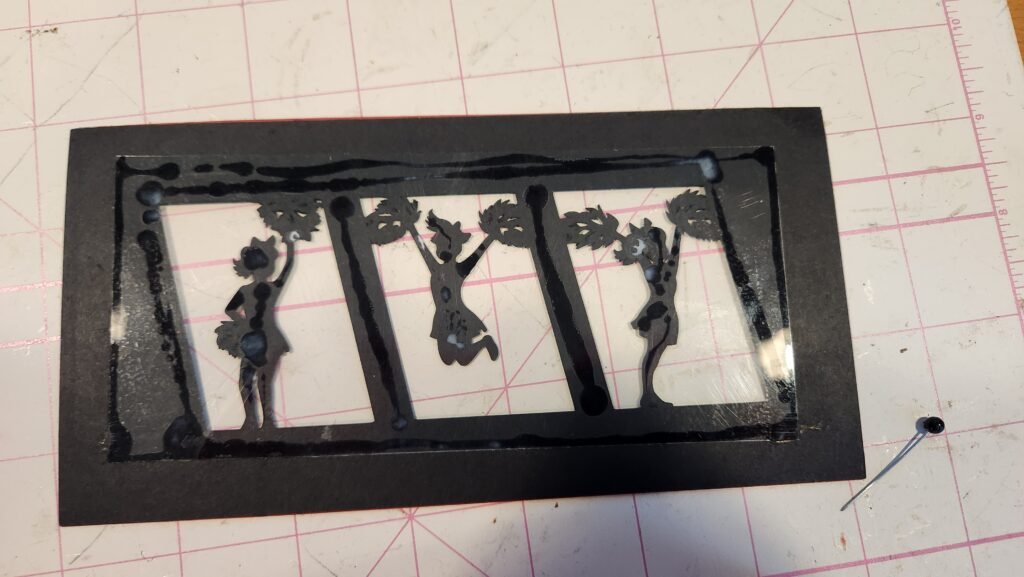
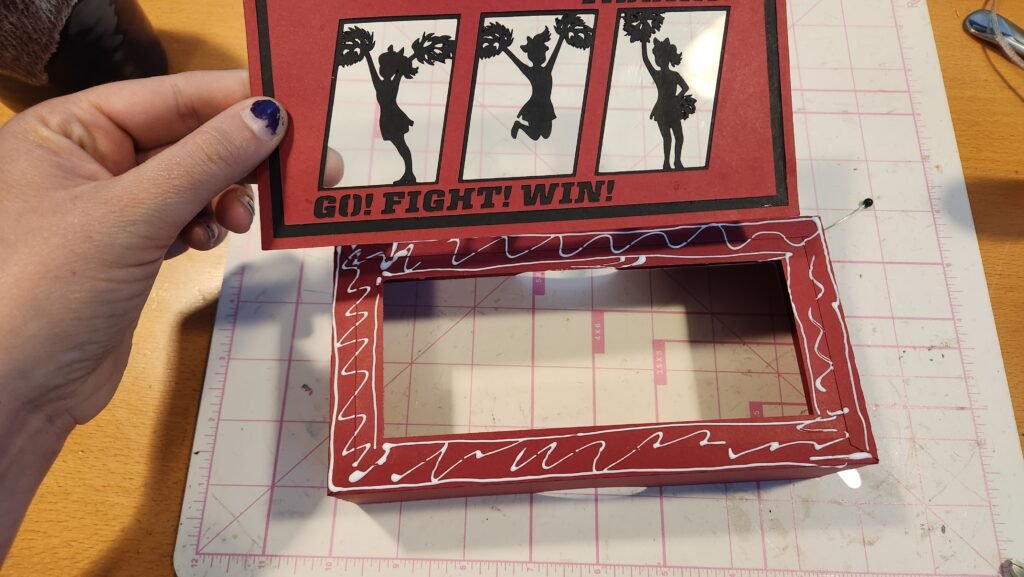
Finally, we assembled the decorative top of the cheer box. First we attached the acetate sheet to the back of the panel with the cheerleader silhouettes. You can choose to use cardstock for this instead if desired. We did this by adding glue close to the cutout rectangles, and sparingly on the back of each cheerleader. You want to be careful the glue doesn’t ooze out beyond the cheerleader shape or your acetate won’t be as clean and clear looking. We also added a little glue around the outside of the acetate so there aren’t loose edges.
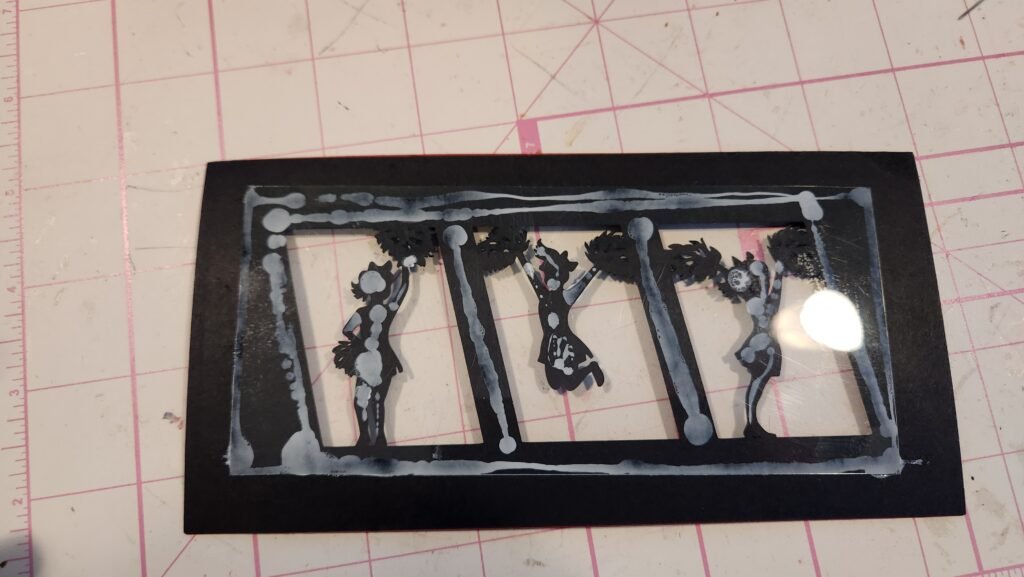
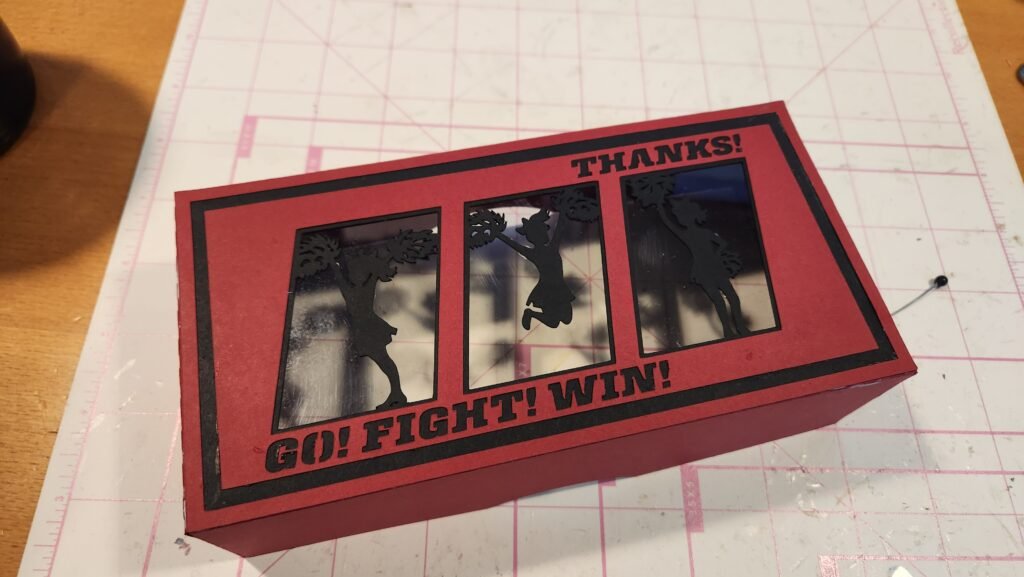
We then added the top panel with the words THANKS and GO! FIGHT! WIN!, making sure to center it on the panel. Then we added the rectangular trim to the outer part of the decorative panel. Finally, we attached the assembled decorative panel to the top of the cheer box. Put glue on the box top, not the decorative panel. this ensures you only get glue on the areas that make contact.
Cheer Horn Assembly
The cheer horn is a simple assembly but it has some small parts so patience and a pair of tweezers are helpful. To assemble the horn, we added the word CHEER first as attaching it to a flat surface is much easier. We chose to use vinyl rather than cardstock, given the small size of the letters.
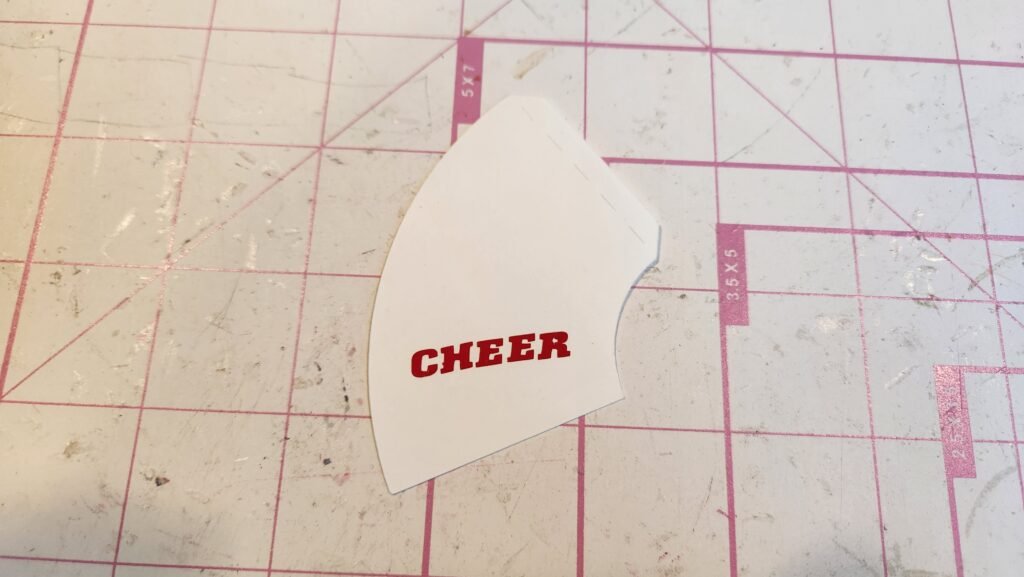
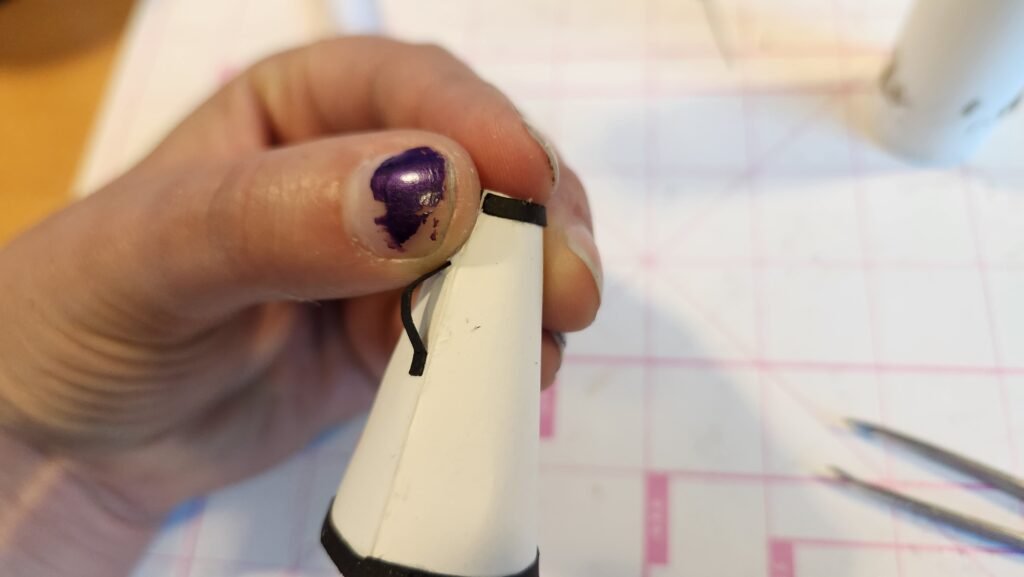
Now, encourage the horn to curve using your fingers. Don’t fold on the score line, this is just used as a guide to help know where to add glue. Once the shape has some curve to it, add glue to the tab and make the horn shape. The small end of the horn is too small for our fingers to fit. To overcome this we chose to use tweezers to hold the small end in place while pressing the rest of the tab in place with our fingers.

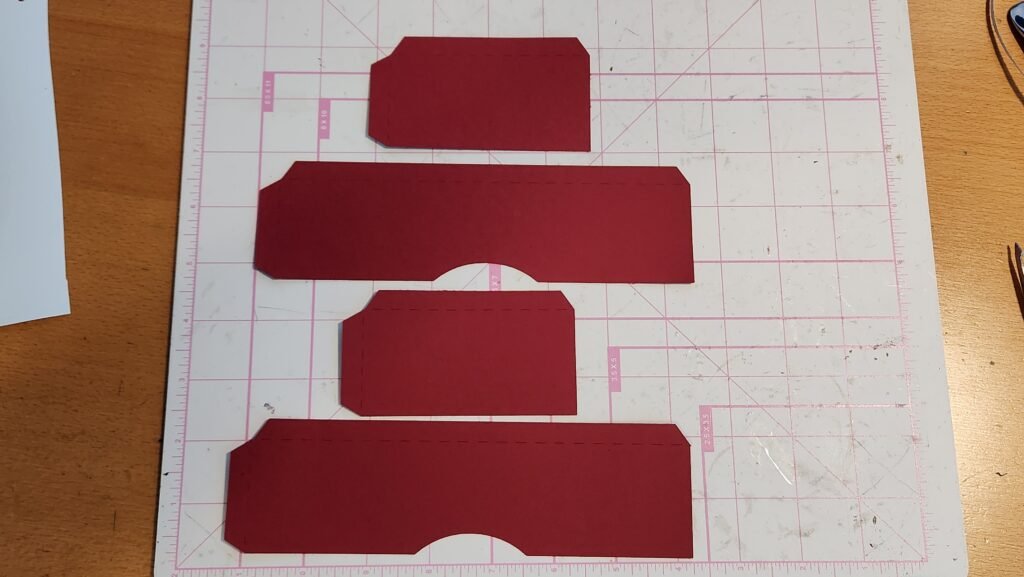
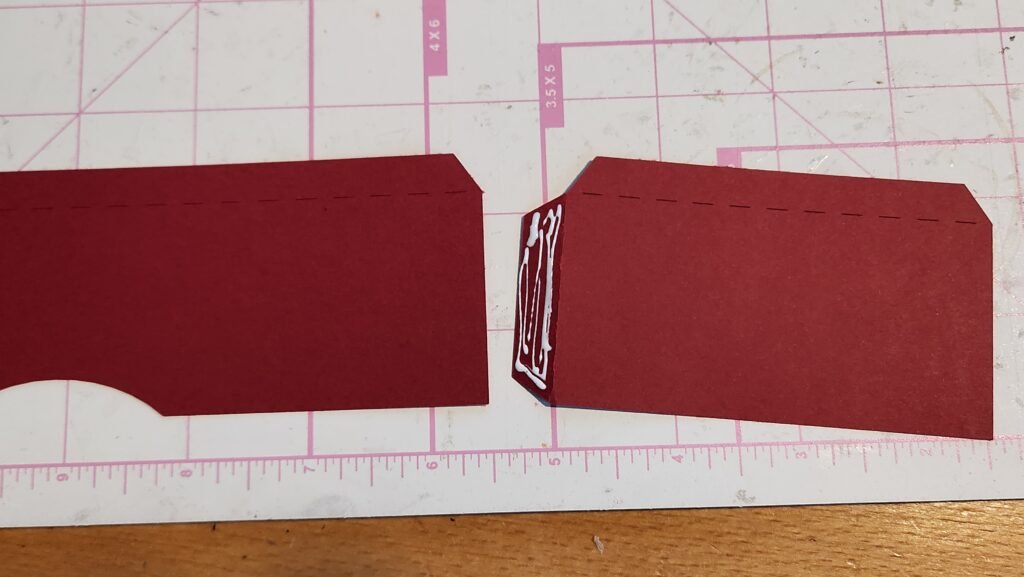
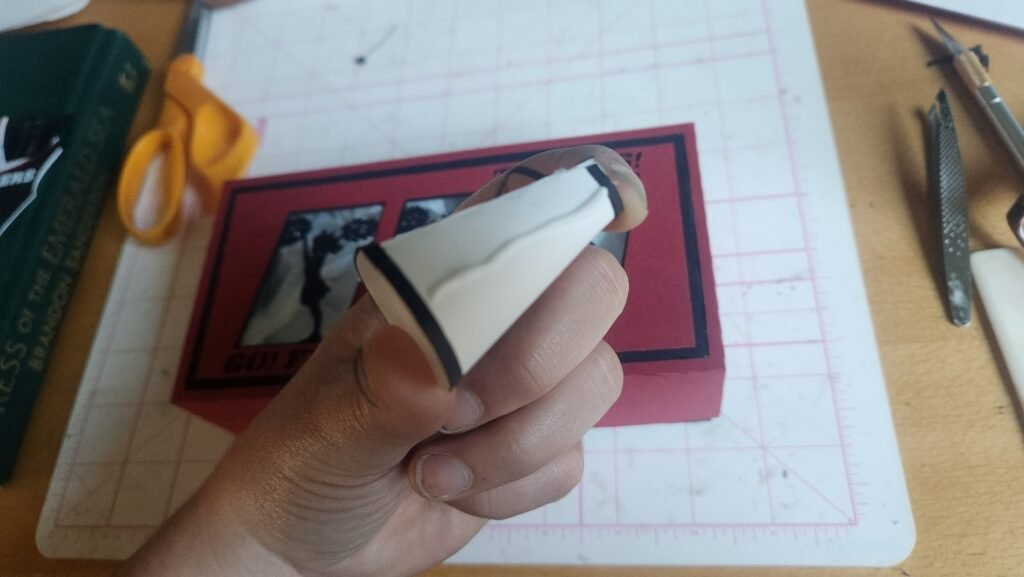
Once the horn shape was made, we added the decorative long panel to the large end and the shorter one to the small end. We found it easiest to line them up well if we added a little glue to the end of the decorative strip and placed one end against the seam on the side of the horn. Then, once that was secure, we added more glue and attached the rest of the panel around the horn.
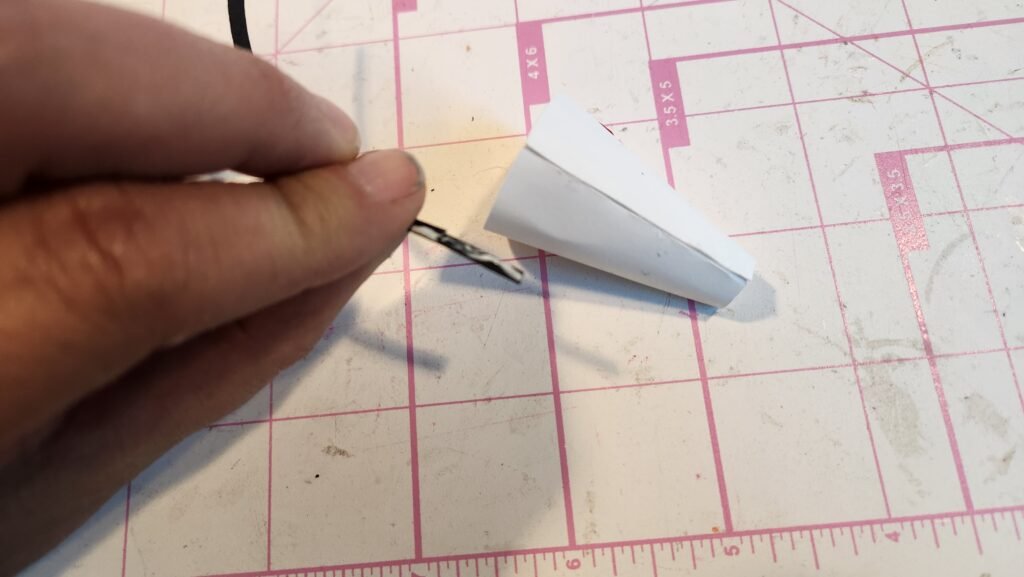
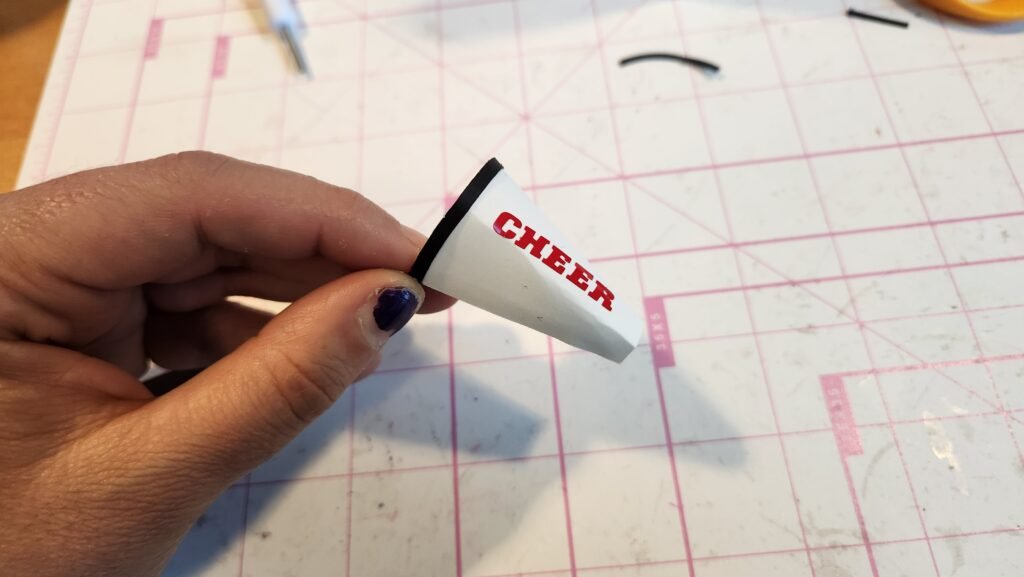
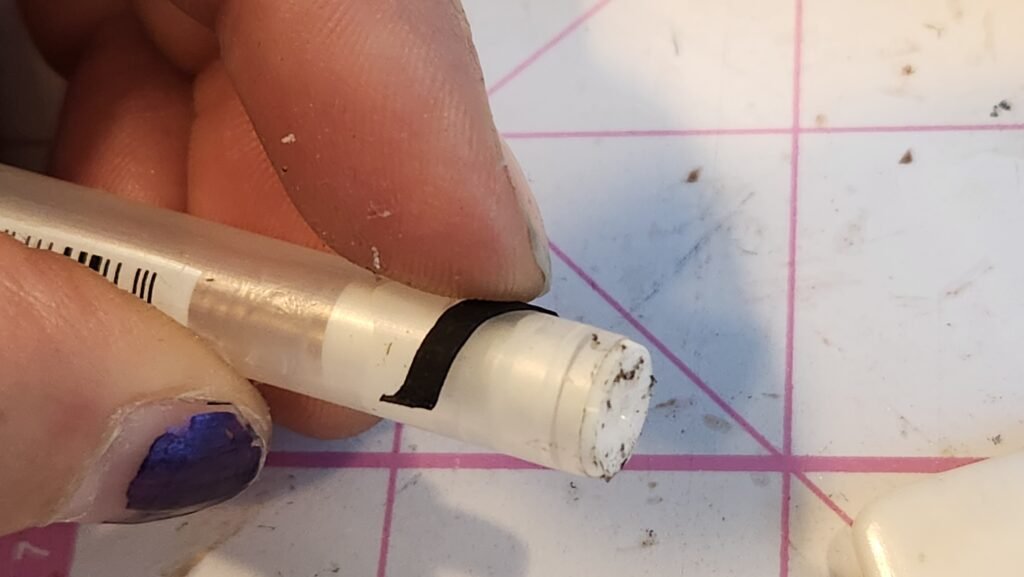
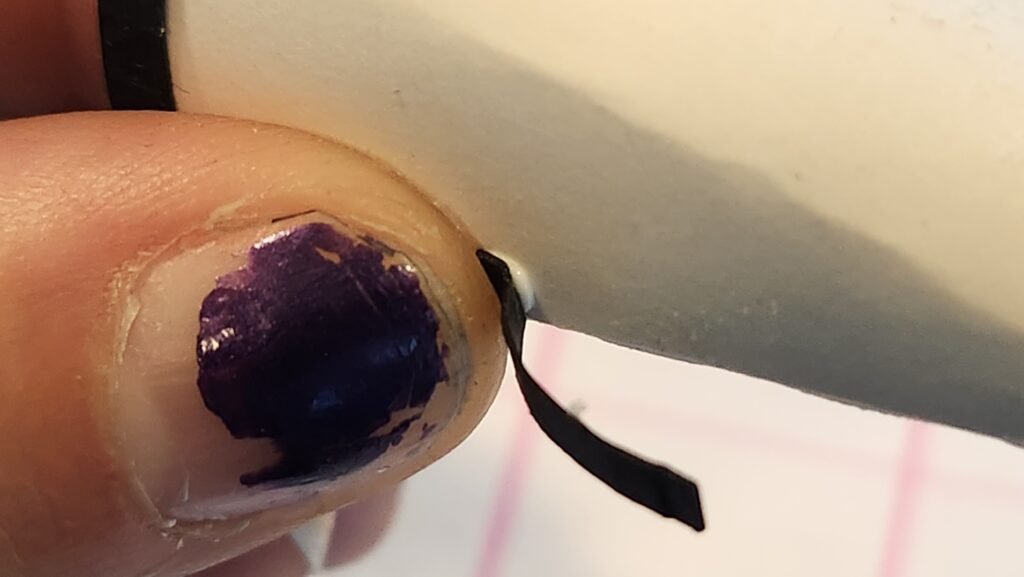
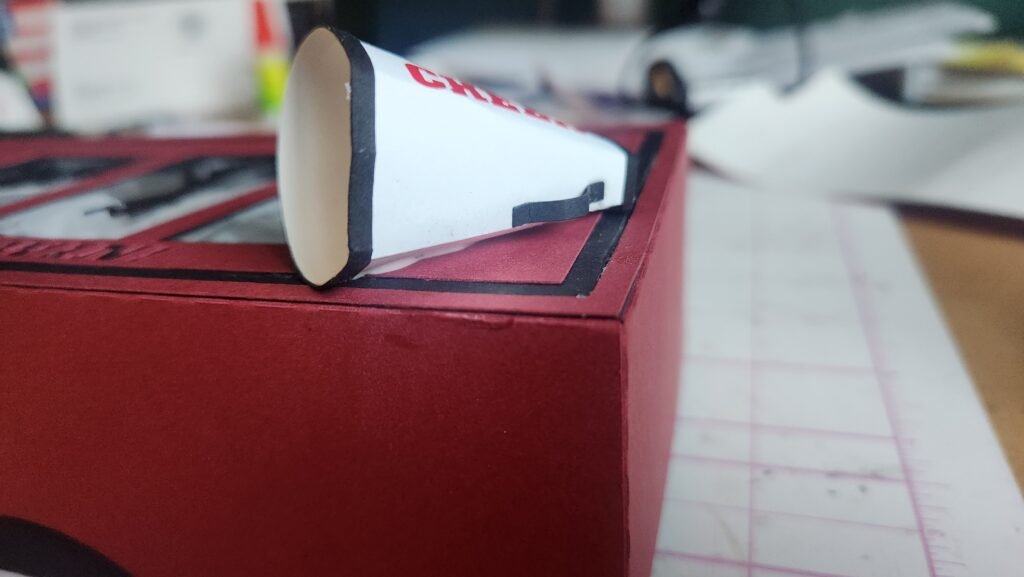
The final step is to attach the handle. This is a little finicky. There are two little score lines on the handle that can help you with attachment. Alternatively, you can just make a fold near each end. Once you have attached one of these little tabs to the horn and it’s secure, you can attach the other end to the horn. Make sure to have a little curve to give it a handle look. Tweezers might help you get a grip on the handle piece or hold it into place. With this assembled, we glued it to the corner of the cheer box.

Every Cheer Box Needs Pom Poms!
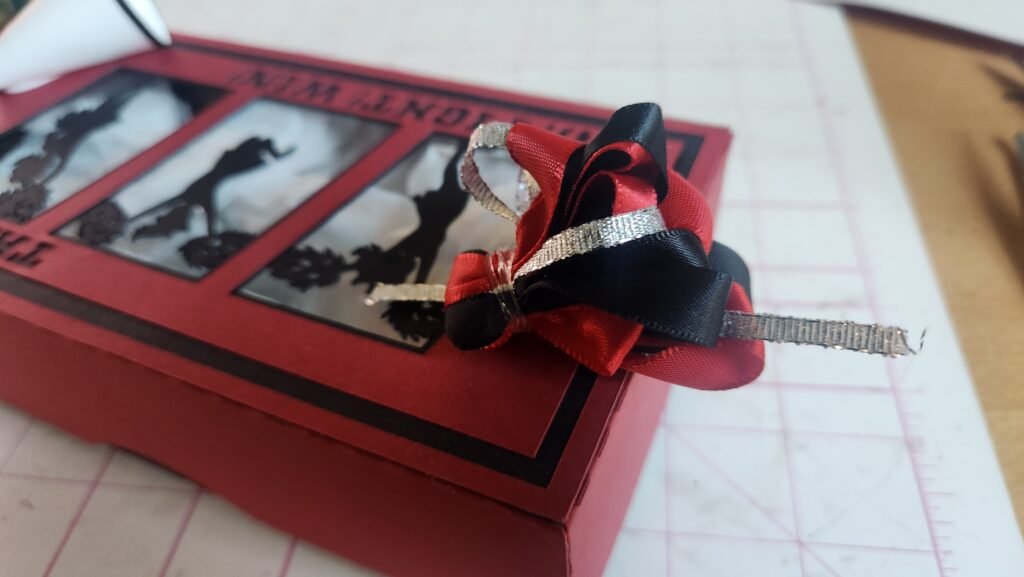
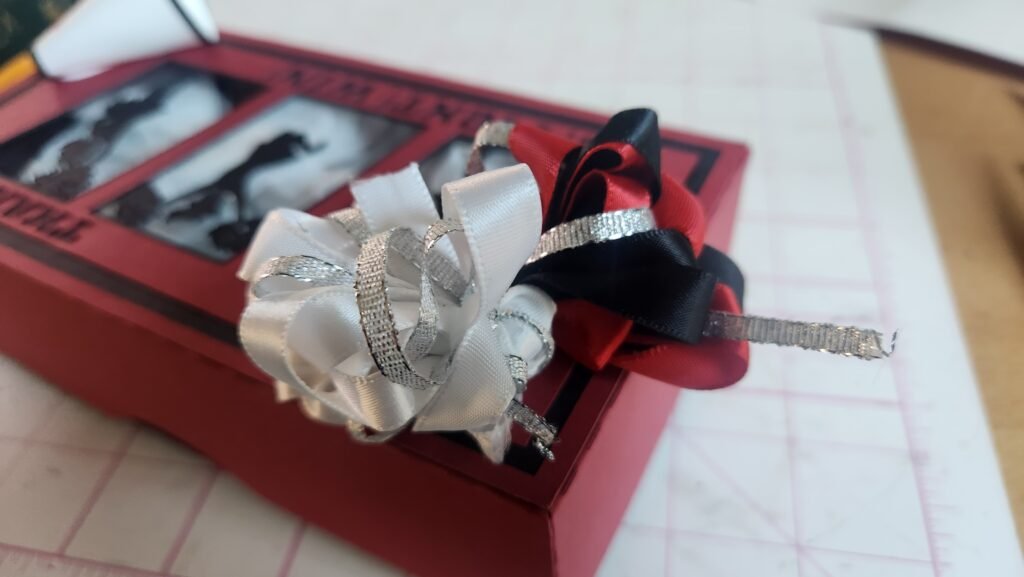
Finally we made two pompoms using ribbon. We used several YouTube videos to help understand how to make pompoms. Ultimately, we combined a few ideas together to make something that worked for us. We chose to use ¼ inch wide ribbon and a couple clear hair bands to assemble the pompoms. We are working to make a video of our assembly so check our YouTube channel to see that once posted.
Trying to explain here is difficult, but basically we used a large serving fork to wrap the ribbon around. We did about 6 wraps with two ribbons combined, then slid it off the fork and put a hair band in the center. Next we spread the ribbon on one side of the hair band to give the pompom look, then did the same on the other side. Once we were happy with how it was fluffed, we folded in half again so all the curled ribbon was on one side and added a hairband to hold it in place. Once we had 2 of these pompoms, we hot glued them to the top of the cheer box.
Cheer Card Assembly
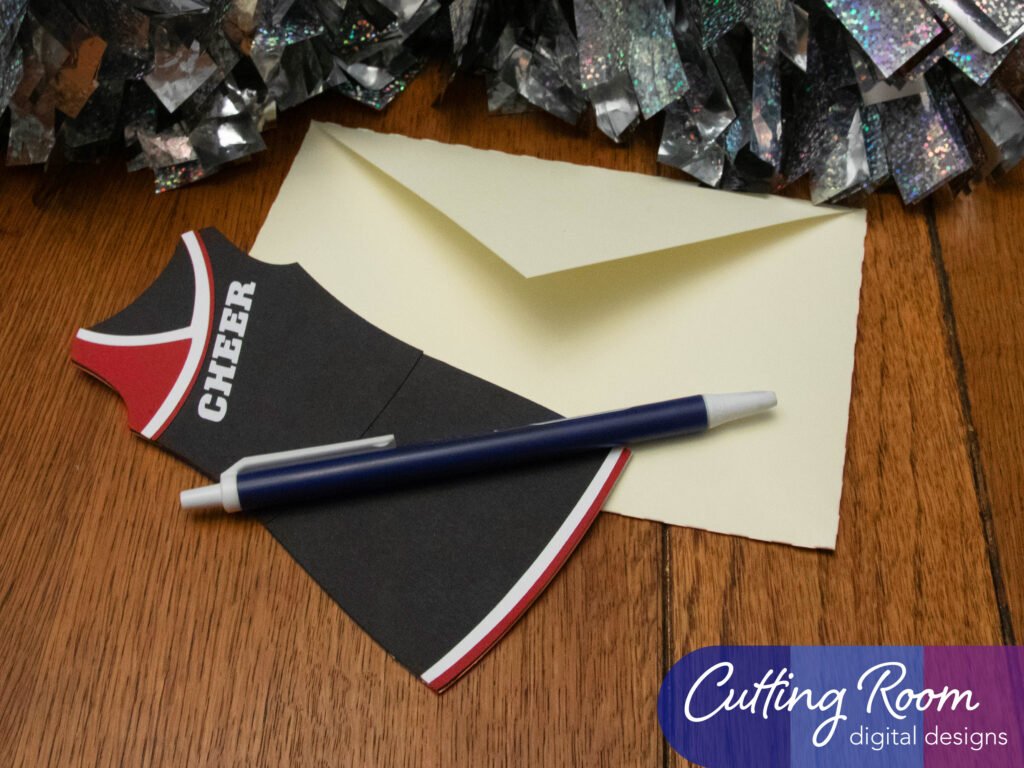
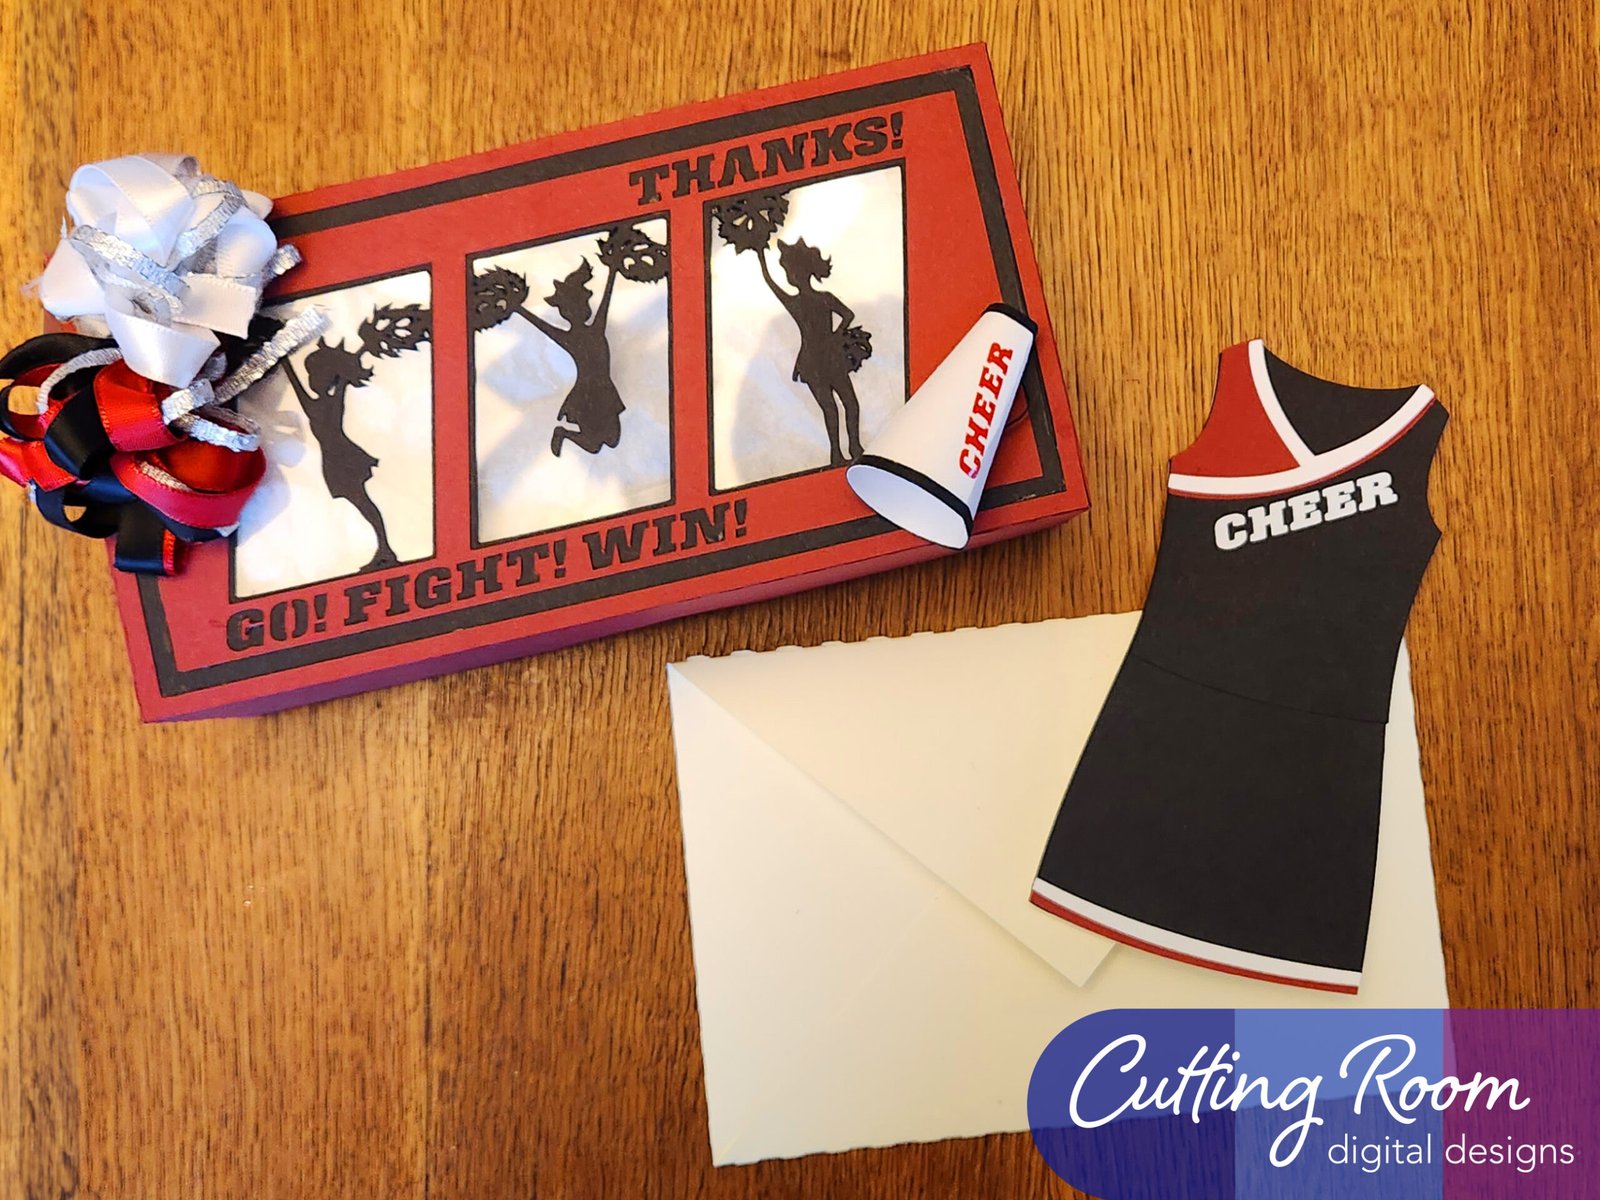
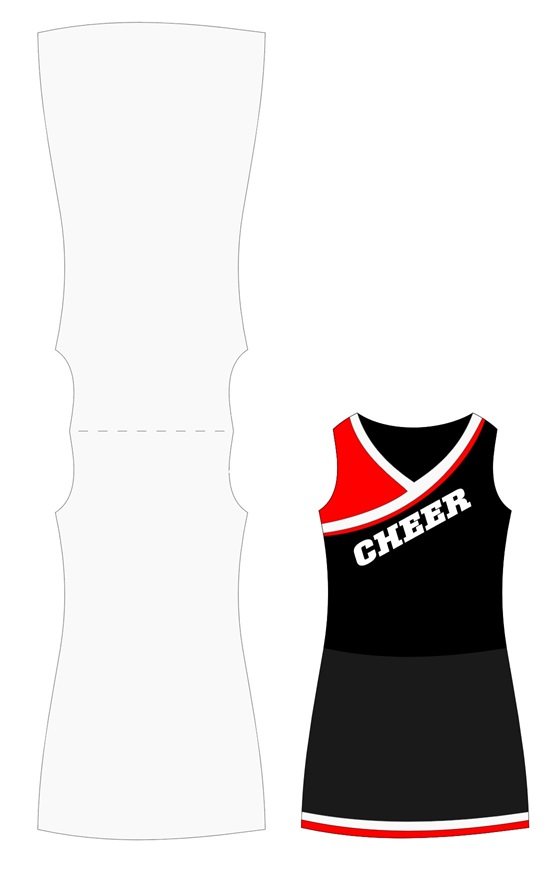
The card is made by first assembling the 2D decoration of the cheer uniform. You can change this up to any colors needed for your team. Once you have assembled the 2D uniform (pictured here in black/red/white), you can fold the card in half along the score line. Add glue to what is now the front of the card (any side can be the front) and attach your 2D cheer uniform.
Envelope Instructions
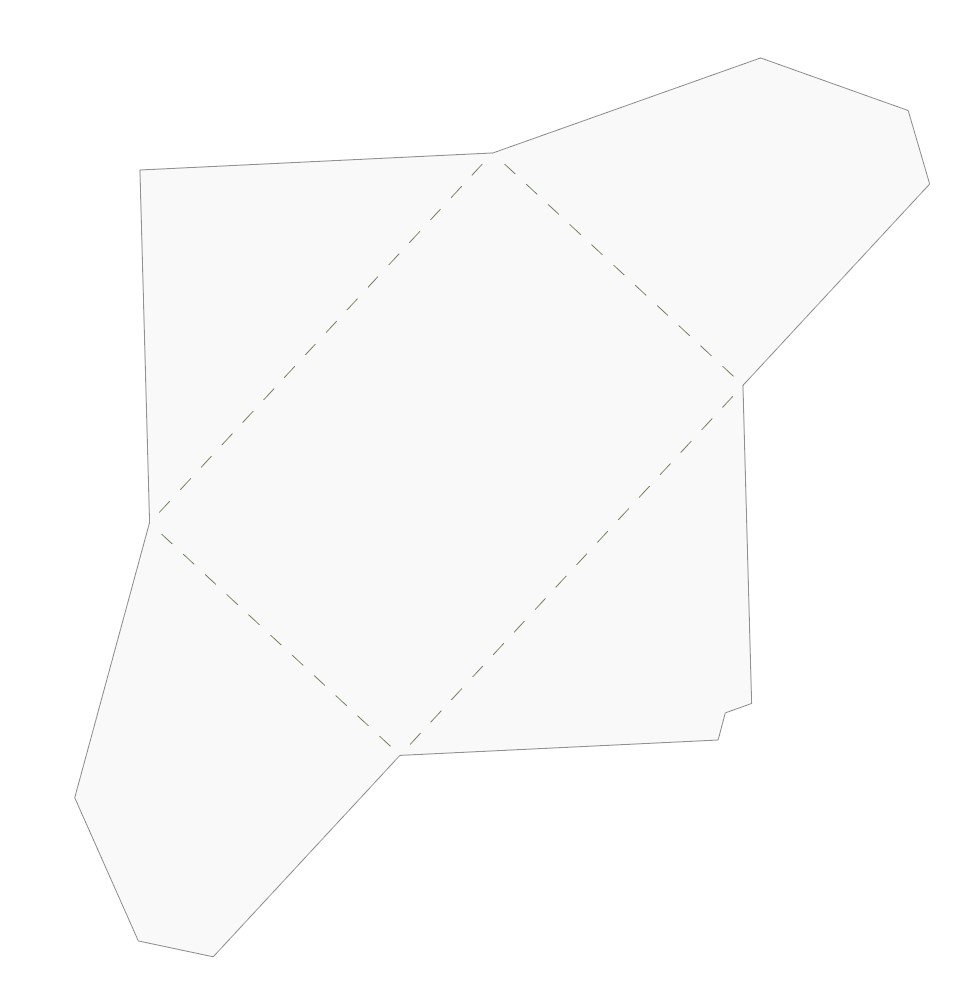
For the envelope, the pointed flap is the one that you secure last, after inserting your card. To assemble the envelope, fold in the side flaps, adding glue to the end of the second folded in flap. Then fold up the bottom flap, adding glue to the inside to secure it in place. Once these three are done, you can add your card and anything else to the envelope, fold down the pointed flap and secure with glue, tape, stickers, etc.
