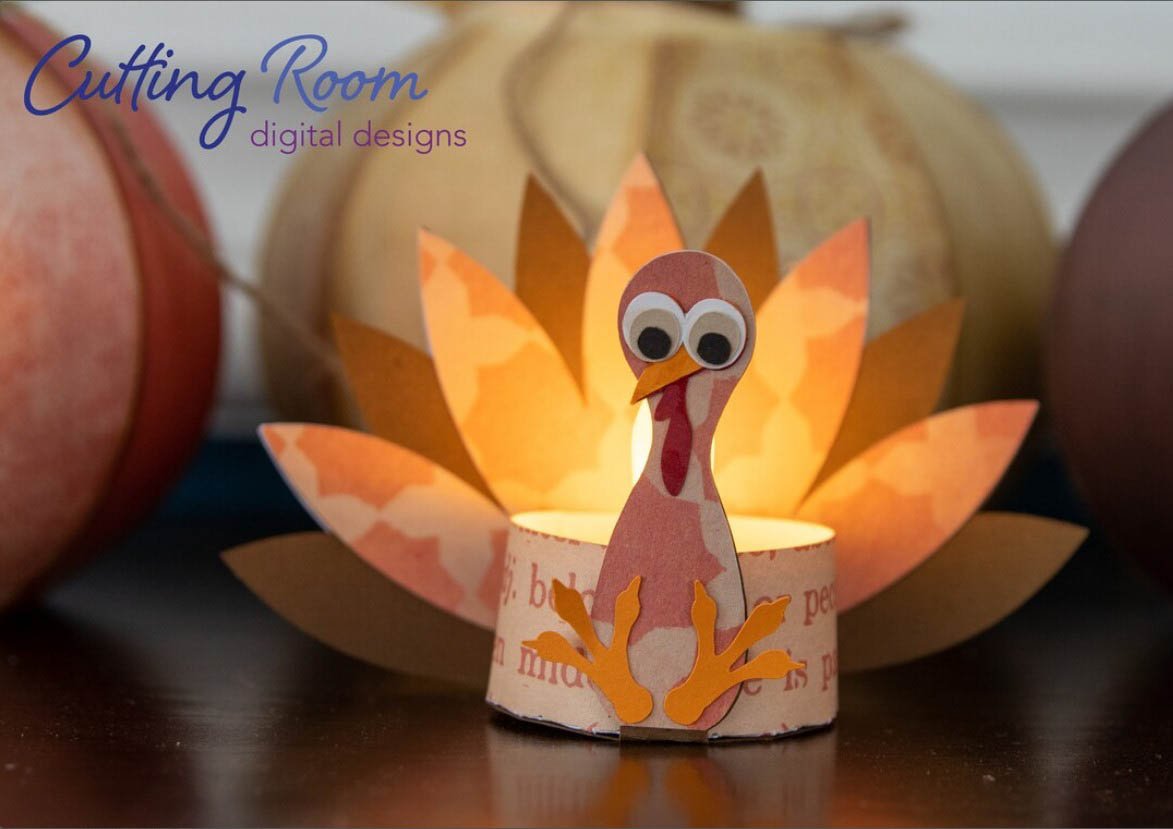
Materials Used
We used several products and supplies in the making of our cute fall turkey tealight holder. Below is a list of what we used.
- Thanksgiving Turkey Tealight Holder – Digital Download SVG file
- Recollections cardstock
- Craft Smith Autumn Dream Paper Pack
- Battery Powered Tealight
- Art Glitter Glue
- Electric Cutting Machine: Cricut or Silhouette
***Note that this post contains affiliate links and we may receive compensation if you buy something using one of our links. ***
Making The Tealight Holder
This tealight holder starts as just a few pieces. First, assemble the tealight holder in the center by taking the long panel, adding glue to the tab, and attaching to the end. This will create a circle shape. Once the glue is set, fold in the tabs and put glue on them on the inside. Place the bottom round panel and apply pressure to the tabs to secure.

Putting Together The Turkey
Next, cut and assemble the turkey body and face. This can be attached to the large turkey shapes tealight panel.

Before attaching the decorative panels for the tail, look closely at the bottom of each. The one that does NOT have a small hole in the bottom can be attached to the same side of the cardstock as the turkey face. The one with the hole will go on the other side.


Attaching The Tealight Holder
Now you can add some glue to the bottom of the candle holder and glue to the round center of the turkey panel.

With the center in place, add a small line of glue to the front to secure the turkey body to the ring of the tealight holder. Give this a good squeeze to attach. Then repeat for the tail of the turkey.


Leave a Reply