
Materials Used
We used several products and supplies in the making of our fun Pilgrim themed Thanksgiving decoration. Below is a list of what we used.
- Thanksgiving Pilgrim Decorative Gift Boxes – Digital Download SVG
- Recollections cardstock
- Gold Metallic Cardstock
- 1/4″ Wide Ribbon
- Art Glitter Glue
- Electric Cutting Machine: Cricut or Silhouette
***Note that this post contains affiliate links and we may receive compensation if you buy something using one of our links. ***
The pilgrims don’t take that much to make. Their shoulders/body is made as one then you attach the head with the collar. They are easier than they look but make for a big wow factor in your decorations!
Assembling The Pilgrim’s Head
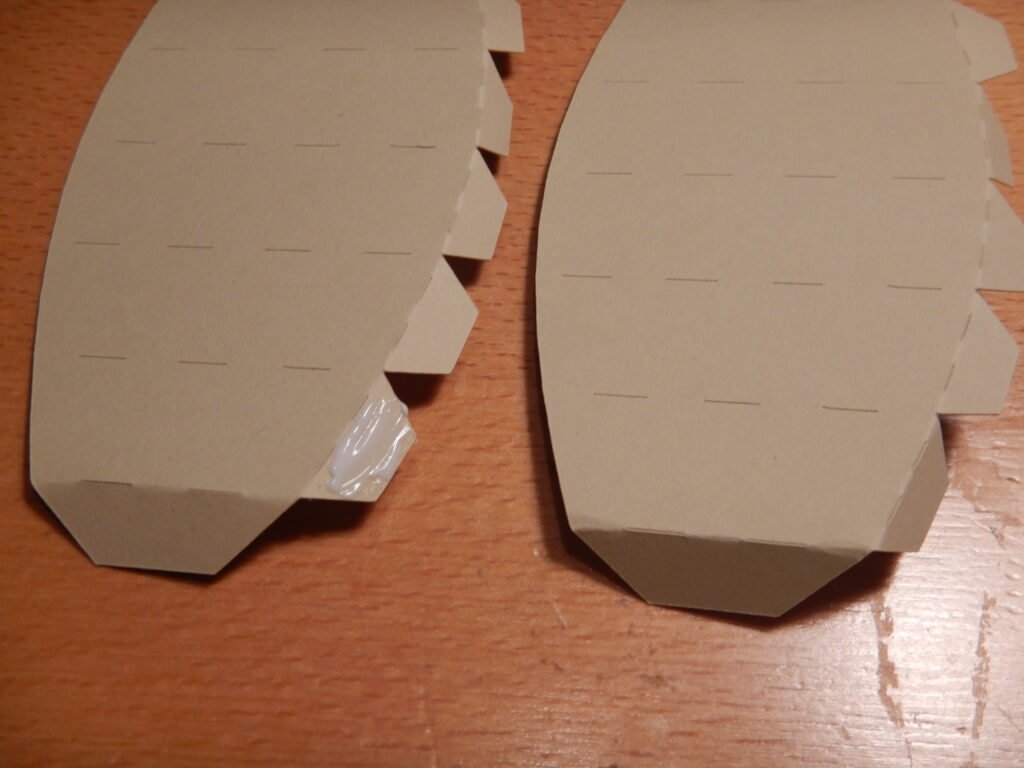
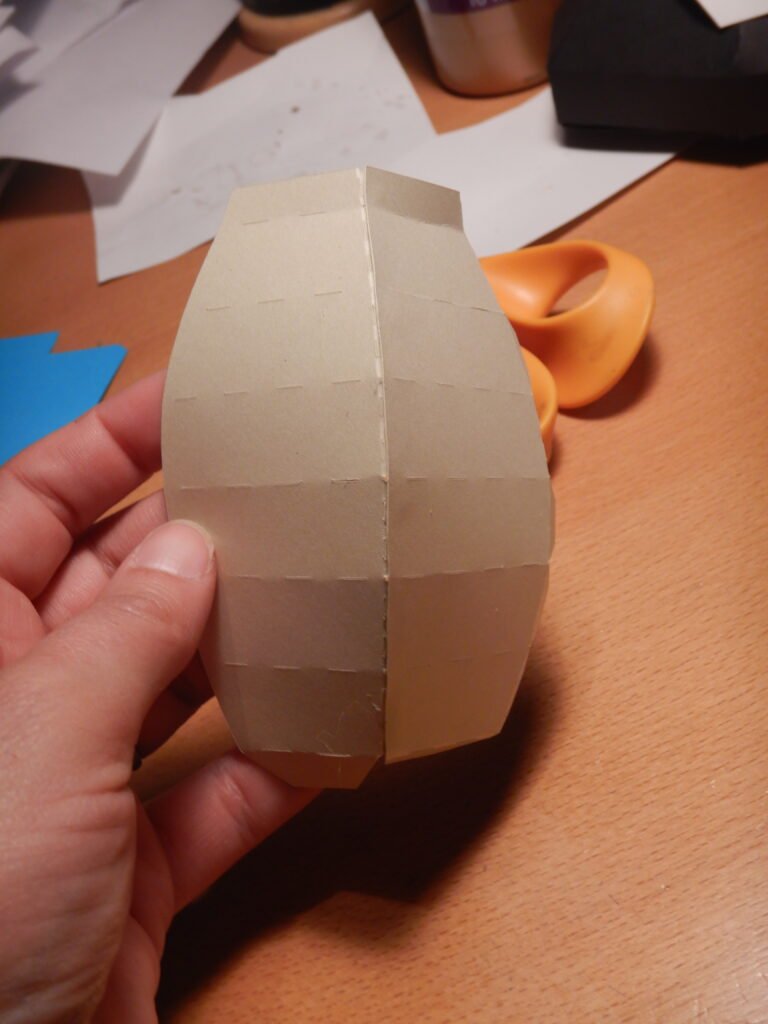
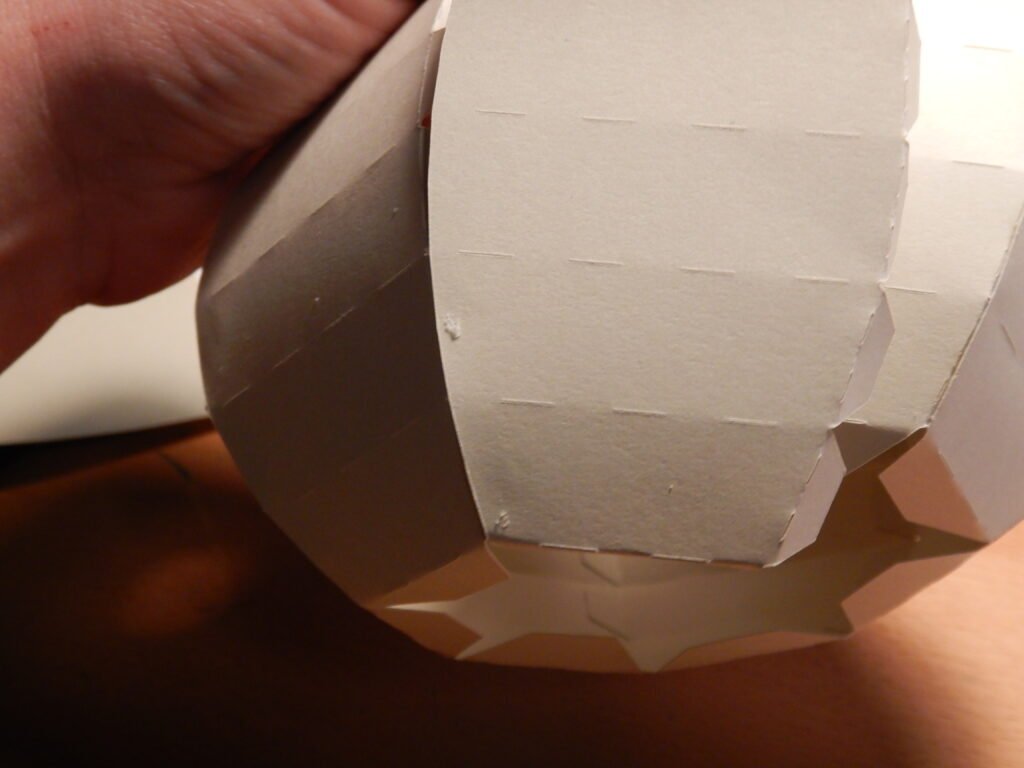
The head has eight panels that are identical so you can use them in any order. I find it easiest to start at the bottom and glue a couple tabs then move up as the glue sets. I use a liquid glue most of the time so going slow helps and making sure that the bottom ones are secure and in place properly makes the rest come together nicely.
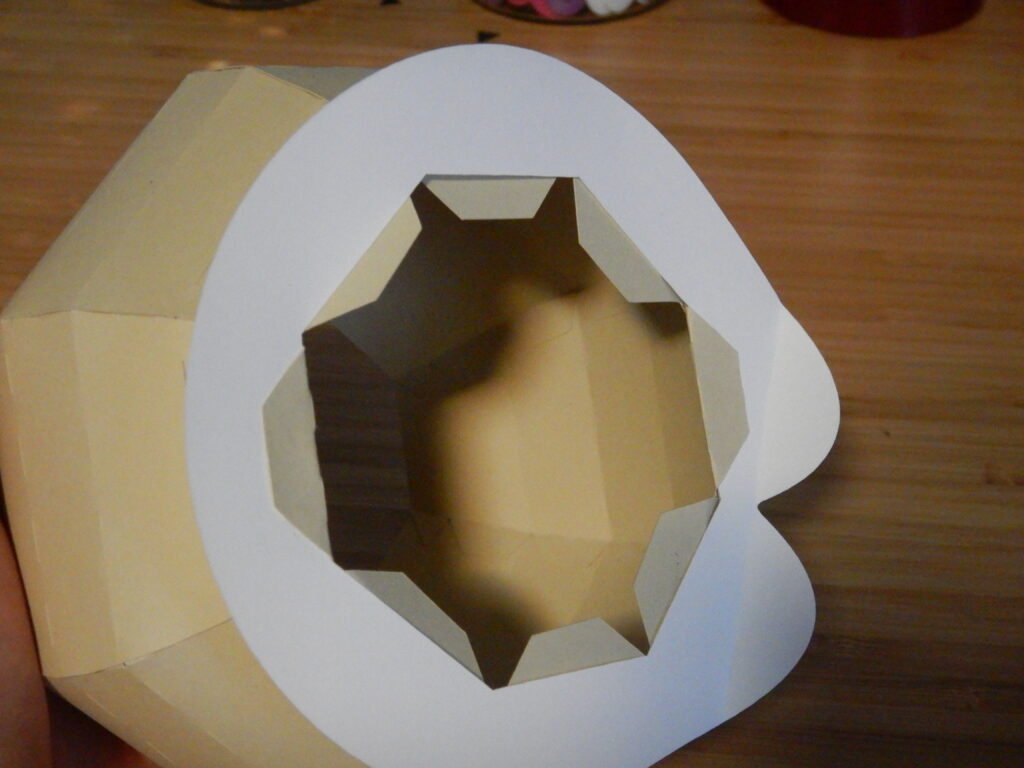
Adding The Collar
Once you have the head assembled, you can attach it to the collar. Fold the tabs in so they are out of the way, slide the collar on, then start gluing them one at a time onto the collar. I found it easiest to start with one, then do the opposite side before moving to alternate tabs. That way you are working your way all around the opening rather than just going in a circle. This helped to get a better placement of the collar on the head.
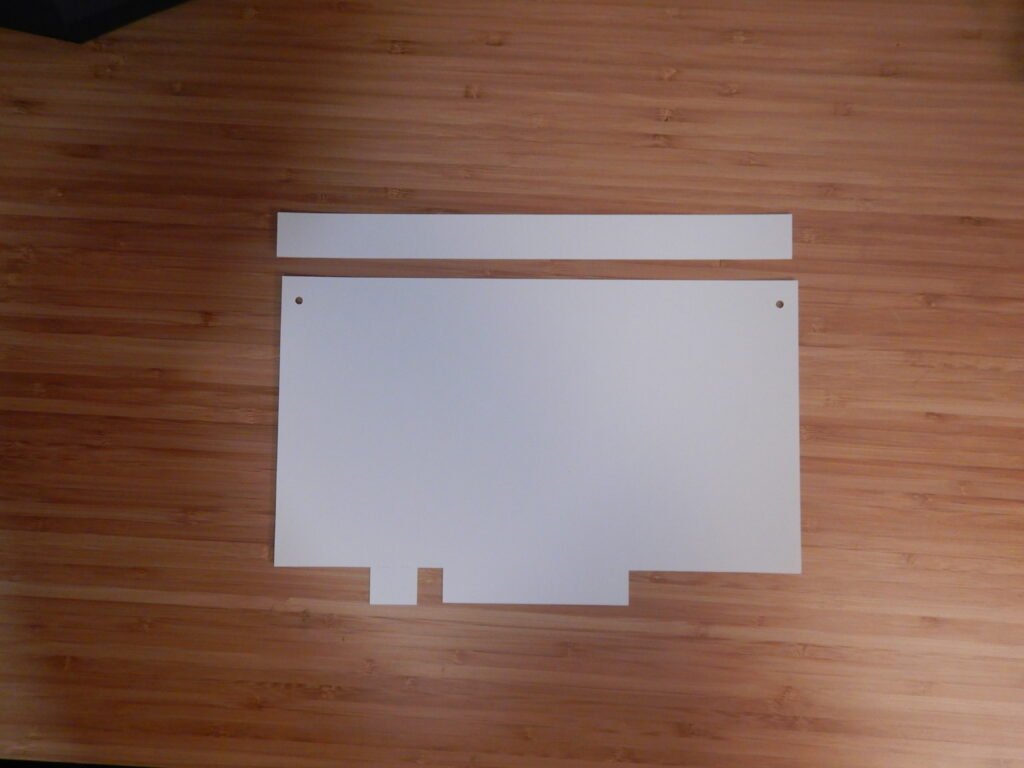
Making the Pilgrim’s Shoulders
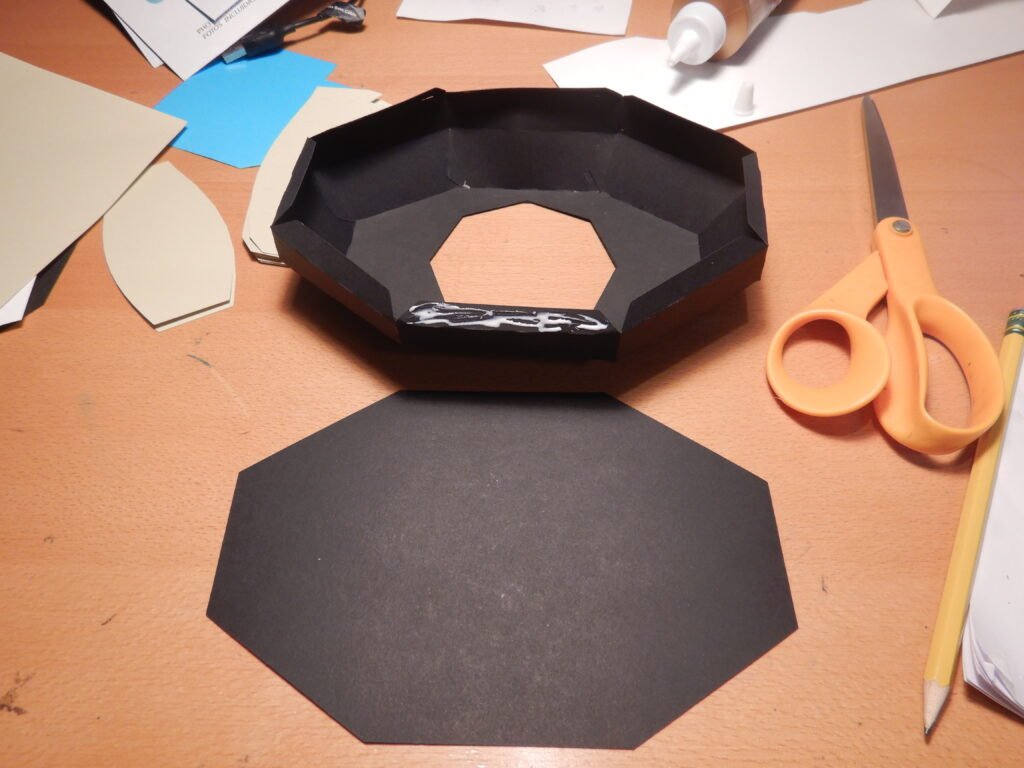
The base/shoulders are separate pieces so you can set the head and collar aside. They will be attached in a minute. The base is made up of two side panels, a bottom panel and two top panels. The extra top panel is to cover the tabs and give it a more finished look when complete.

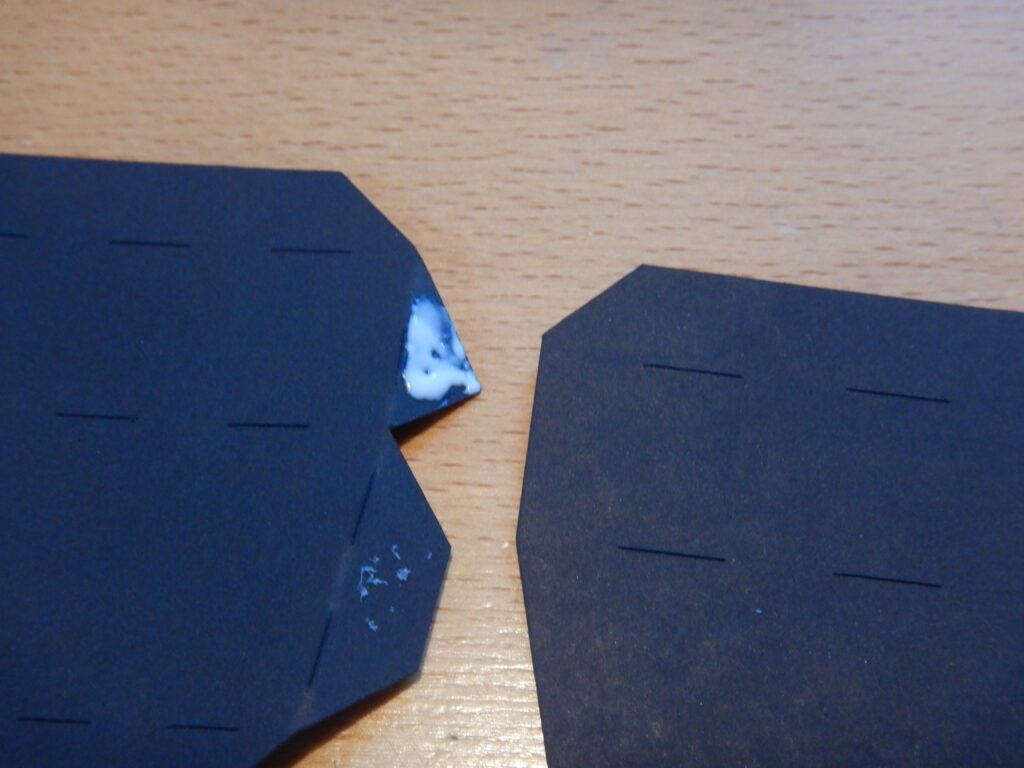
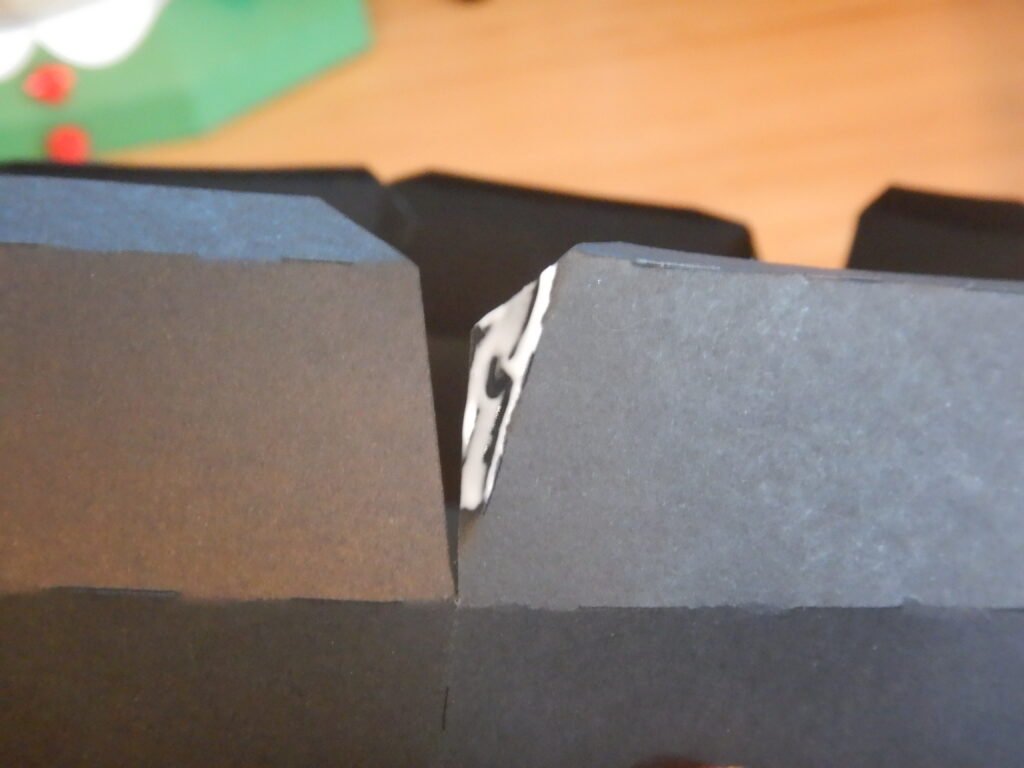
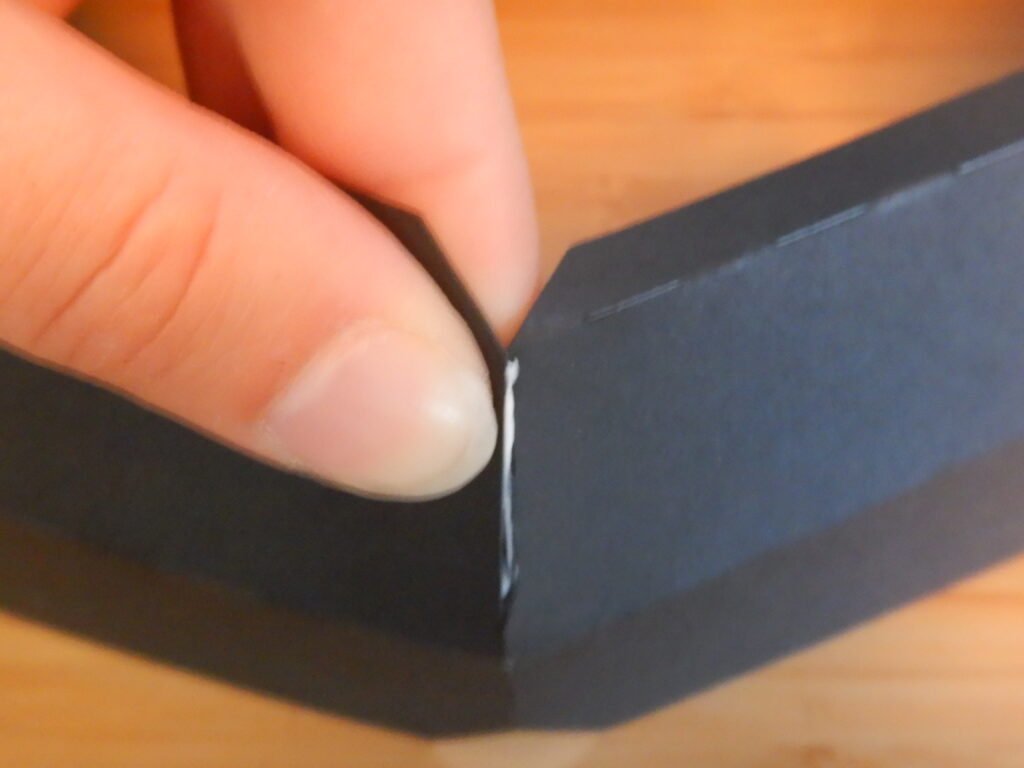
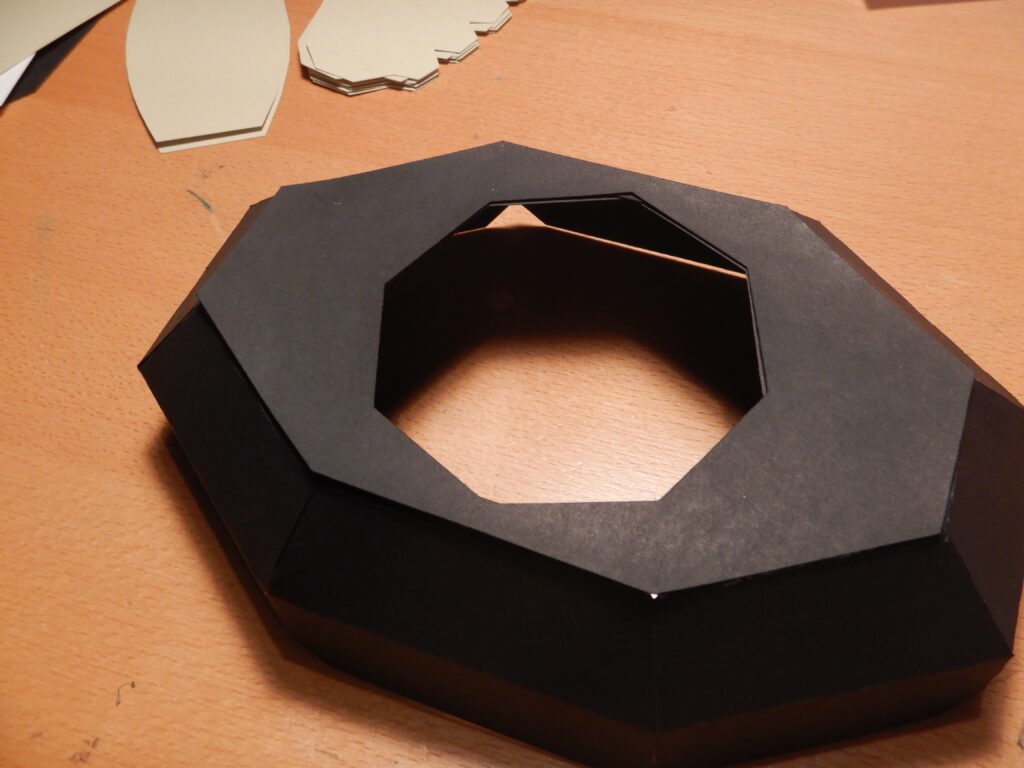
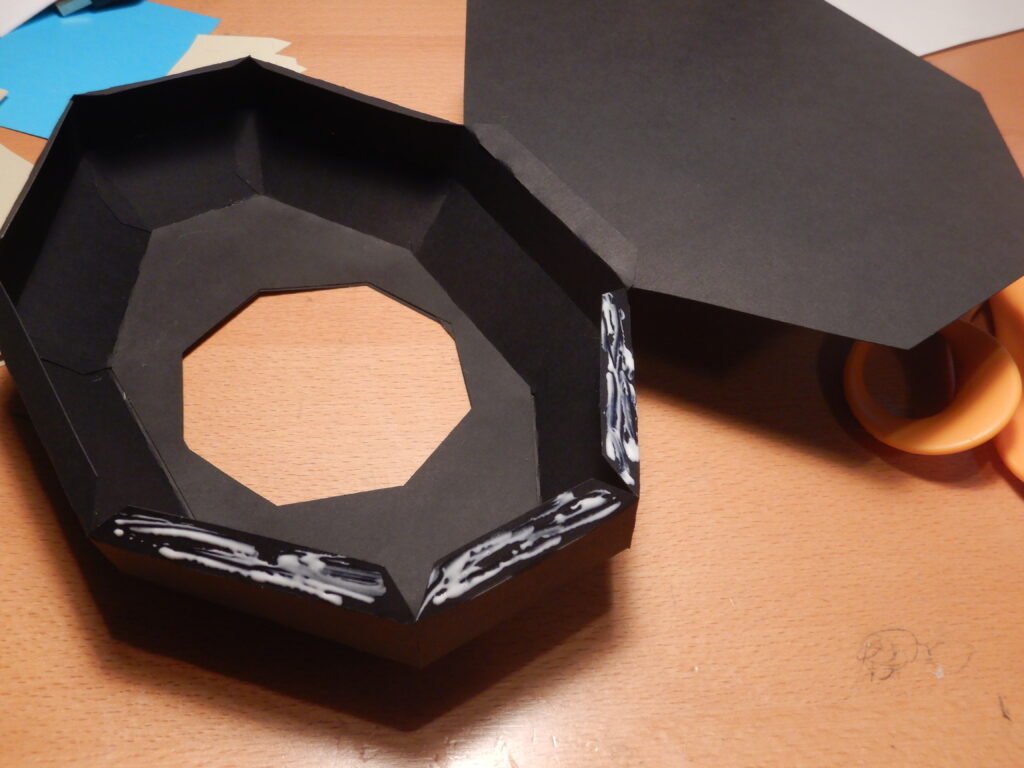
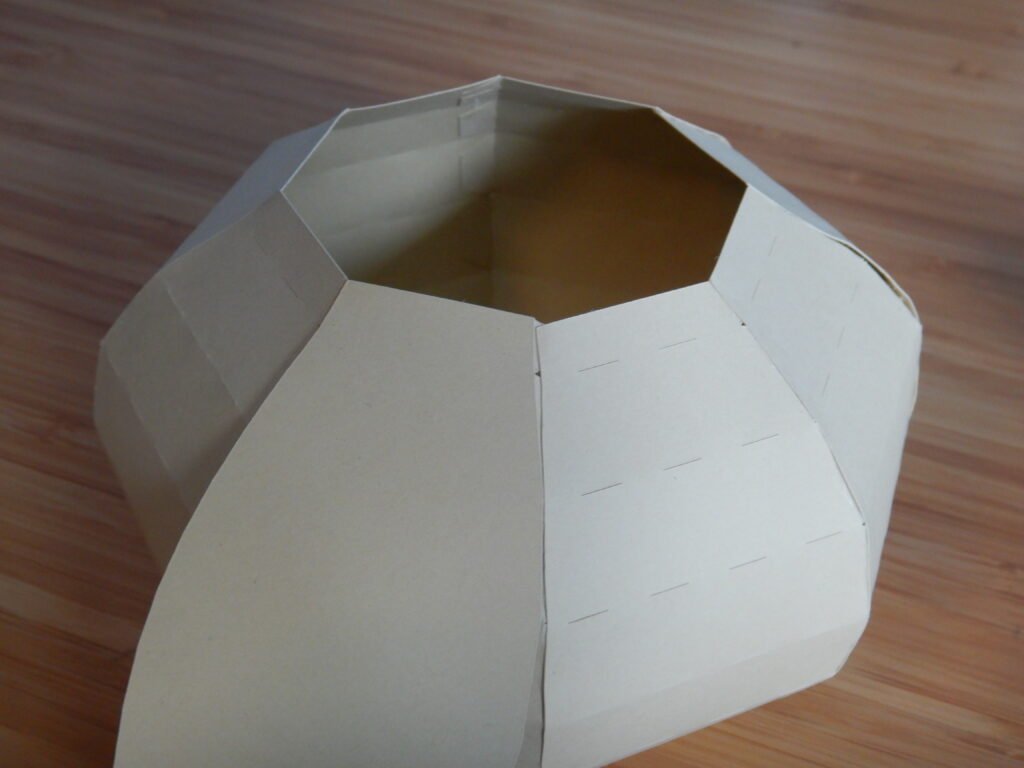
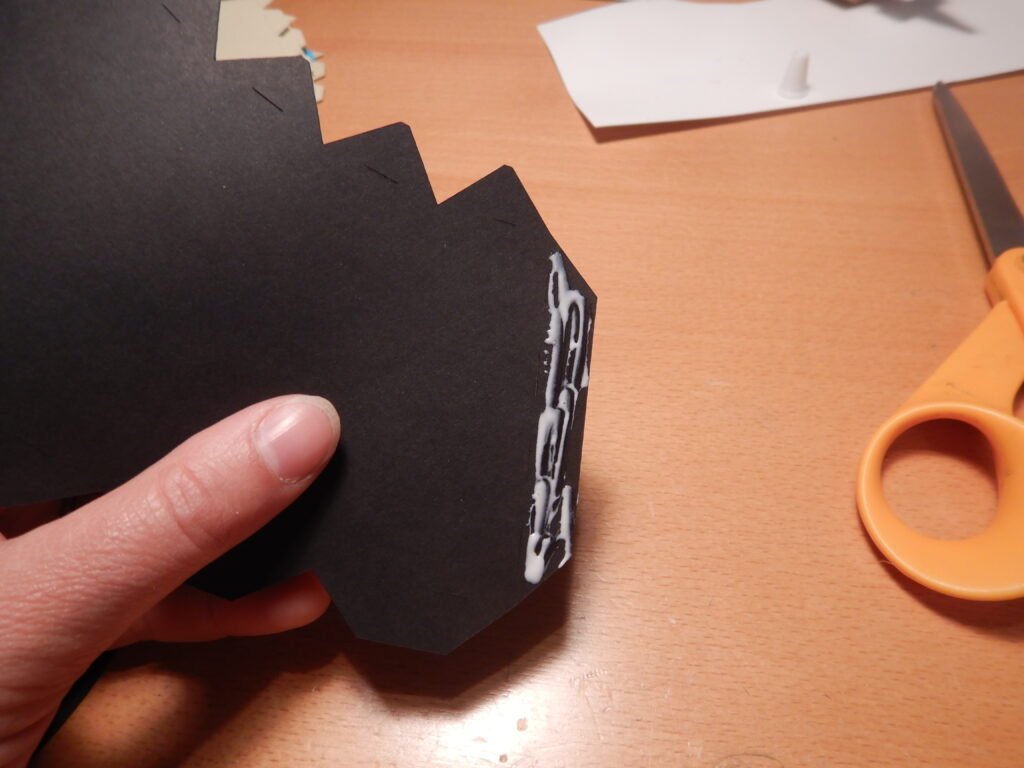
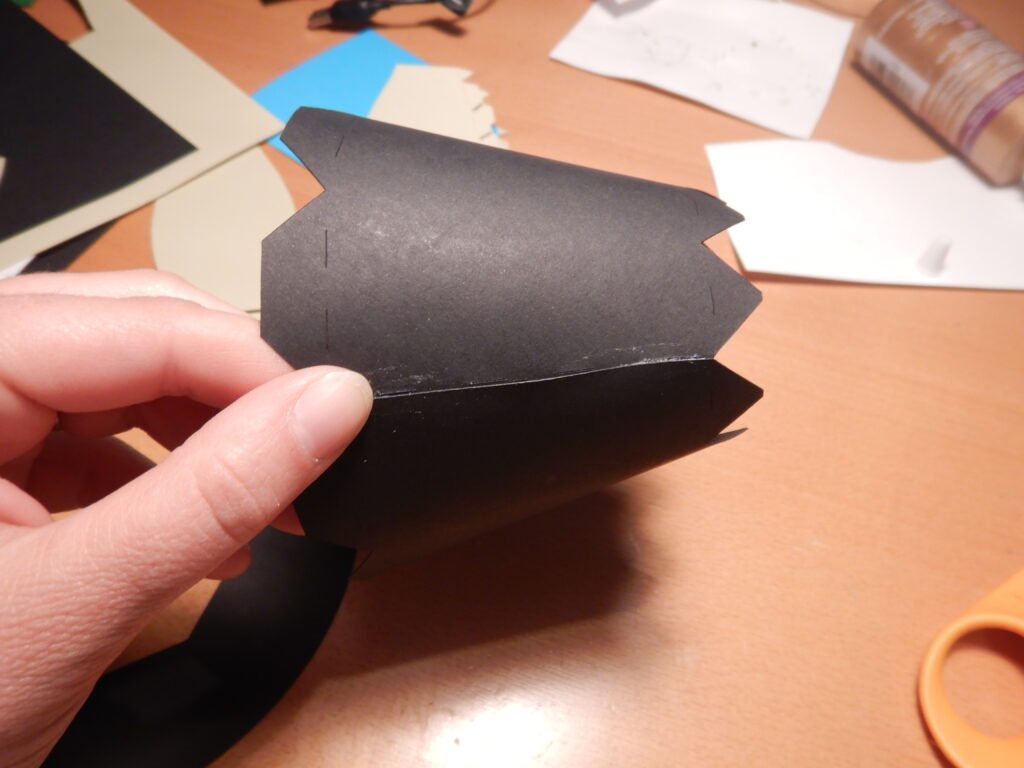
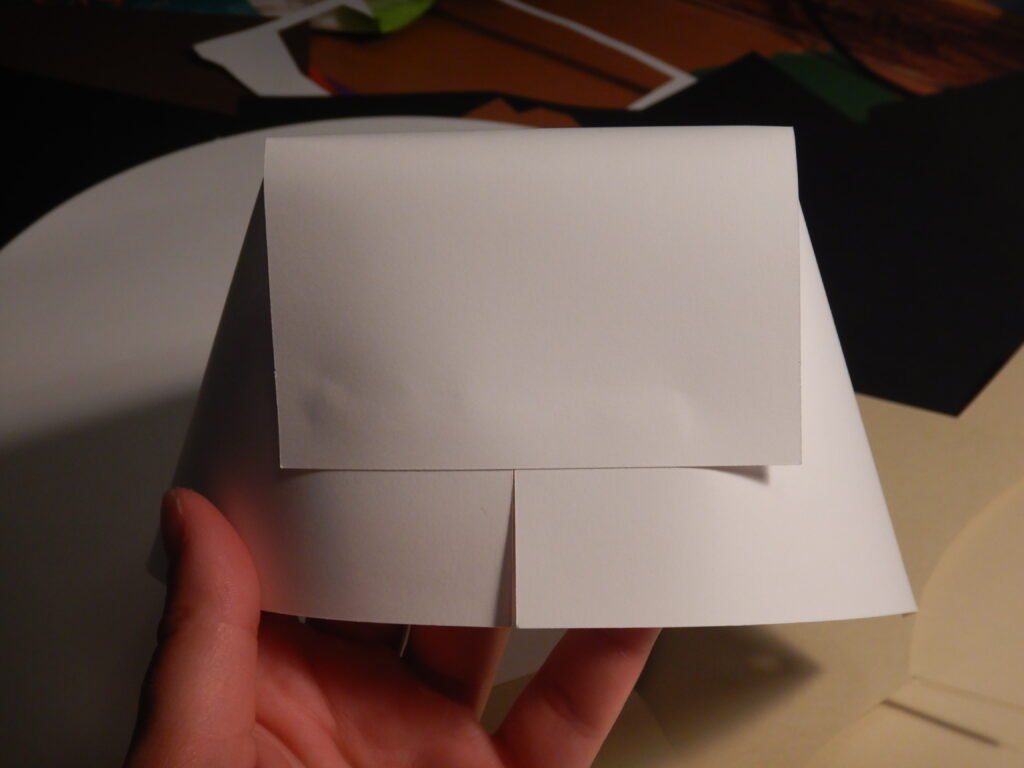
The bottom comes together pretty simply. Connect the two side panels using the tabs as shown in the photos. Once you have the two connected at each end, angle in the top of the box and attach the tabs to the piece next to it. This is what gives the body/shoulders the angled look rather than just being square.
Once you have these tabs done you can fold in the tabs for the top (the narrower opening) and put glue on them or on the top panel then place it inside.
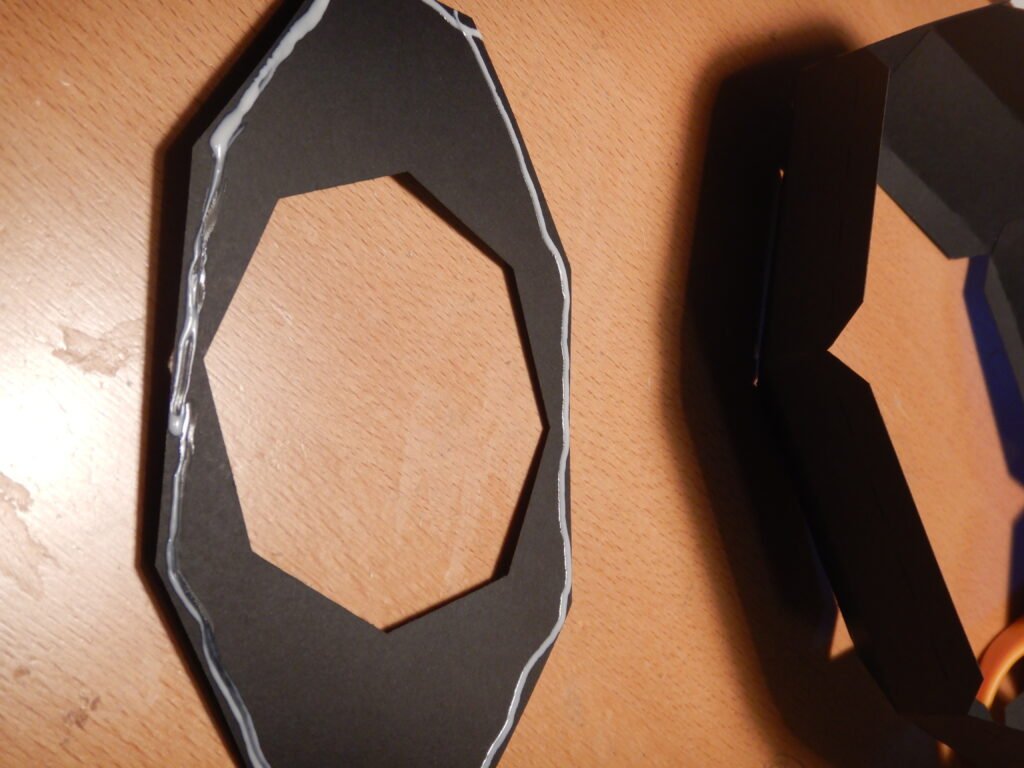
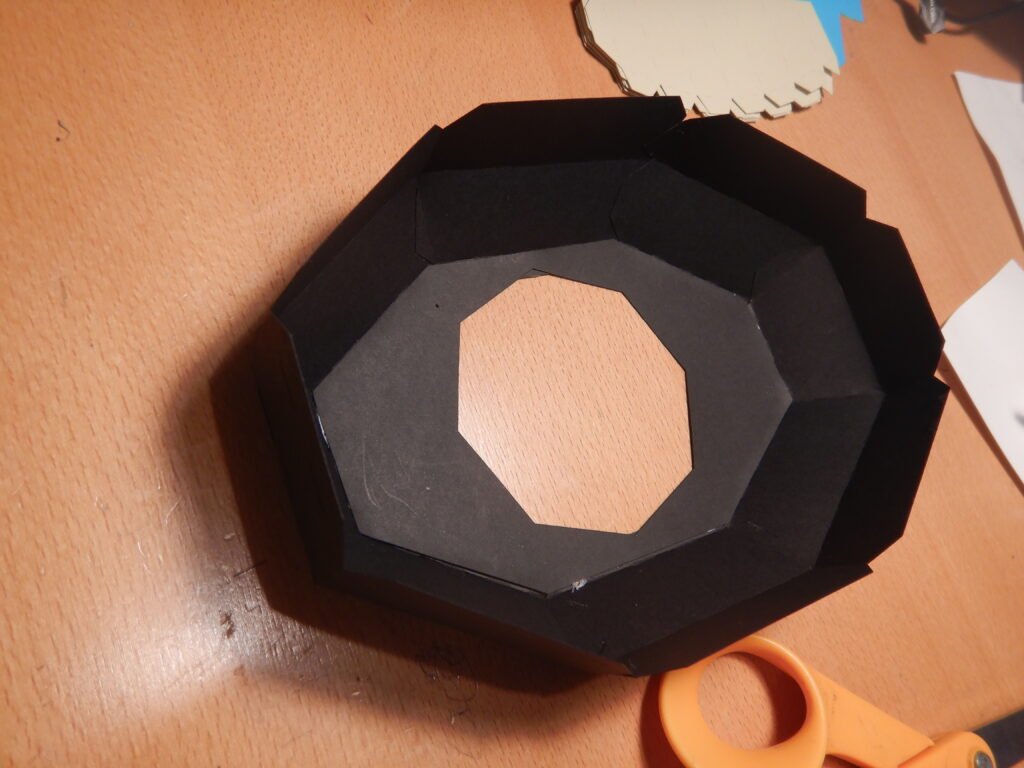
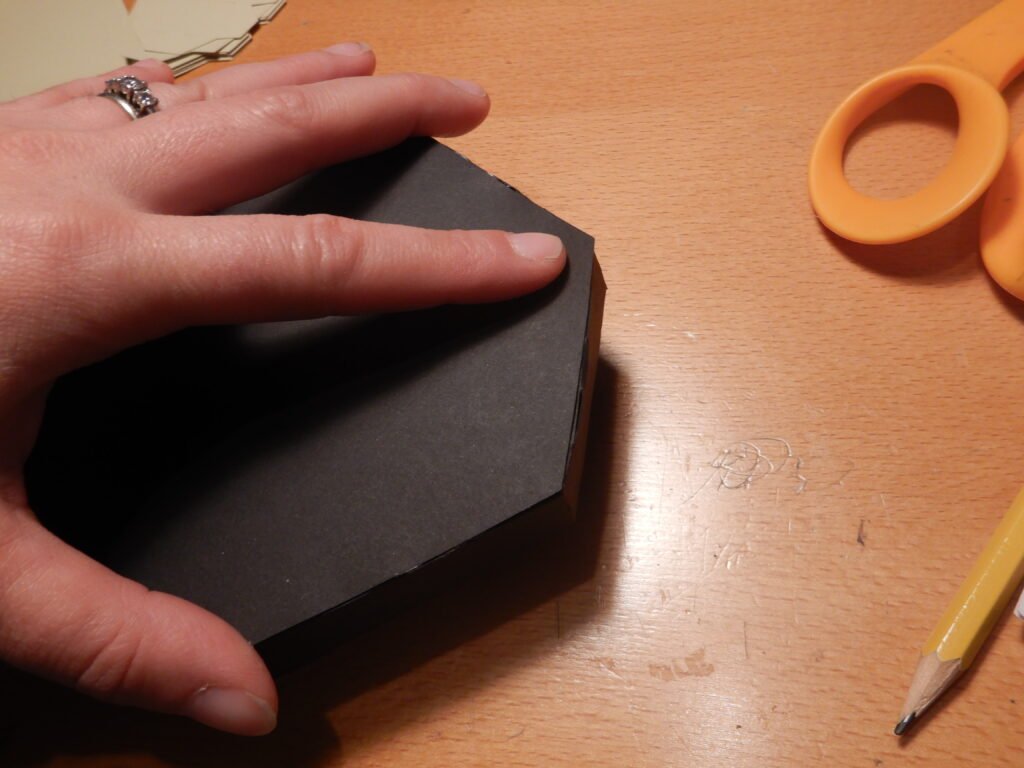
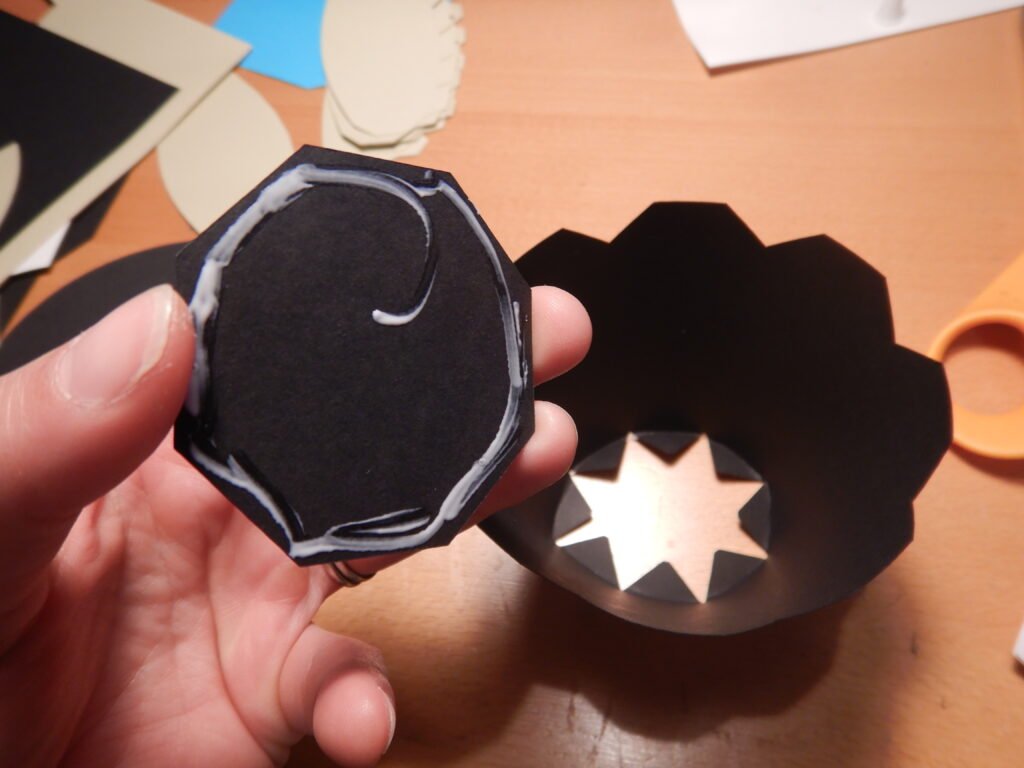
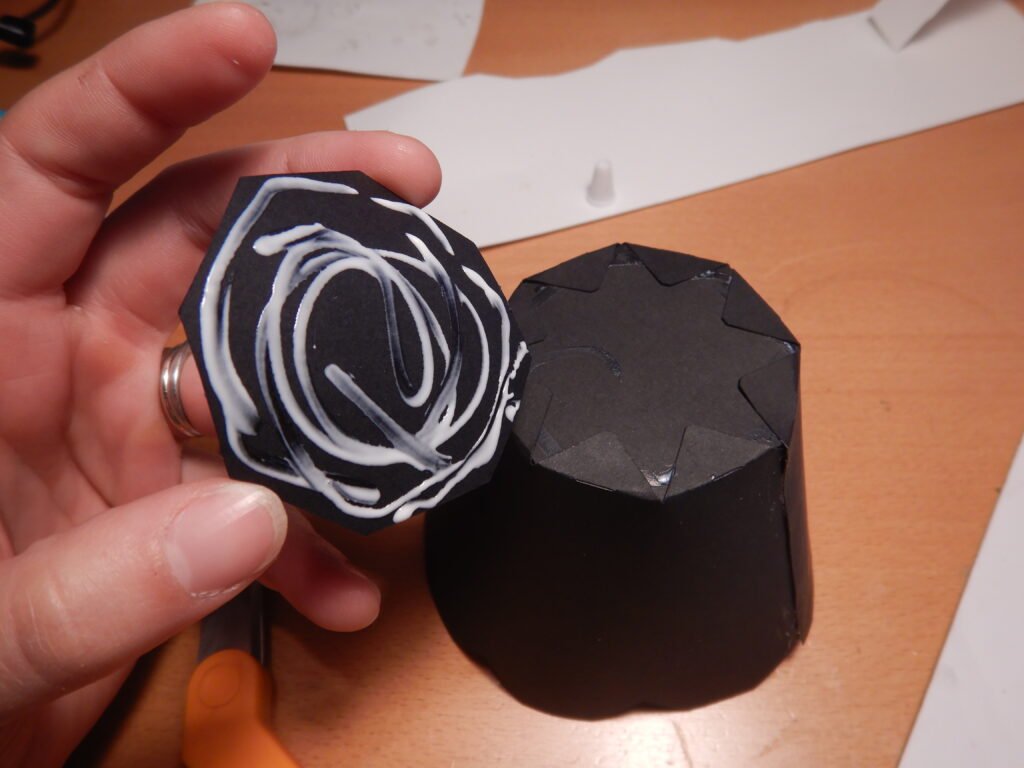
Once this piece is secure, you can either do the bottom panel or the other top panel. We chose to do the other top panel first this time. Just turn over the base shape and glue the top panel in place. This will cover the tabs and smooth out the look of the box.
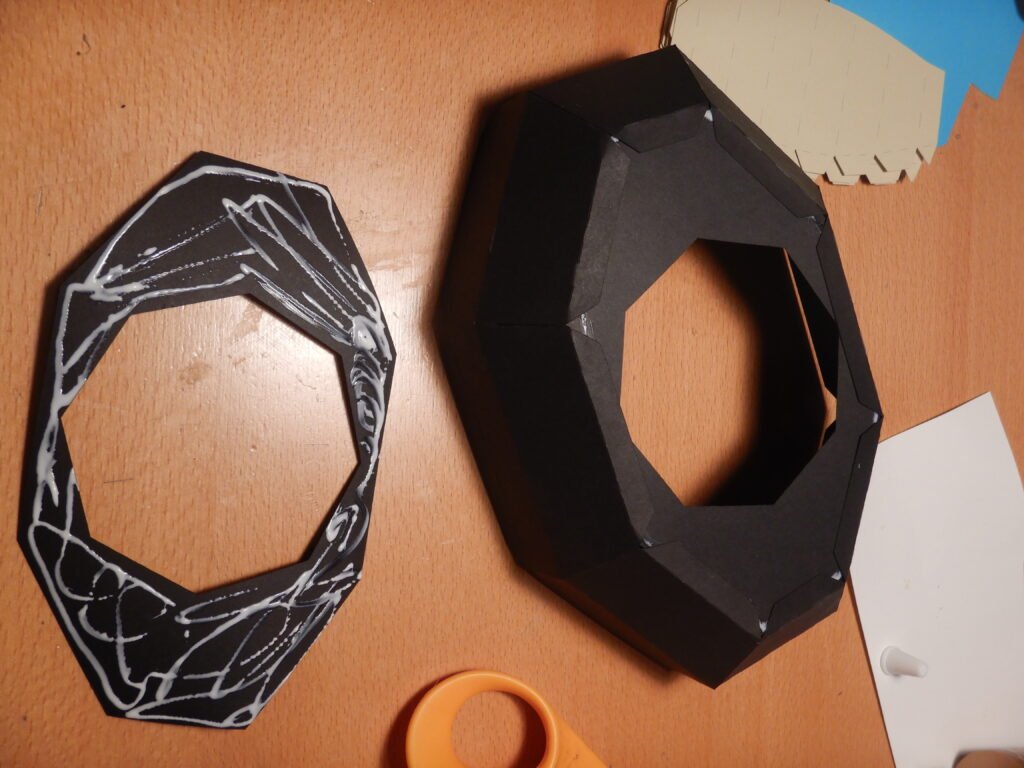
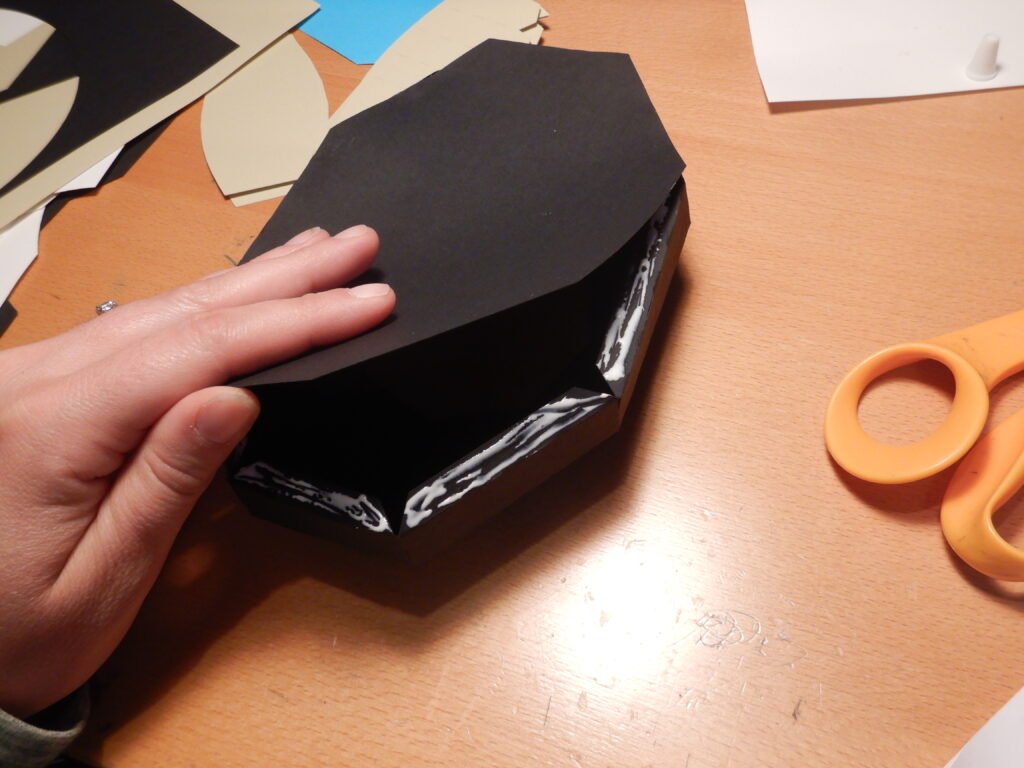
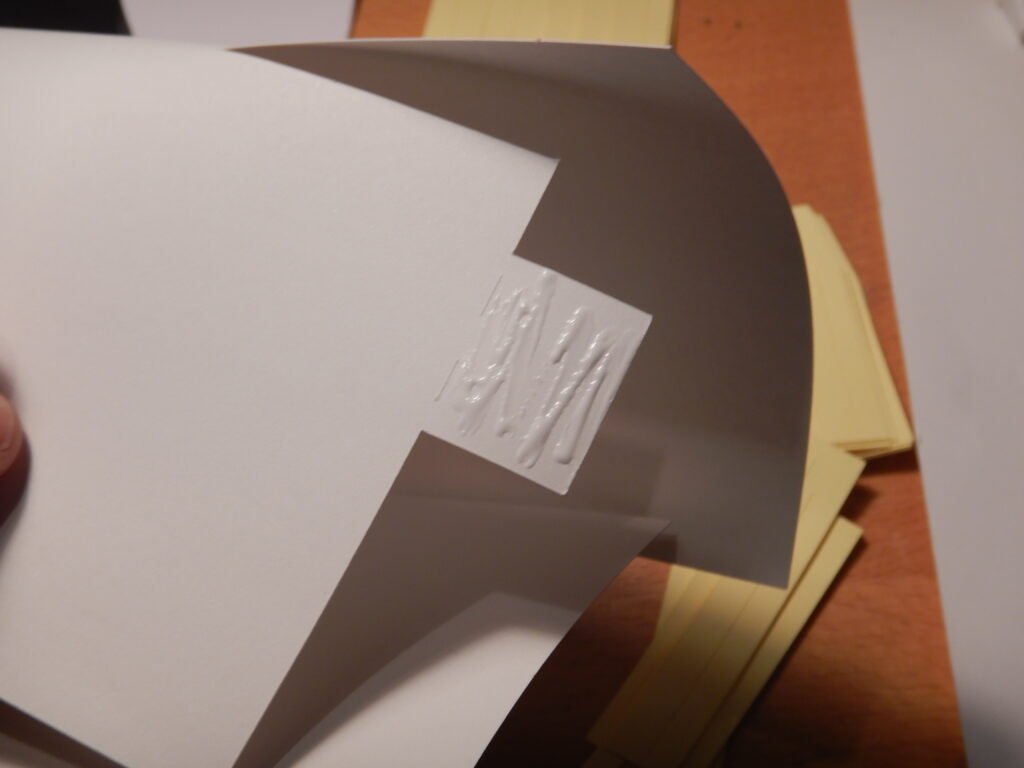
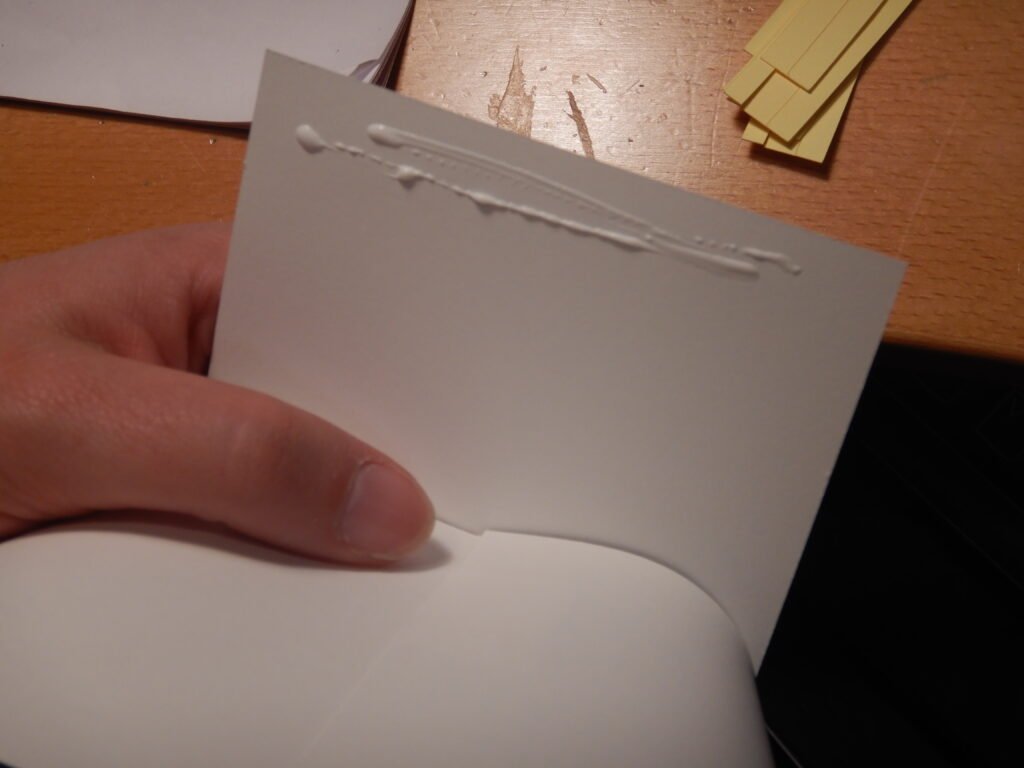
To place the bottom of the box, we found it easiest to do it in a couple steps. First, glue one of the long tabs and secure it to the bottom panel.
Once it is secure, put glue on the three end tabs and hold them in position while the glue dries. I needed to kind of hold the sides in to be sure they were in the right place.
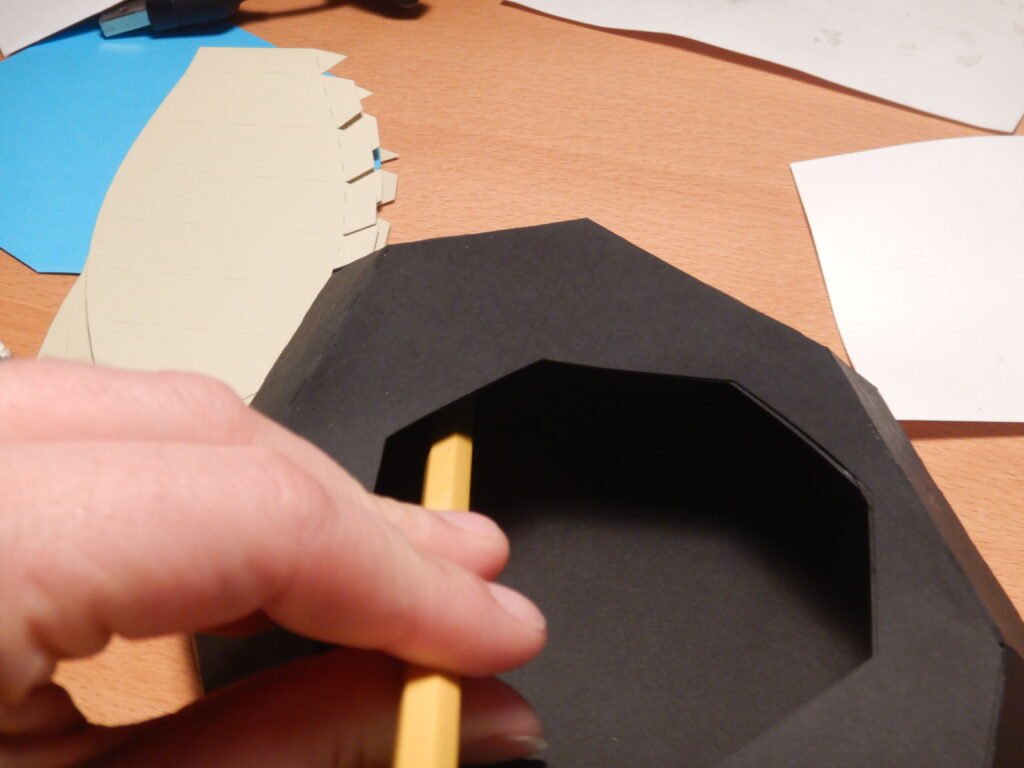
Once one end is secure, repeat the process with the remaining tabs then use a tool (we chose a pencil) to reach inside and apply pressure to the tabs from the inside.
Attaching The Head
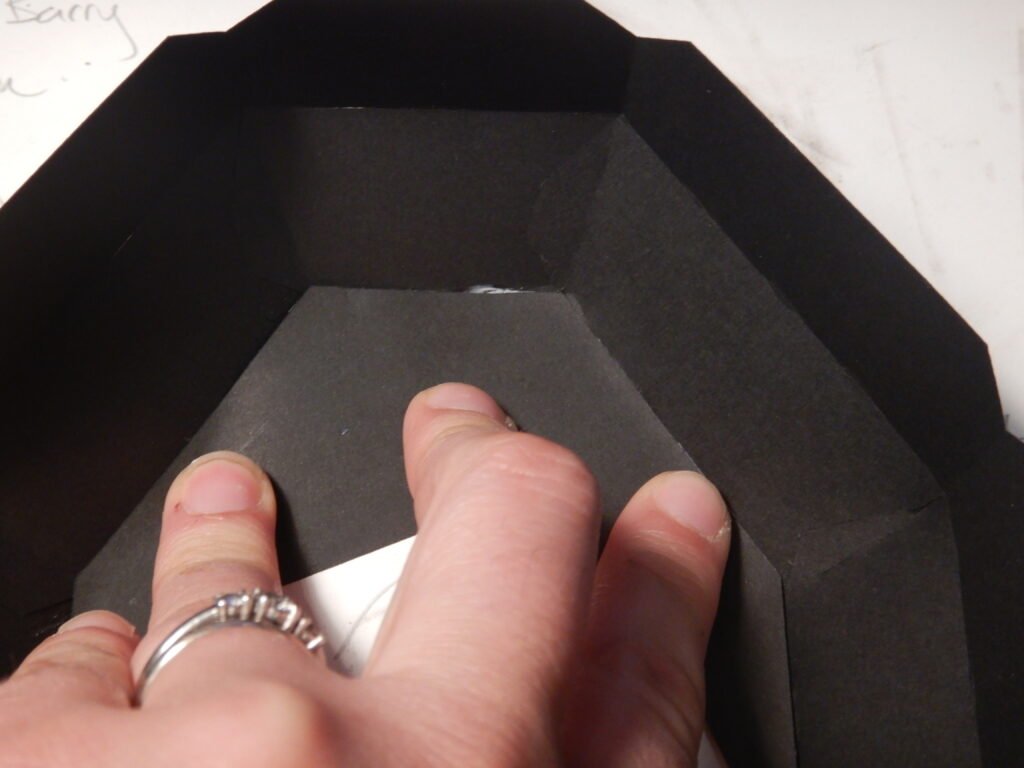
With the base complete, you can put glue on the bottom of the collar that the head is attached to. Place the collar on the black base and gently apply pressure from the outside. I found my hand could just fit through the opening at the top (with more room thanks to the round shape once inside) which allowed me to put fingers on the inside while applying some pressure from the outside. When the head is securely attached to the body, fold down the front and back of the collar and glue in place.
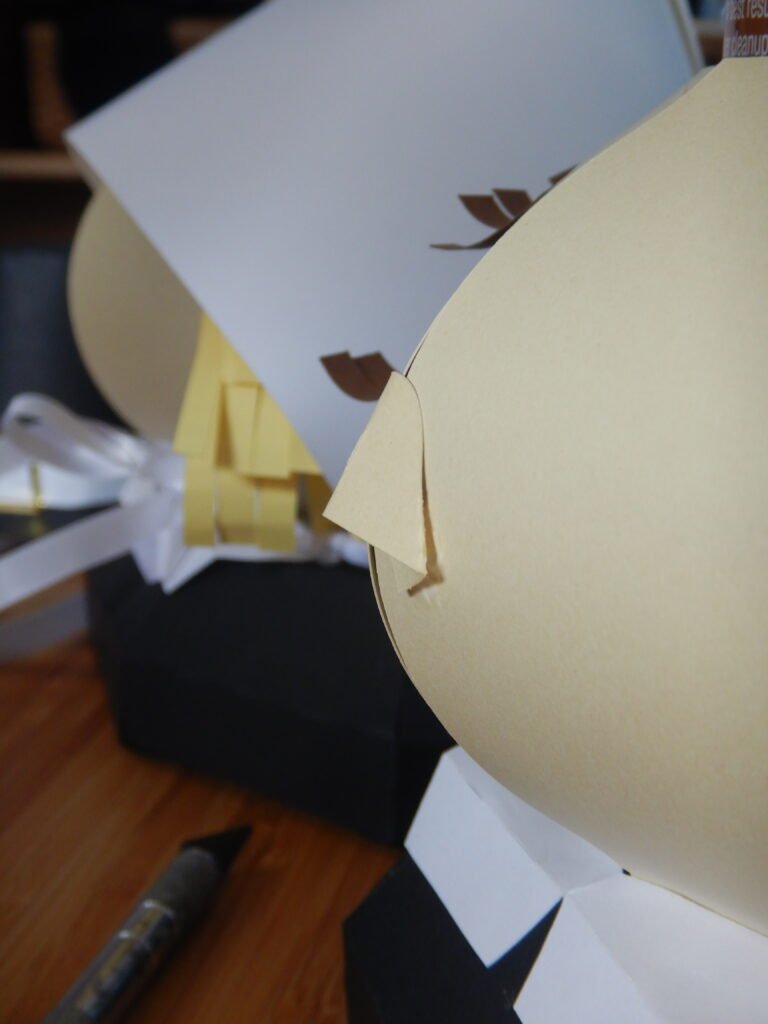
To complete the head, there are two panels that are used to smooth out the face. You only need to apply a line of glue to the top and bottom of the panel, leaving the middle unsecured. Place these panels so the top lines up with the top horizontal score line on the head. Then s glue the bottom of the panel to the bottom of the head, it will land just between the head and the collar. If you wish you can do this step before putting on the collar, we just chose to do it in this order while assembling our box.
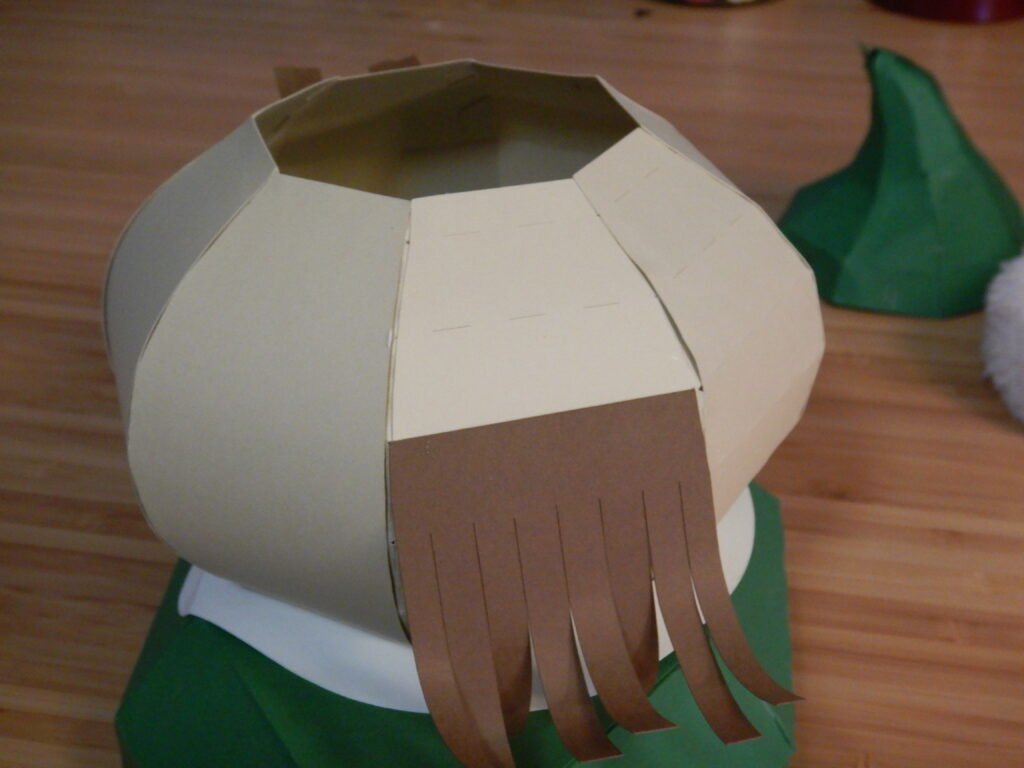
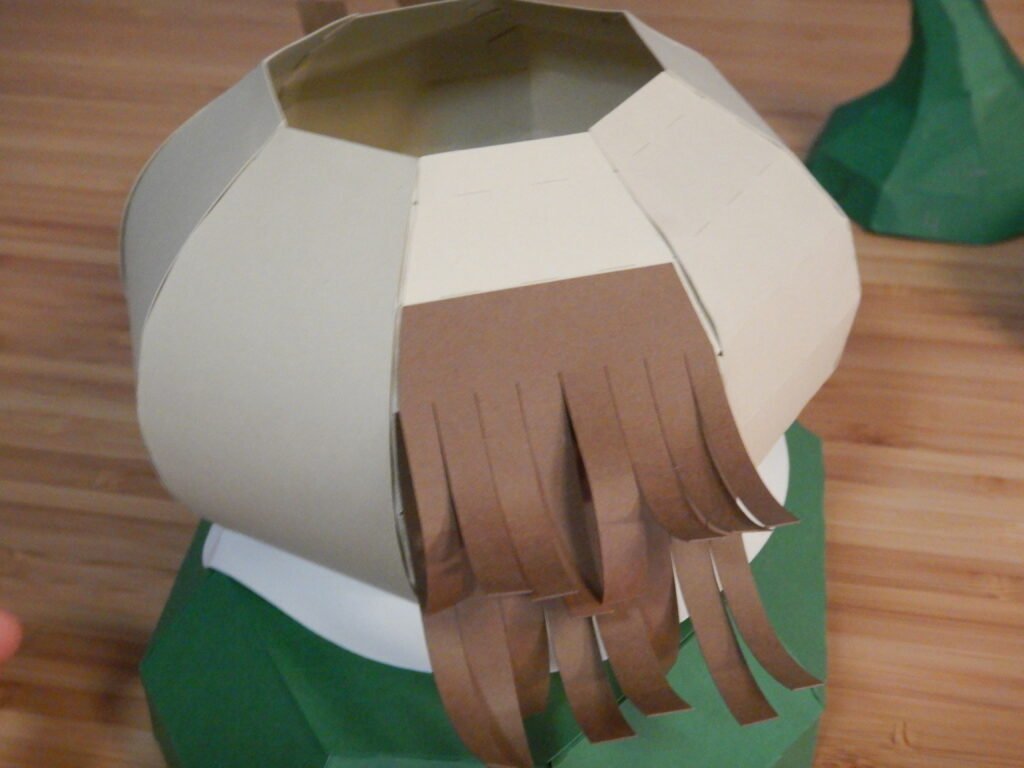
Giving The Pilgrim Hair
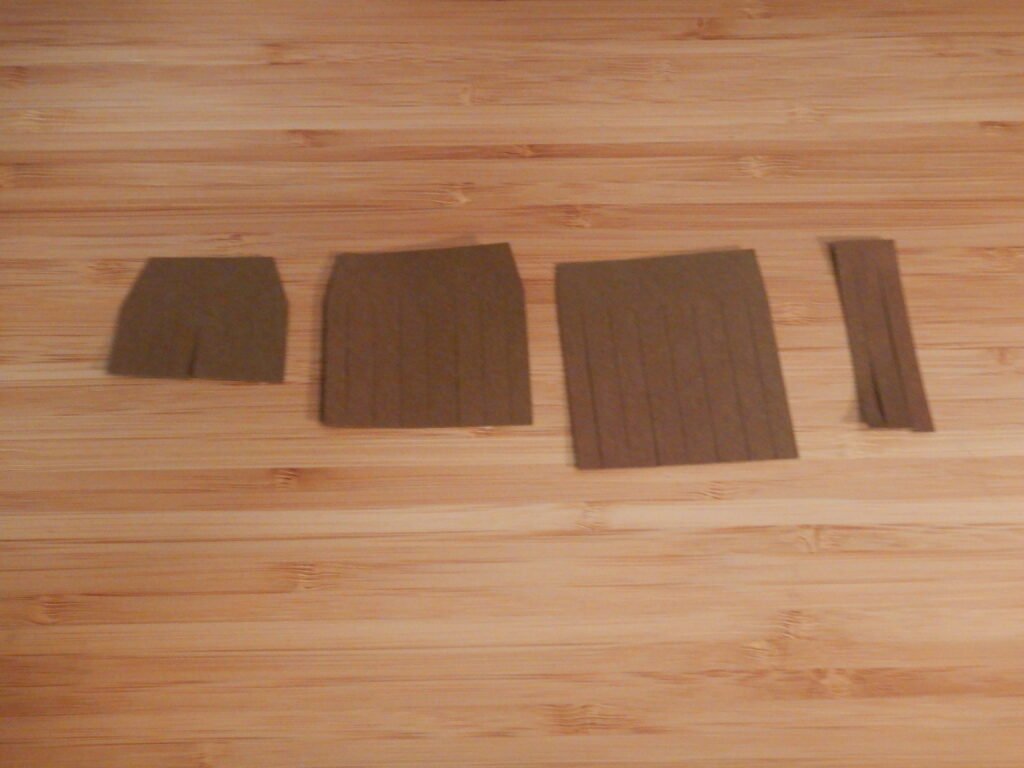
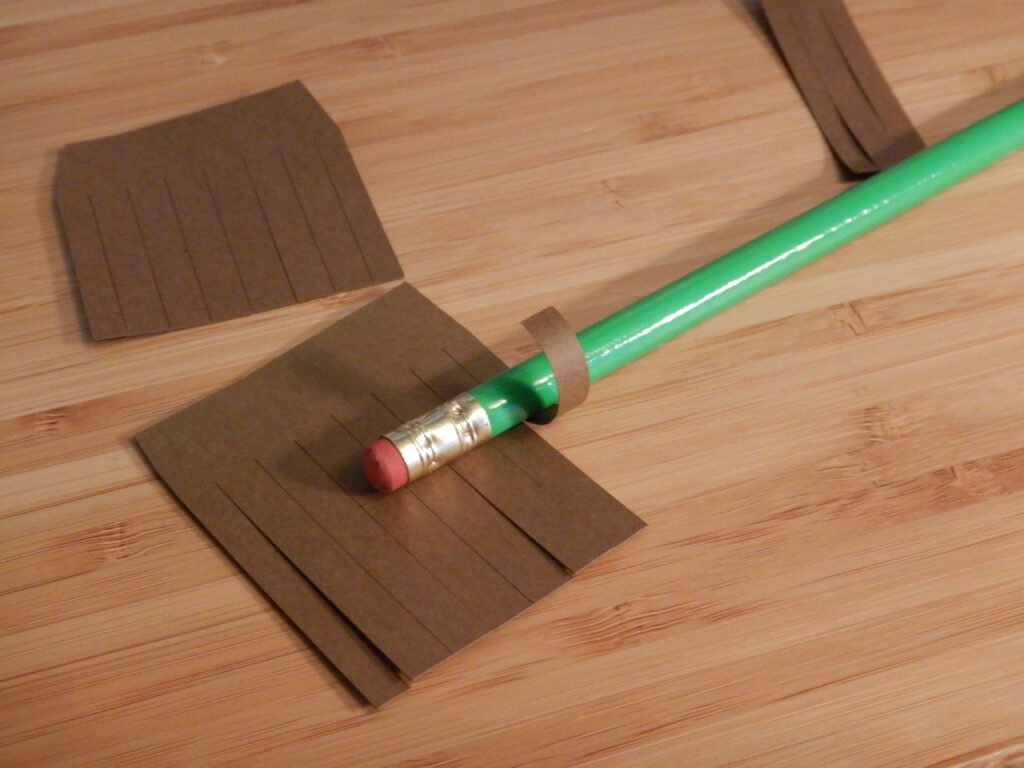
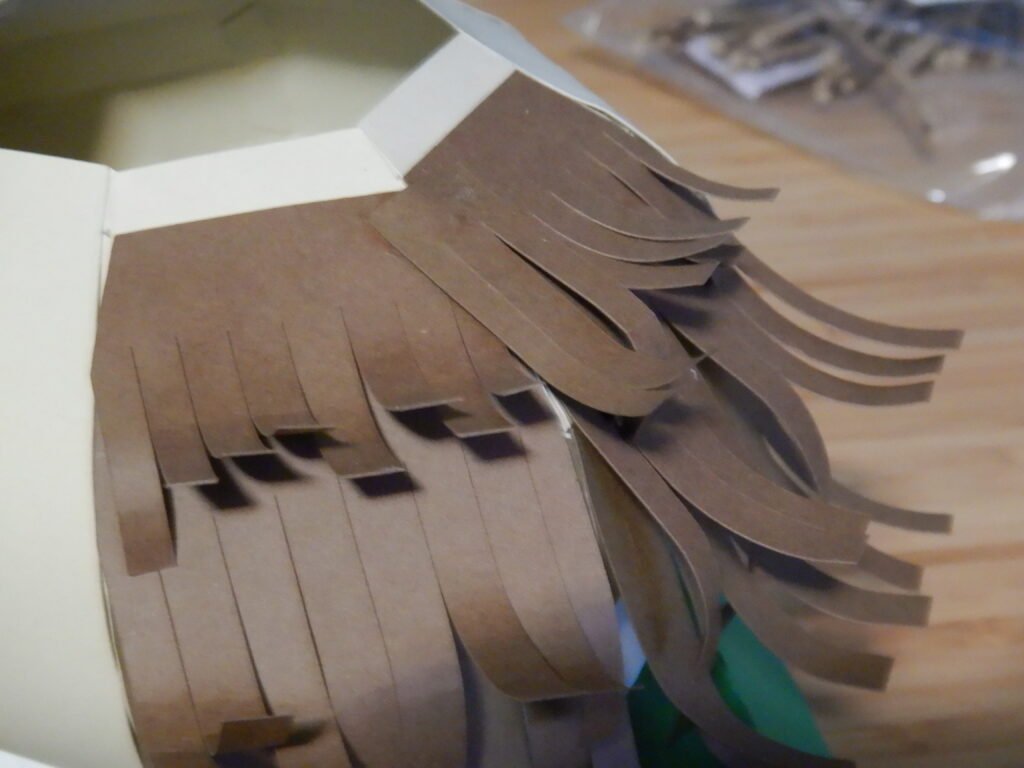
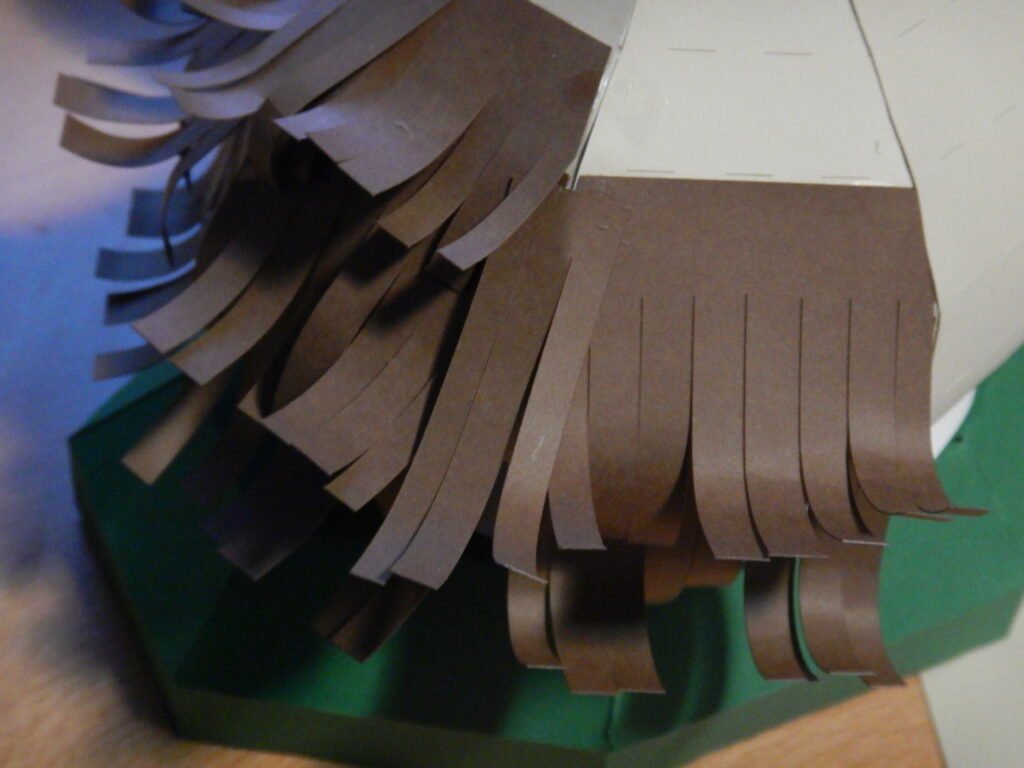
The hair comes in three sections. The widest one is the bottom layer, the narrowest is the top layer. There is also a very narrow piece (with just 3 strands to curl) that is used to cover the seams. Curl or style the strands as desired before attaching to the head. We used a pencil to help roll the paper a little. Once the hair is on you can change it a bit, but it’s easiest to do most of the work before it’s on the head.
Once the hair is curled as desired, attach the bottom one onto the third score line down from the top of the head as shown then continue on to the second and third pieces of hair. In addition to the three larger sections, there is one longer narrow hair panel. Place this strand of hair before putting on the final top section This long narrow piece of hair helps cover the seam between panels.

Making The Pilgrim Hat
Once we had all the hair in place we moved on to the bonnet and hat. The hat comes in just a couple simple pieces. Take the large part that makes the hat itself, and curve it around, gluing the tab into place.
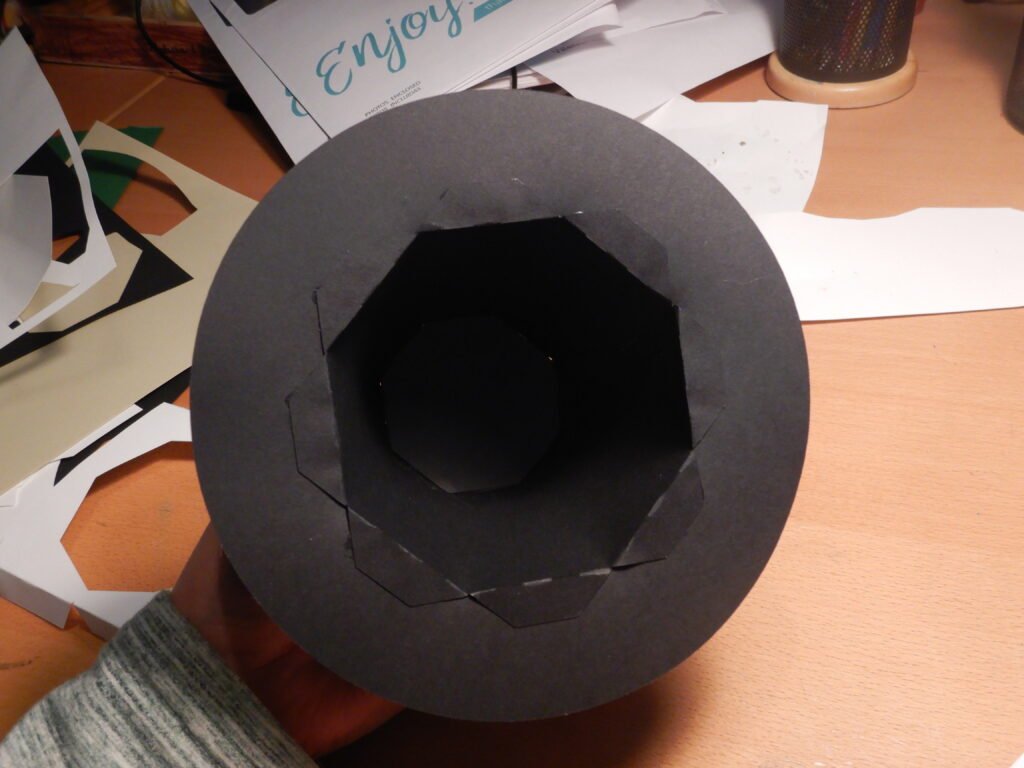
Once this is secure, fold in the tabs on the top (the narrow end) and put glue on the top panel before putting it down into the hat. This will help give it shape. The sides of the top panel are straight but the hat doesn’t have guides cut into it which allows it to have a smoother look. However, this means that it takes a little extra to get the pieces to glue into place. Holding a tab in place on the inside of the hat with a pencil in one hand and supporting the side with the other allowed me to push tabs into place from the outside.

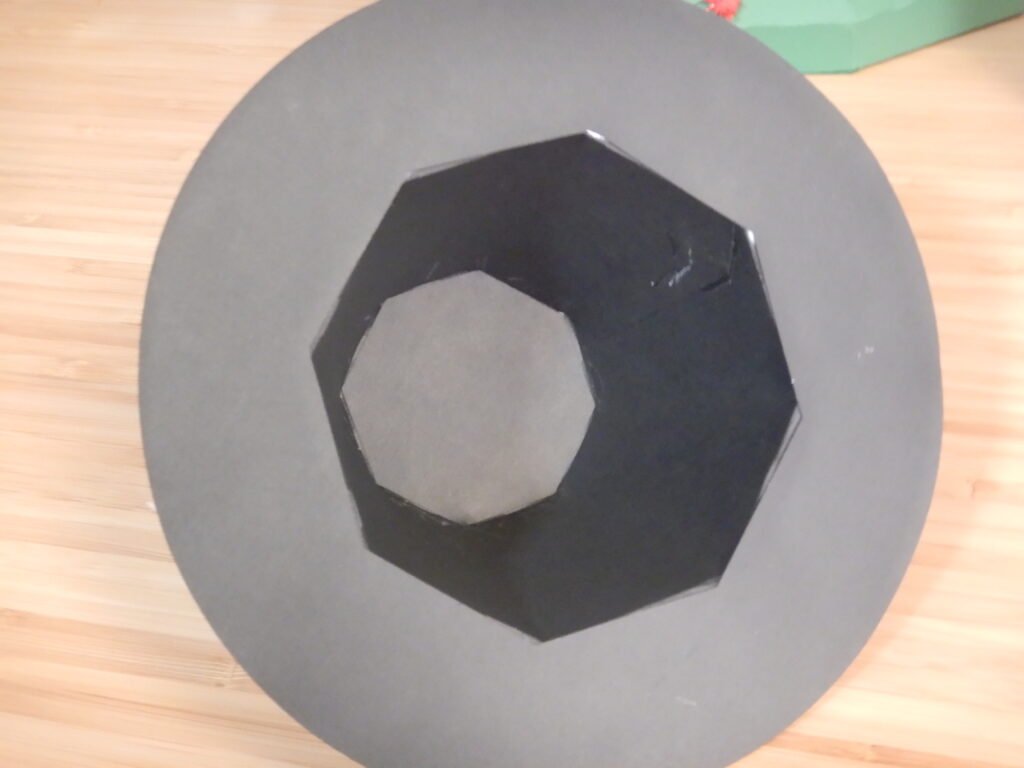
We then added the other panel for the top as this covers the exposed tabs and gives it a cleaner look.
We then folded the tabs at the bottom of the hat out so it could sit flat on the table with the tabs exposed. This allowed me to put glue on the tabs and drop the brim of the hat down over the hat.
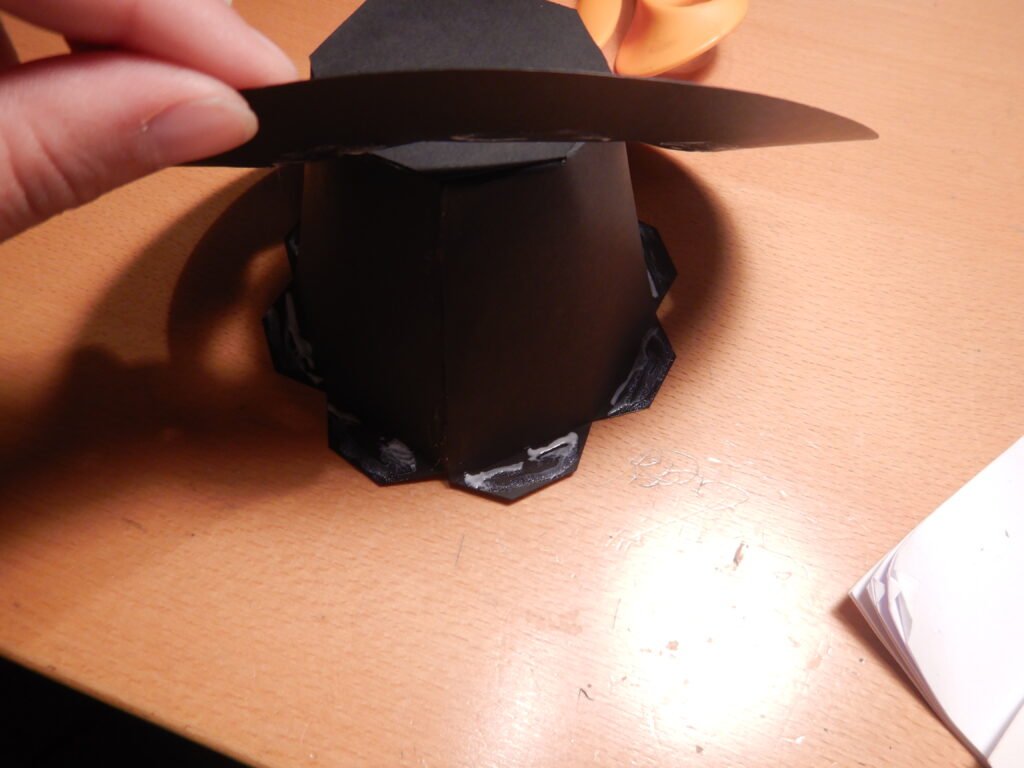
Now you can add glue to the other hat brim and use it to cover the tabs on the bottom of the hat.
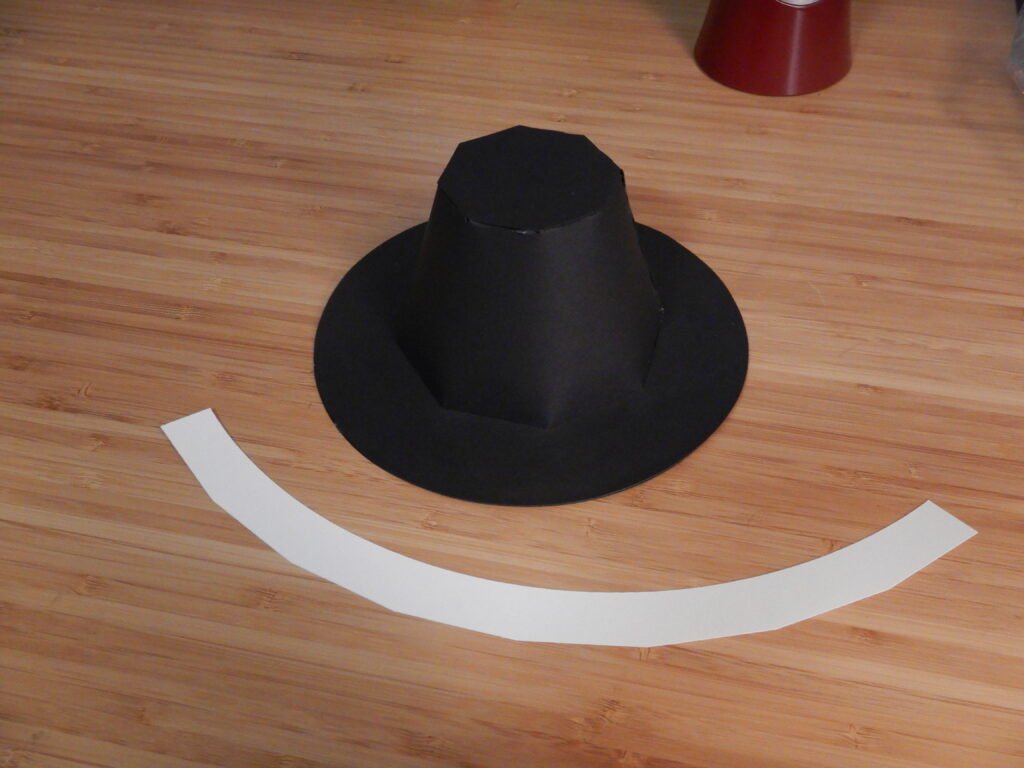
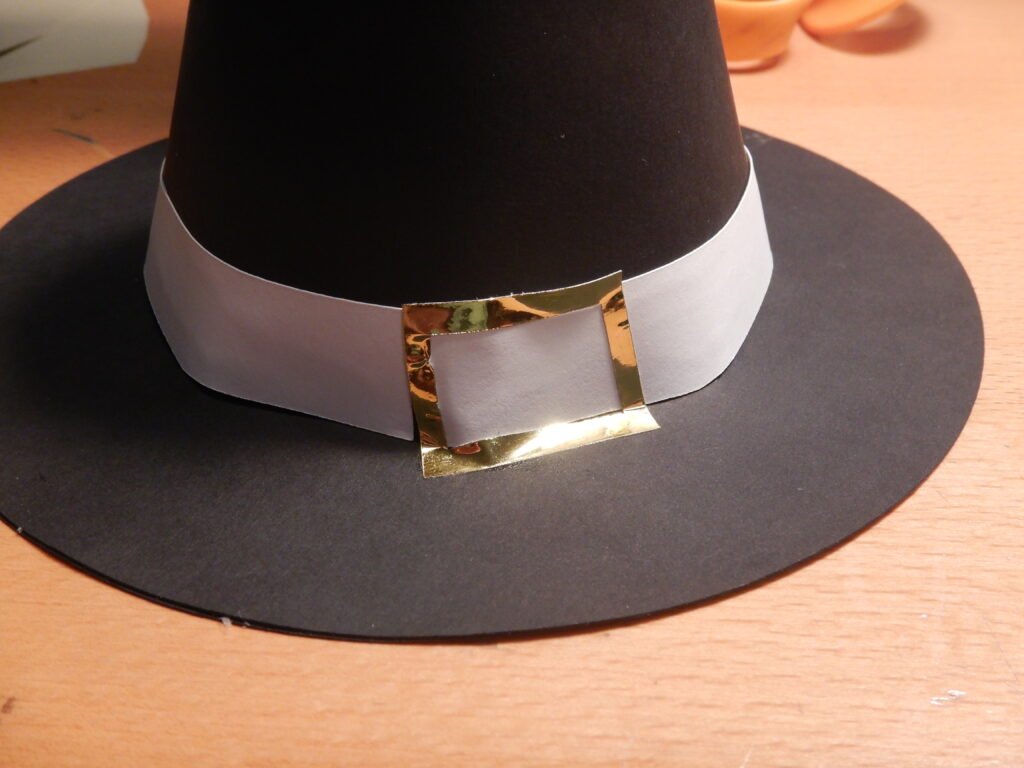
Decorating The Hat
Do a dry run of attaching the band before actually gluing it into place just to be sure you have the direction right. If for any reason there is a small gap in the band where the ends meet, this is okay. You can use the buckle to cover the gap and nobody will ever see the seam! Once the hat band is in place you can glue the buckle on, and the hat is complete
Making The Pilgrim Bonnet
The bonnet comes in two pieces, the bonnet itself and the fold at the front. The back of the bonnet has a tab that you will use attach the two back pieces when you fold them in.

When the glue is dry, you can fold down the center piece that makes up the to flap on the back of the bonnet. Put a line of glue across and hold it into place.
Putting On The Face
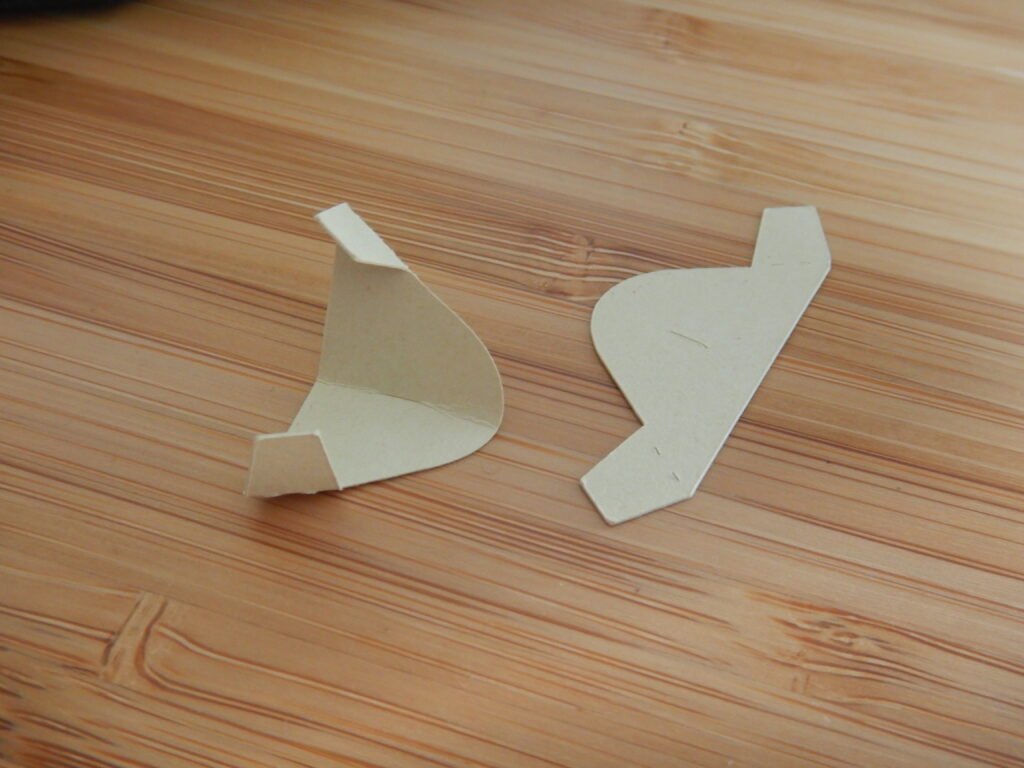
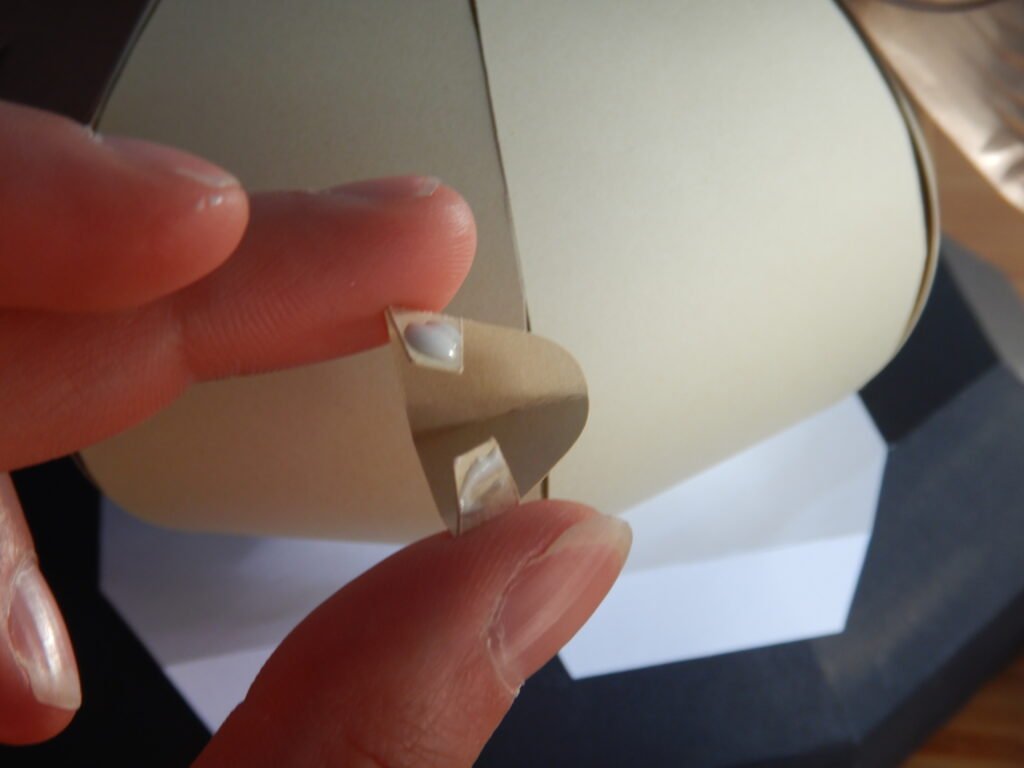
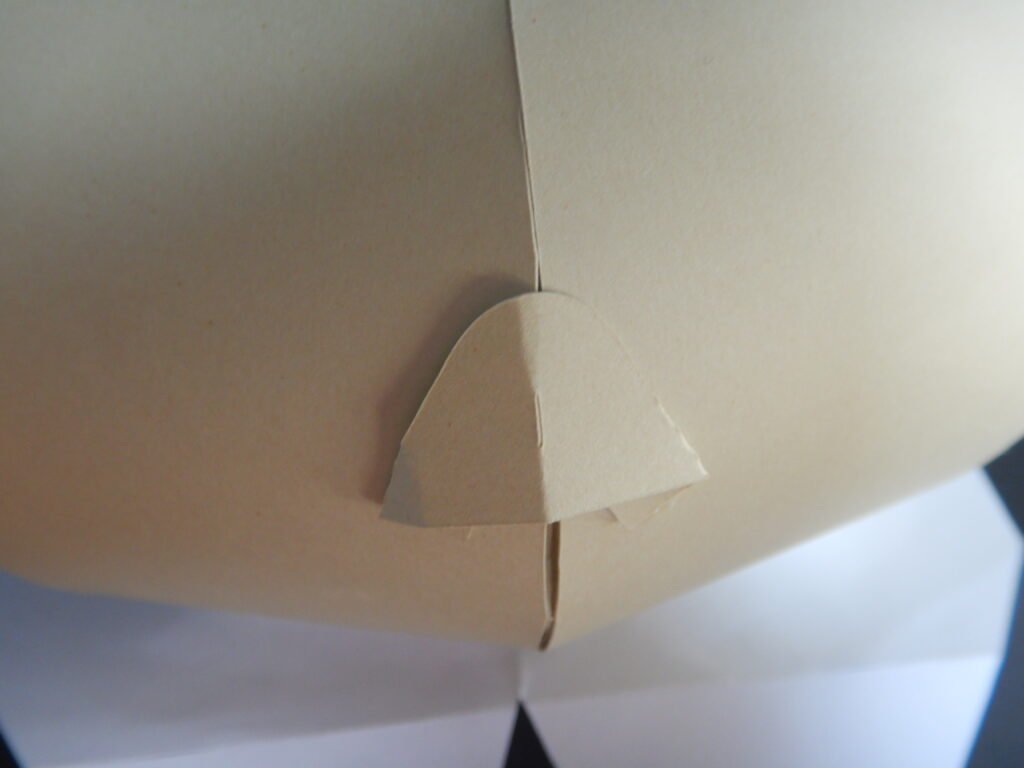
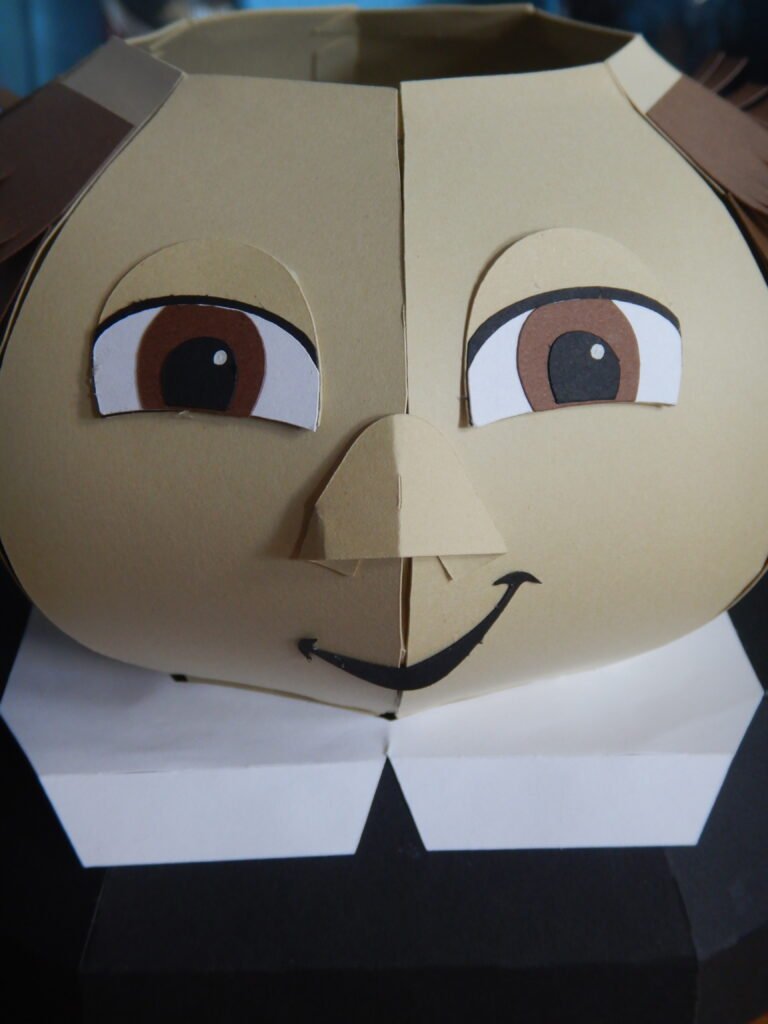
Now, the only thing left to assemble is the face. The nose comes in one piece. Fold along the center line to give the nose some dimension, then fold in the tabs. Place some glue on the tabs and hold into place. We chose to attach the nose to center point on the face but you could move it up or down, depending on the look you want.
We then assembled the eyes and attached them along with the mouth to the face. To distinguish between the boy and the girl pilgrim’s eyes, we chose a different color for the base. The boy’s we chose to have the base match the paper we chose for the skin, but with the girl we chose something with a little pink to it.
Leave a Reply