Materials Used
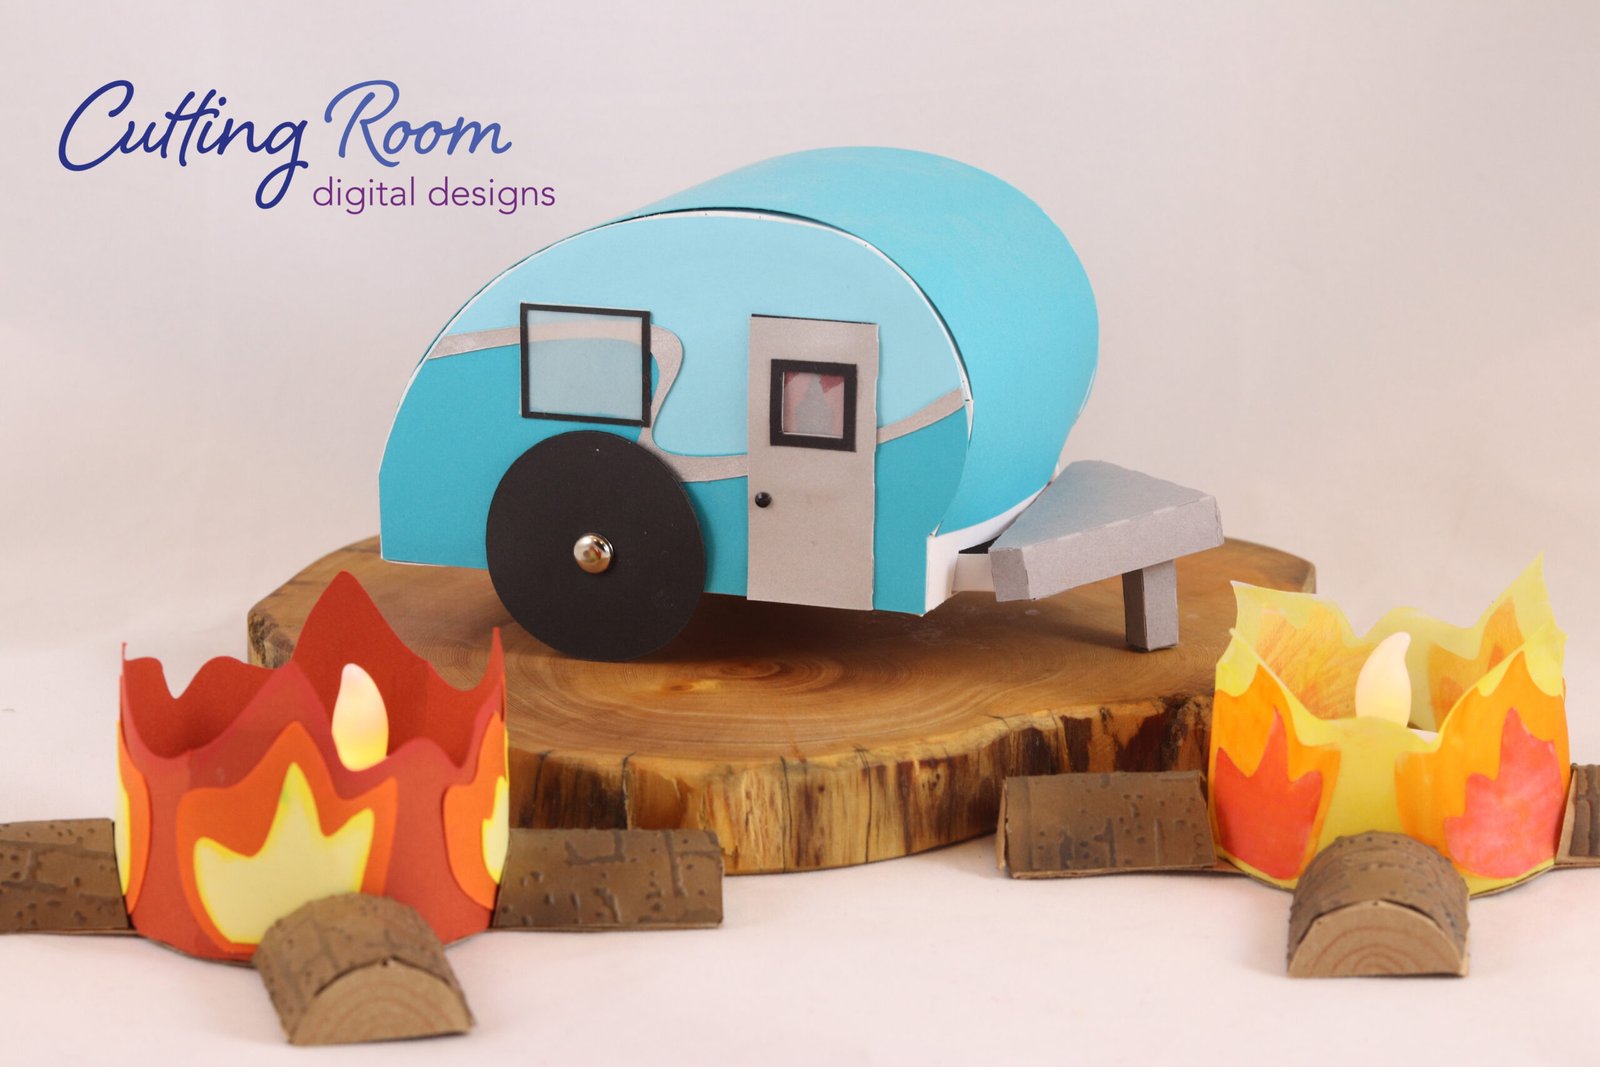
We used several products and supplies in the making of our RV trailer and campfire tealight holders. Below is a list of what we used.
- RV Camper Gift Card Holder and Campfire Tealight Holder – Digital Download
- Recollections cardstock
- Art Glitter Glue
- Brads
- Silver Sharpie Pen
- Vellum
- Electric Cutting Machine: Cricut or Silhouette
***Note that this post contains affiliate links and we may receive compensation if you buy something using one of our links. ***

Camp Fire Tealight Holder
To make the tealight holder, first you’ll want to make the outer fire ring. This is just two pieces that glue together to make a circle. Then fold in the tabs, add glue, and place circular panel in the bottom to help maintain the circular shape.


Once you have this part made, put glue on the bottom of the fire and attach it to the cross piece that makes up the base of the logs.

At this point we chose to add the fire detail pieces.


There are three parts that make up the camp fire base: the flat base, the log tops with panels, and the decorative covers.


Note that the log tops and the base are all marked with numbers. This is to help match up the correct ones as they are not all identical. Fold in the long tabs on the tops and glue to the base, allowing the small triangle tabs to face out as they will hold the end panel of the log.


Once these area ll in place, add the ends of the logs. These are all the same so no need to worry about which one goes to which log. Before gluing in place, we chose to take a colored pencil and add ‘tree rings’ to give a little more realistic appearance.

Next add the decorative panel to the logs. We chose to emboss ours for a little texture.


RV Trailer Assembly
The RV trailer goes together in stages. First align the top of the camper with the front of one of the side panels then work your way around on the one side.


Once that is done, you can do the same on the other side. Start with a couple tabs at a time and reach in to help hold them in place then work your way around. I like to make a small puddle of glue on some scrap paper and use a toothpick to pick up and wipe off glue on the next couple tabs. This allows me to get the glue where I need it without trying to squish the end of the glue bottle into a small space.

To make decorating easier, I assembled all the pieces for the decorative side panels before I put them on the box. To put the door together, attach the tab on the door to the black rectangle. This will allow the door to pop out a bit as if it’s opening. I chose to put some vellum in the window along with some curtains. Then attach the door to the camper side. Once decorated, attach the side panels to the box. At this point you should not have the bottom of the box in place yet.


Once you have the side panels on, glue two tire pieces together to give them a little added thickness. Once dry, attach the tires using a brad. If you don’t have any brads, glue them in place, aligning the holes then cut a circle bigger than the hole and glue to the center of the tire. This will act as the center/hubcap on the trailer. Once the tires are in place you can turn the box on it’s back and glue the bottom in place. Start with one side and get everything lined up then glue the other tabs.

Now you can make the drawer/hitch of the trailer. Assemble the drawer by folding the sides up and gluing the tabs. Do the same with the triangle hitch and attach it to the front of the drawer as shown then add the support post.


