Materials Used
We used several products and supplies in the making of our gumball machine. Below is a list of what we used.
- Small Gumball Machine Party Favor Decoration – Digital Download SVG & DXF
- Recollections cardstock
- Art Glitter Glue
- ColorBox Ink
- Embossing Folders: Dots, Swirls, Honeycomb
- Tim Holtz Distress Ink – Distressed Pewter
- Clear Plastic Fillable Ornament Ball 3.15”
- Electric Cutting Machine: Cricut or Silhouette
***Note that this post contains affiliate links and we may receive compensation if you buy something using one of our links. **
Building The Gumball Machine Base
Our small gumball machine file has a lot of wow factor but is still simple to assemble. Start by taking the two panels that make up the sides of the base. Fold on the score lines. Then add glue to the long tab on one and attach it to the other. Repeat for the second tab, giving you a cone shaped octagon.

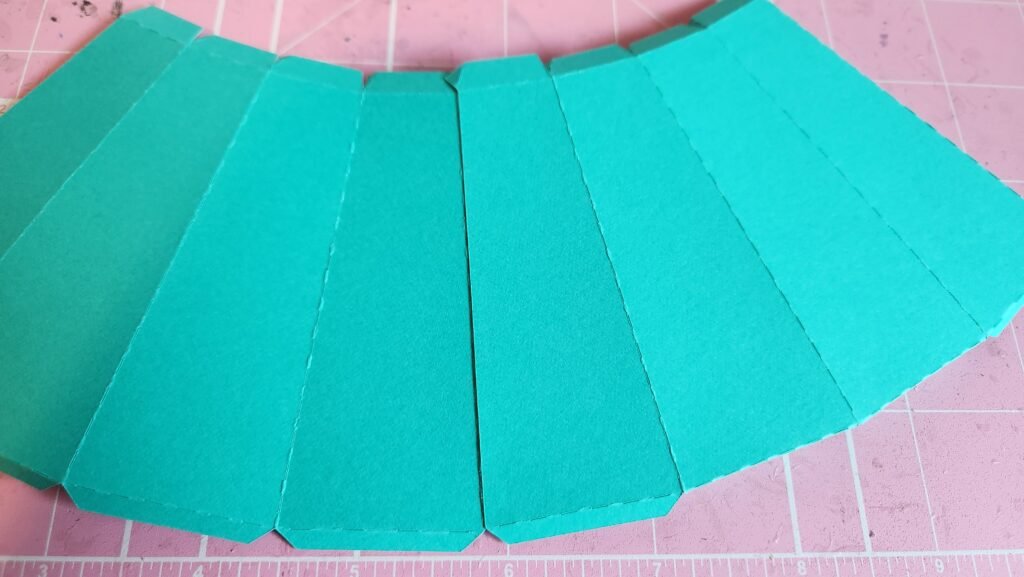

There are some more tabs to attach at the top but we found it best to move to the bottom of the shape first. Add glue to one of the tabs and secure the bottom panel. Once this is done, add glue to the opposite tab and secure the panel in place. Once those two are secure, you can add glue to the remaining tabs and press them into place.
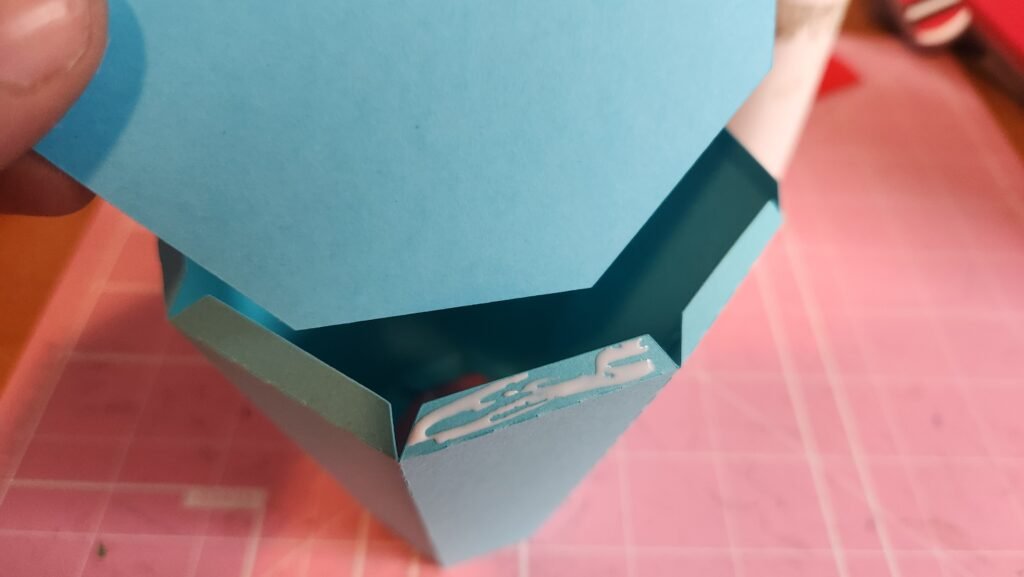
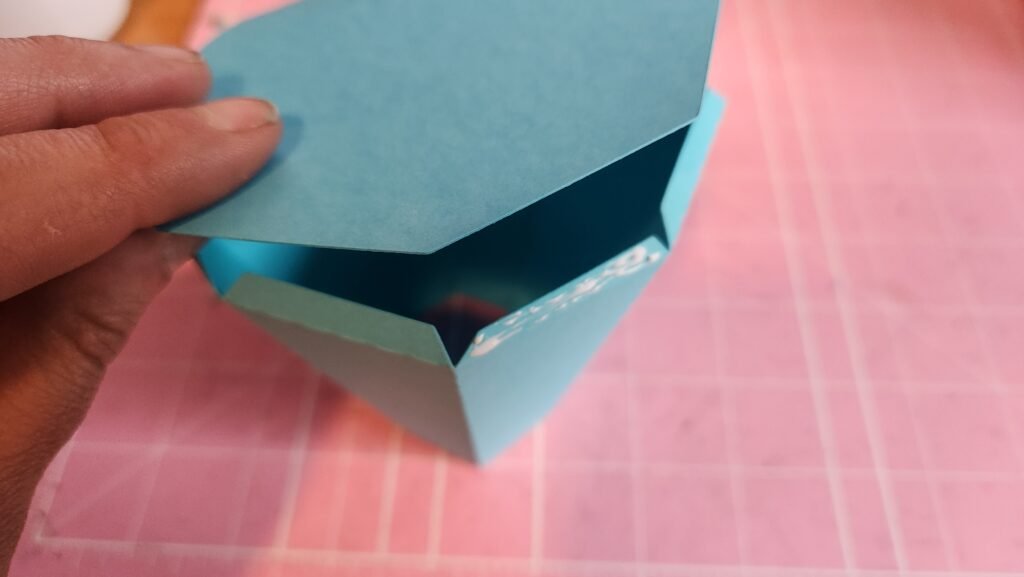
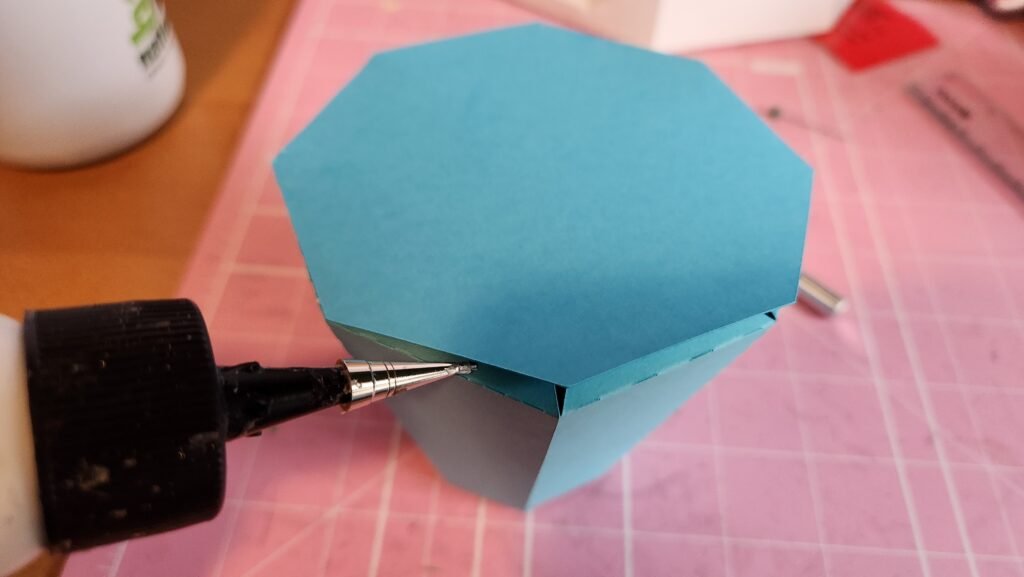
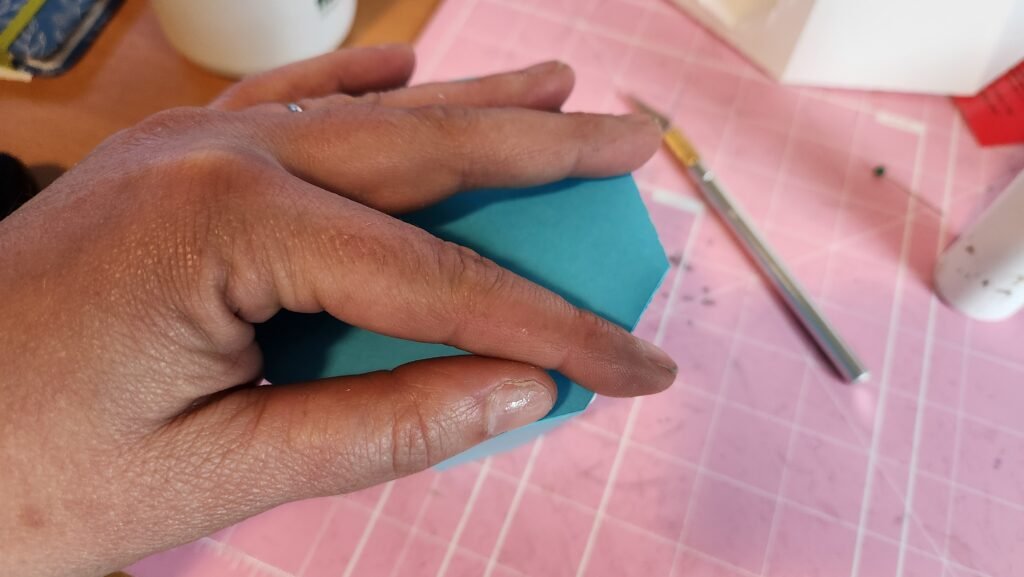

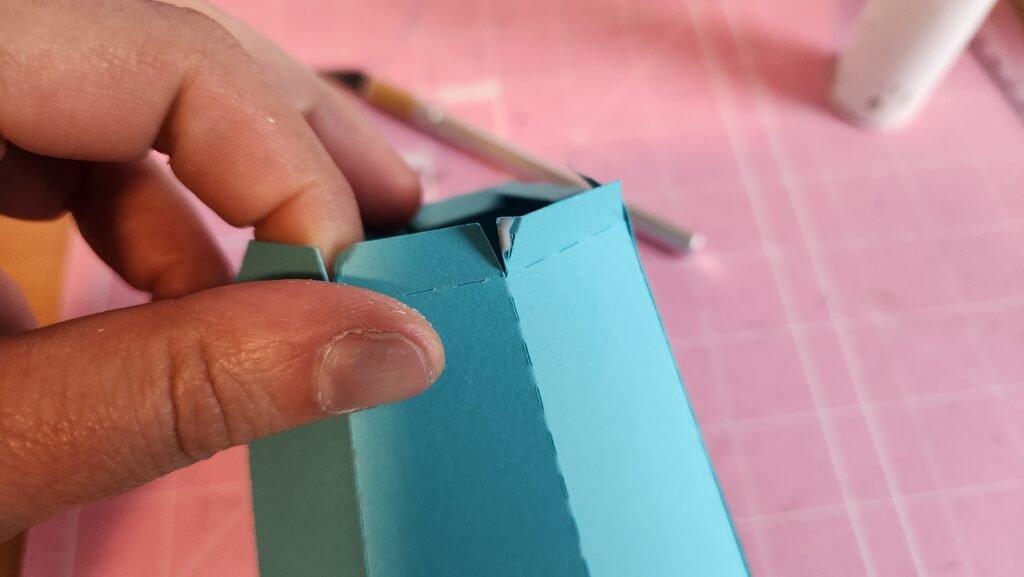
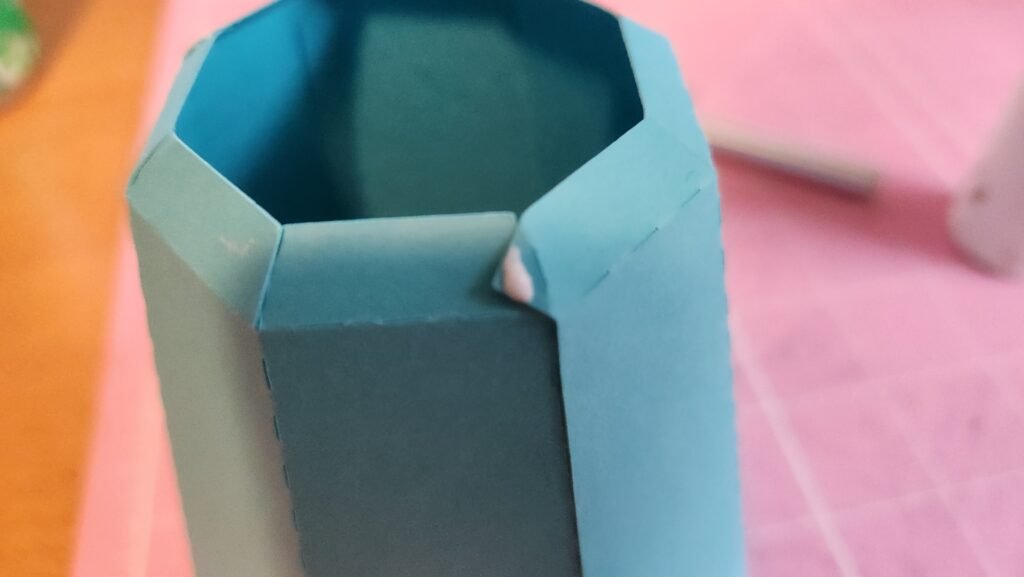
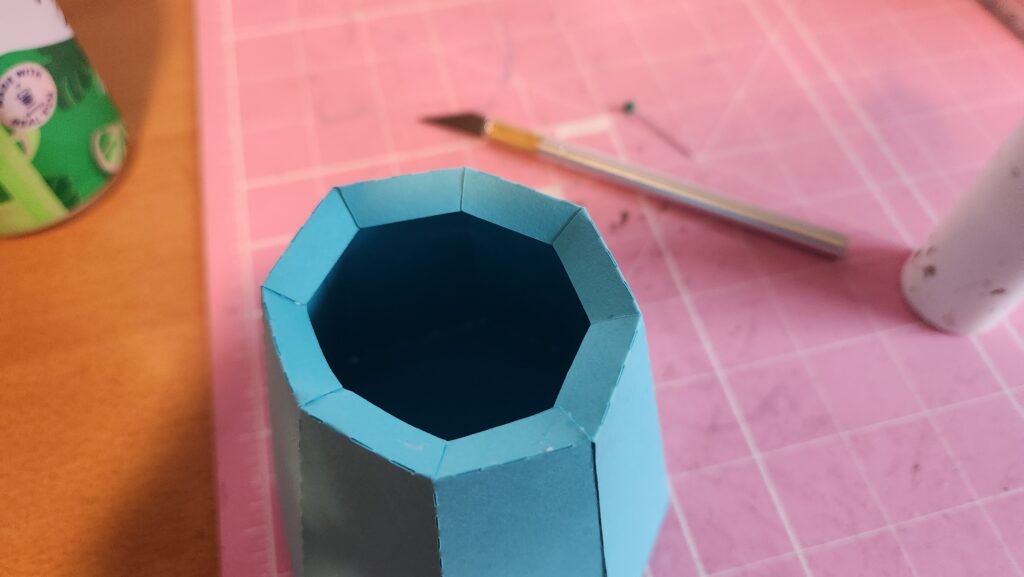
Turn your gumball machine base right side up. Now we can start attaching the small tabs to their neighbor. While doing this it’s okay if the panels stay up, rather than angling down into the box. Once you have all the tabs attached and the glue is fully dried, gently press the panels down so they angle into the box. This provides a surface for your ornament ball to sit on and be secured to.
Decorating The Base
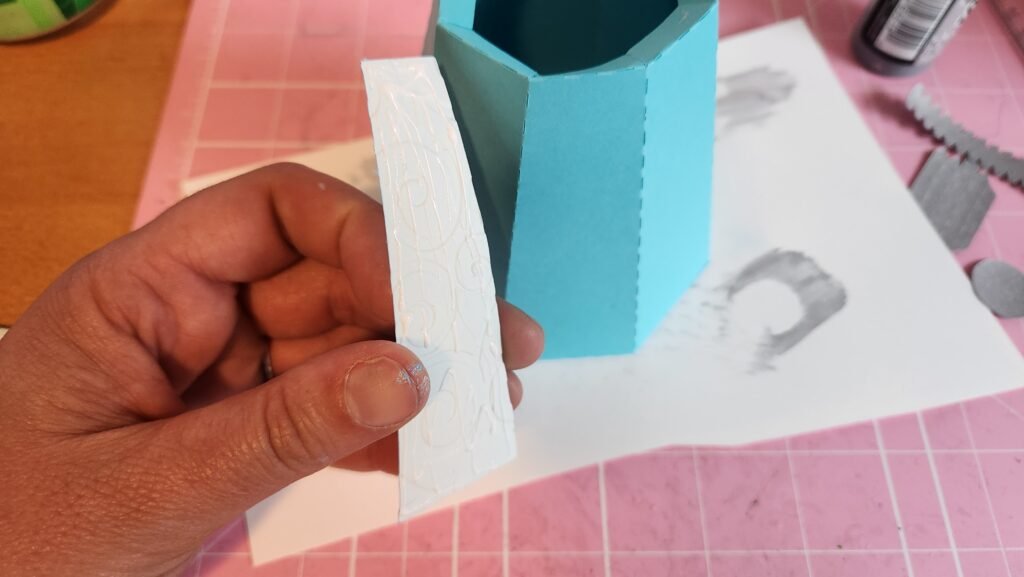
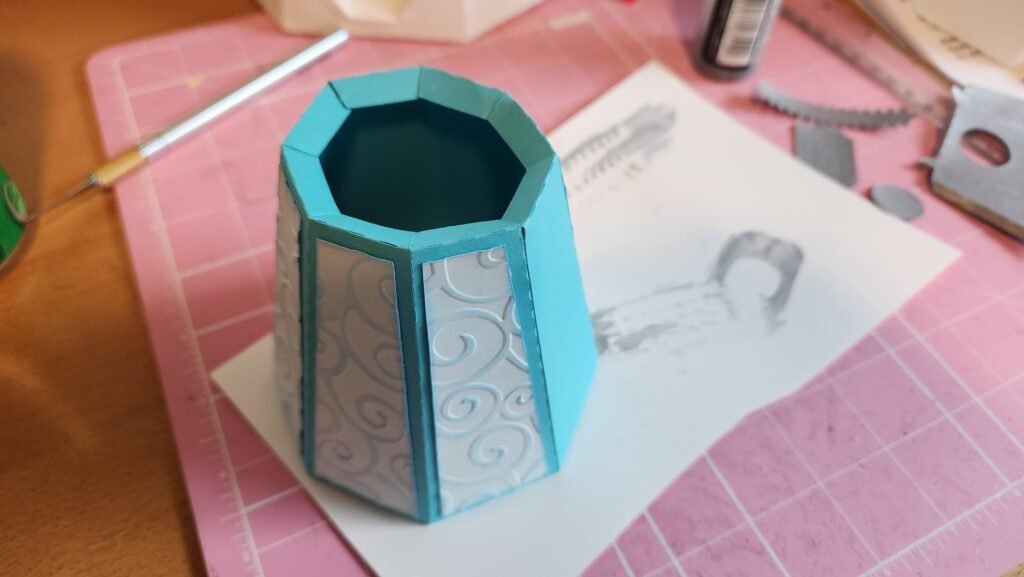
The next step is to decorate this base structure. We chose to emboss and ink the decorative panels for our machines. A fun pattern to match an event or the recipient’s interests would be a lot of fun too. Add glue to the back of the panels and place one on each side, centering each.
Making The Mechanical Decoration
You can set the base aside for now. We need to make the mechanical portion for the front. On the small gumball machine this is not a working piece, it is just for decoration. To start with we made a couple of the components. There is a rectangular box that needs to be constructed. Fold on the score lines and add glue to the long tab. Attach to create a long rectangular box. Once this is secure, fold in the tabs on the ends, add glue, and close off with the square panel.
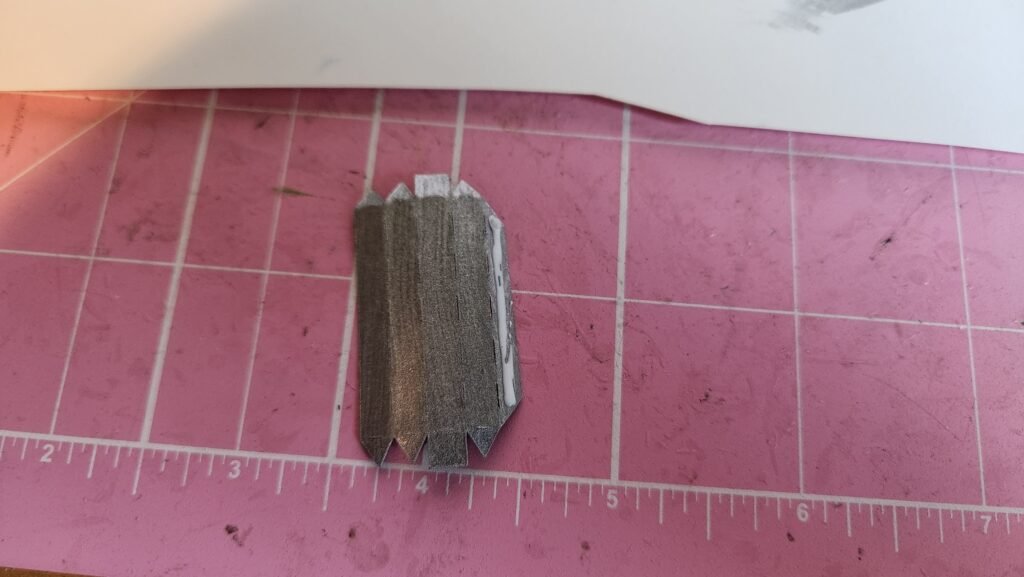
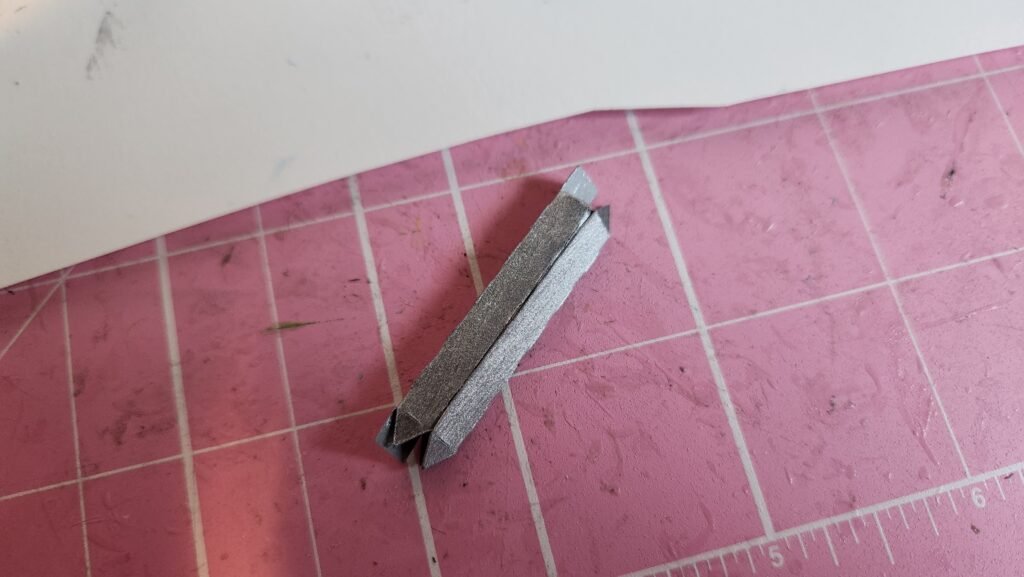
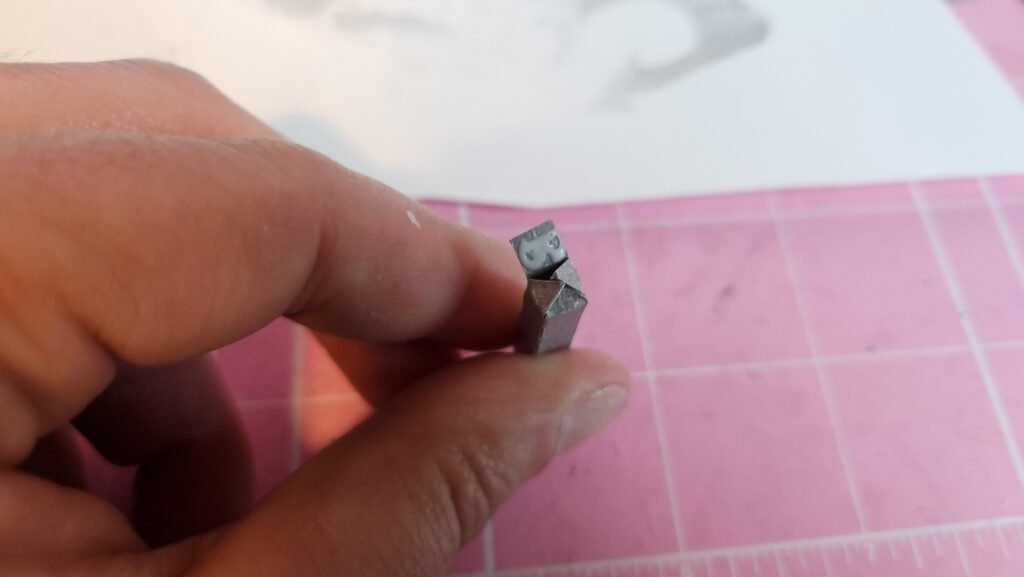
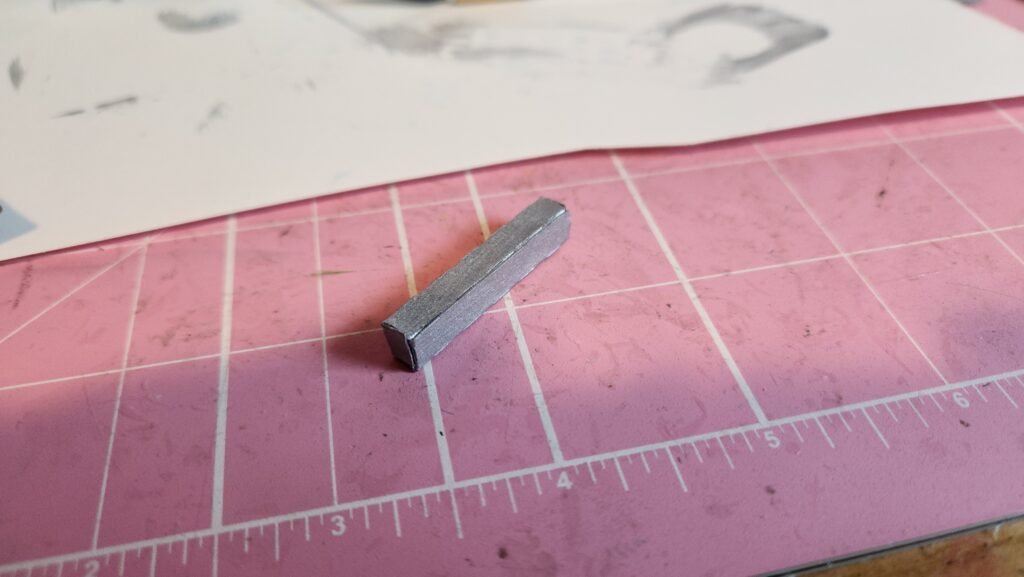
We then took the long panel with tabs on either side and looped it around to create a circle. Fold the tabs on one side in and add glue to the inside. Place a round panel to close off this shape.
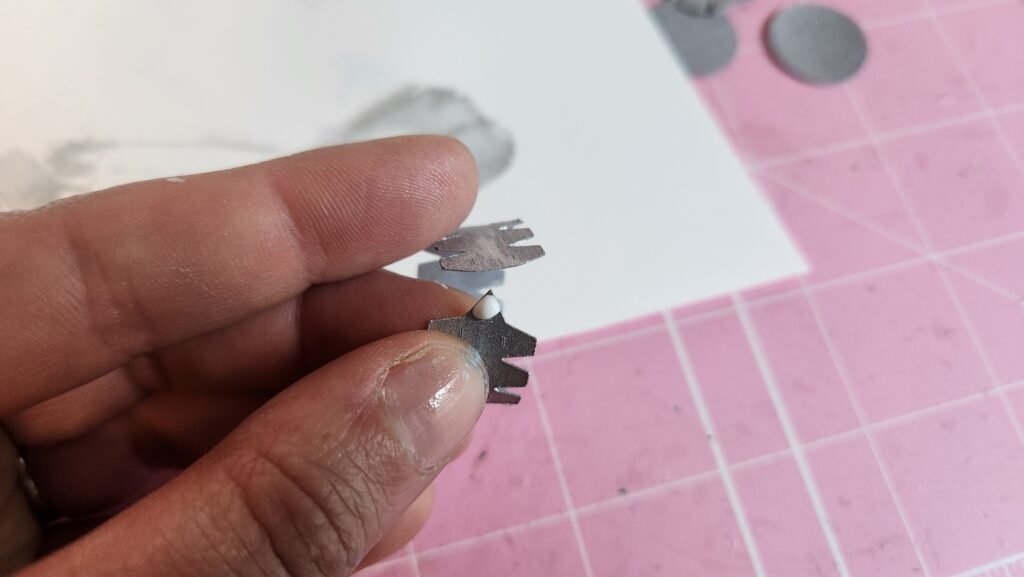
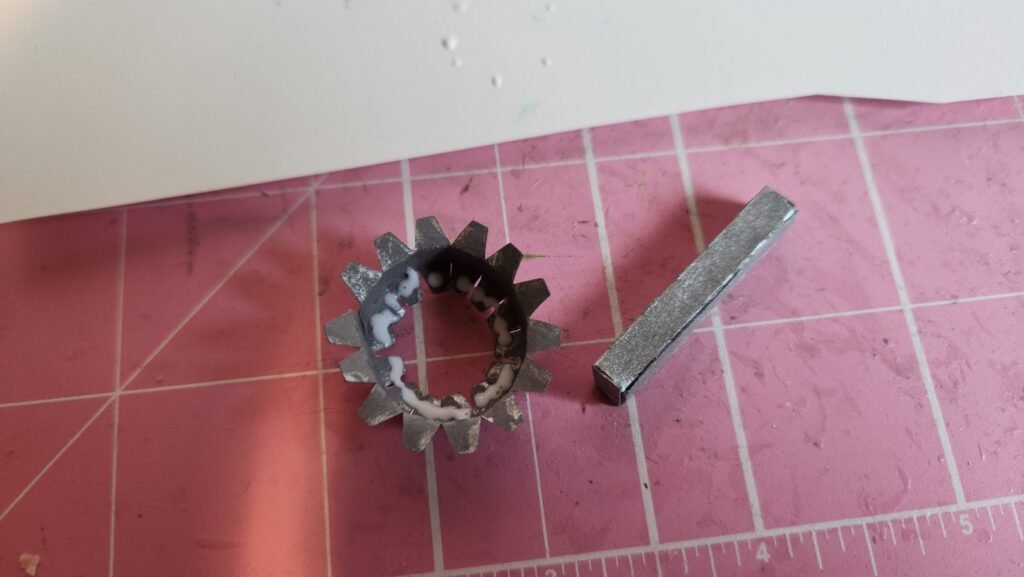
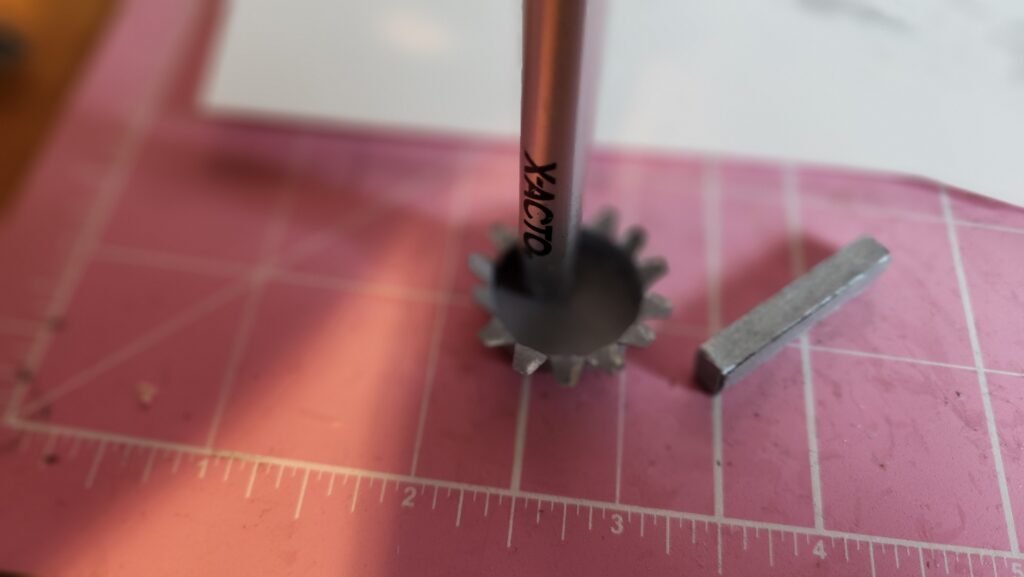
Take the large goofy shaped piece (shown below) and fold on all the score lines.

Then take the round circle you made and slide it through the hole so the tabs are on the back side of your panel.
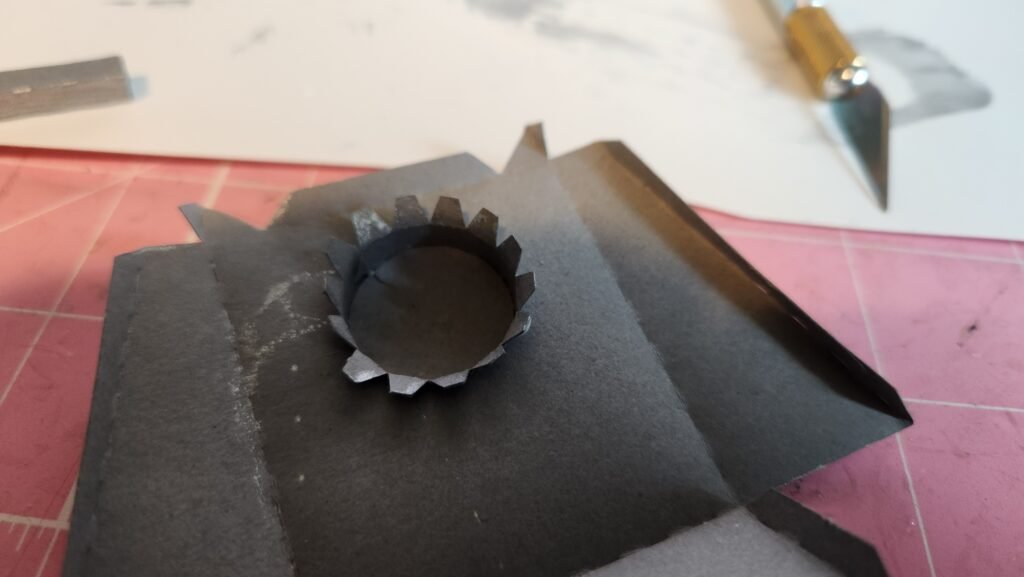
Add glue to the tabs and press to secure the circle structure to the panel.
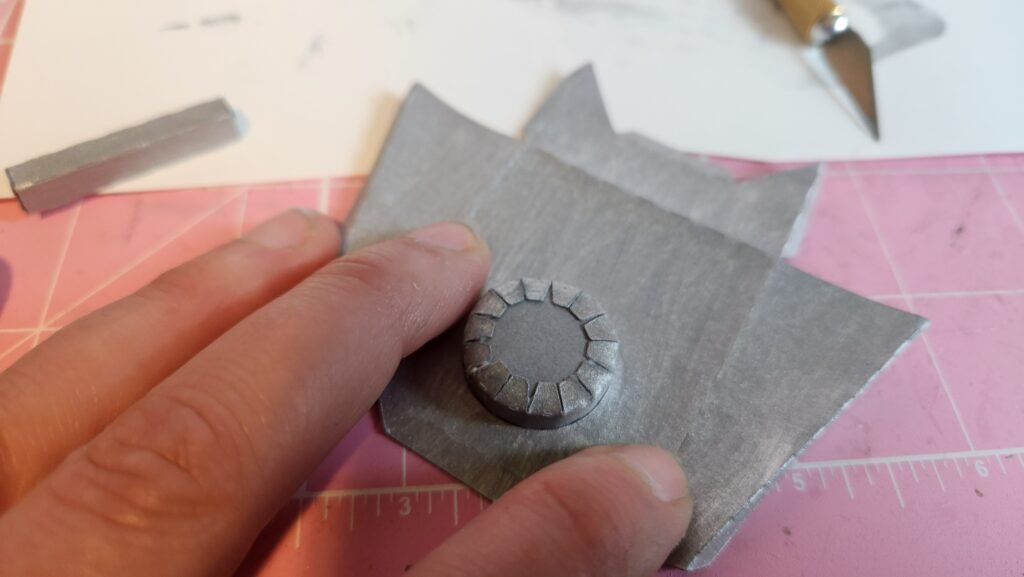
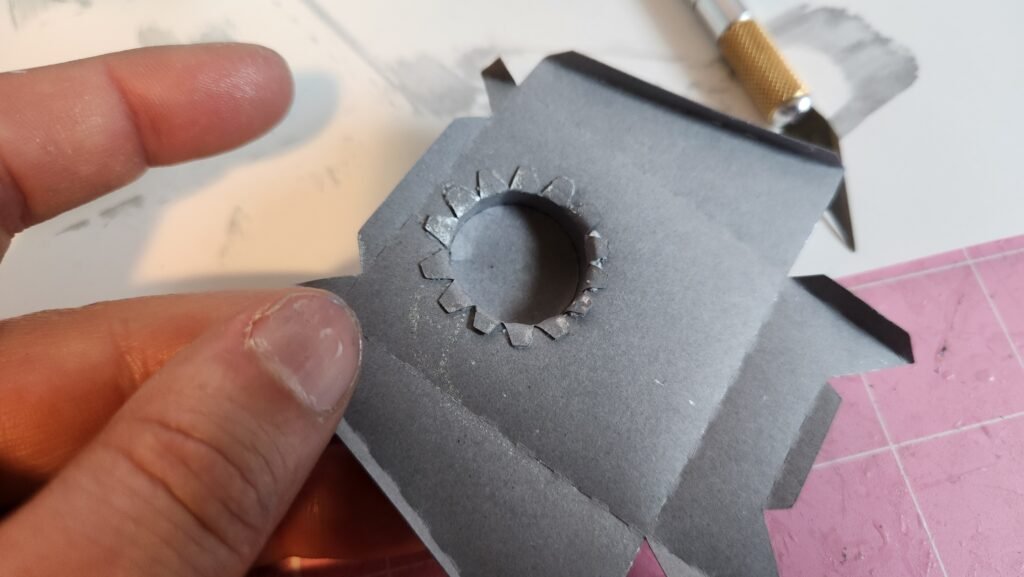
Use one of the other circle panels to cover the tabs on the circle.

Now, using the tabs on the large panel, add glue and attach create the box like structure. There are 4 tabs that will be used to attach to the gumball machine. They are the one at the top, one on the bottom, and one on either side.

Making The Coin Slot
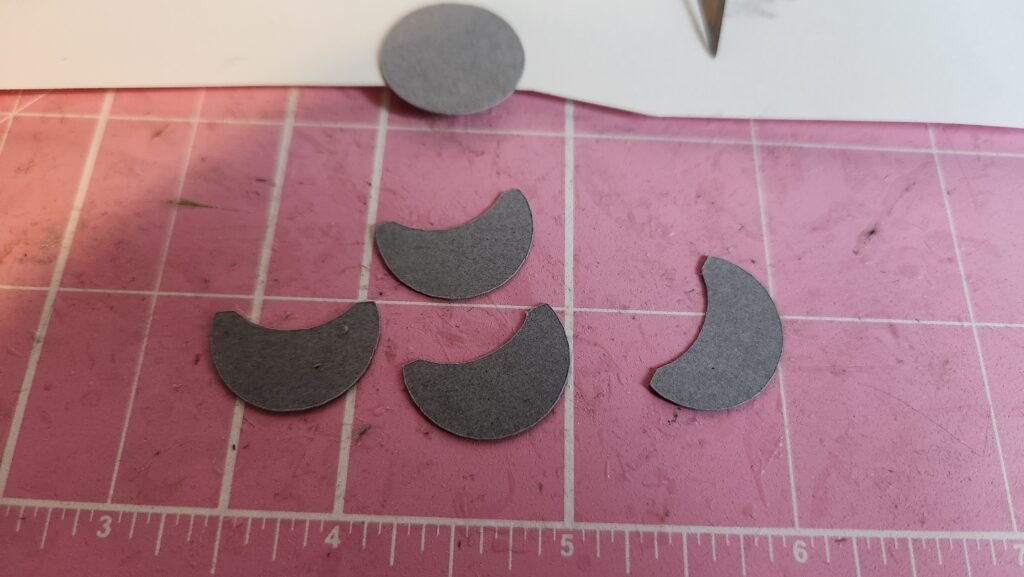
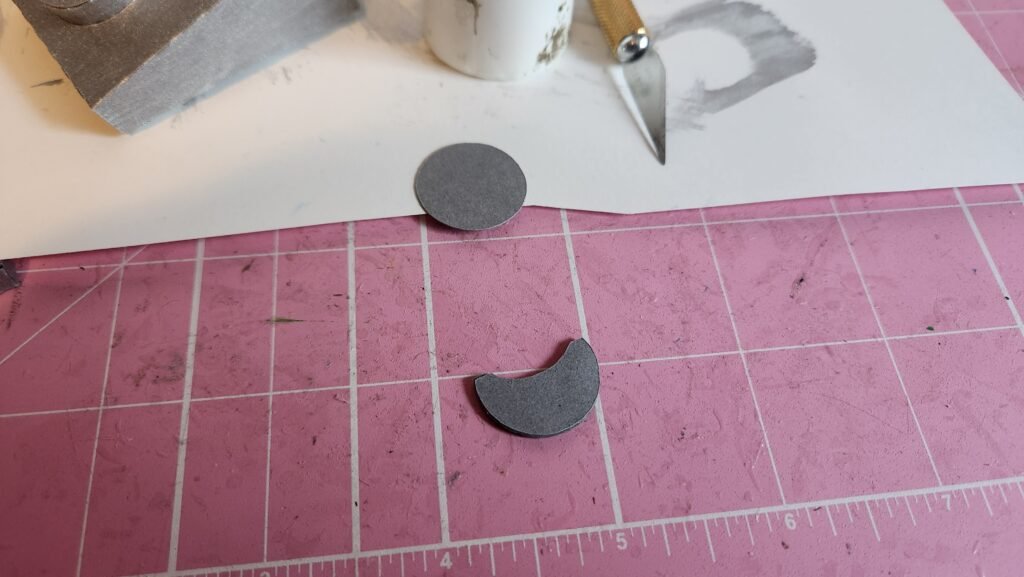
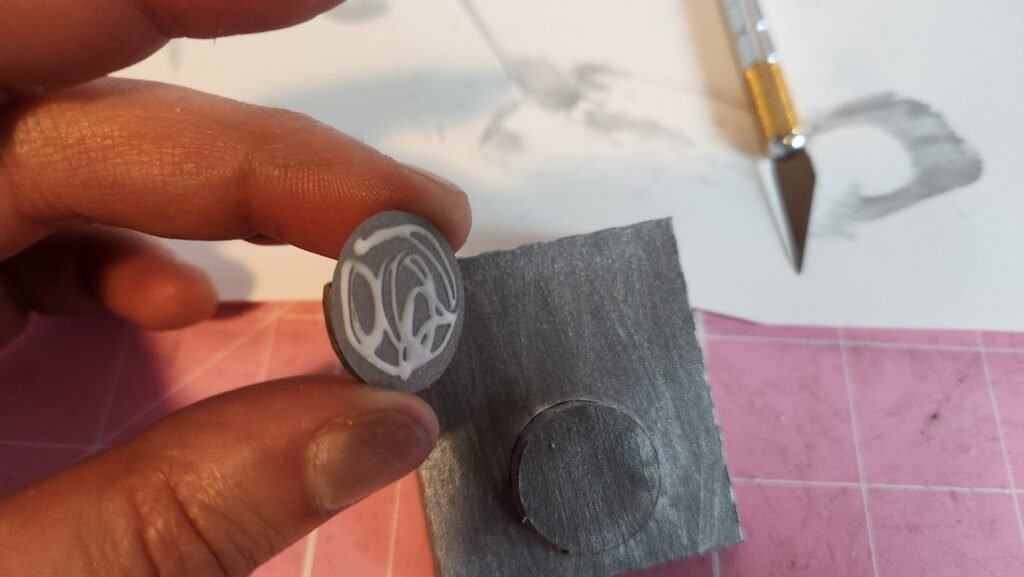
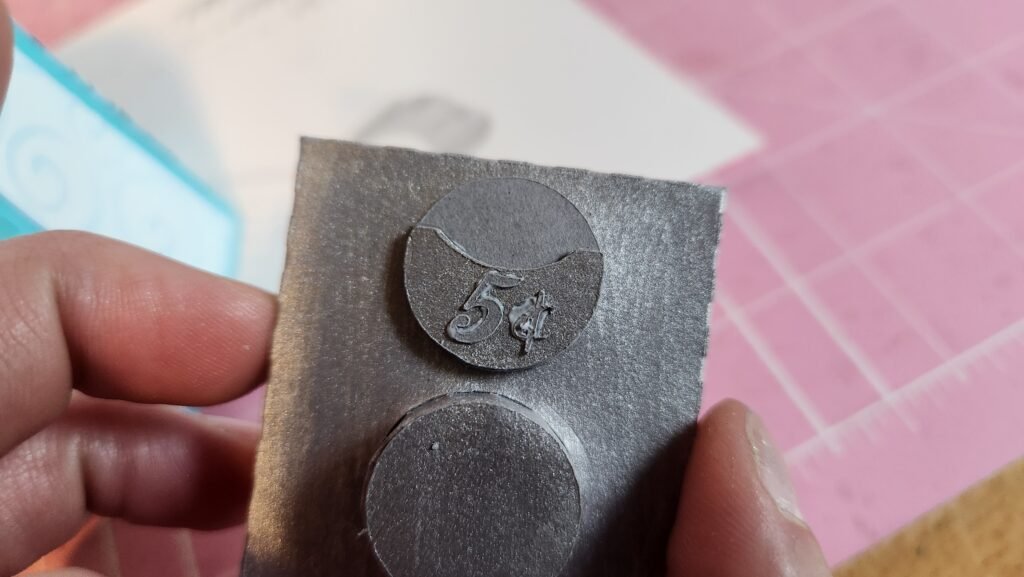
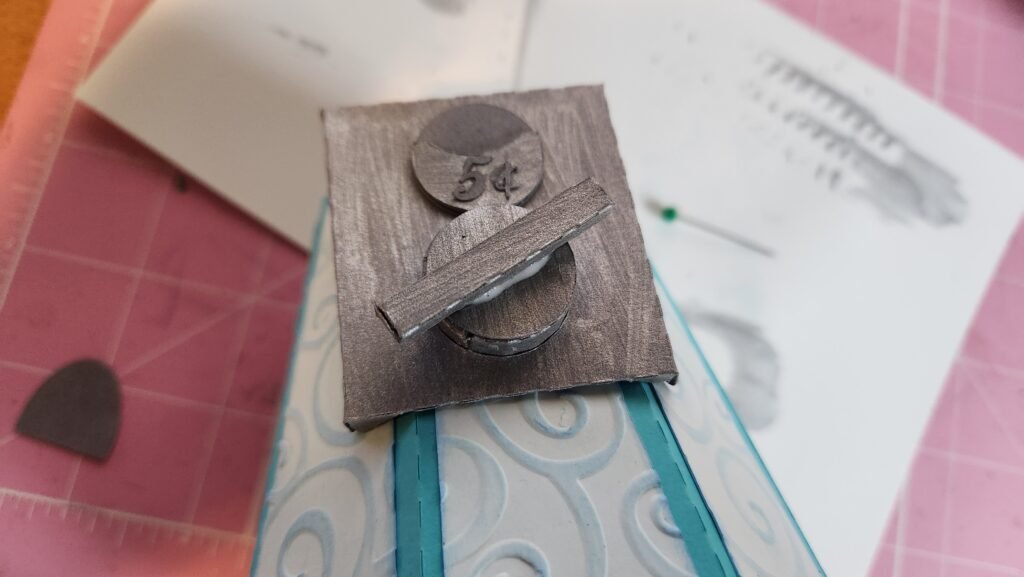
There is one more decoration for this structure before attaching to the gumball machine base. We took the partial circle pieces – 4 of them – and layered them to give some depth. Then added them to the circular panel. Once this was complete, we added the 5 cents note to the front. When securing this piece, be sure to orient it so that the knob you’ve made is below the coin slot. (see photo below)

Finishing The Gumball Machine Base
Now it’s time to attach this to the gumball machine base. Add glue to the four remaining tabs and press it to the base. Make sure the top is flush with the top of the base. Press into place until the glue is set.

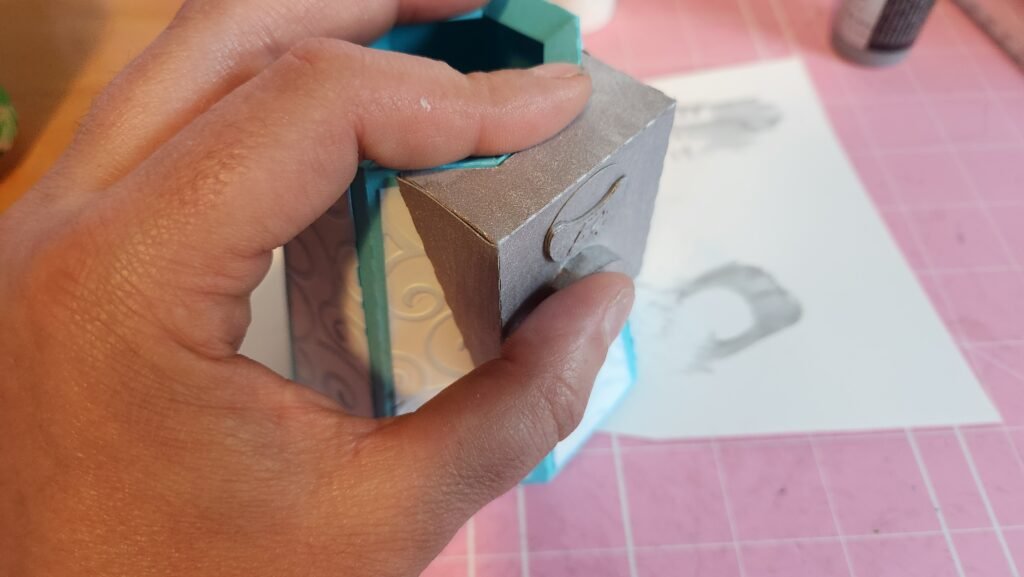
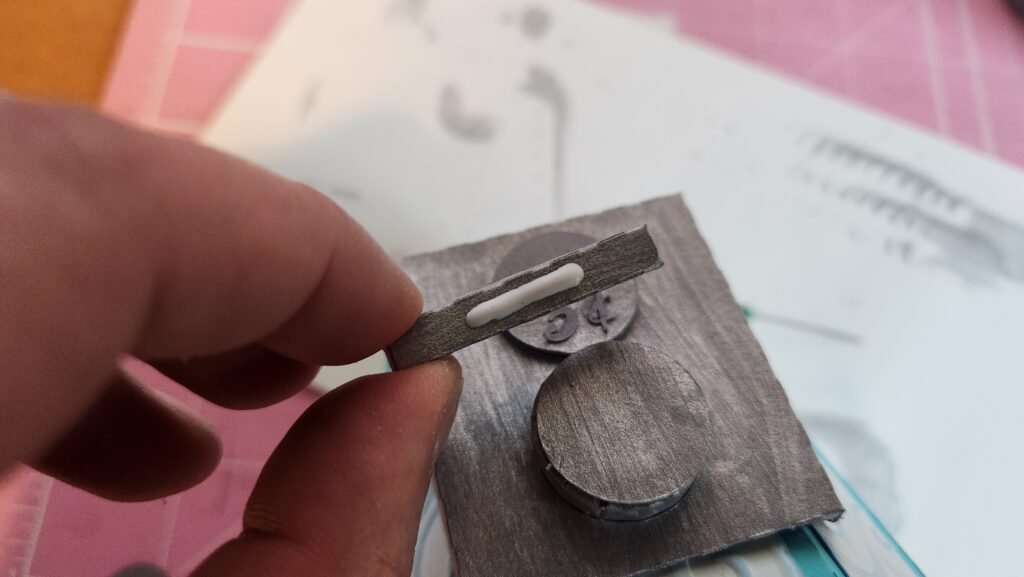
Now you can add the rectangular box we made earlier.
Making The Candy Catcher
The final part of the base is to make the catcher for the candies at the bottom. Fold on the score lines and add glue to the tab at the end. Curce around to create a half circle shape. Note that ours below shows tabs on both sides of the panel. This isn’t correct, there are only tabs on one side. This simplifies the assembly, sorry, we forgot to rephotograph after making this change.

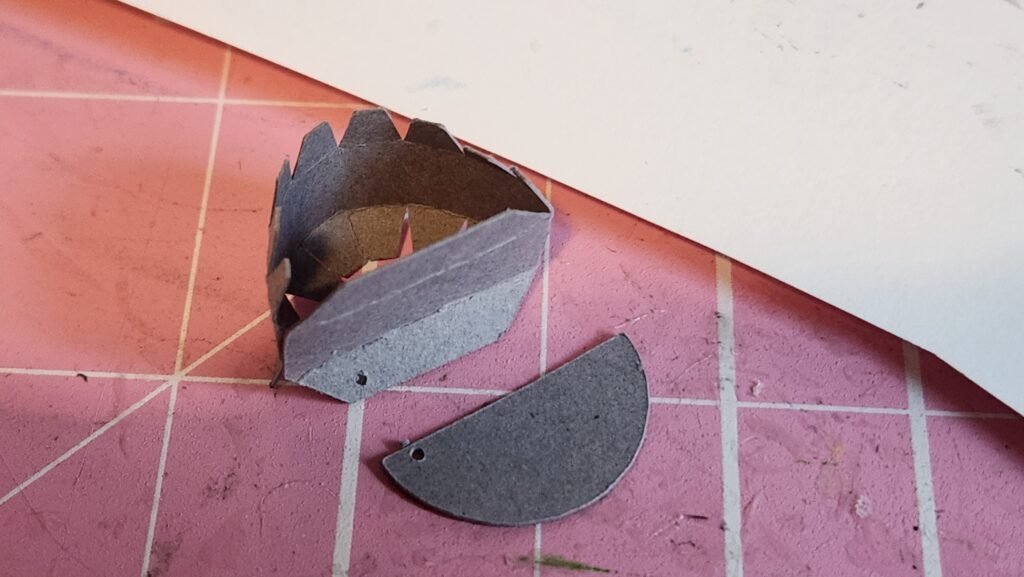
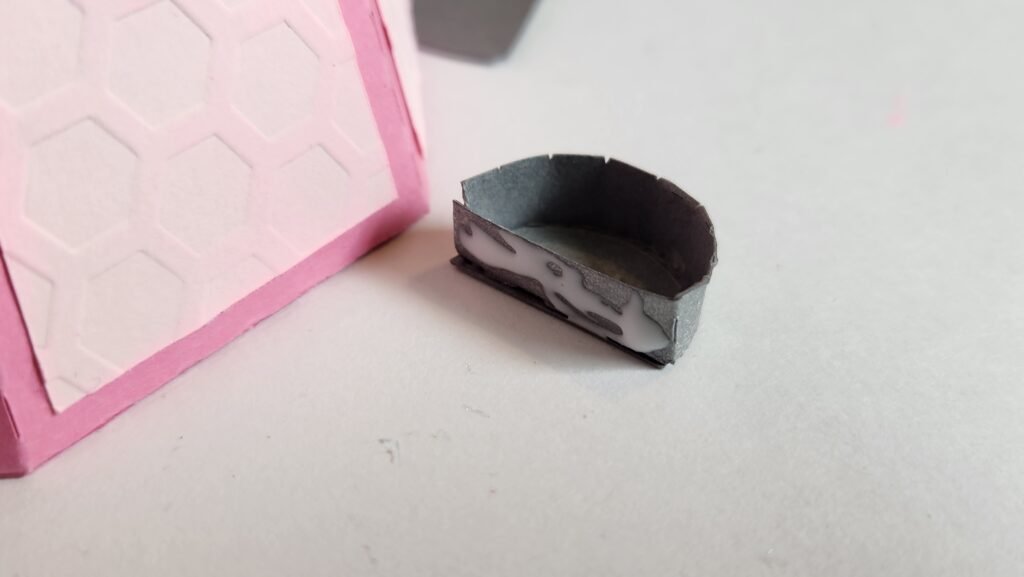
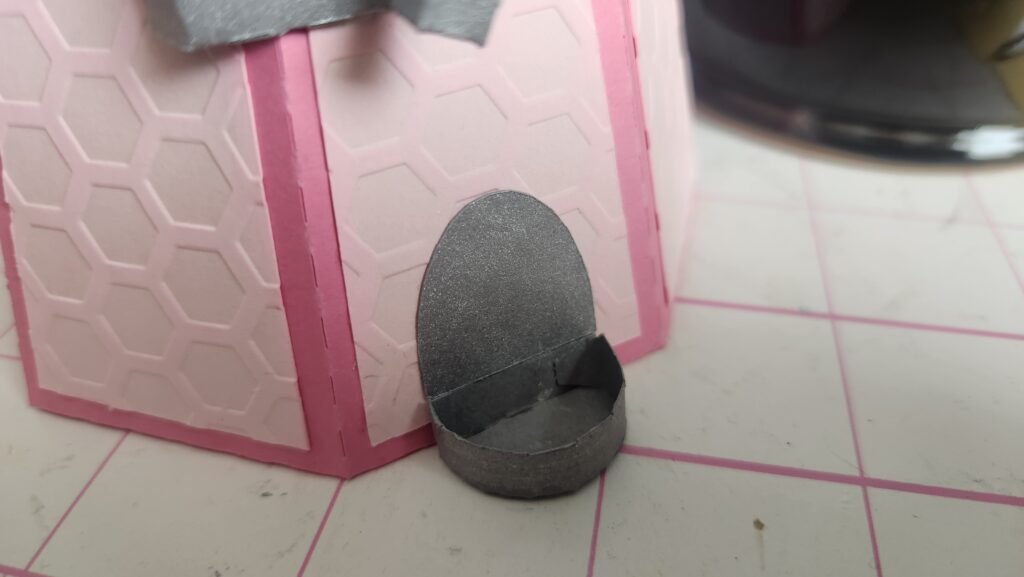
Fold the tabs in, add glue, and place the half circle panel to close off the inside. Once this is secure, turn the shape over and attach the other half circle to cover the tabs. When this is all done, add glue to the back of the shape and attach it to the bottom of the gumball machine below mechanical assembly. There is a small half oval shape that you’ll glue above the candy catcher to finish off the front of the machine.

Assembling The Gumball Machine Lid
The final part to assemble is the top of the gumball machine. This is made using just a few pieces. Start by taking the long panel with score lines and fold on the lines. Then add glue to the tab at the end of the piece and attach to close it up and make an octagon shape.
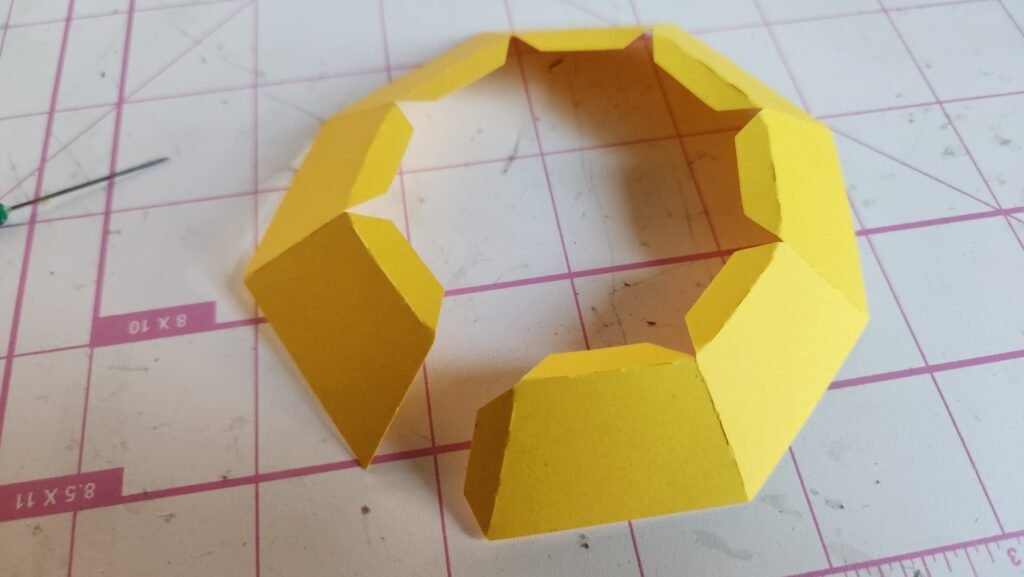
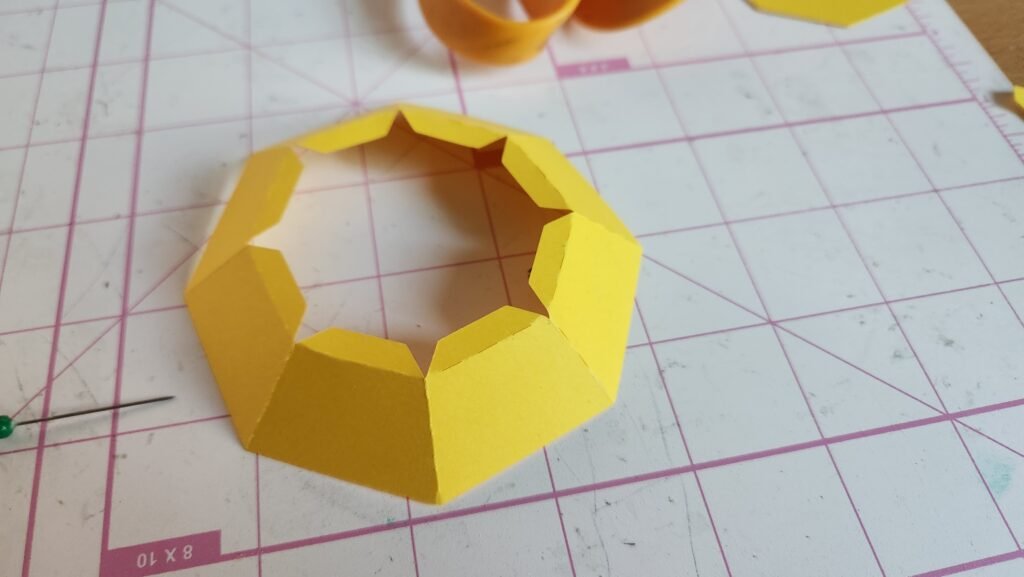
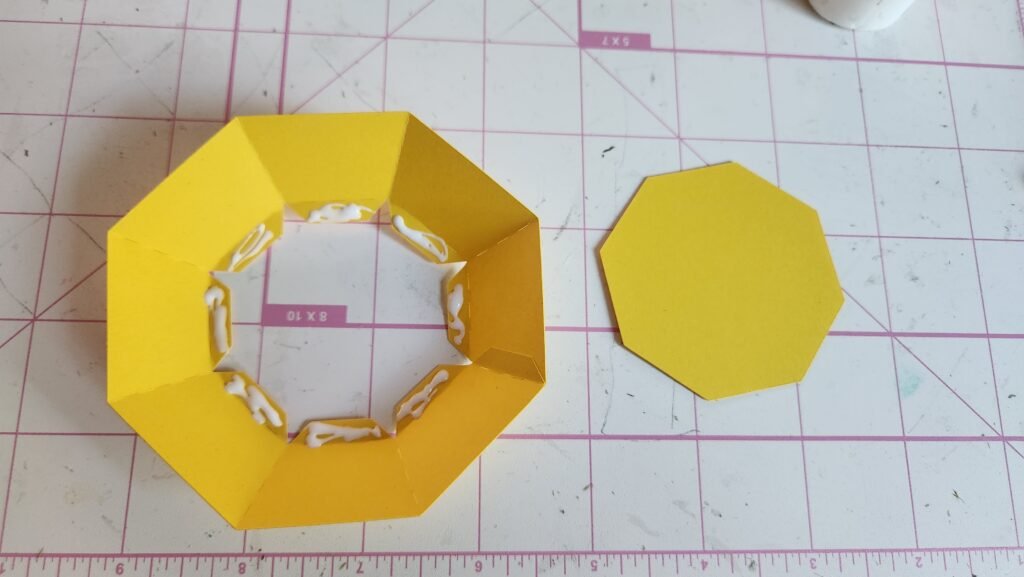
Add glue to the eight tabs around the top and place on of the octagon panels on the inside. Once secure, turn the lid over and add glue to the other octagon panel. Use this to cover the exposed tabs.
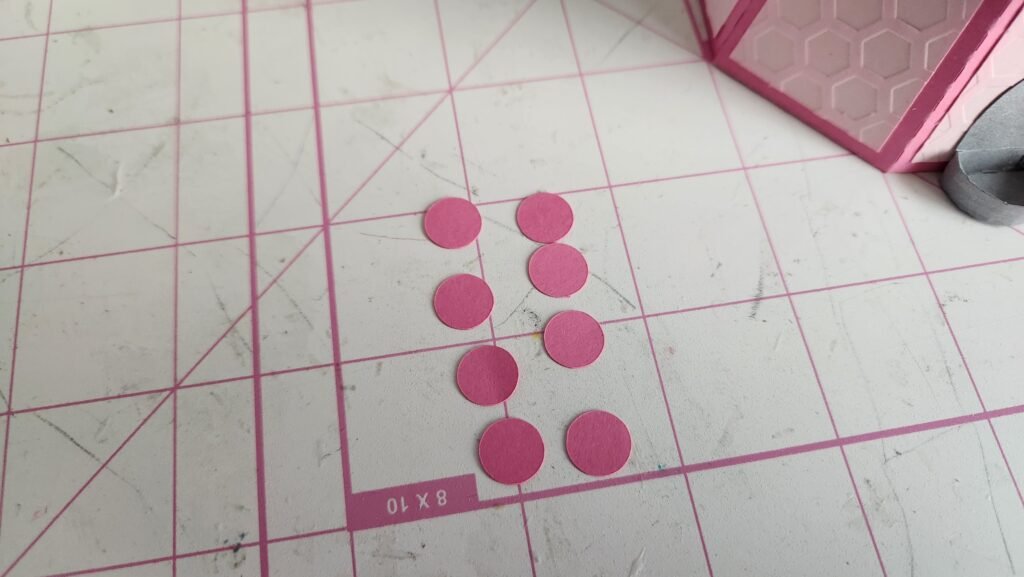
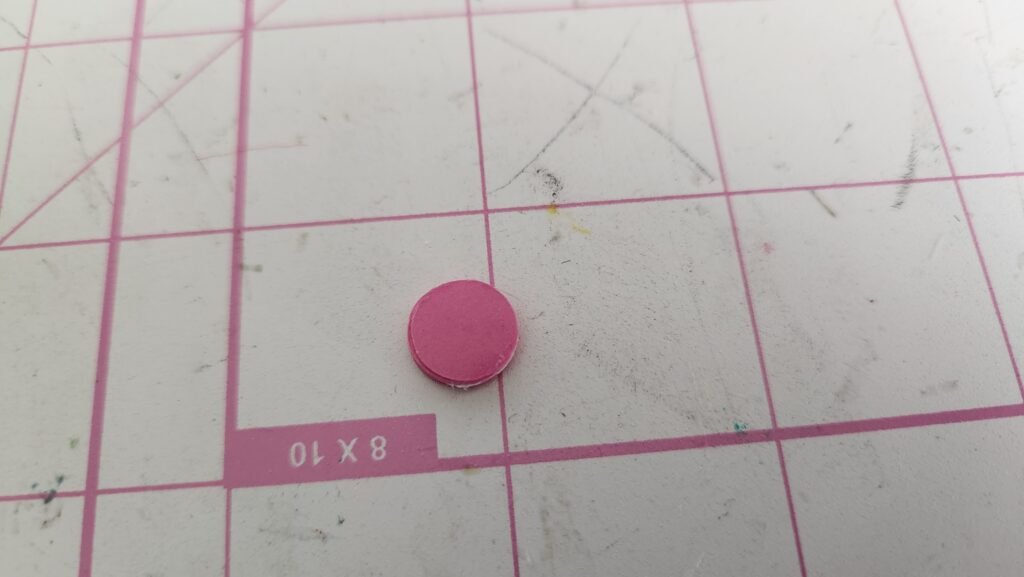
There are eight small circles. Using glue, stack these to make the knob for the top of the gumball machine.
Filling The Gumball Machine
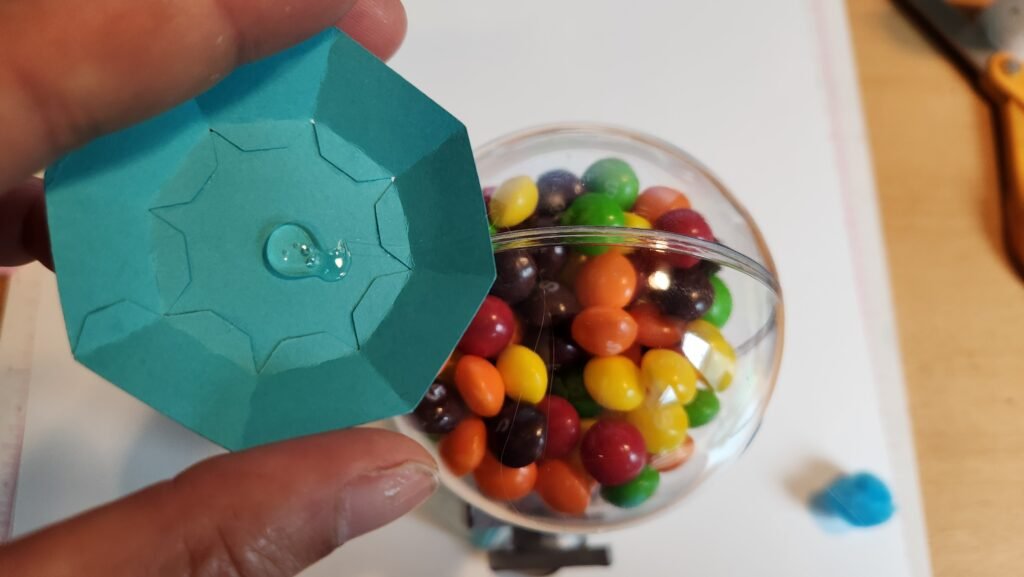
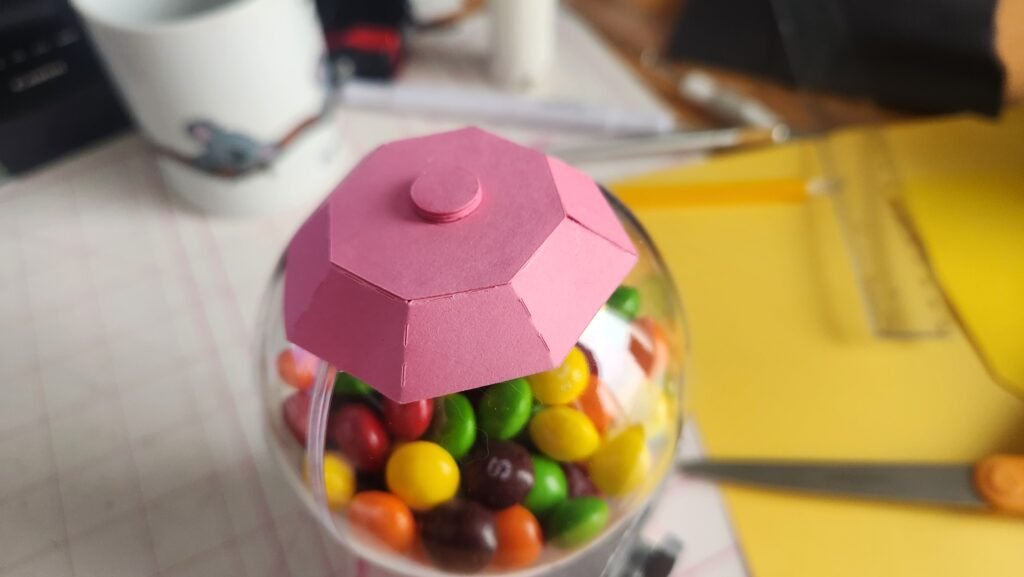
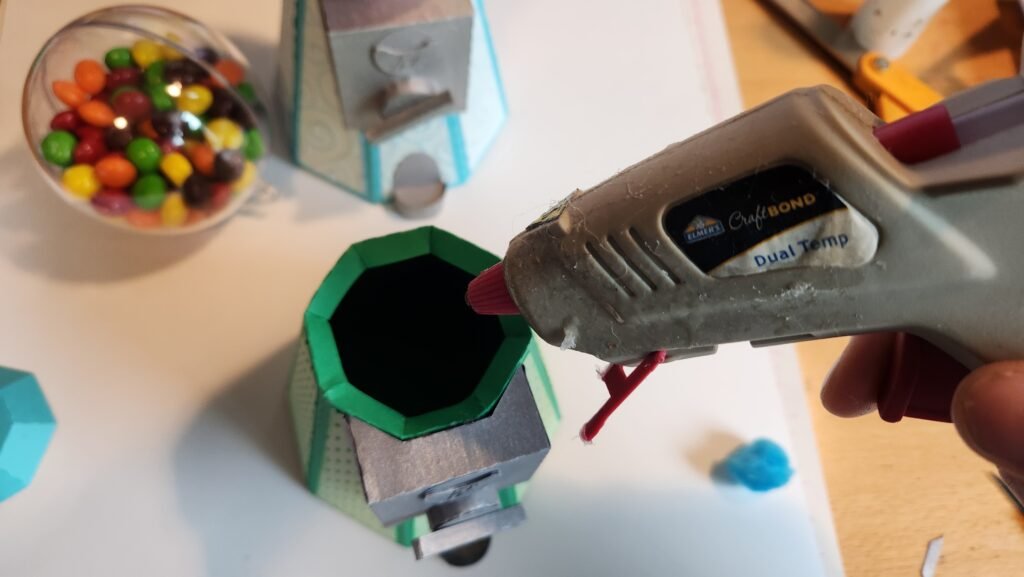
We used 3.15” diameter fillable Christmas ornaments for our candy holder/ball of the machine. You can fill with whatever candy you want (we chose Skittles). Fill the ball with as much candy as you wish, we filled one side entirely so it would be half full once complete. Once you have your candy ready, add some glue to the inside of your gumball machine base. This will help your ornament stay in place. We opted for 4 spots of hot glue rather than running it around the entire surface. Press and hold the ornament in place, making sure the bump for the hanger is faced down into the machine. If it’s up it’ll be in the way. We decided to orient it so the seams of the ornament were on the sides of the machine, not facing toward the front.

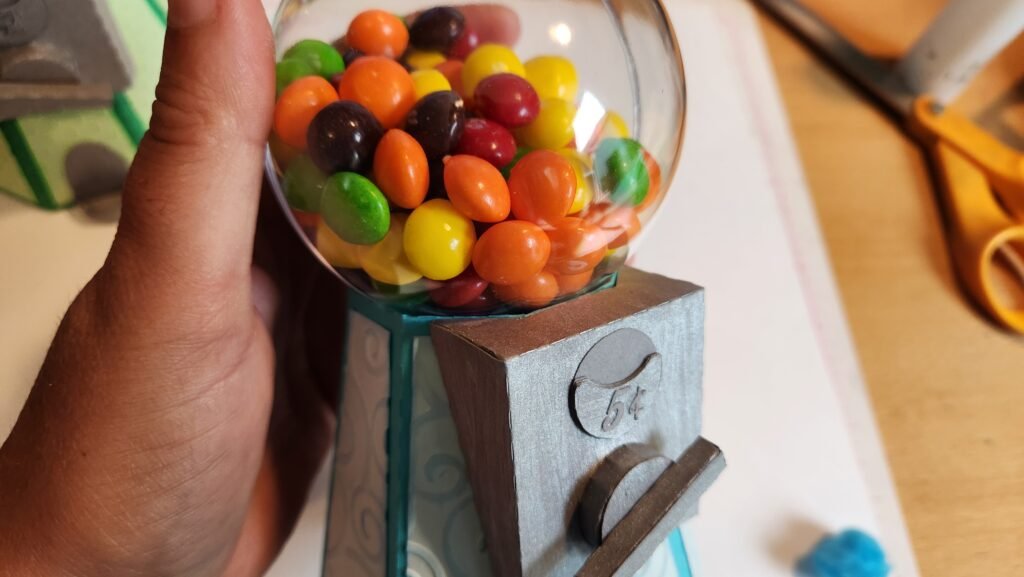
As a final touch, we added a touch of hot glue to the inside of the lid and placed it on the top of the Christmas ornament.
