Materials Used
We used several products and supplies in the making of our chocolate covered strawberry gift box. Below is a list of what we used.
- Chocolate Covered Strawberry Gift Box and Treat Holder for Valentine’s Day – Digital Download SVG
- Recollections cardstock
- Glossy Accents
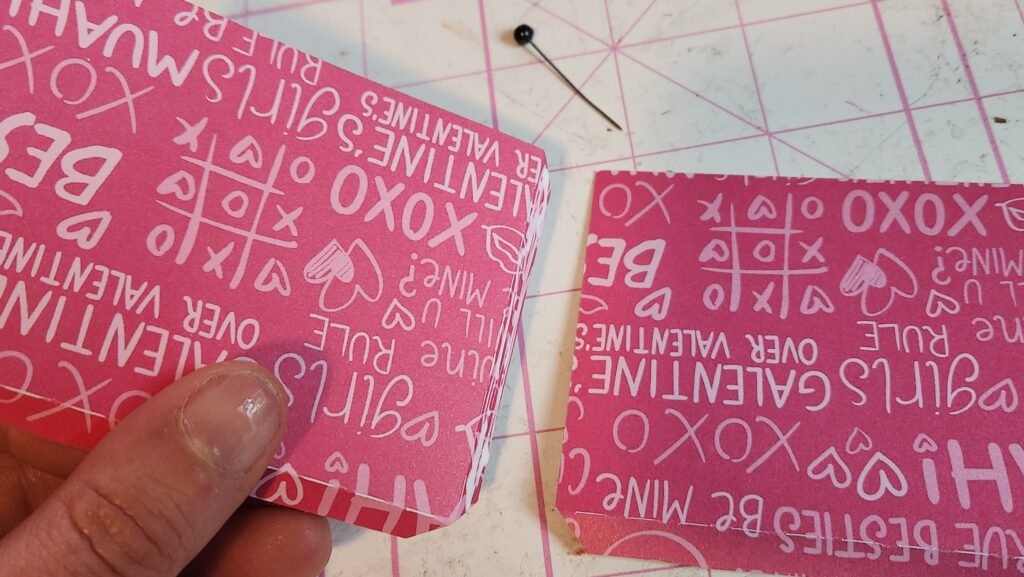
- Recollections Paper Pad – Girl Squad
- Swiss Dots Embossing Folder
- Ink Pads
- Acetate Sheets – 12×12
- Art Glitter Glue
- String or Embroider Thread
- Electric Cutting Machine: Cricut or Silhouette
***Note that this post contains affiliate links and we may receive compensation if you buy something using one of our links. ***
Assembling The Strawberry Box
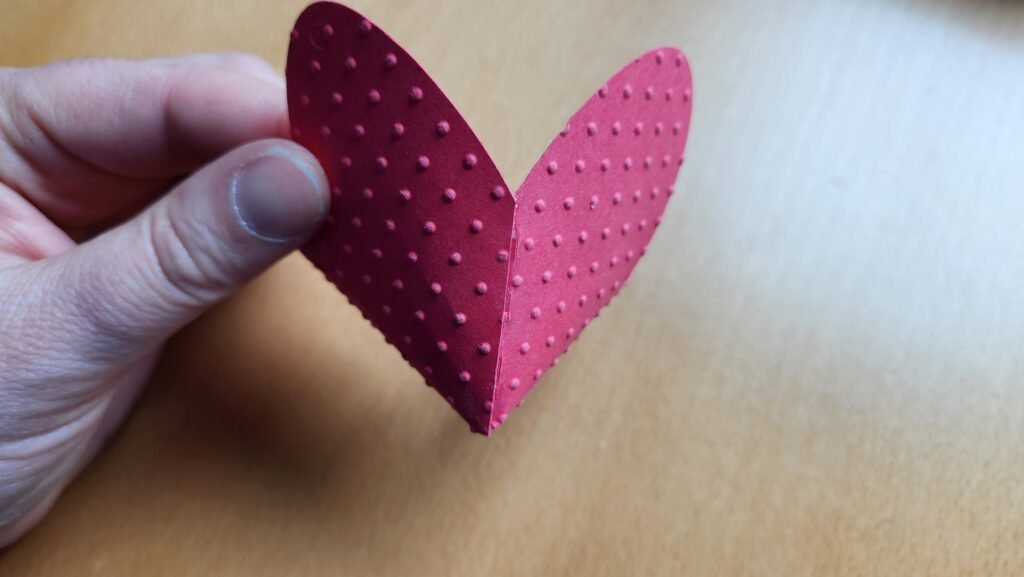
Before assembling the strawberry box, we ran it through an embossing folder. We chose a dot pattern folder to mimic the texture of a strawberry. We also added a touch of pink ink to make the dots stand out a little more. You can skip doing this, but we liked the look it gave the berries.

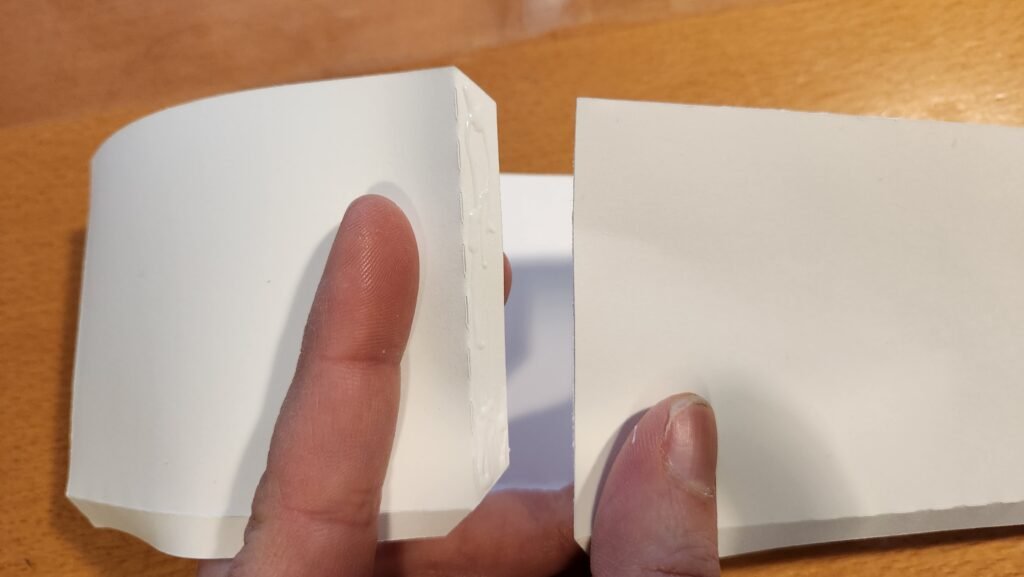
Add glue to the tab and gently curved the piece to make a cone shape.

Now you can run string or embroidery thread through the holes at the ends of the petal shapes. This can be done in any order, but we suggest you connect opposite petals, then have one end of your string connect one remaining petal, while the other end goes to the other remaining petal. This helps to encourage the pieces to flat on each other when pulled together. However, any order is fine, as long as you can close off the top. The strawberry is sized to be able to fit a decent sized candy with the lid closed.
Closing Off The Strawberry


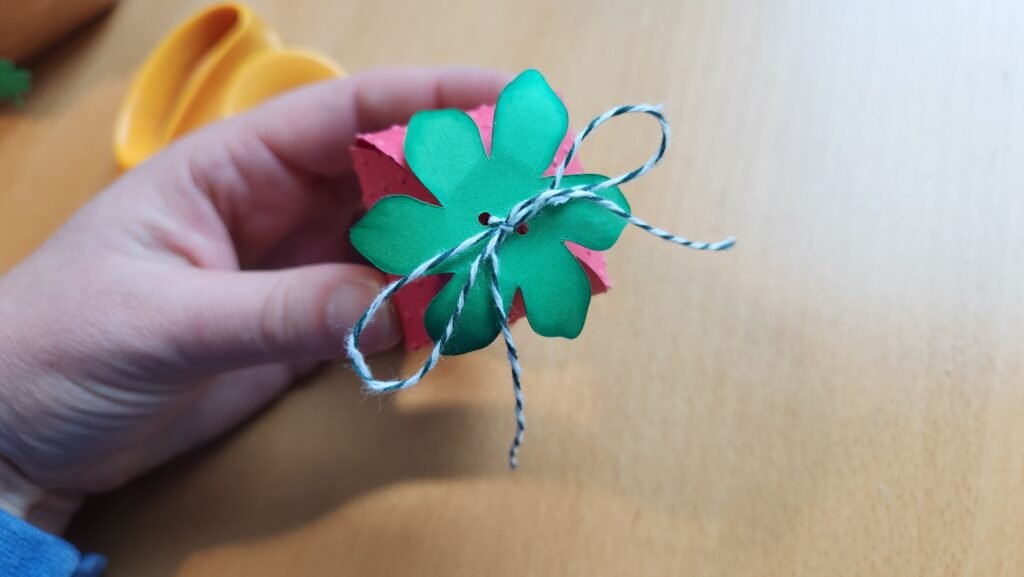
To finish the strawberry, we inked the petals of the green topper and curved them so they would sit curved down onto the strawberry. We then ran the strings through the holes and tied a bow to keep the leaves in place.


Mmmm…Chocolate Dip
Once you have your strawberries, you can make the chocolate piece that they slide into. Using the chocolate panel, make a cone shape and secure in place using the tab on one end. Add glue to the inside and slide the strawberry down as far as you can. Make sure it’s snug toward the bottom of the chocolate panel and the top of the chocolate is secured against the sides of the strawberry.


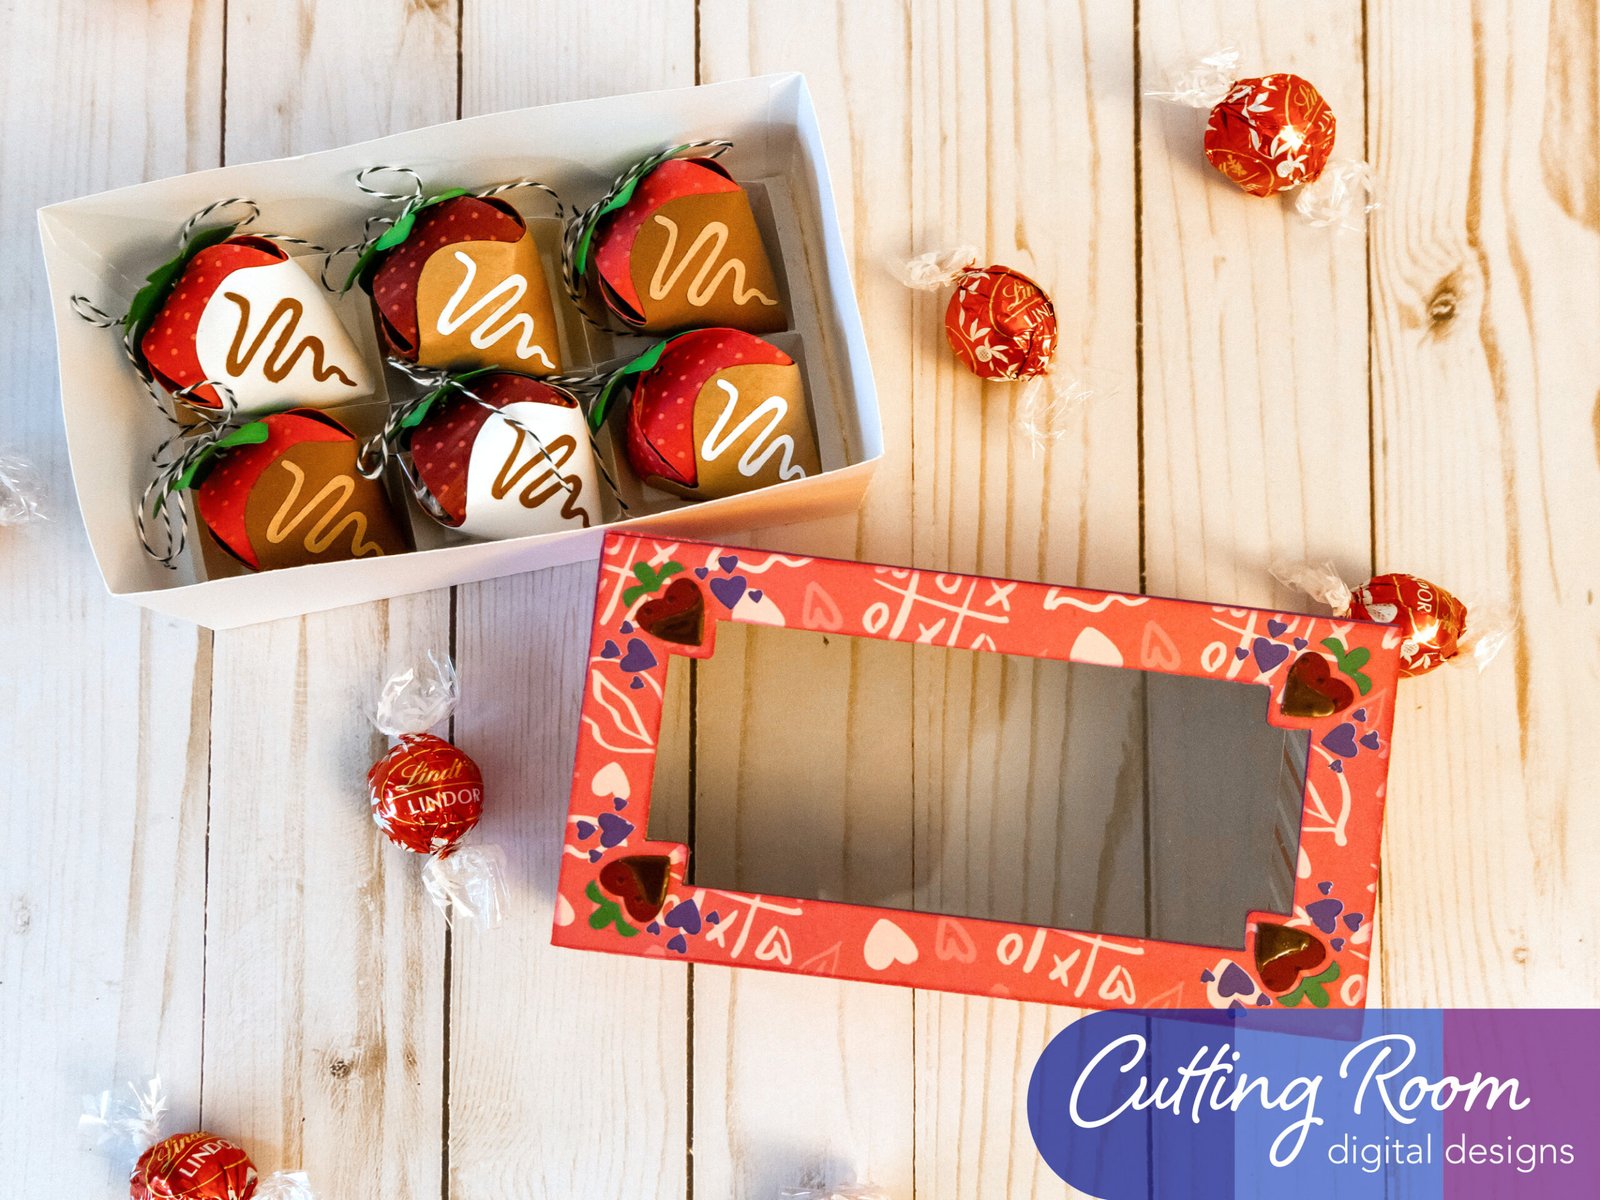
Once you have this chocolate in place, you can add the decorative top swirl. For our box, we chose to do a variety of types of chocolates (dark, milk, and white) with contrasting swirls.

Once we had the strawberries done, we set them aside and made the box for them to sit in.
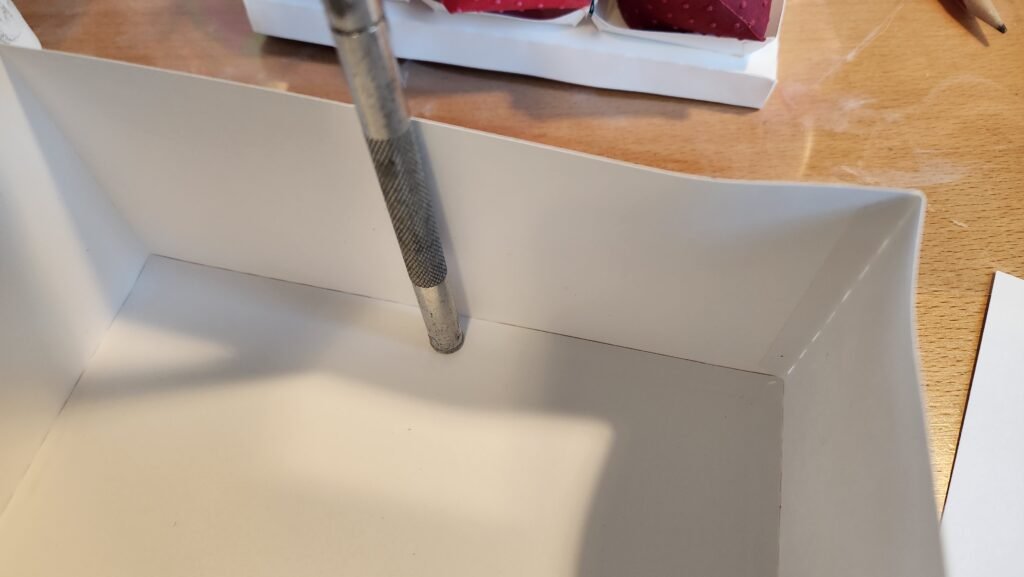
Building The Box Bottom
The bottom of the box has a couple components. First, we started with the box itself. This is made using 4 side panels, 2 long/2 short and the two bottom panels. We attached the side panels end to end using the tabs, making sure to alternate long and short. Otherwise, you get a very wonky shape that won’t work!


We then folded in the bottom tabs and added glue to the inside. Place on of the bottom panels inside, pressing to attach it to the tabs. Make sure to get a snug fit, you don’t want the sides to bow, creating a gap where the bottom panels meets the side panels.

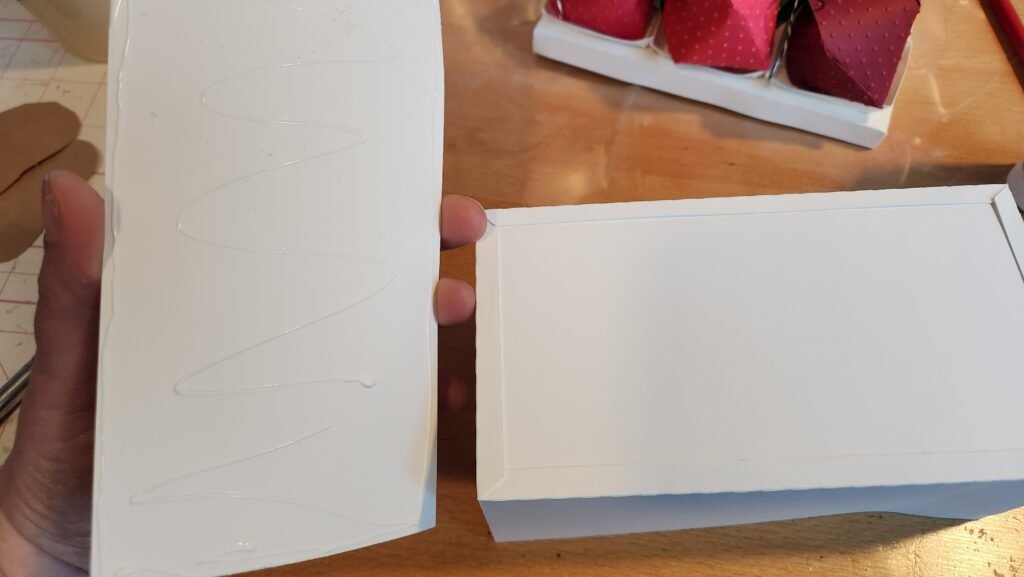
With the first bottom panel secure, turn the box over and add glue to the other panel then secure it in place. This will cover the exposed tabs and give the bottom some more strength for supporting the strawberries.

Making The Strawberry Holders
The strawberries themselves will sit separately in six little boxes. These are made by folding on the score lines and using the tabs to attach to the folded panels, creating a little box shape. You’ll make six of these, one for each strawberry to sit in.


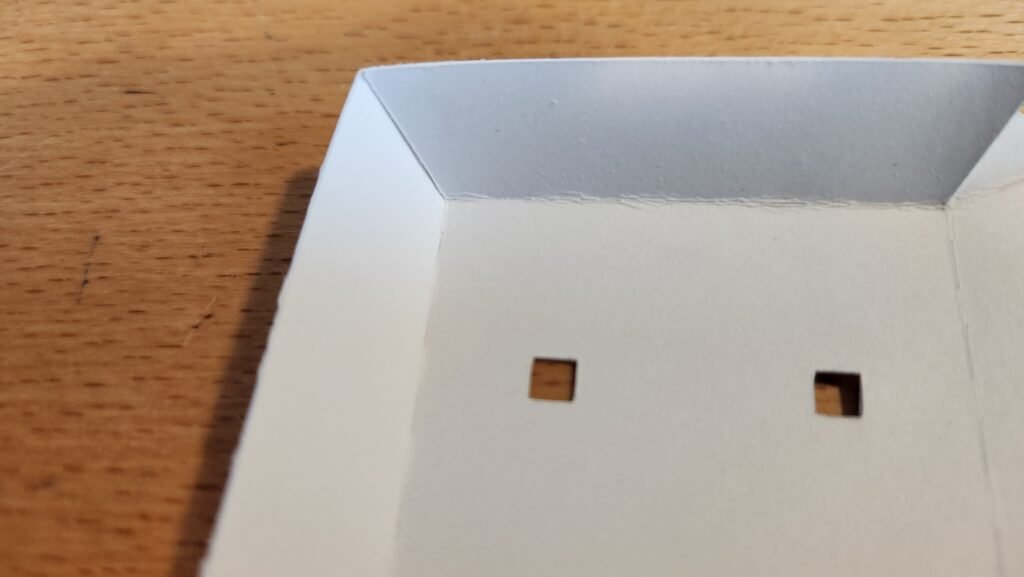


Using the holes in the bottom of these little boxes, line them up with the holes on the large panel. By aligning the holes of each of these little boxes with the holes on the large panel, the boxes will be spread out correctly, allowing the strawberries to sit comfortably but snugly in the box.


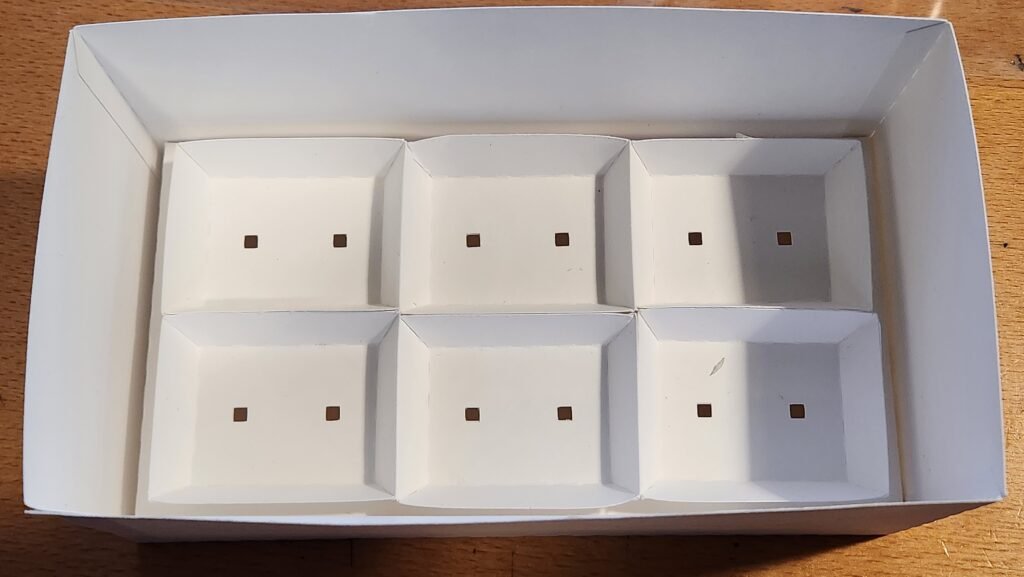
Once all six little boxes are attached, you can fold on the score lines of the large panel, and attach using the tabs. This lifts the base panel up off the table just a bit. Below you can also see how the strawberries will sit in the tray you have created. Place the tray in the box base you created and reposition the strawberries in the tray.


Making The Box Lid
The final step is to make the lid. The lid assembly starts the same as the base. There are the four panels, 2 long and 2 short, that you need to attach end to end. The difference with the lid (aside from being a fraction larger so it can fit over the base) is the large panels that close it off have a hole in it so create a viewing window for your strawberries.


Once you have your panels attached end to end, fold in the bottom tabs and add glue, then place your cut out panel on the inside.


We then took the two decorative panels and attached on on the other, allowing the cut out hearts to come through as a different color. We then flipped this over to the back side and attached an acetate panel.


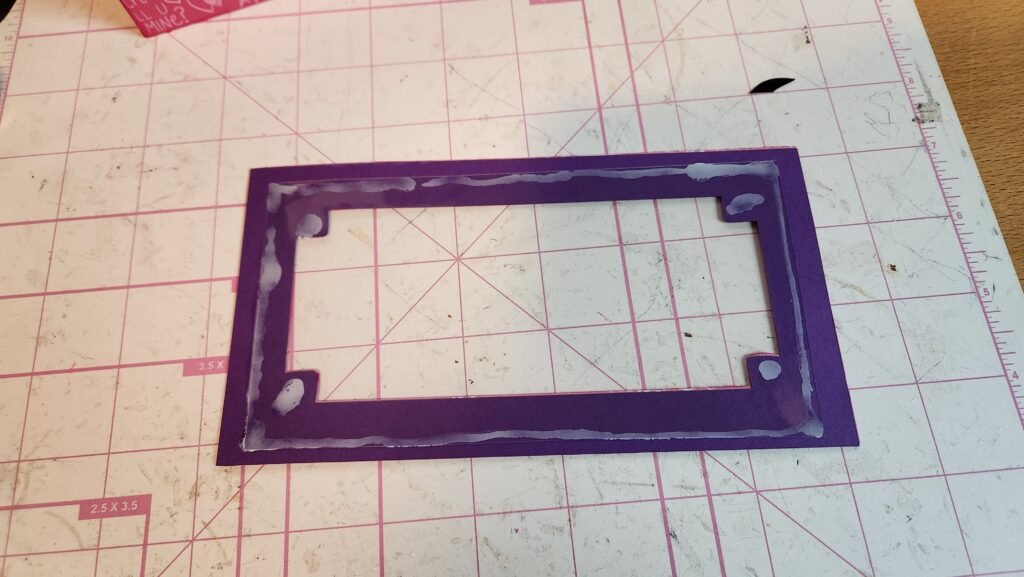
Once this was secure, we turned it over and added the strawberry decorations to the corners of the decorative panel. You could do this before adding the acetate if you want, the order doesn’t really matter here. What’s important is the acetate is sandwiched between the box and the decorative panel in the end. After attaching the strawberries to the decorative panel, we glued it on top of the box, covering the exposed tabs and closing off the top of the lid.
We did end up deciding to add some glossing accents to the chocolate part of the strawberry on the lid to give it a little shine. You could also chose to take a white pen and draw on a little decorative swirl to match the strawberries in the box.


Leave a Reply