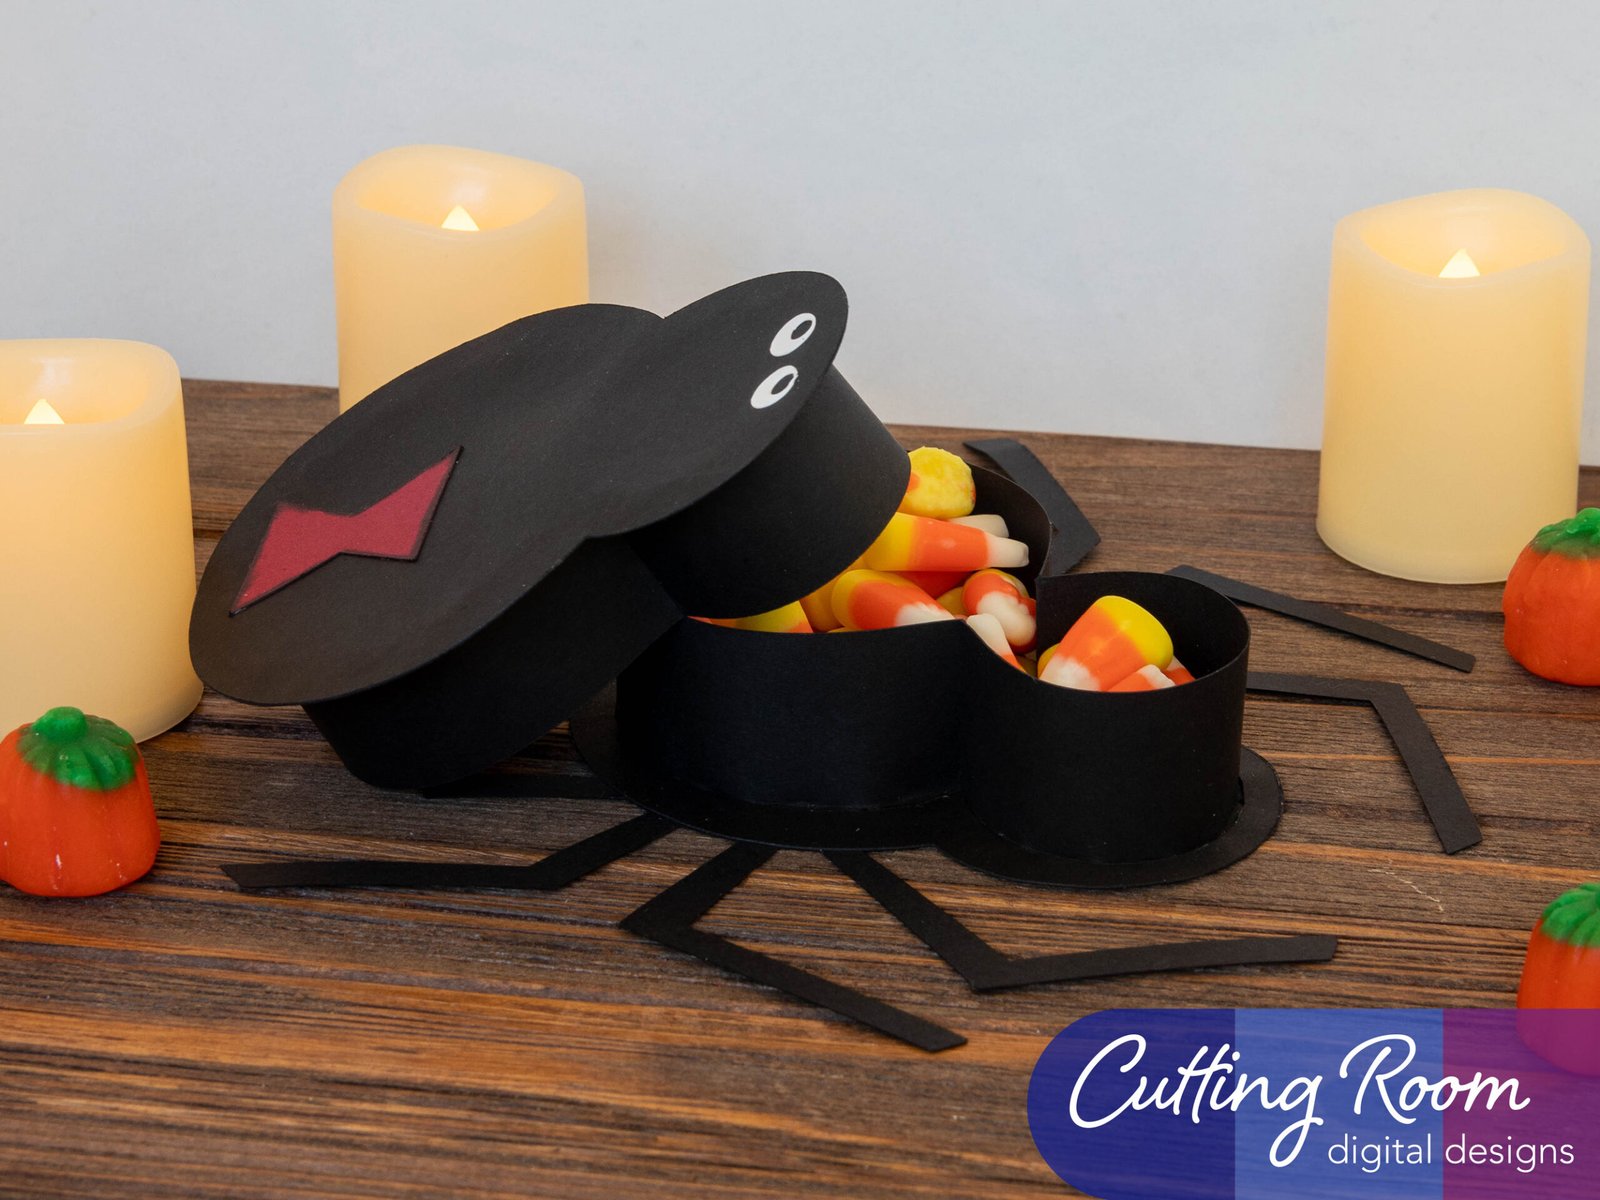
Materials Used
We used several products and supplies in the making of our cute spider gift box. Below is a list of what we used.
- Spider Treat Box Halloween Gift – Digital Download SVG
- Recollections cardstock
- Art Glitter Glue
- Electric Cutting Machine: Cricut or Silhouette
***Note that this post contains affiliate links and we may receive compensation if you buy something using one of our links. **
A Note About Top Vs. Bottom Assembly
The bottom and the top of the box go together the same way. The only difference is the top of the box has the spider body with eyes, hourglass.. The bottom has the spider with legs. The actual box assembly is the same. Below we show the assembly of the bottom of the box.
Box Sides Assembly
To start with, we laid out the pieces for the bottom of the box then we attached the long panels end to end to create a generally roundish shape.


Making the Spider Shape
With this circular shape done, we folded the remaining tabs on the bottom out, and slide the spider shape with the opening in the center over to top. Make sure as you do this that the joints between the side panels are lined up with where the neck and body of the spider come together. This is the most flexible part of the side panels, and you’ll need to have them make a deep V like shape as they conform to the shape of the spider body. We slid the spider down close to the tabs then added glue the tabs on one side at the point where the pieces will need to make the V shape as they attach to the spider body. We secured two tabs on one side first, then moved and did the same on the other side.


Next, we added glue to the tabs on one half o the spider, pick either the head or the body to do first. Press the spider down onto the tabs and push the side panels to make as secure and close a hold that you can. Once you have one half of the spider done, you can move to the other half.


Adding Spider Legs
With the spider body shape made, we added glue around the spider, making sure to get some close to the edges, then we added the solid spider shape with legs to close off the box shape.

Adding A Few Embellishments
We then repeated the above steps with the lid of the box. Once that was done, we added the spider body to close the lid then added the eyes and hourglass to finish off the box.


Leave a Reply