Materials Used
We used several products and supplies in the making of this large wall flower. Below is a list of what we used.
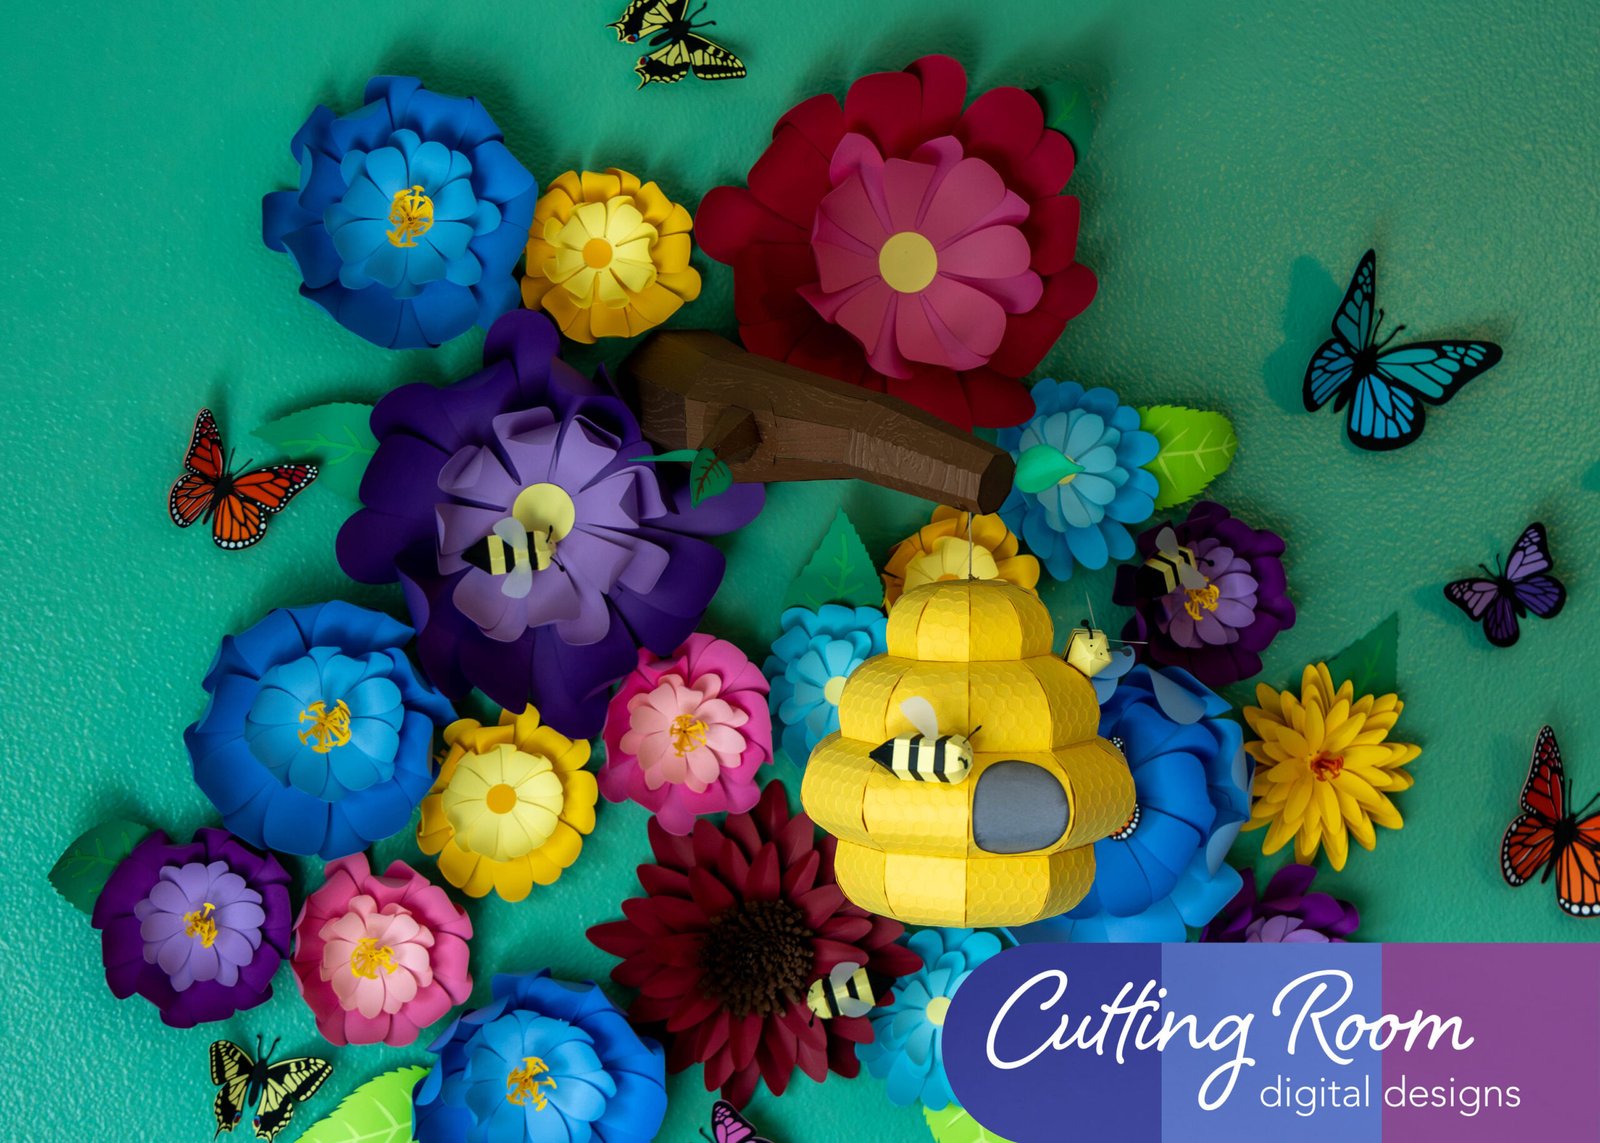
- Large Wall Flower Room and Party Decoration – Digital Download SVG & DXF
- Recollections cardstock
- Hot Glue
- Quilling Tool (Optional)
- Electric Cutting Machine – Cricut or Silhouette
***Note that this post contains affiliate links and we may receive compensation if you buy something using one of our links. ***
Small Flower vs. Large Flower
Regardless of the flower size you choose to cut, the assembly is the same.
Prepping the Petals
Start by taking a round dowel or similar and encourage the petals to curve. We placed the dowel at the base of each petal, then using our fingers ran it up the length of the petal. Depending on how you hold the petal/dowel together, you can get a tighter or looser curve.

Assembling The Flower
Once you have all the petals curved, you can start assembling the flower. Start by adding glue to the center of one of the large petal pieces. Place the other large petal piece in the center, making sure the petals of the two don’t line up.

Add glue to the center of this and place one of the small petal pieces in the center.

Then glue the other small petal piece, again making sure to off set the petals.
Finishing The Flower
There are two options for finishing the flower. One option is to glue the round center piece in place as seen below.

We also included a long strip of flower stamen that can be used to finish the center of the flower.

We used a quilling tool to roll the stamen piece, but you can do it with just your fingers if you don’t have one. Roll up the stamen, starting at the narrow tab like end. Add glue as you go along to help the piece stay rolled up.


We added hot glue to the bottom then placed it in the center of our flower.


We then spread the stamen out.


Leave a Reply