Materials Used
We used several products and supplies in the making of this bee hive wall decoration. Below is a list of what we used.
- Beehive and Branch Wall Decoration – Digital Download SVG
- Recollections cardstock
- Art Glitter Glue
- Honeycomb Embossing Folder
- Color Petal Ink
- Electric Cutting Machine – Cricut or Silhouette
***Note that this post contains affiliate links and we may receive compensation if you buy something using one of our links. ***
Starting The Bee Hive
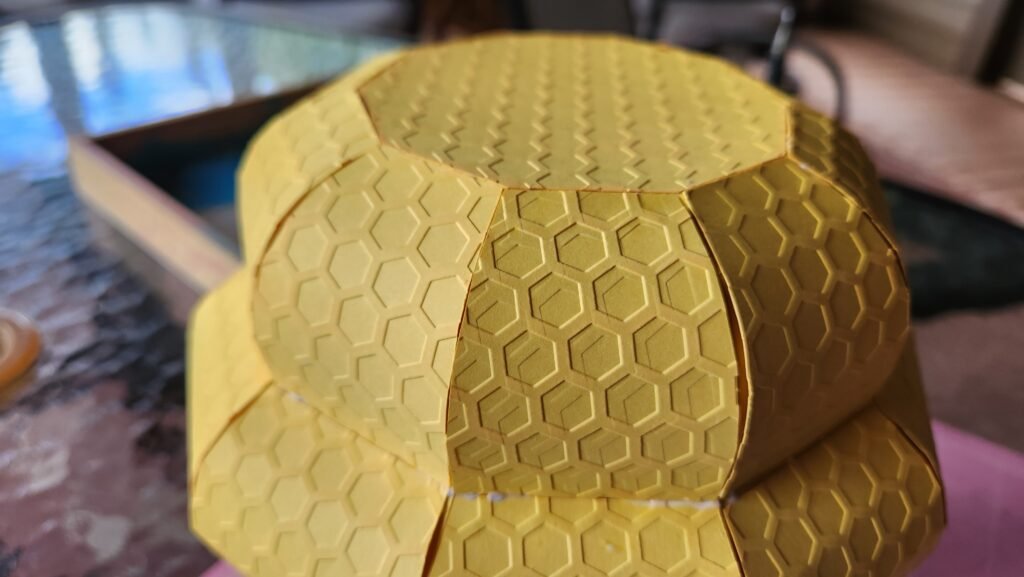
The beehive is made up of 4 levels. We chose to start with the third down, the largest side panels of the set. This makes the largest circumference section on the beehive.
We started by folding on the score lines then attaching the lowest tab on the side to the next panel. Once this was secure, we attached the rest of the tabs. The top and bottom will line up to create a vertical edge. These will be used for attaching the next lever of the beehive.


Continue this process all the way around until you connect the first to the last panel.


Repeat this process for the next level up.


Attaching The Two Sections
Do a test fit, placing this new section over the first. Then add glue to the vertical section at the top of the first assembly. Place this new assembly and reach inside to apply pressure between the two, securing them together.


Making The Top
Assemble the top portion of the beehive. This will follow the same assembly. Once done, there will be an opening with tabs. Fold these in and add glue to the inside of the tabs. Place one of the octagon panels to close this off.


Using the same process as before, attach this to the top of your beehive structure. Turn it upside down so you can reach inside and apply pressure where to top section meets the middle section. You need to be sure to get a good hold between each section as you go.


Making The Bottom Section
The final step of assembly is putting together the bottom section of the beehive. This is done the same as the others. In the end you will have a larger opening (compared to the top of the beehive). Fold in the tabs and secure the large octagon panel to close it off.


Turn your beehive upside down and add glue to the vertical edge on the original structure you built. Place the bottom structure you just made over, closing off the beehive. Since you cannot reach inside, be sure to use ample glue. If we were more confident with hot glue, we would have used that to ensure a good solid hold.


Decorating The Bee Hive
With the beehive structure complete, it’s time to decorate. Always the most fun part! We chose to emboss our decorative pieces and brush them gently with a light orange ink pad to help accentuate the texture. Then we added the decorative panel to the bottom of the beehive.

You can add the decorative panels in any order, so starting at the top, bottom, or middle. Whatever works. Just be sure to match the correct level of decorative panels with the correct level in the structure. If you plan to hang the beehive, do not attach the top decorative panel yet.
To attach decorative panels, use your fingers to encourage them to curve. Then add glue to the top and bottom of the panel and line it up with it’s base panel on the structure. Do this for all the panels.


Prepping The Bee Hive To Be Hung
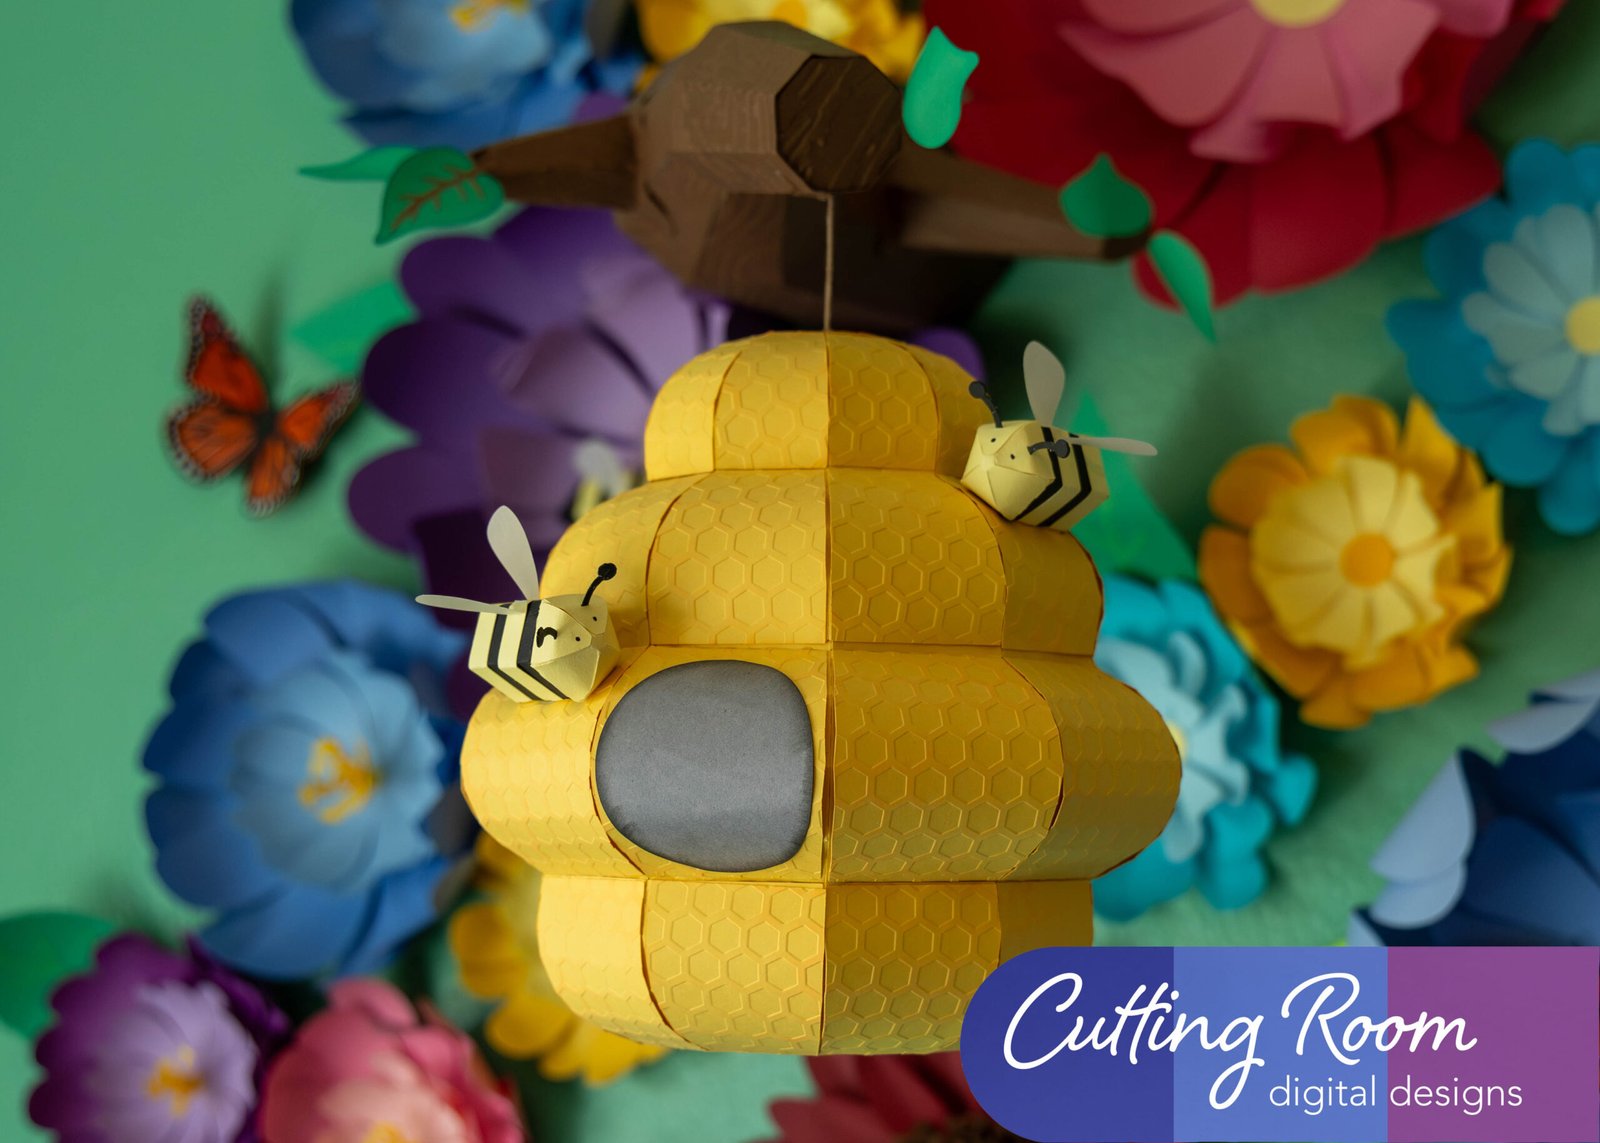
The top decorative panel has two holes in it. Use these to run a piece of embroidery thread or other string through and tie it off on the top side. Then add glue to the bottom of the panel and attach it to the top of the beehive. Cut the string to the length you want the beehive to hang down. We left it about 4 inches.


Then we took the round decorative panel from the branch. This pieces has a hole in the center. We threaded the embroidery thread through the hole and added a knot to the end so that there was more shape for glue to get purchase on later. Hot glue the knot to the branch. Add glue to the round panel and attach it to the branch, covering up the knot and glue both..


There is one oval shaped panel that remains. This is the ‘door’ for the beehive. We chose to wait until we hung the beehive up before adding it. We settled the beehive so it was no longer moving, then attached the door facing the desired direction. Add glue to the door and attach it to the beehive. Given its size, it fits best on the third section down from the top. We also added glue to one side of an assembled bee and attached it to the beehive.


Leave a Reply