Materials Used
We used several products and supplies in the making of our recycling truck party decoration. Below is a list of what we used.
- Trash and Recycling Truck Party Decoration Treat Holder – Digital Download SVG
- Recollections cardstock
- Art Glitter Glue
- Brads
- Vinyl
- Glossy Accents
- Electric Cutting Machine: Cricut or Silhouette
***Note that this post contains affiliate links and we may receive compensation if you buy something using one of our links. ***
Recycling Truck Wheel Base
The wheel base is made of eight pieces, six that make the sides and the two for the top and bottom. We basically built a hollow box that will support the wheels and recycling truck body.

To start, we folded all the tabs on the side panels. These long panels have three sections, a short, long and another short. Fold the tabs and add glue to the long middle portion then glue in place as shown. Once this is secure, add glue to the other two tabs and secure in place. Be sure to get a snug fit as the tabs on the ends will be used to attach the tires.


Once you have one side, done, repeat the process on the other side. Then add the side panels for the ends.

Add glue to one of the tabs at the end of the wheel base. Place the panel as shown then work your way along the wheel base until all tabs are glued in place. Take time to get them aligned correctly. We found it easiest to glue just one or two tabs at a time to ensure we could get the correct fit.


Adding The Tires
The next step is to attach the tires. You’ll notice that there is a square hole in one of the tire pieces. This hole is not centered. It is lowered toward one end, but centered right to left. Make sure that you attach them all with the same orientation on the wheel base. It doesn’t matter witch side of the wheel base gets the extra length of tire, just that you are consistent. To attach the tires, slide the wheel piece over the tabs on the base, add glue to the tabs and fold back to attach the wheel. Do this with all six.


Once complete, place the wheel base as below. The wider part of the wheel should be toward the top with the cut-out hole closer to the table. The truck box will be glued to the platform between the tires.

While the glue sets, we assembled the outside of the tire. Take the grey ring and glue on the black layer to give the appearance of tire tread. There’s a hole in the center of the black layer to give the appearance of a hub cap. When these are assembled, you can attach them to the tires on your base. Set aside the wheel base.

Recycling Truck Assembly
Our next step was to assemble the truck body. This consists of five pieces: two sides, front, back, and bottom. The top remains open. We chose to start with a side and the back. The back is the panel with only one fold in the center. The front, having the windshield, bumper, roof, etc. has several folds and is much longer. We added glue to the first tab on the back panel and attached it to the side panel as shown then attached the next tab. Once the back was attached to one side, we attached the front panel, followed by the other side panel.


The next step was to attach the bottom panel to close off the box. We folded the tabs outward as shown, added glue and attached one long side. This allowed us to get the panel in place correctly and not off center. Once the first tab is secure, we folded in the bottom and added glue to the other tabs. Then we folded them in to attach to the base. To be sure that the glue is secure, we reached inside the truck and applied pressure from the inside.


Assembling The Decorative Panels
Before decorating the truck, we assembled the side decorative panels and the front/back panels. The only part we didn’t put on is the red and white caution strip for the front bumper. Hold off on putting that in place until after the truck body is on the wheel base. Waiting makes folding it around the corners easier to do.


Decorating The Truck
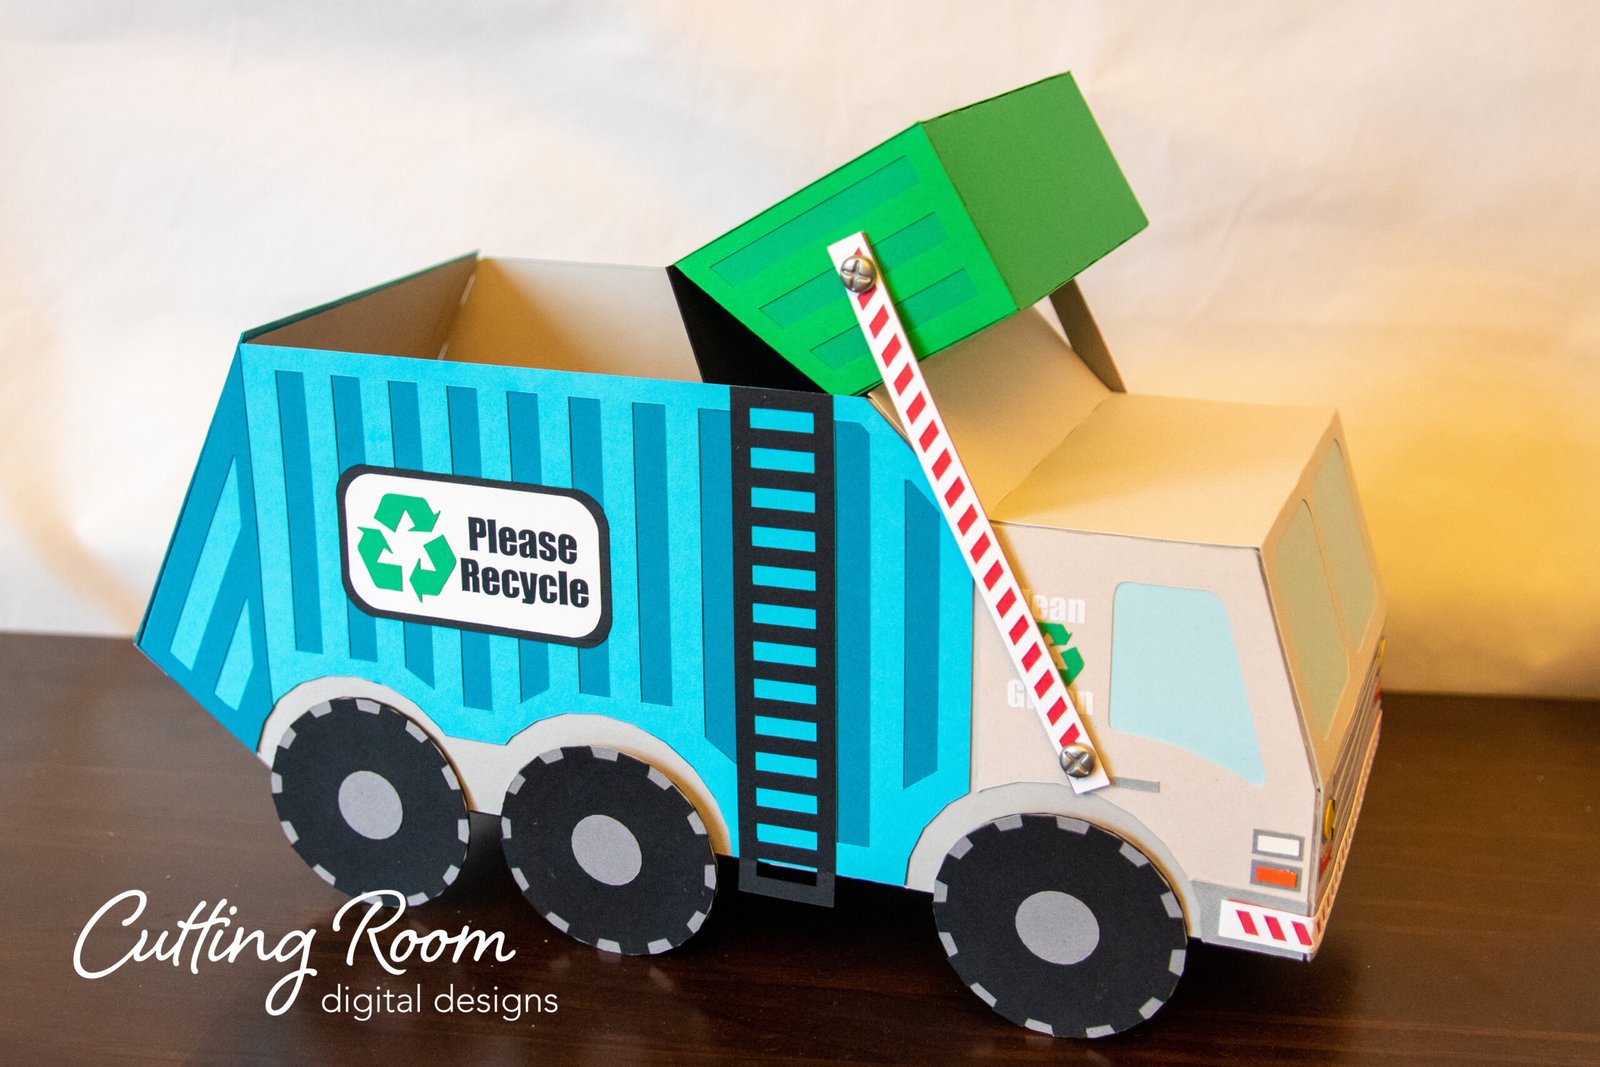
With these fully assembled, we started attaching them to the sides of the truck box. Add glue to the back of the panel and place on the truck, making sure to get the edges secure with glue. The truck cab has a hole in it that needs to line up with the hole in the decorative panel. This hole is for a brad to attach the lifting arm to the truck body.


With all the decorative panels in place, you can glue the truck to the wheel base. Add glue to the platform as shown then add the truck. Make sure to line up the two back tires with the two cutouts on the recycling truck box and the front tire with it’s cut out.


Now you can attach the red and white caution strip to the front bumper.


Dumpster Assembly
The final step is to assemble and attach the dumpster and lifting arms.
The lifting arms are made of four layers of cardstock for strength with a decorative layer of the red and white caution panel. Glue together the layers making sure everything is lined up. You’ll need the circles at each end to be lined up so that the brads will be able to pass through when attaching the lifting arms to the truck and dumpster.


The dumpster box is made of one piece for the box, and four pieces that are decorative side panels. Fold the box panel along the score lines and glue tabs to create an open topped box.


For the lid, fold along the score line several times to make the lid open and close easily. Add the decorative panel to the top, then glue the lid to the inside of the box on the tall side of the dumpster.


Attaching The Dumpster To The Recycling Truck
To attach the dumpster to the truck, we put a brad through one end of the lifting arm and into the hole on the inside of the dumpster. Repeat for the other side. Leave the brad a little loose so that the arm can move, this will help with the dumping action later.
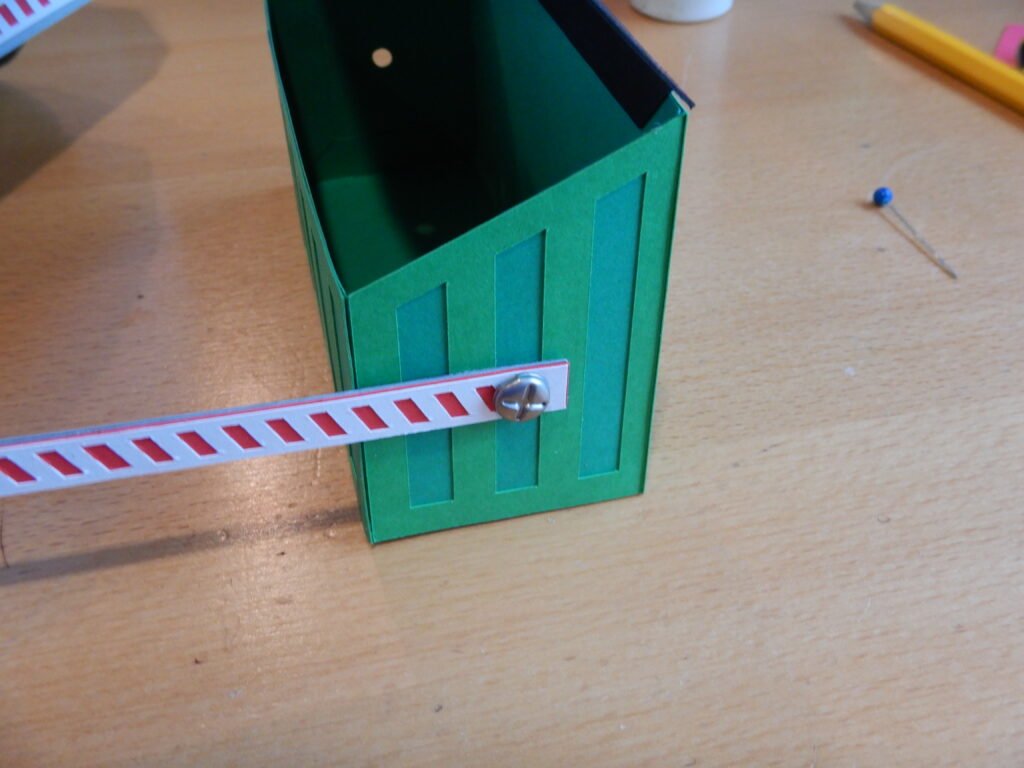

Attach the arm to the truck in the same way as you attached it to the dumpster.


