Materials Used
We used several products and supplies in the making of our acoustic guitar gift box. Below is a list of what we used.
- Acoustic Guitar Gift Box – Digital Download SVG & DXF
- Recollections cardstock
- Art Glitter Glue
- Printable Papers (coming soon to our shop!)
- Elastic Cord – Silver
- Electric Cutting Machine: Cricut or Silhouette
***Note that this post contains affiliate links and we may receive compensation if you buy something using one of our links. ***
Making The Guitar Body
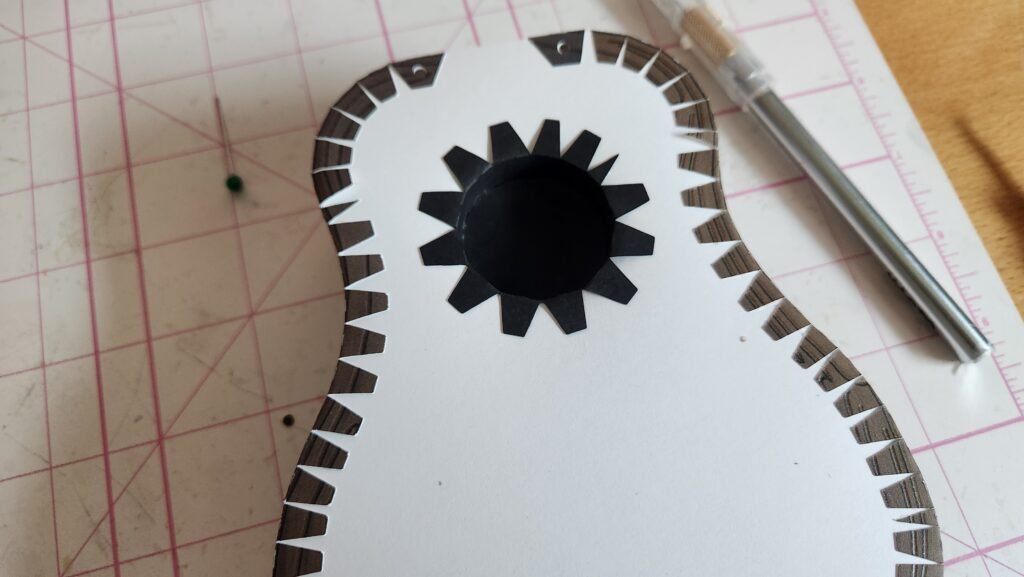
To start assembly, we made the body. This is done using the two side panels and the guitar shape with two small holes at the top. These holes line up with the two holes in the tabs of one of the side panels. Fold on the score lines, then add glue and line up the holes.

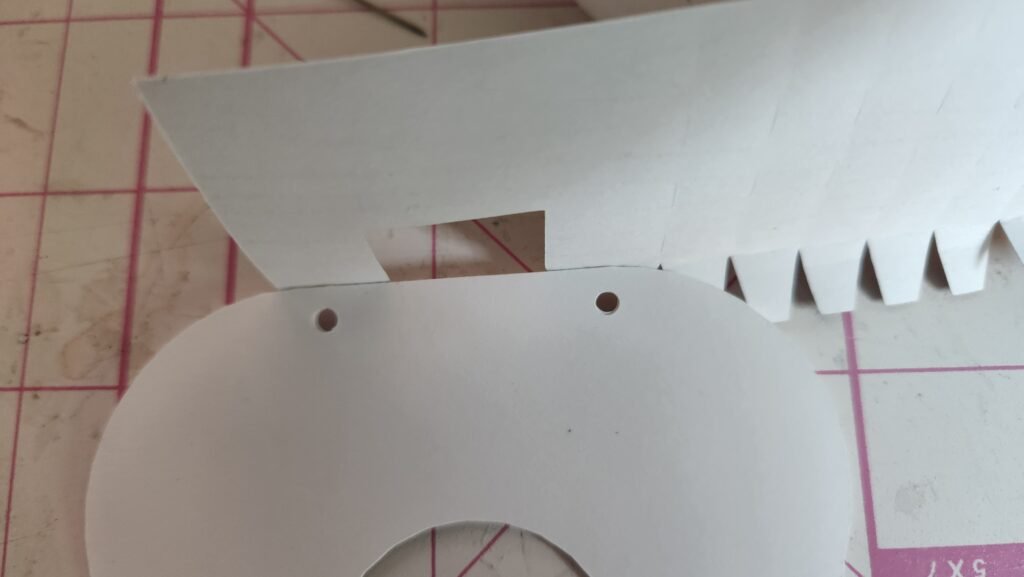
Add glue to several more tabs, then attach to the guitar shape, making sure to have a snug fit. Continue until all the tabs on the first panel are secure.

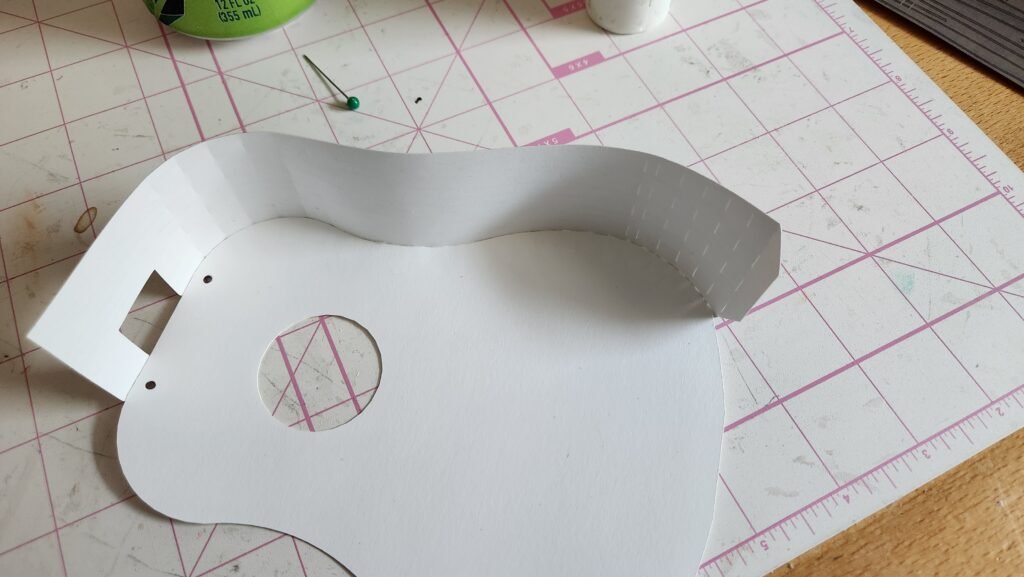
Attach the second side panel to the first. Then repeat the process of attaching the tabs until the entire panel is attached.


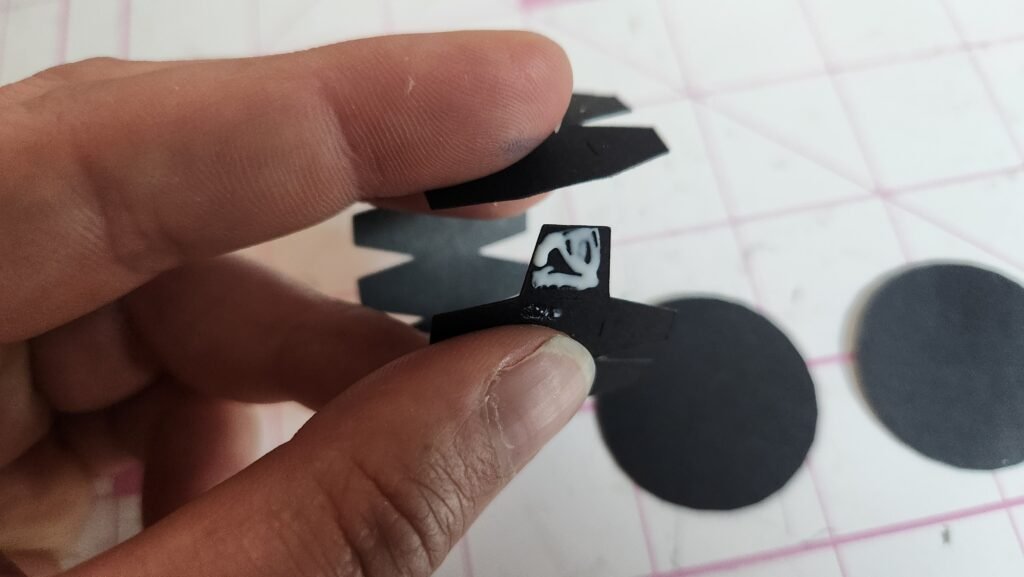
Adding The Sound Hole
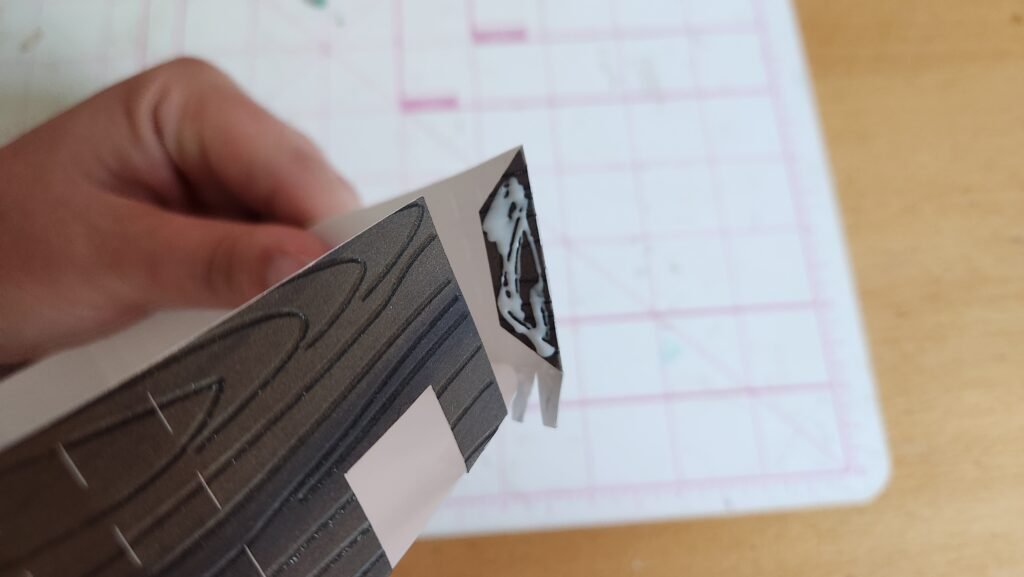
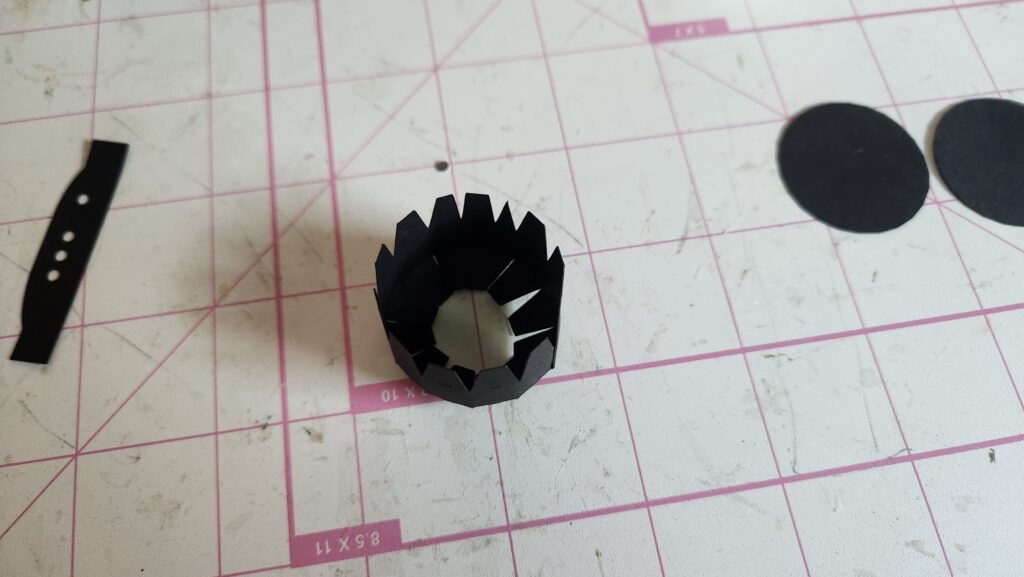
Our next step was to make the component that goes in the hole in the guitar body. We took the long panel and added glue to the tab at the end. Attach this tab to the end of the panel, creating a circle. Once this is done, fold in the tabs on one side and add glue. Place one of the circular panels to close the bottom of the circle. Then turn over the piece and add glue to the other side. Attach the other circle, covering the exposed tabs.


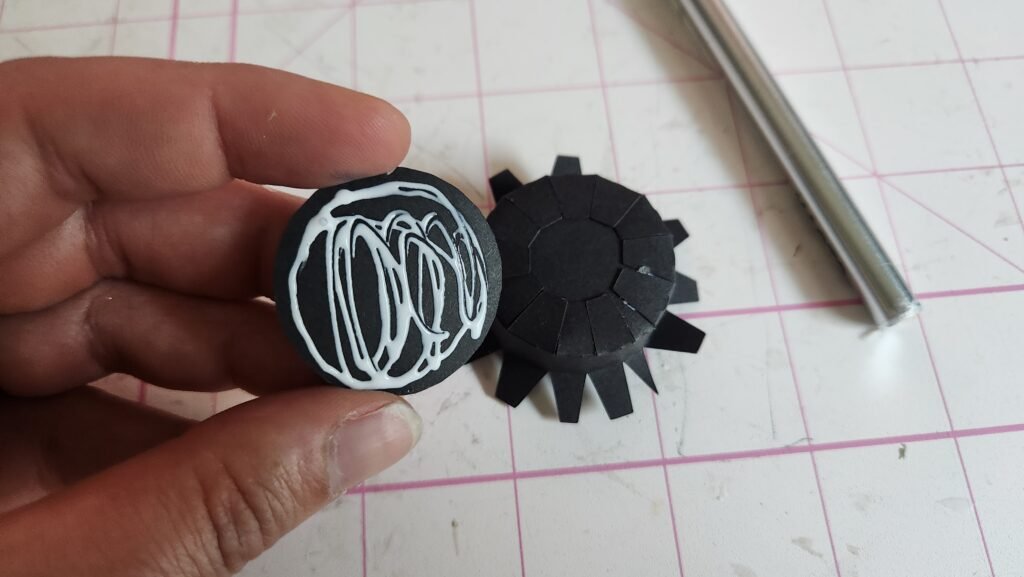

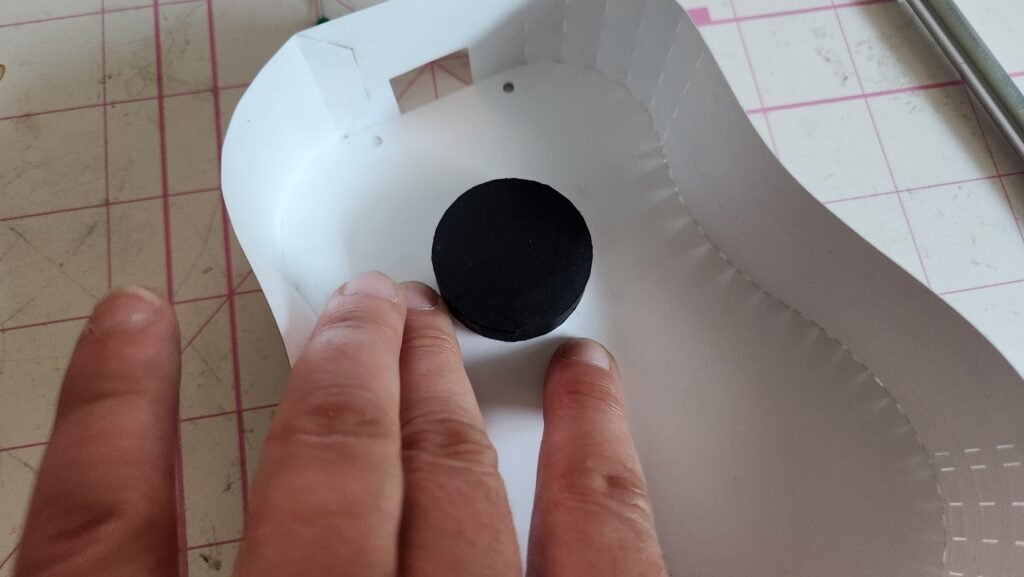
With the remaining tabs folded out, add glue to them then slide the guitar over the top. The tabs will be on the outside (front) of the guitar, with he shape inside.

Making The Guitar’s Neck
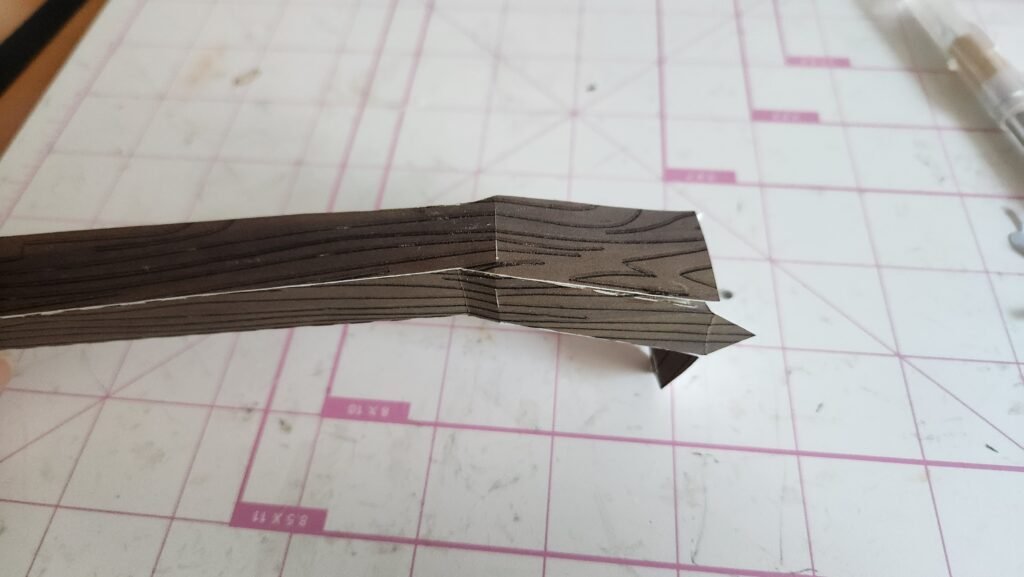
The neck of the guitar is made using 4 panels. We’ve laid them out below in the order that they are put together. Start by folding on the score lines, then attach to create the square long section of the neck. Only attach the three pictured on the right below. The panel that makes up the back will be attached after a few more steps. Attach the three panels to each other, first using the long tabs. Then attach the tabs at the top, this will give the bent shape for the headstock.


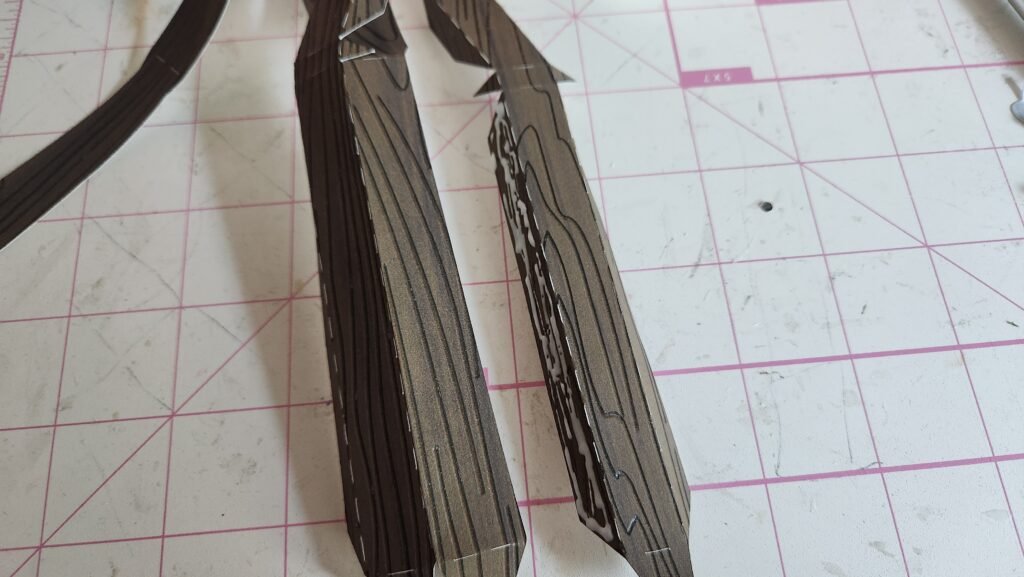


Now you can start attaching the fourth panel that closes the back of the neck.


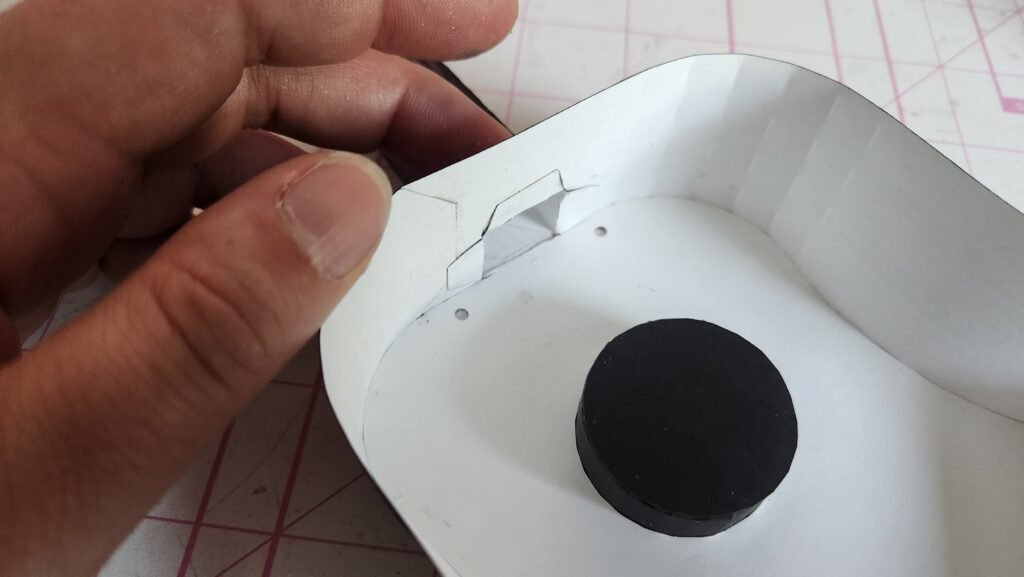
Attaching The Neck
Attach the neck to the top of the guitar body. Slide the tabs at the end through the hold in the top of the guitar. Make sure that the neck is oriented the right way so it’s not attached backwards. We started by attaching the one closest to the opening of the guitar box. We then added glue and attached the two on the sides. Our final tab accidently ended up on the outside of the guitar rather than inside like the others. That worked okay, especially since we’ll have a panel to cover it later.

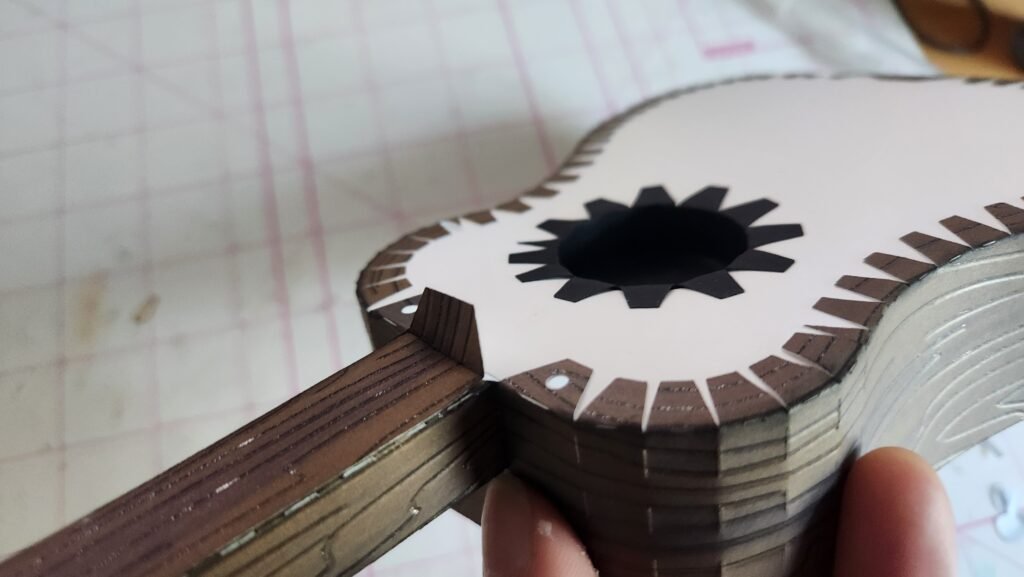

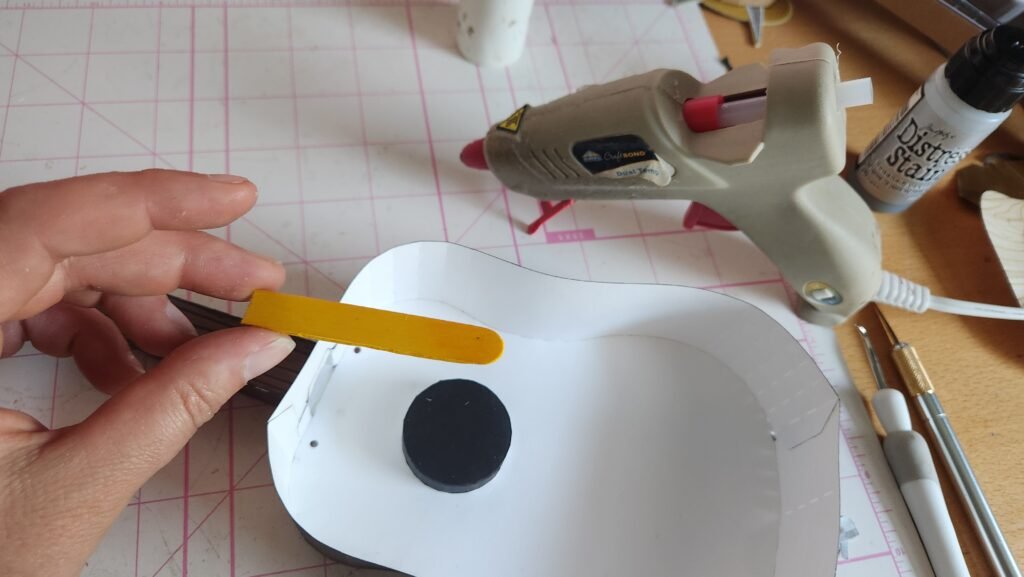
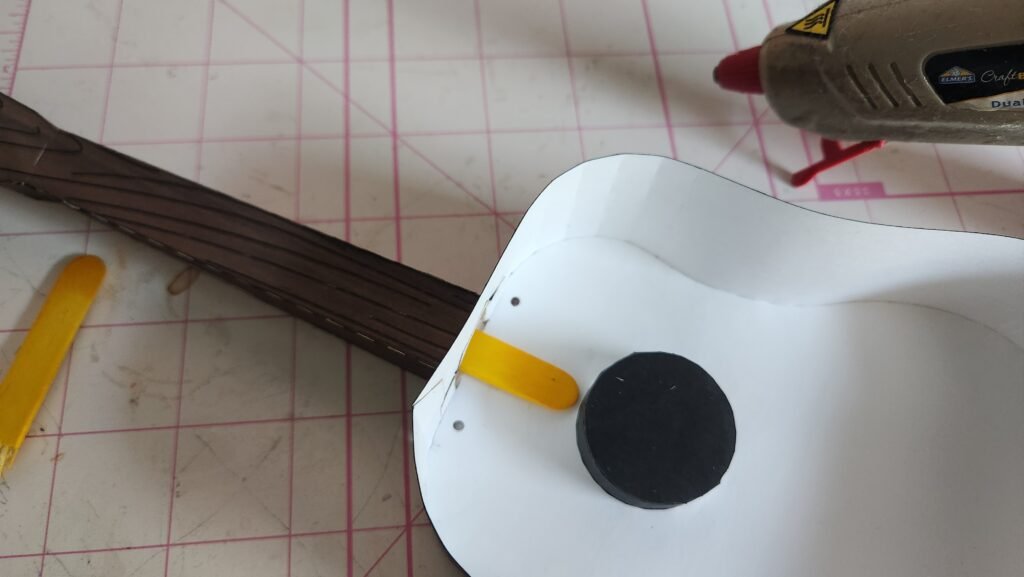
A Little Reinforcement
In an effort to help stabilize the neck, we hot glued a popsicle stick to the inside of the neck, overlapping into the body. This isn’t strictly necessary but does help prevent the neck/body connection from flexing when you are adding strings later.
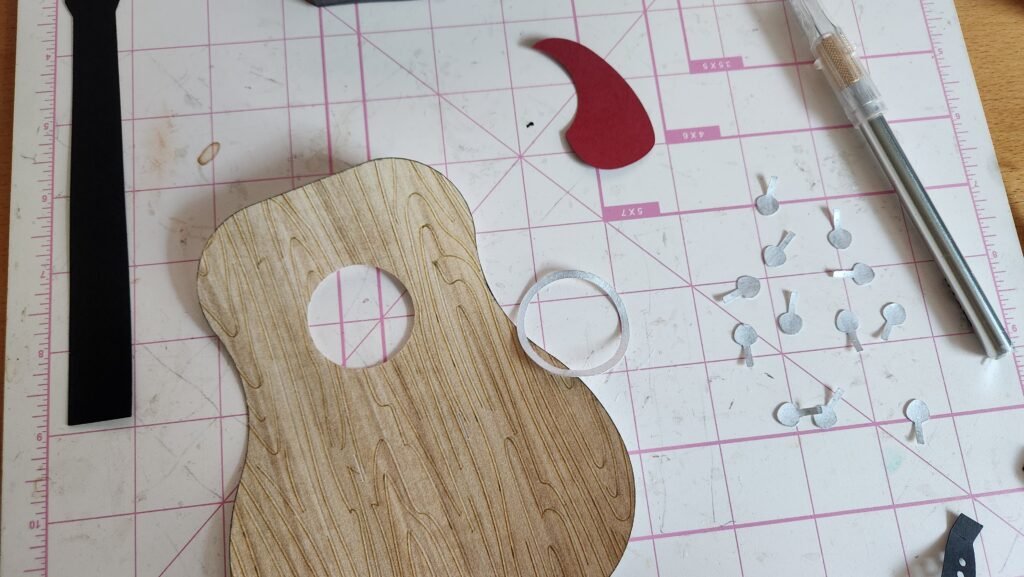
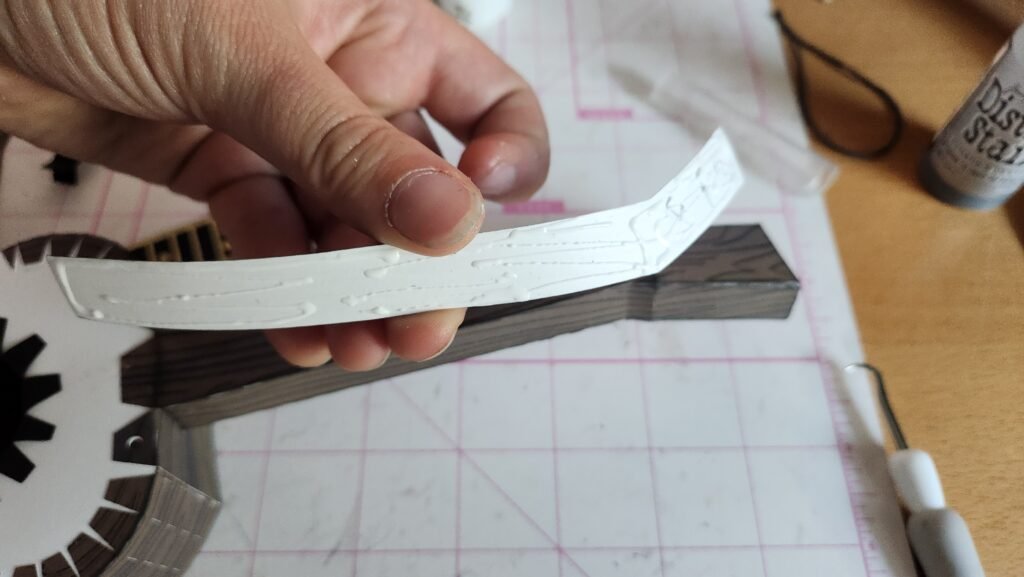
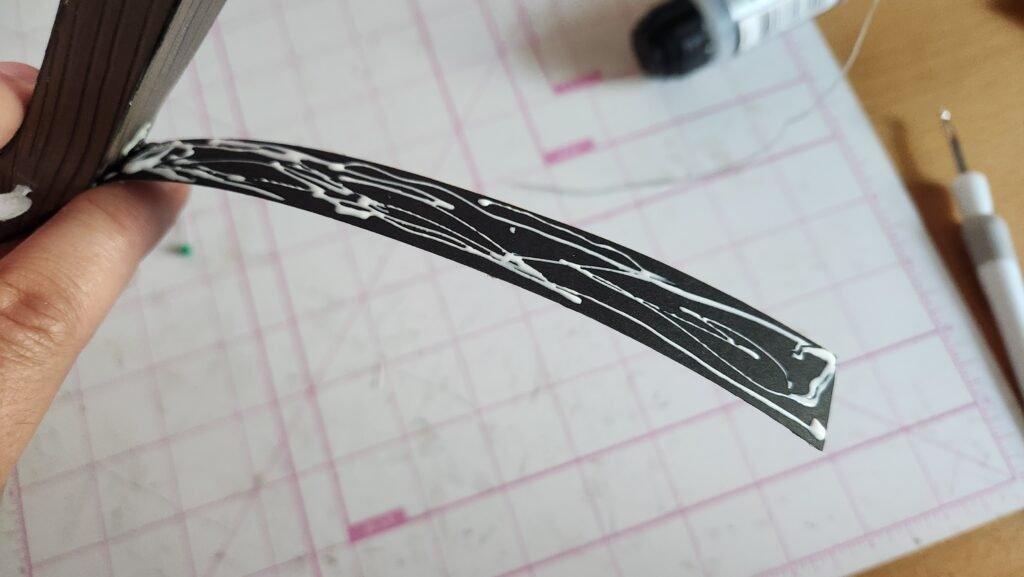
Decorating The Guitar Body
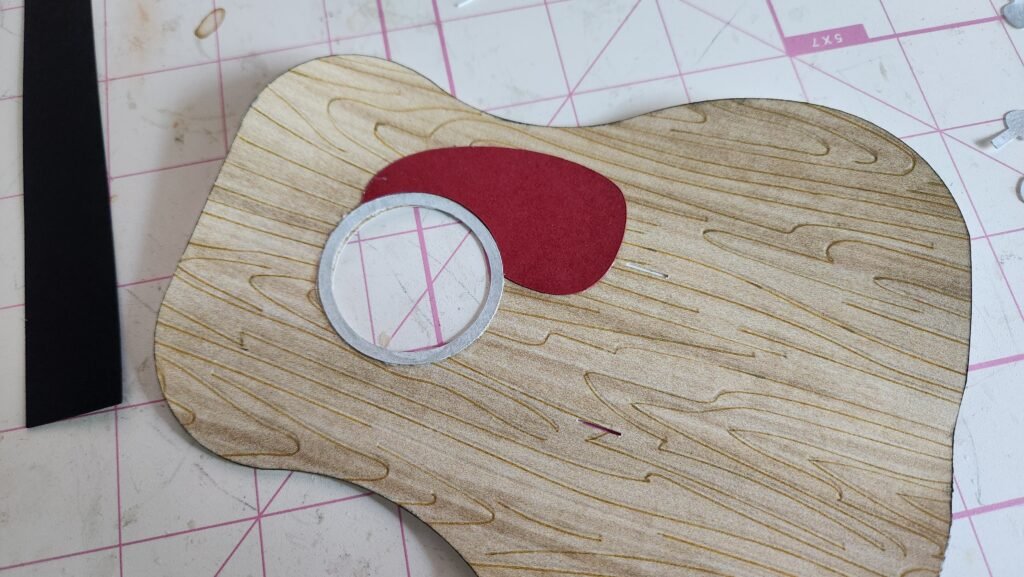
Next, we started decorating the front of the box. Add the ring around the round opening. Then take the curved panel and attach it, placing it snug with the ring. When positioning this piece, make sure it doesn’t block the small slits located below the circle cut out.

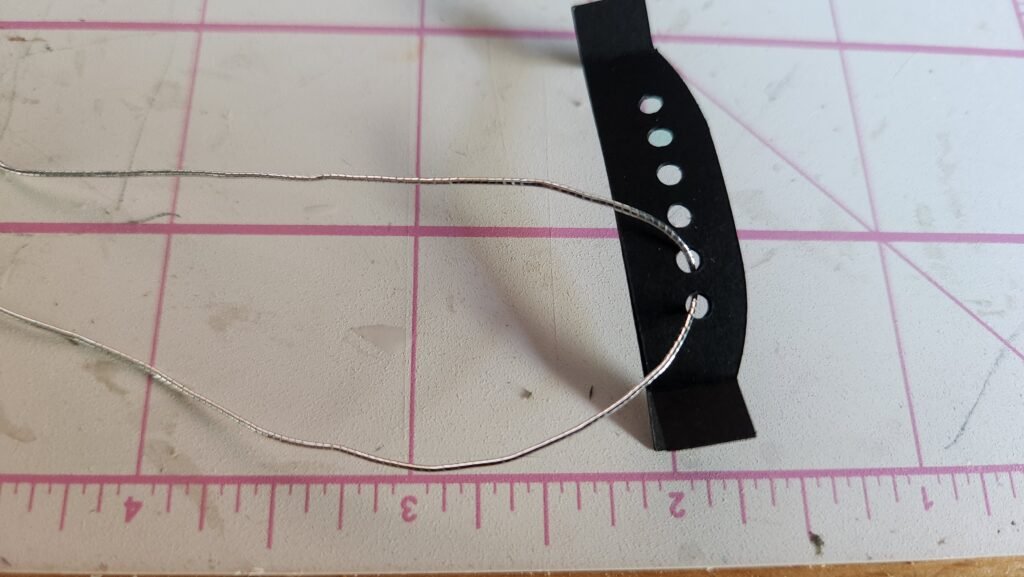
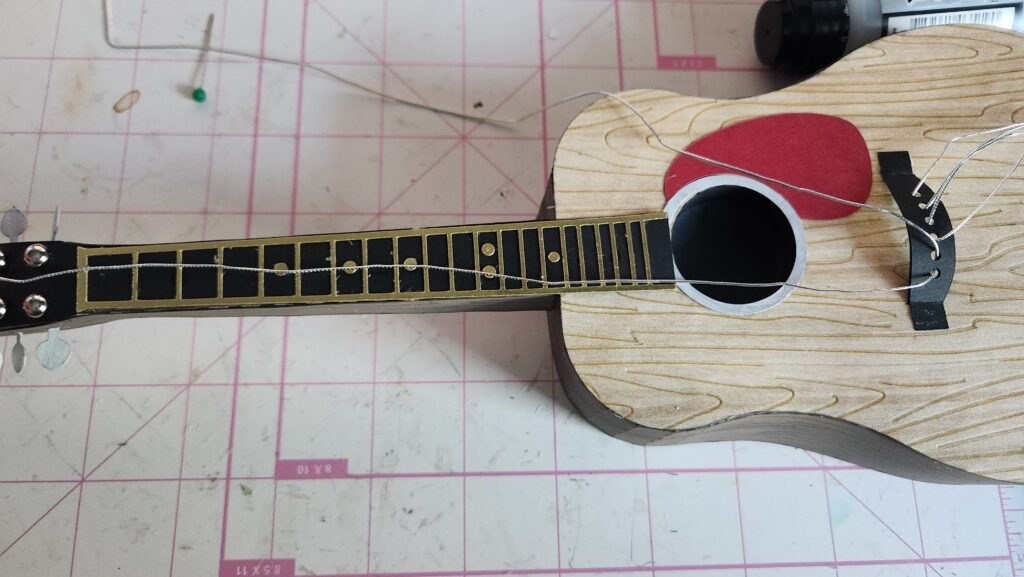
To finish the front of the guitar body, we assembled the panels that make the bridge and will hold the guitar strings. This panel set is made of two pieces. Fold on the score lines one either end. These will be used as tabs later. You don’t want to glue them to each other. The center of the panels can be glued together.


We cut our jewelry cord into 3 sections, each 2 feet long. That gave us some extra that we’d cut off later. We ran each section through two of the holes in the bridge. Be sure to have the tails of each string coming out what will be the front of the bridge.
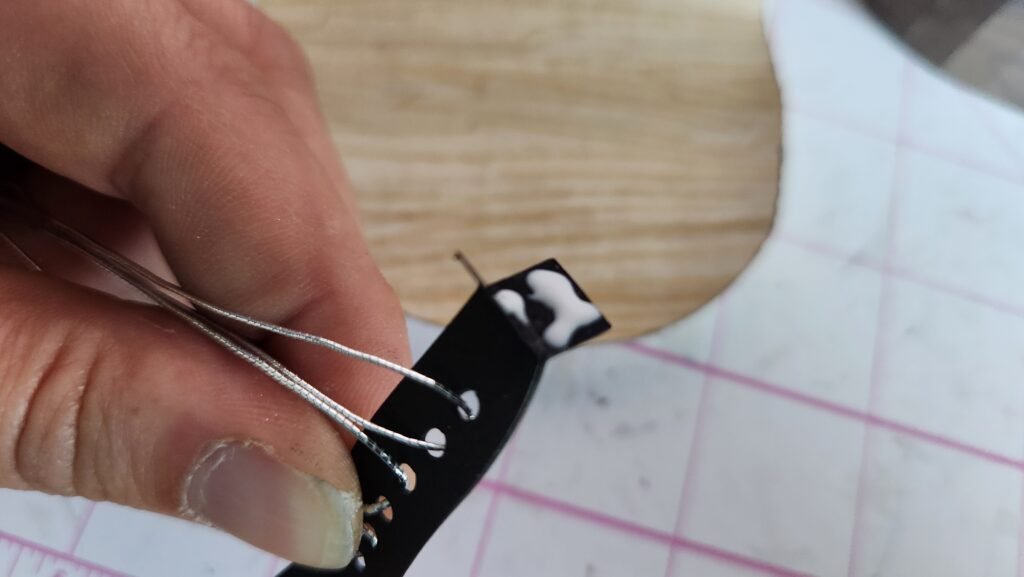
Add glue to the back tab on one side and slide it through one of the slots on the guitar front. Make sure that the straight side will face the hole and the curved edge faces away from the hole in the guitar. Once you have the tab on one side attached, repeat this process for the tab on the other side. This will secure the bridge to the guitar front on the back side of the panel. Now you can add glue to the other tab, the front tab. Press this onto the front of the guitar panel.


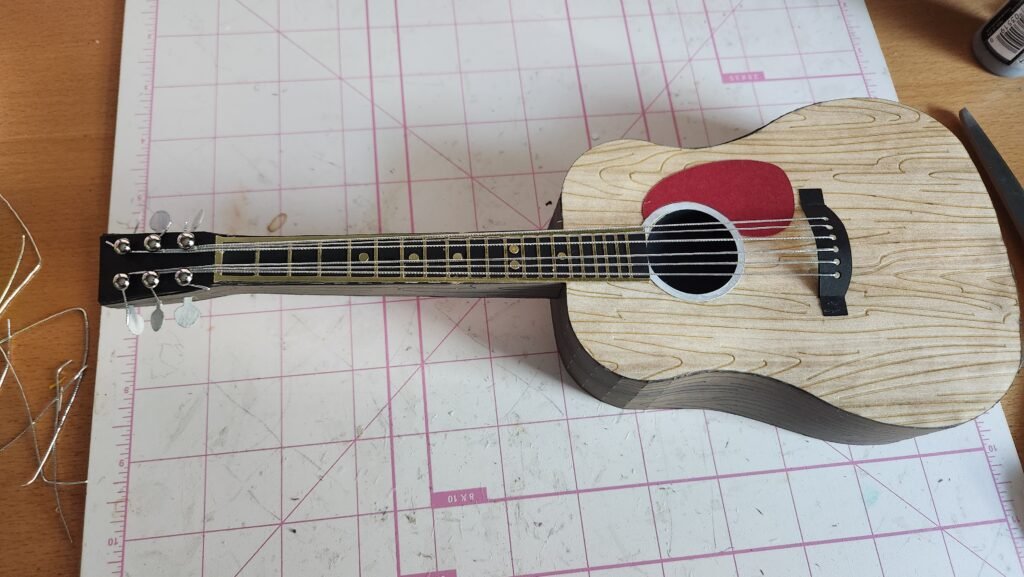
Attaching The Body Decorations
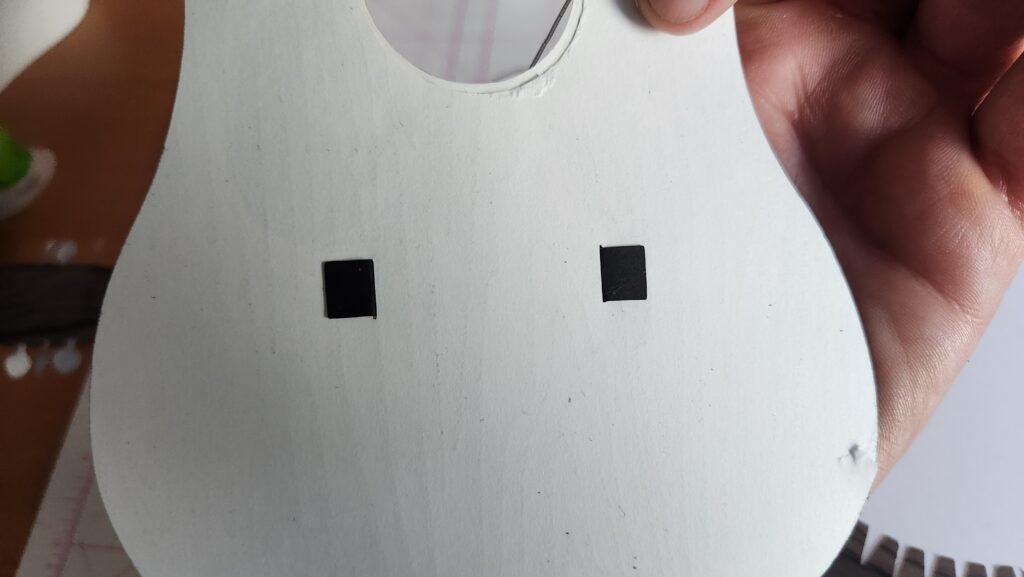
With this in place, we added glue to the back of our guitar decorative panel and secured it to the front of the box.


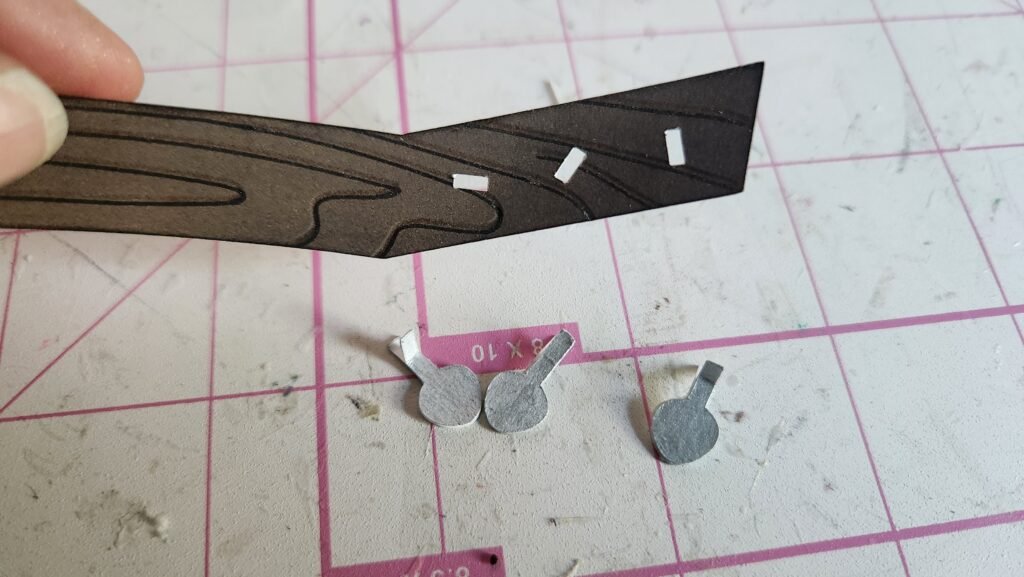
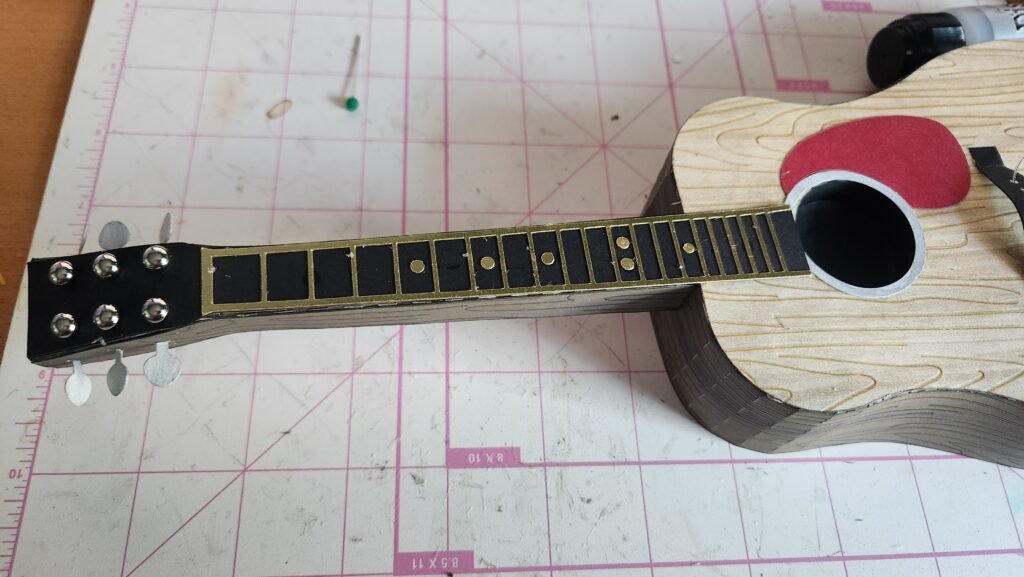
Guitar Neck Embellishments
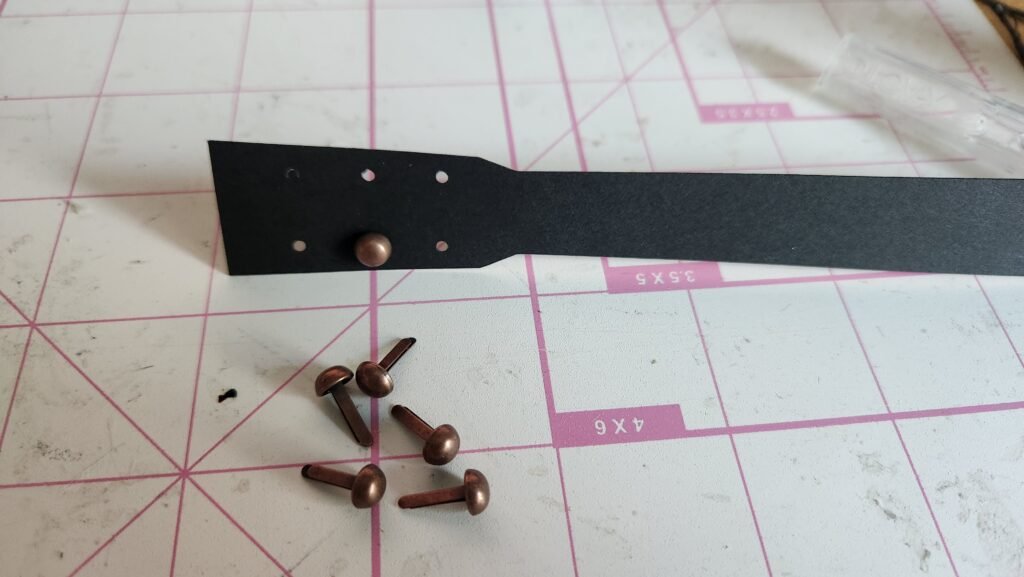
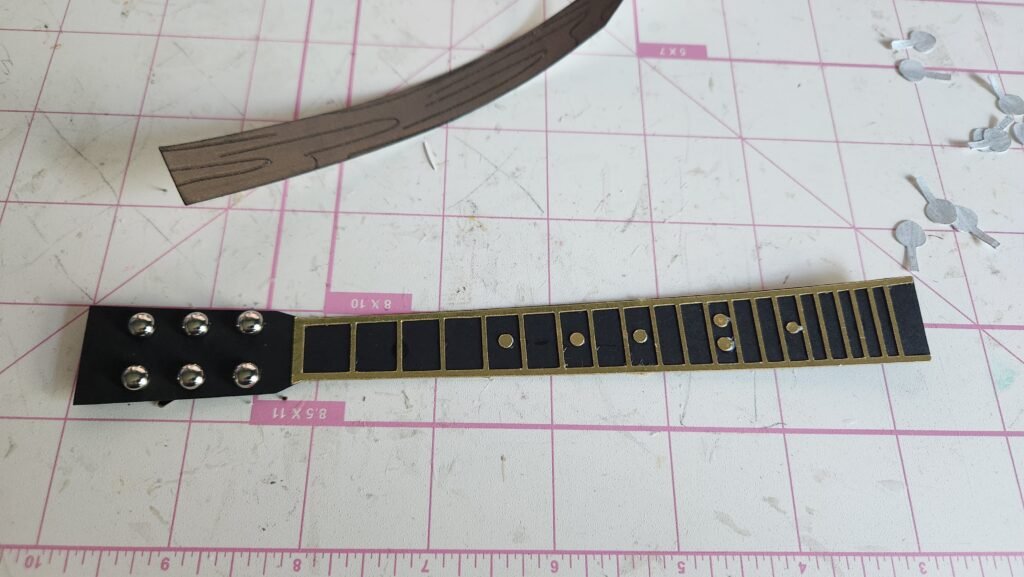
We now turned our attention to decorating the neck of the guitar. We added the grid decorative panel to the neck panel and placed brads in the headstock. Don’t make the brads super tight, you’ll need to wrap your string around it later. We chose to have our fingernails create a barrier between the brad and the panel to help ensure we had some space for the string.
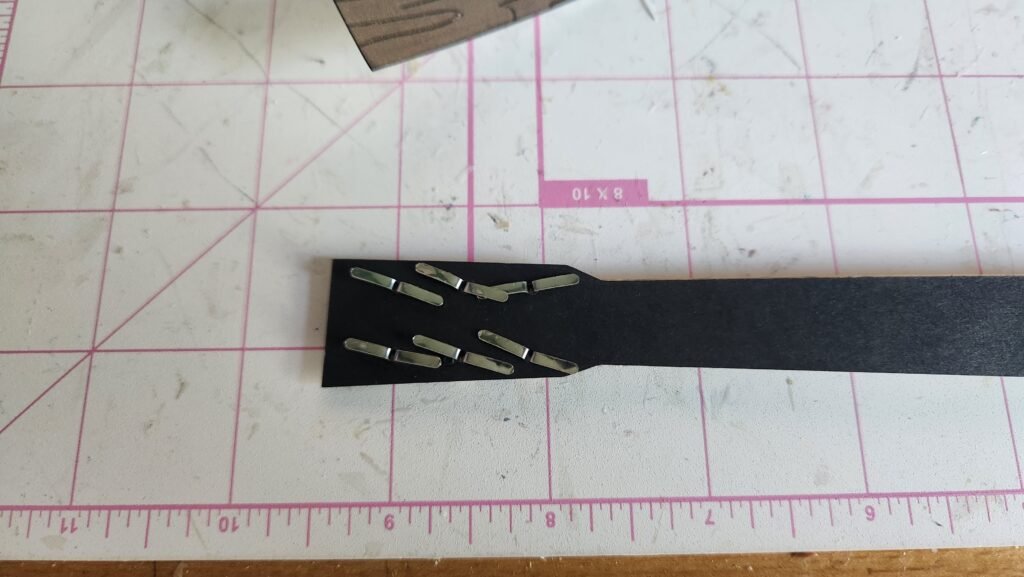
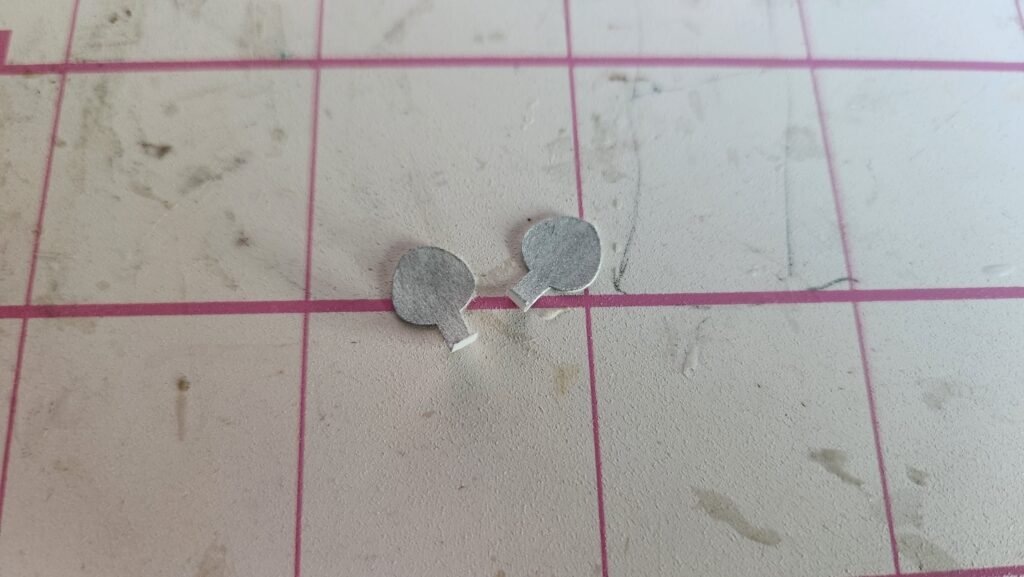
The tuning pegs are made of two pieces for each. Fold on the little score line and attach them back to back. Straighten out these tabs and slide them through the slits on the side panels for the neck. Using glue, attach the tabs to the inside of the side panel. Do this for all six of the tuning pegs.
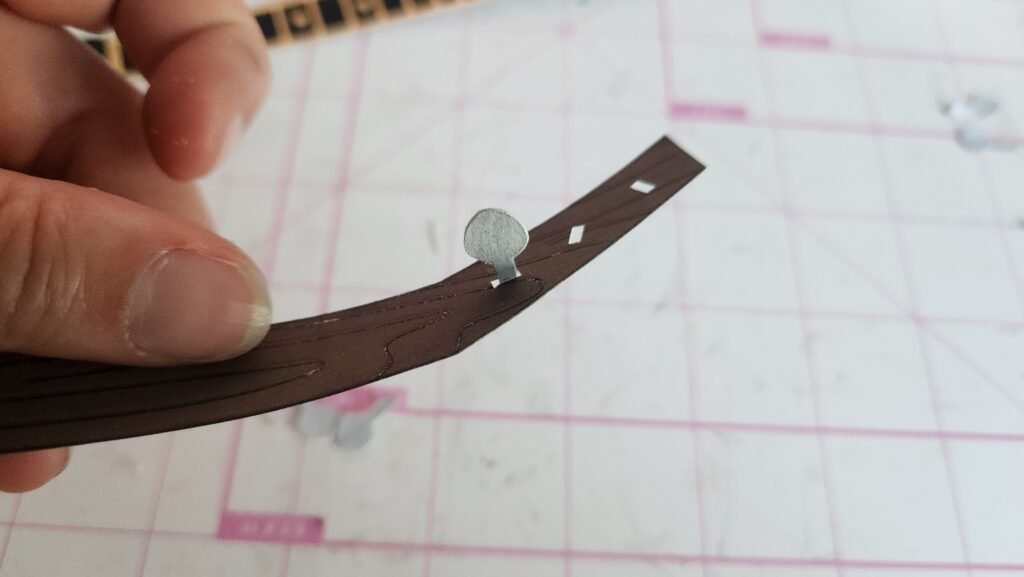

Once you have these decorative panels complete, you can attach them to the front and sides of the neck.


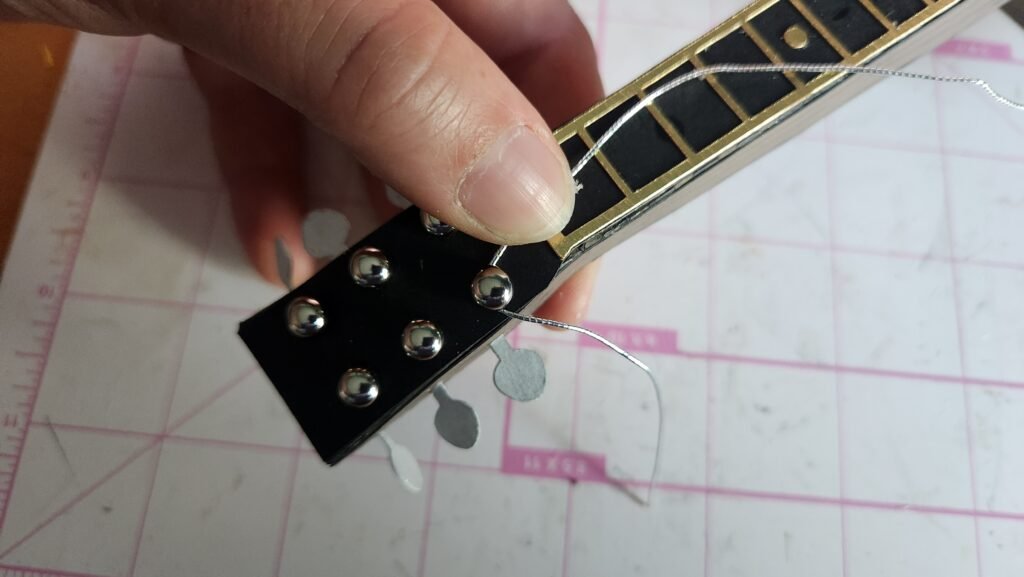
Stringing The Guitar
Be sure the glue is dry and secure, then you can start stringing the guitar. The piece of string from the outer left hole should be wrapped around the bottom left brad. The second hole the middle left brad, and the third hole the top left brad. The piece from the outer right hole should be wrapped around the bottom right brad. Continue until all the string ends are wrapped around the brads. We chose to have the string tight enough it doesn’t sag but not so tight that it deforms the neck or causes structural problems for the guitar.
Making The Box Bottom
The back of the guitar (bottom of the box) goes together the same as the top. This is again done using the two side panels and the guitar shape with two small holes at the top. These holes line up with the two holes in the tabs of one of the side panels. Fold on the score lines, then add glue and line up the holes.


Add glue to several more tabs, then attach to the guitar shape, making sure to have a snug fit. Continue until all the tabs on the first panel are secure.


Attach the second side panel to the first. Then repeat the process of attaching the tabs until the entire panel is attached.


To finish the bottom of the box, add glue to the guitar body panel and attach it to cover the exposed tabs on the outside of the box.

Leave a Reply