Materials Used
We used several products and supplies in the making of this cute carousel decoration. Below is a list of what we used.
- Carousel Party Centerpiece and Baby Shower Decoration – Digital Download SVG
- Recollections cardstock
- Photoplay Cardstock
- Wilton Lollipop Sticks
- Rhinestones
- Zots Adhesive Dots – Small
- Art Glitter Glue
- Electric Cutting Machine – Cricut or Silhouette
Carousel Base Assembly
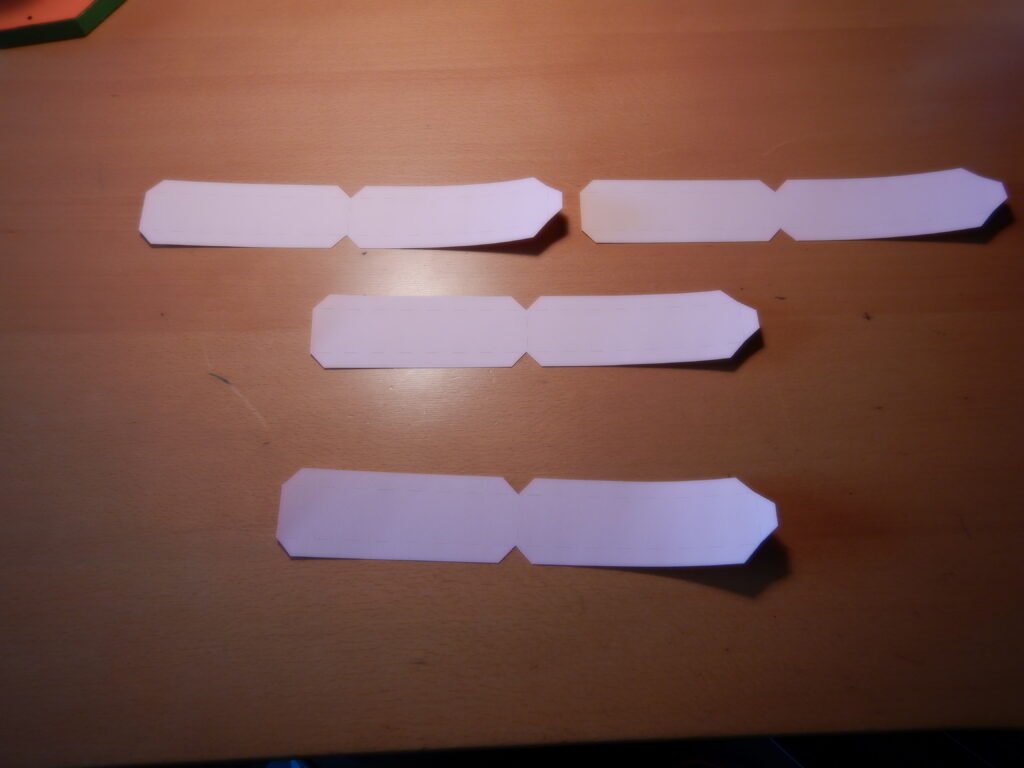
To start assembling the carousel, we worked on the base first. All four of the side pieces are identical so there’s no need to be sure they are in any particular order. Just line them up and attach the tabs to the neighboring panel until you have a completed octagon. If you want to add the decorative panels to the sides now you can do that before making the octagon. We chose to wait until later.
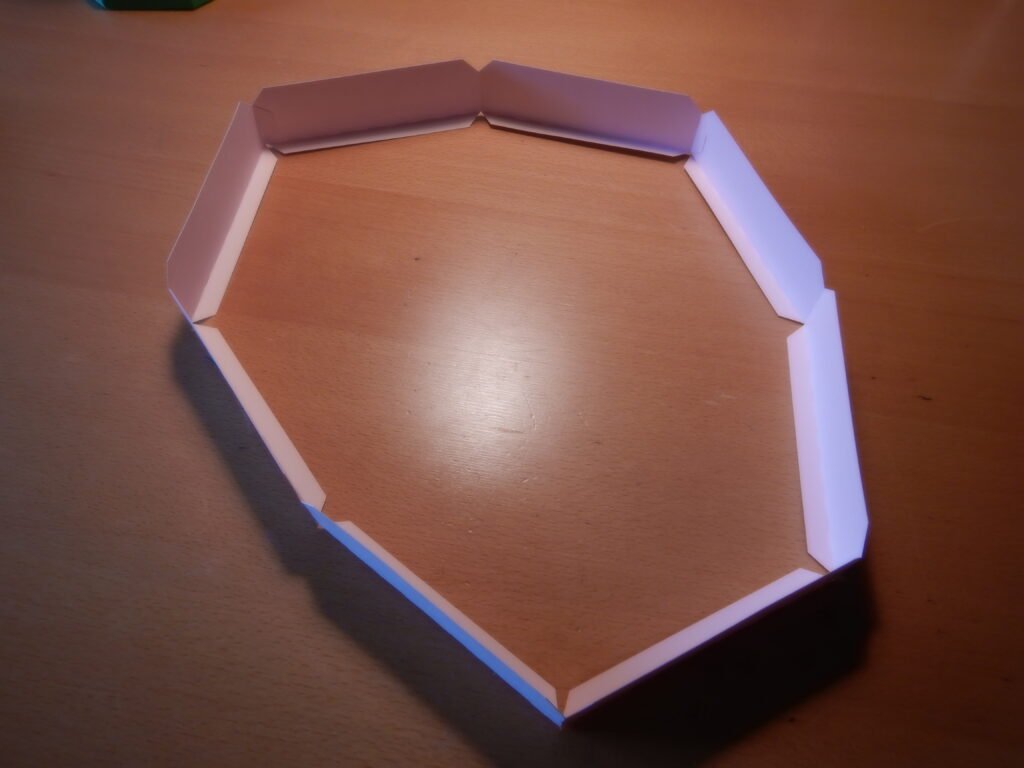
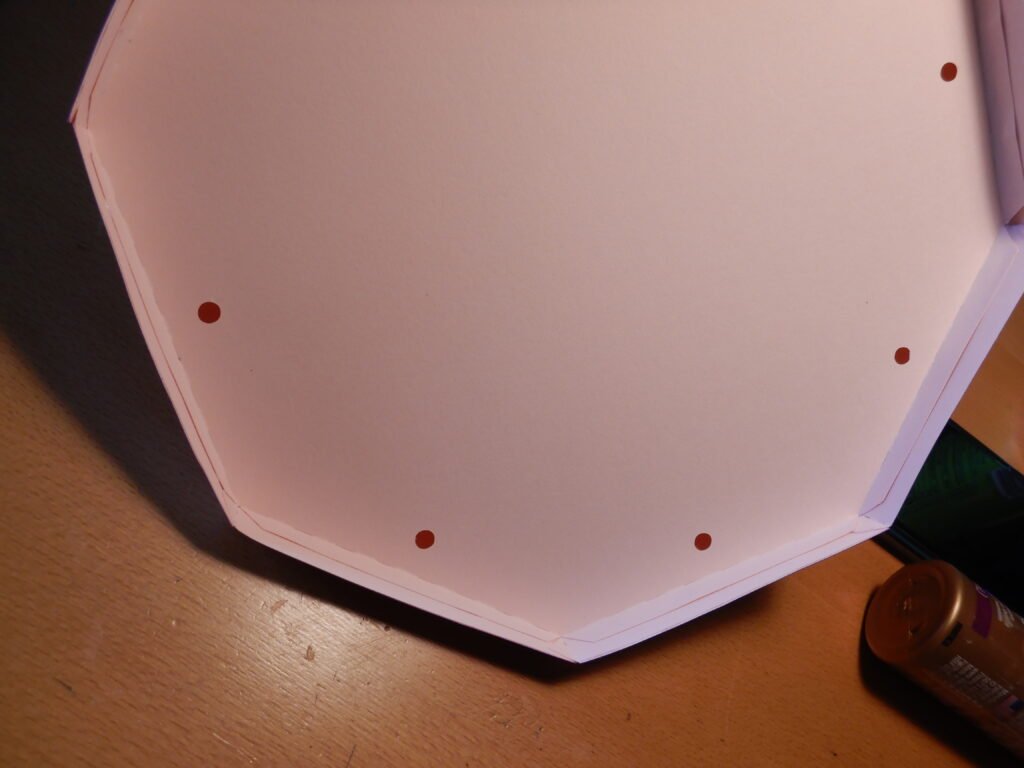
With that complete, fold in the tabs on the bottom and put one of the large base panels in place.
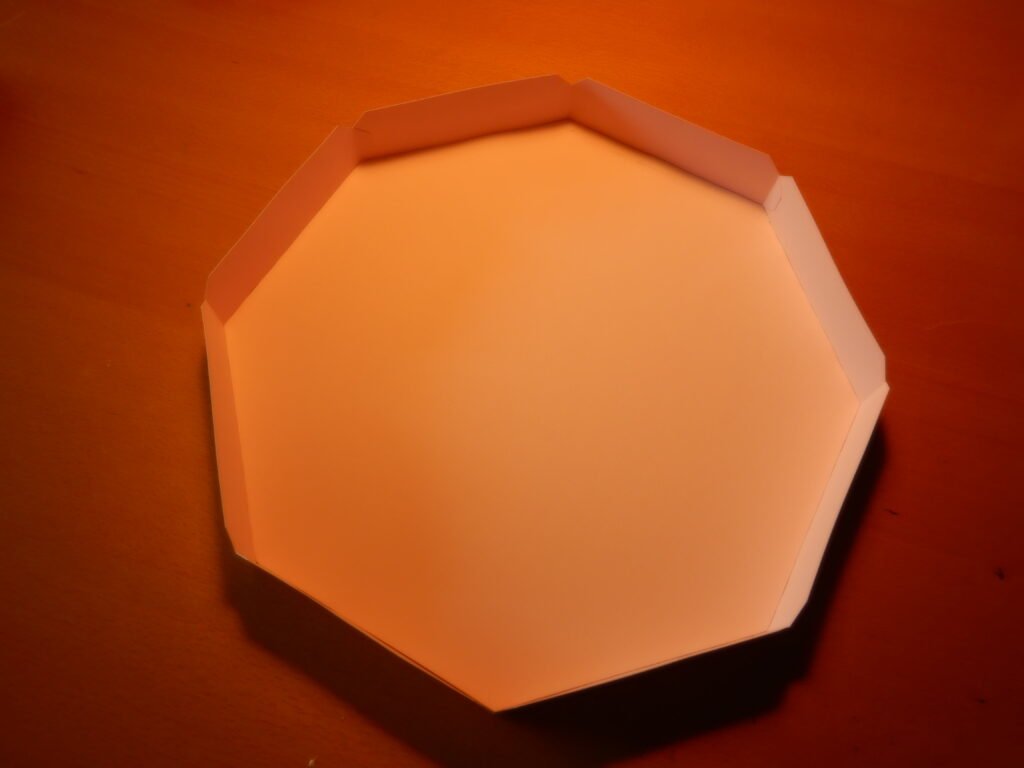
Once this is done you can fold in the other set of tabs and glue the panel in place. We chose to start with one tab first, then worked our way around. Alternating sides until all the tabs are secure will also help to get a good alignment of your panel. The hole in the center of the panel is large enough that we could reach in our hand so we could apply pressure to both sides of the tabs.
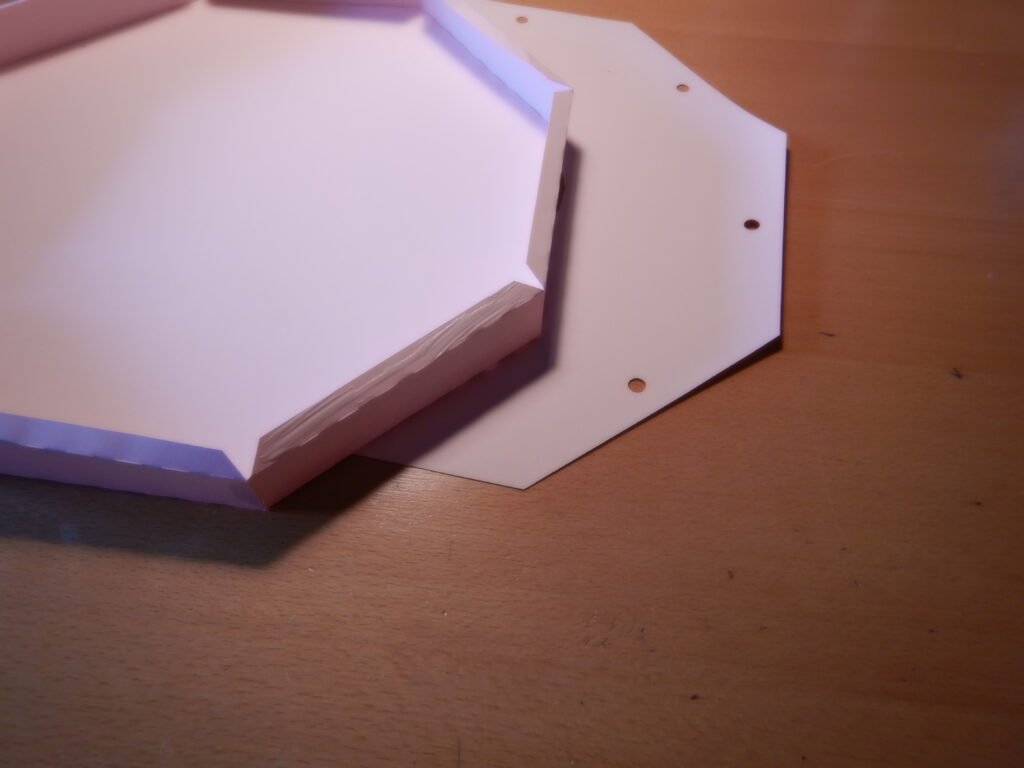
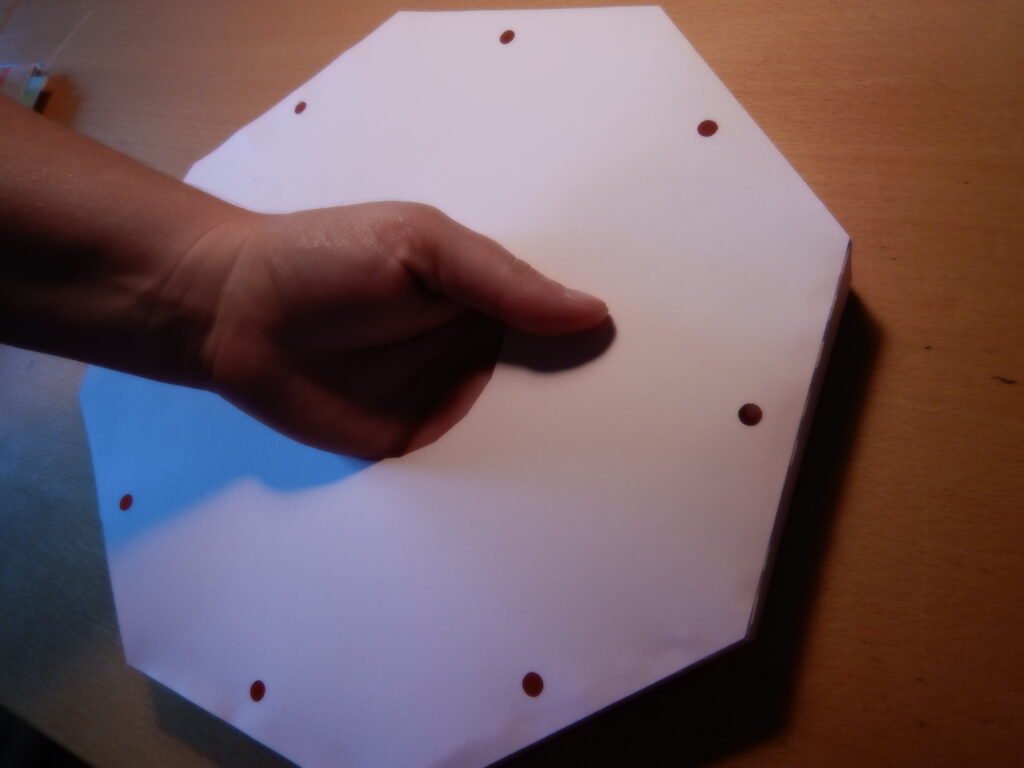
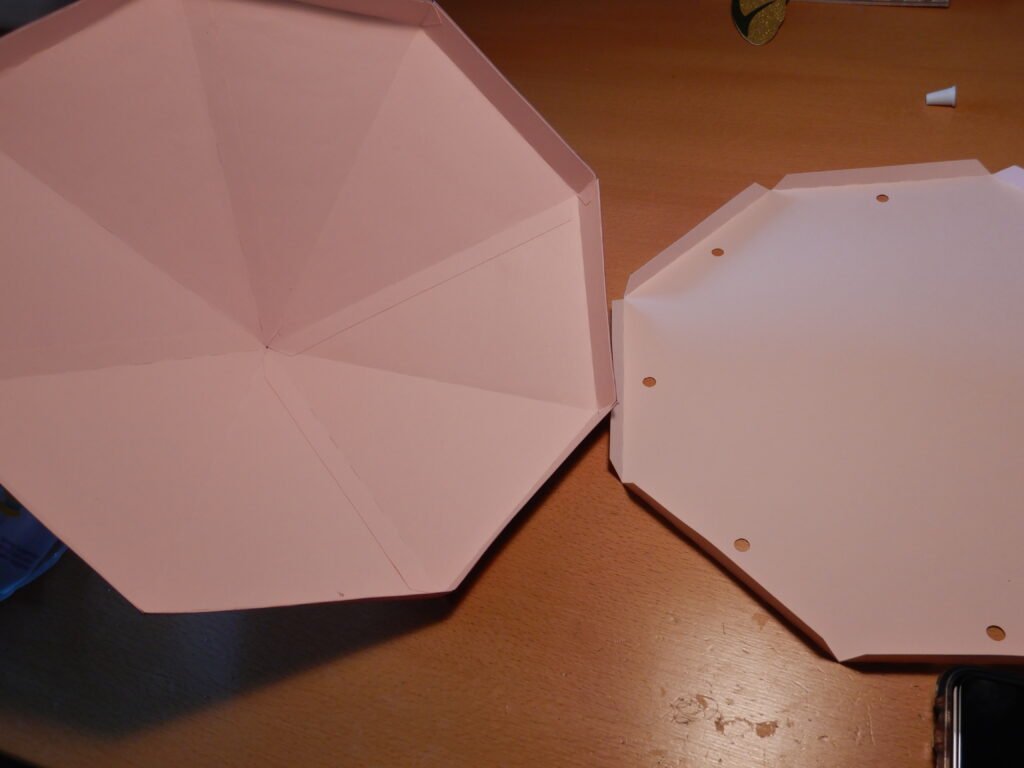
We then placed another panel on the underside of the box. Be sure to use the other solid octagon panel for this. This panel covers the exposed tabs so that the bottom was smoothed and finished. Be sure to match the panel with no holes to panel you already placed without holes. The other side (the one with the 8 holes for the carousel posts) will be placed later. Waiting until later will allow you to use it to hold the posts in position when they are being glued.
Carousel Roof Assembly
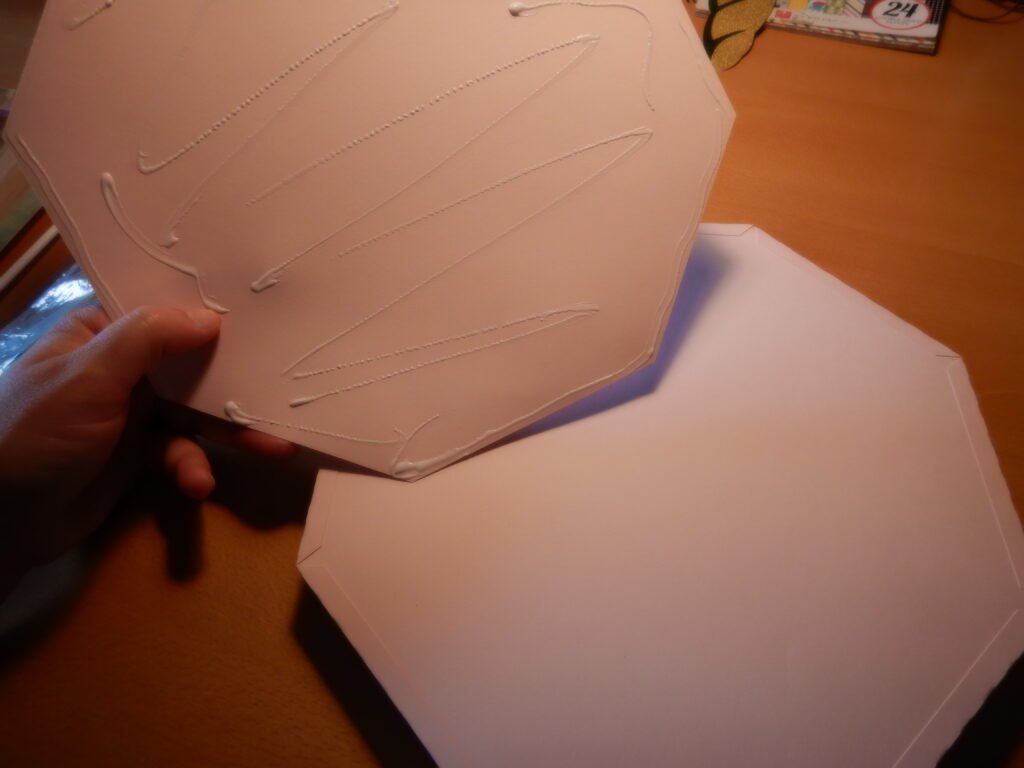
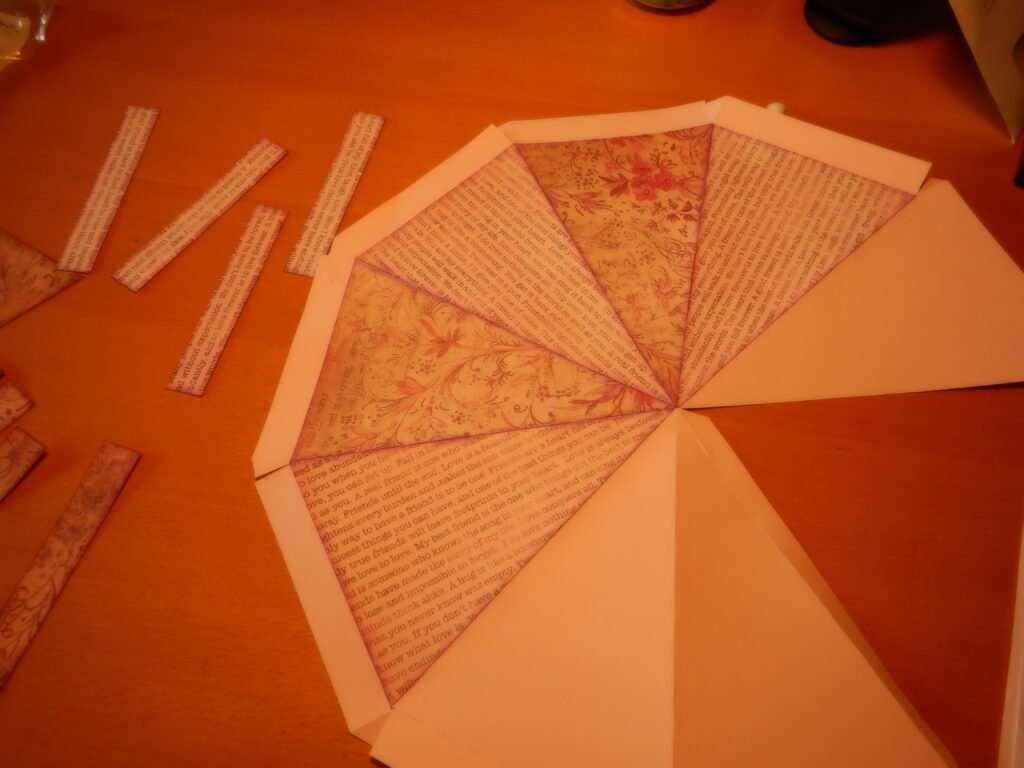
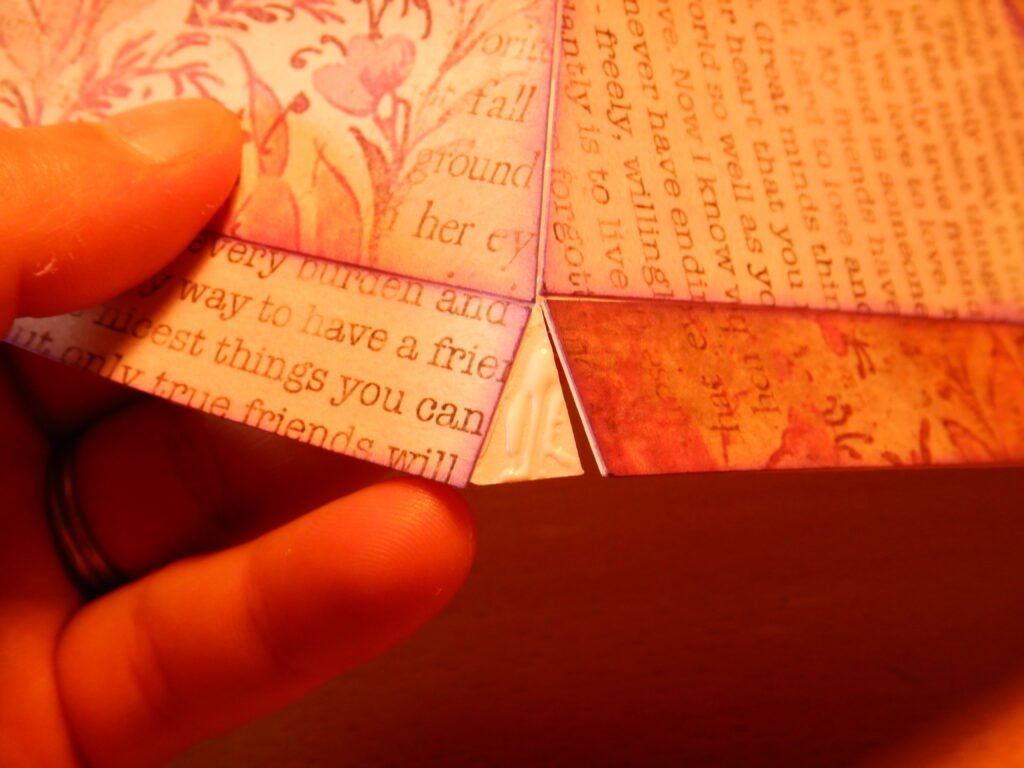
With the base complete for now, you can set it aside to work on the roof. The roof is made of four triangle pieces that are identical. This allows you to put them together in any order. Attach the long tab to the neighboring panel as shown. Then we added the decorative panels for the roof. With this done, you can fold the tabs at the end end and attach these small tabs to make the edge of the roof. This will also give you a vertical edge.
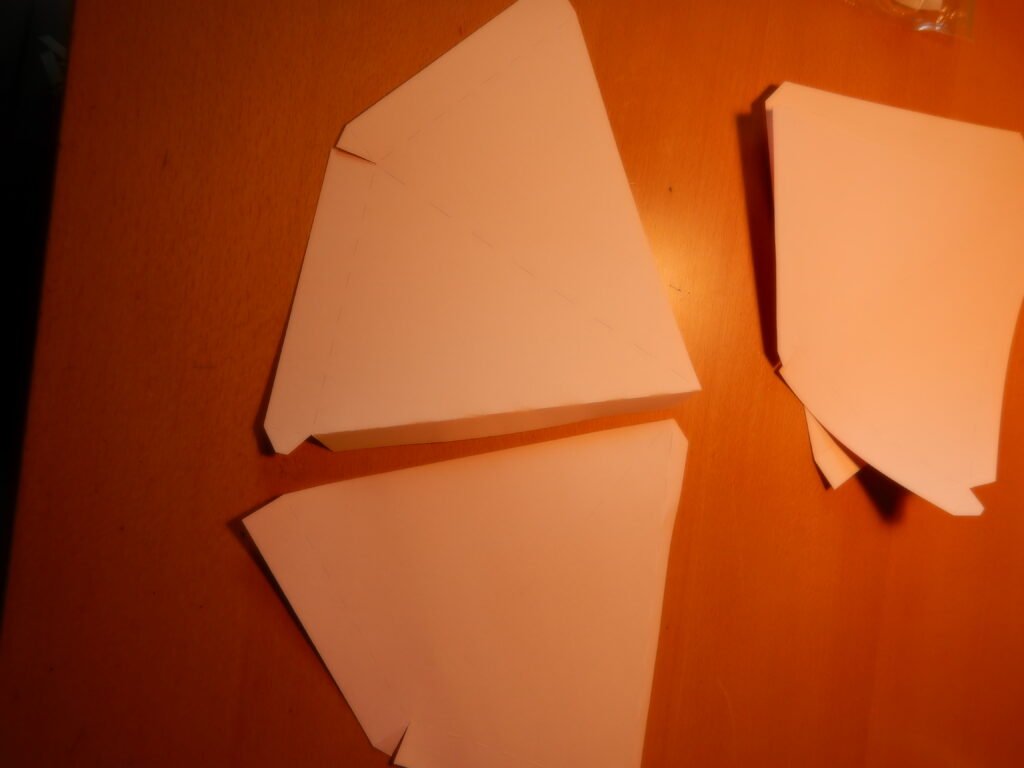
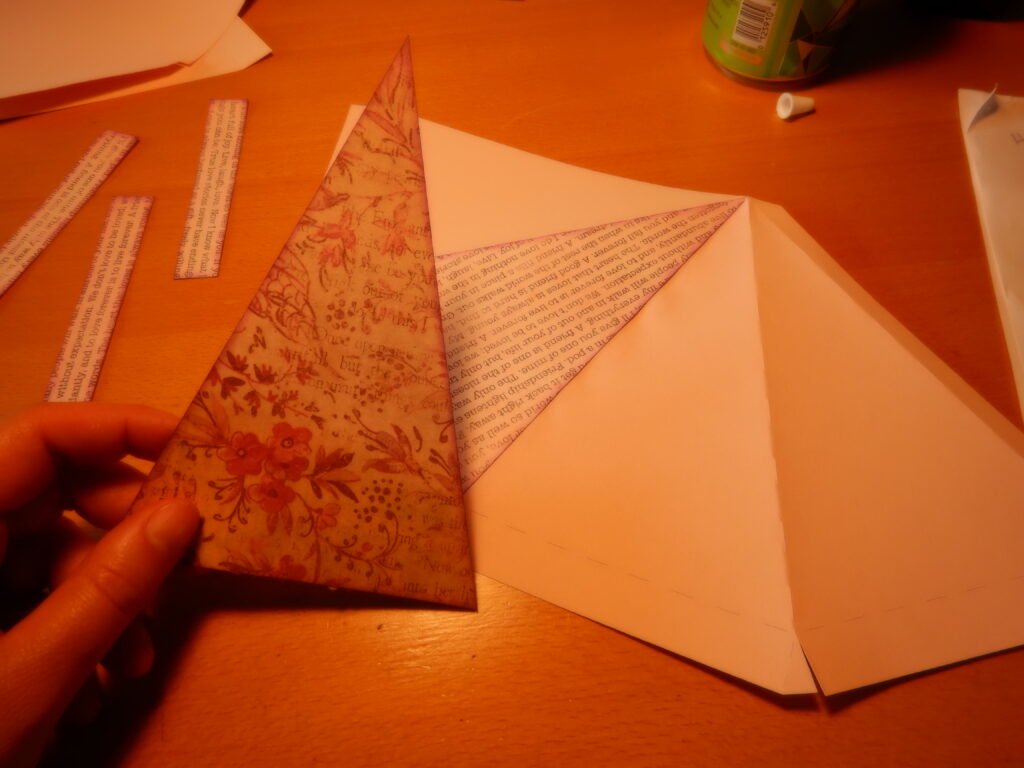
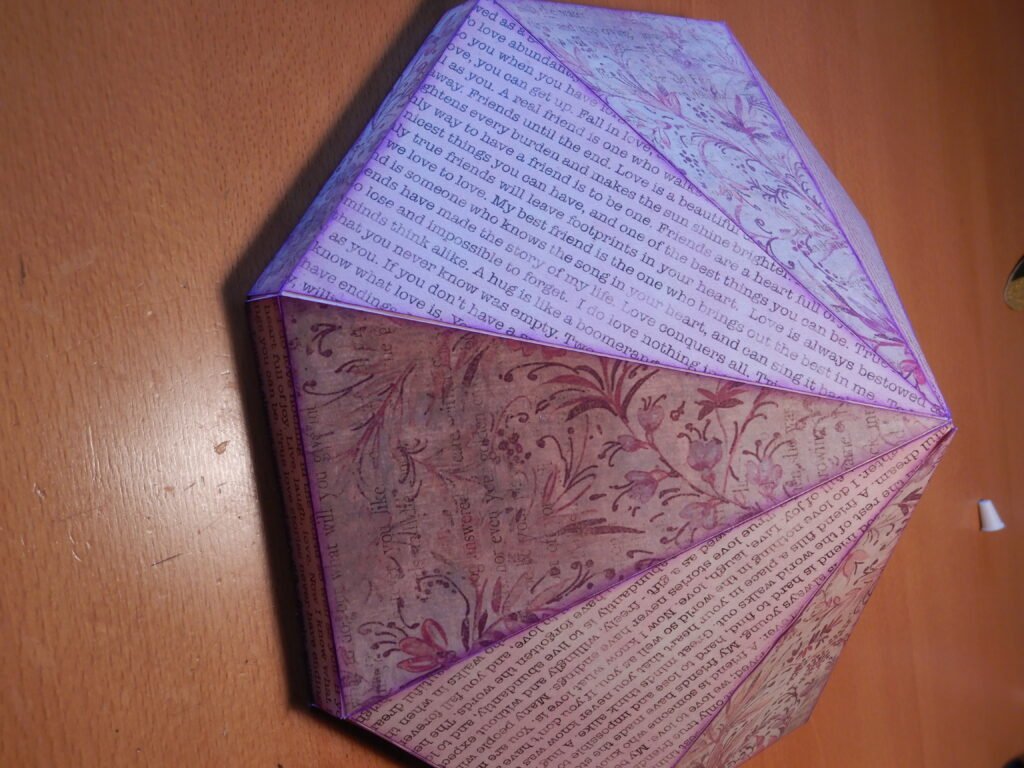
To put the liner inside the roof, first fold the score lines then secure the tabs. You can then place the entire piece into the roof. The roof is designed so that this liner will sit where the roof starts to angle in so no need to try to line it up in a certain spot, the liner actually slides easily and evenly in place. (It doesn’t feel like it’ll fit, but it will!)
Roof Support
The roof is held up by the center pillar. Roll it up like a newspaper to encourage the paper to take that shape then without folding on the tab’s fold line, add glue to the tab, using the line as a guide for how far up to put glue and how to line up the edge to make a cylinder.
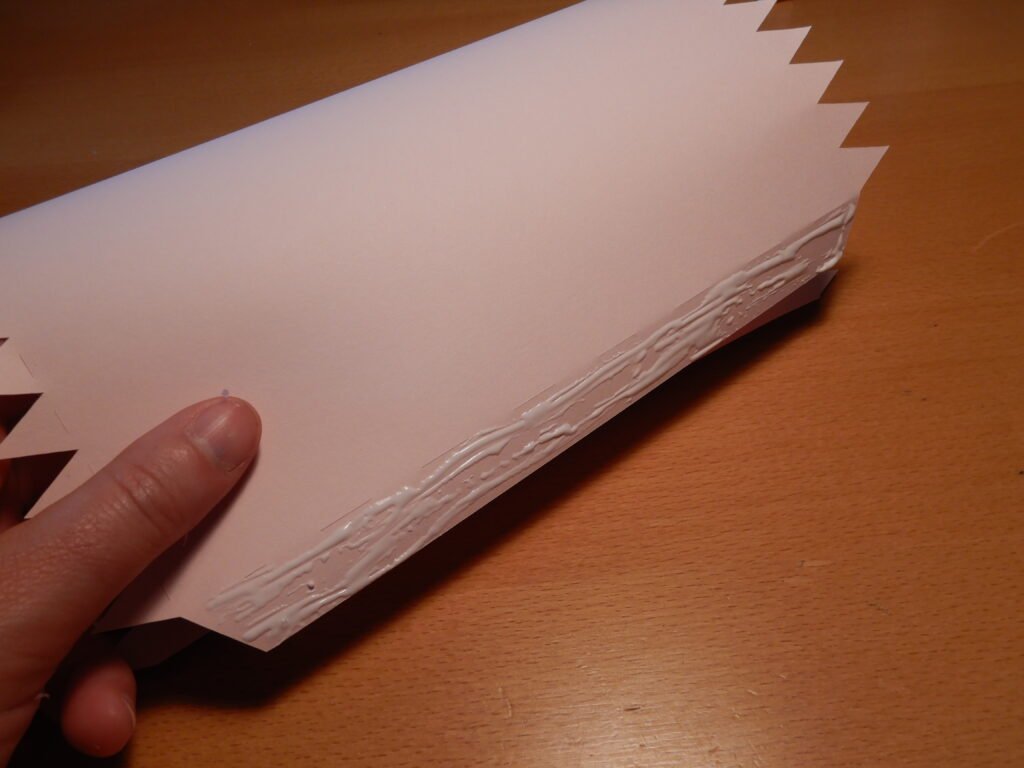
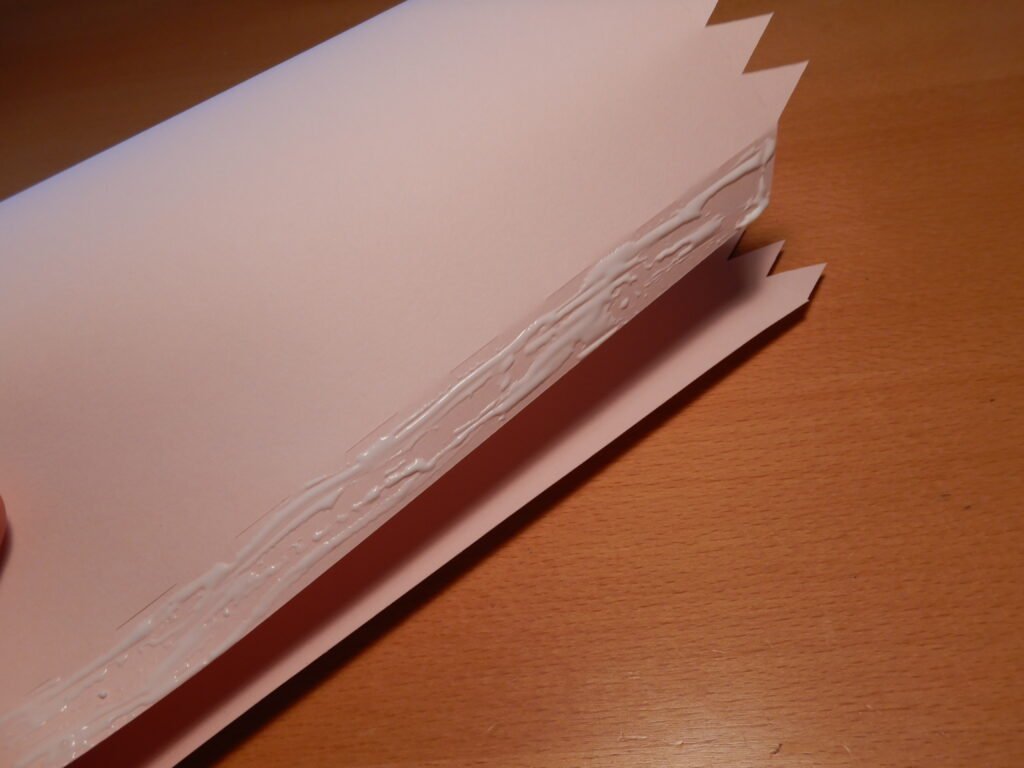
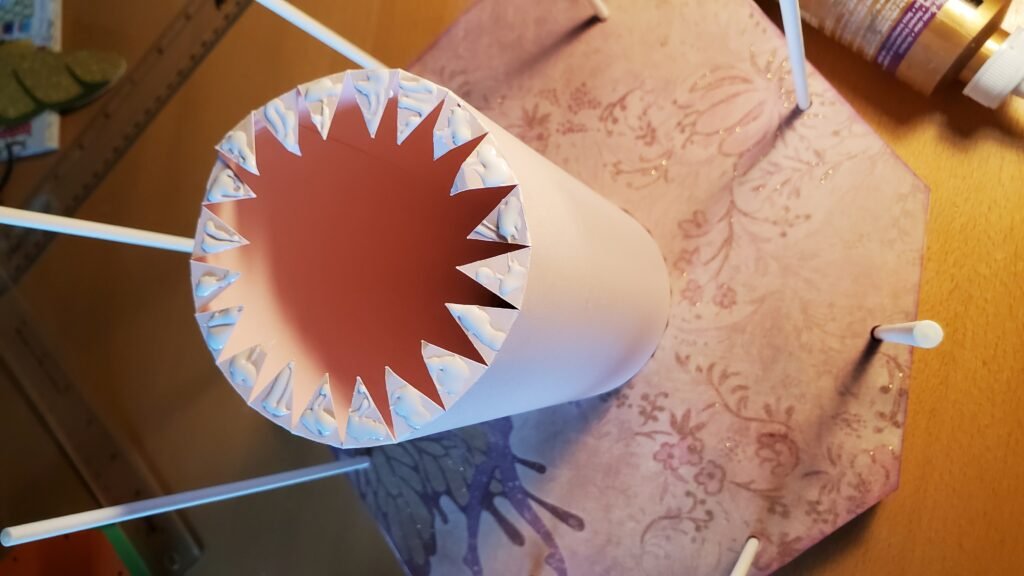
Once you have your cylinder, fold in the tabs on one end, add a ring of glue around the circle, and drop it in to the bottom. We used a ruler to reach down and provide pressure on the tabs.
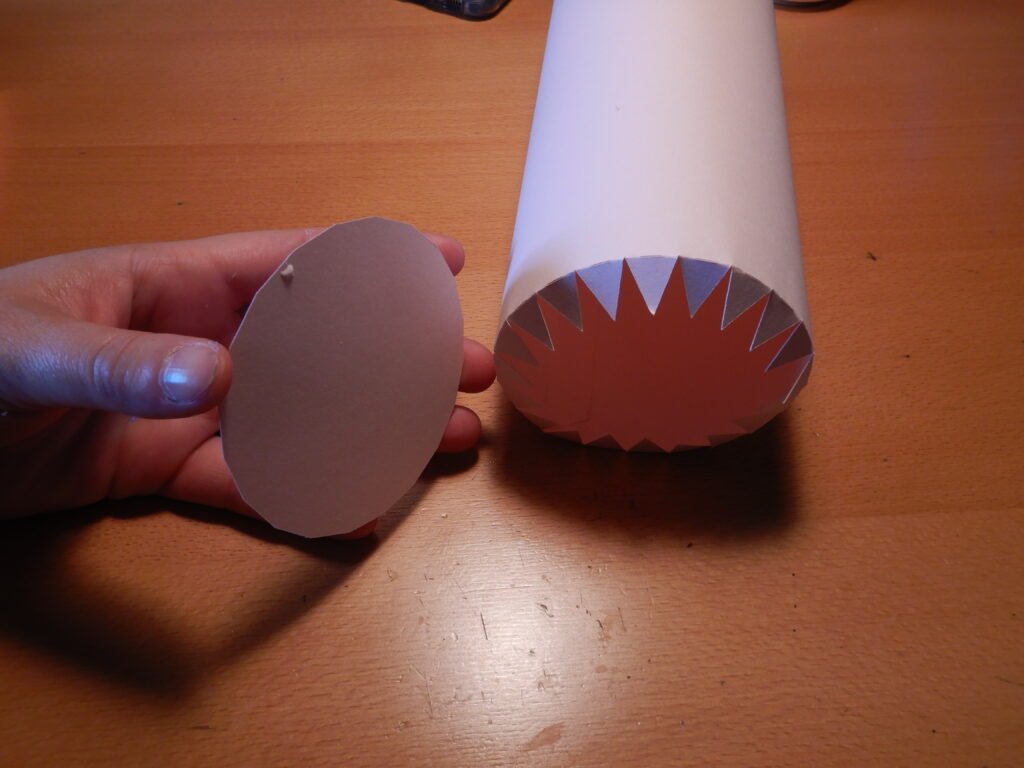
Once you have the cylinder, apply some glue to the bottom (the end with the circle you added) and gently press it into the hole in the base of the carousel. Use your ruler again to apply some pressure and make sure that it’s sitting nice and flat.
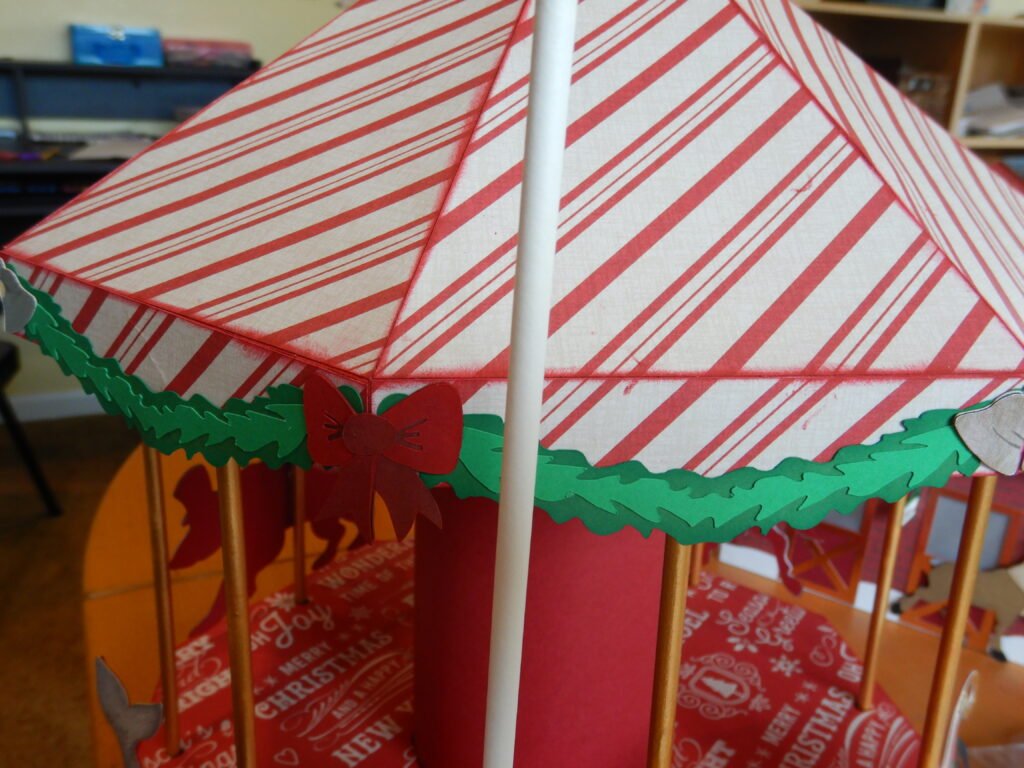
With the cylinder in place we added the pillars for the animals to attach to. For the pillars we used lollipop sticks from Wilton. Cut each stick 7 ¾ – 7 7/8 inches long. It doesn’t have to be exact, as long as they are able to sit on the base and go through the holes at the top. The center pillar is what supports the roof. The sticks are just to hold the carousel animals in place. You want to be sure you can have the sticks through the roof holes, but not actually holding up the roof as that’s the center post’s job.

Decorating the Carousel
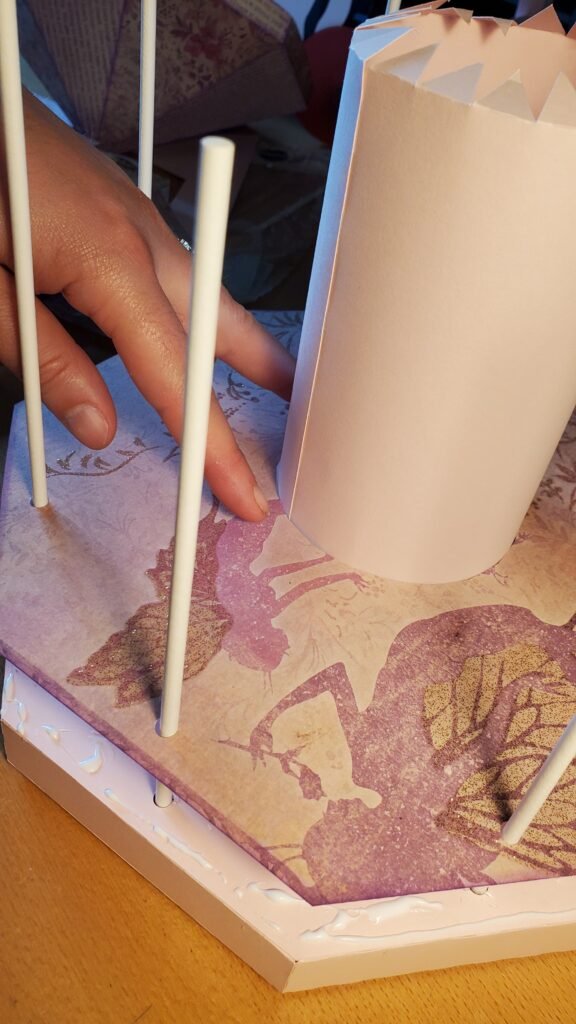
We put all of the sticks in the base then slid the decorative panel over the sticks and center pillar. Slide the panel down until it is an inch or so above the base. This helped keep all the sticks in place and provided support as they are each glued in. The easiest and cleanest way to glue the sticks in place, was to have the stick stay in the decorative panel and angle the bottom out so you can add a little hot glue to the bottom. Then drop the stick through the hole in the base and hold it vertical while the hot glue sets.
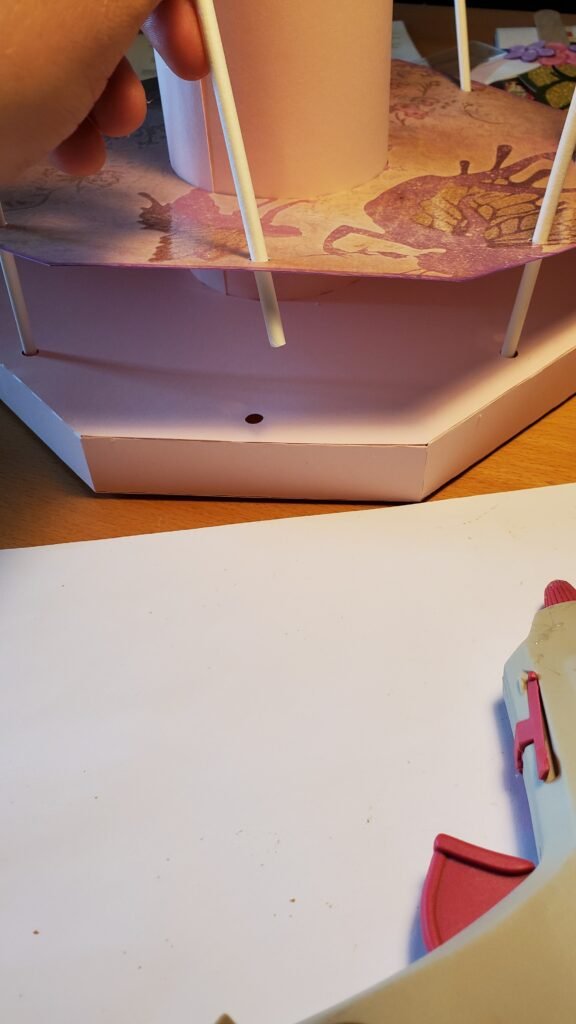
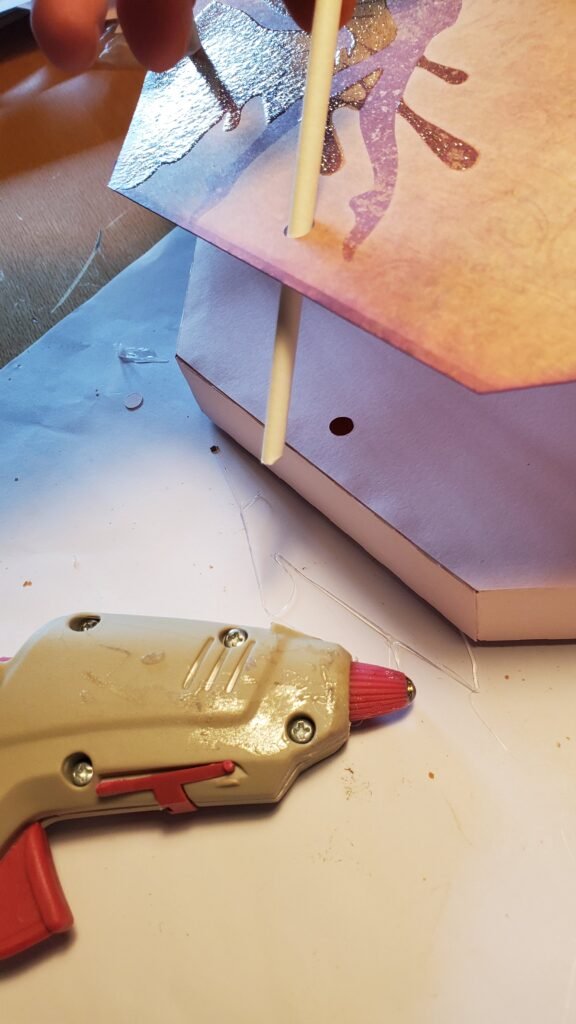
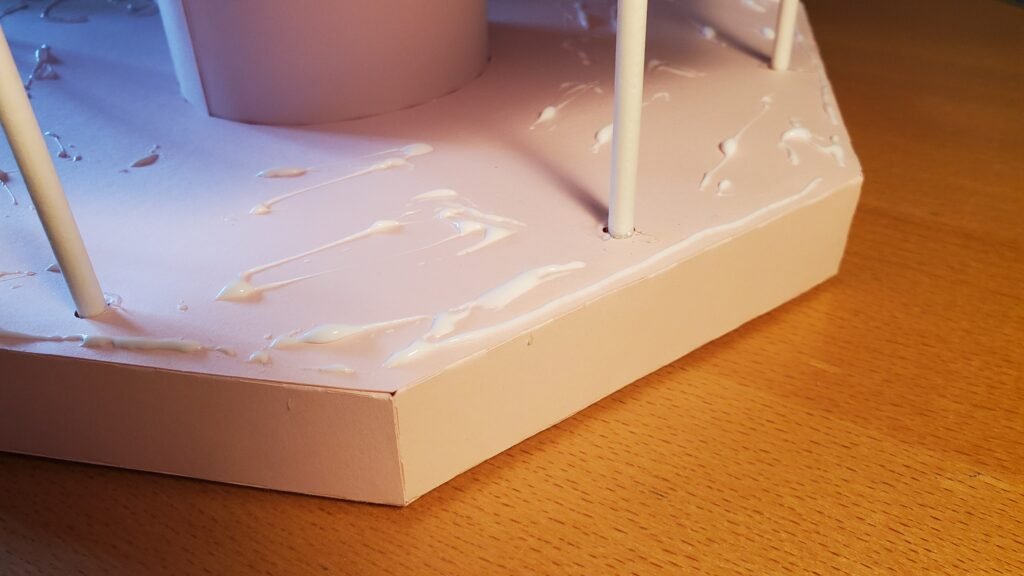
Once all the sticks are glued in place add a little glue to the base. Note: make sure to get a nice line of glue close to the edge to provide a good clean hold. Then gently slide the entire decorative panel down in place. Apply a little pressure to the panel, especially to the edges.
Putting On The Roof
Now it gets a little tricky and a second person is helpful though not absolutely needed. Put glue on the top of the pillar. To attach the roof, we were pretty liberal with our glue application. You don’t really need to glue the sticks in place since they should be just through the holes, not really making hard contact with the inside of the roof. Slowly lower the roof in place. take your time and put one post through a hole at a time. The center pillar will line up on its own, just get all the posts in their holes then gently press down on the roof to get a secure hold on the center pillar. Ours feels very solid doing it this way and has done well with many ‘inspections’ by children.
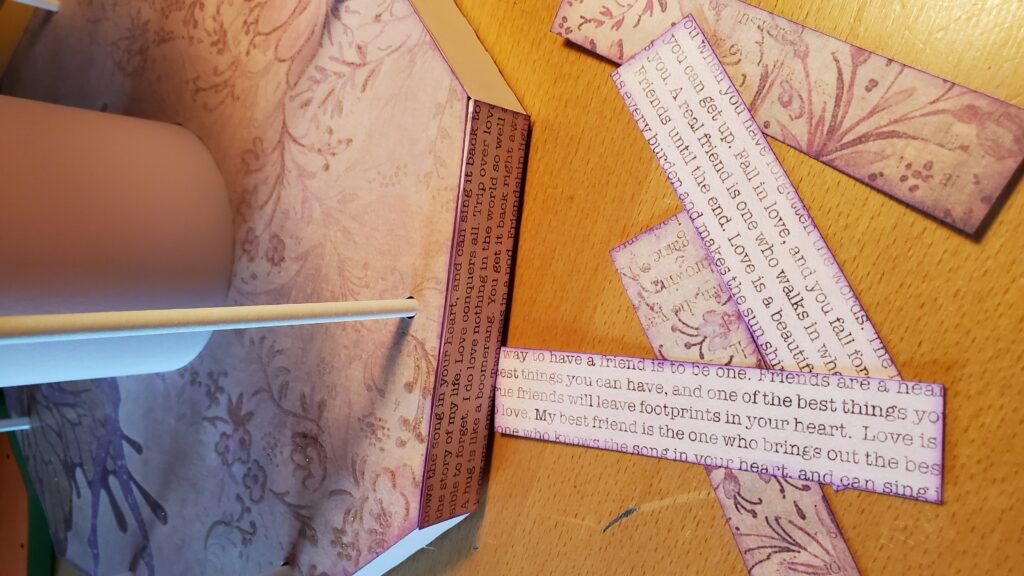
At this point we chose to add the decorative panels to the side of the base. This can be done earlier but we forgot until now…it worked out fine though!
The Animals!
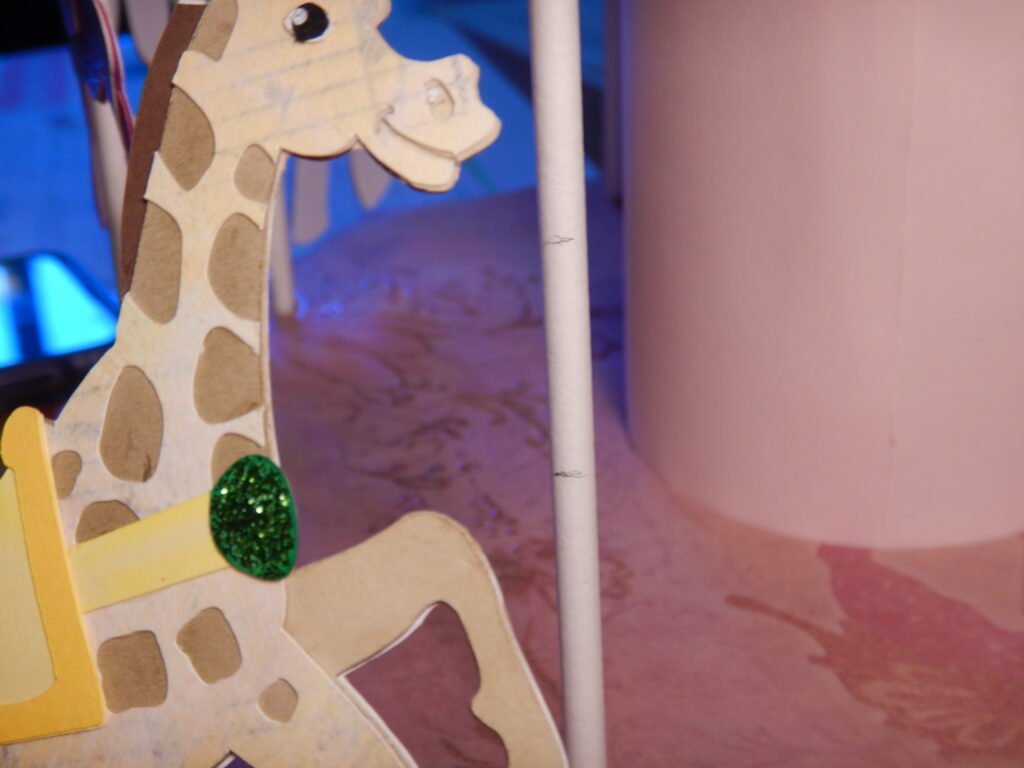
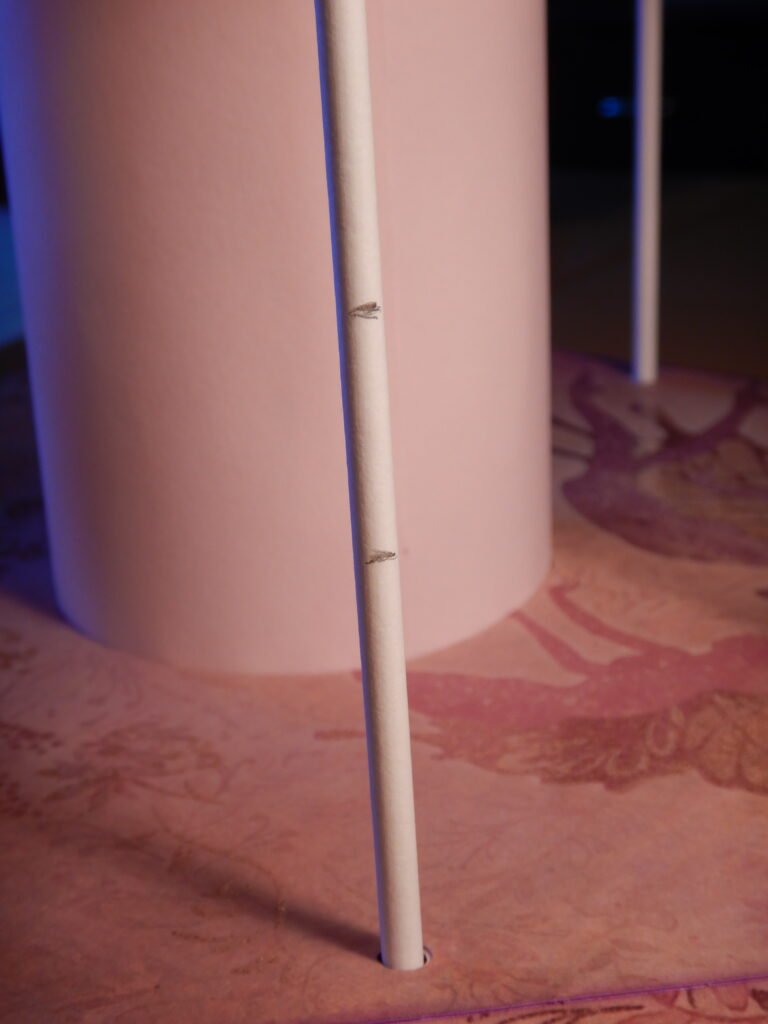
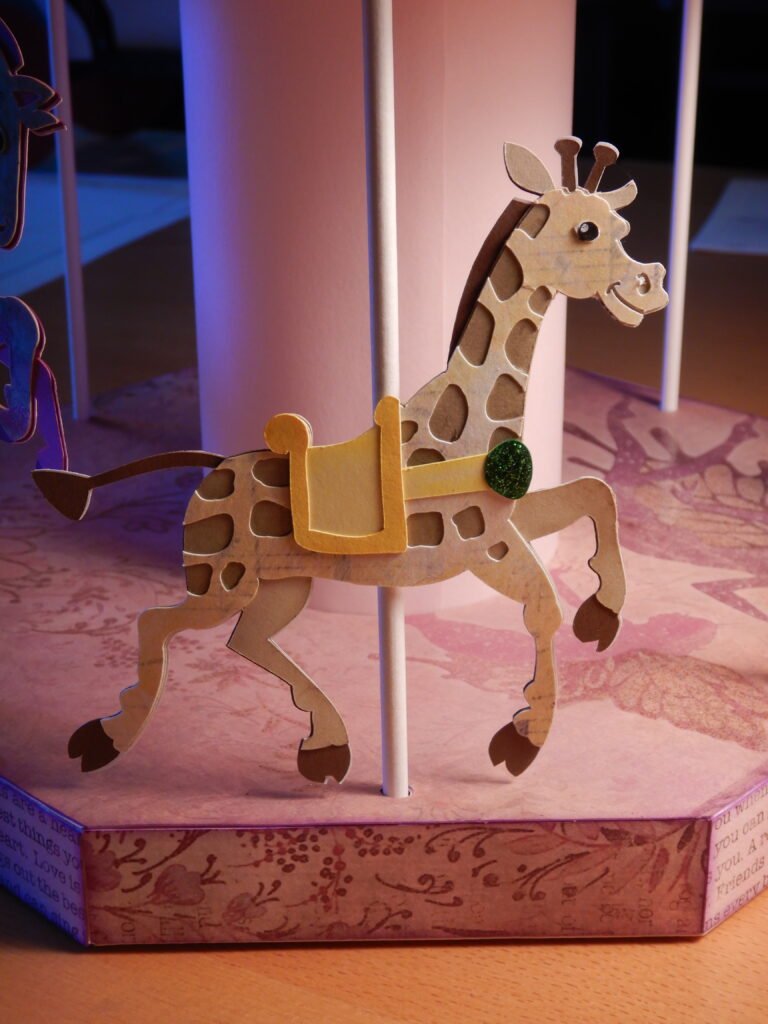
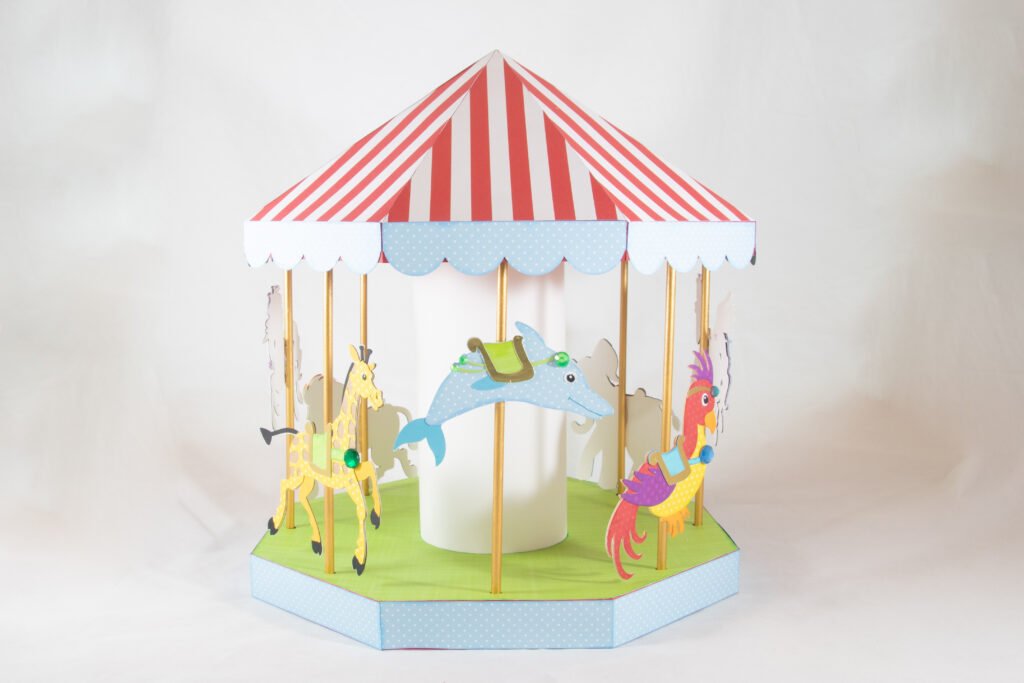
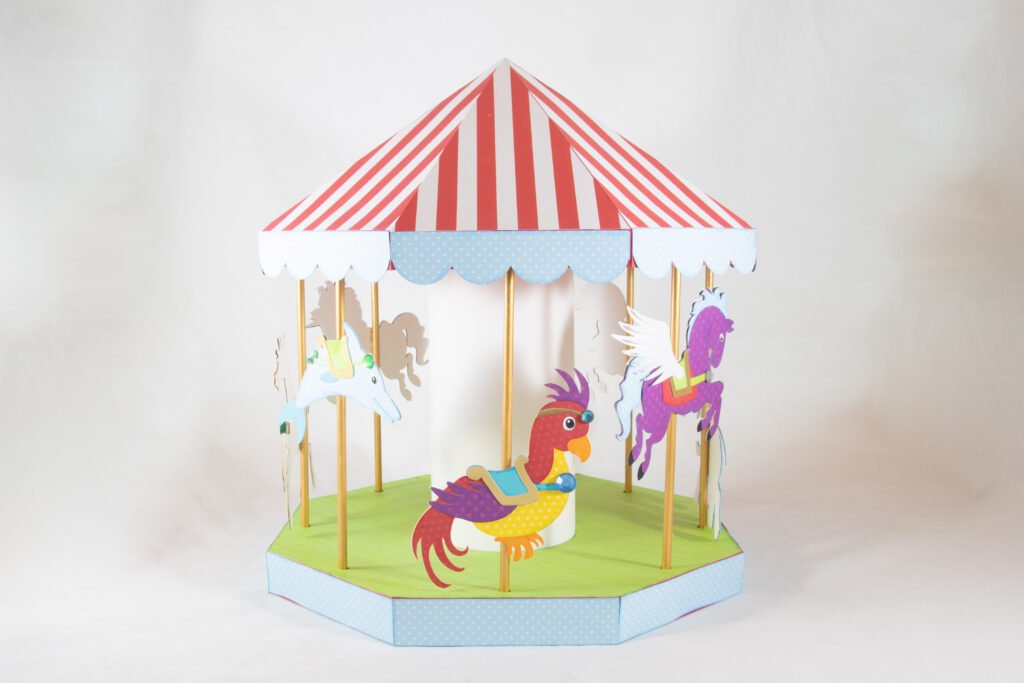
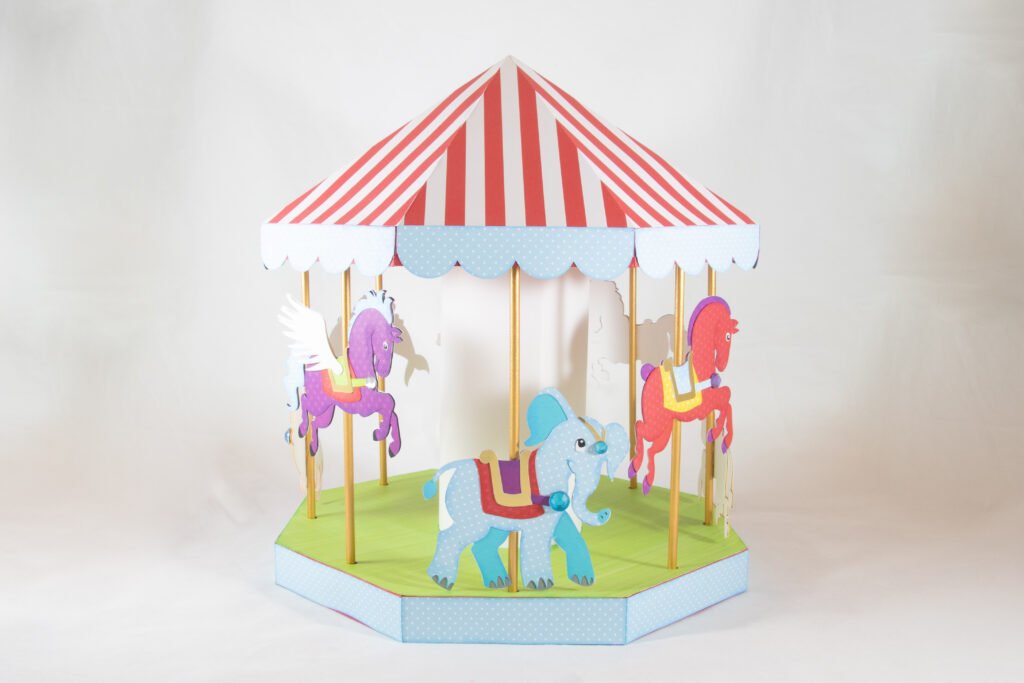
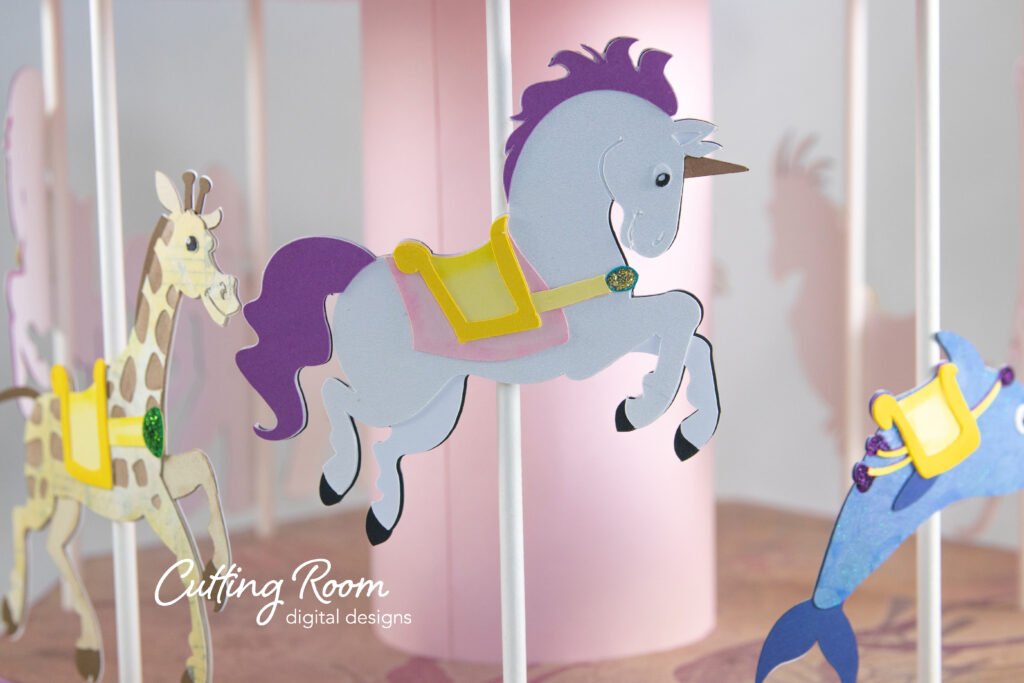
Now the carousel structure is complete. Assemble the 2D animals and decide what order you want them in. We laid ours out on the work table in a circle to see who was next to who and arranged until we were happy with the color and animal balance. In order to attach the animals, we decided to have them alternating up and down like a real carousel. To decide where to apply glue, we held each animal up to the post and make a small mark with my pencil where I want to have the glue start and stop. Then I put a small line of hot glue on the marked spot and placed my animal. The nice thing about hot glue is it sets fast so no sitting there holding the character while waiting for glue to set.
***Note that this post contains affiliate links and we may receive compensation if you buy something using one of our links. ***

