We have a video tutorial!
If you wish to watch a video assembly tutorial for our Ferris wheel party decoration, we have one on our YouTube channel.
Materials Used
We used several products and supplies in the making of this fun Ferris wheel decoration. Below is a list of what we used.
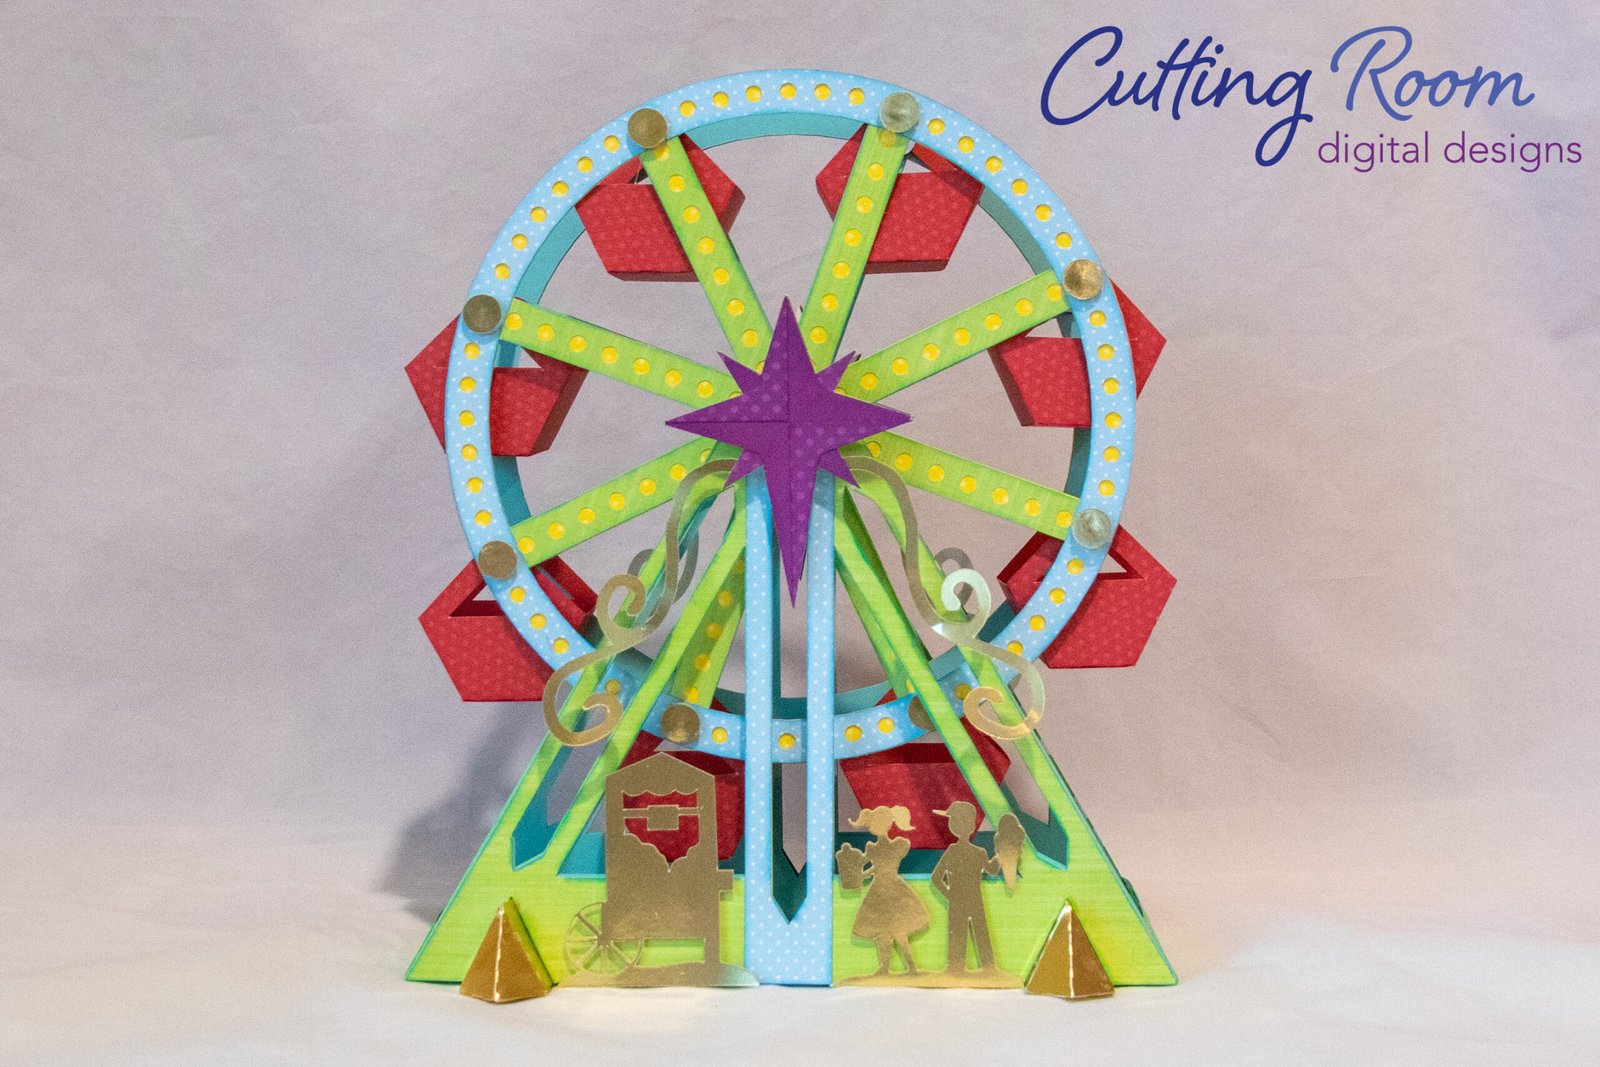
- Circus Ferris Wheel Party Decoration – Digital Download SVG
- Recollections cardstock
- Lawn Fawn Metallic Cardstock – Gold
- Photoplay Cardstock
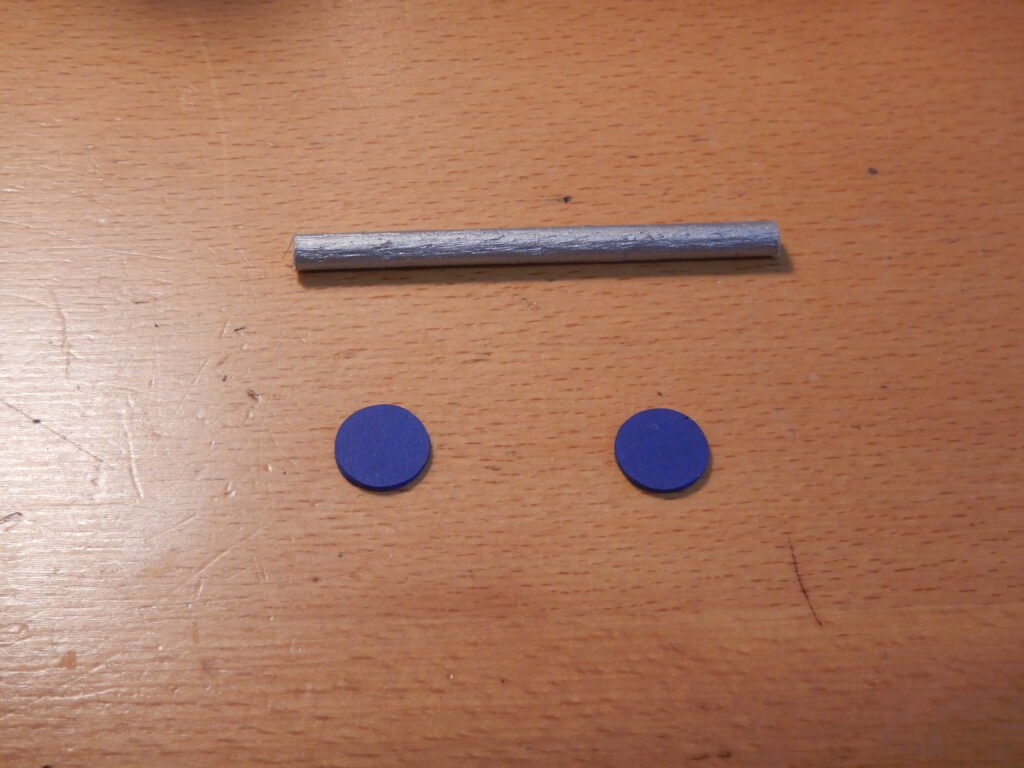
- 3/16″ Wooden Dowel
- Rhinestones
- Zots Adhesive Dots – Small
- Metallic Silver Paint
- Art Glitter Glue
- Electric Cutting Machine – Cricut or Silhouette
***Note that this post contains affiliate links and we may receive compensation if you buy something using one of our links. ***
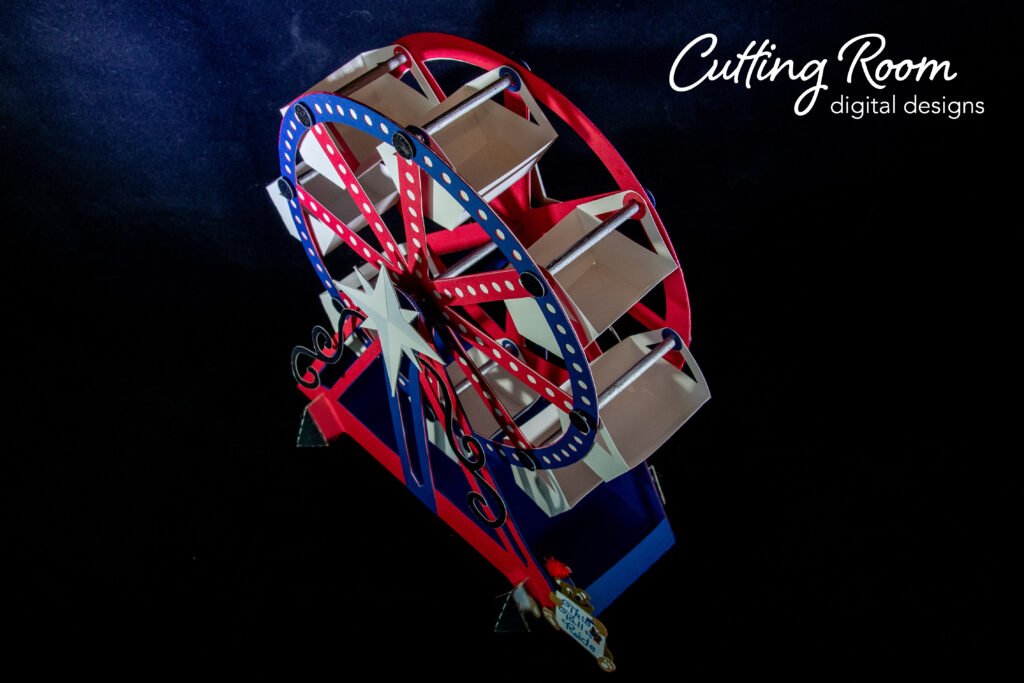
Wheel Assembly
The Ferris wheel is best assembled in two pieces. The wheel and the stand. We started with the wheel though it’s fine if you chose to do the stand first. You will need a 3/16 inch dowel from the craft store to complete the project.
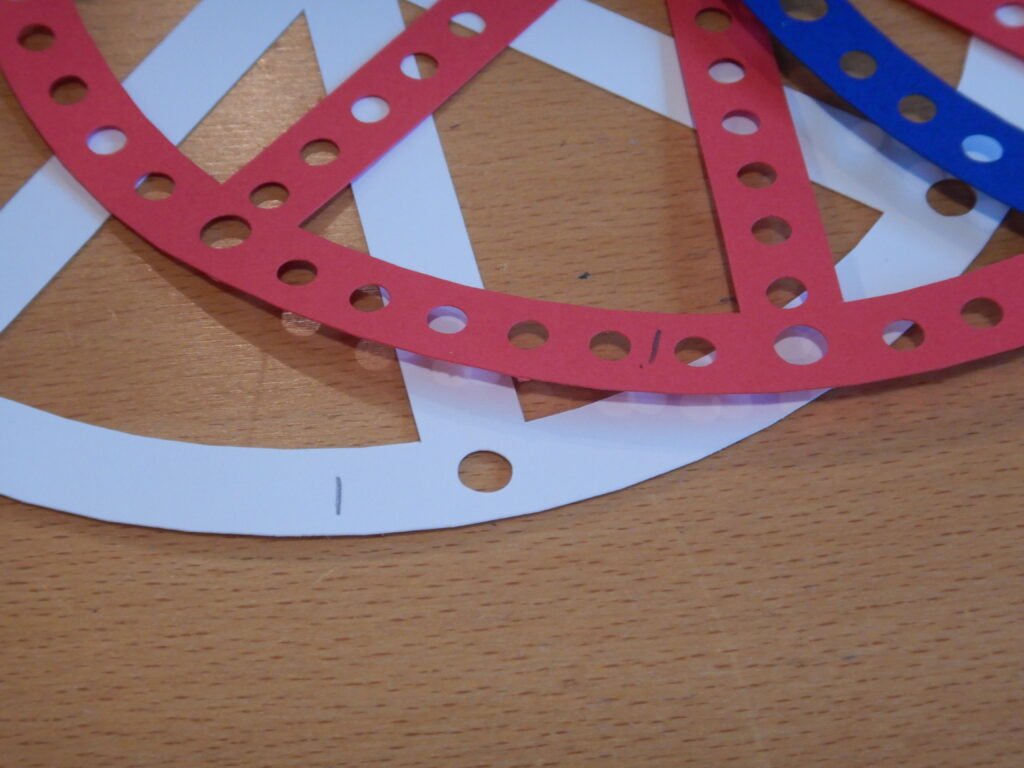
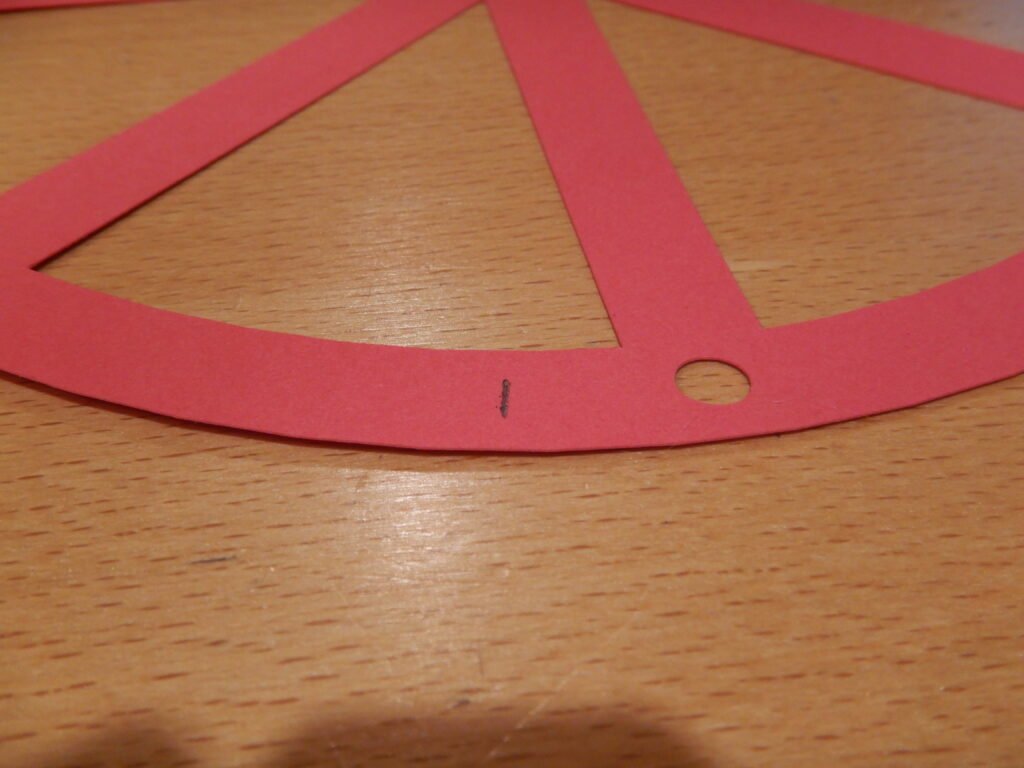
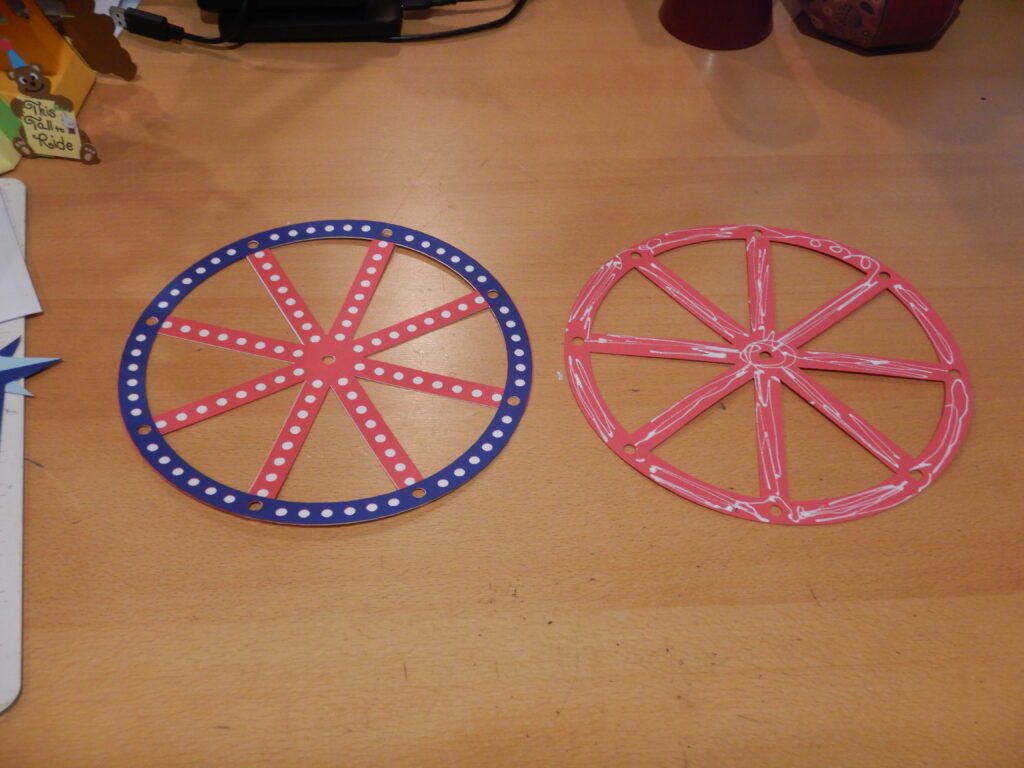
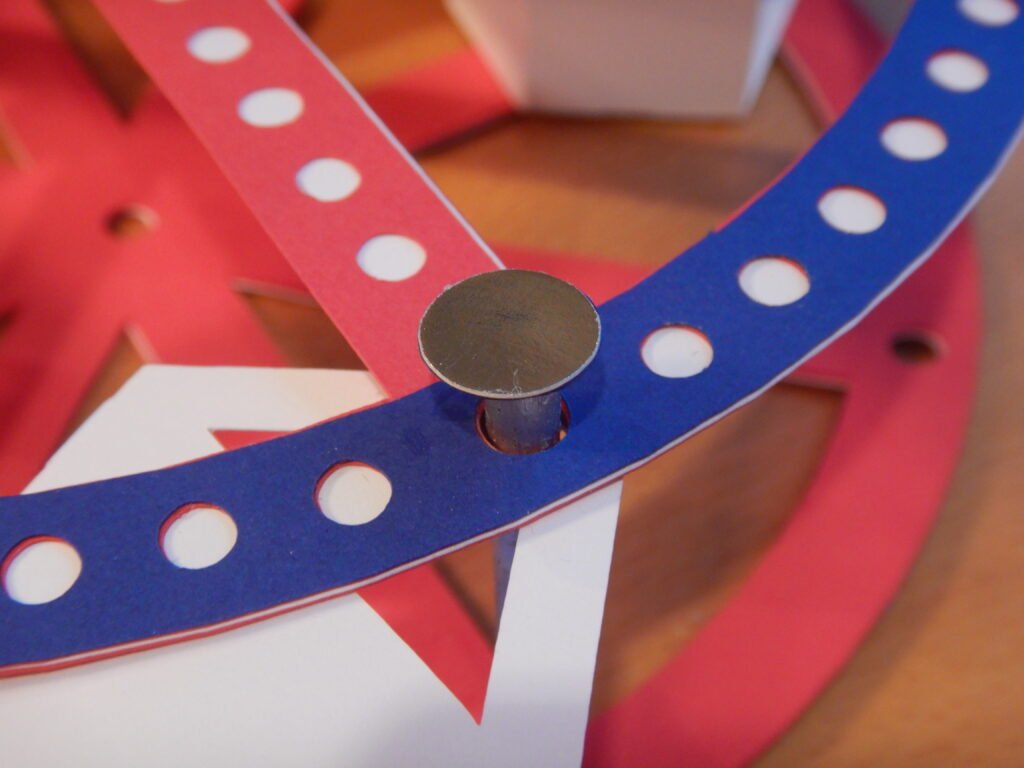
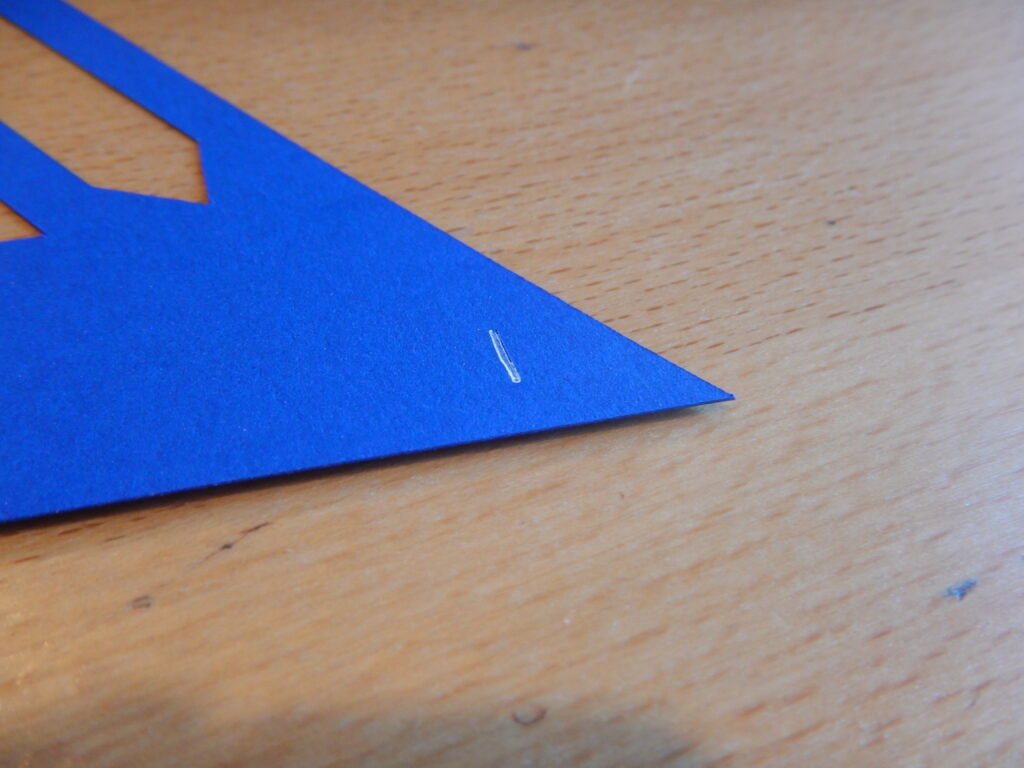
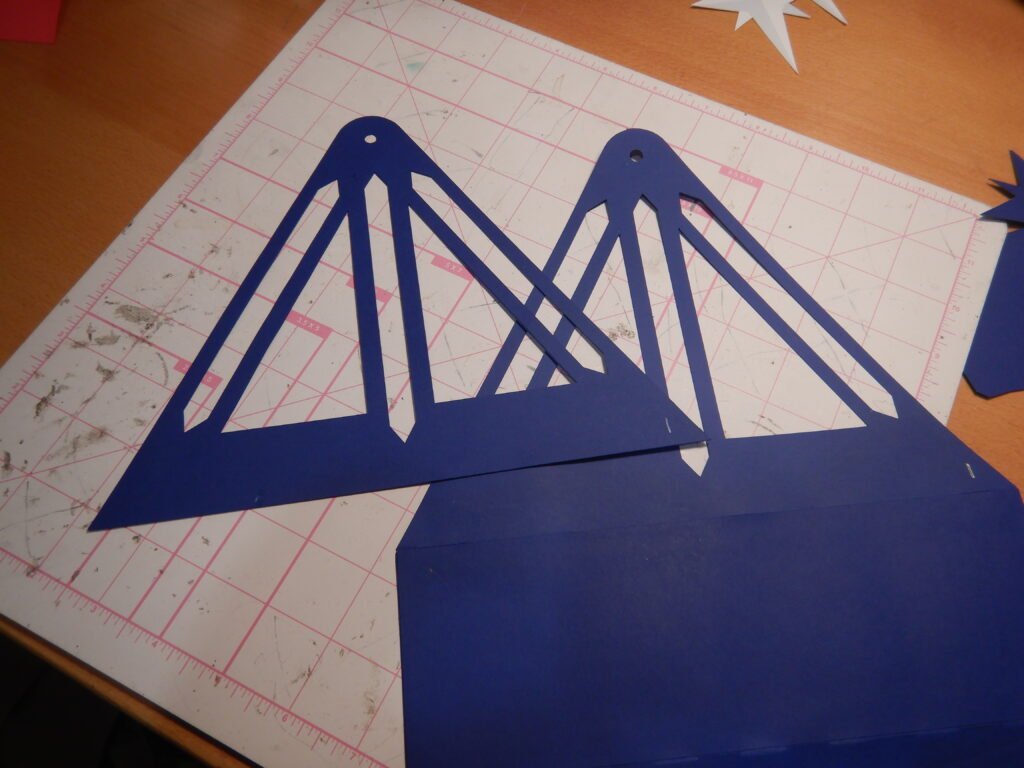
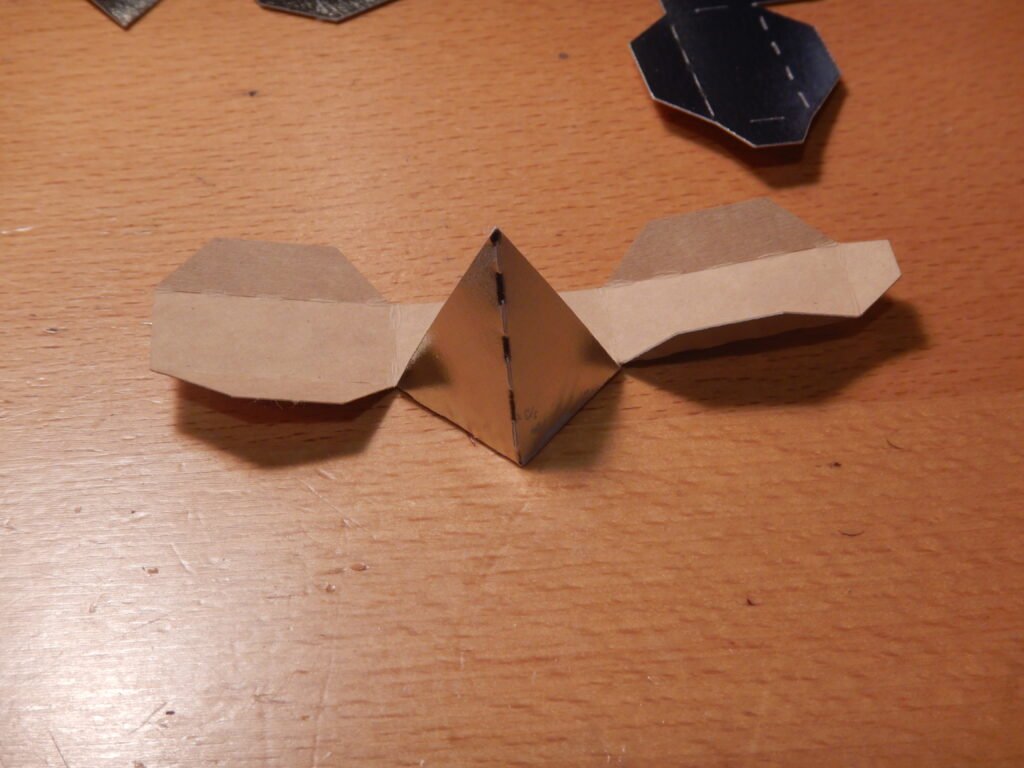
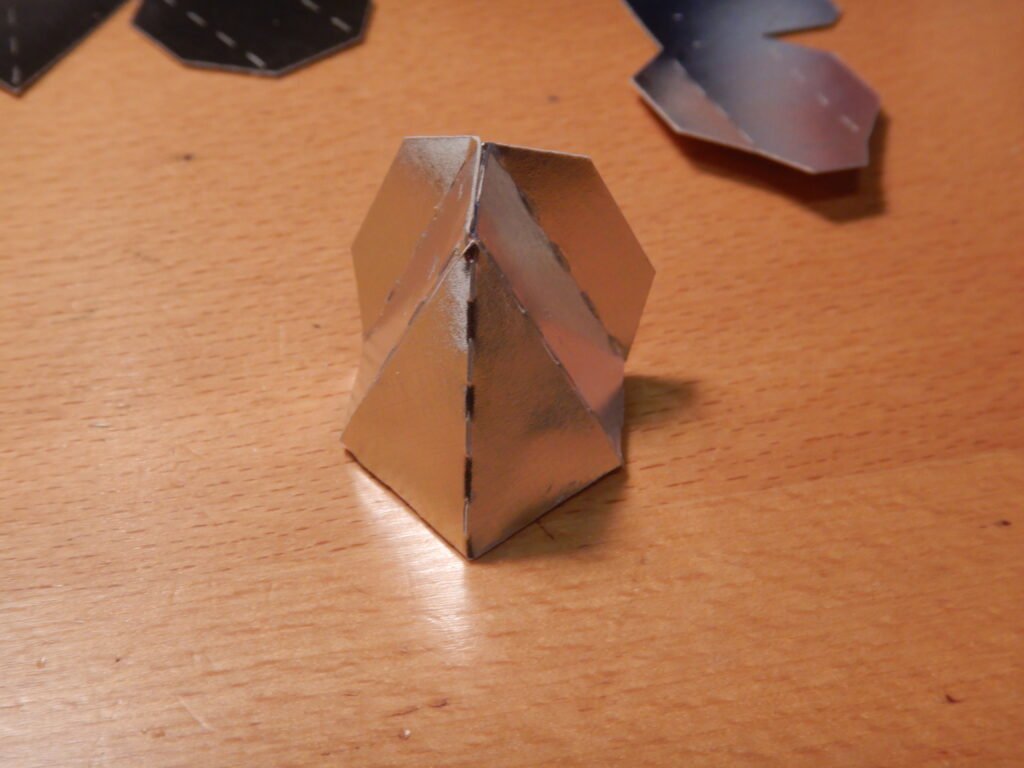
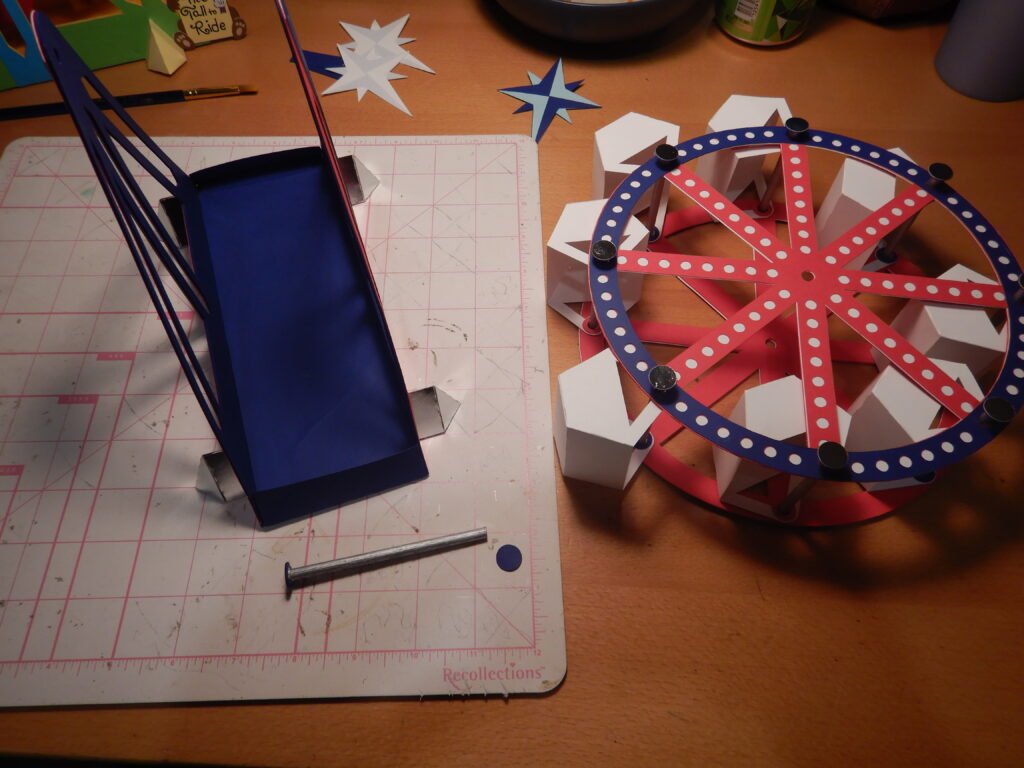
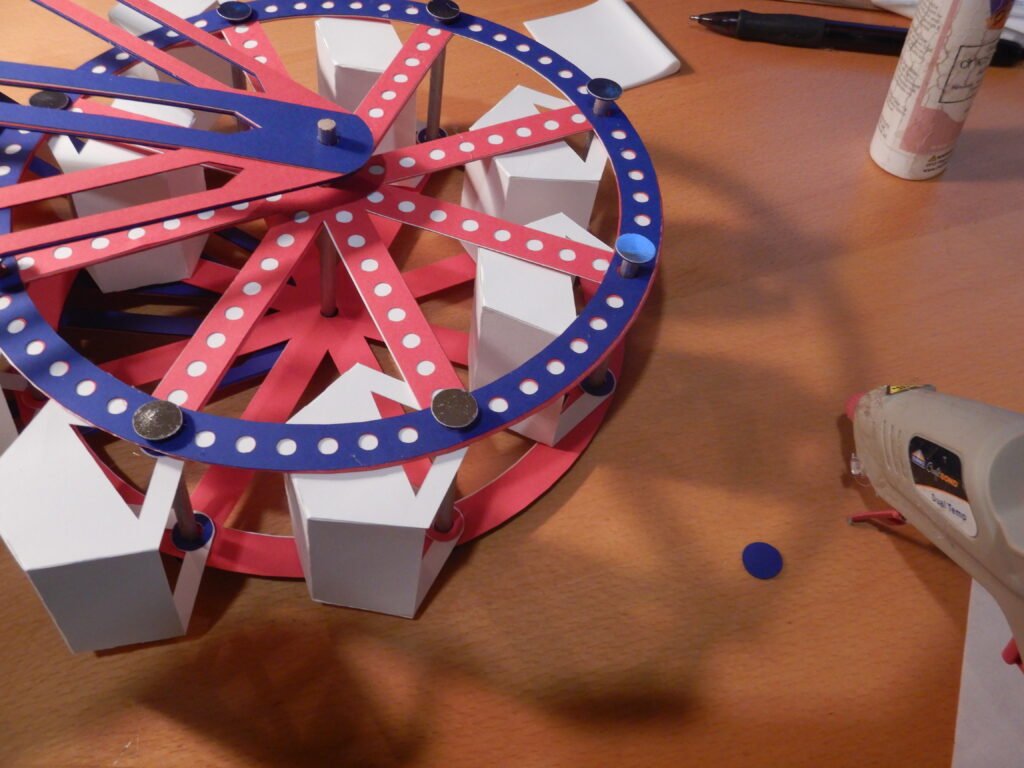
The wheel is made up of a couple pieces. Pictured below you can see the 3 pieces as well as the completed wheel. Despite our best efforts, the spokes aren’t 100% at exact angles from each other so to make sure everything is lined up and easy to find the correct orientation, we included a small cut line on each circle. By lining up these marks you can be sure your wheels are lined up right.
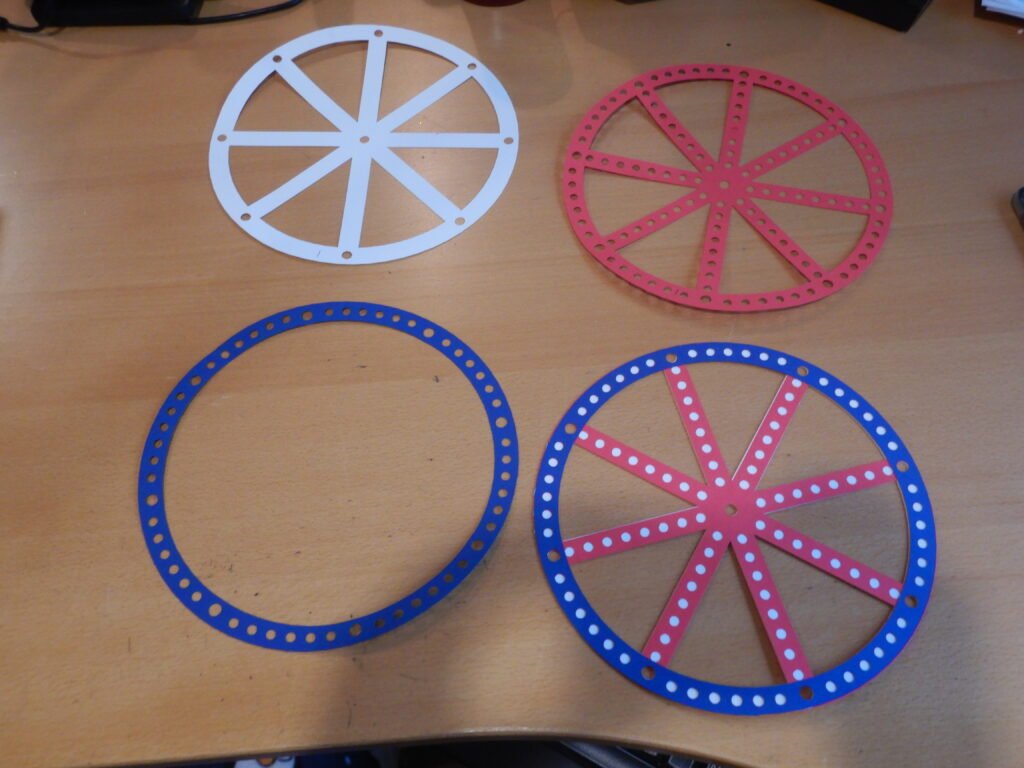
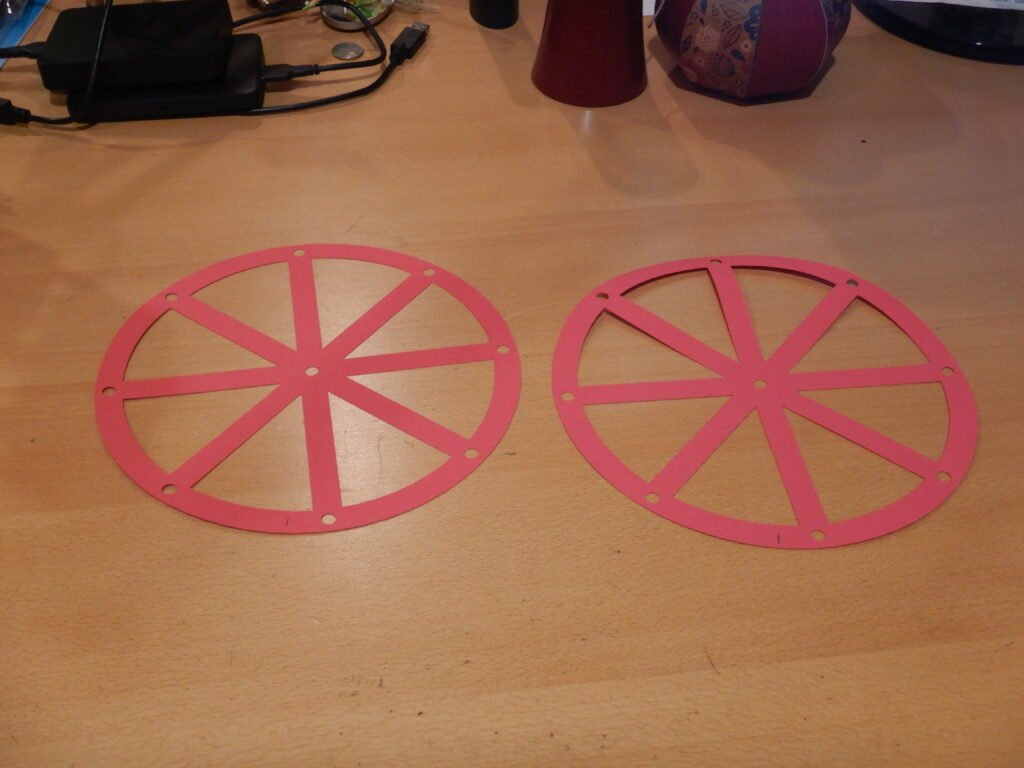
The file also includes two wheels for each side to provide reinforcement to the structure. By having several layers of cardstock glued together the wheels are fairly robust and can maintain shape. These wheels also have a maker to help maintain the correct orientation to ensure a good match for the wheel spokes. Once one wheel is complete you can repeat the process for the second wheel.
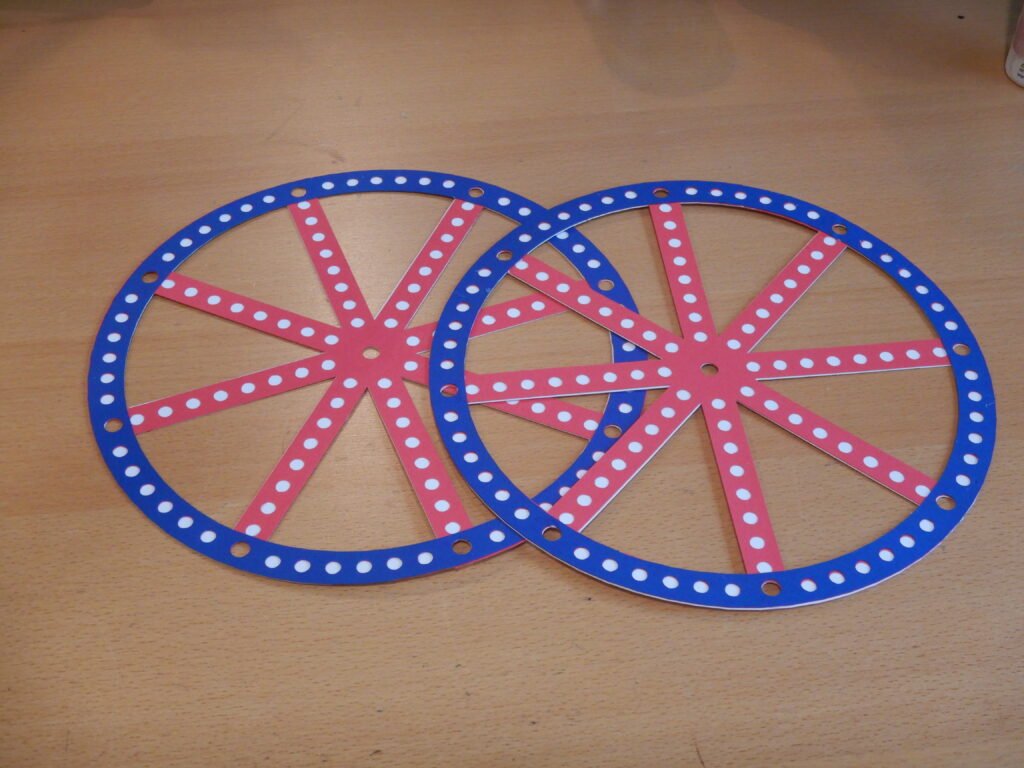
We recommend putting the wheels under something flat while you are working on the rest of the Ferris wheel parts. You want to be sure they do not have any warp or curve to them. We chose to put them under our self healing cutting mat then place something heavy on top to ensure they were flat.
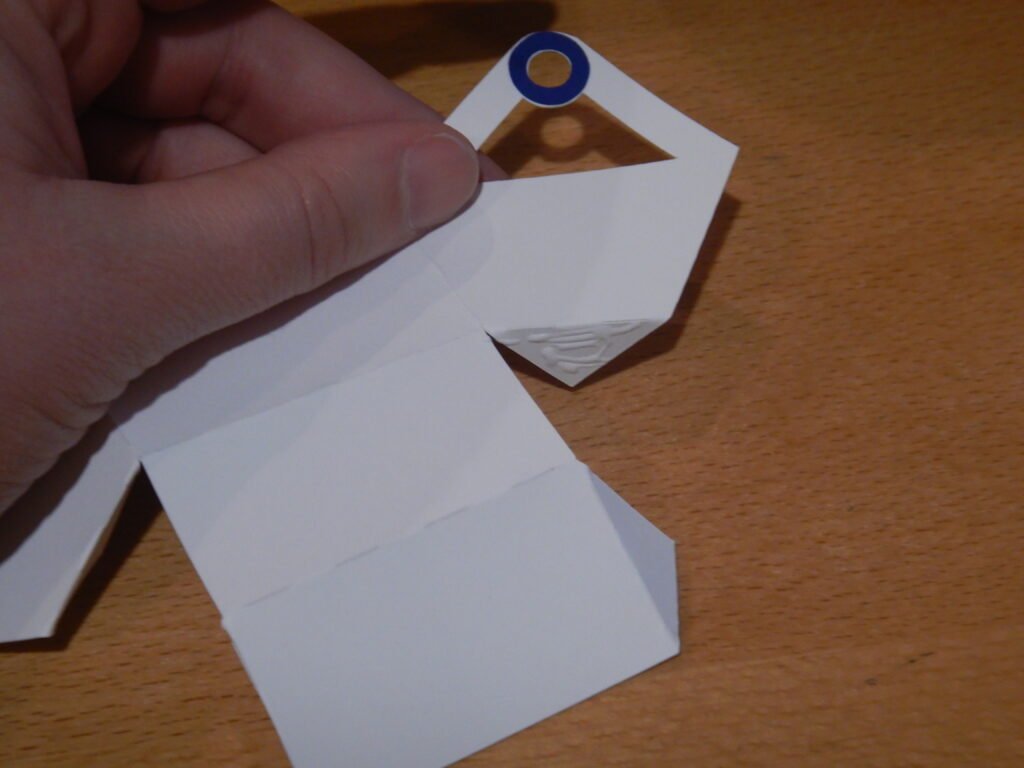
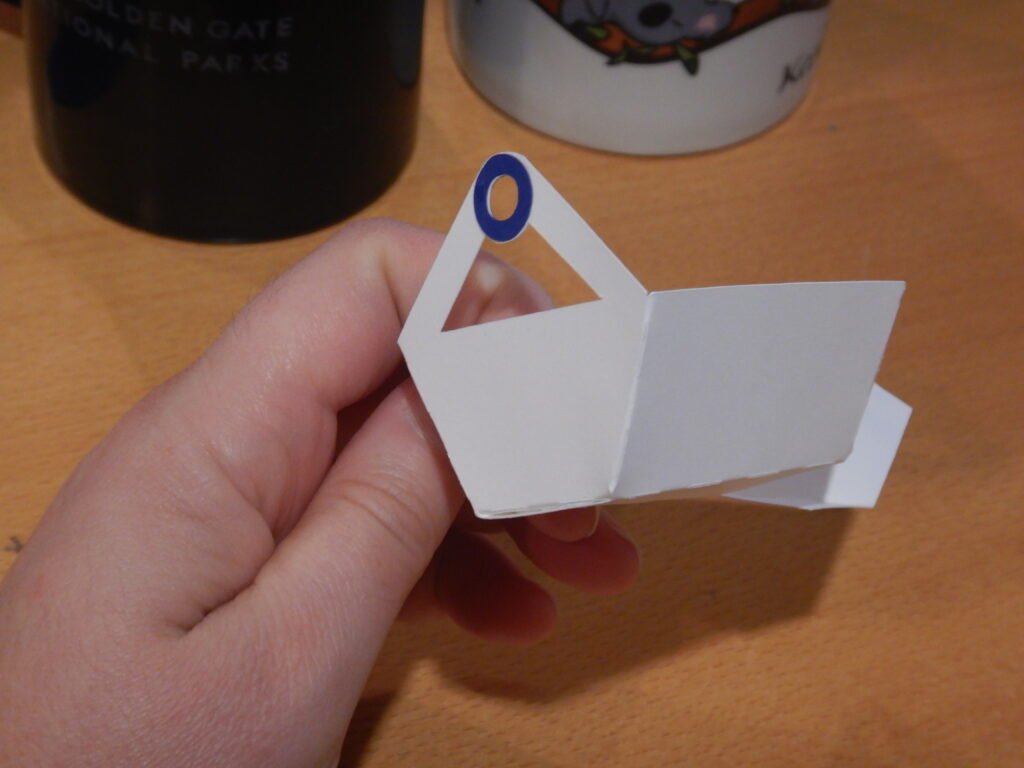
Bucket Assembly
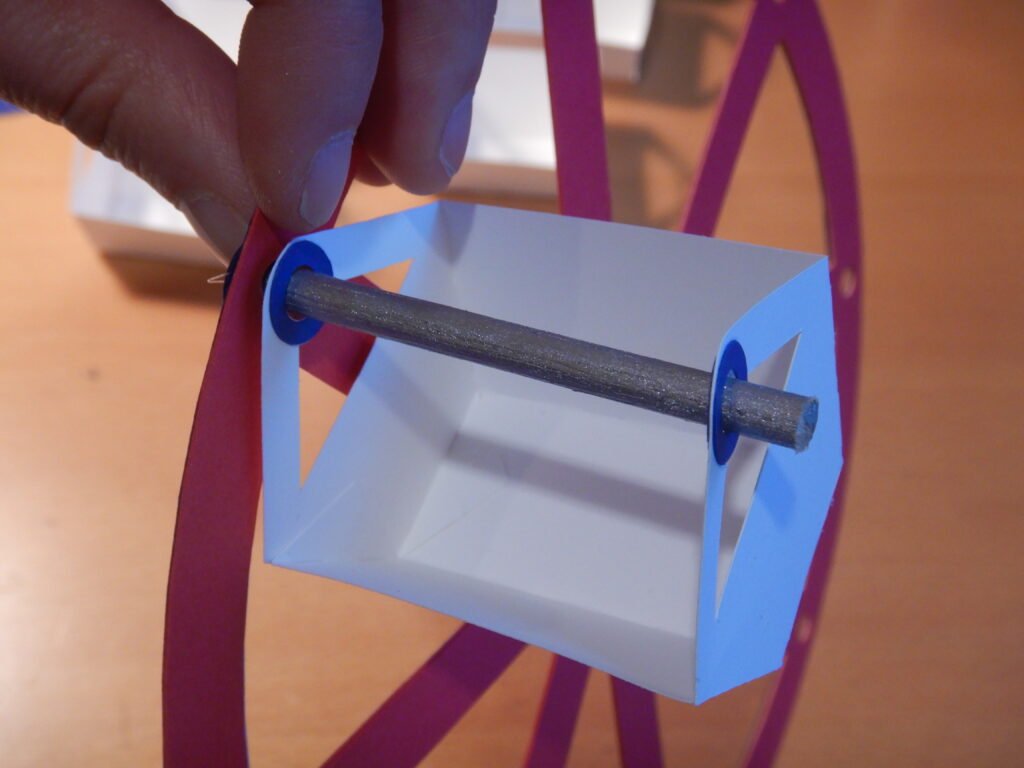
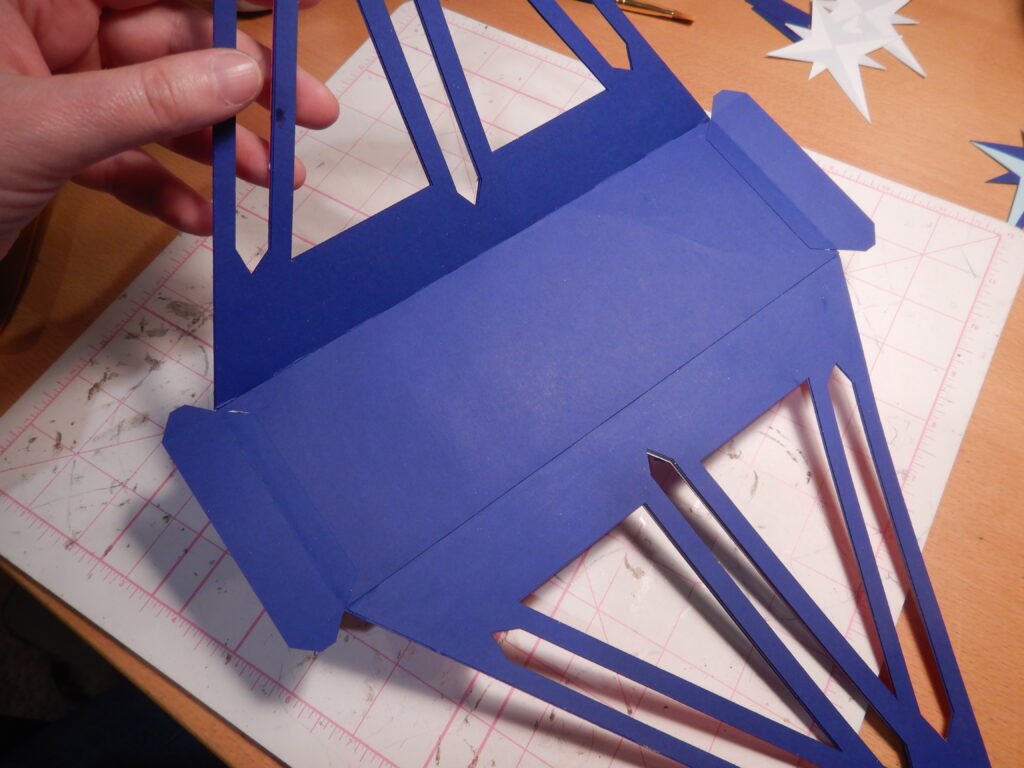
With the wheel done we moved to putting the buckets together. The buckets are made of one piece that gets folded to create the shape. Before doing this, we added reinforcement circles to both sides of the bucket paper. This will help keep the hole the dowel passes through strong and prevent tearing if you chose to put something in the buckets.
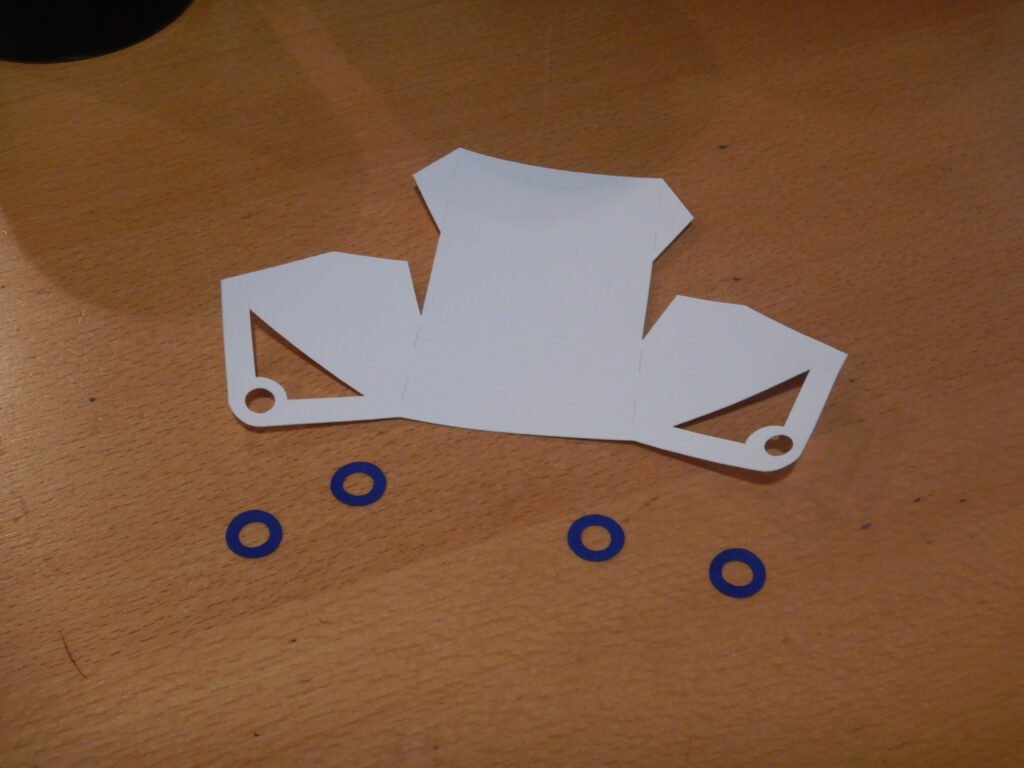
Once the reinforcements are in place, fold along the score lines and glue the tabs in place.

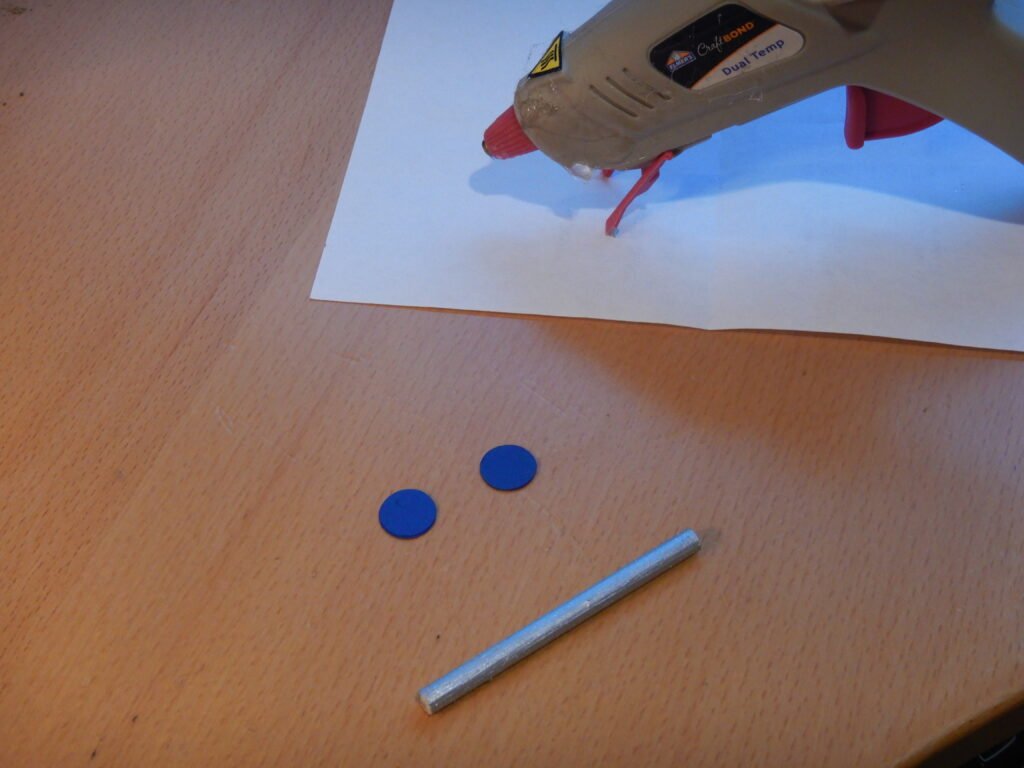
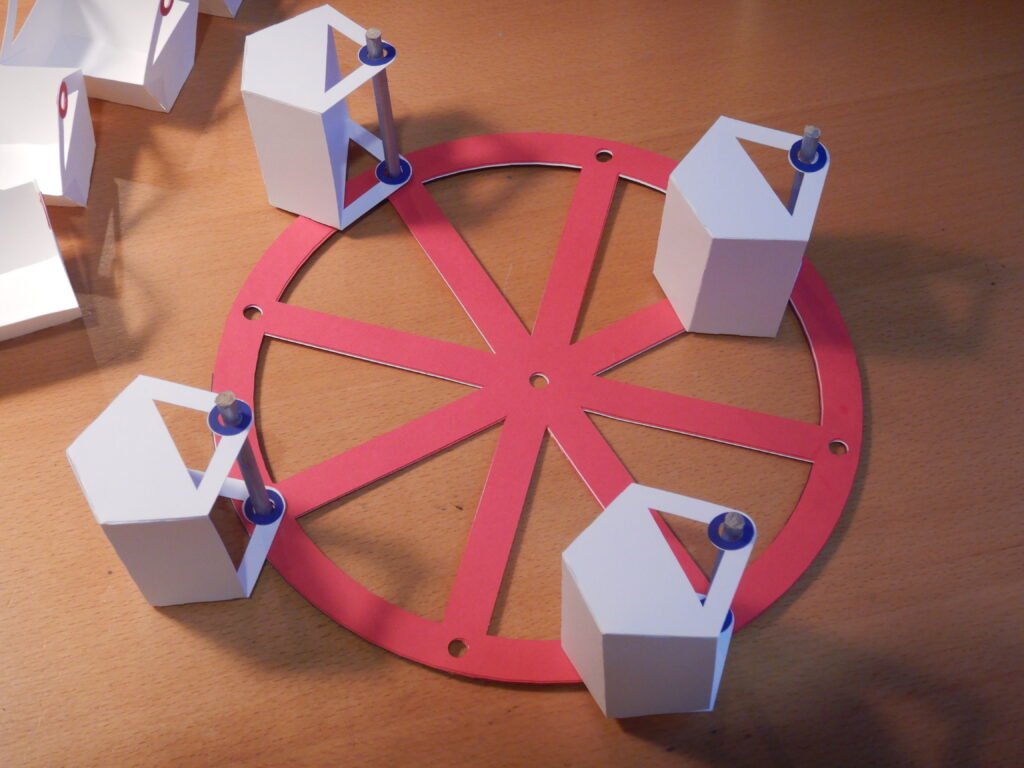
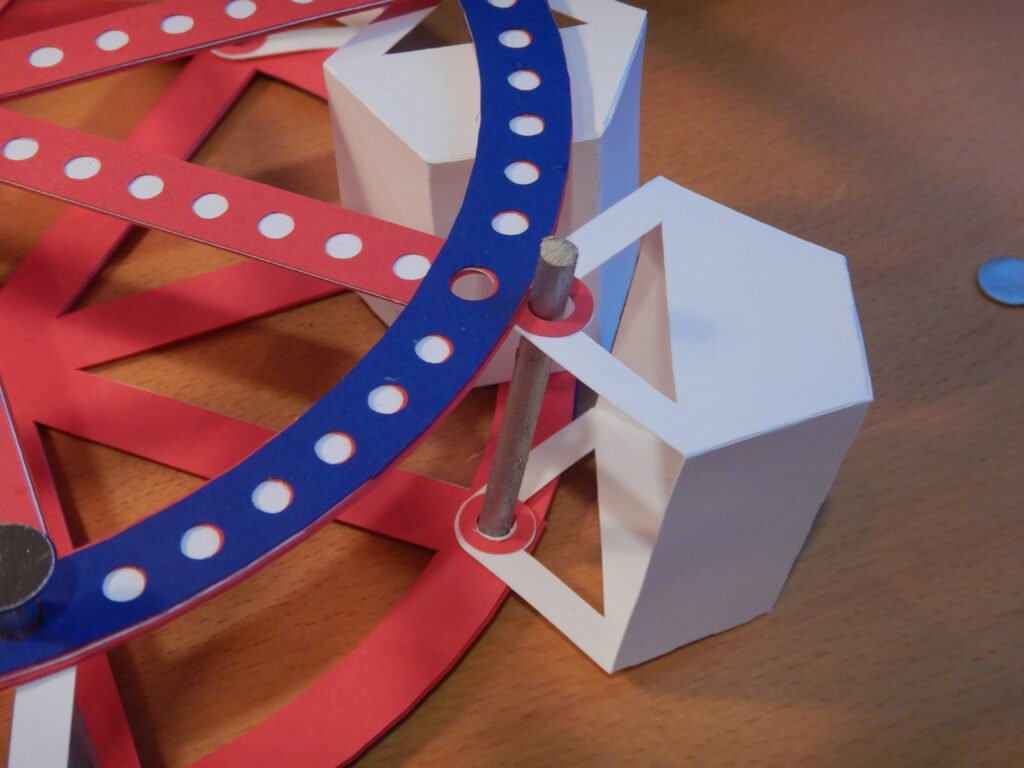
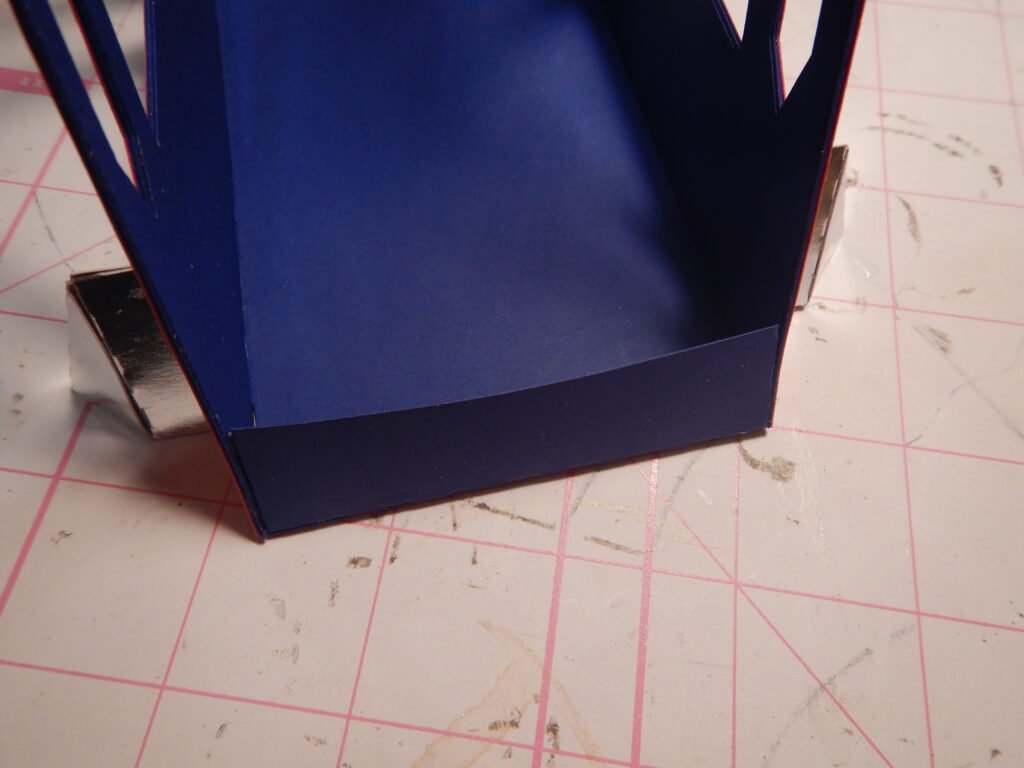
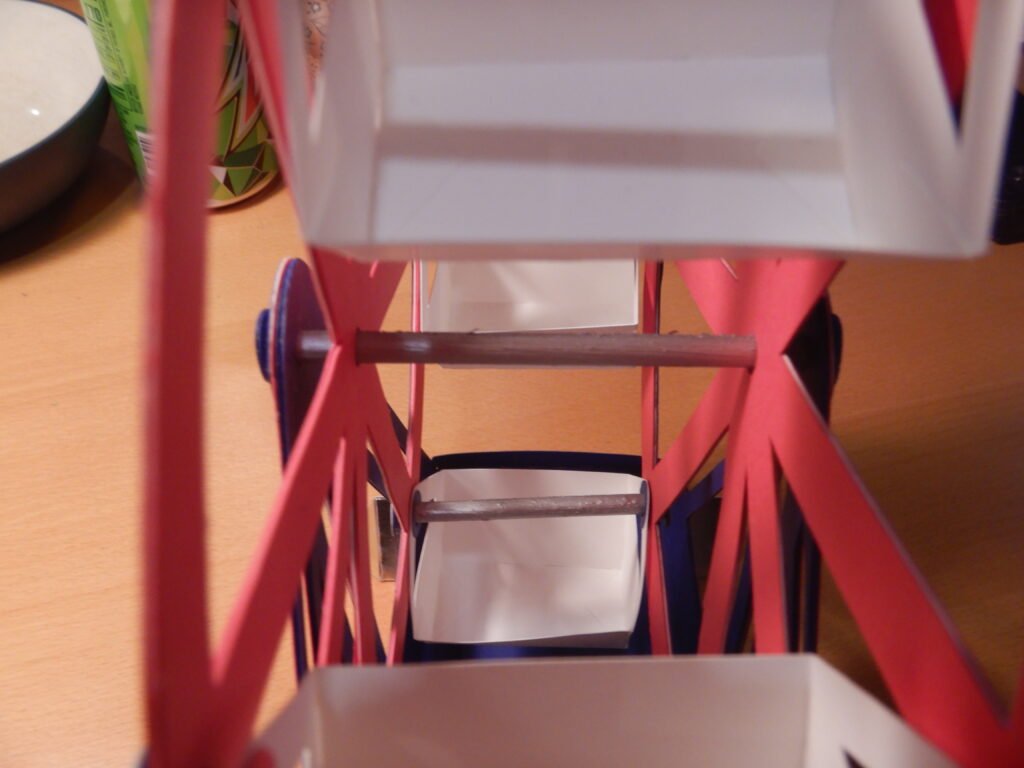
To attach the bucket to the wheels, we used a 3/16 inch dowel we purchased from the craft store. To match our color scheme, we chose to paint it metallic silver using acrylic paint. We then cut 8 segments of the dowel, each 2 ½ inches long. The buckets are 2 inches wide so having the dowels this long allows the buckets to move freely in the final construction.

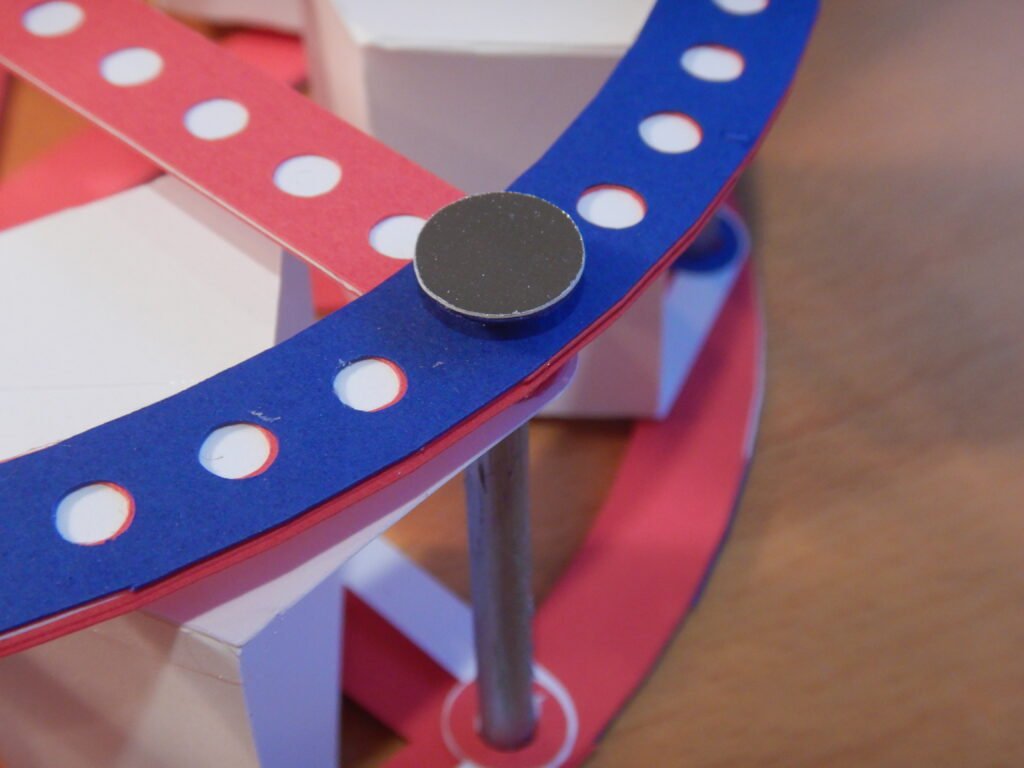
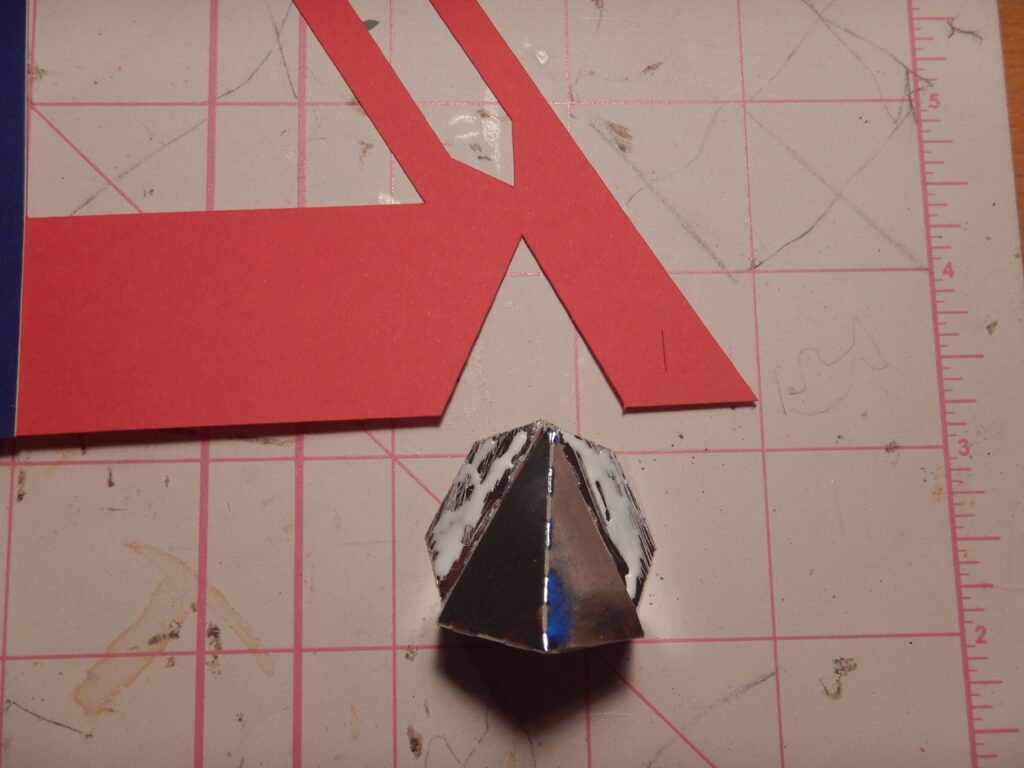
We took 4 end caps, two for each end. We glued two of the end caps together to give each set a little more strength. We forgot to photograph it but there is actually is a third end cap We chose to cut ours out in silver cardstock and use the silver for our outer layer.
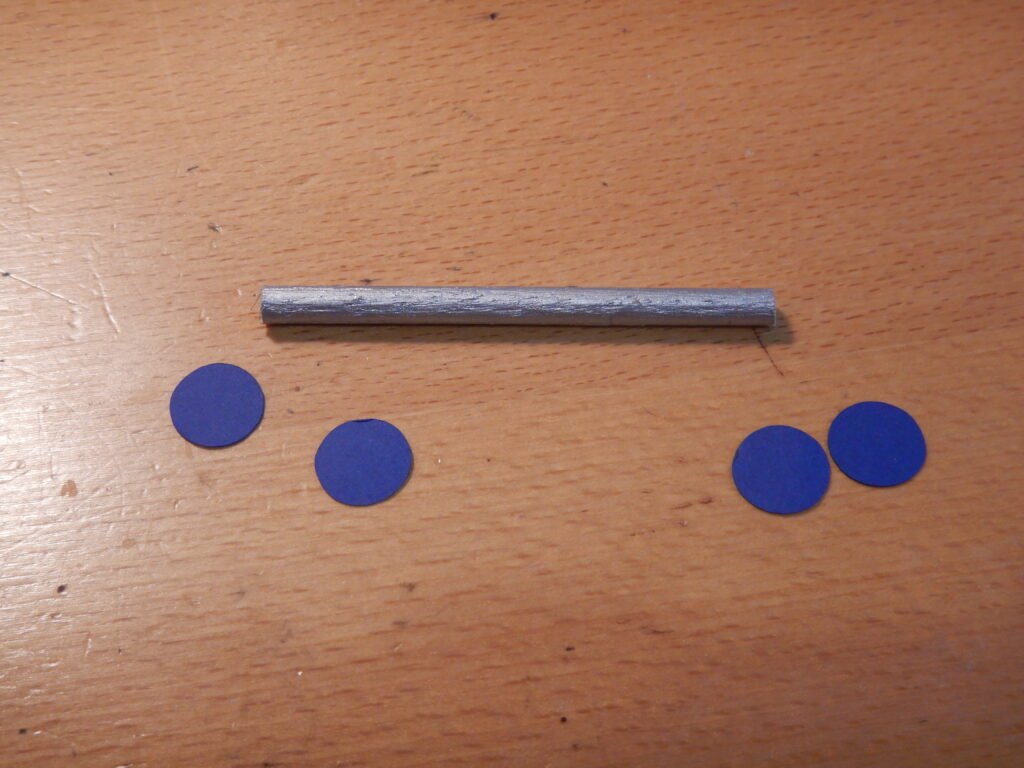

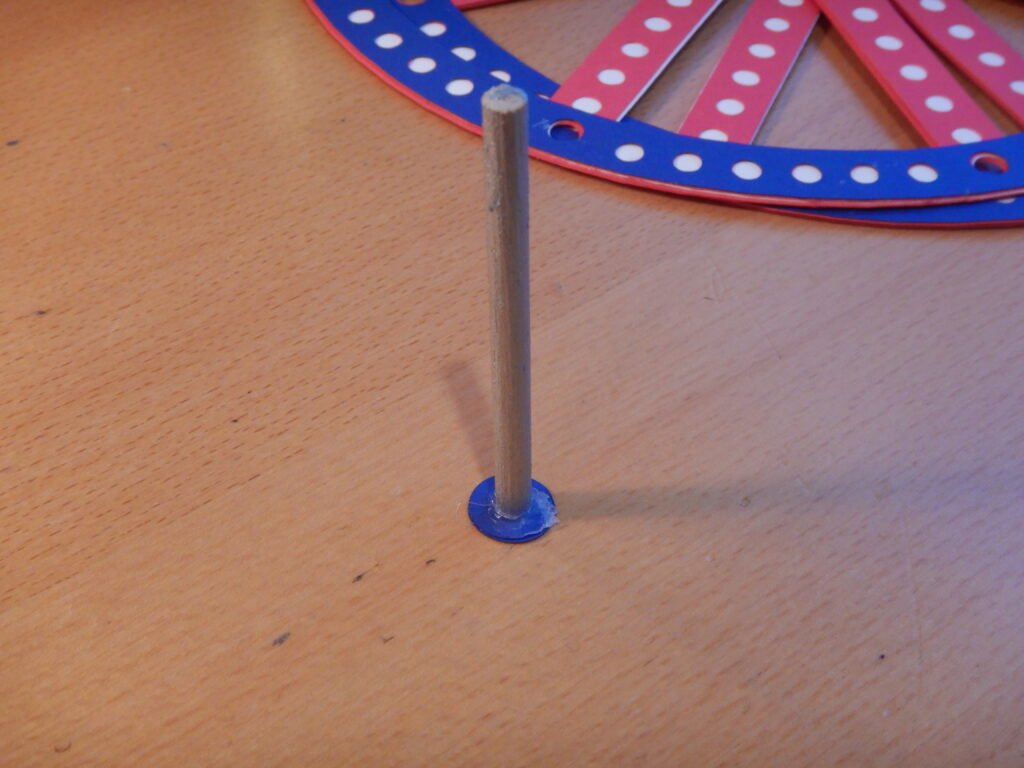
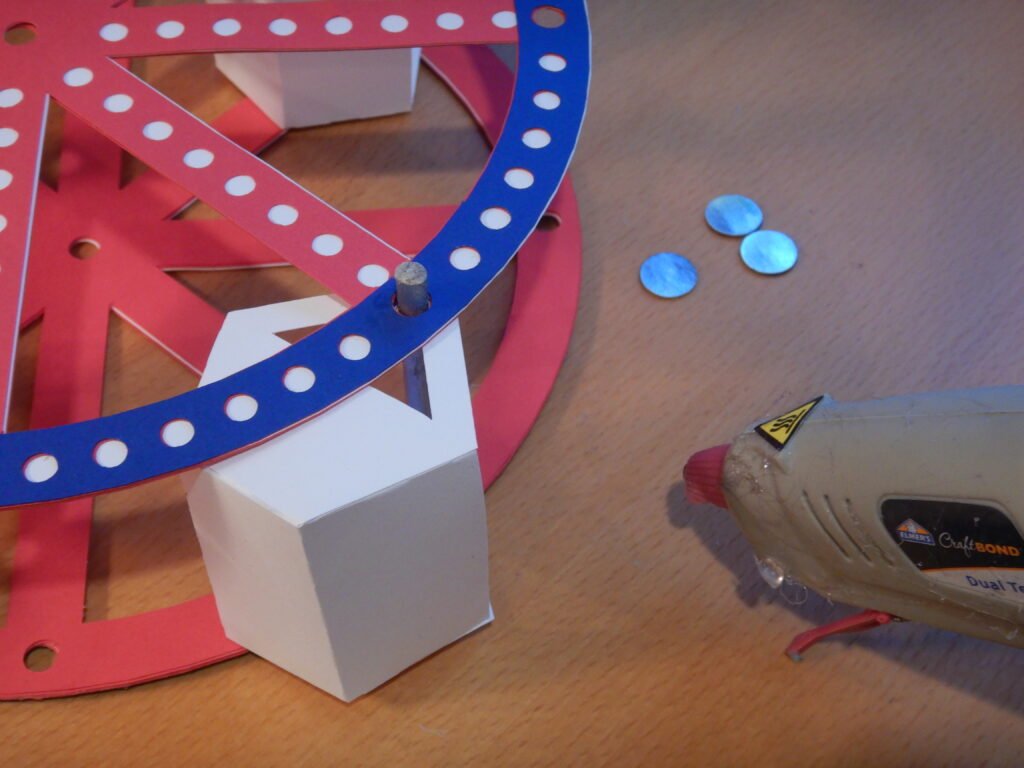
We then used hot glue to attach one of the end caps (total of 3 layers of paper) to the end of the wooden dowel.
Attaching the Buckets To The Ferris Wheel
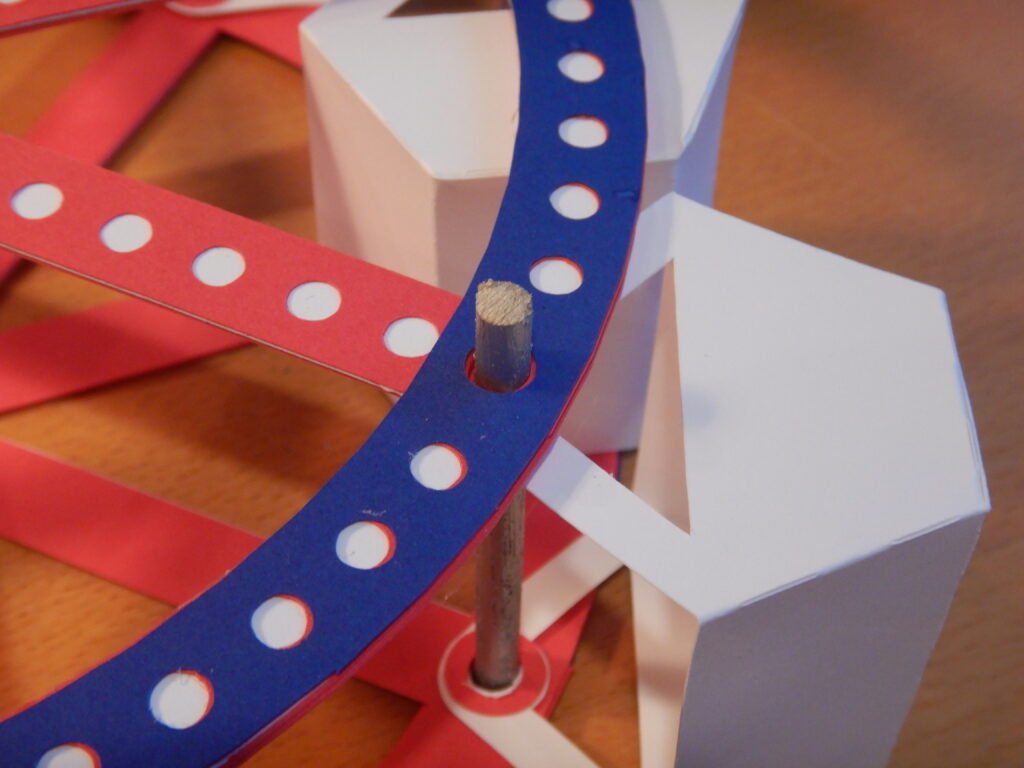
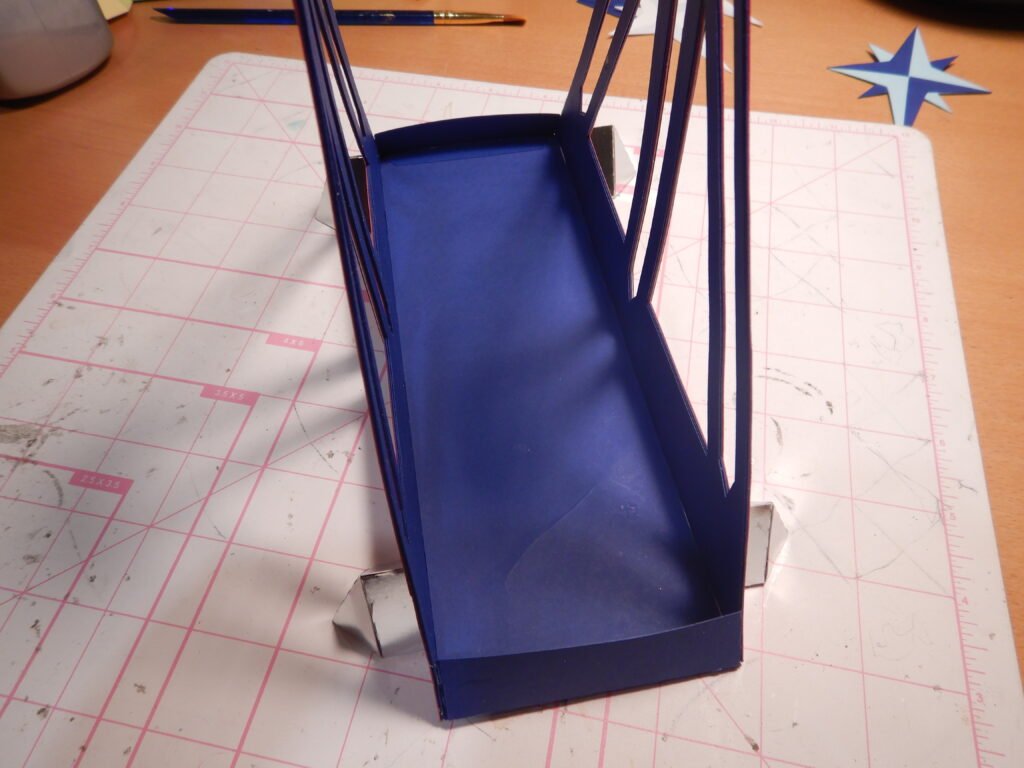
With the one end secured, put the dowel through a hole in the wheel, running from outside to inside. That way the endcap on your stick is on the outside (decorated side) of the wheel. Then put the dowel through both holes in the bucket. Do this with four of the dowels and buckets then place the other wheel over these four.
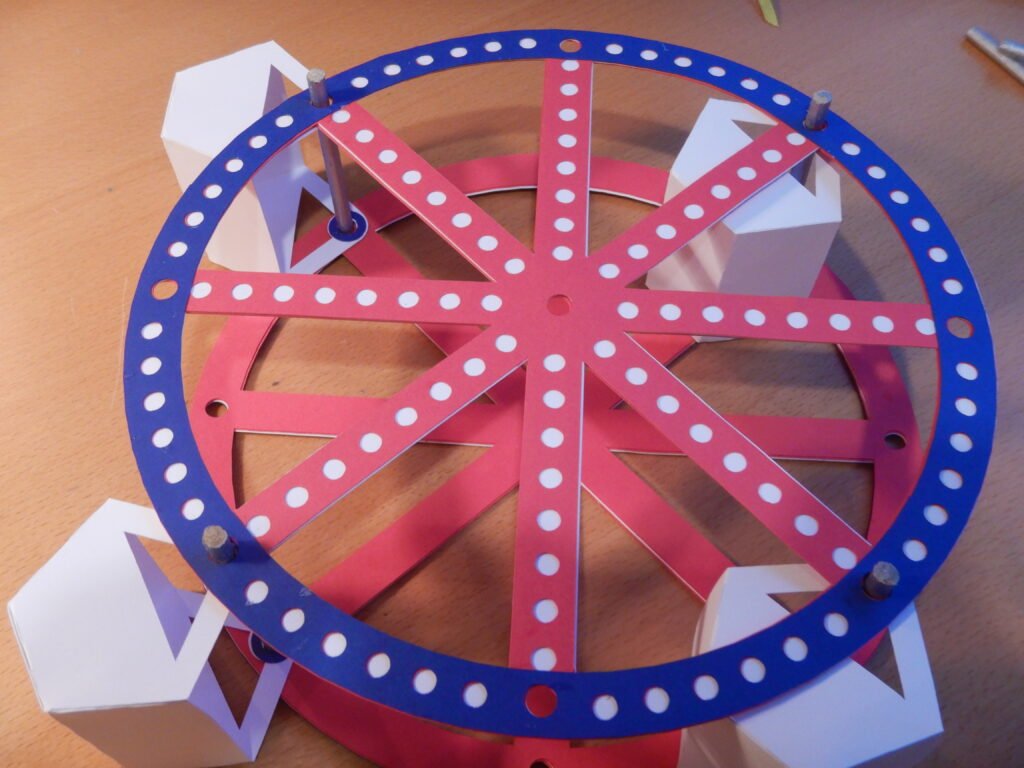
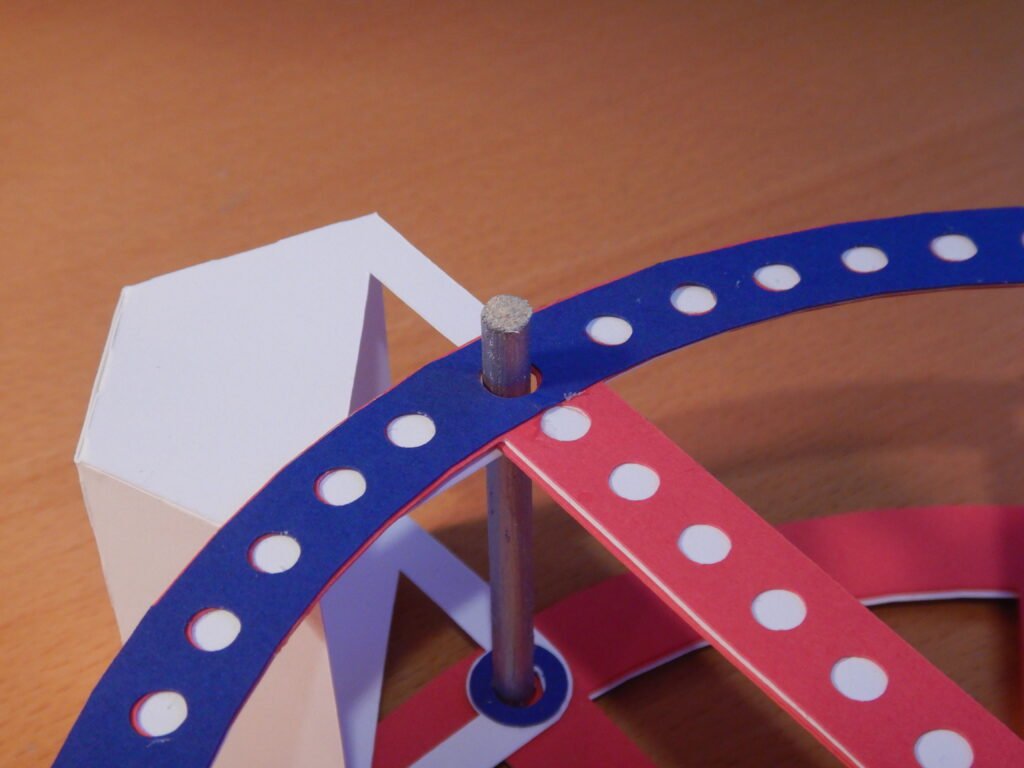
Now you need to glue the end caps to this side of the wooden dowels, securing the wheel in place. If you wanted you could do all eight buckets/dowels at once but we decided to do the other four once both wheels were secured in place. You can do it either way, we just found breaking it up to be easier for us.
Once you have the wheels and the buckets all in place, you can set the wheel aside and make the base structure.
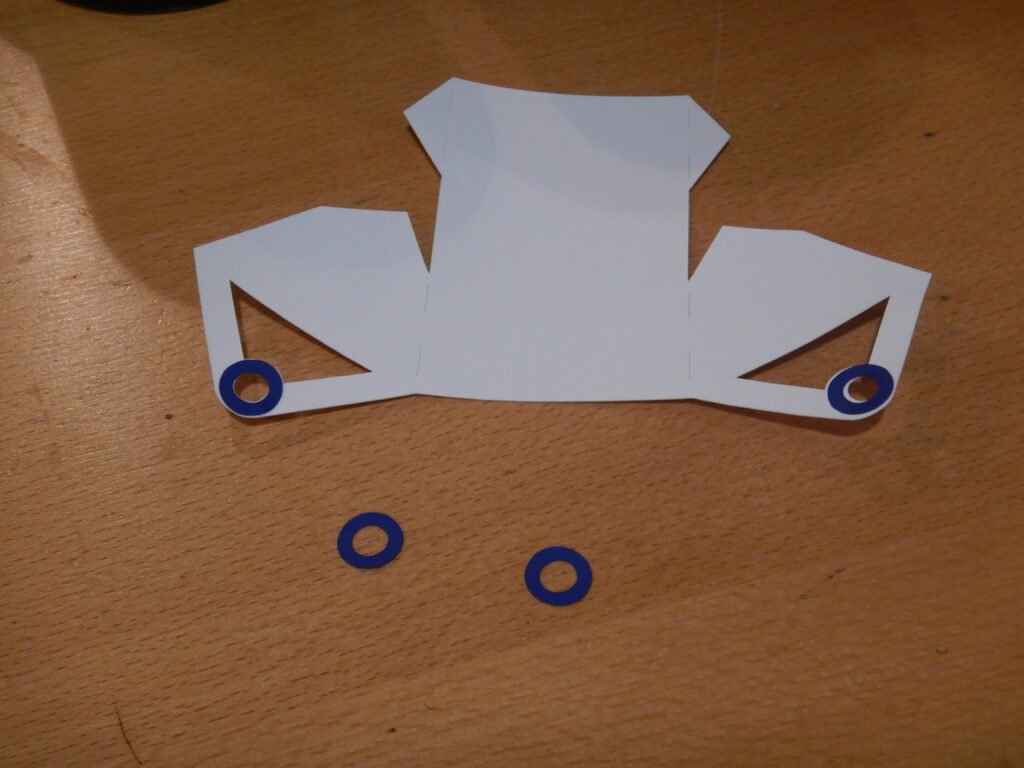
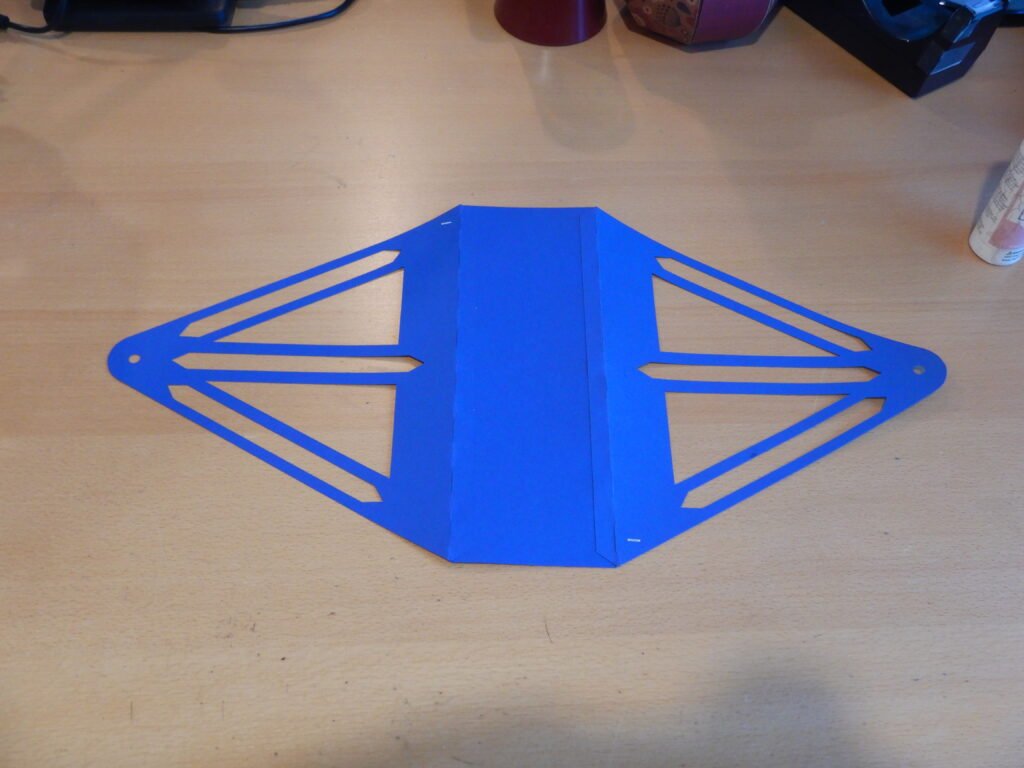
Assembling The Ferris Wheel Base
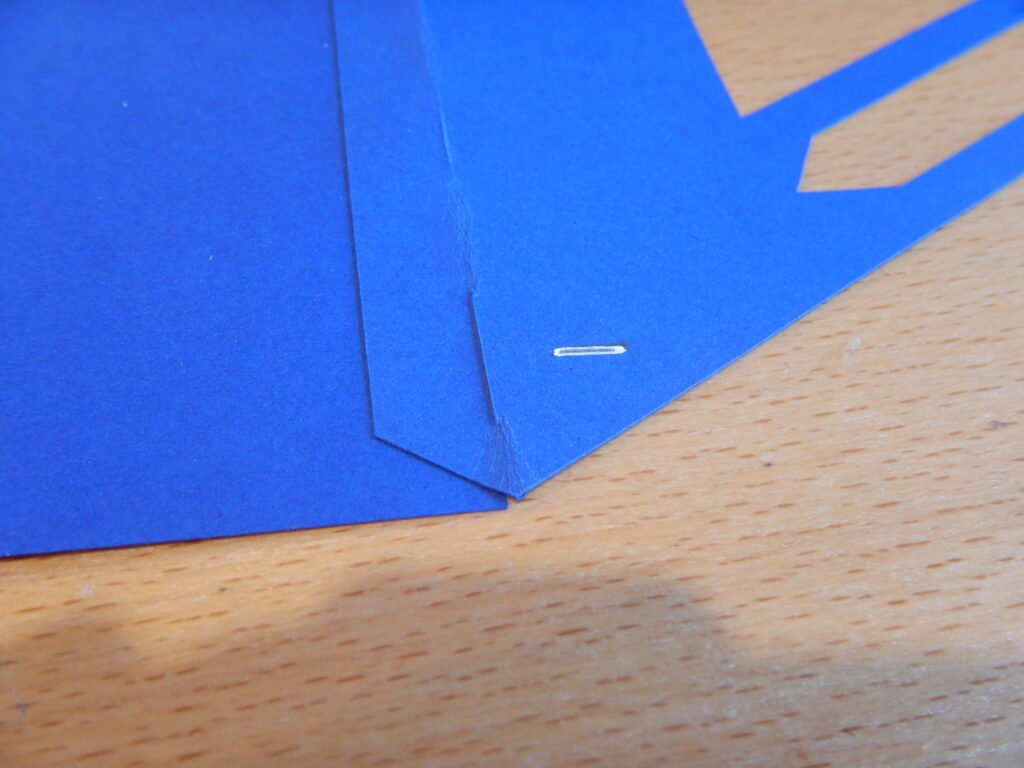
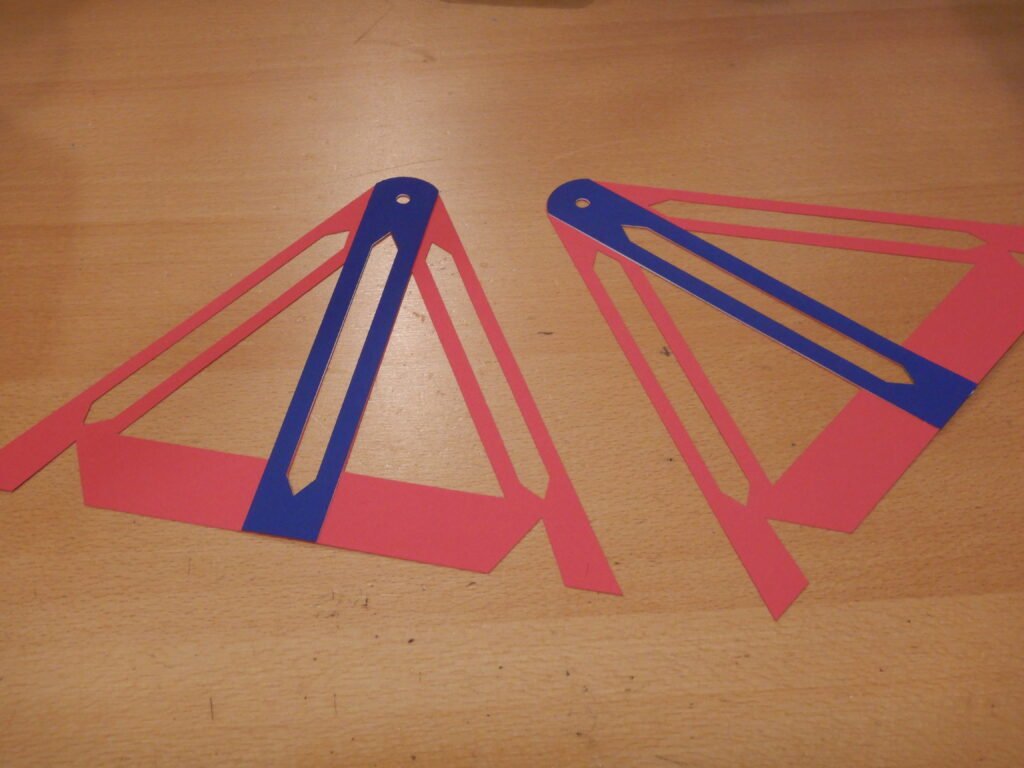
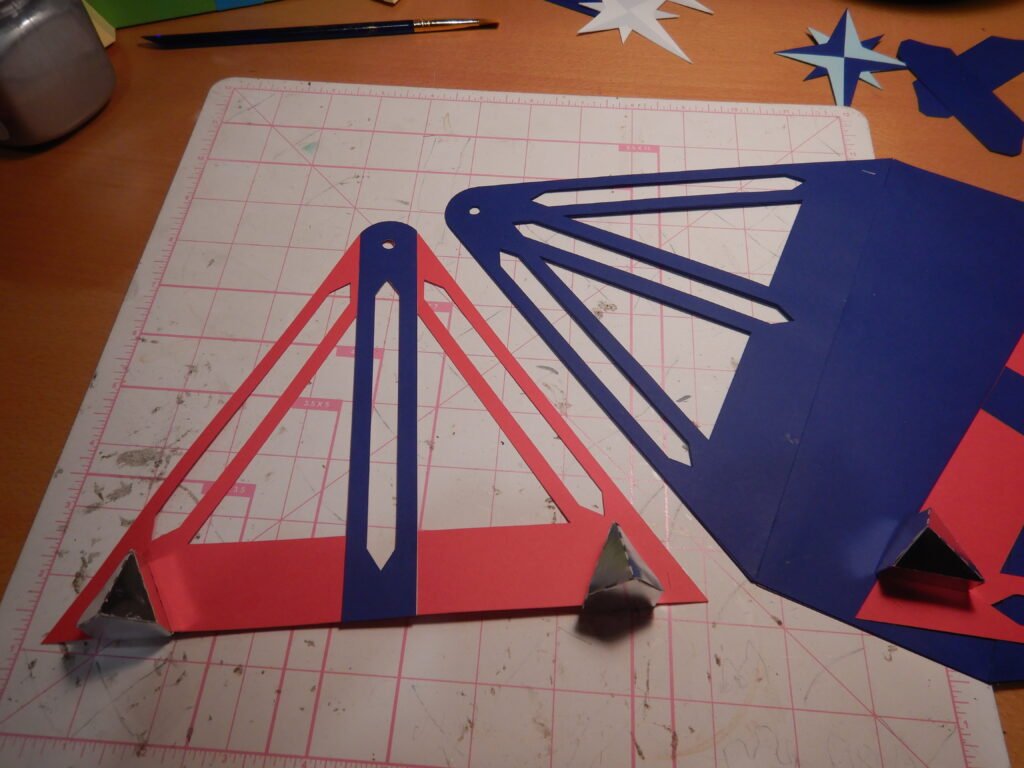
The base structure is made of several pieces. Start with the side supports and the base. Fold along the score lines of the side supports. Also, take note that there is a small cut in the bottom right of each. This serves the same purpose as the mark on the Ferris wheel. Make sure that the mark will be on the outside, bottom right when the supports are attached to the base and standing upright.
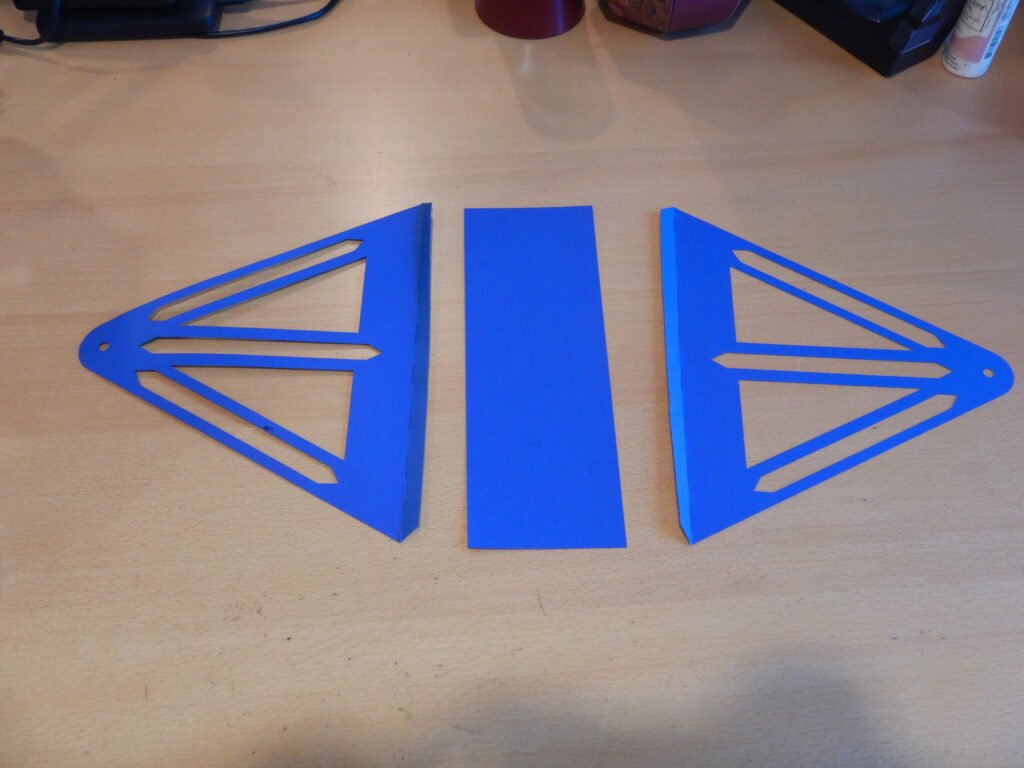

Once you’ve attached the side supports to the base, there are two more rectangular panels for the base. They are all the same size so it doesn’t matter which order you use them in. These two extras we placed on either side of the structure, one on the inside, and one on the outside/bottom covering the tabs. They provide extra strength for the structure and allow the tabs to be covered.
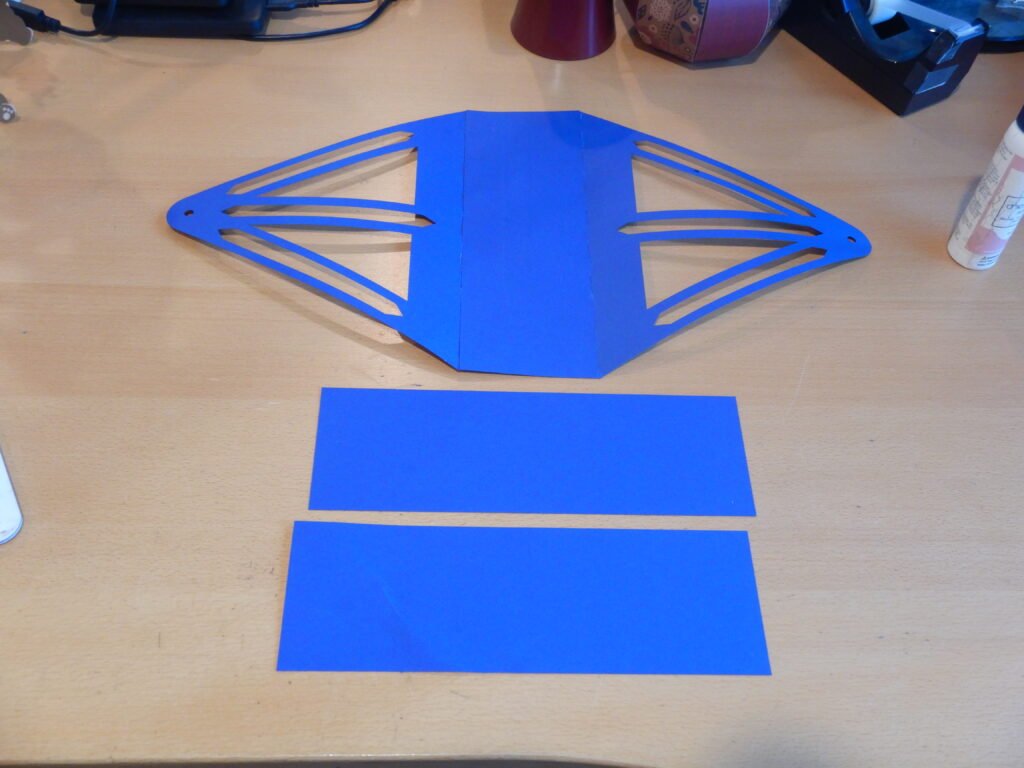
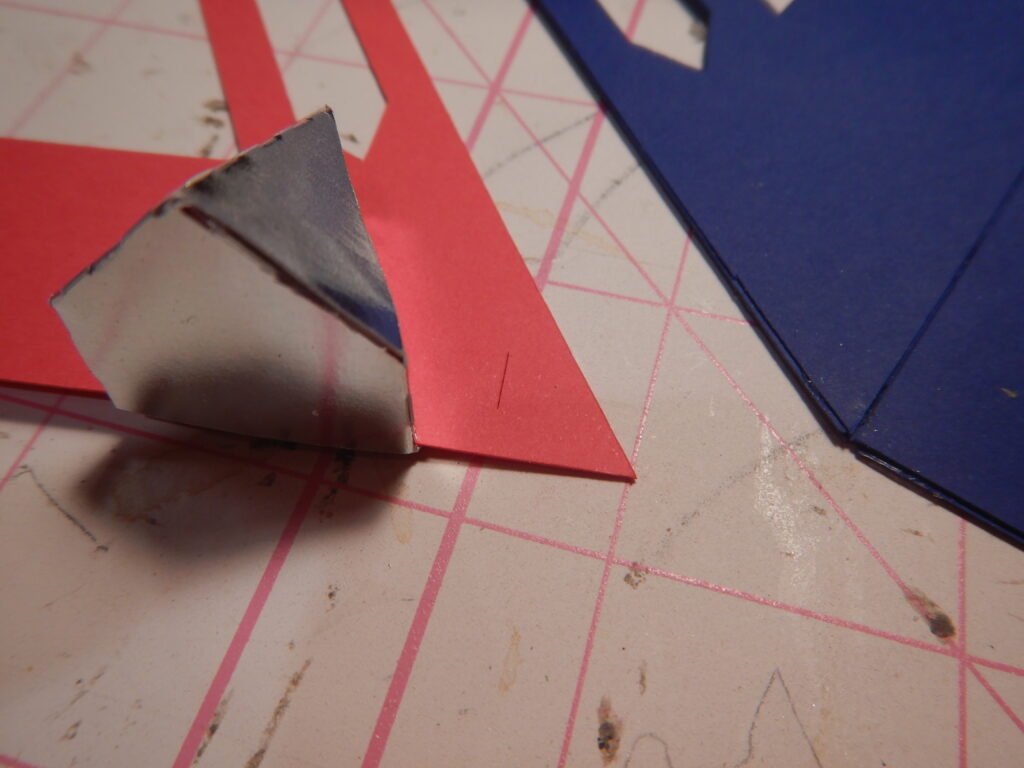
There are three structural reinforcements for each side. We wanted to be sure that the sides of the Ferris wheel would not buckle under the weight of the wheel. Each of these sides is also marked on the bottom right to get the right orientation and help make sure the sides are lined up as best as possible.

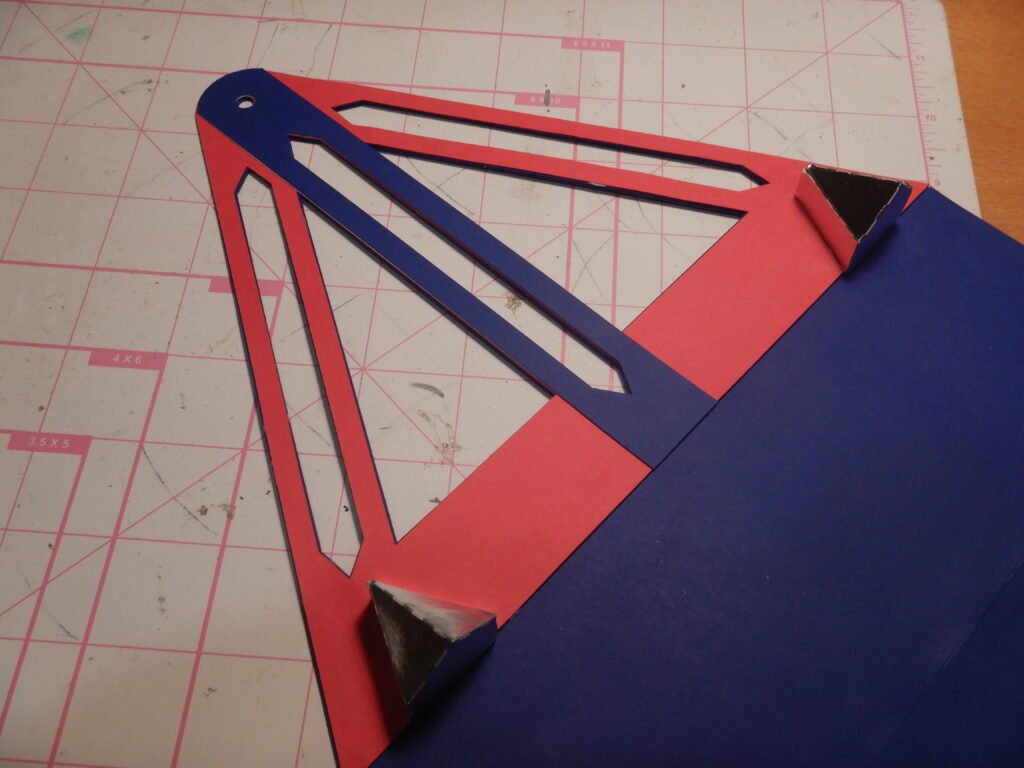
Once you have glued and stacked these together, you can add one set to e. We turned the base so that the outside (the side with the marked lines on the bottom right) were facing up and glued the structure support to them. This places the structure support on the outside of the structure when complete. At this point it may be helpful to allow the entire piece to lay flat, with something flat and heavy on top. Doing this will help ensure that the sides are flat and not bowed or warped. The flatter and straighter the sides can be the better the wheel can turn.

Next, we took the decorative side panel with the cut outs at the bottom and added the decorative center panel. Again, the decorative side panels each have a small mark on the bottom right. We chose not to highlight it this time for the pictures as the line will be exposed as this is the final decorative layer for the sides of the Ferris wheel.
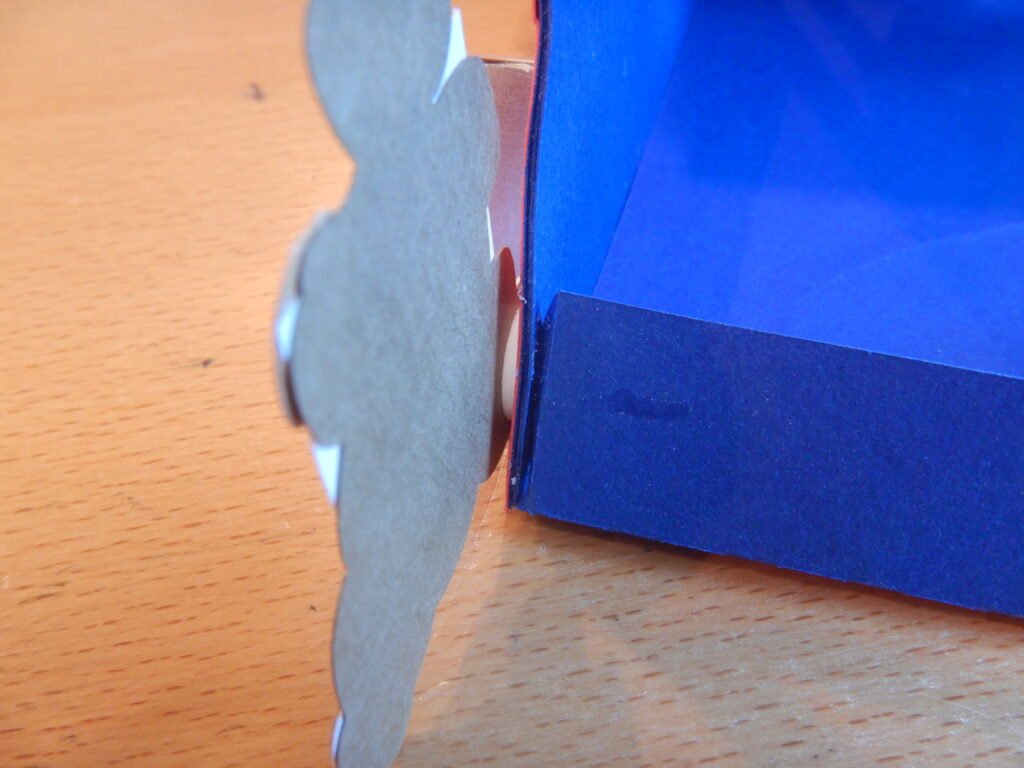
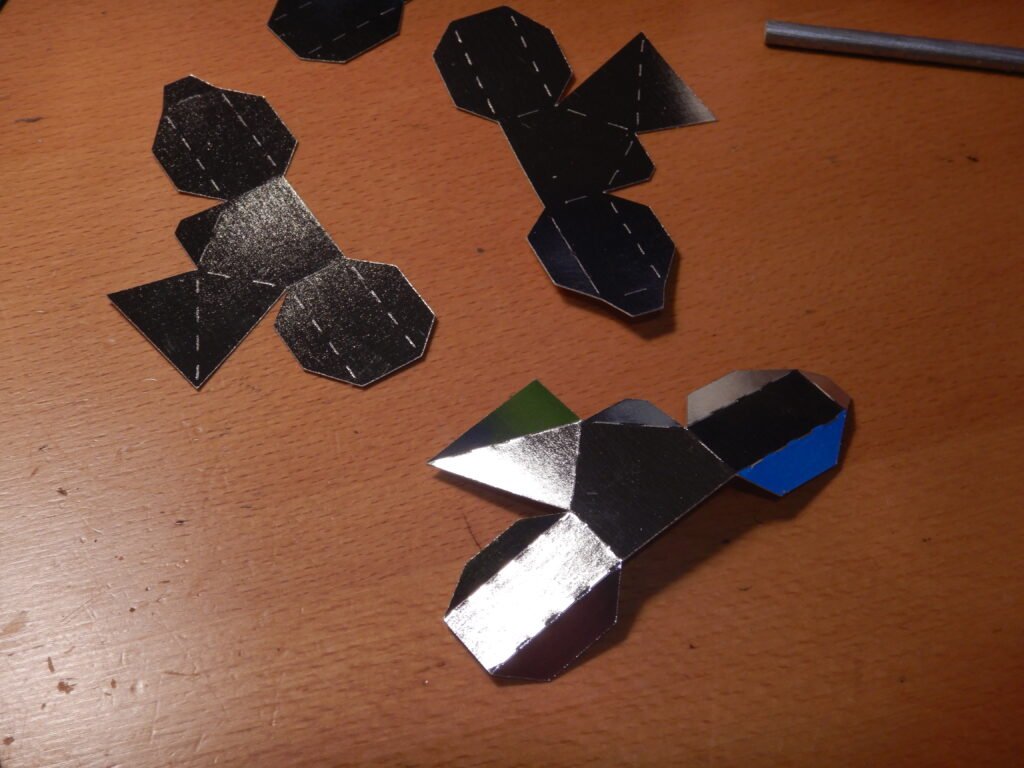
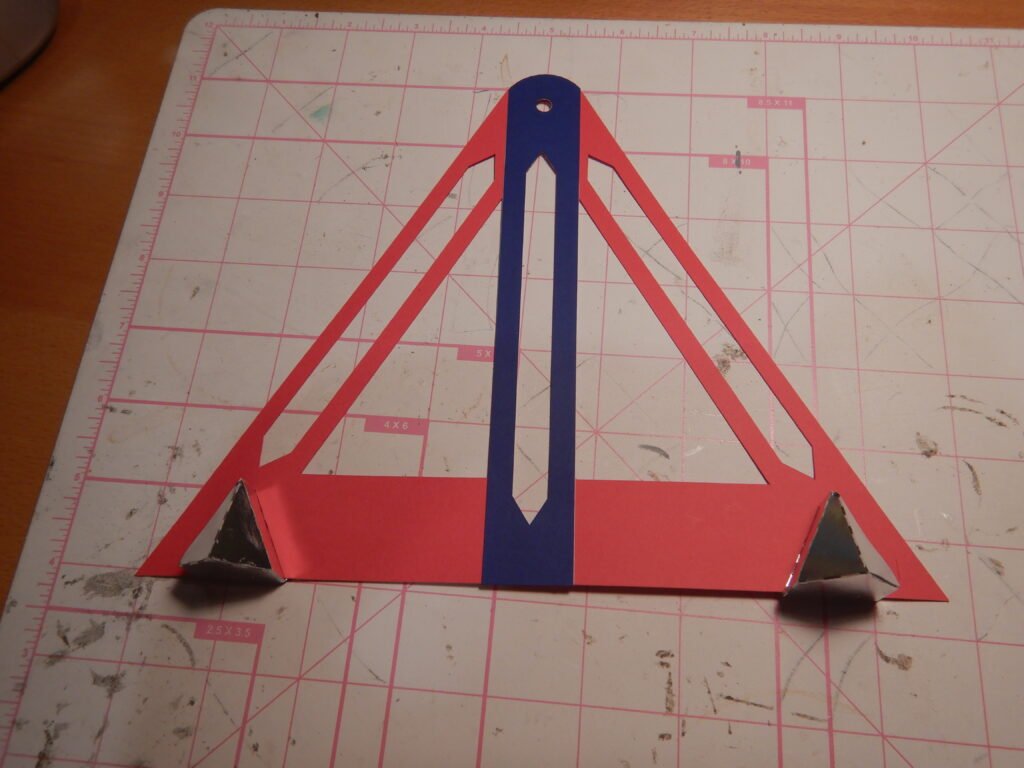
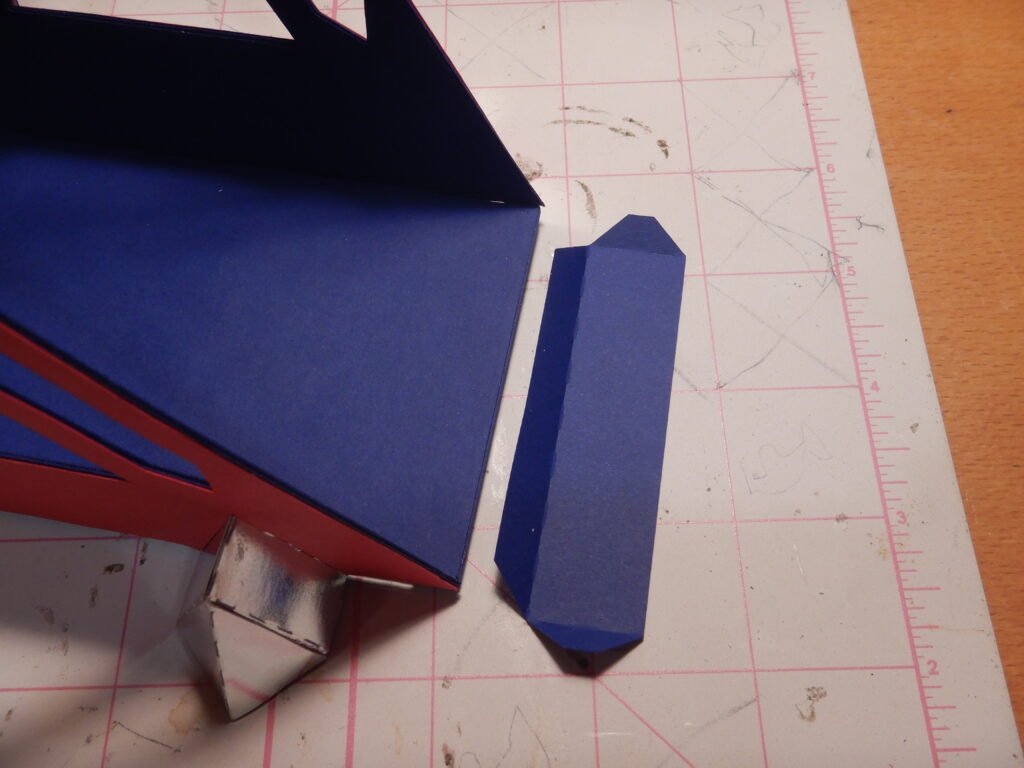
Before attaching the decorative sides to the structure, we needed to add the feet. The feet are each made of one piece, folded, and glued together. When done there will be two tabs left at the back. These are used to attach the feet to the decorative side panels.
Once the feet are done, add glue to the tabs and put the feet in place so that the tabs are on the backside of the decorative panel.
You can now attach the decorative side panels to the side supports of the Ferris wheel base.
Next, we took the end supports and glued the long tab to the base of the Ferris wheel. Once these are in place, you can add glue to the end tabs and attach them to the inside of the Ferris Wheel sides. These keep the sides in an upright position so be sure to get a good hold and make sure they are lined up and flush at the edges.

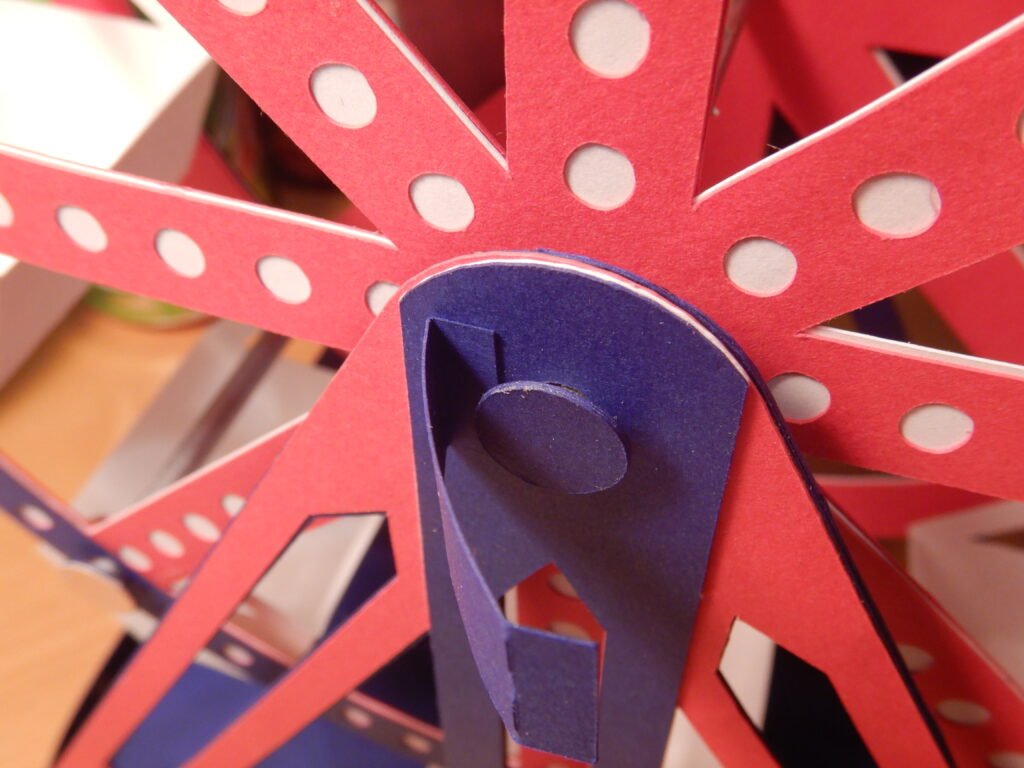
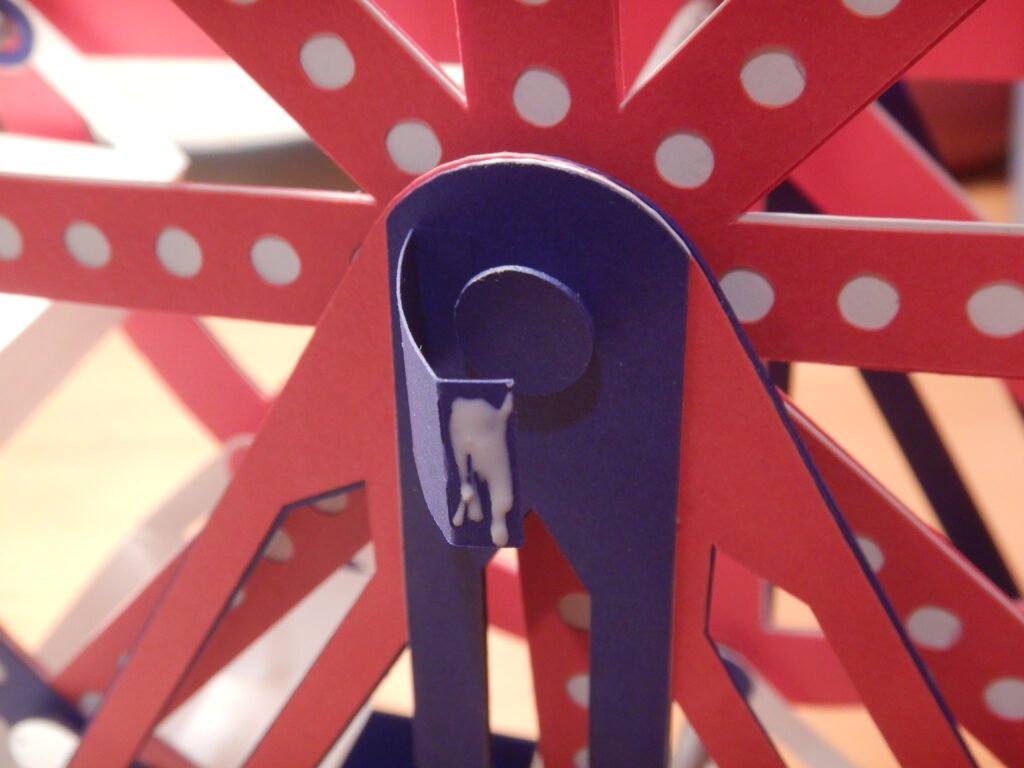
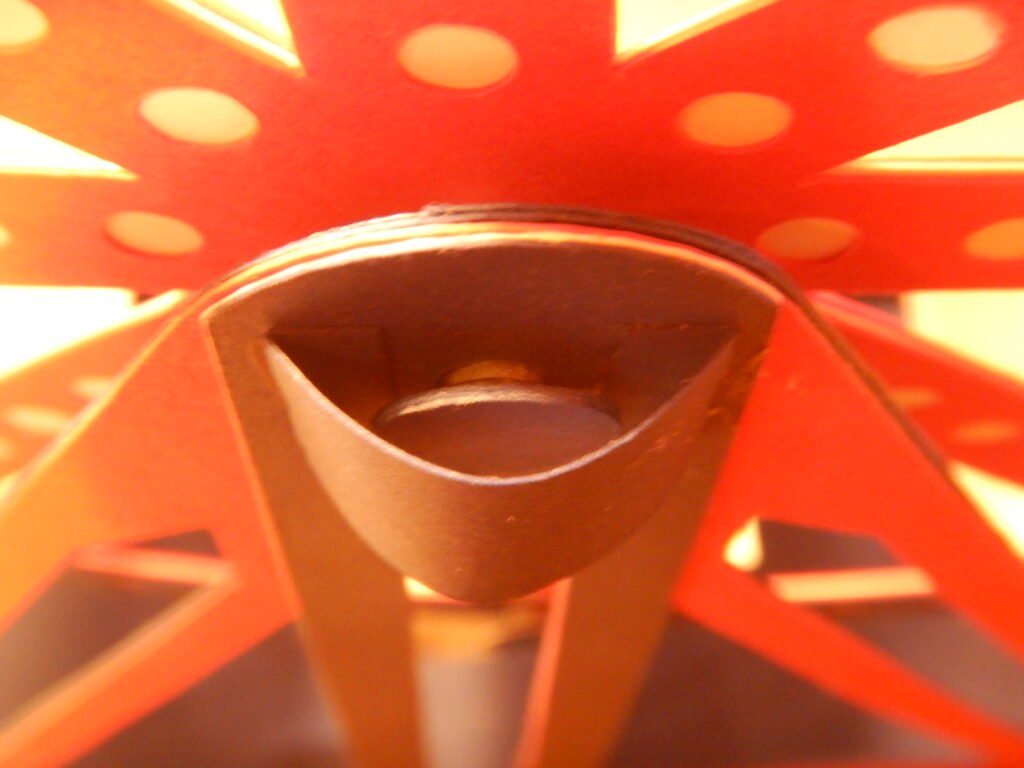
Adding The Wheel
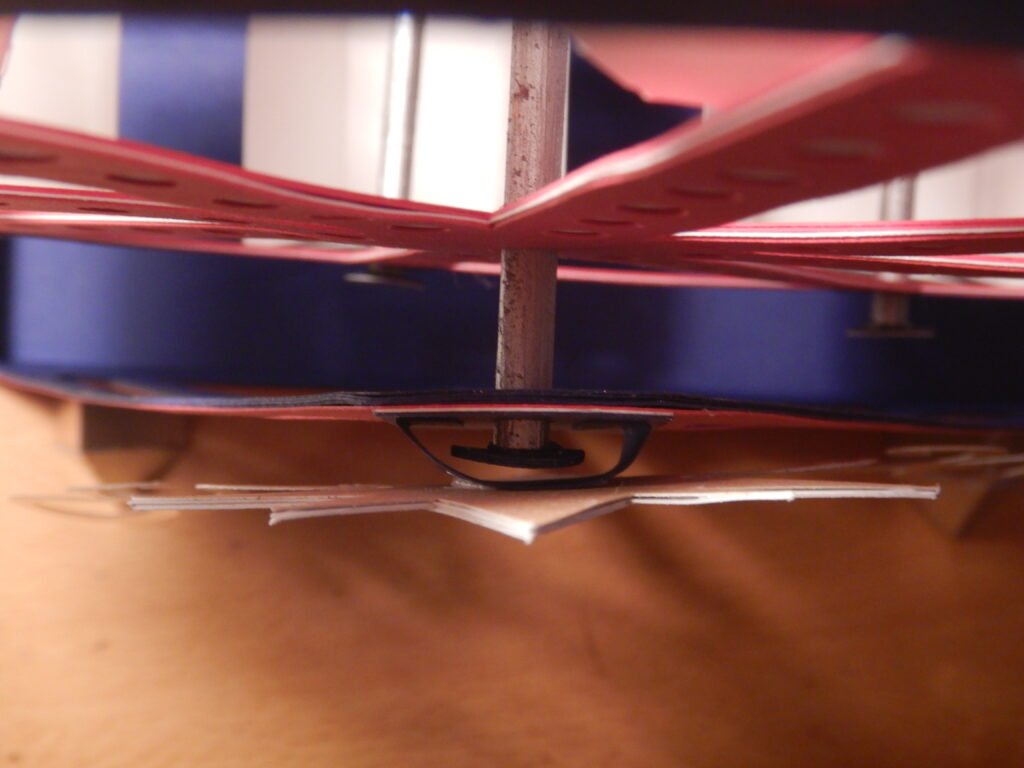
Now you can place the wheel in the support. To do this, you will need a wooden dowel that is 3 ¼ inches long. Prepare it by stacking and gluing together three end caps for each end. None of these need to be decorative as they will be covered up by the star. Hot glue one of the end cap sets to one end of the dowel.
Place the dowel through one of the support sides, through both center holes in the wheel, then through the hole in the other center support. We then laid the structure on its side so we could glue the other end cap set in place.
We then stood the structure up and pulled the wheels apart so that they allowed as much space as possible for the buckets in the middle. Then we adjusted the wheel to be centered between the two support sides.
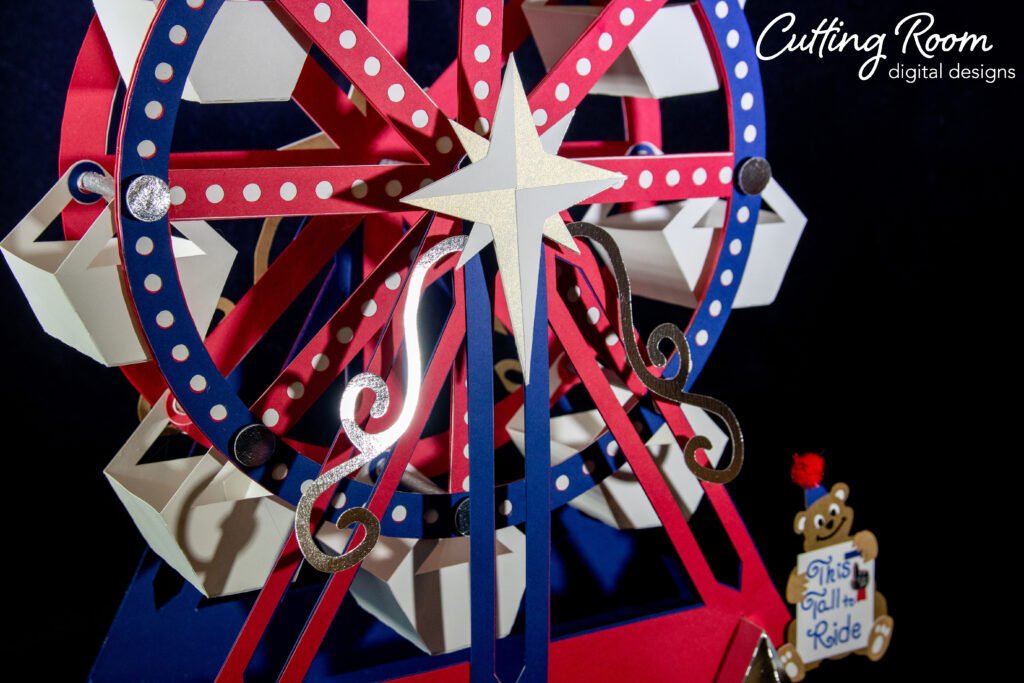
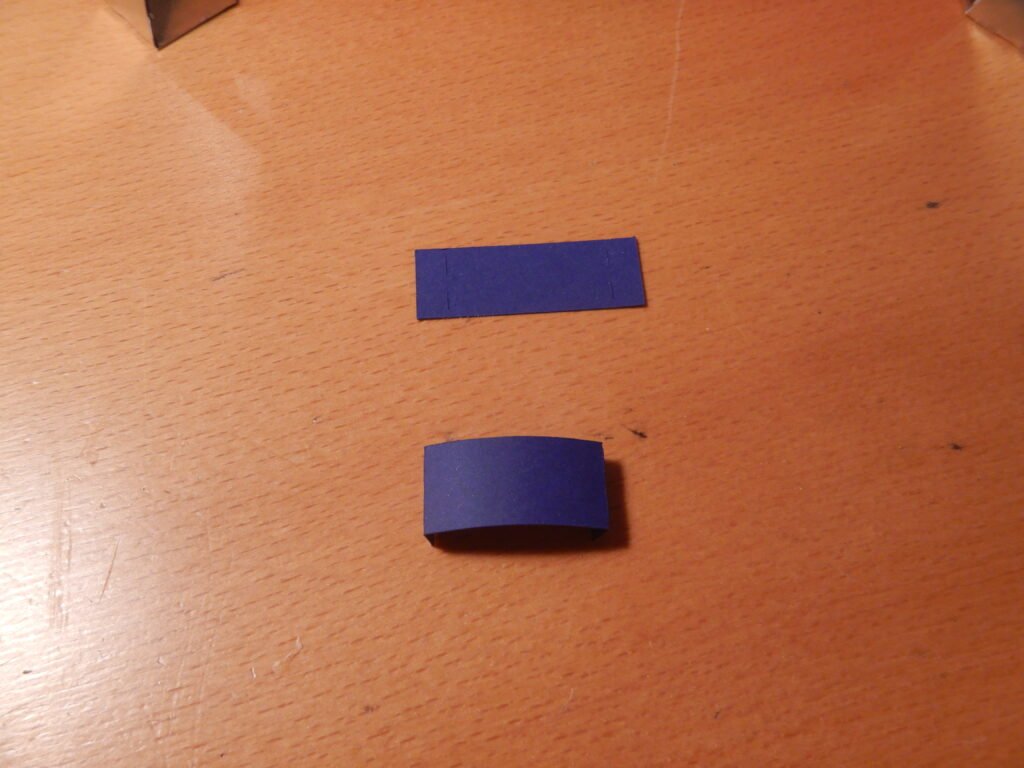
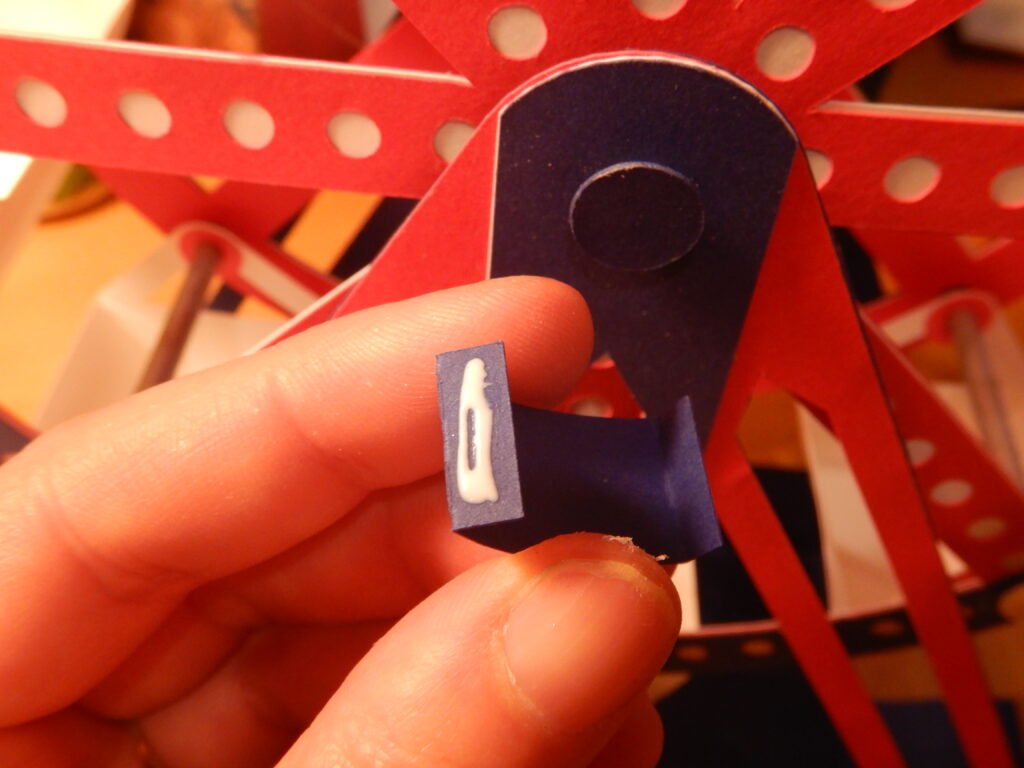
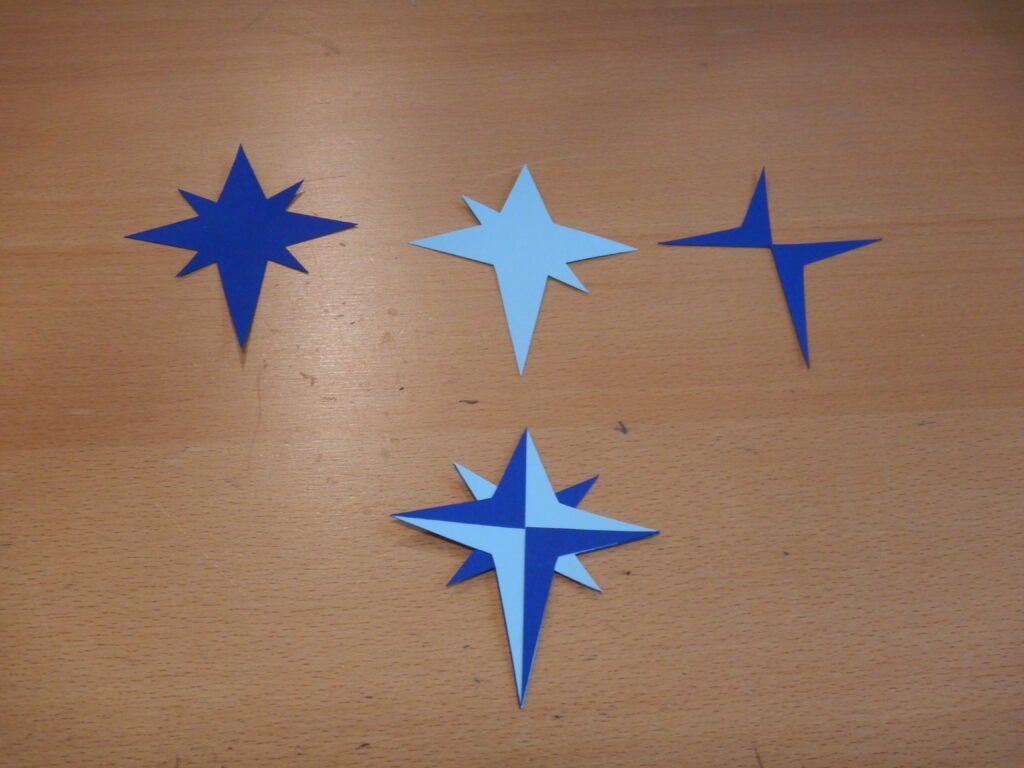
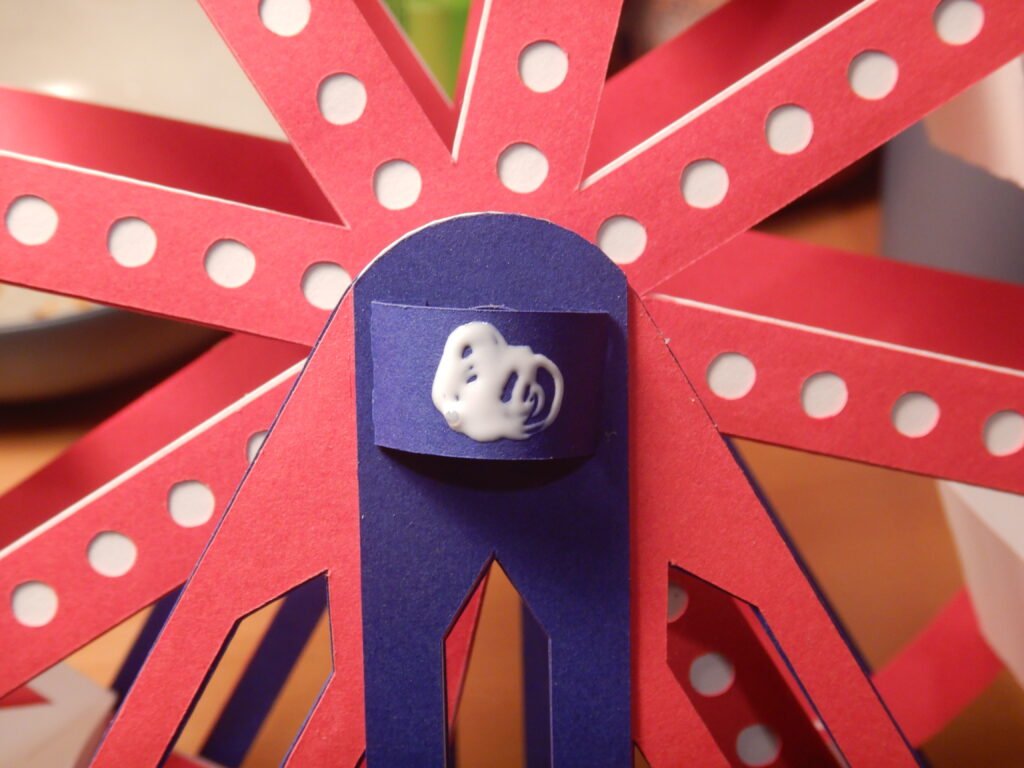
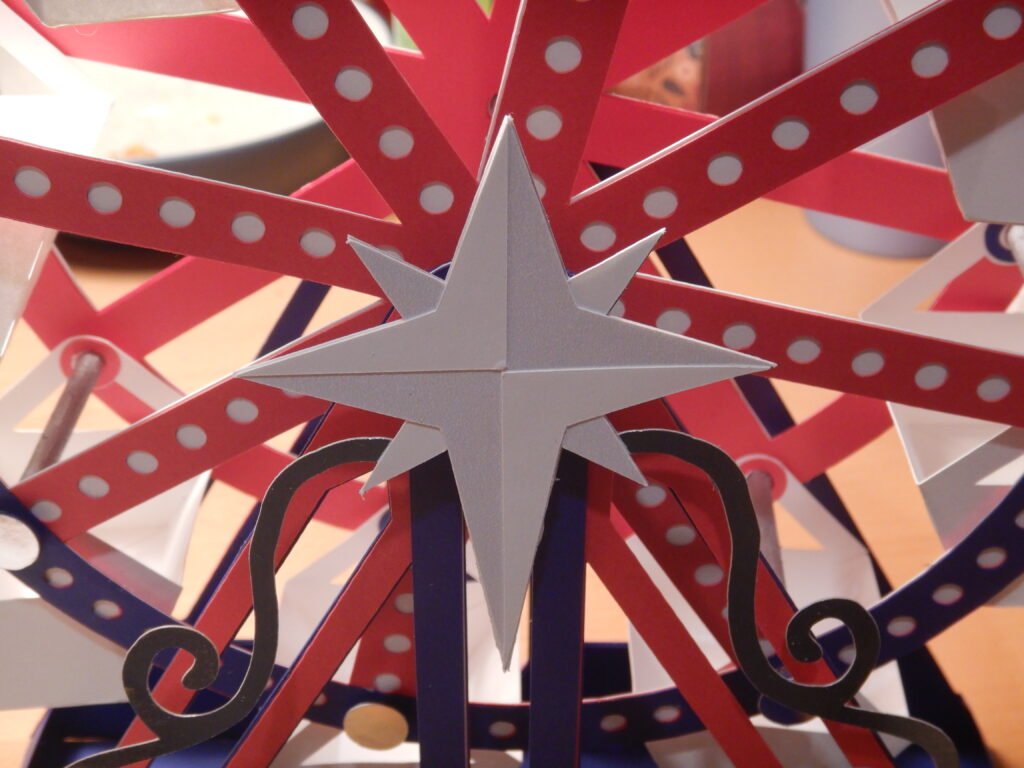
Take the strip of paper with tabs on either side and fold them in. Then encourage the center to curve a bit. This will be placed over the ends of the end caps on the sides of the Ferris wheel to create a secure stationary hold for the star. Glue the tabs on the support structure so they are on either side of the end caps but not attached to the end caps or interfering with their ability to turn.
We then assembled the stars and glued them to this end cap cover.
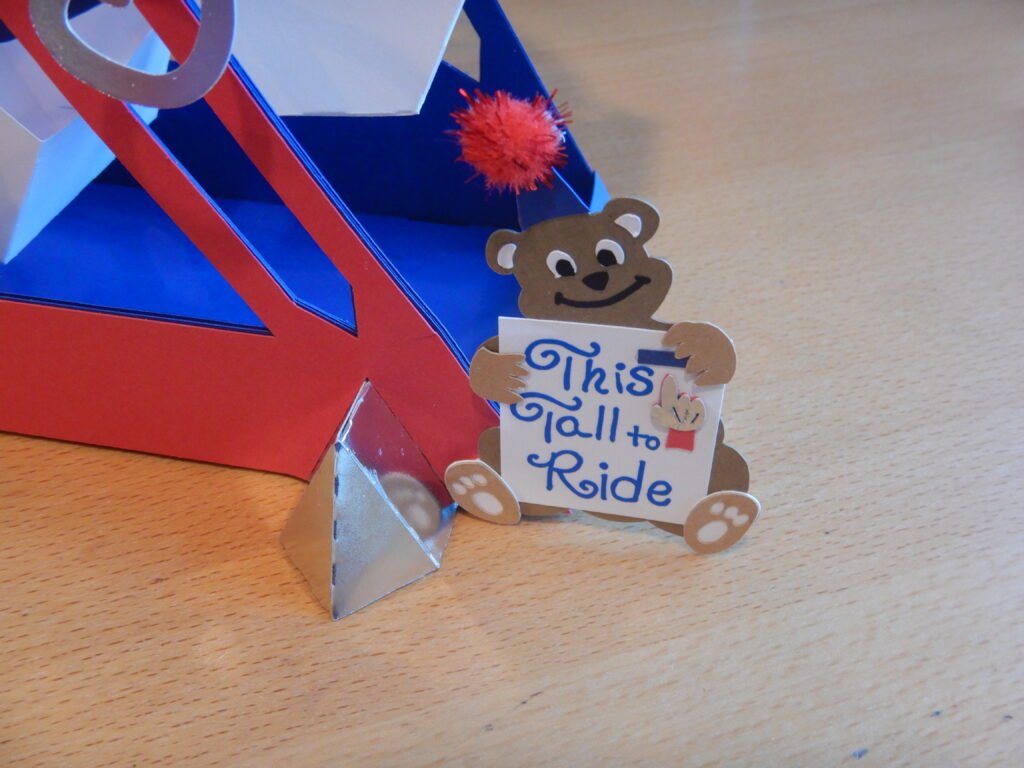
To finish off the Ferris wheel, we added the cute little This Tall To Ride bear using a pop dot.