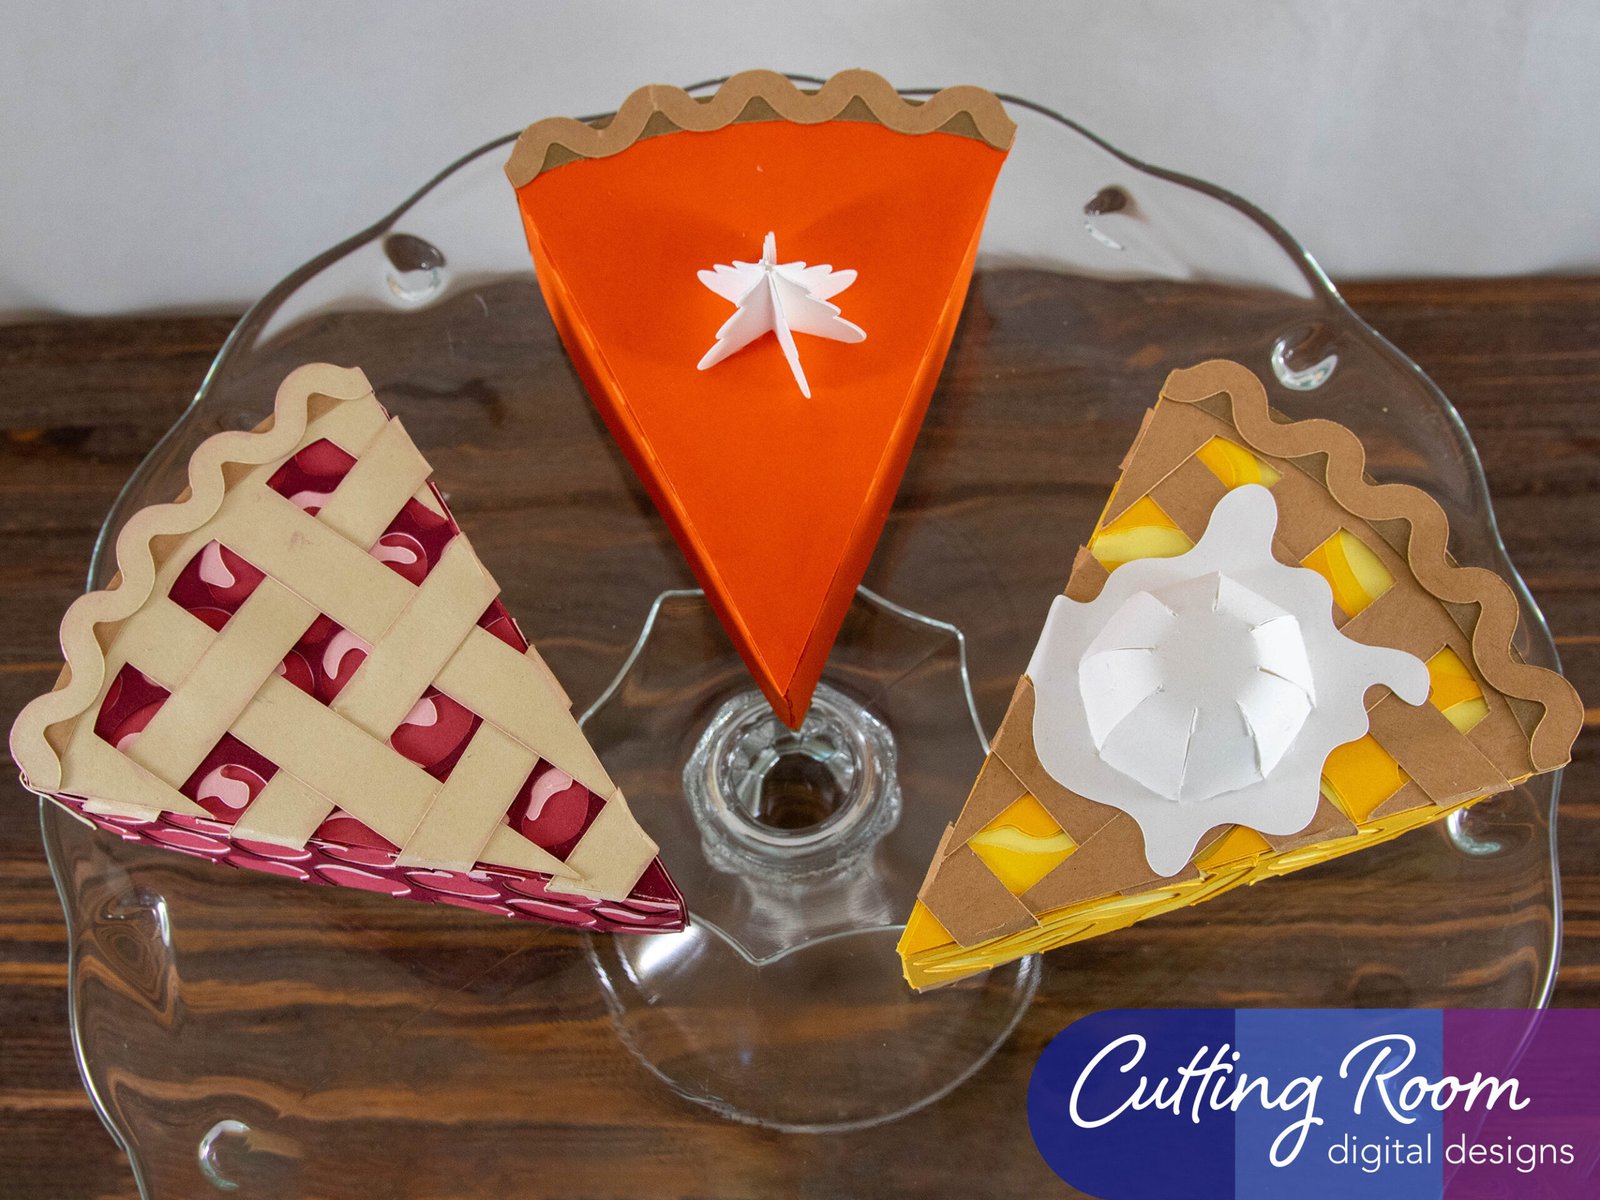
Materials Used
We used several products and supplies in the making of our tasty pie box candy boxes. Below is a list of what we used.
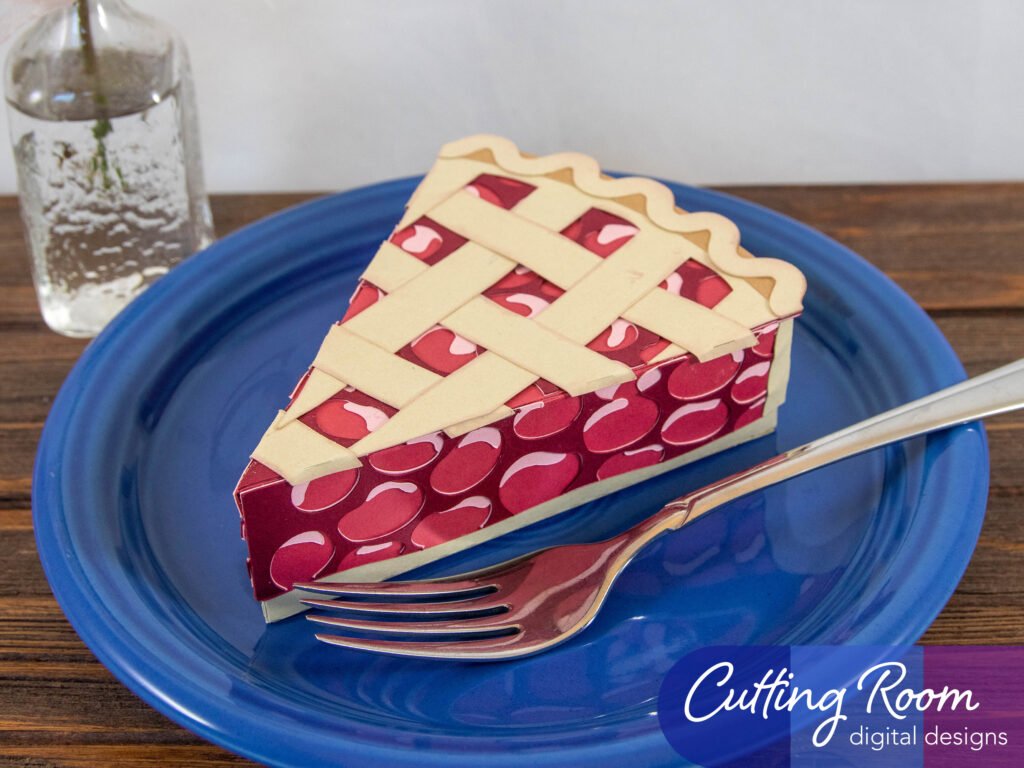
- Pie Slice Gift Boxes – Digital Download SVG
- Recollections cardstock
- Art Glitter Glue
- Electric Cutting Machine: Cricut or Silhouette
***Note that this post contains affiliate links and we may receive compensation if you buy something using one of our links. ***
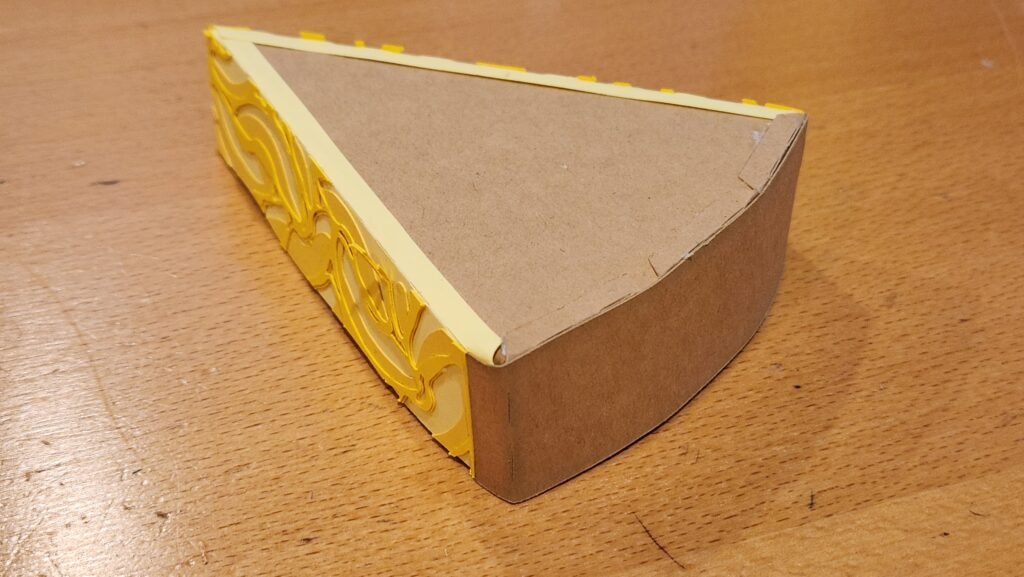
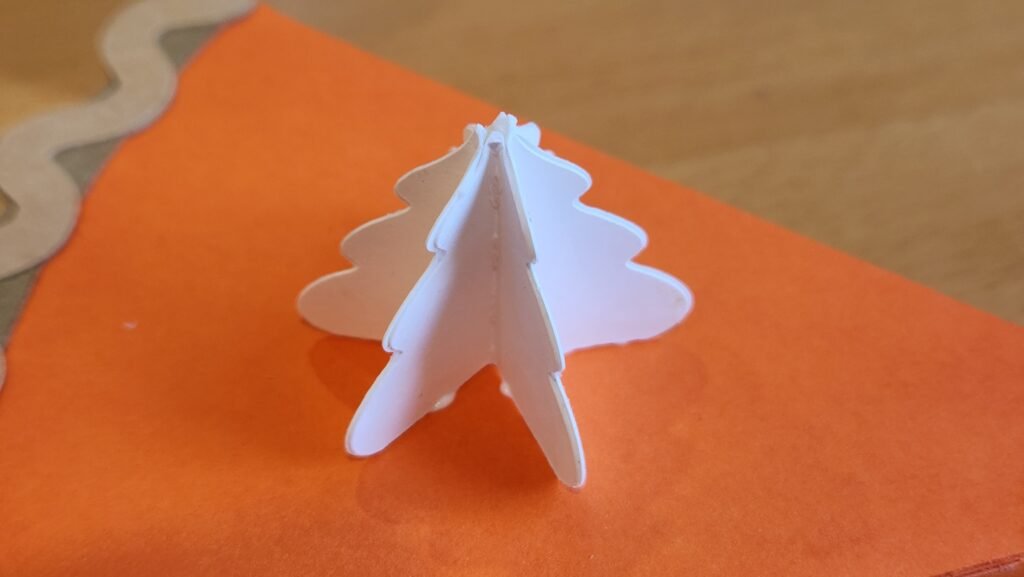
These pie boxes are all decorated a little different but they all go together the same way. To start with we made the bottom of the pie box.
Assembling The Pie Box Bottom
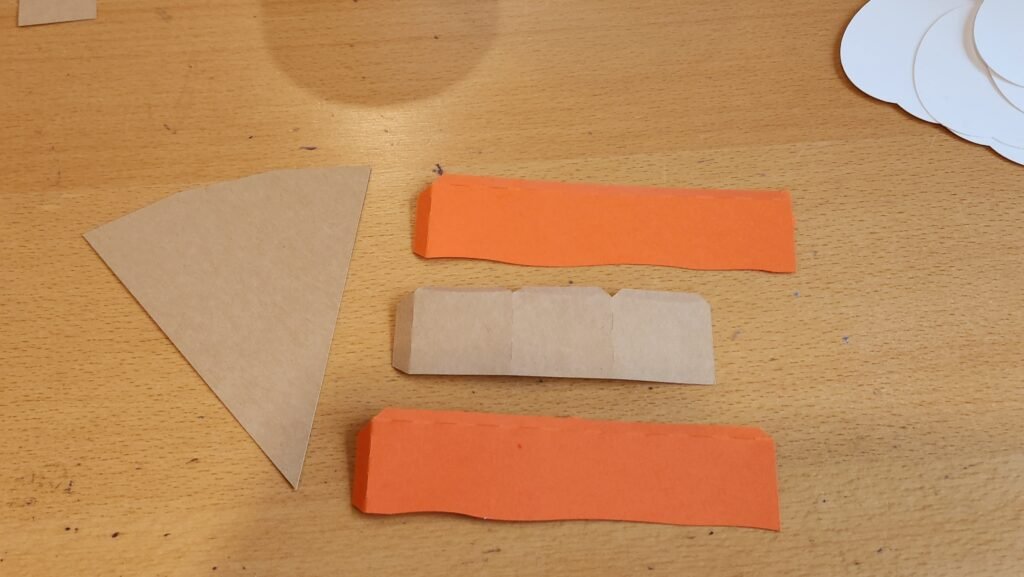
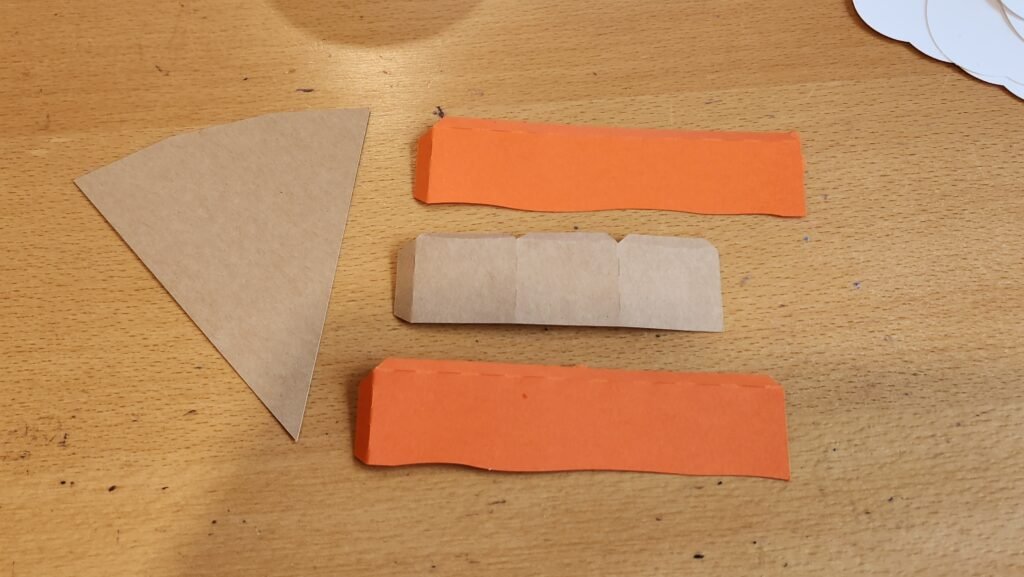
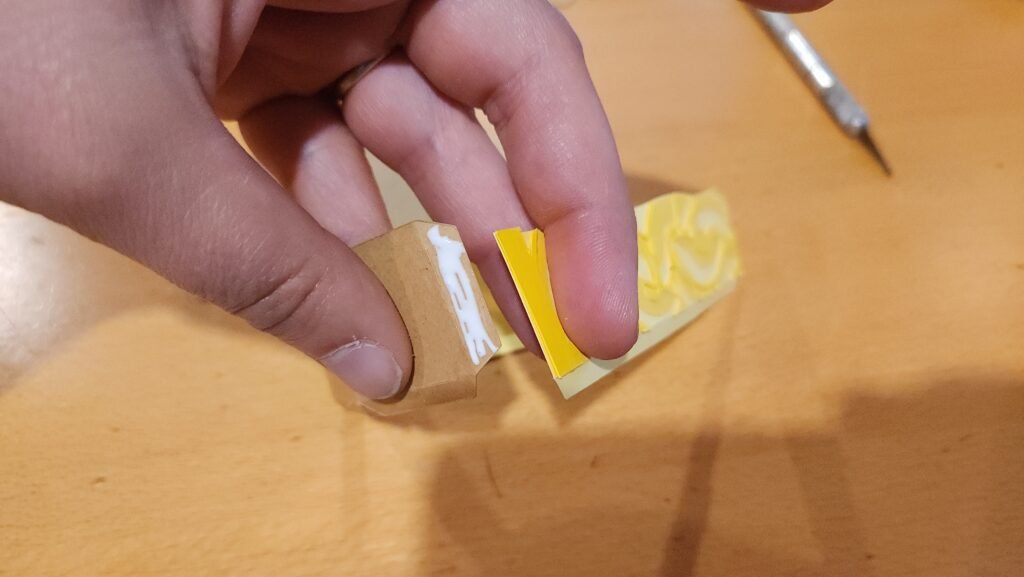
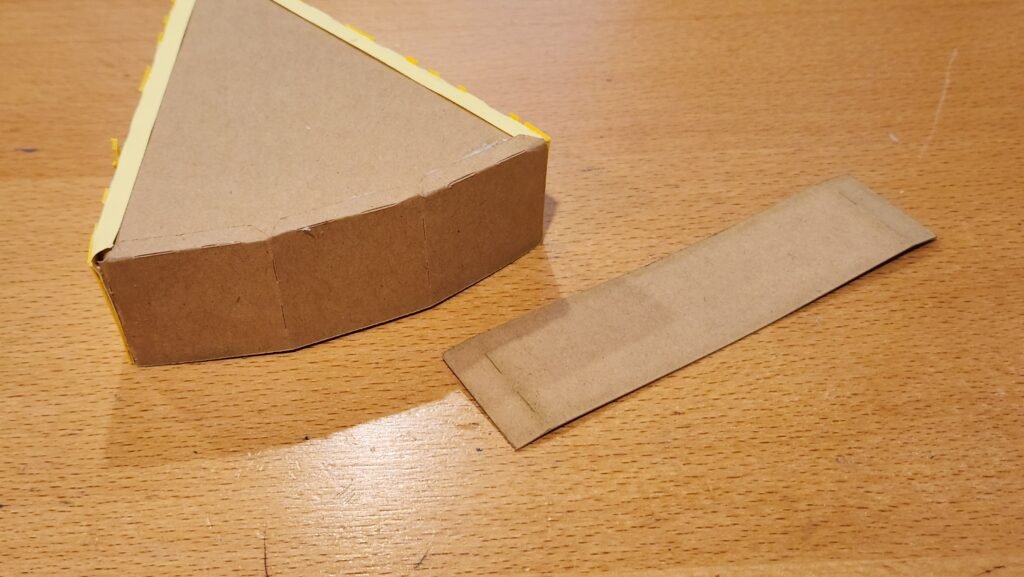
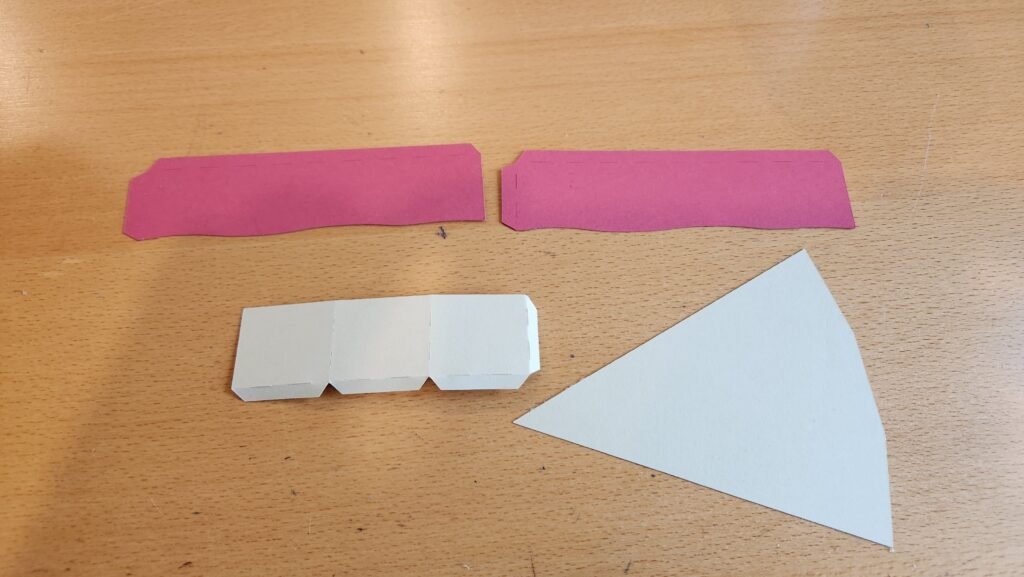
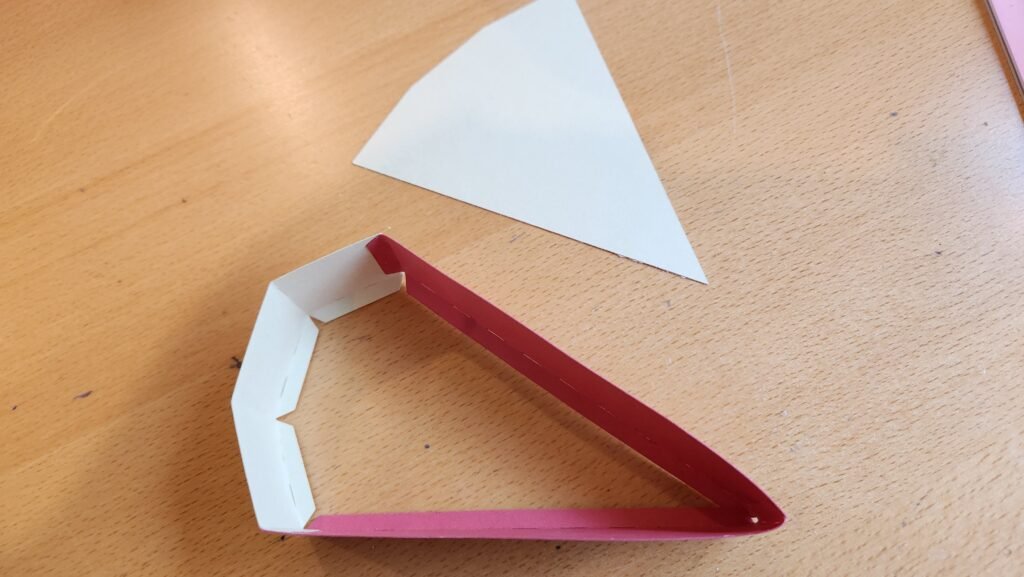
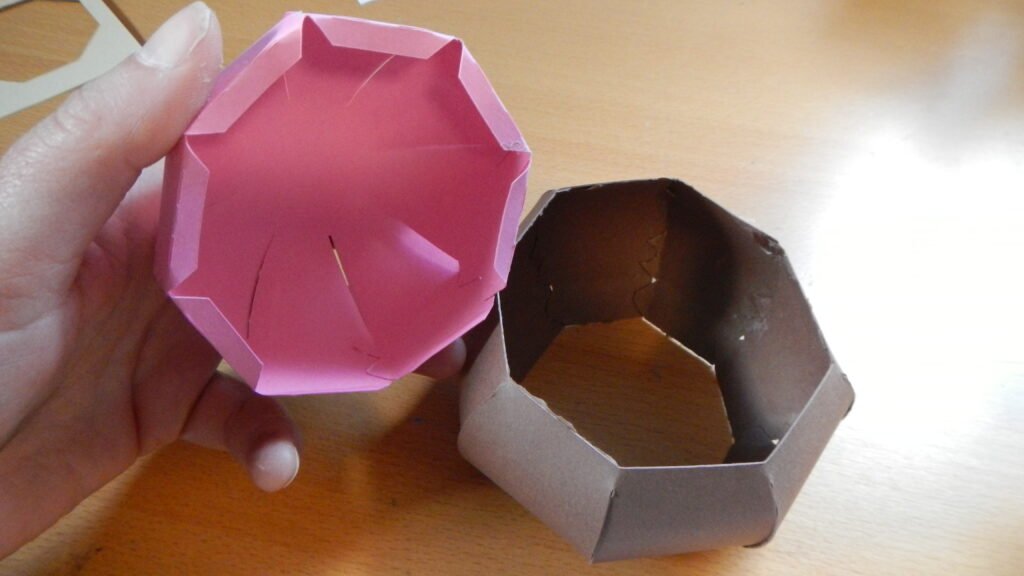
To do this, there are five pieces, three for the sides, and two for the bottom. To assemble them, we started by connecting the three side pieces together end to end to create a triangle shape.


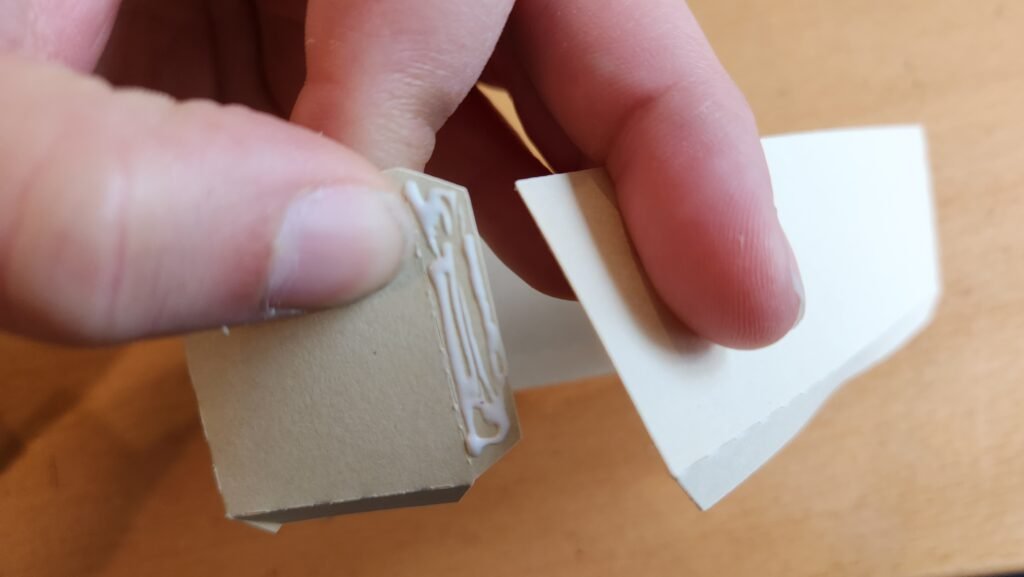
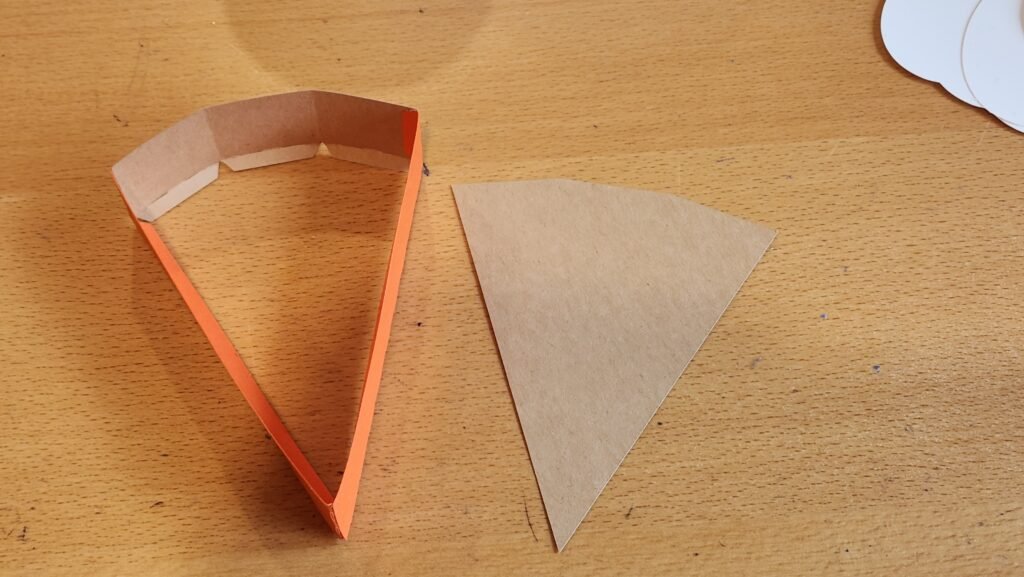
Once we had the triangle, we folded in the tabs at the bottom, added glue to the two long tabs on the sides of the pie and placed the triangle panel. Make sure to get the panel snugly into the fold of the tabs to get a good placement and press to secure the hold. Then add glue to the tabs along the back of the pie and press them into place on the triangular panel.
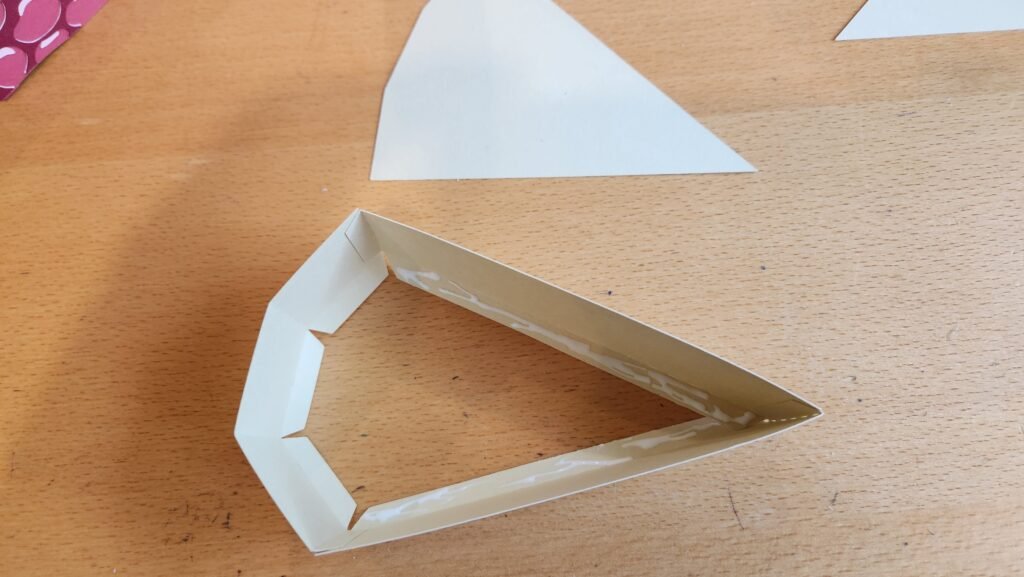

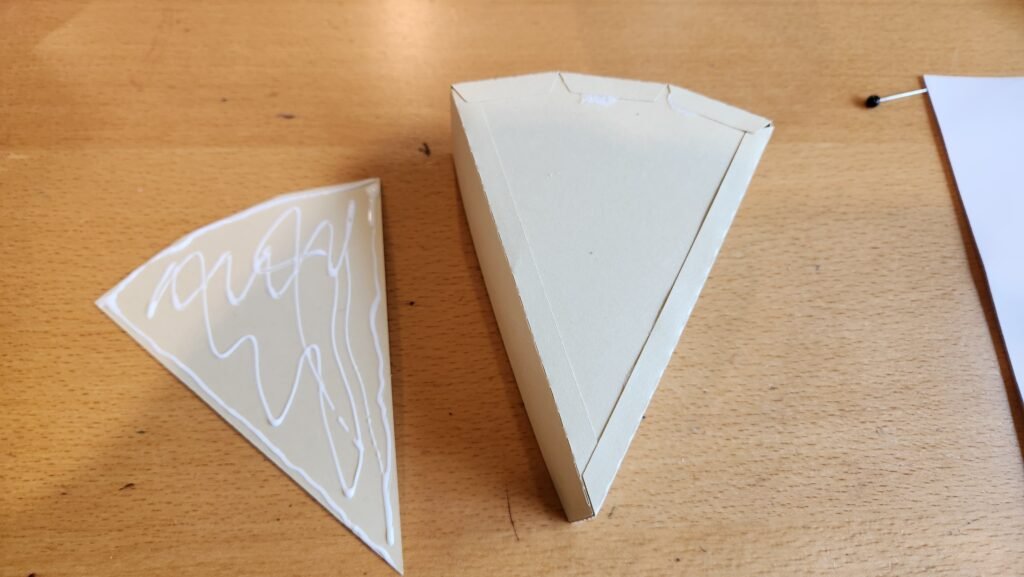
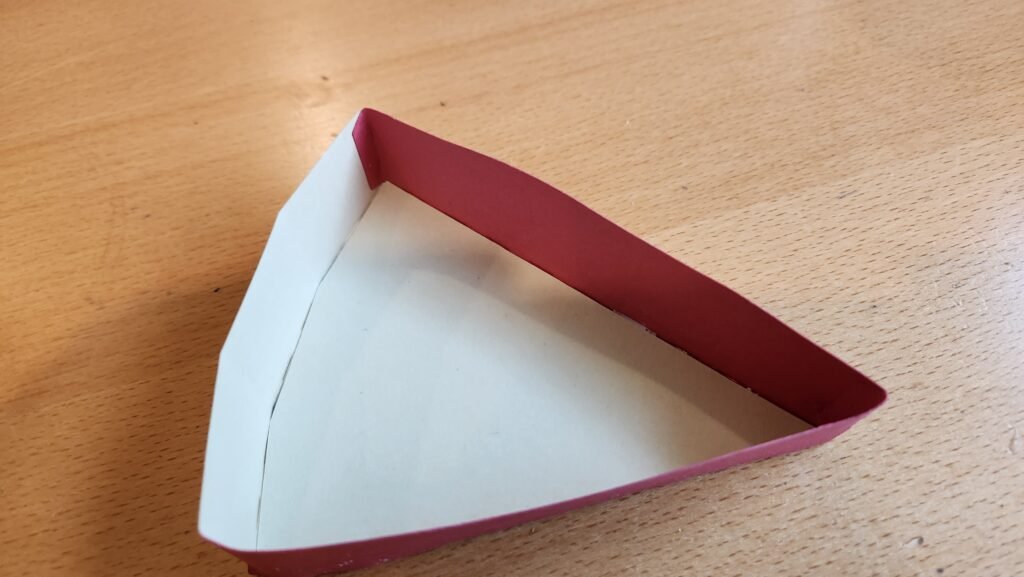
With this panel in place, we added glue to the other triangular panel and used it to cover the tabs and reinforce the bottom of the pie box.

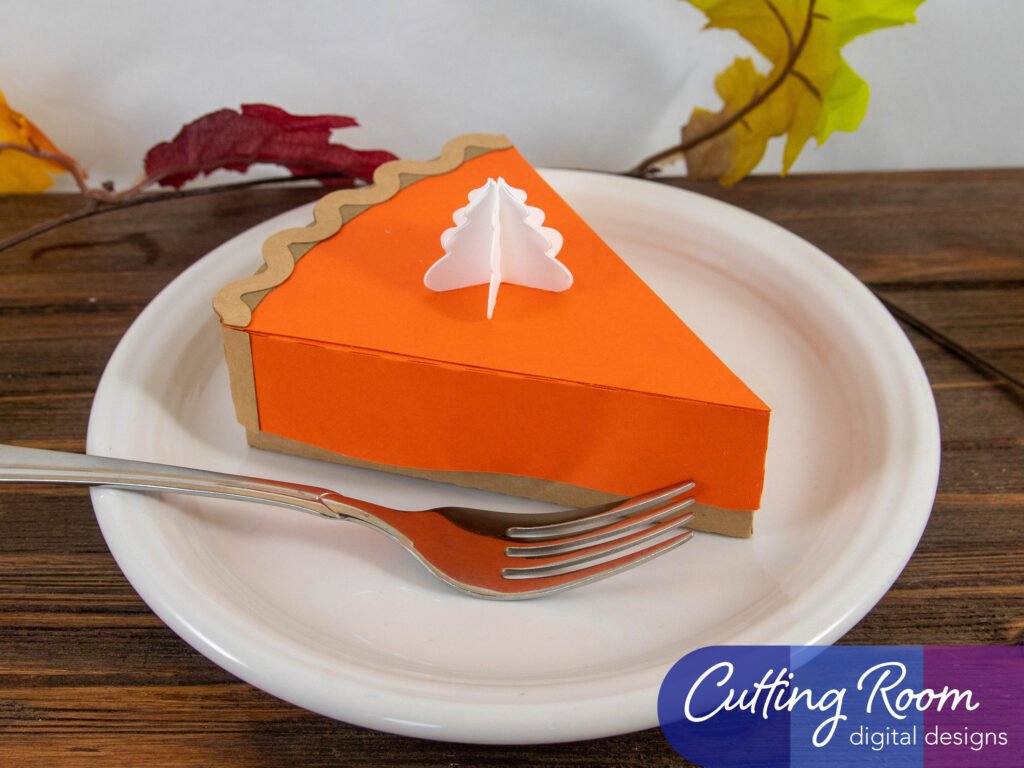
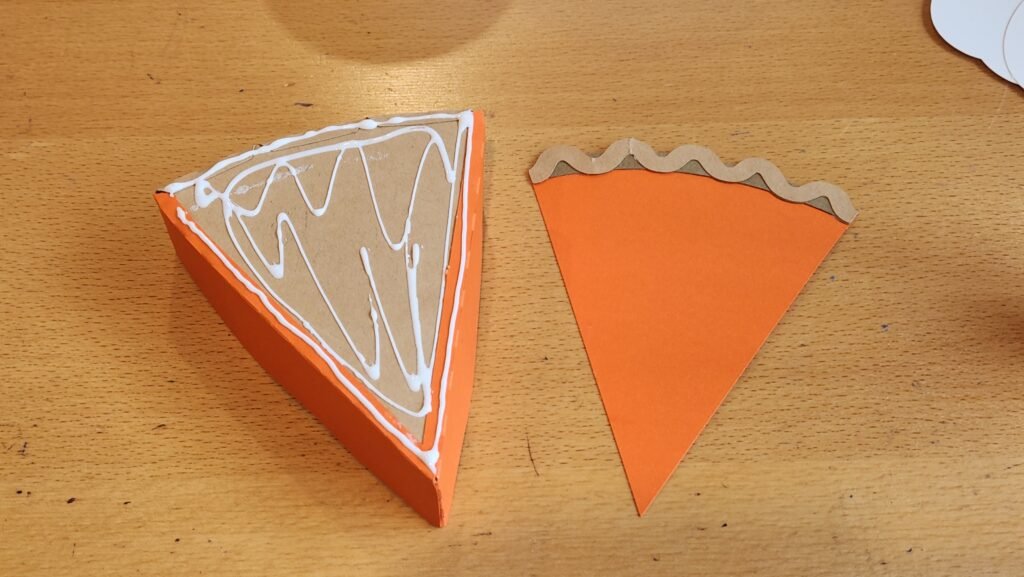
Pumpkin Pie Box Lid
Below are photos of the pumpkin pie box going together and creating the structure, exactly the same as the bottom of the box was assembled.


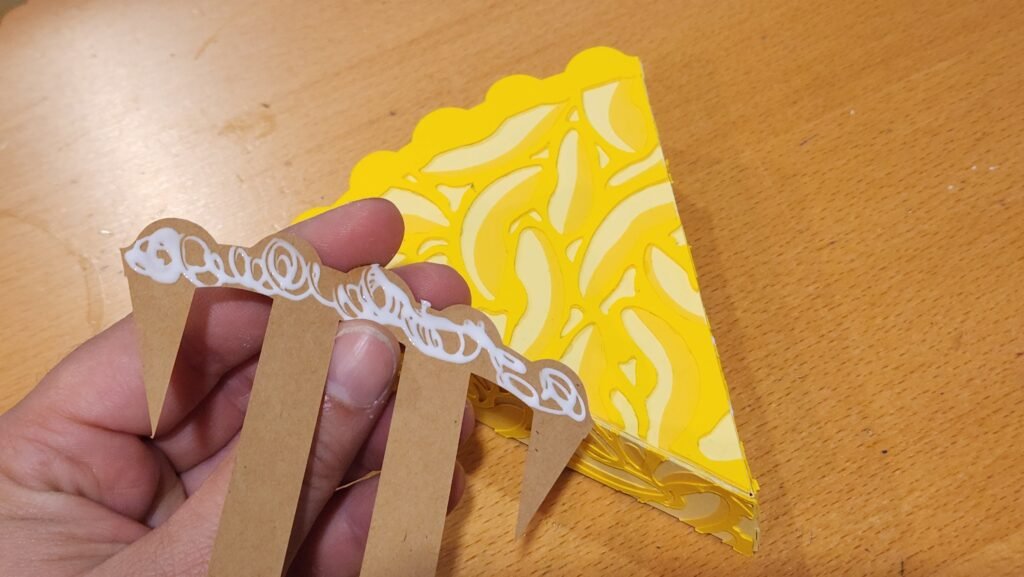
Before attaching the top decorative panel, we added the decorative crust pieces to the top then attached the entire piece to the top of the pumpkin box. Making sure to have the sides and the point of the box lineup with the top panel.
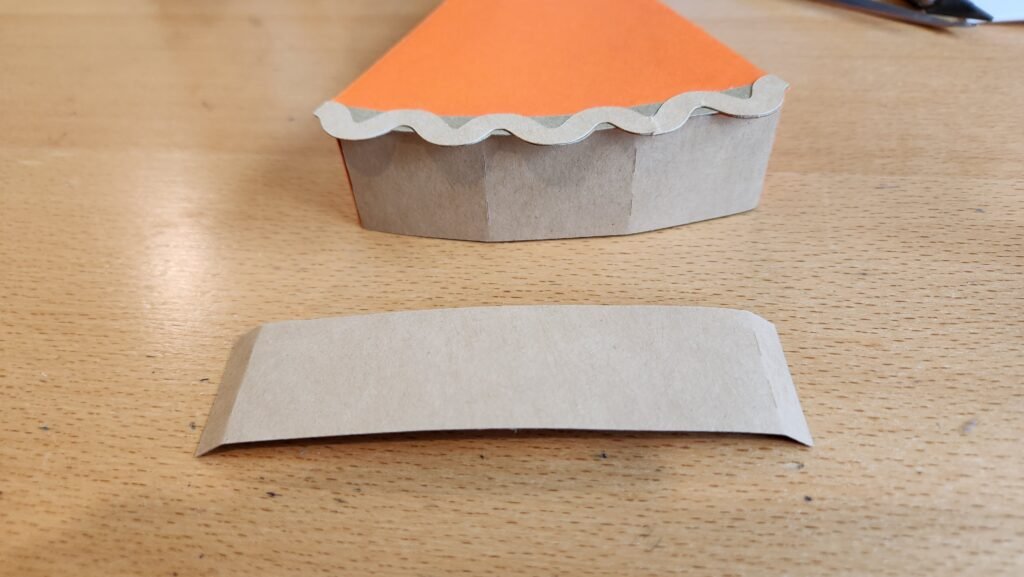
With this in place, we added glue to the decorative strip at the back. There are fold lines at each end, these are where the panel should fold around the edges to give a little bit of crust panel on either side of the pie slice.


Apple Pie Box Lid
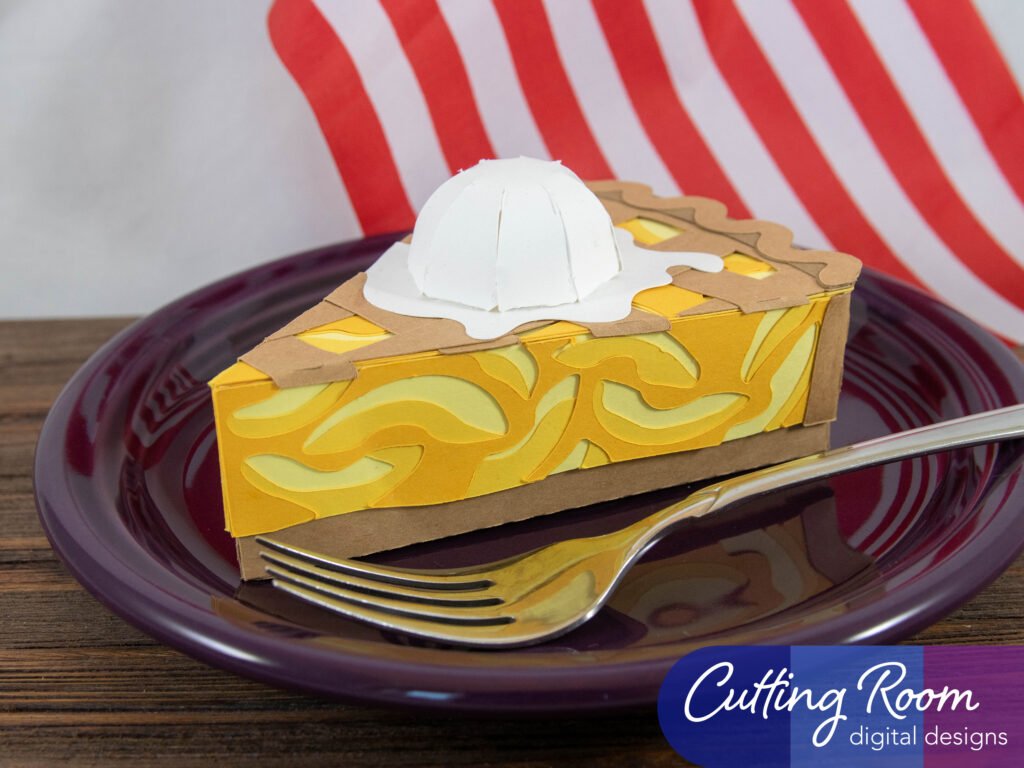
Below are photos of the apple pie box going together and creating the structure, exactly the same as the bottom of the box was assembled. The only change is we added decorative panels to the sides before assembling the pieces.


We then attached the decorative panel for the back of the pie. There are fold lines at each end, these are where the panel should fold around the edges to give a little bit of crust panel on either side of the pie slice.
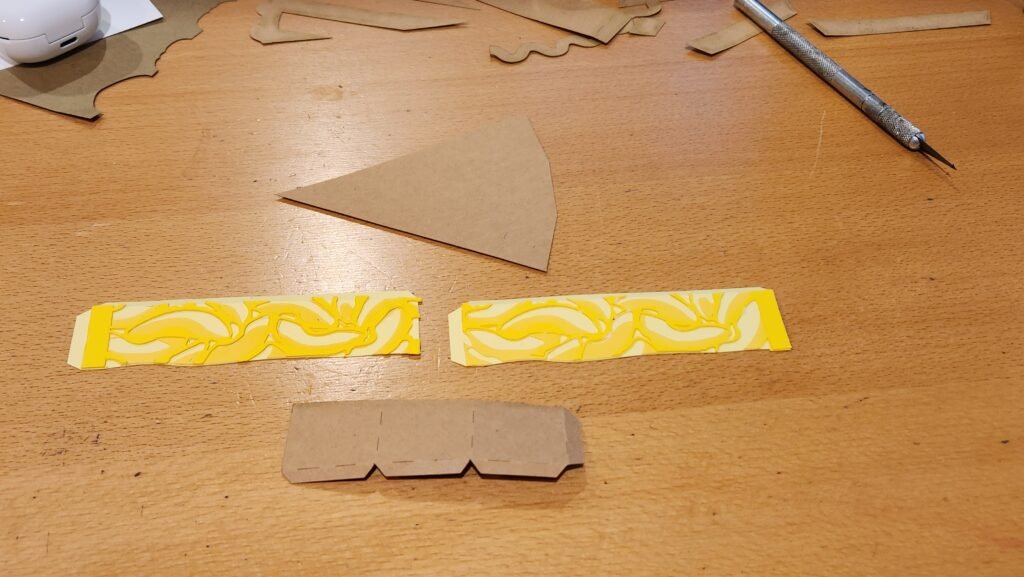
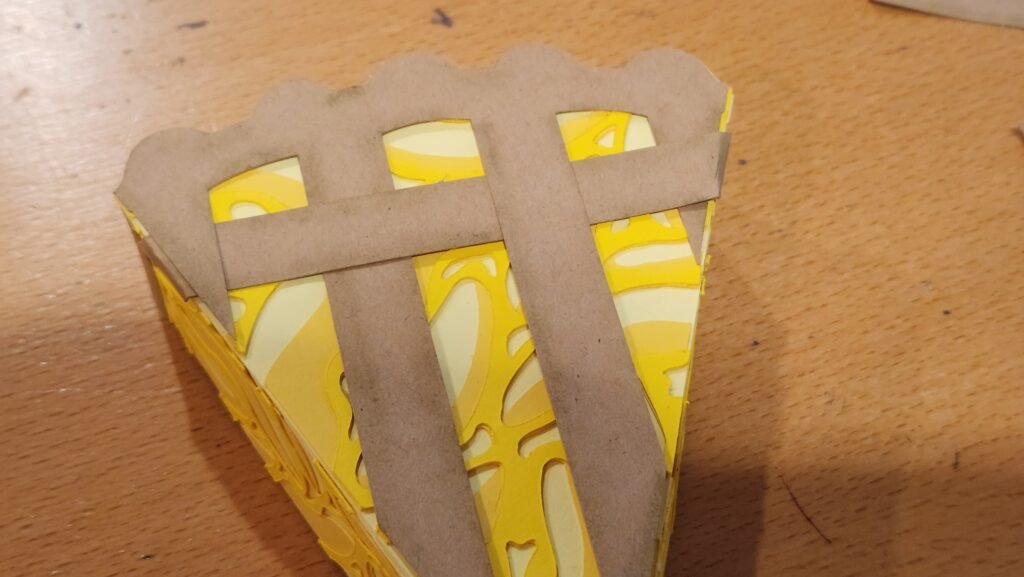
Next, we assembled the decorative panels for the top of the pie.


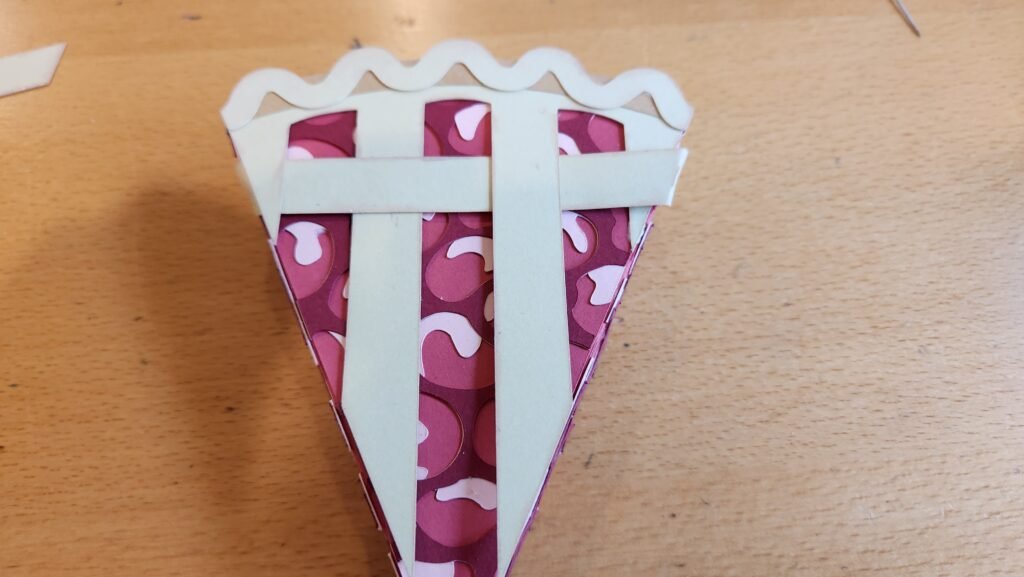
With the decorative top attached to the top of the pie, we started working on the crust for the top. We added glue to the top part of the crust, not the strips coming down, and attached it to the pie box. We then folded the ends of the first horizontal strip and slid it into place, making sure to have it weave through the vertical strips. Once we were happy with the positioning, we used the nozzle of our glue to apply some glue to the underside of the horizontal panel and secure it into place. We then repeated the process for the remaining three horizontal pieces.
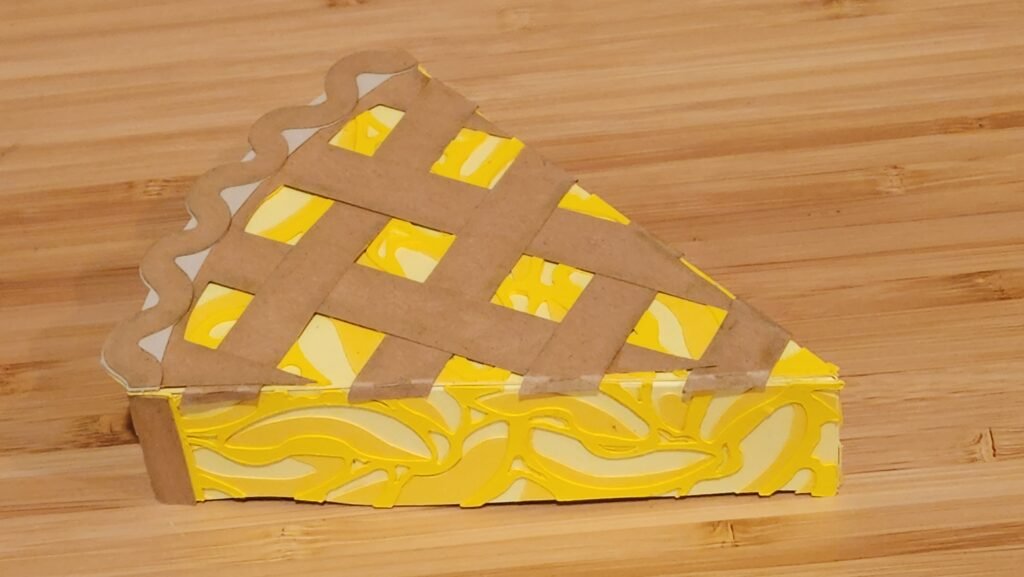
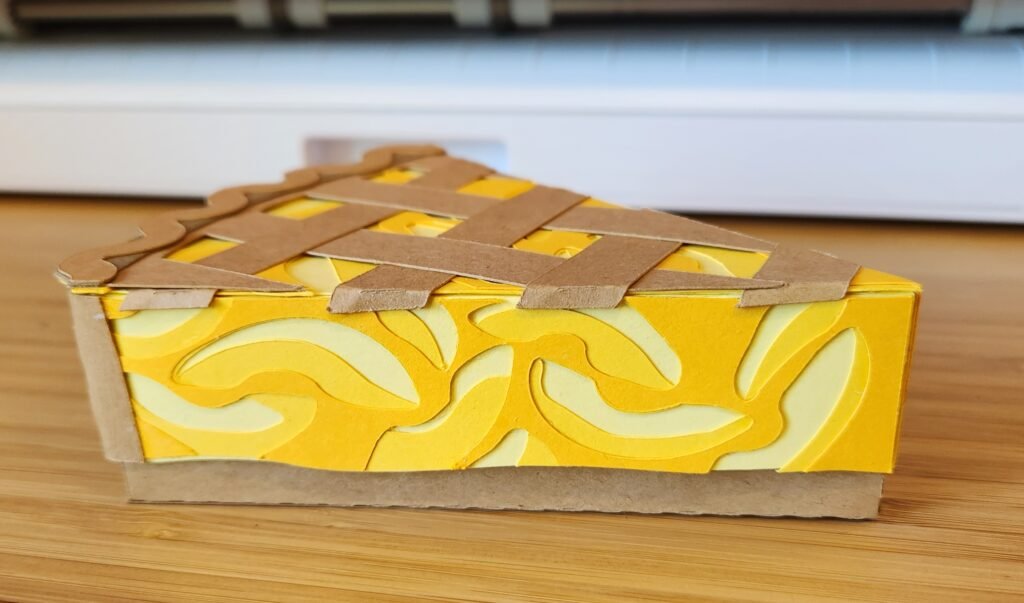
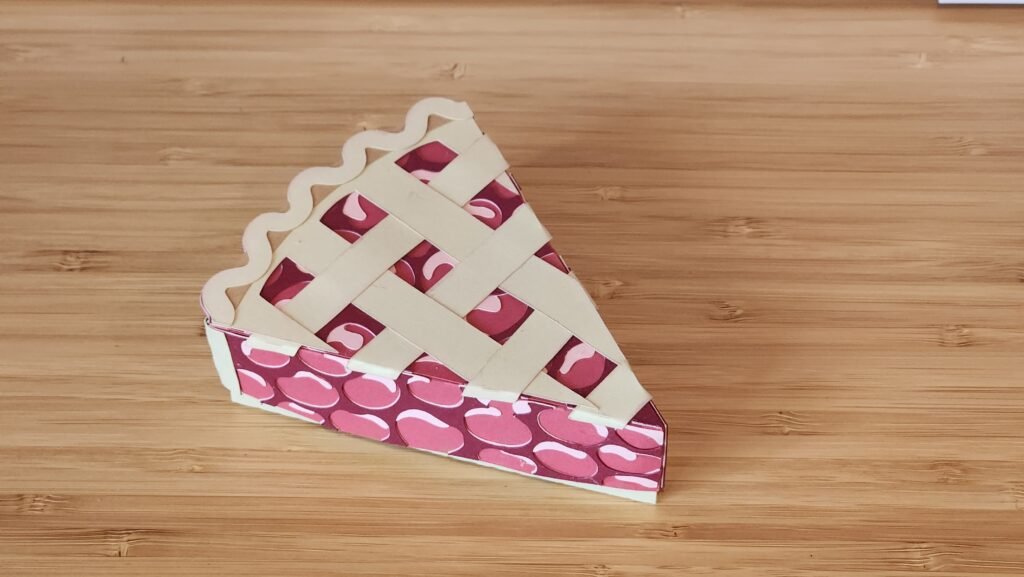
Cherry Pie Box Top
Below are photos of the cherry pie box going together and creating the structure, exactly the same as the bottom of the box was assembled. The only change is we added decorative panels to the sides before assembling the pieces.


We then attached the decorative panel for the back of the pie box. There are fold lines at each end, these are where the panel should fold around the edges to give a little bit of crust panel on either side of the pie slice.
Next, we assembled the decorative panels for the top of the pie.


With the decorative top attached to the top of the pie, we started working on the crust for the top. We added glue to the top part of the crust, not the strips coming down, and attached it to the pie box. We then folded the ends of the first horizontal strip and slid it into place, making sure to have it weave through the vertical strips. Once we were happy with the positioning, we used the nozzle of our glue to apply some glue to the underside of the horizontal panel and secure it into place. We then repeated the process for the remaining three horizontal pieces.


Ice Cream Topping
To finish off the apple pie we chose to add an ice cream dollop. This is made of two pieces and can be positioned as you desire on the pie piece. The first step is to take the part that makes the ice cream top and encourage the sides to curve, then add glue to the bottom tab, attaching it to the neighboring tab. Below is a much larger version so the details can be more easily seen.

Once we had all the tabs in place, we folded the bottom tabs in, added glue and pressed the scoop down onto the ‘splat’ or melted ice cream base.
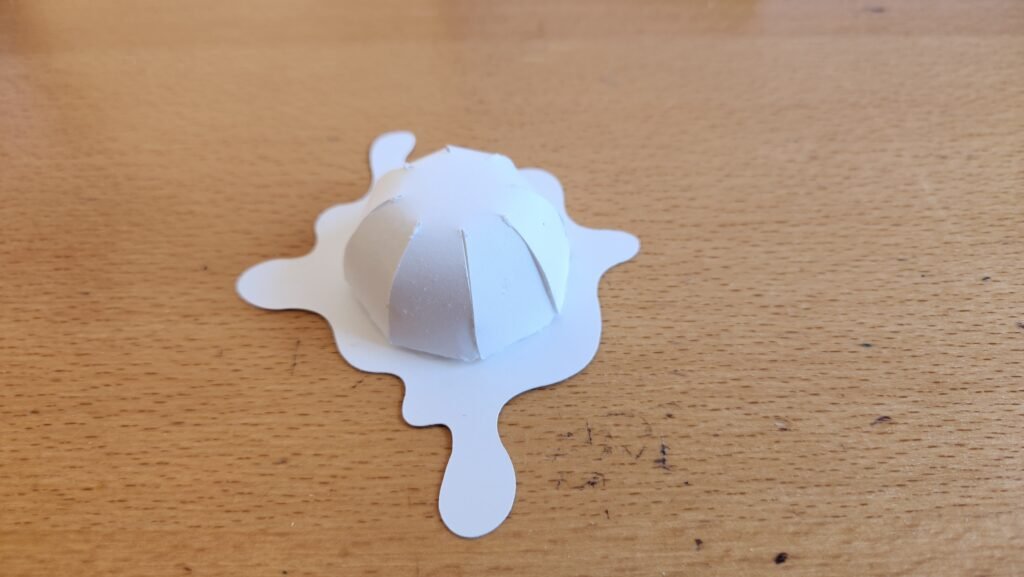
We then positioned the ice cream until we found what we liked best, then added glue to the bottom and secured it to the top of the pie slice.


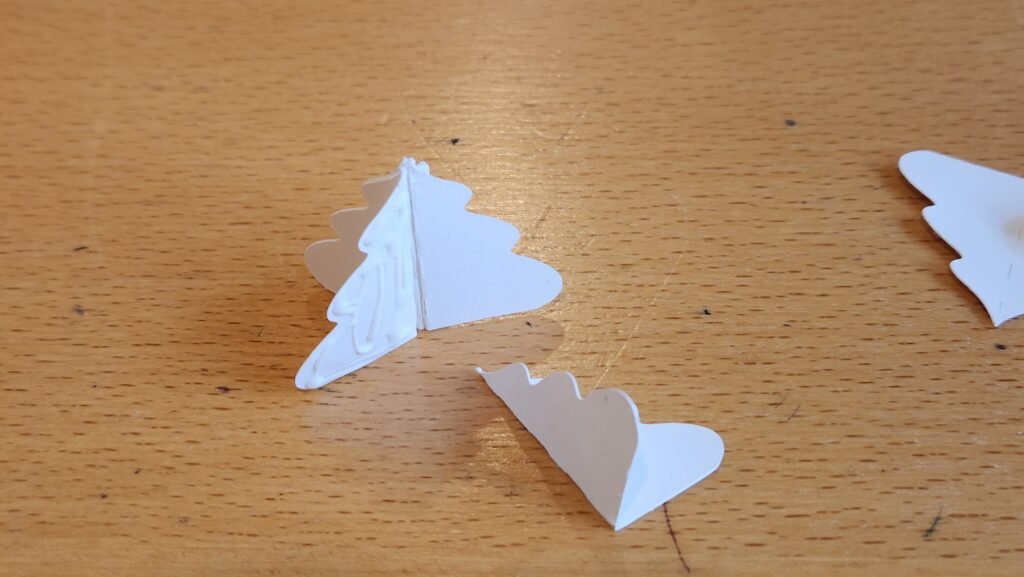
Whipped Cream Topping
The whipped cream topping is made using six identical panels. These are all folded in half along the score line, and clued back to back, creating a six sided shape. Once constructed, we added a touch of glue to the bottom and placed on the top of our pumpkin pie slice.


Leave a Reply