
These apple boxes are designed to go together quickly and easily. This means if you have a bunch of them to make, it shouldn’t take too long or be too difficult to do.
We used several products and supplies in the making of this cute little wreath. Below is a list of what we used.
- 3D Apple Gift and Treat Boxes – Digital Download SVG
- Recollections cardstock
- Art Glitter Glue
- Electric Cutting Machine – Cricut or Silhouette
Whole Apple Box Lid Assembly
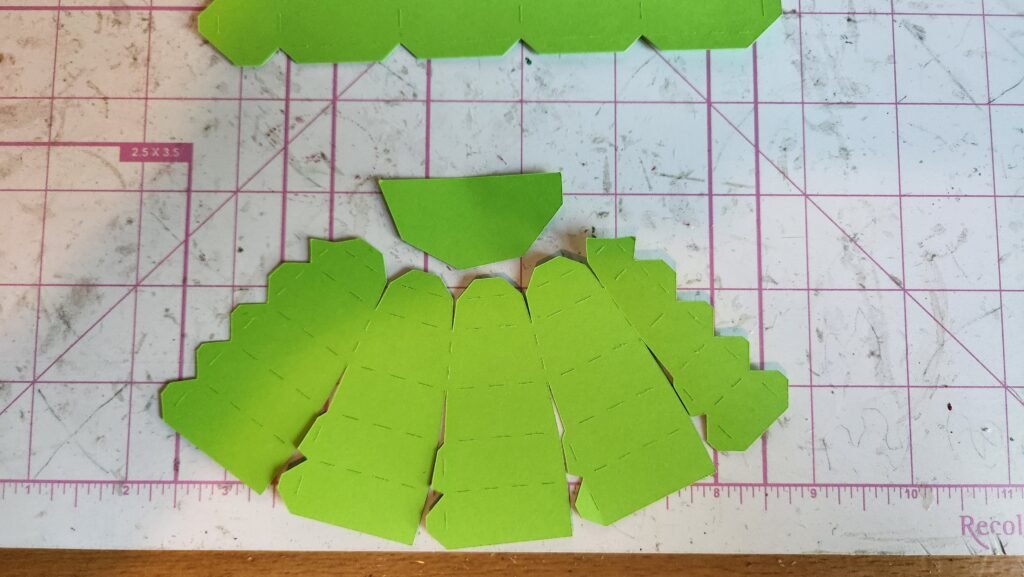
We started by making the top of the box. This is made of two pieces, as shown below. We started by folding all the tabs and encouraging the large triangular panels to curve. This will help with assembly later.

Add glue to the first two tabs and secure to the neighboring triangular piece. Once this is done, work your way up the shape until you get to the last two tabs. Fold the large triangular panel down a bit before securing the remaining tabs. This will help create the flattened indent at the top.


Once you have one set of tabs attached, continue around until all of them are secured. Then attach this shape to the second panel of triangles and continue this same process. When you reach the end, attach the last panel to the first to complete the top of the apple box.


In the center of the flattened top there are some tabs grouped together. Add some glue and place the small octagon shape to cover them.


For our next step, we added the decorative panels to the top of the apple box. Start by taking your fingers and encourage the pieces to curve. This will help them form to the apple box top. Then add glue to the bottom of the panel as shown. Align it with the bottom of the apple shape and press it into place. Next add some glue to the small end and run your finger along the panel until it lays down on the apple. Repeat this process until all decorative panels are in place.


Leaves and Stem Assembly
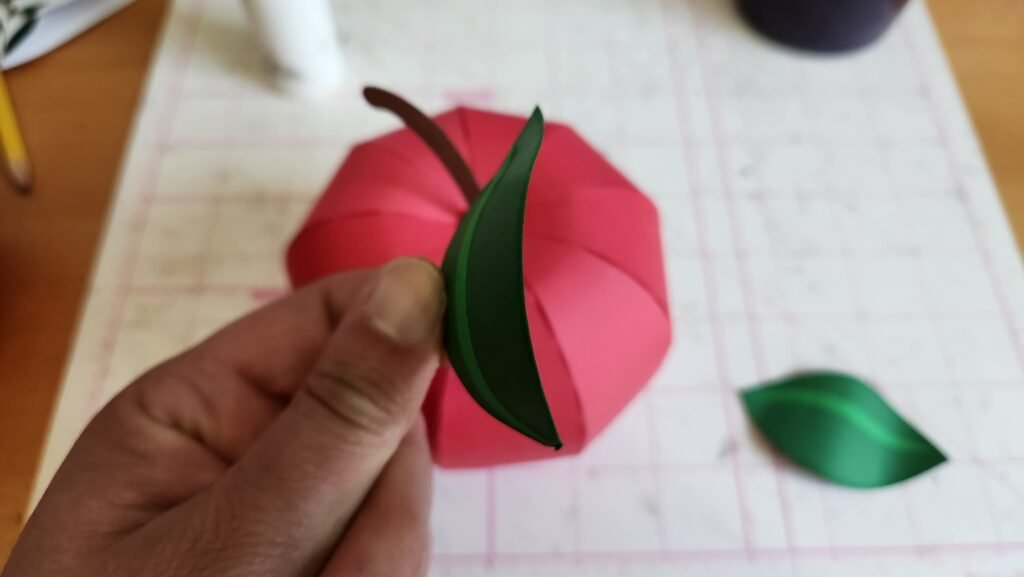
Attach the decorative strip to the top of each leaf. Then take the two pieces that make up the stem and fold along the tab at one end. Then glue them back to back. With this done, we slid the stem through the slit in the small octagon decorative panel and attached the stem with glue. Finally, with this secure, you can glue the panel and stem onto the top of the apple box.


We took a large pen and wrapped the leaf around it to create a large curve in the leaves. You could also use your fingers for this. Once done, we glued the leaf to the apple box top. You can do this with just the small end and attach it by the stem. Or you can add a second glue spot to keep the leaf down on the side of the apple as well.

Whole Apple Bottom Assembly
Now the top of the apple is complete. Set it aside and we can assemble the bottom of the apple box. It goes together the same way as the top, the difference being that the bottom is flat. This means that there is large shape to close the bottom off rather than a tiny one.


To close the bottom of the apple, fold in the bottom tabs and add glue. Place the bottom panel and press down to secure to the tabs. Once done, turn the apple over and glue the other panel in place.


With this done, we started adding the decorative panels to the side. We again took our fingers and curved them a bit to help place them on the apple. Then we added glue to the large end of the decorative panel and secured it to the top of the apple. Make sure the end is flush with the edge. Then, once attached, we added glue to the other end and smoothed the panel down.


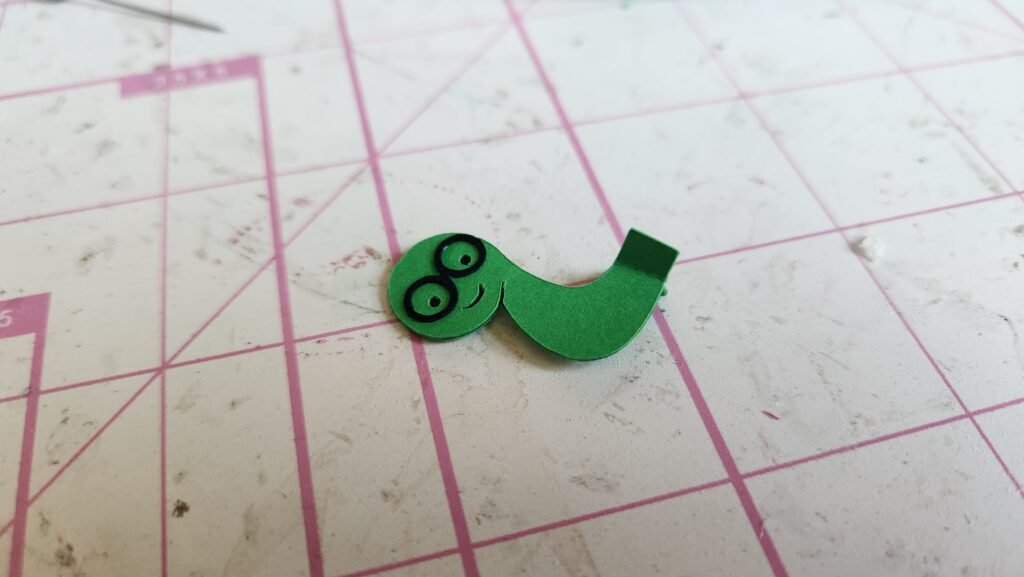
Nerd Worm!
We love how cute this little guy is! If you want to, you can add your own worm to the side of the apple. This can be done by assembling the worm in the same manner as the stem. Glue the worm pieces back to back then slide the tabs through the slit in the ‘hole’ panel. Glue these in place then glue the assembled worm to the side of the apple.


Sliced Apple Assembly
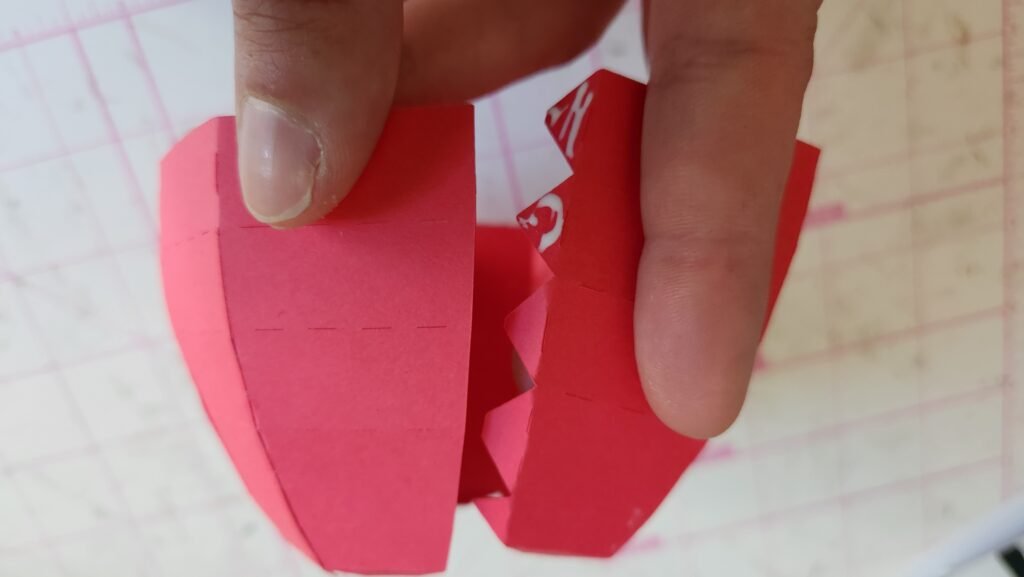
Assembling the sliced apple is very similar to the whole apple assembly. Once each panel is attached to its neighbor using the small tabs, you’ll have a shape with tabs on three sides and none on the fourth. This is true for both the top and bottom of box.

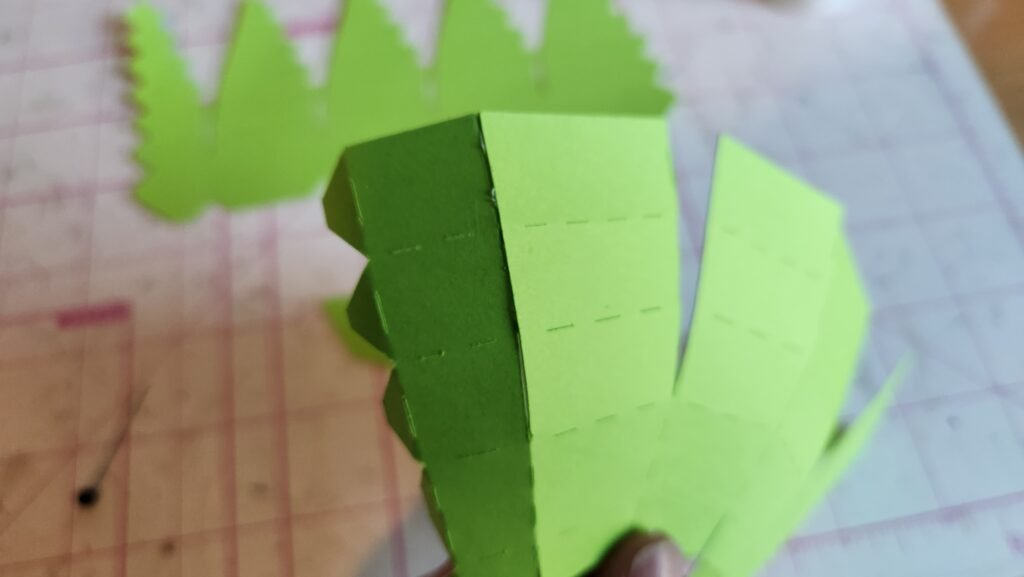


Once you have the sides of each shape assembled, fold in the tabs on the end and attach the bottom panel.


This now leaves you with two rounded shapes ready for the flat ‘inside’ of the apple.

On the bottom half of the apple, add some glue to the tab on the flat side panel and attach to the bottom of the apple shape. Once this is secure, add glue to the side panels on one side and secure the panel in place. Next add glue to the tabs on the other side and secure in place.


To attach the flat side on the top of the apple, we found it was easiest to start on one side and work your way around until all the tabs were secured. Going a few tabs at a time gives you the ability to get them in place and secured before your glue dries.


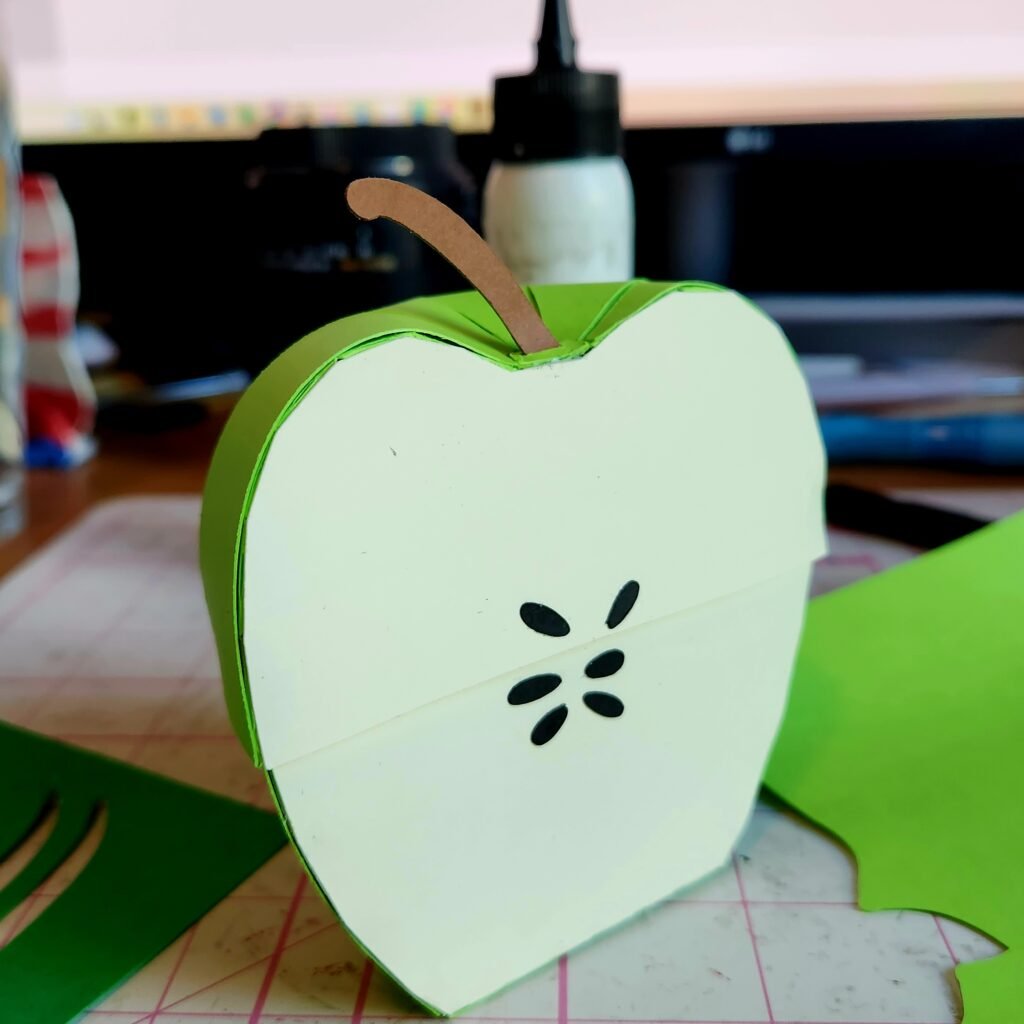
With this done, we attached the decorative panels to the top and bottom of the apple. Use the same technique as the decorative panels on the full sized apple. Start at one end and secure the panel, then secure the other end of the decorative panel.


Our next step was to add the seeds to the cut side of the apple. We chose to put the lid on then make a small mark where we wanted position each seed. Then we removed the lid and attached the seeds on the marks. This allowed us to reach inside the apple and support the panel from the inside while pressing the seeds into place. It also helped to ensure we didn’t accidently cover any of the seeds on the bottom part of the apple.


Our final step with the cut apple box was to assemble and attach the stem. This is done by gluing the two pieces of the stem back to back. Then slide the tabs at the end through the slit in the small decorative panel. We then attached this assembly to the top of the apple.


***Note that this post contains affiliate links and we may receive compensation if you buy something using one of our links. ***