Materials Used
We used several products and supplies in the making of our fruit crate decoration. Below is a list of what we used.
- Fruit Crate Gift Box and Gift Holder – Digital Download SVG
- Recollections cardstock
- Royal Brites White Foam Board
- Wood Embossing Folder
- Memento Ink
- Brads
- Art Glitter Glue
- Electric Cutting Machine: Cricut or Silhouette
***Note that this post contains affiliate links and we may receive compensation if you buy something using one of our links. ***
Our fruit crate may have several pieces, but ultimately they all go together following the same directions. This makes it easy to do and goes pretty quick once you get into the groove. For ours we chose to run the pieces through a Tim Holtz wood embossing folder then brush with Memento ink to give our white paper a wood appearance. We then added brads to the panels with holes in the end. The file does include little circles you can use later in the process to fill these holes. These will help give a look like the top of a nail head.
Foam Board Templates
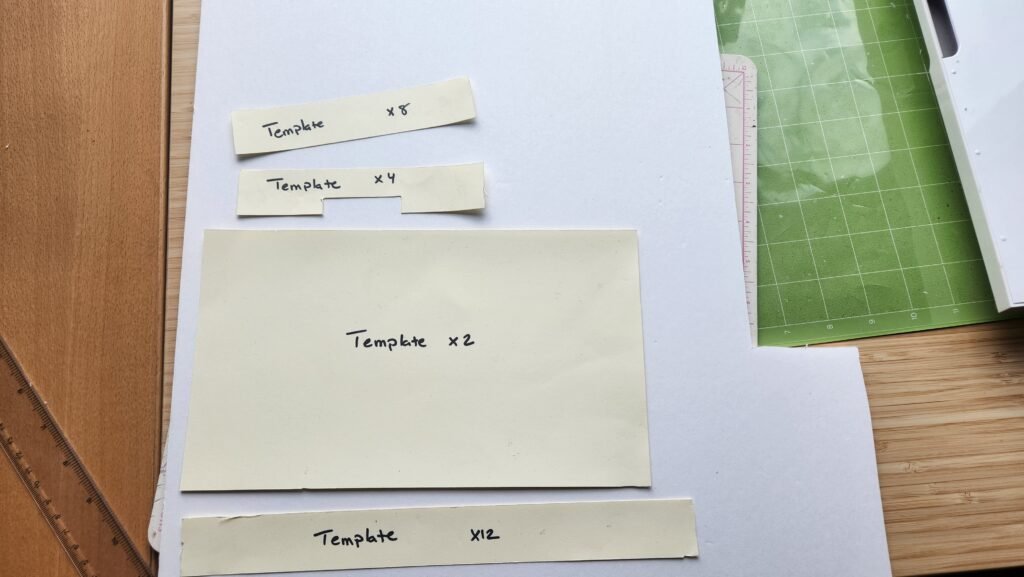
To start the assembly, you’ll notice that there is a set of panels that are labeled as templates. We cut these out in paper different than what we used for the sides to keep from getting them confused with anything else. These templates are used for sizing the foam board that is placed inside each piece of the crate. You’ll note that we’ve written on them how many total pieces you will need of each size/shape. Each component we make for the crate will require two foam board pieces stacked inside. We used a craft knife with a fresh, very sharp blade, to cut the foam board to size then started assembly of the crate’s components.
Making The Crate Base
First, we started with the base of the crate. While not necessary, we embossed and inked the sides. We did all of the components of the crate at one time. The sides of the crate base will never be seen as they are going to be used for attaching the boards. With this in mind, you can save yourself some time and effort and not worry about decorating these side panels. Or if you are using patterned paper you don’t need to use any for this part. We just got in the groove of embellishing and accidently did them as well. No harm if you do the same as us.
To assemble the bottom of the crate, it is made up of four side panels, and 3 large rectangle pieces. We started by using glue on each tab and attaching the side panels end to end to create a rectangle shape.


With this shape complete, we folded in the tabs on the bottom, added glue to them on the inside, and placed one of the large rectangular panels to close off the bottom, pressing down to secure the panel to the tabs. We then added some glue to the rectangular panel, and placed one of the foam boards. Using the template provided, the foam board should be just a tiny bit smaller than the base and fit easily. If for some reason your board isn’t fitting, it’s easy to shave a bit off, but try to keep it at the maximum size as this will help the crate maintain its strength once built. We then added a touch more glue to the foam board and added the second one to the base.
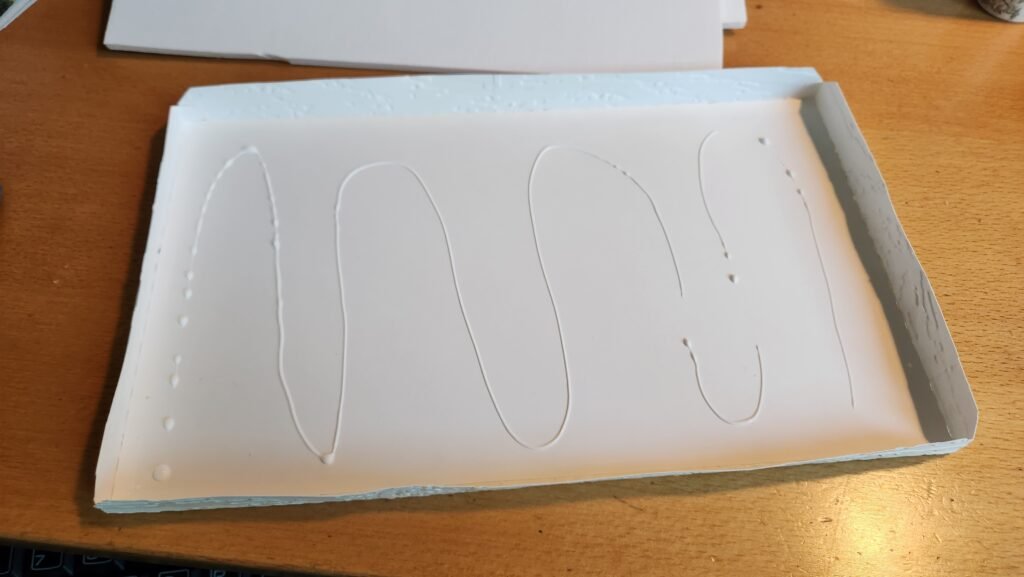
Once we had the foam board secured, we folded the remaining tabs in and added glue to one of the long tabs. We then secured one of the large rectangular panels to this tab, making sure to have it lined up straight with the fold line and square on the ends.


With this piece secure, we added glue to the other three tabs and laid the panel down. We made sure to get the long tab secure and straight before moving to the tabs on the two shorter sides.
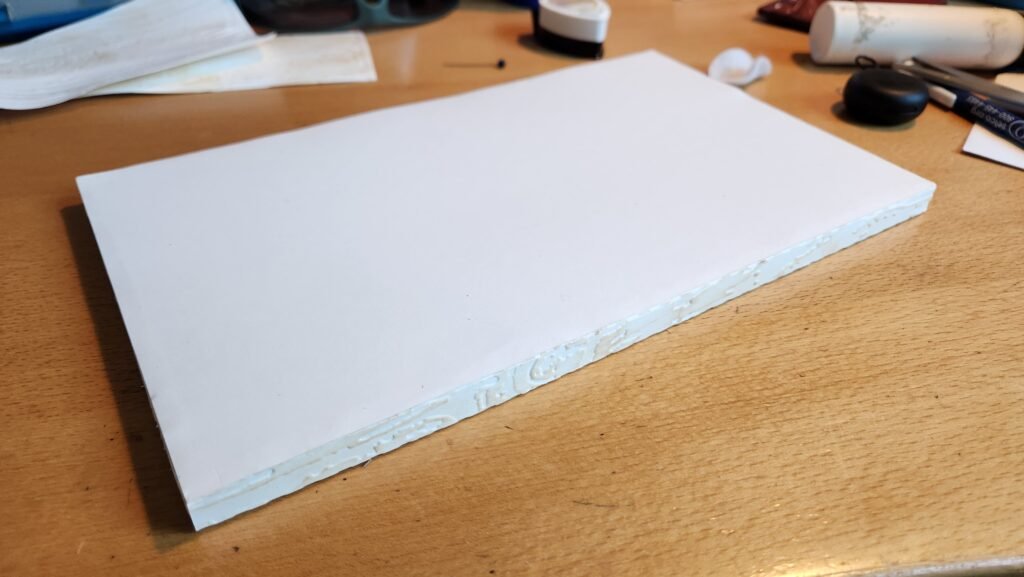
Our final step with the base was to turn it over, and glue the third rectangular panel to cover the exposed tabs.


The Crate Boards
With the base complete, you can set it aside for now. The boards are assembled in the same way as the base of the crate. To help with assembly, it’s best if the side panel that is placed first isn’t embossed so we set aside 6 of the long ones, 4 short panels, and 2 with the handle cut out. If you are using patterned paper then you can save your paper and use plain cardstock for these pieces.

Short Side Boards
Below are the pieces that make up each of the short side boards. You’ll make four of these.

Attach the side panels end to end to create a rectangular shape.


Once this is complete, fold in the bottom tabs, add glue, and place the side panel that is undecorated or your plain paper. It will be covered up by the end of the assembly process.


Glue your two foam boards in place.
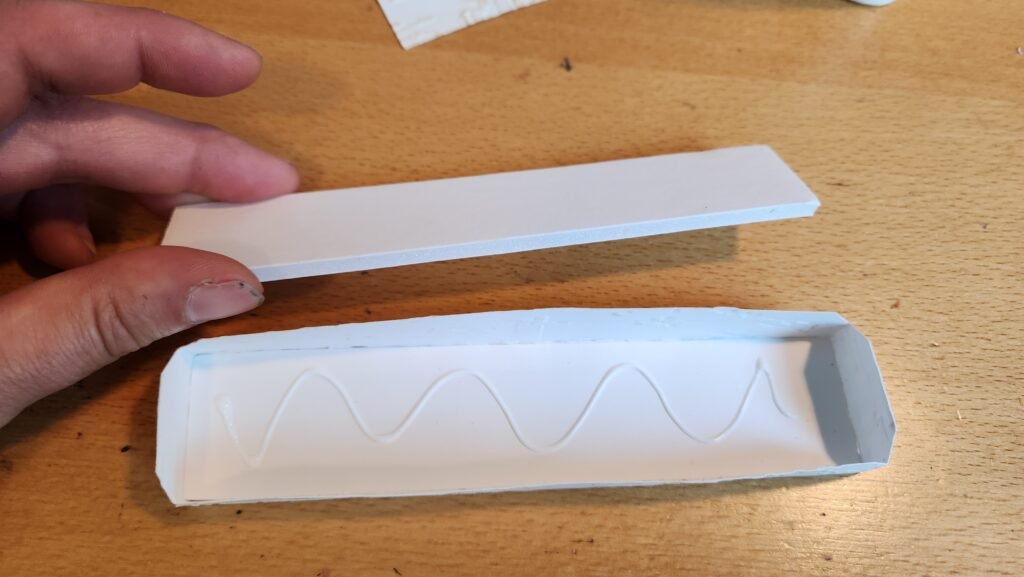
Add glue to the long tab and attach one of your decorated side panel. Make sure to line it up square with the fold line. Once this is secure, you can add glue to the other three tabs and fold the panel down, making sure to secure the long side first, then working to have the side tabs square and secured.
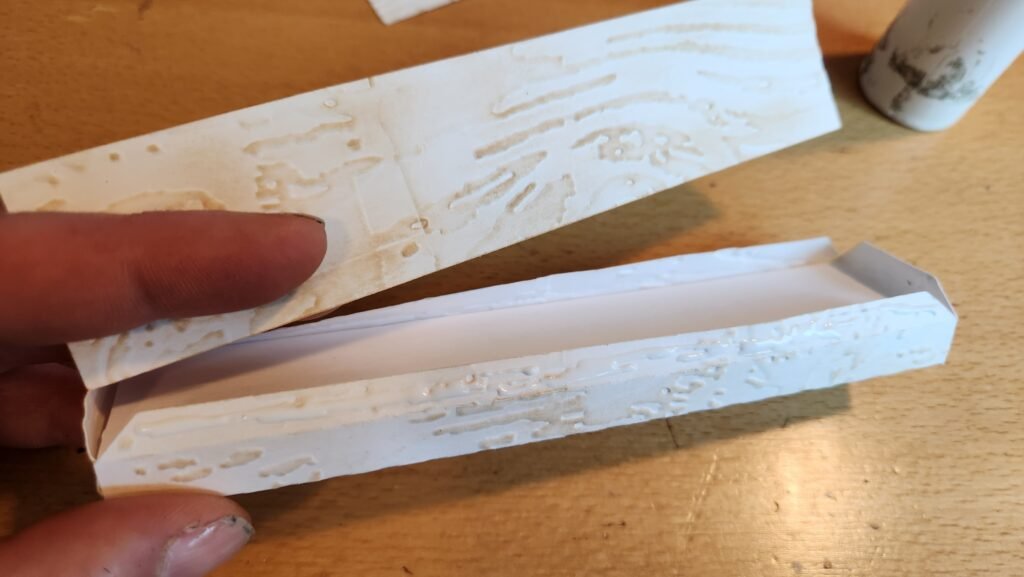
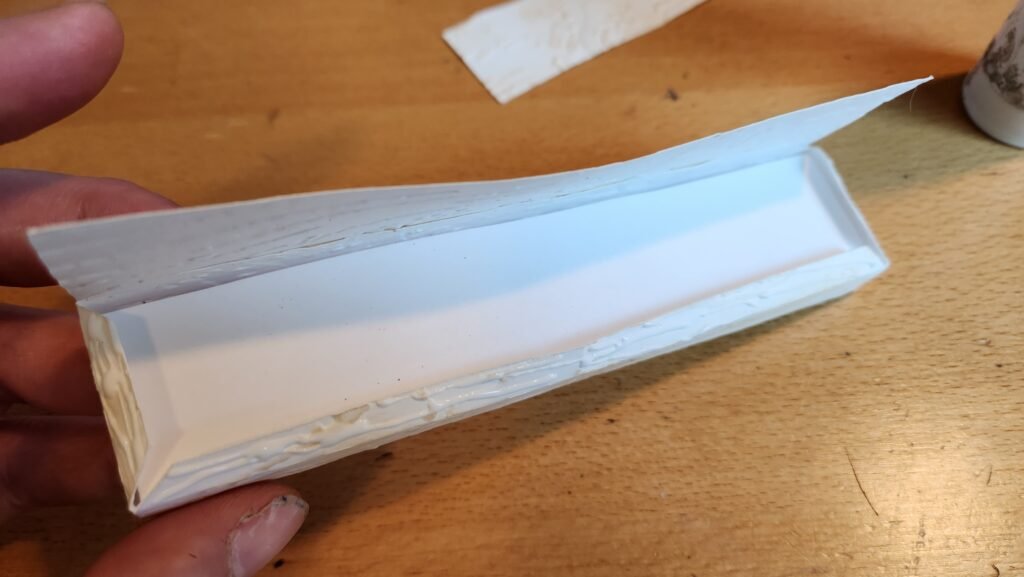
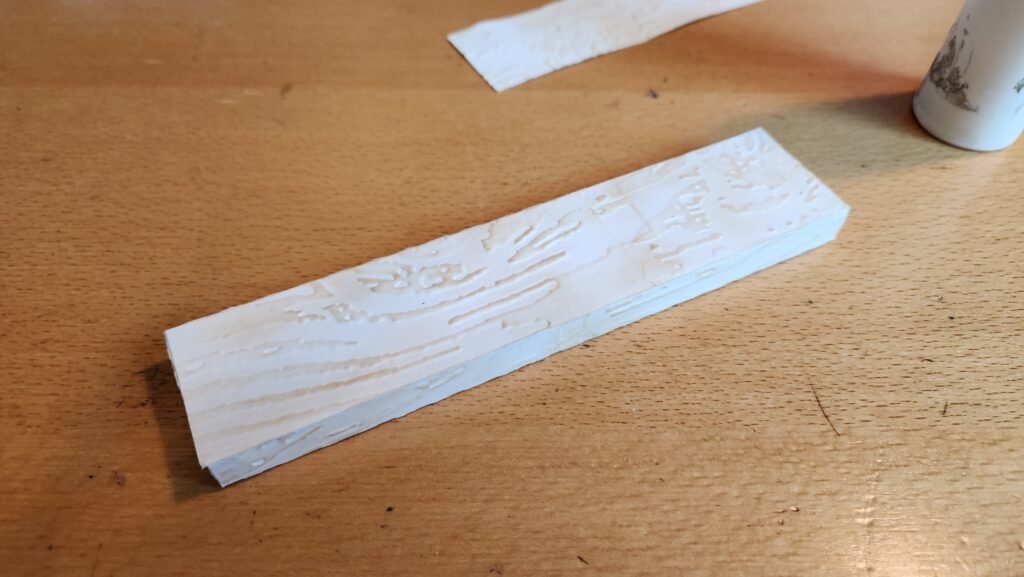
With this done, turn the shape over, and cover the exposed tabs with your other decorative panel. You’ll now make 3 more of the same size.

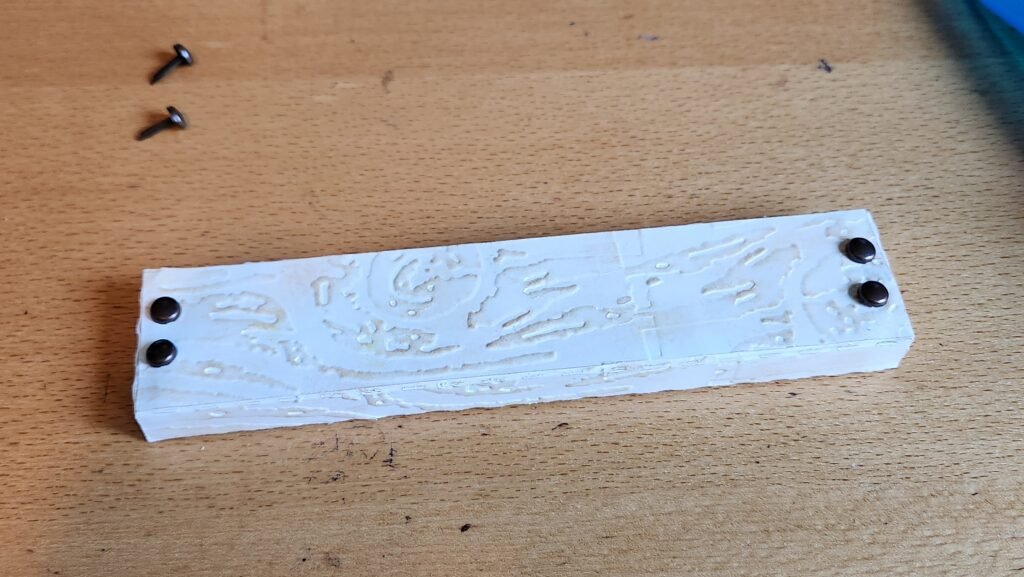
Crate Long Boards
Our next step was to make the long side pieces for the crate. There are six total and they are assembled the same way as the four short sided ones we just showed you. The only change is, since the pieces are much longer, we broke the side panels into four pieces, rather than two. Attach the four end to end to create the rectangular shape then continue as you did with the shorter boards already created.


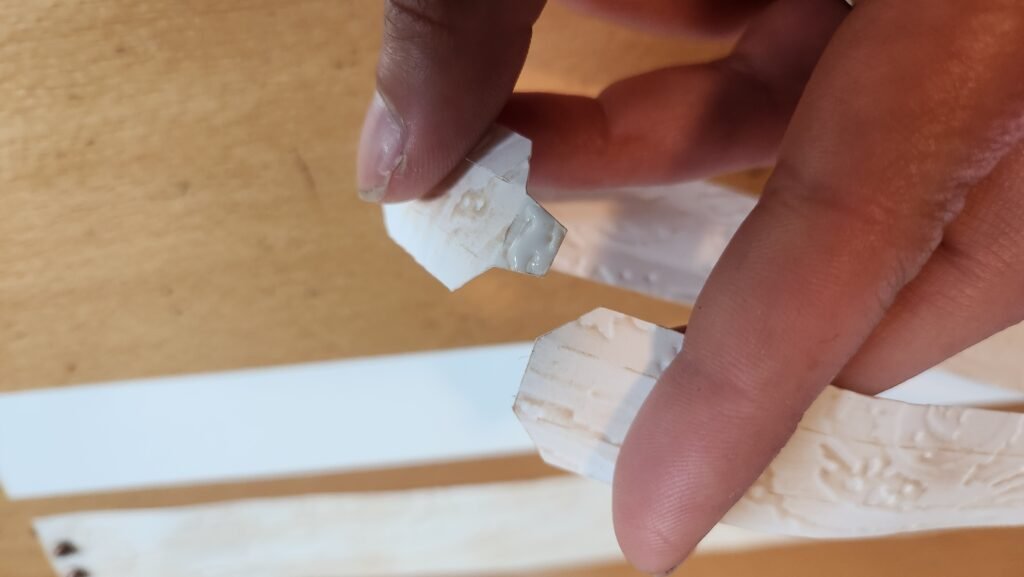


Boards With Handles
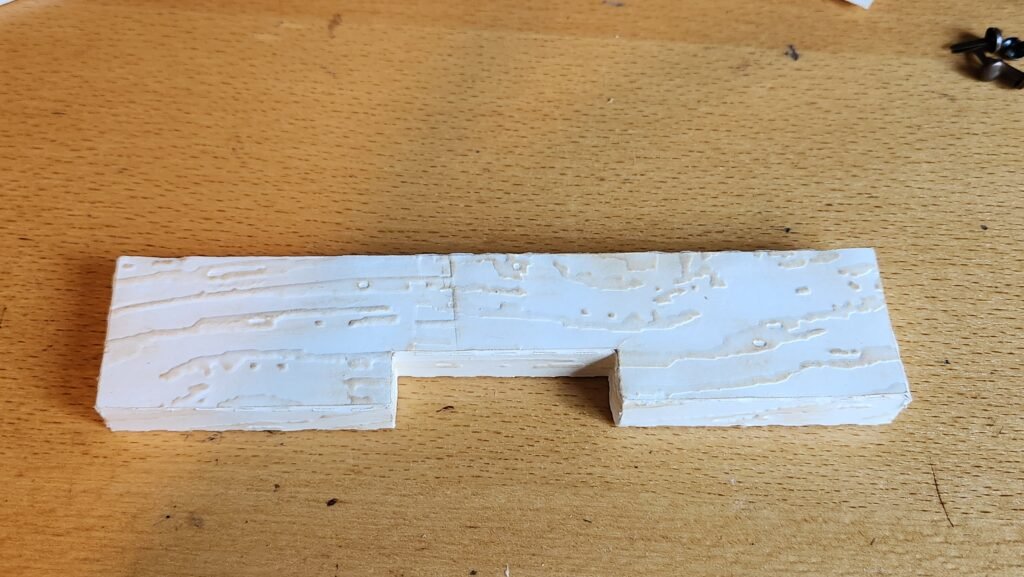
Our next step was to work on the two short panels that have the handle cut out. This is assembled in the same way as the others. Before placing the first side panel, we shaped the outline to see how it would be in the end, then glued the long tab on one side and attached the long side of the side panel, then worked our way around the shape a couple tabs at a time until the full side panel was secure.


Once we reached this point, we added the two foam board pieces, then added glue to the long tab and secured the side panel.

We found it easiest to close this piece off by doing a couple tabs at a time until the full thing was secured into place. Then turned the shape over and attached our decorative panel with the brads we used for the nails.

Corner Supports
There is only one more piece of the crate structure to assemble. In each corner is a triangular shape used to secure the boards. This piece is assembled by folding along all the score lines then adding glue to the long tab, fold the sides over to create the triangular shape. Once this is done, fold the tabs on the ends in, add glue, then secure to close off both ends.


Starting Assembly
Now it’s time to assemble the crate. We took our time on this, allowing the glue several minutes to set before adding more pieces. This ensured a secure and fully set hold before adding more pressure to the pieces during assembly. We started by grabbing the base and two short boards, make sure to not use the short boards with the handle cut out. We added glue to the short end of the base and firmly pressed one of the short boards, making sure that its flush with the base on the ends and bottom. Once secure, repeat for the other short board on the opposite side.
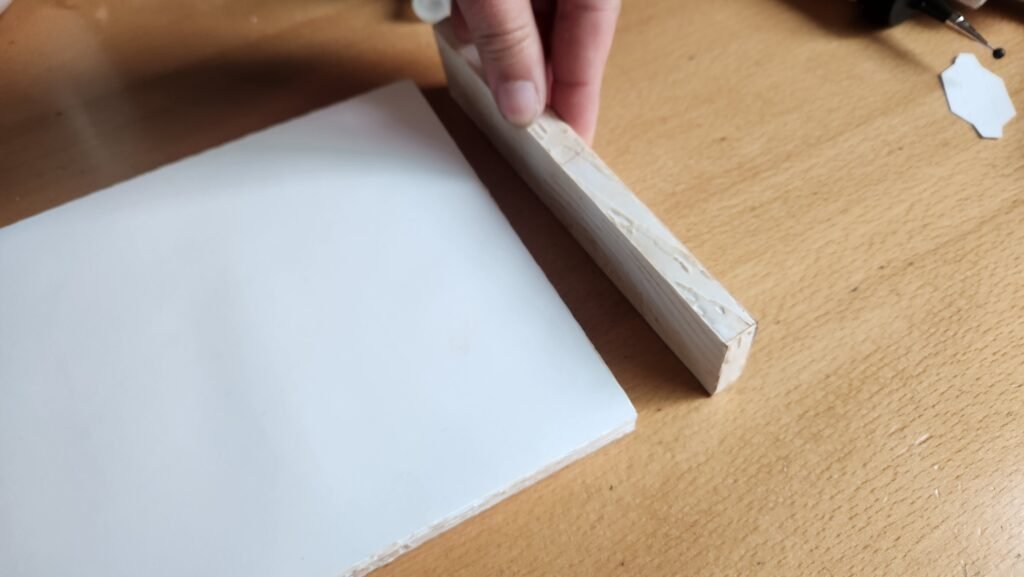
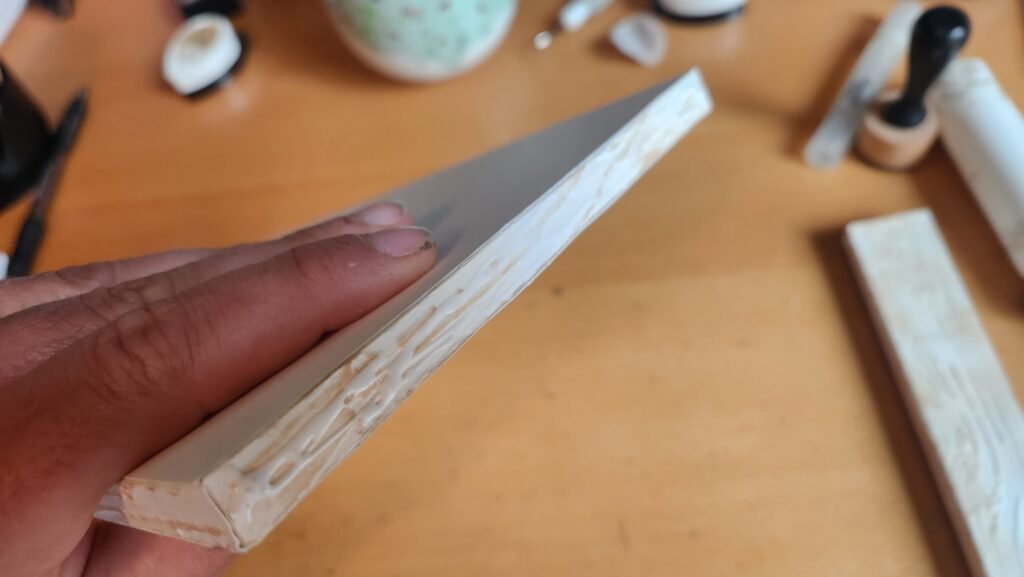

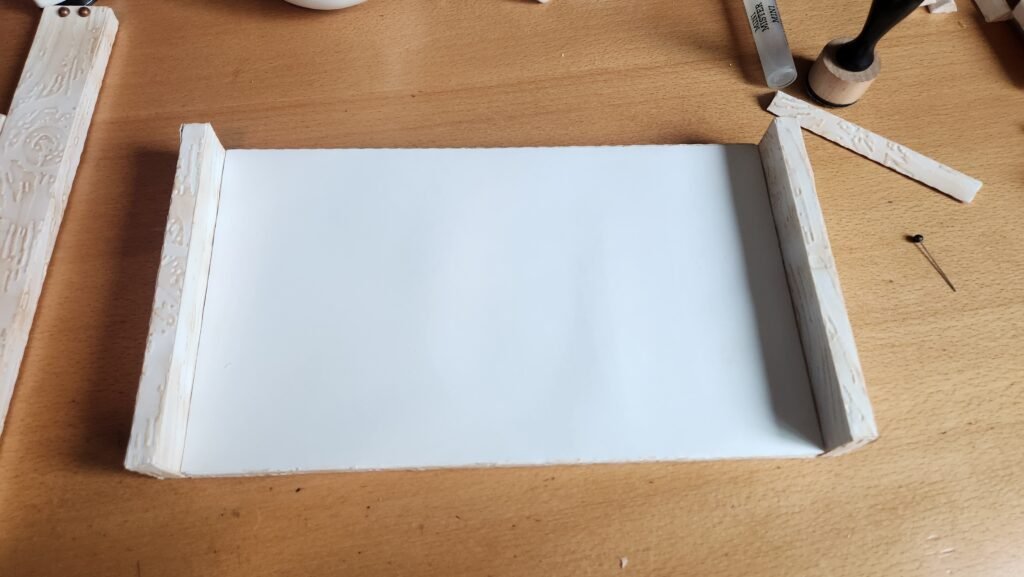
Next, we added glue to the end of each short board and along the side of the base. Then firmly press one of the long boards in place, making sure the ends and bottom are flush with each other. Once this is secure, we repeated the process for the other side with another long board.


Starting The Sides
We let this sit for several minutes so the glue could be fully set. Then we started adding the corner supports. Add glue to one end of the corner support and on the inside corners of the crate. Then firmly place the corner support. We held it in place until we felt the glue was set before moving to the next. Repeat this until all four supports are secured. We let the crate sit for a bit to make sure all the glue was fully set and dried.


Adding The First Set of Boards
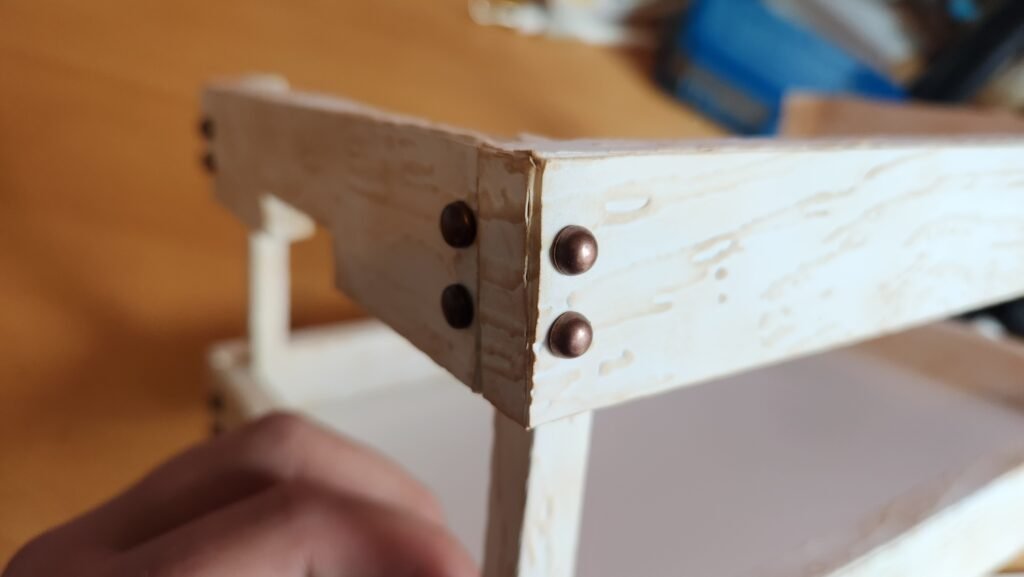
Our next step was to attach the short end boards with handle cut outs to the top of the corner supports. Add glue to two of the supports then hold the board in place until the glue is set. Then move to the other end and repeat this process. Once these two were secure we let the crate sit for several minutes before moving to the next step.


Once these were set, we added the two long boards to each side. We added glue, then held the pieces so they were square on the top and ends.


Finishing The Crate
We next held our boards in the center of the gap and placed glue on either end, using the board as a guide for where we wanted the glue. Once we had glue positioned, we placed the board and pressed it into place. We repeated this process until all four boards were in place.


