Materials Used
We used several products and supplies in the making of our sleigh and reindeer Christmas decoration. Below is a list of what we used.
- Santa’s Sleigh and 8 Tiny Reindeer Candy Holder Christmas Decoration – Digital Download SVG
- Recollections cardstock
- Flatback Round Red Rhinestones
- Ribbon
- Vinyl
- Mini Screw Eye Pins
- Art Glitter Glue
- Electric Cutting Machine: Cricut or Silhouette
***Note that this post contains affiliate links and we may receive compensation if you buy something using one of our links. ***

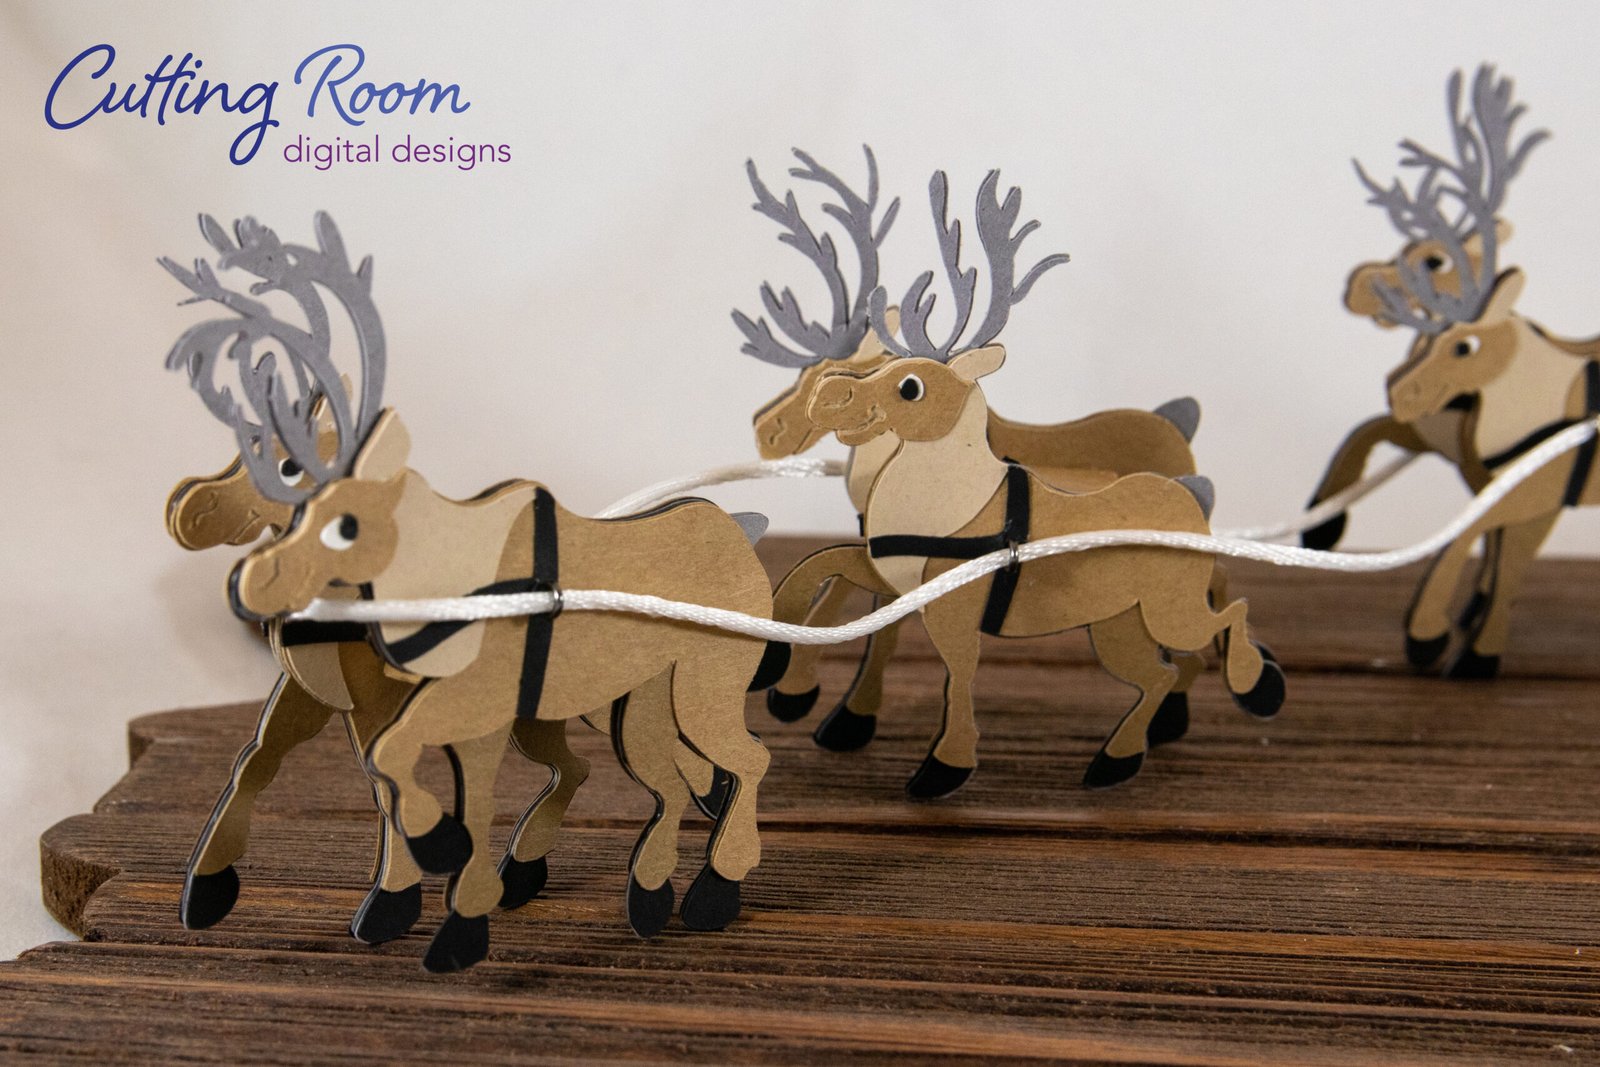
This file is really easy to put together but it takes a little time because there are So Many Reindeer. So Many! Eight tiny, 2 sided reindeer makes for a lot of layering but with a bit of time and a good TV show, it’ll all come together to create a bit of magic!
Santa’s Sleigh

Some Secret Supports
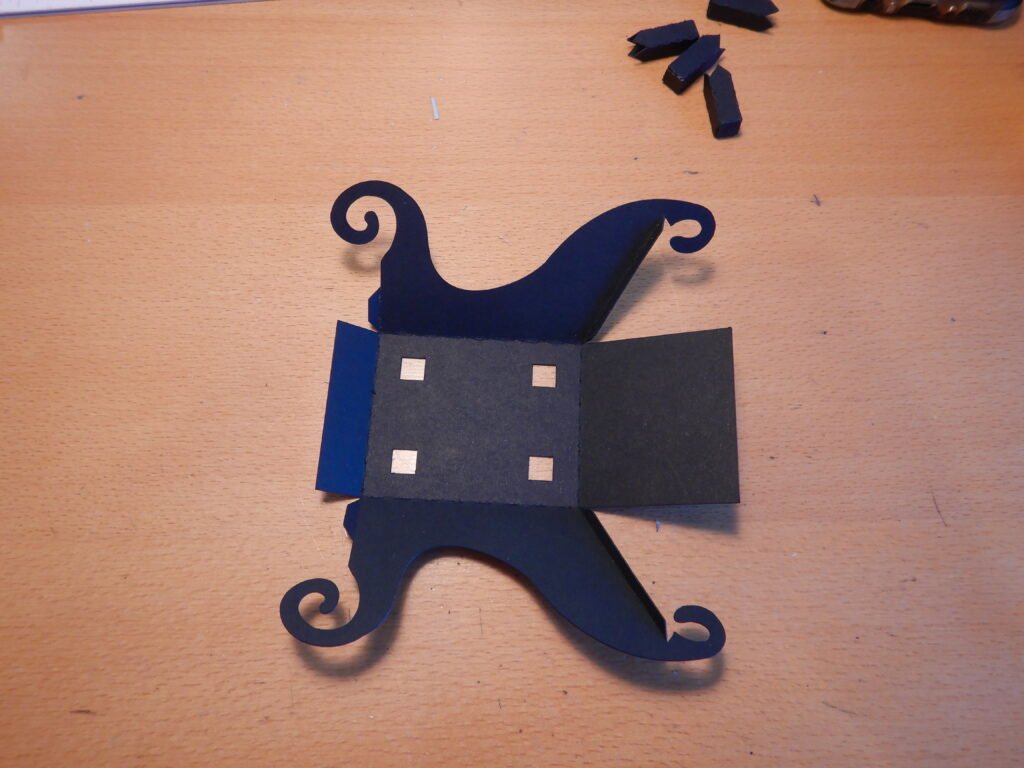
To start with there are four supports for the sleigh. They make a box that will be the stands that actually support the sleigh. These have one end with a squared tab (to close the end) and the other has four triangle tabs that are used to attach to the inside of the sleigh. Start be folding on the score lines and making a rectangular box, then fold in the tabs and glue to close up the end. Once done you can set aside until the sleigh is put together. Or if it’s easier for you, you can attach them to the bottom of the sleigh before putting the sleigh together. Either will work.

Assembling The Sleigh
To assemble the sleigh, pre-fold along the score lines. Fold in the tabs and add glue, then fold up the front or back, which ever end you want to start with. Both ends are put together in the same way.


As we said before, you could have chosen to attach the supports for the sleigh already but we chose to do it after the sleigh box was assembled. We slid the tabs through the holes in the bottom of the sleigh, added glue to the tabs then folded them down and held in place for the glue to set. We found it easiest to do two tabs at a time then gluing the other two before moving to the next support.


There is a panel for the inside of the sleigh to cover the supports. Add glue to the back of the panel and slide it into place. Try to apply a little gentle pressure to secure it in place.


Decorating The Sleigh
Our next step was to assemble the decorative sides of the sleigh. We chose this time to add all the fun details like rhinestones, chalk, etc. Once they are the way you want, you can glue them to the sleigh. To attach the sides of the sleigh, make sure to line up the scrolls at the top in front and back.


With this complete you can set the sleigh aside, it’s all done! That simple!
Santa’s Eight Tiny Reindeer

Get Your Patience And A Movie
Next up is the eight tiny reindeer, but double sided so really you’ll be making 16 tiny reindeer. Oh my! Just a bit of patience, and a little organization will make this less daunting. We first cut all the base layer and organized by reindeer body and direction they are facing. Then we cut the next layer, assembled what we had, then cut the next layer and continued in this way until all the reindeer were assembled. Once all 16 reindeer are together, attach them back to back with their opposite so that you have 8 double sided reindeer. If you have a better large heard livestock assembly idea, we’d love to hear it! This wasn’t difficult but it did take a bit of time.


Adding The Eyelets
With the reindeer fully assembled we decided that we needed to figure out a good way to have the reins connect all the reindeer while making it easy to take apart and store after the holidays. To do this we pulled out some tiny screw in eyelets we had left over from another project. We drilled a hole (if you don’t have a drill, a thumb tack to start the hole a little would probably be enough, I’m not so sure my drill did much more than a thumb tack would have) in the harness of the reindeer then screwed in the eyelet. If you do this or something similar, make sure that you have four reindeer with holders on their left side and four with holders on the right. Below you’ll see that we chose to put an eyelet on the left side of one reindeer and the right side of the other with the same leg position. This way we had one of each stance on a side.


Reindeer Supports
The final step is to assemble the spacers that we put between the reindeer to have them stand up together. These are put together the same way as the supports for the sleigh except both ends have a rectangular tab to close off each end.


We didn’t put makers on the reindeer for where the box should line up because we wanted to give the freedom to pair the reindeer in anyway you want. And put them on whatever side you want. To now where to place the box, first decide which reindeer will pair with which. We made our choices then laid it out for the ease of assembly.

Once this was done, we took a paired set and noted which was shorter when standing them on the desk. The shorter one is the one you want to start with. Take a spacer box, put glue on the narrow long side and place it just below the back of the shorter reindeer.


Once the glue is set you can add glue to the other side then hold its partner in place. We stood them on the desk as the glue set so the feet would be even with each other.


Adding Reins For The Reindeer
Once we had all four sets complete we stood them and lined them up to admire our work. They are cute! We had some round ribbon that just fit through our eyelets (got lucky, probably should have tested that first!) so we measured out how much it’d take to go the length of the reindeer and back plus extra. We then laid them all down, thread it through the eyelets starting at the back and working our way to the front, around the other side, turned it over, and worked our way back again. The extra ribbon we coiled up and placed in the sleigh then put some presents we purchased at the local dollar store to keep the ribbon in place and hidden away. We hop that this means we can more easily move them or store them by taking out the ribbon before transferring from one location to the next.


Leave a Reply