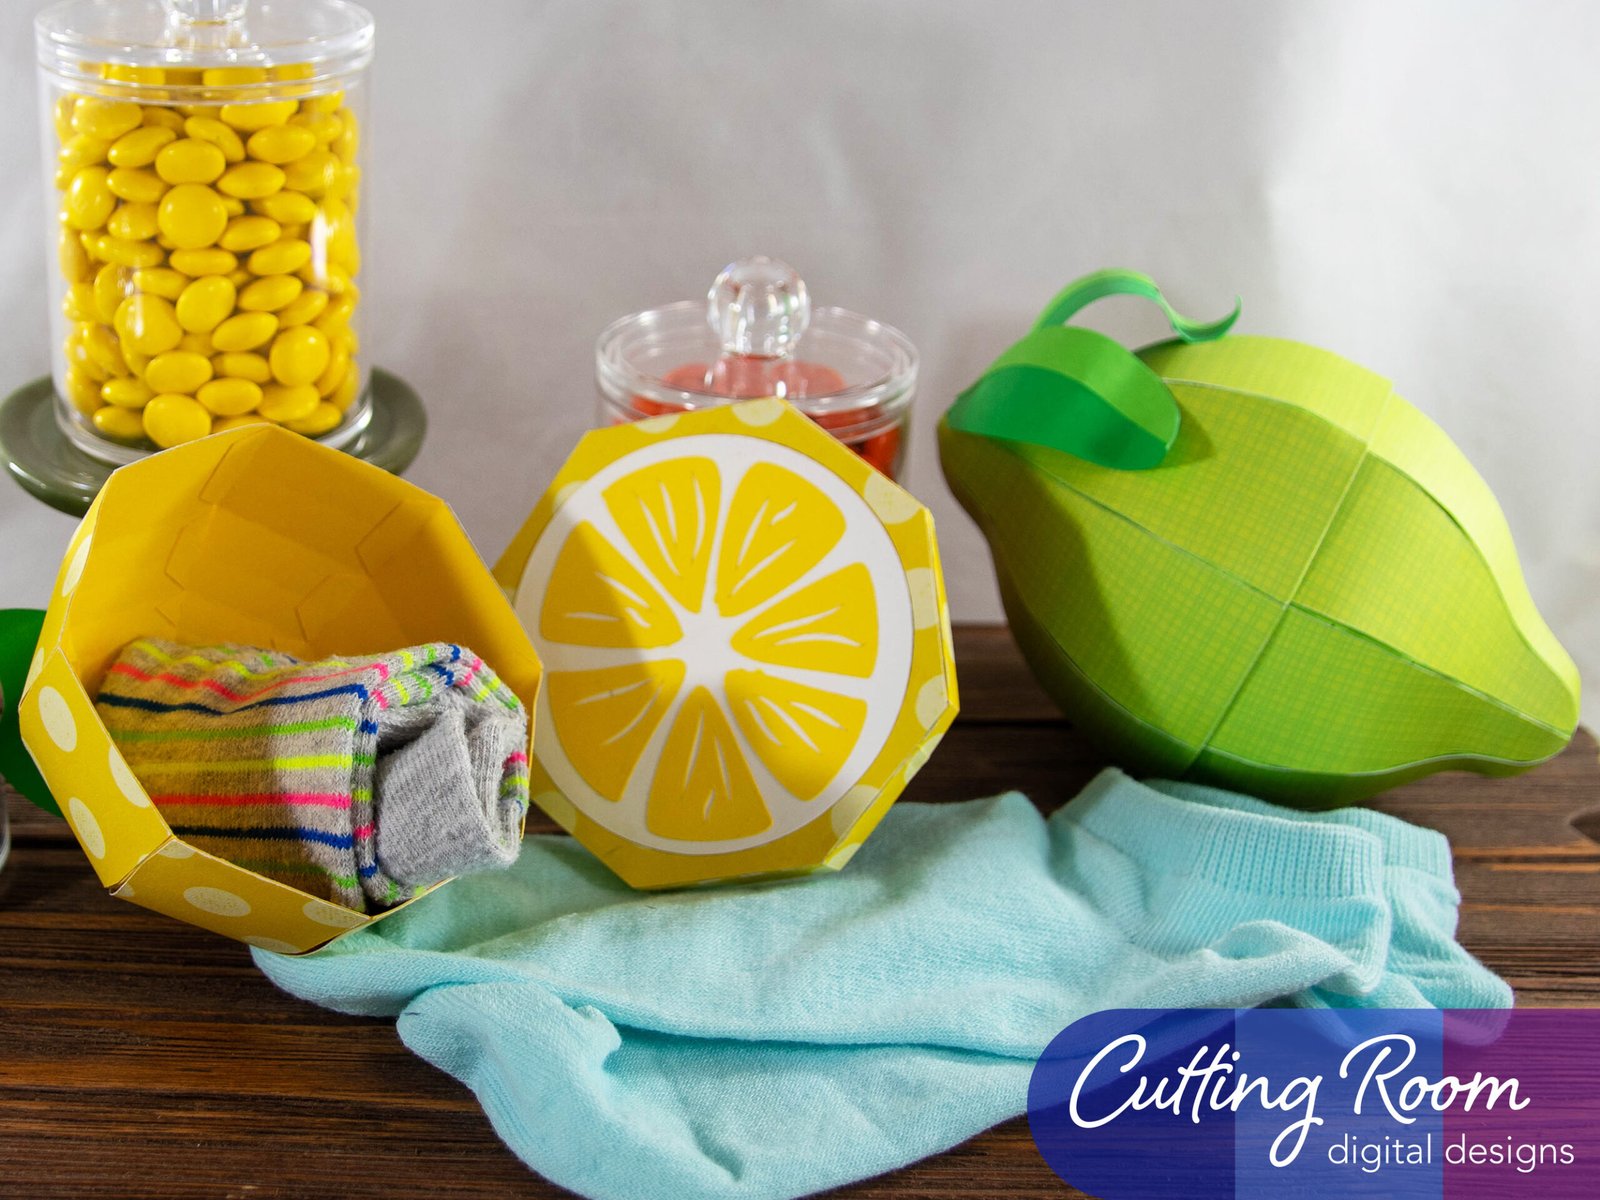
Materials Used
We used several products and supplies in the making of our lemon and lime themed gift boxes. Below is a list of what we used.
- Lemon and Lime Citrus Gift Boxes – Digital Download SVG
- Recollections cardstock
- Art Glitter Glue
- Brick Embossing Folder
- Fish Scales Embossing Folder
- Color Petal Ink
- Battery Powered Tealight
- Electric Cutting Machine: Cricut or Silhouette
***Note that this post contains affiliate links and we may receive compensation if you buy something using one of our links. ***
The sides for both halves of the full box and the half box go together the same way so we’ll just show one assembly here. Please note the names of each though, lime panels1 should all be put together as one side, lime panels2 make up another side. These two will telescope together to make the full box. The lemon one is the same, but the lid is scaled to fit that set of panels.
Making The Box
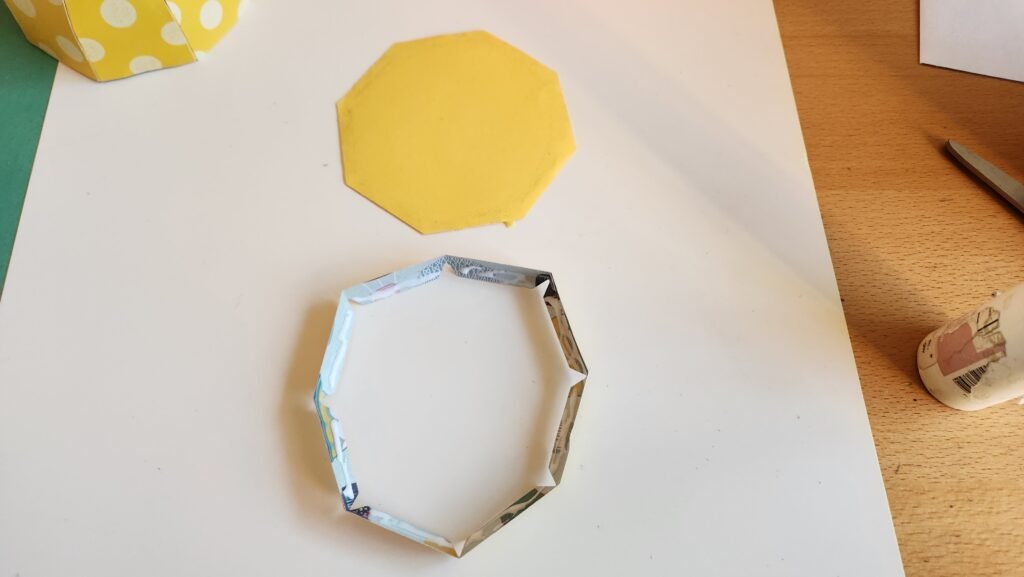
To start with we lined up all 8 panels for one side and began gluing them together using the tabs. We found you get the best alignment if you start with just one tab at the bottom, then once that’s secure, work your way up, a couple tabs at a time. The end of the panels will, as you add more and more, create a bulbed shape at the end to give the lime/lemon it’s distinctive shape.


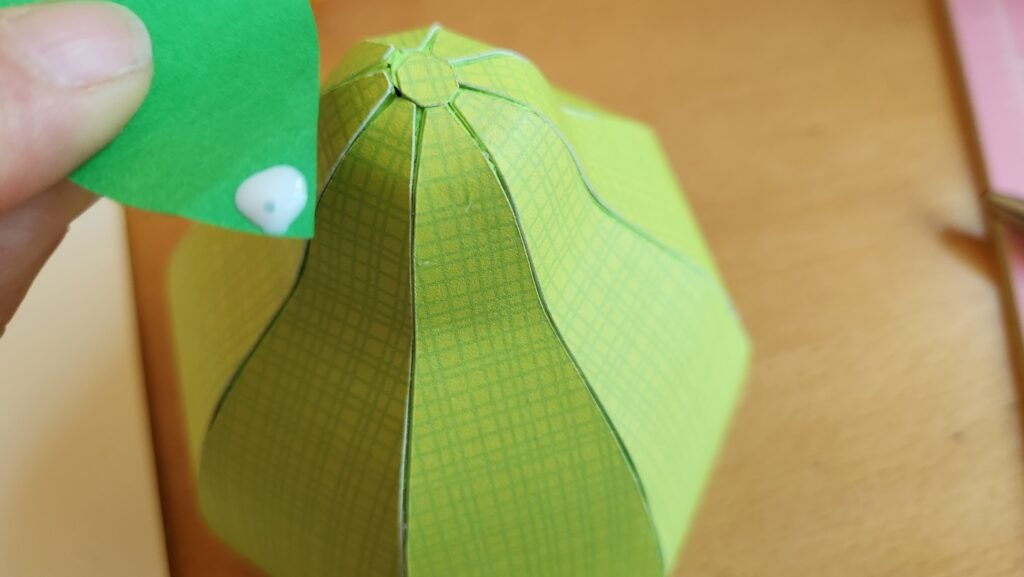
Covering The End
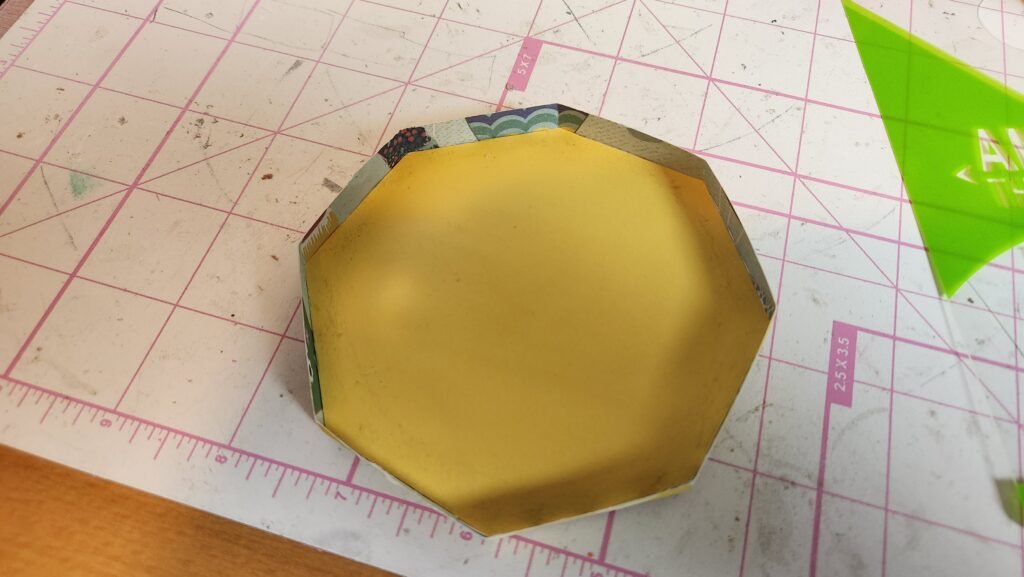
Once you have all 8 connected, fold in the little tabs at the top, add some glue, and place the small octagon shape to close it up.


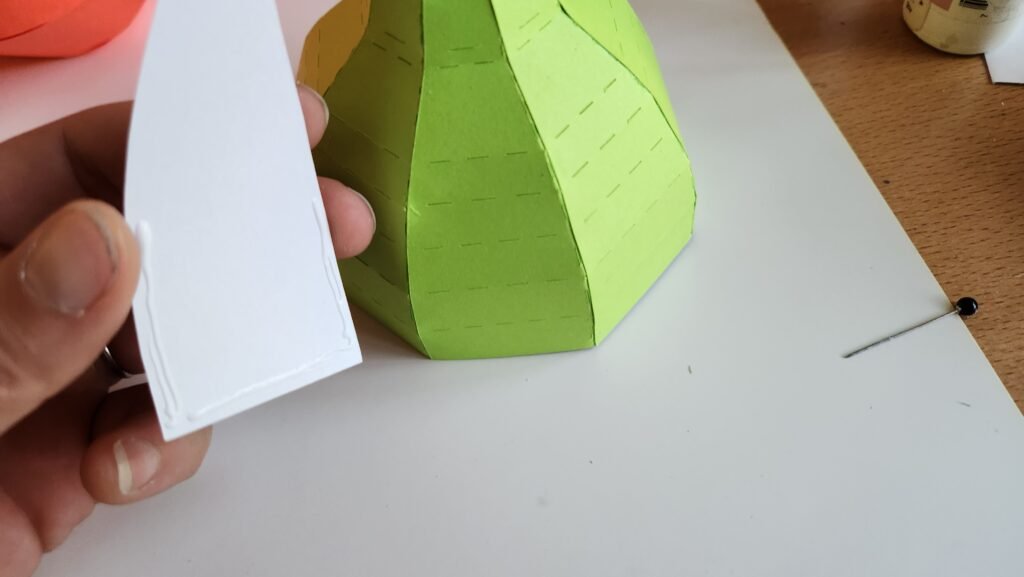
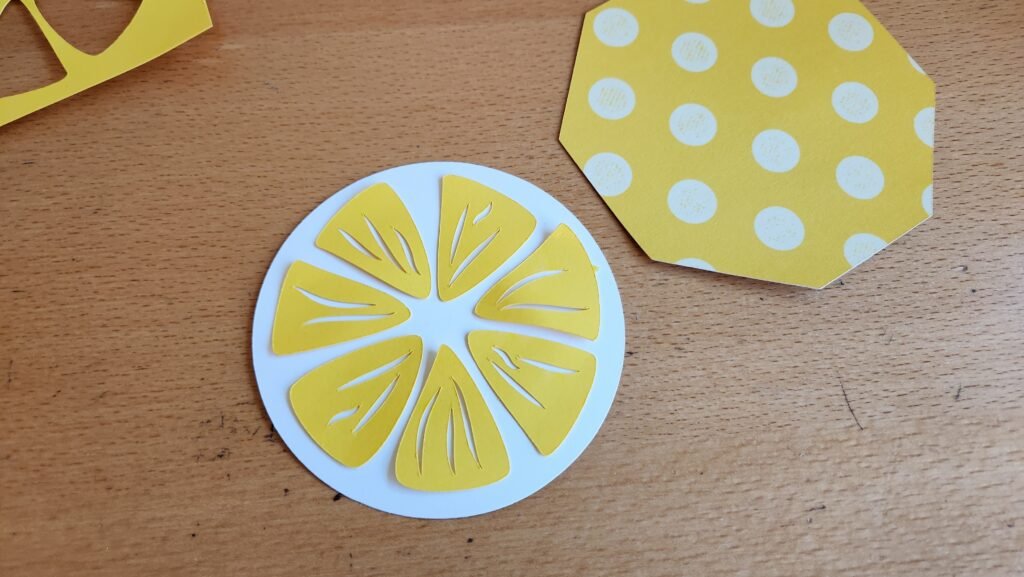
Adding Decorative Panels
As we said, regardless of if you are doing the full or the half lime/lemon, this is the process for all the base pieces. The decorative panels also follow the same system, regardless of which one you are doing. Just be sure to use the corresponding decorative panels as they are sized to fit.
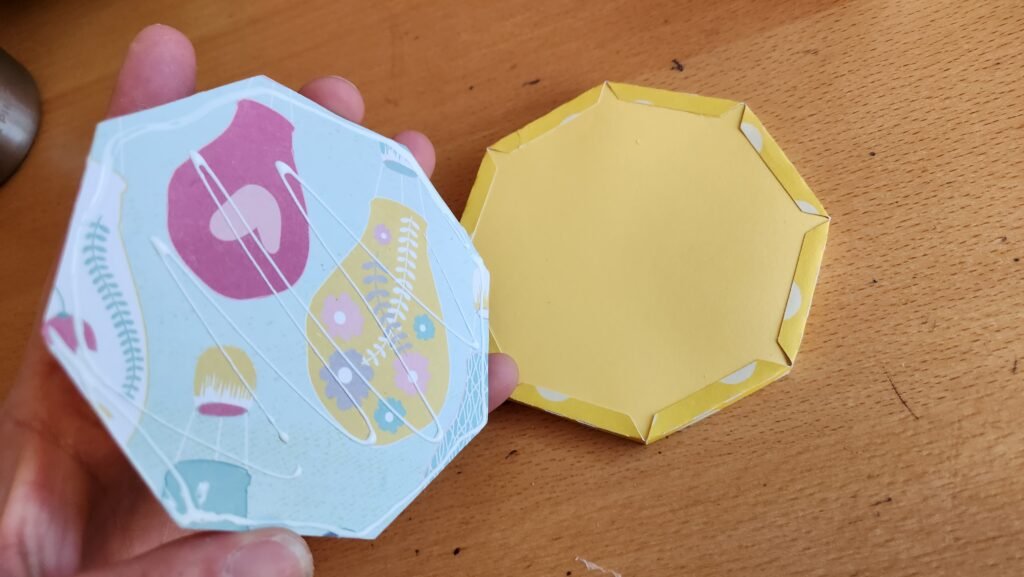
To attach the decorative panels, we added a line of glue to the bottom of the panel and a little up the sides then attached it to the side of the lemon/lime. Once we had this placed and secure, we added a little glue to the top of the panel and a little down, where the lemon knob takes it’s shape. You don’t want to add glue to the whole panel, as doing so would not allow it to give a rounded and smooth look to your project, just ad some glue where you want to accentuate the shaping of the lemon/lime. Once all 8 are in place, add the octagon decorative panel to the end.


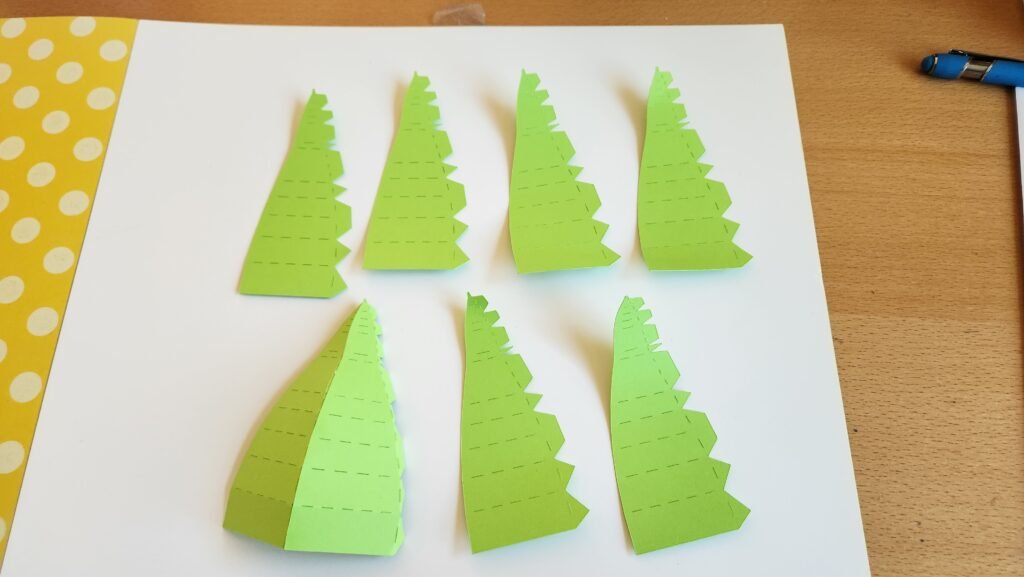
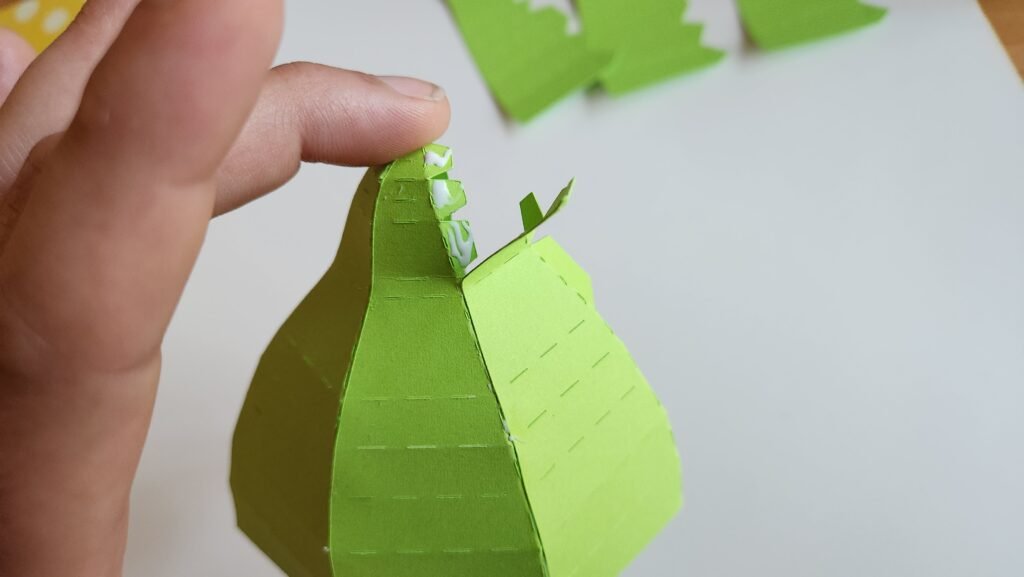
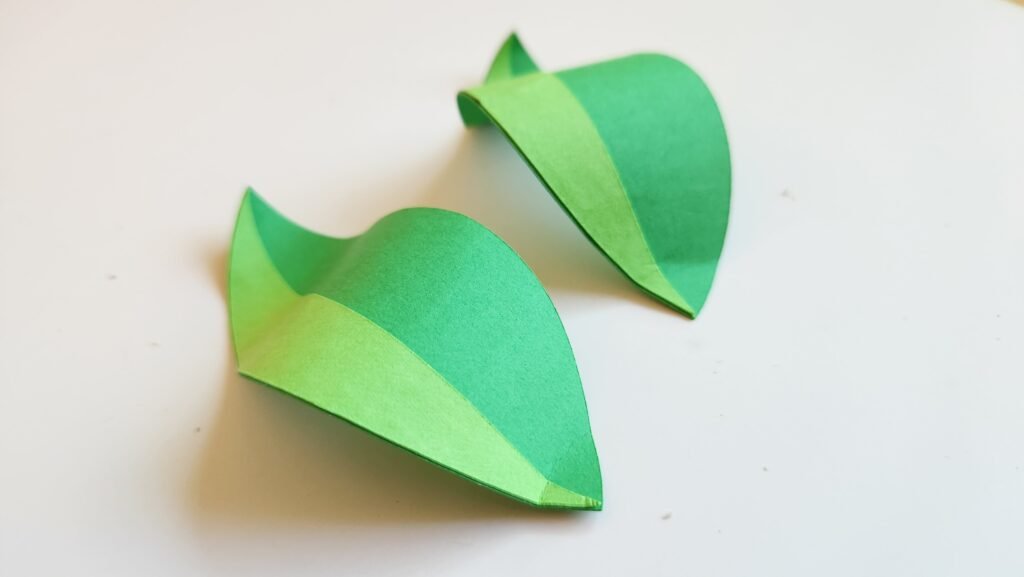
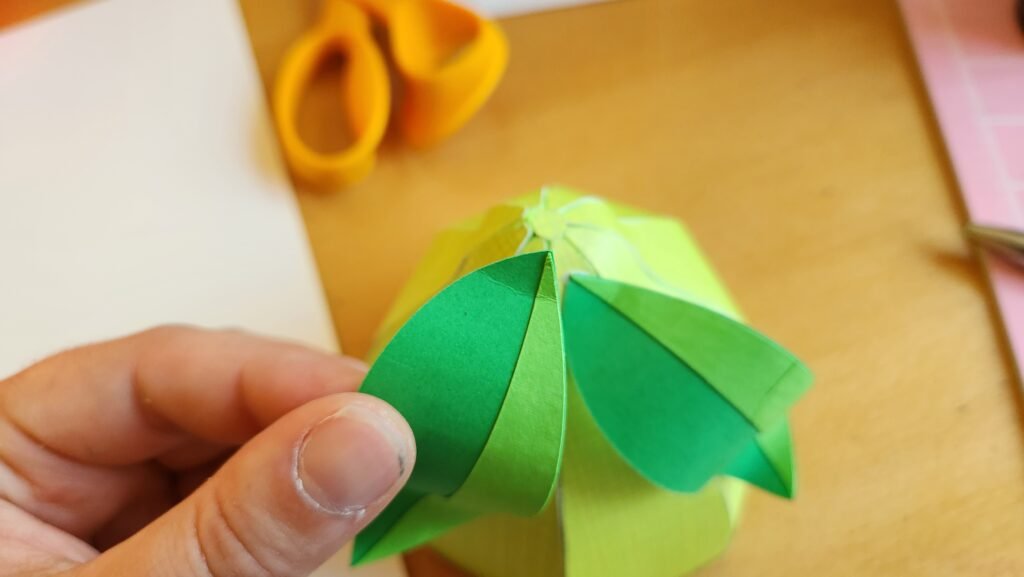
Making The Leaves
Our final finishing step was to make and add leaves. Once we had them glued and ready (they are two layers to give some detail to each leaf), we used a thick pen to help give them some curve and shape. Then we added glue to the tip of one leaf and attached it to the end of the lime. Once this was set we added glue to the back of the leaf further down, where it rested on the side of the lemon/lime. This helped to secure the leaf and keep it from shifting too much once our project was done. With one leaf in place, we added the second one.


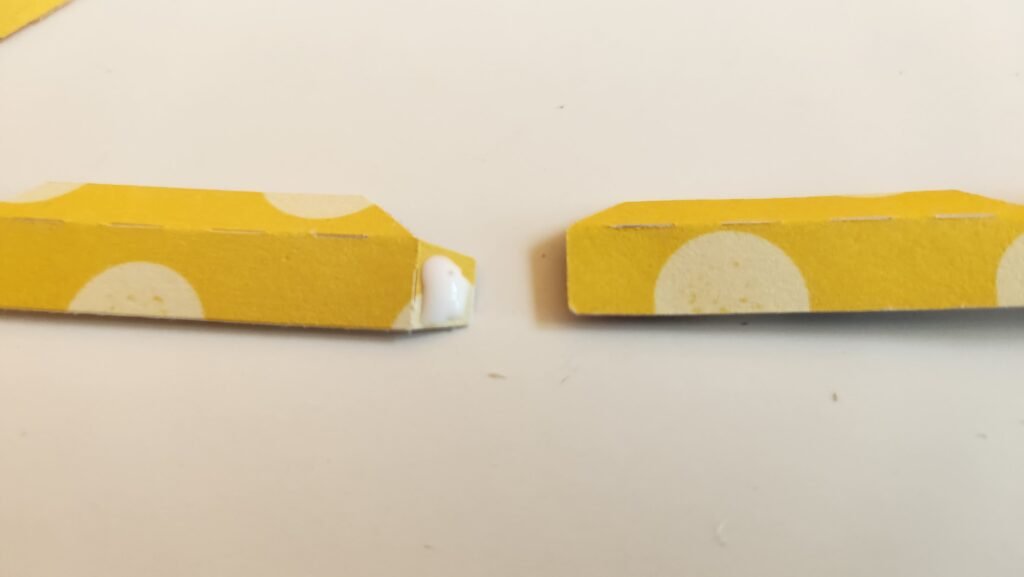
Building The Lid
If you are making the half lemon/lime then you’ll need to assemble the lid to cap off the “cut” side. This is done with several pieces. To start, take the two long side panels and attach them end to end to create an octagon shape.

Our next step was to fold in the bottom tabs, add glue, and place the solid octagon shape to close off the inside of the lid.

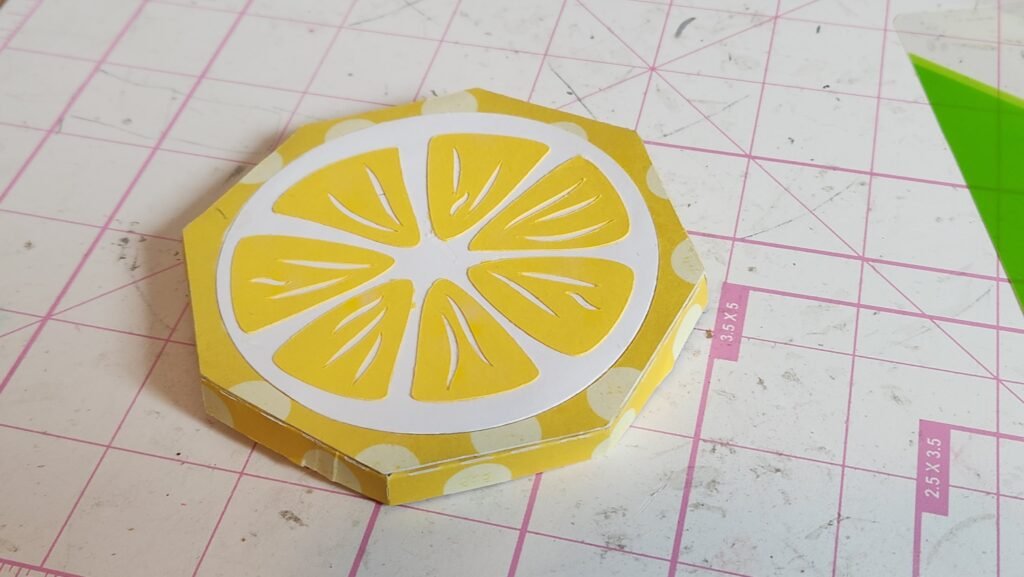
Decorating The Lid
We then turned to the decorative pieces and assembled them.


With this complete, we glued it to the lid.
Adding A Little Traction
One thing we did find helpful, is when making the full sized box, if you add a thin (less than ½ an inch wide) strip of felt to the inside of the larger side, right along the lip, it will help the box stay closed. The need for this depended on the paper we used though so you may or may not feel the need to add the felt. Below, in the photo you’ll see that we took a felt tipped pen to color the felt, making it blend in and not be noticeable when the box is closed.

Leave a Reply