
Materials Used
We used several products and supplies in the making of our sports jersey gift box. Below is a list of what we used.
- CRDD Sports Section on Etsy – Check out our jersey gift boxes!
- Recollections cardstock
- Cricut Transfer Tape (optional)
- Cricut Vinyl (optional)
- Art Glitter Glue
- Electric Cutting Machine: Cricut or Silhouette
***Note that this post contains affiliate links and we may receive compensation if you buy something using one of our links. ***
A note about our jersey files – the base construction of them is all the same so you’ll notice that the exact jersey may not match the sport you are working on. Below is how to assemble the box lid and base regardless of your jersey type.
Small Jersey Gift Box Assembly
The lid and the base of this box go together the same, the only difference is the base is deeper than the lid and a tiny bit smaller. Below are step by step directions and photos for the assembly of the bottom of the box.
You’ll note that there are two panels that make up the sides, one has a small circle cut from a tab. This indicates the bottom of the jersey and allows it to be easy to know where to start.

Fold on the score lines and place glue on the tab with the circle cut and the neighboring tab. Press these in to place on the bottom and side of the jersey shaped panel. Make sure to get a snug fit with the fold of the tab all the way against the edge of the jersey shaped cut out. This will ensure that you have a good position and allow the panels to fit properly.


Continue attaching the remaining tabs to the jersey panel.


The second panel is attached in the same way. Work a couple tabs at a time until all are attached. Once this is done you can add glue to the vertical tabs and attach the two panels to each other.


Once you have constructed both the top and the bottom of the box in this manner, it’s time to add the decorative panels. Assemble them as a stand alone 2D project, using your preferred team colors and favorite player’s number.


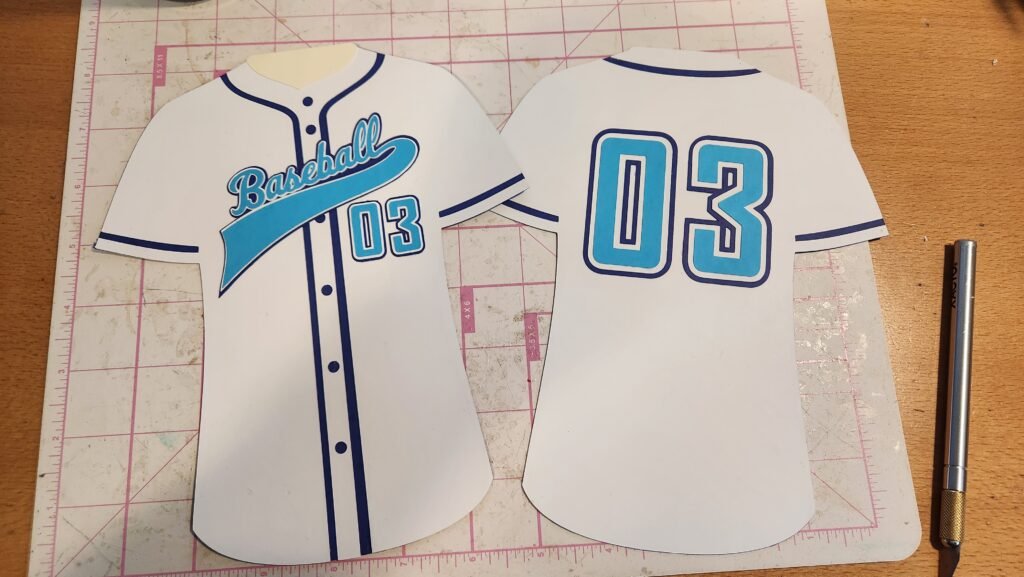

Add glue to the outer edges of the jersey on the lid or base of the box then place the corresponding jersey image making sure to line up all the sides. We suggest the front of the jersey for the lid and the back of the jersey for the bottom of the box.


Large Jersey Gift Box Assembly
The lid and the base of this box go together the same, the only difference is the base is deeper than the lid and a tiny bit smaller. Below are step by step directions and photos for the assembly of the bottom of the box.
You’ll note that there are three panels that make up the sides, one has a small circle cut from a tab, the next to be placed has one hash mark and the final one has two. The circle cut out indicates the bottom of the jersey and allows it to be easy to know where to start.

Fold on the score lines and place glue on the tab with the circle cut and the neighboring tab. Press these in to place on the bottom and side of the jersey shaped panel. Make sure to get a snug fit with the fold of the tab all the way against the edge of the jersey shaped cut out. This will ensure that you have a good position and allow the panels to fit properly.


The second panel is attached in the same way. Work a couple tabs at a time until all are attached.


Repeat this process for the third and final panel.


Add glue to the vertical tabs and attach to the neighboring panel. This will close off and secure the sides of the box bottom/lid.


Once you have constructed both the top and the bottom of the box in this manner, it’s time to add the decorative panels. Assemble them as a stand alone 2D project, using your preferred team colors and favorite player’s number.
Add glue to the outer edges of the jersey on the lid or base of the box then place the corresponding jersey image making sure to line up all the sides. We suggest the front of the jersey for the lid and the back of the jersey for the bottom of the box.
Leave a Reply