Materials
We used several products and supplies in the making of this cute little wreath. Below is a list of what we used.
- Pencil Teacher Appreciation 3D Gift Box – Digital Download SVG
- Recollections cardstock
- Art Glitter Glue
- Electric Cutting Machine – Cricut or Silhouette
Pencil Box Assembly
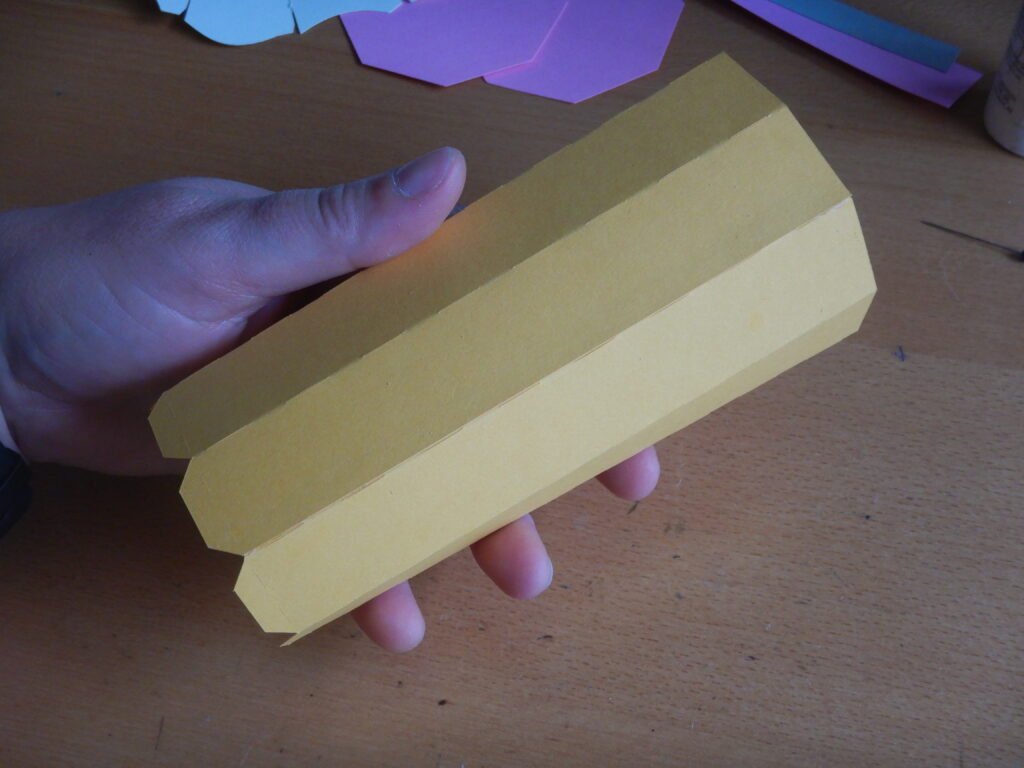
This pencil box is put together with just a few pieces. To start, we took the two sides of the box and folded all the score lines. Then we added glue to the long tab on one panel and attached it to the other panel. Once this was secure, we added glue to the other long tab and attached it to make an octogen shape.
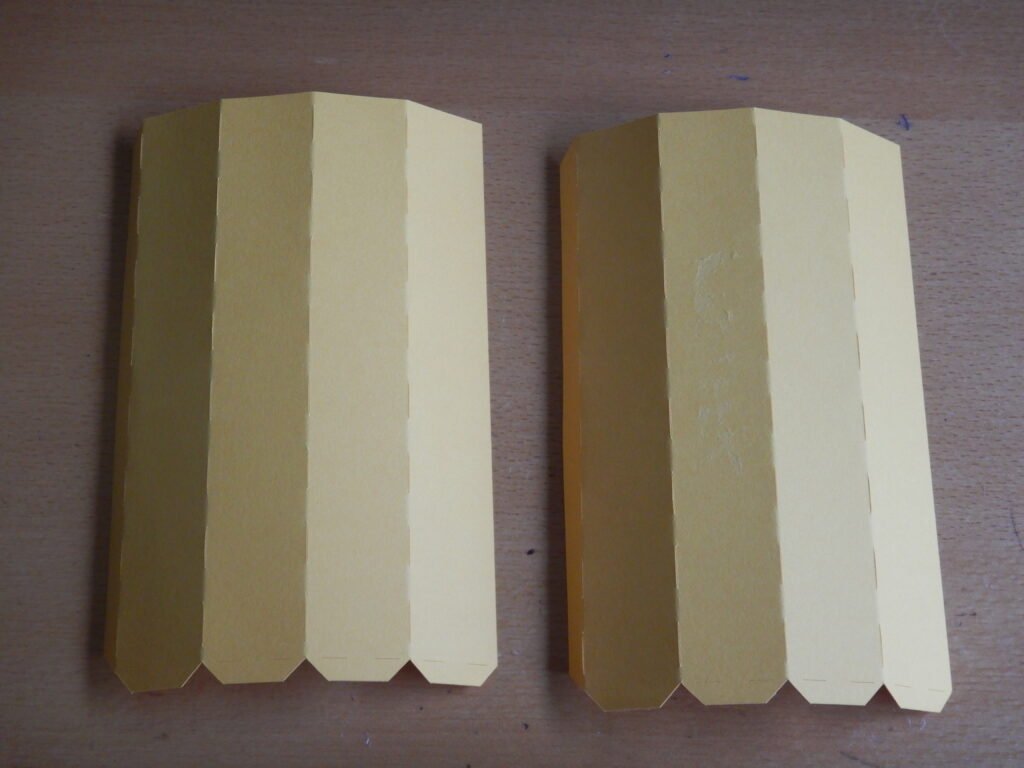
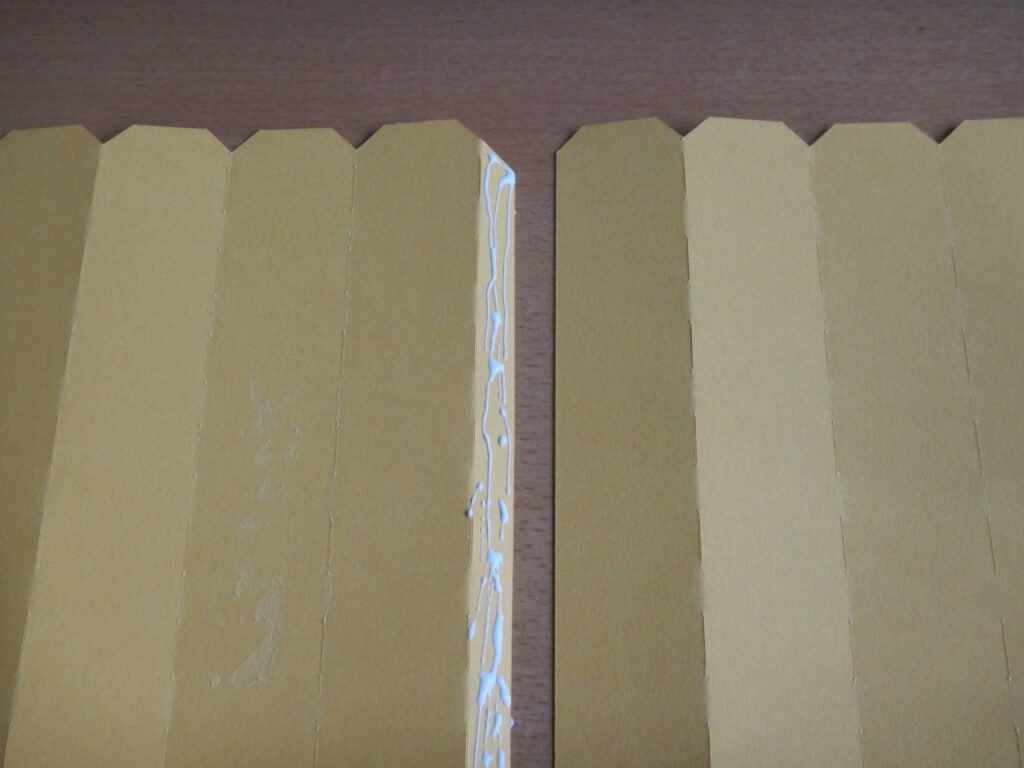
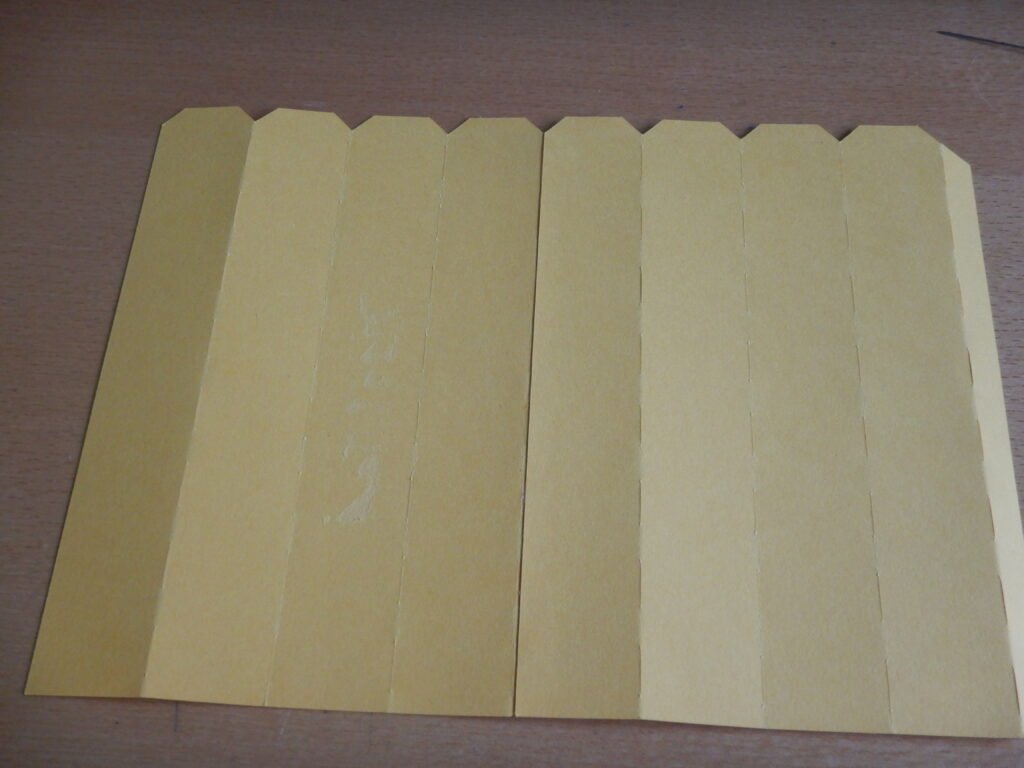
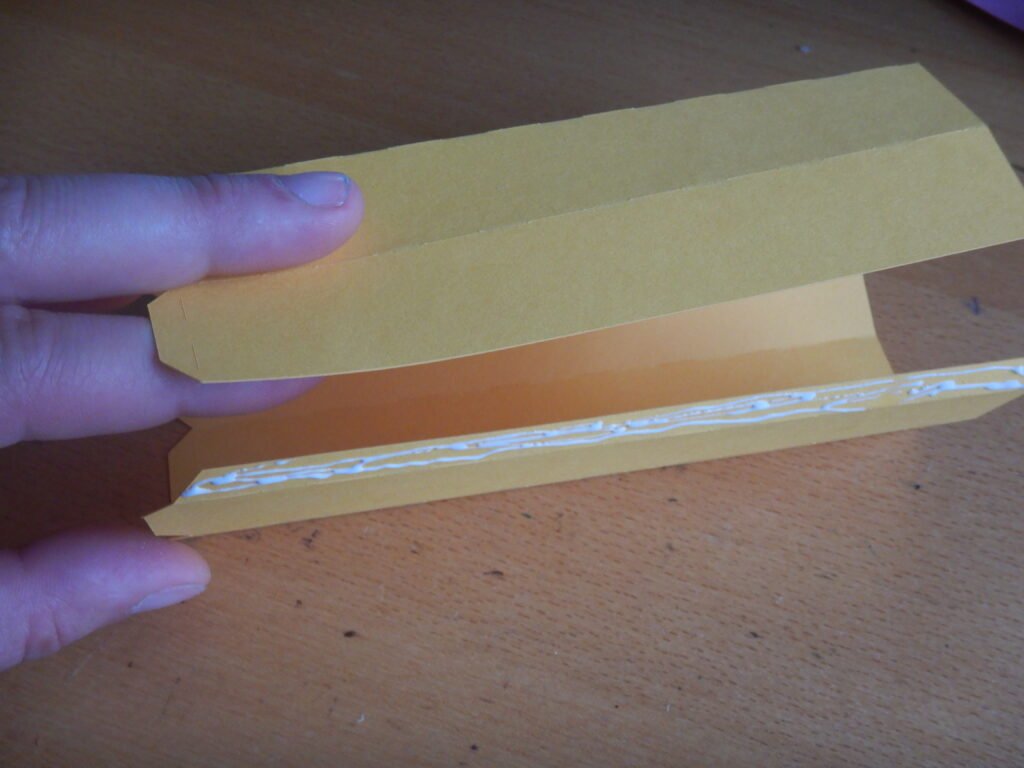
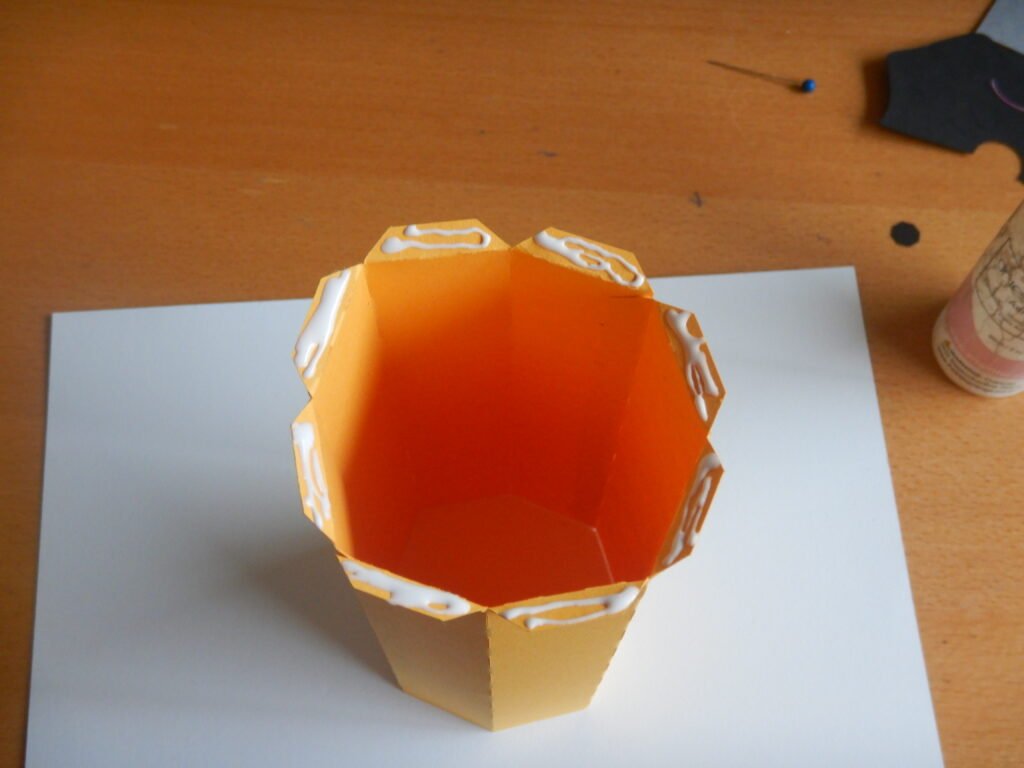
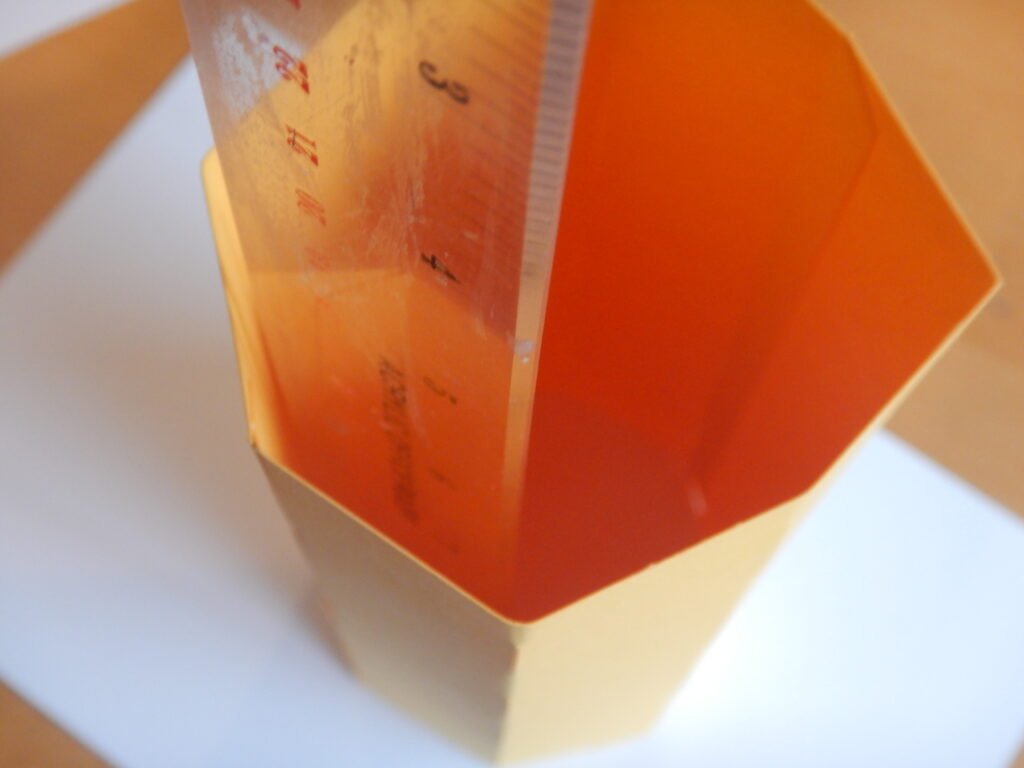
We added glue to the inside of the bottom tabs and folded them in. Then we dropped one of the bottom octagon panels in the box. We used a ruler to reach into the box and press the octagon into place. Next we added glue to the other octagon and attached it to the bottom to cover the exposed tabs.
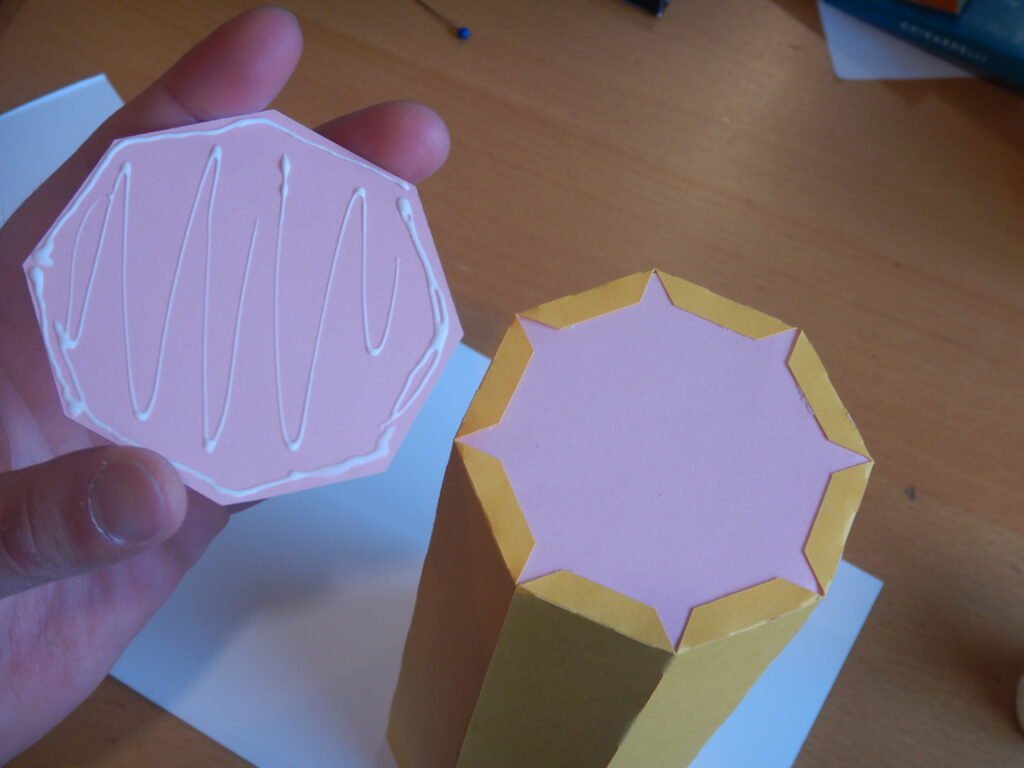
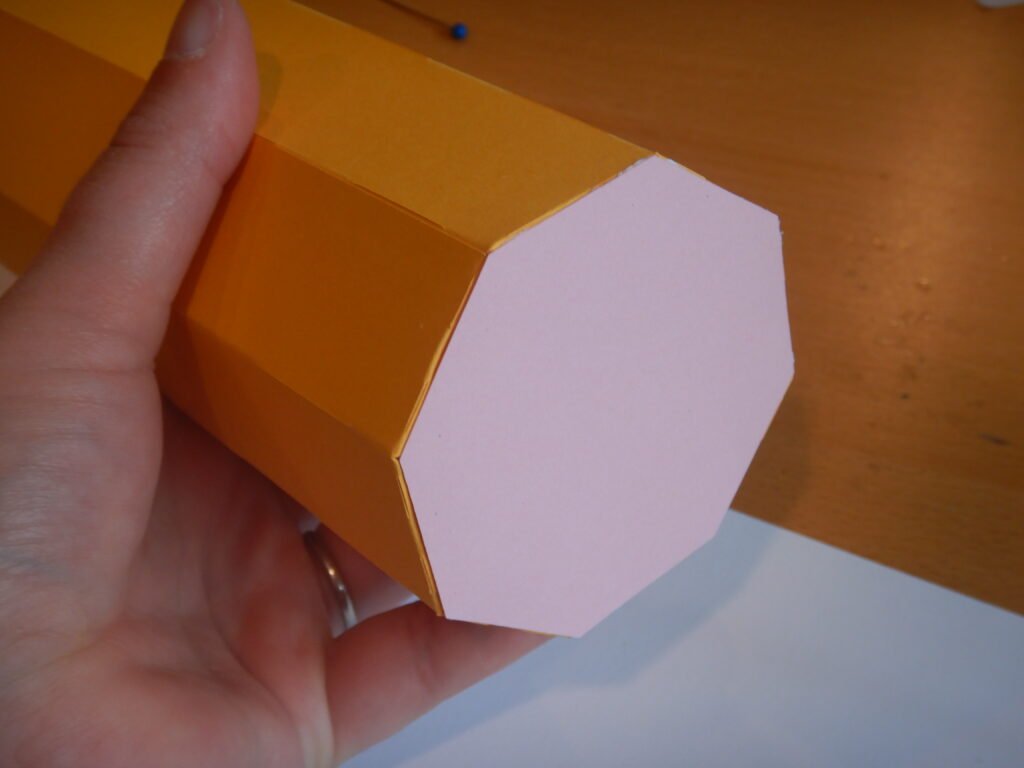
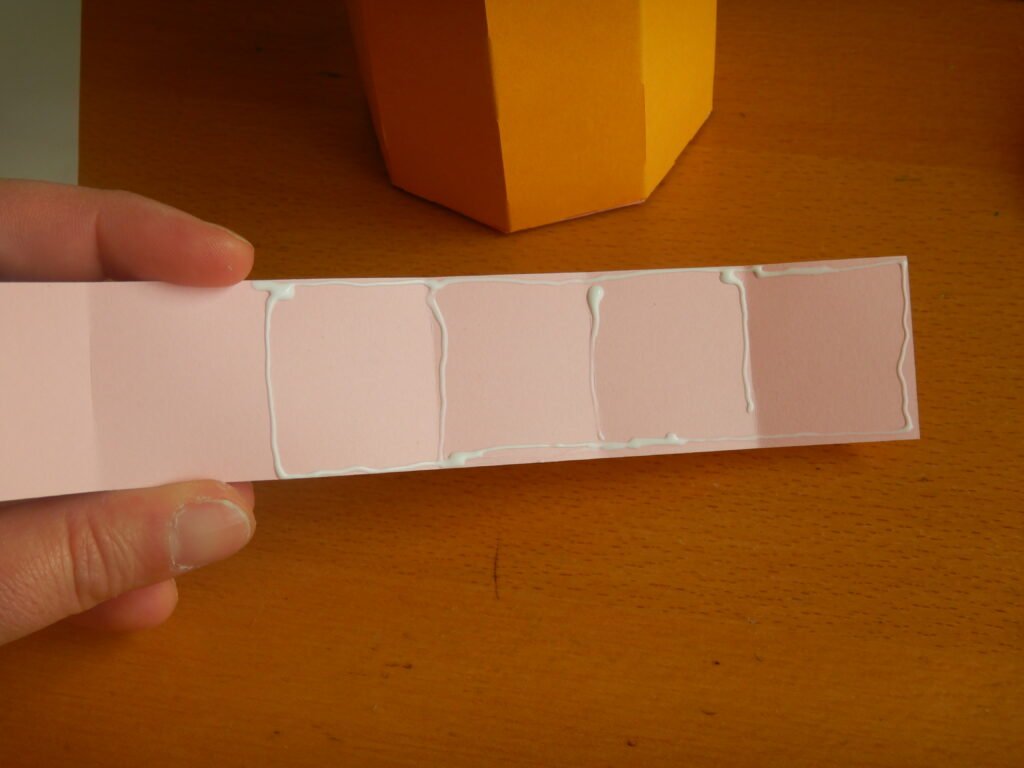
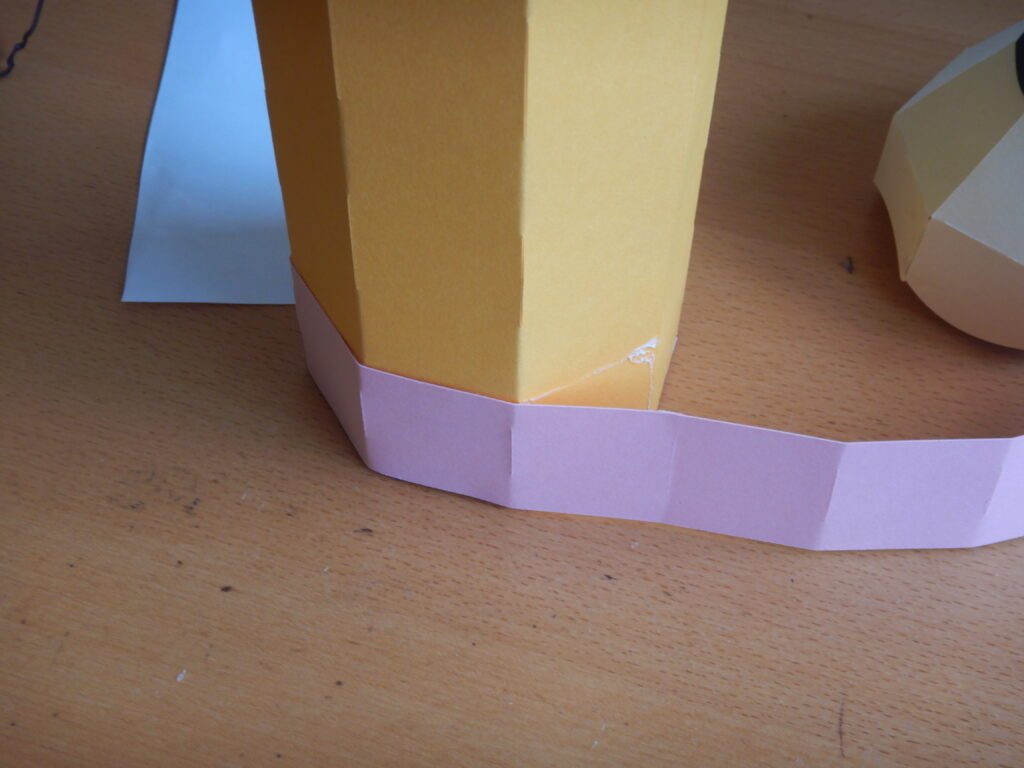
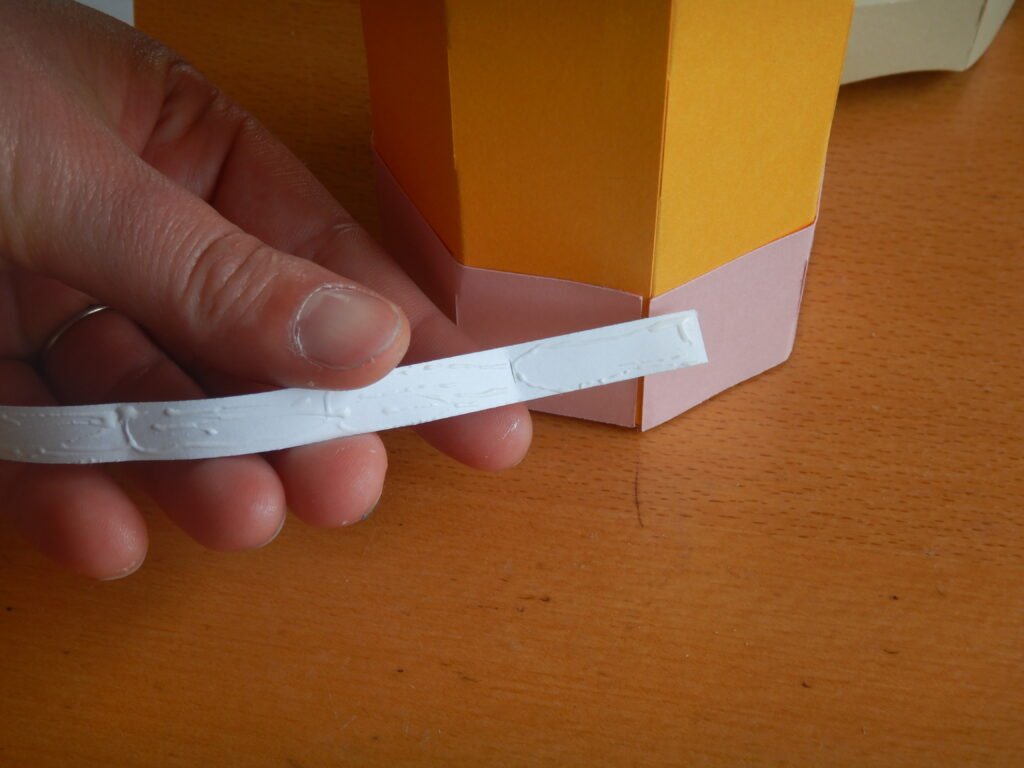
We then added glue to the eraser panel of the box and secured it to the bottom of the pencil. Once the eraser was in place, we added the narrower band that acts as the metal band that holds the eraser in place.
Pencil Lid Assembly
To make the top of the pencil, we took the top portion, folded on the score lines, and added glue to the long panel and attached to create a cone shape.
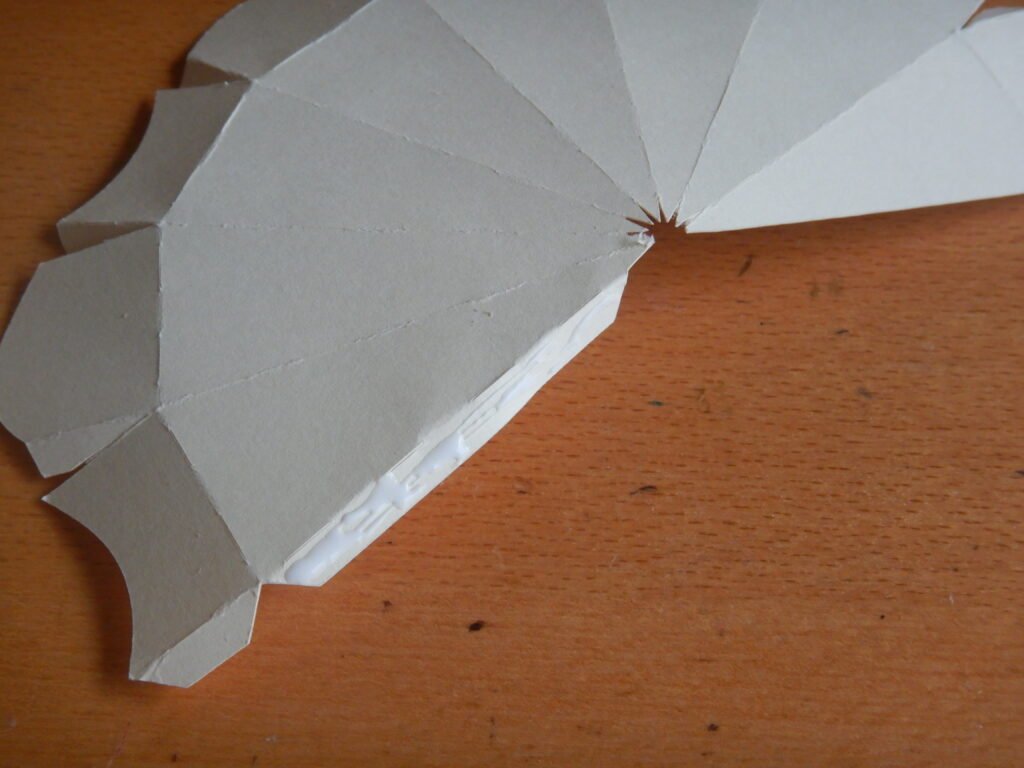
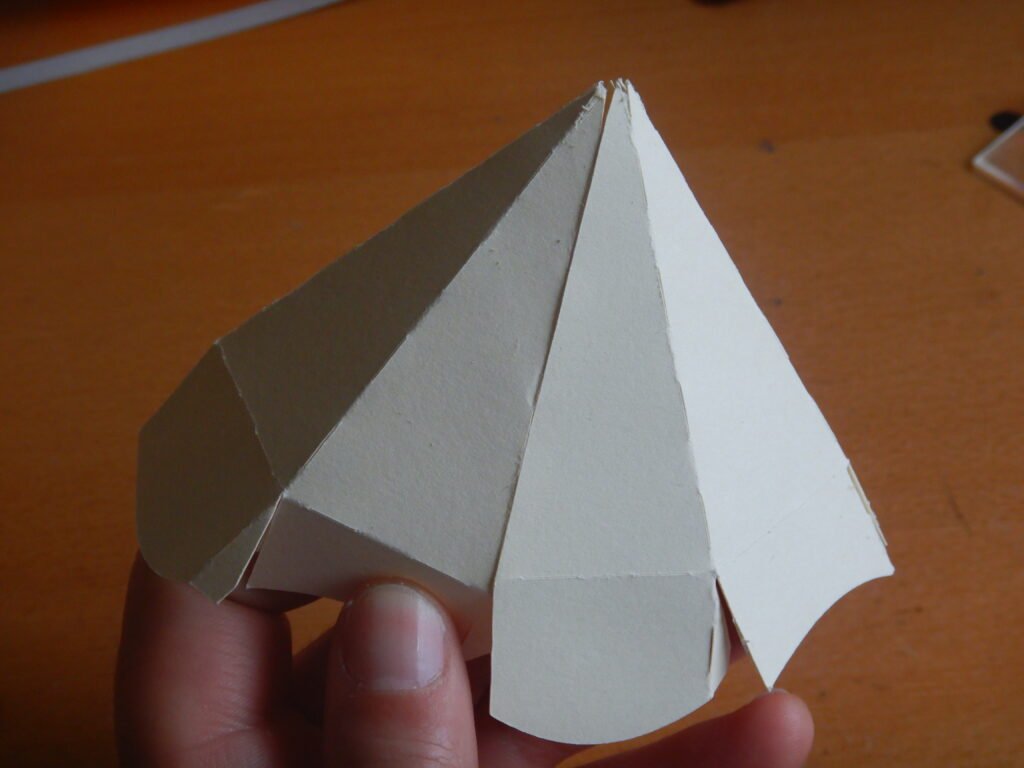
We then added glue to the tabs on the side and attached to give a small vertical section on the cone.
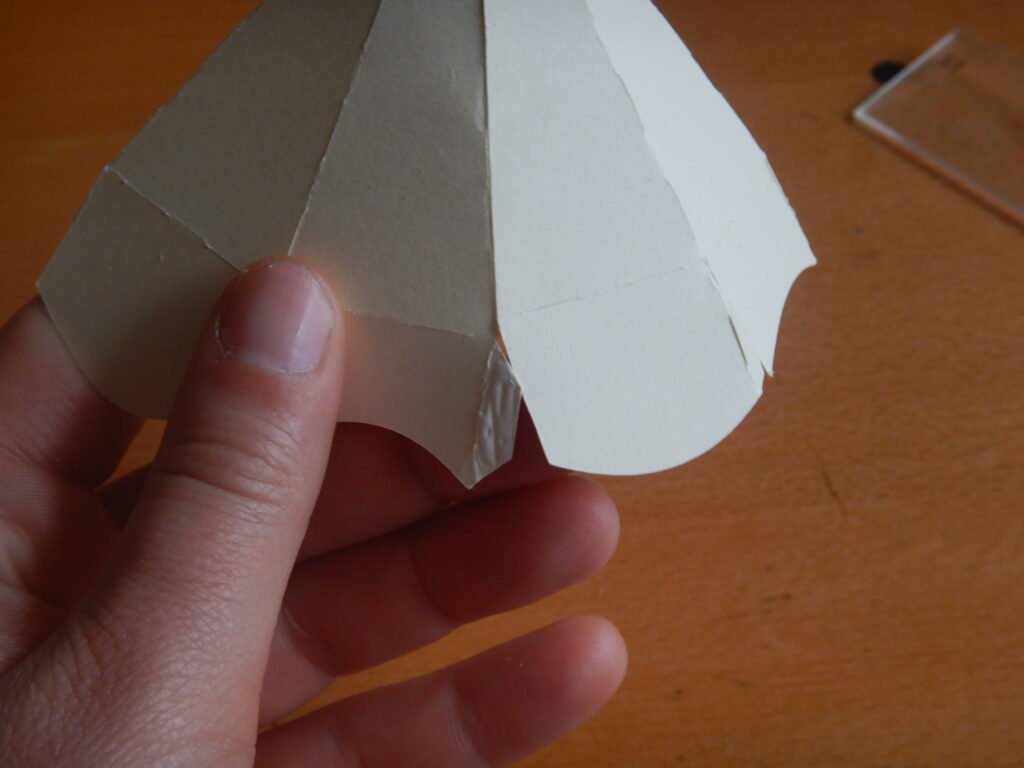
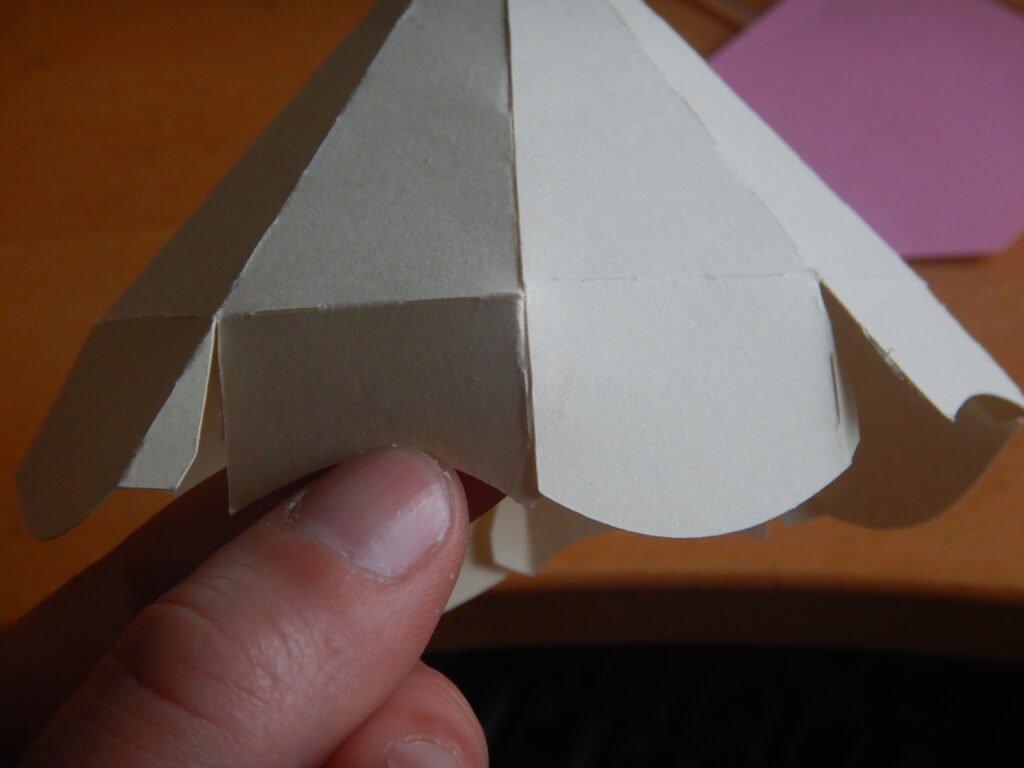
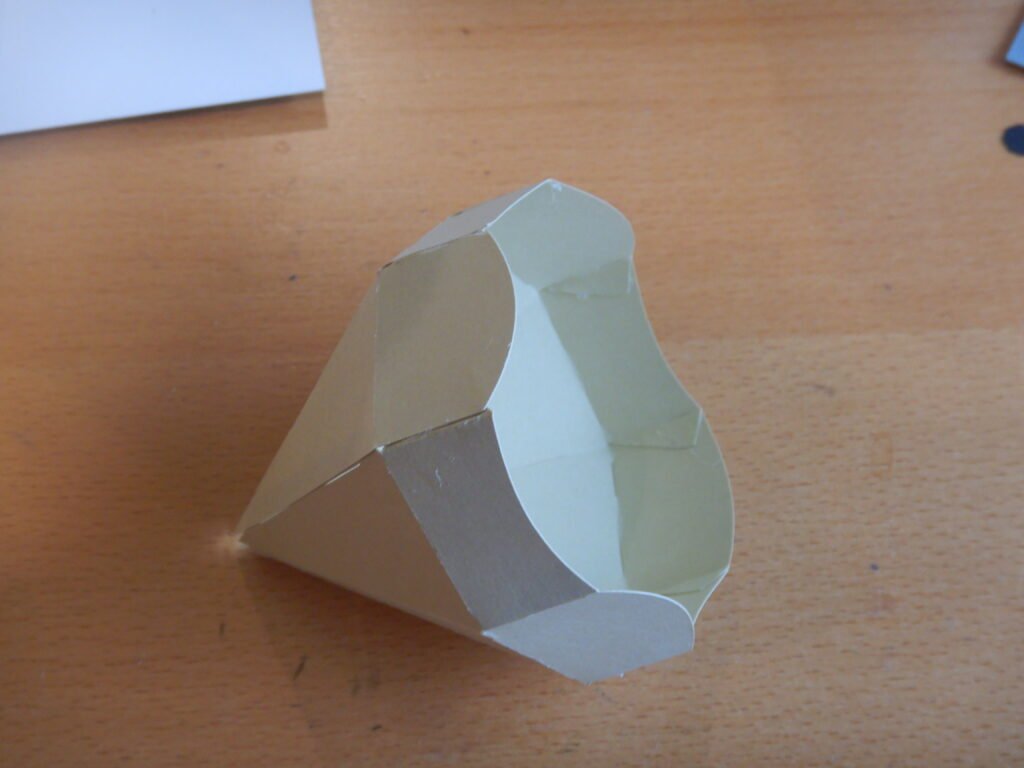
To close off the top, fold in the tabs, add glue, and place the small octagon at the top.

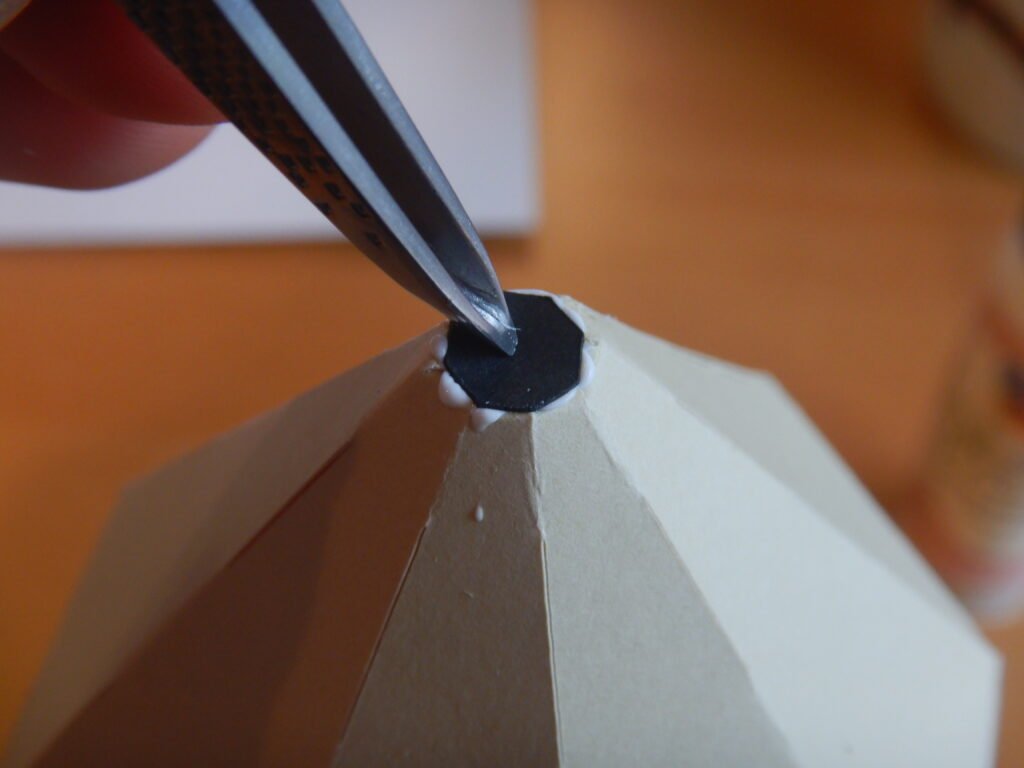
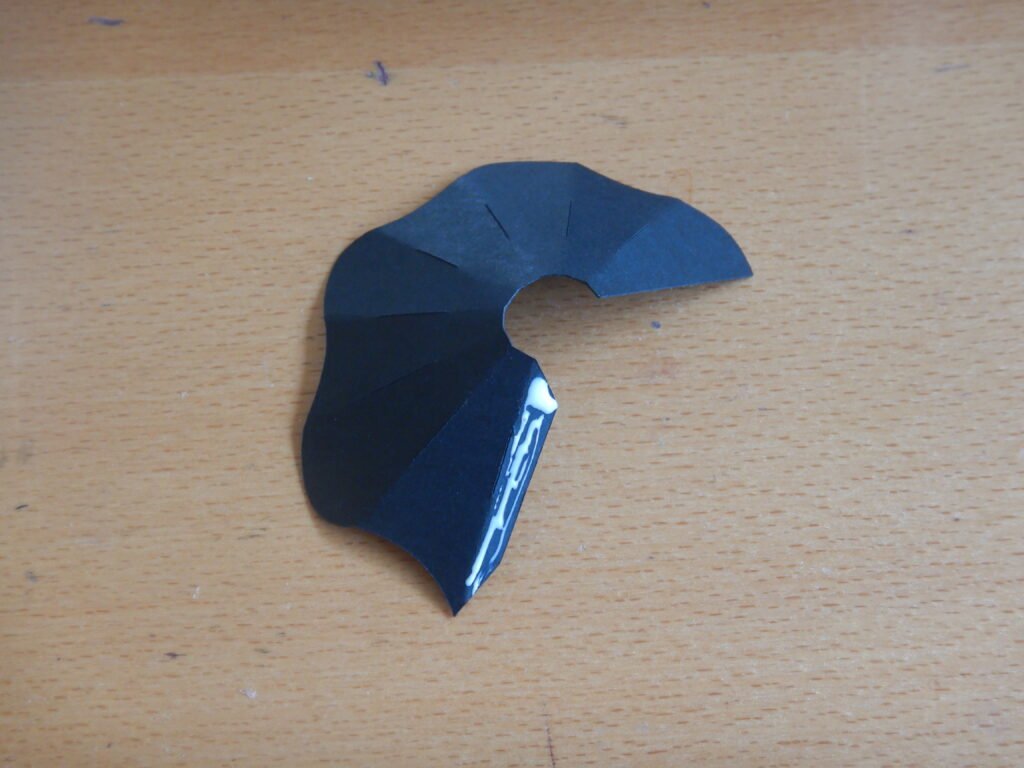
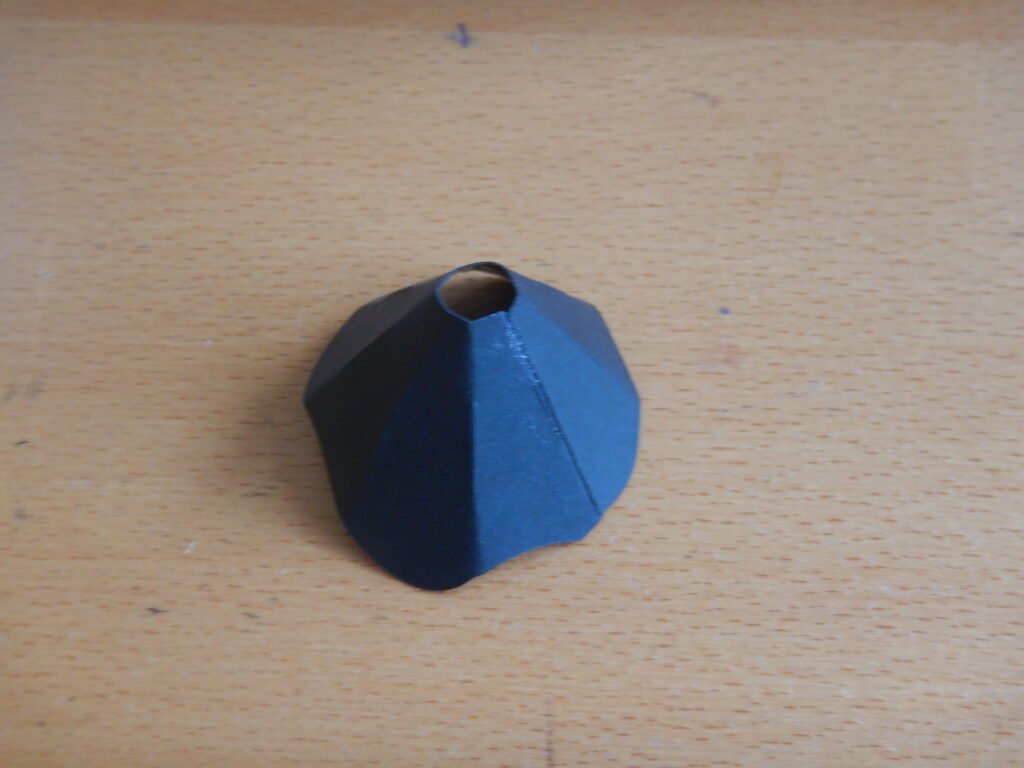
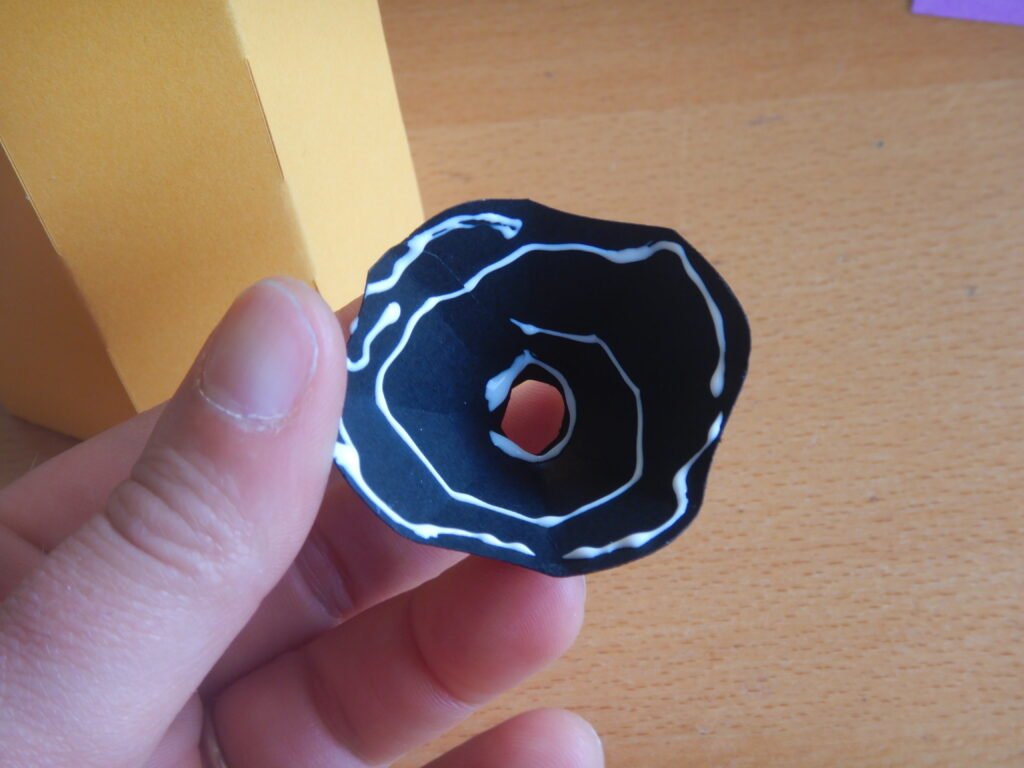
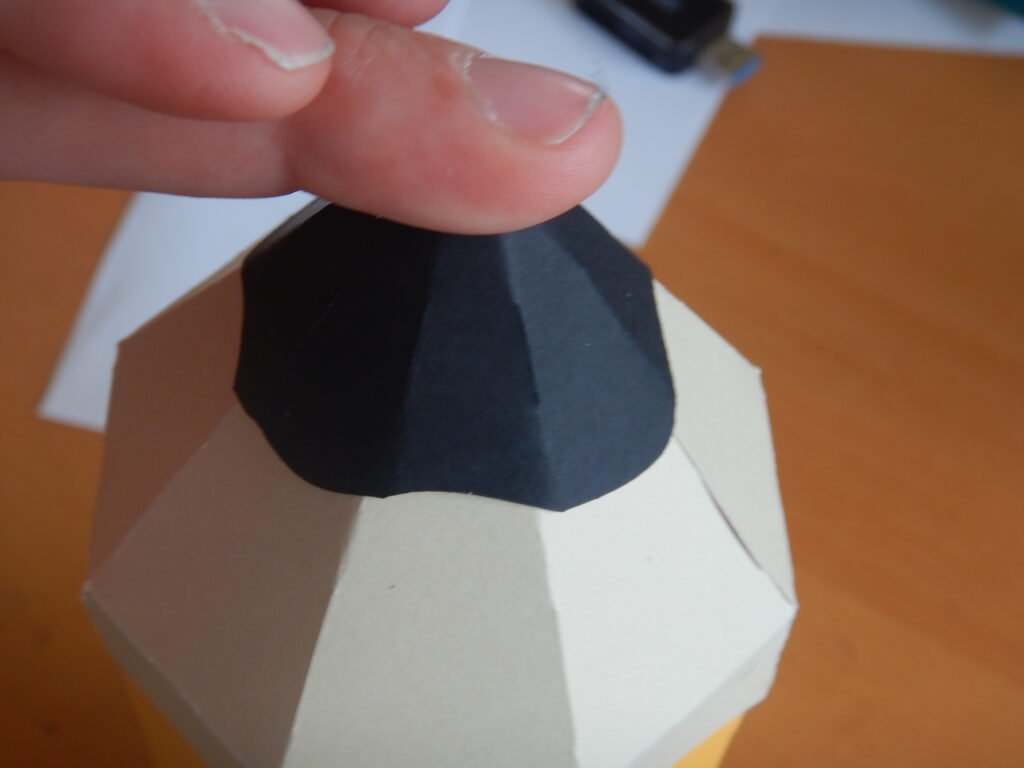
Finally, we made the pencil led portion by gluing the long tab and attaching to create a cone. Then we added glue to the inside and placed it over the top of the pencil.
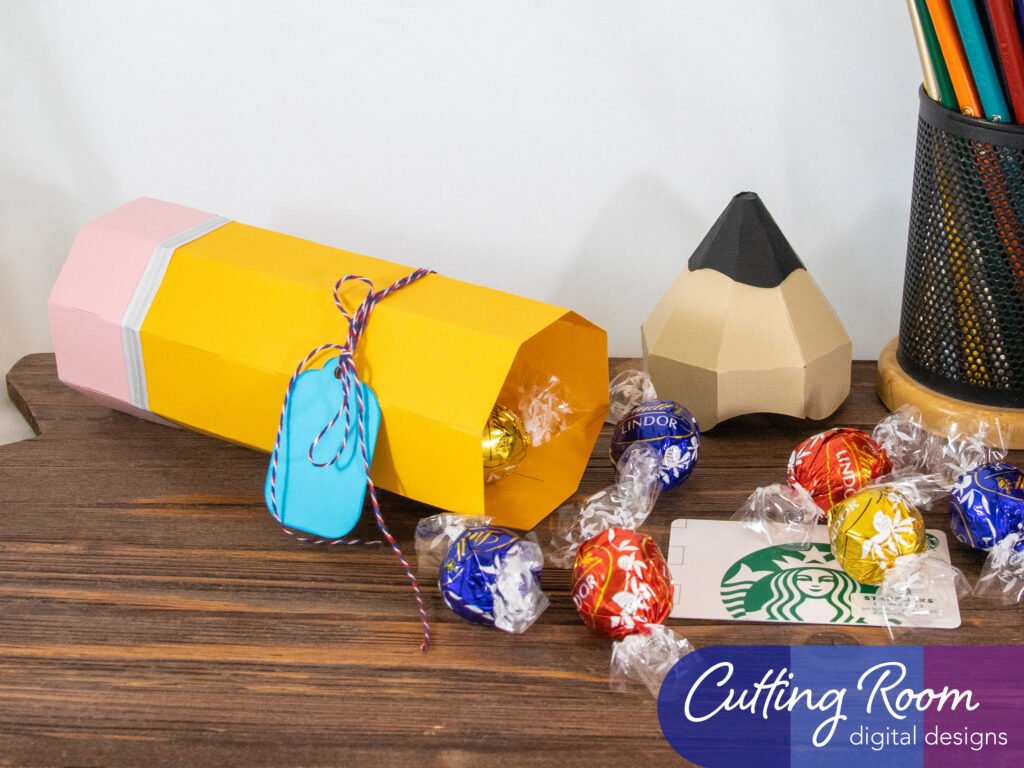
To finish the project, we put some string around the pencil a few times for decoration and to hold the tag in place.
***Note that this post contains affiliate links and we may receive compensation if you buy something using one of our links. ***

