Materials Used
We used several products and supplies in the making of our donut box for gifts and treats. Below is a list of what we used.
- Filled Donut Gift Box and Party Decoration – Digital Download SVG
- Recollections cardstock
- Art Glitter Glue
- Mod Podge Gloss Sealer
- Electric Cutting Machine: Cricut or Silhouette
***Note that this post contains affiliate links and we may receive compensation if you buy something using one of our links. ***
A Note About Our Donut Box
Our filled donut lid and base are assembled the same. The lid is just a little larger and has a little wave look to it, allowing it to fit over the base. Below are the directions for the base. Repeat this process with the pieces with the wave to create the top of the box.
Assembling The Lid And Base
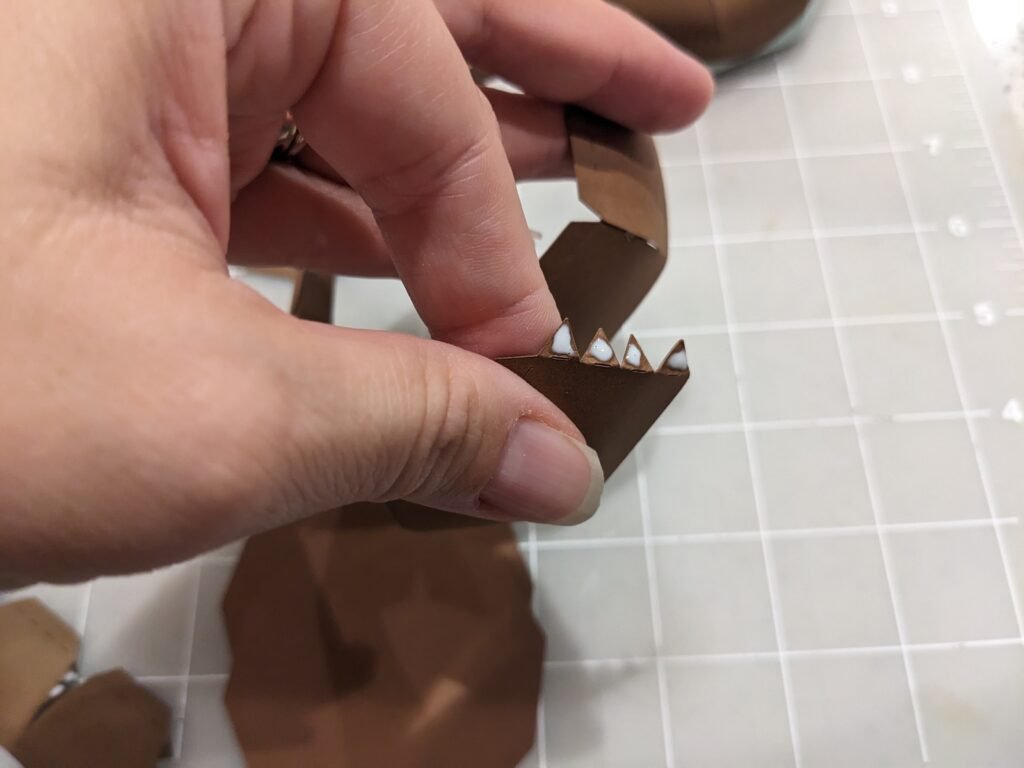
The base is made using two long panels. We encouraged the panels to curve, then added glue to the tabs and attached to the neighbor, creating a curved surface. Once long panels had this complete, we attached them end to end to create a circular shape.


Once we had this circular shape, we folded all the tabs in and placed one of the large flat panels to close off the box bottom. Make sure to press the edges of the panel into the fold of the tabs to get a secure and snug fit. Once the panel is secured, turn the lid over and add glue, then place the other panel. This will cover the exposed tabs and reinforce the bottom of the box.


Repeat this process for the top of the box.
Decorating The Donut Box
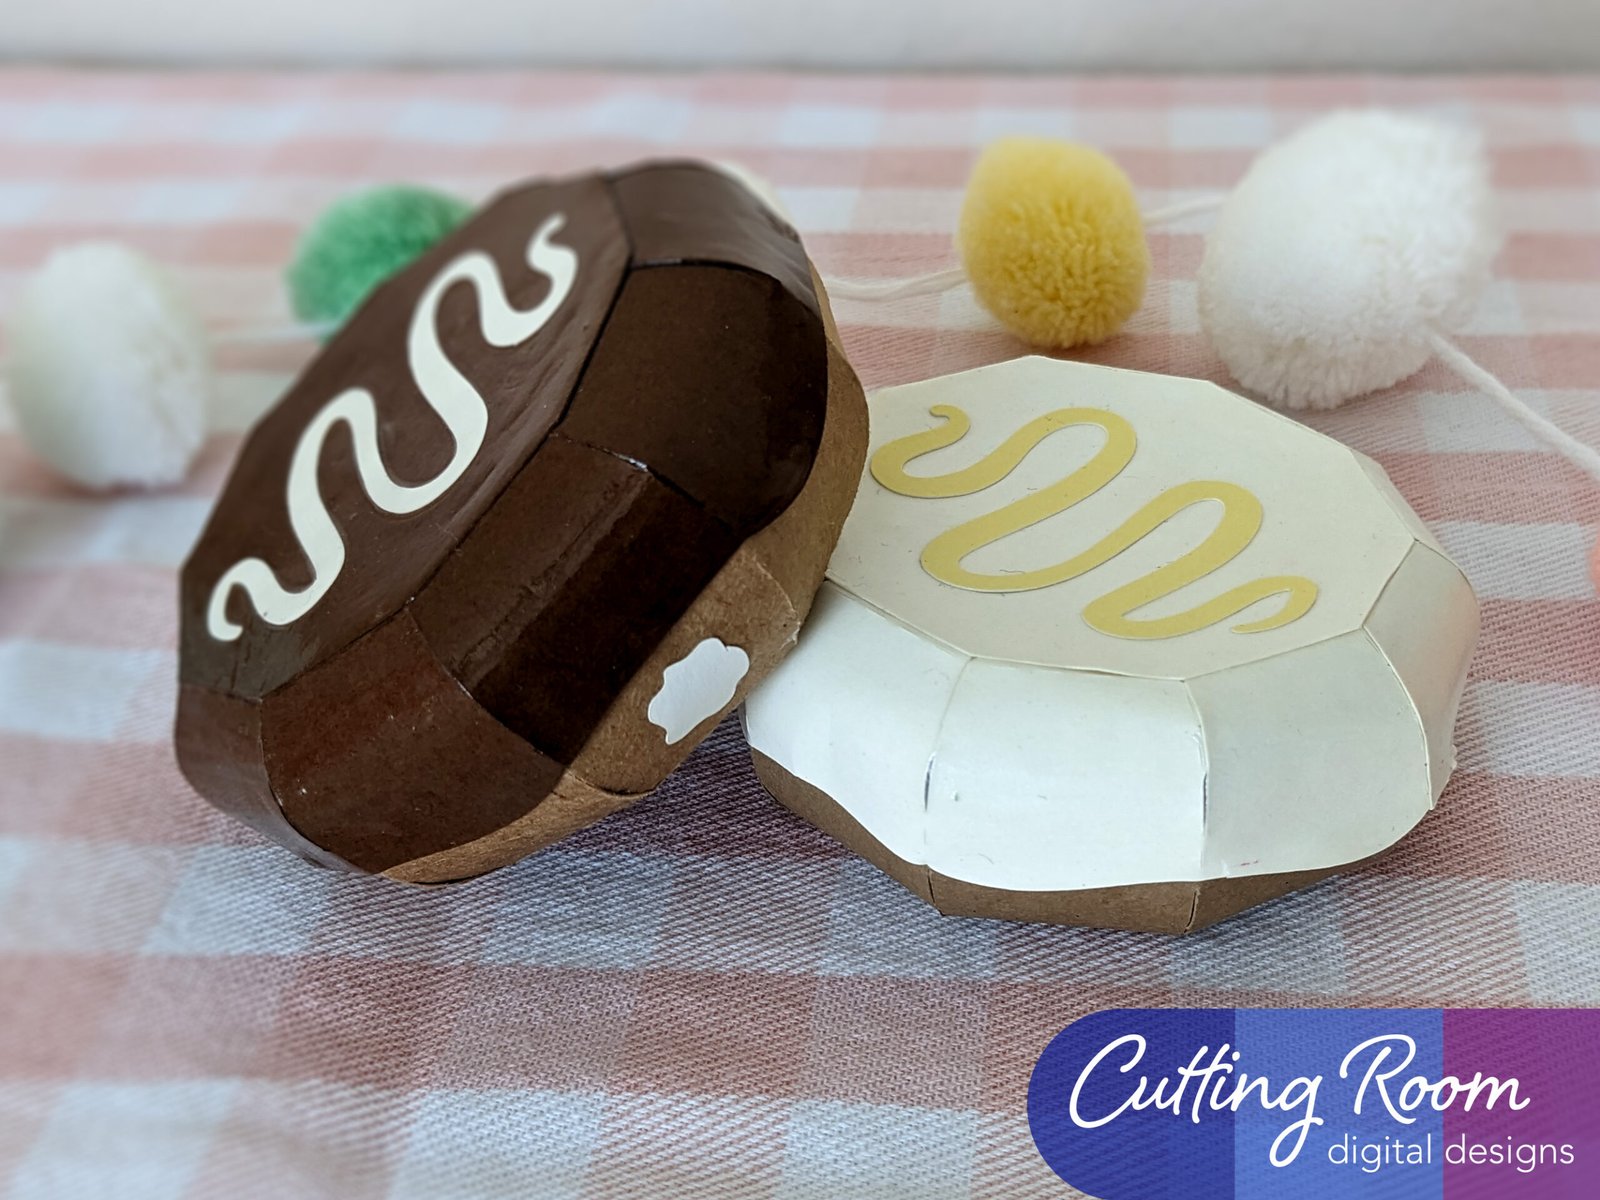
There are two decorative panels included with the filled donut. One looks like a splat. Place the lid on the donut base so you can see where there is overlap, then decide where on the bottom of the box you want to place the splat. This is to give it the look on the side of the donut of having been punctured to fill the donut with cream or jelly.
The other decorative panel is the squiggle shape. Add this to the center of the lid. The donut assembly is complete. We chose to add a little extra to the donut by putting glossy mod podge on the entire outside of the lid (top and sides) as well as on the “splat” on the bottom side. We put a moderate amount of glue, requiring that we let it sit overnight to fully dry. If it’s easier, you can put the mod podge on the splat before attaching it to the side of the donut box bottom.


Leave a Reply