We used several products and supplies in the making of this cute little hat. Below is a list of what we used.
We used several products and supplies in the making of this cute little hat. Below is a list of what we used.
- Spring Easter Bunny Top Hat Gift Box and Candy Holder – Digital Download SVG & DXF
- Recollections cardstock
- Art Glitter Glue
- ColorPetal ink
- Embossing Folders: Dots, Swirls, Gears
- DCWV Garden Party Stack
- Craft Smith Boho Tropical Paper Pack
- Electric Cutting Machine – Cricut or Silhouette
***Note that this post contains affiliate links and we may receive compensation if you buy something using one of our links. ***
Box Assembly
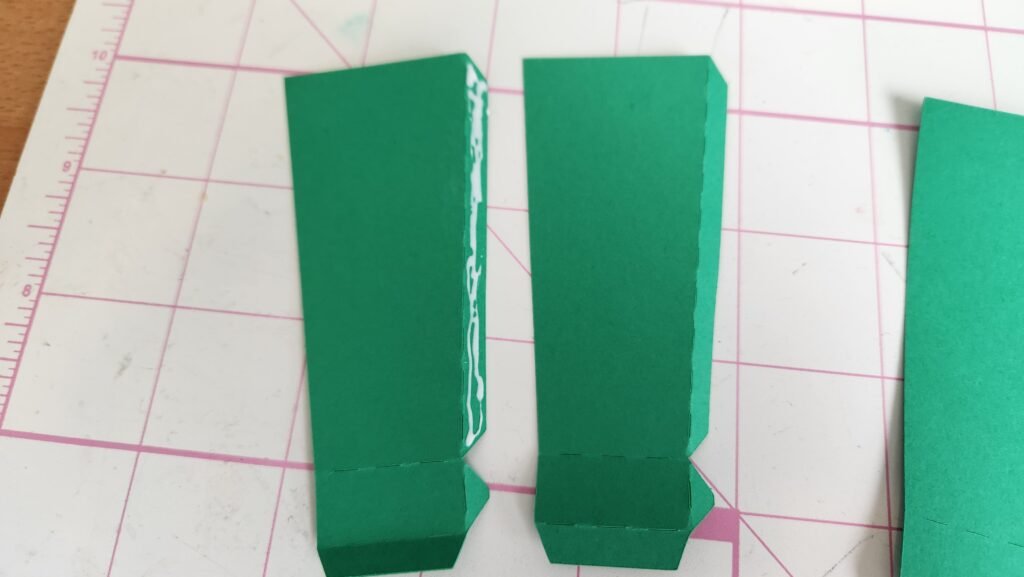
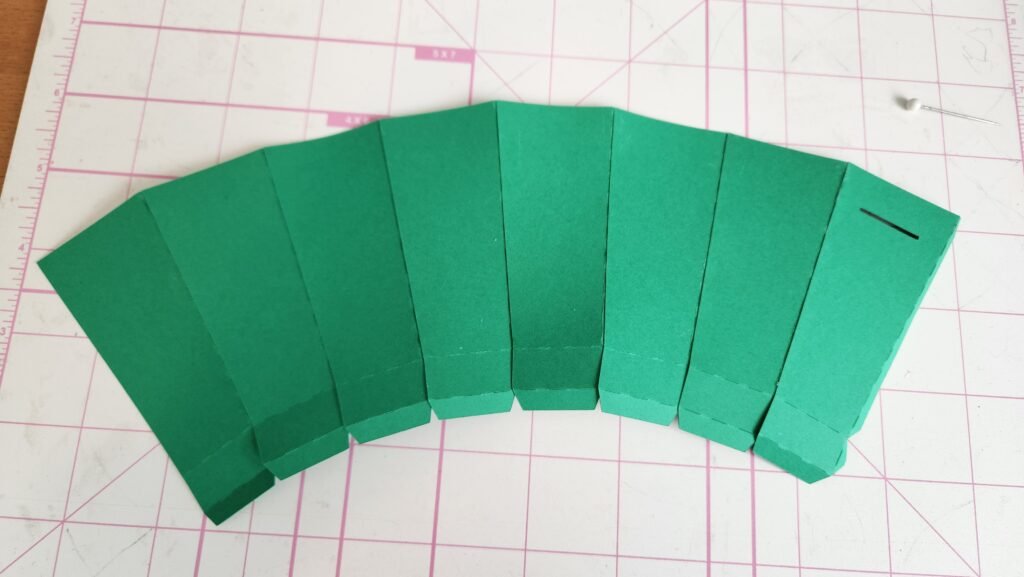
This hat box goes together in just a couple steps. First, we started with the sides that make the box. There are 8 of them, 7 are identical, one has a slit in the side. We folded on the tabs and attached the long tab to the next panel. We then continued, one after the other until all 8 were attached. We chose to put the one with the slit at the end so it would be easier to get the right spot for the lid to attach.
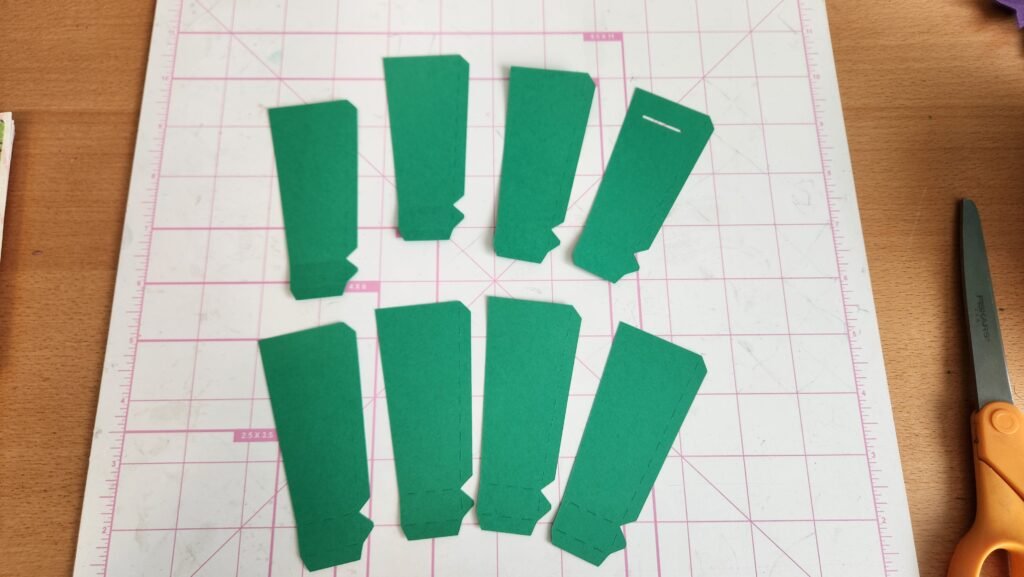
We then took the decorative panels and centered each one on a base panel. Make sure to line up the decorative panel with a slit in it with the base panel that also has a slit.
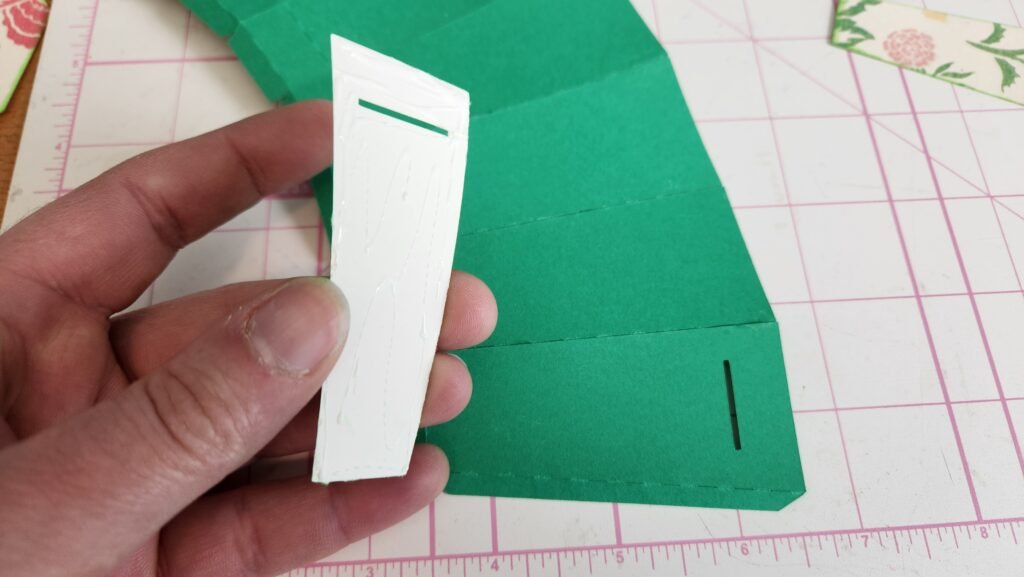
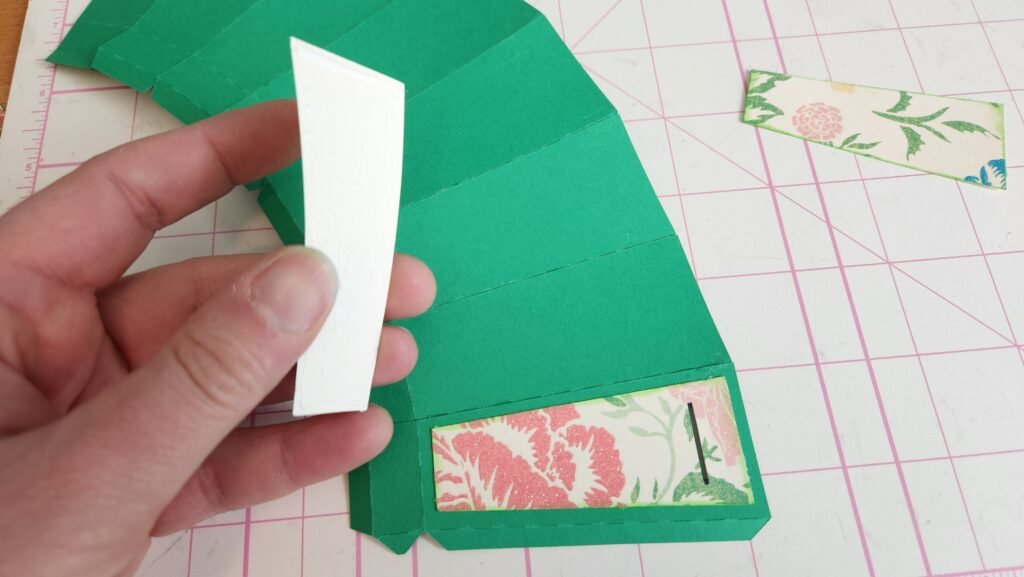

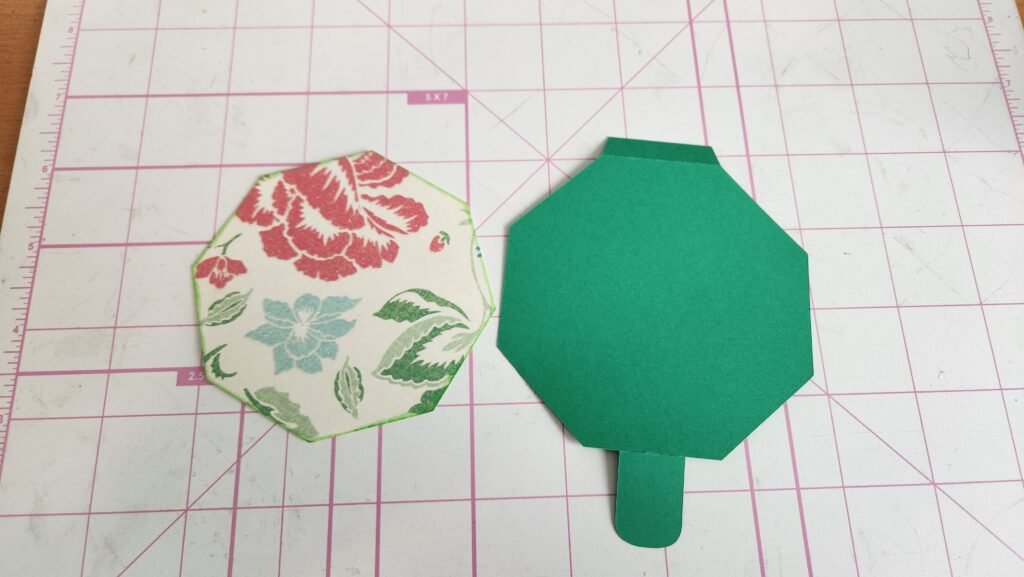
Our next step was to put the decorative panel on the lid then attach it to these side panels. You will need to make sure that it will be opposite the side with the slit. If you assembled yours in the same order as ours, you can attach the lid (using the wide tab, not the long narrow one) to the panel, fourth from the left. This will leave 3 panels between the lid and the panel with the slit, making them land opposite each other when constructed.
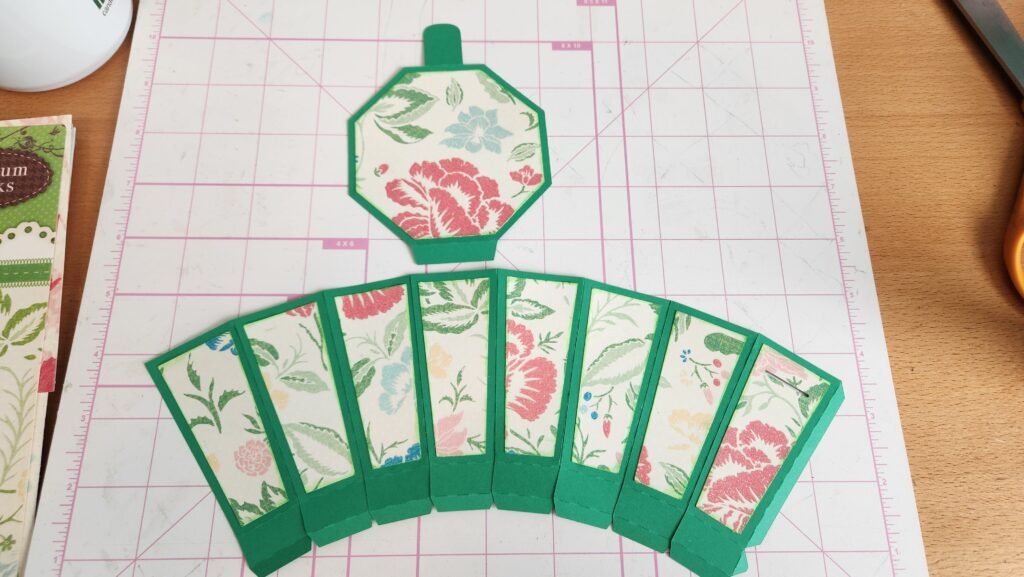

With the lid secure, fold the box side panels around and attach using the long tab. This will create an octagon shape.
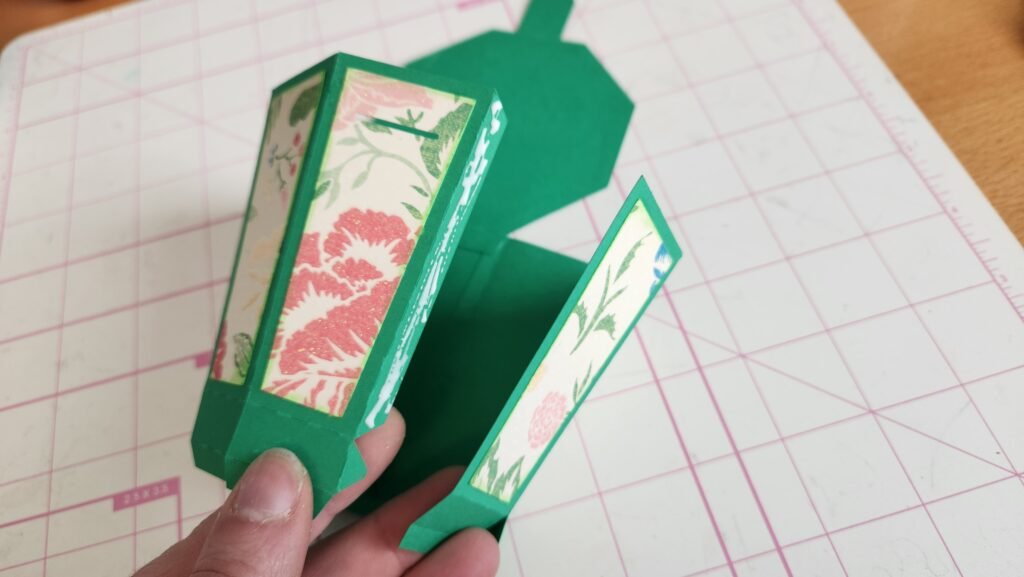
With the octagon shape made, you can start attaching the small tabs at the bottom to their neighbor. This will provide a straight sided section, rather than continuing the slanted shape. This straight side will help if you decide to use actual ribbon instead of our paper decorative panel.
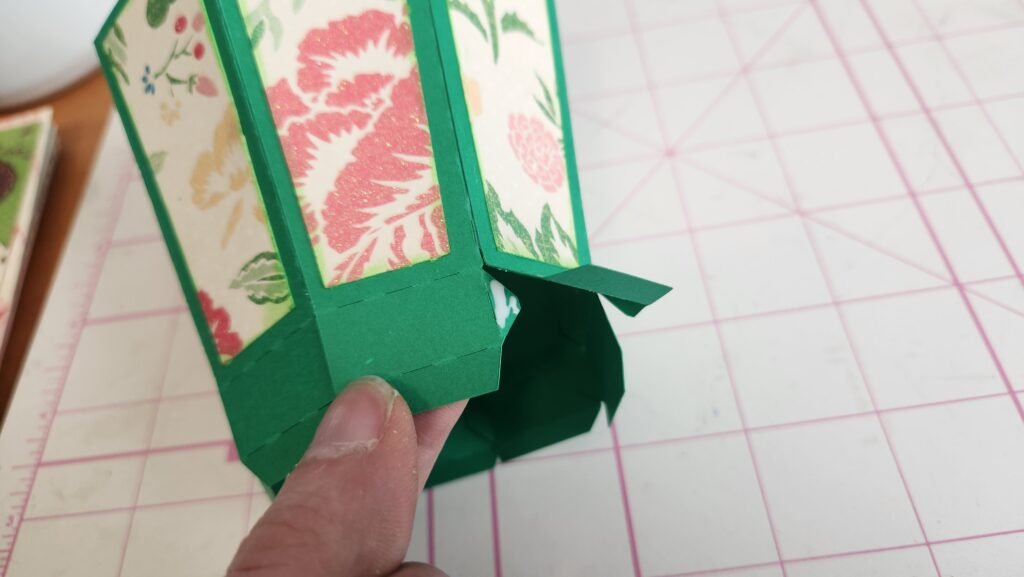
Adding the Brim
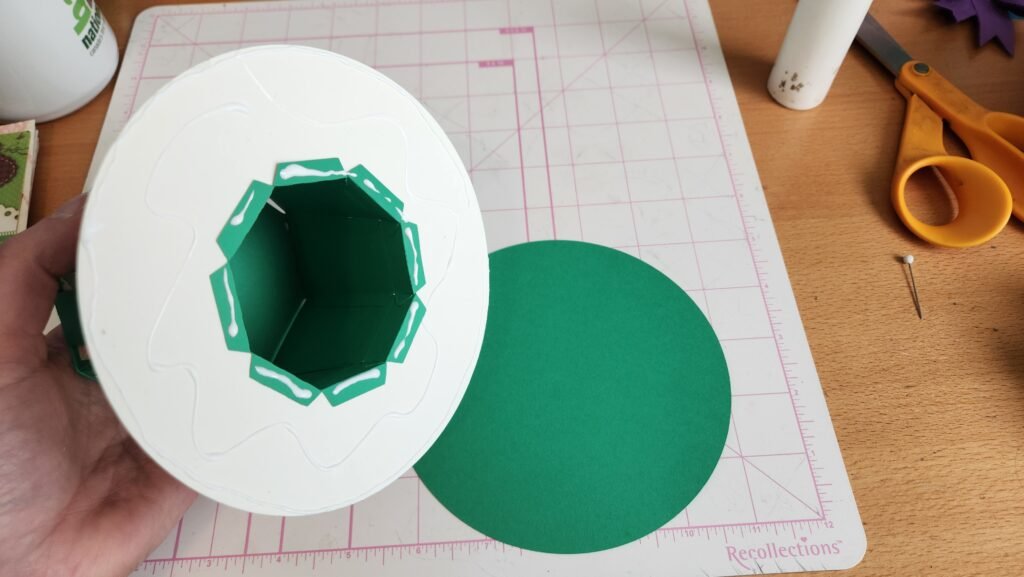
To add the brim and close the box bottom, we took the hat shape and turned it upside down so the tabs are facing up. Slide the decorative round panel over the tabs. Then add glue to the tabs and fold them outwards. You can now turn the project back over and press the decorative panel down onto the tabs to secure them.

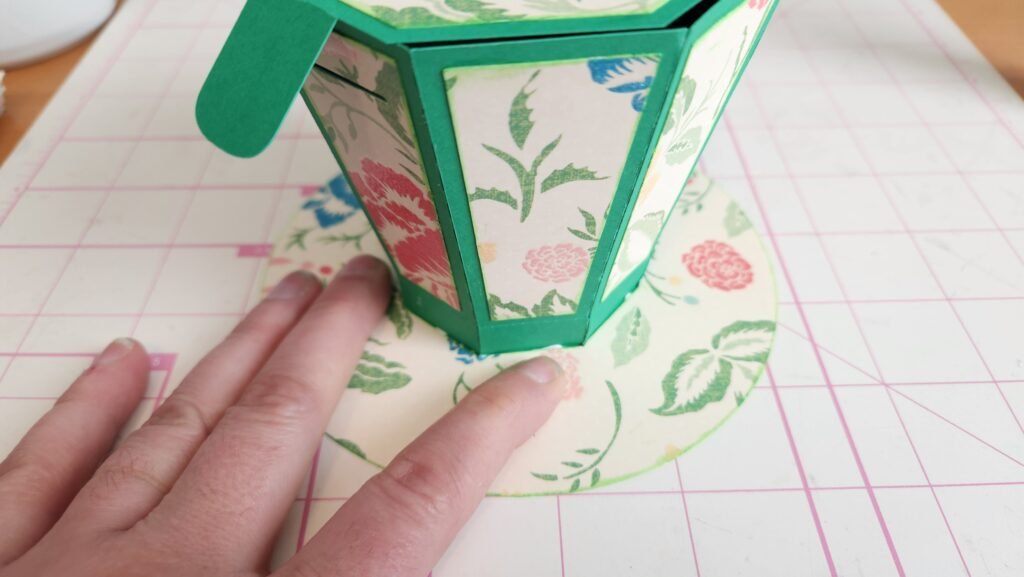
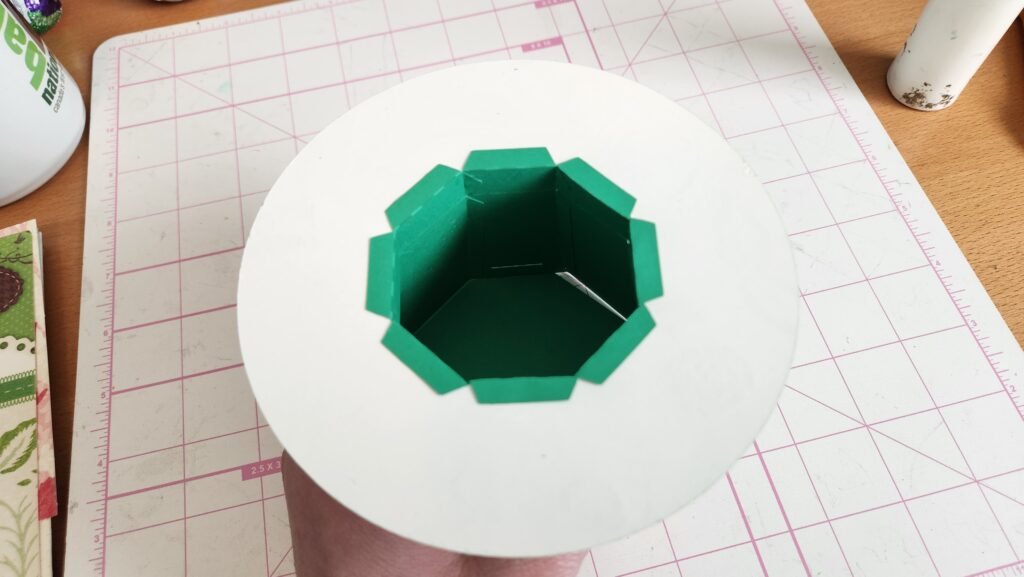
Next, add glue to the bottom of the decorative panel and attach it to the large circular panel, making sure to center it as best as possible.

Bunny Ears and Ribbon
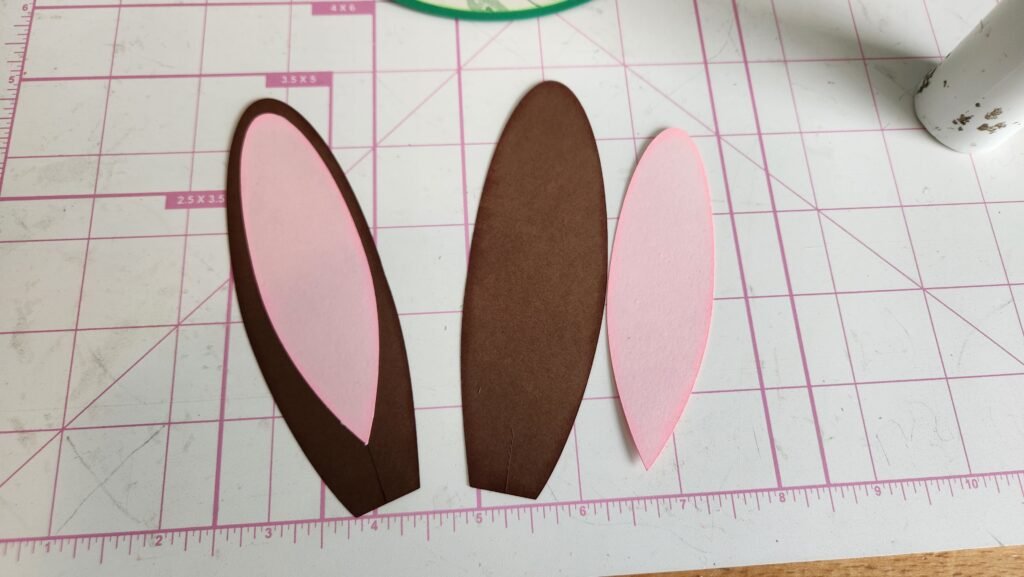
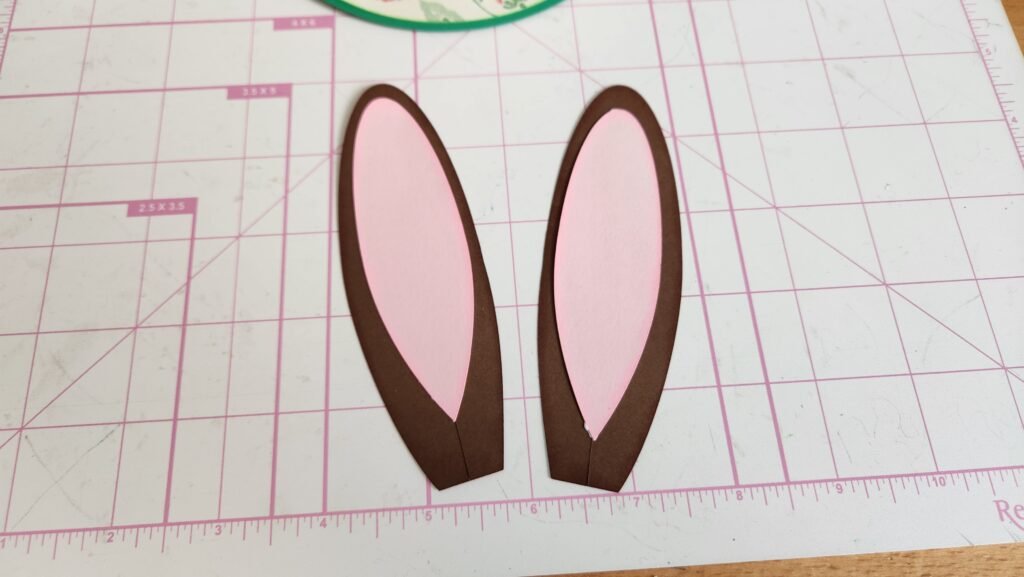
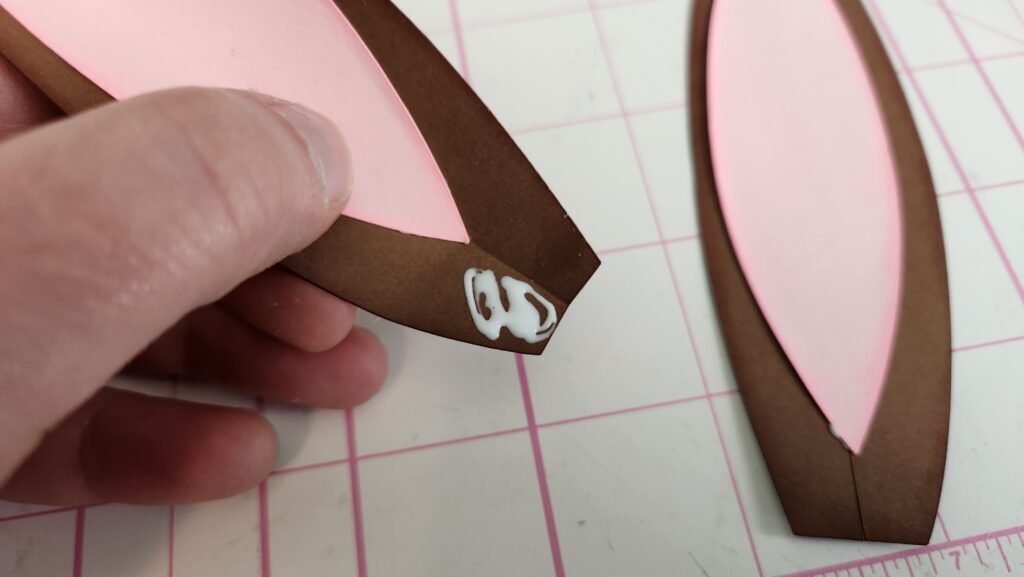
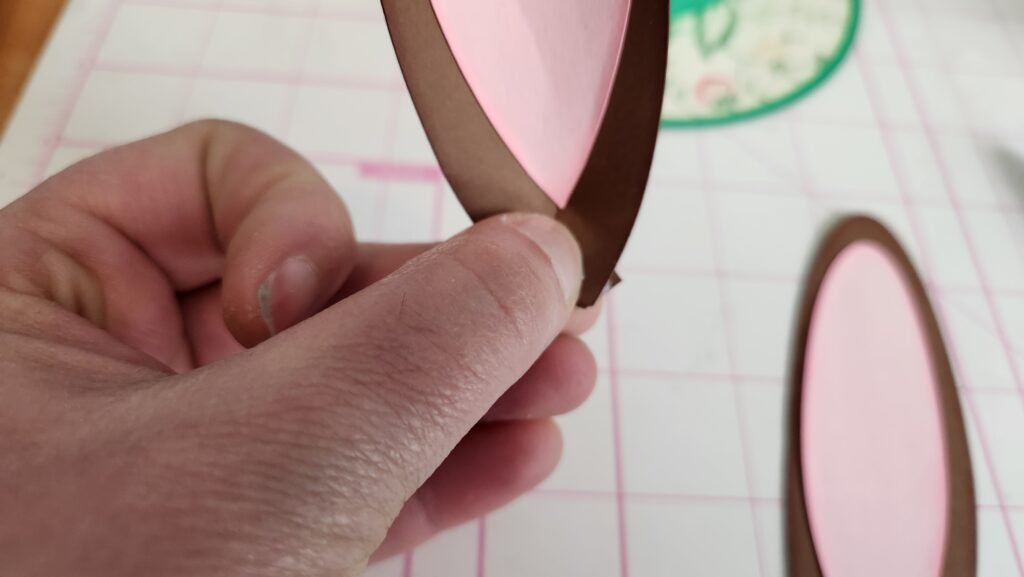
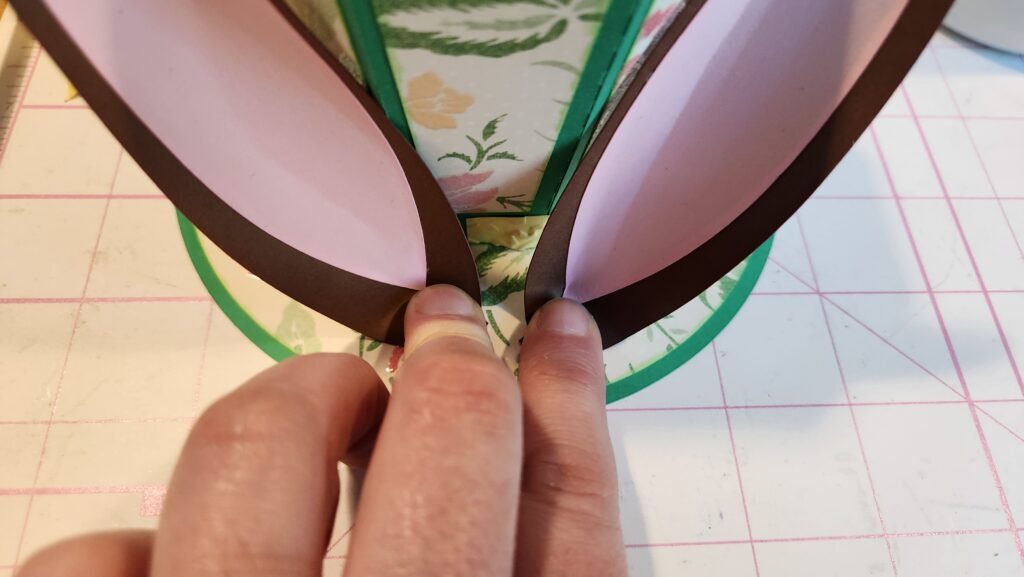
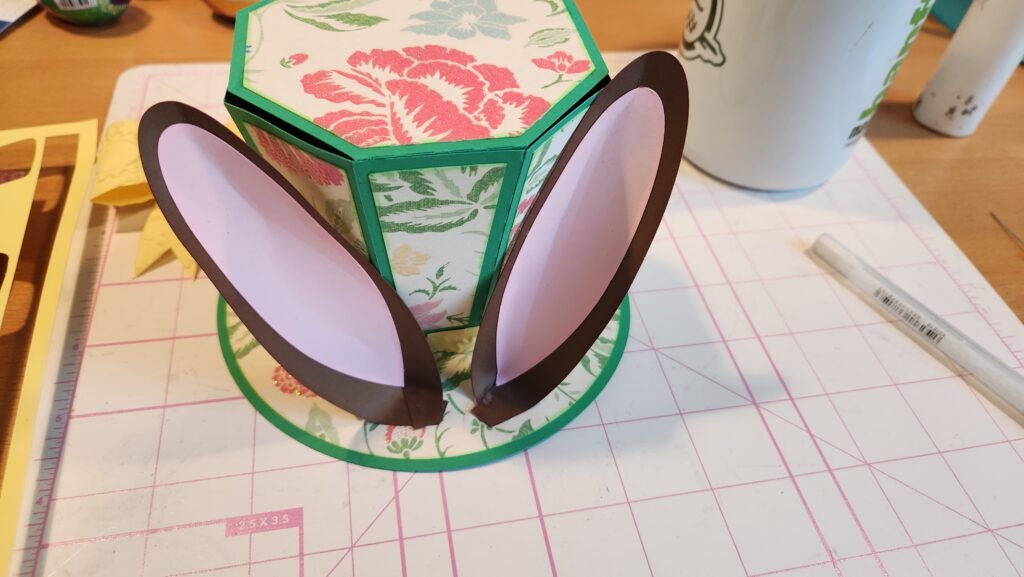
The hat can be set aside while the ribbon and ears are assembled. Layer the ears so that the pink, inner ear part ends where the slit at the bottom of the ear begins. You will need the slit to help the ear curve so you don’t want the pink part to interfere with the tabs. Using your finger or a large pen, curve the ear then add glue to one of the tabs and place the other over it, helping to keep the curved shape of the ears.

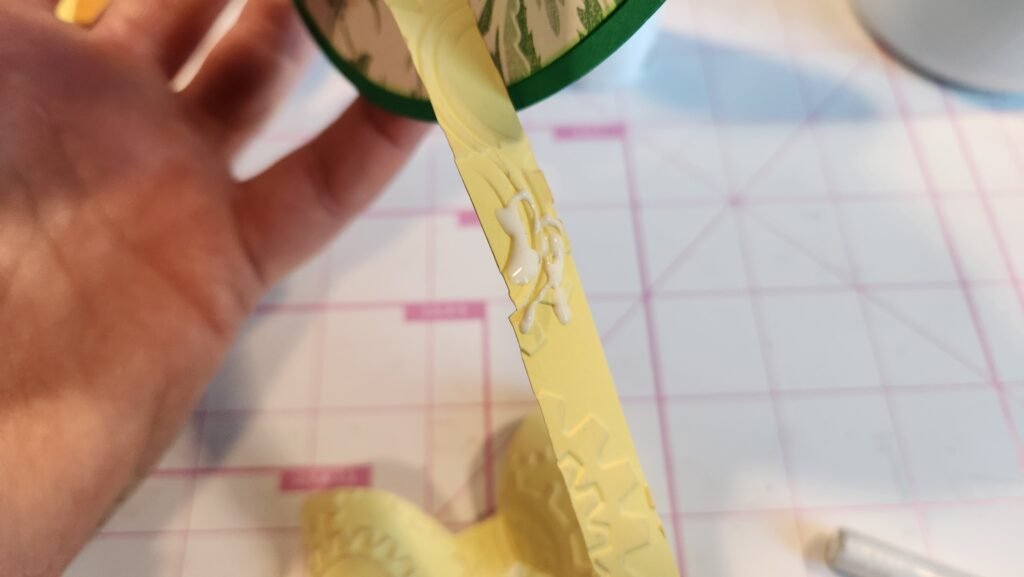
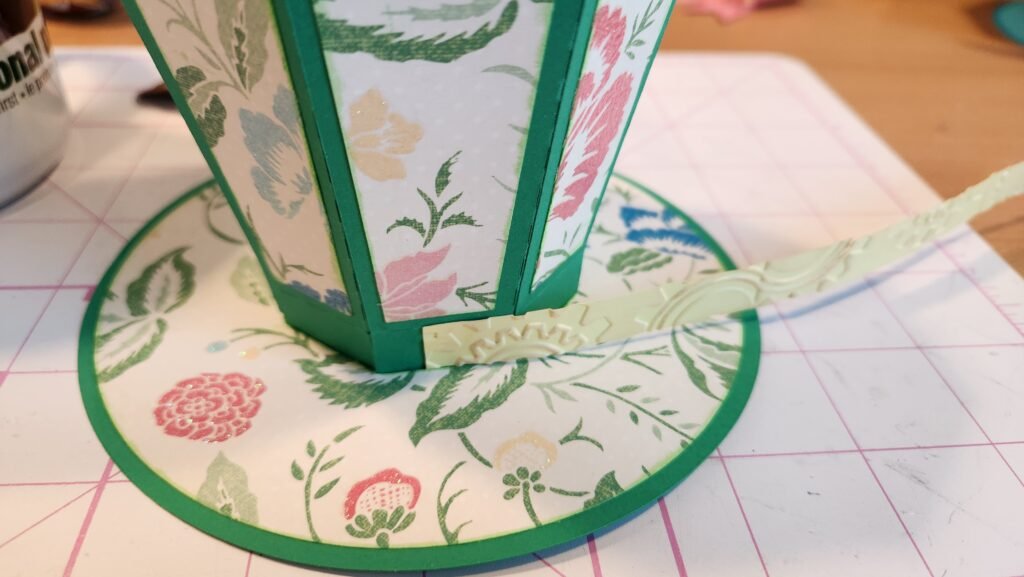
Using the long ribbon strip (or real ribbon) attach it to the base of the top hat. The ribbon should overlap a little. We chose to put this seam at the front of the hat (below the hinge for the lid, so the lid tab to close it is toward the back).
The next step is to attach the ears to the front of the hat. Add glue to the bottom of the ears and place them at an angle in front of the hat. If you want to use hot glue for this part, that would work as well and would provide a faster attachment.

Bow Assembly
Our final step in the assembly was to make the bow. This is pretty simple. First, take the large panel and curve each of the rounded sections. Then add glue to the center and fold one over, attaching the end tab to the center. Once the glue is set, repeat this so you have two loops.
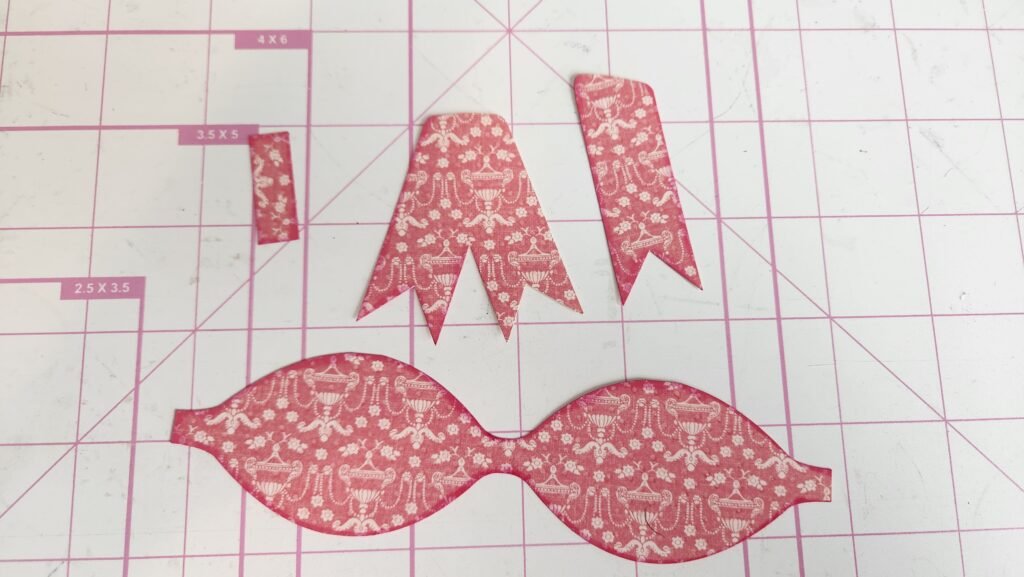
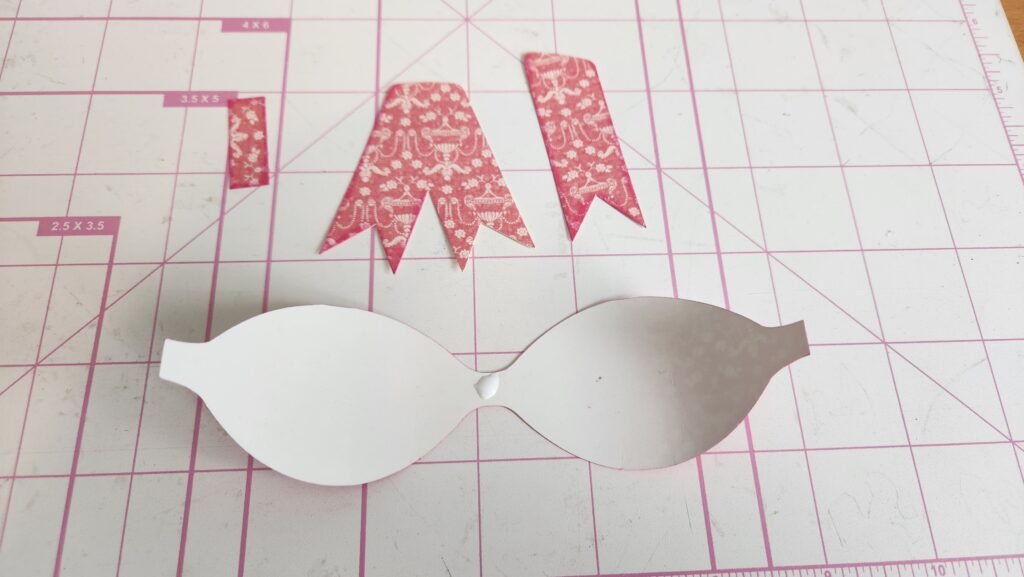
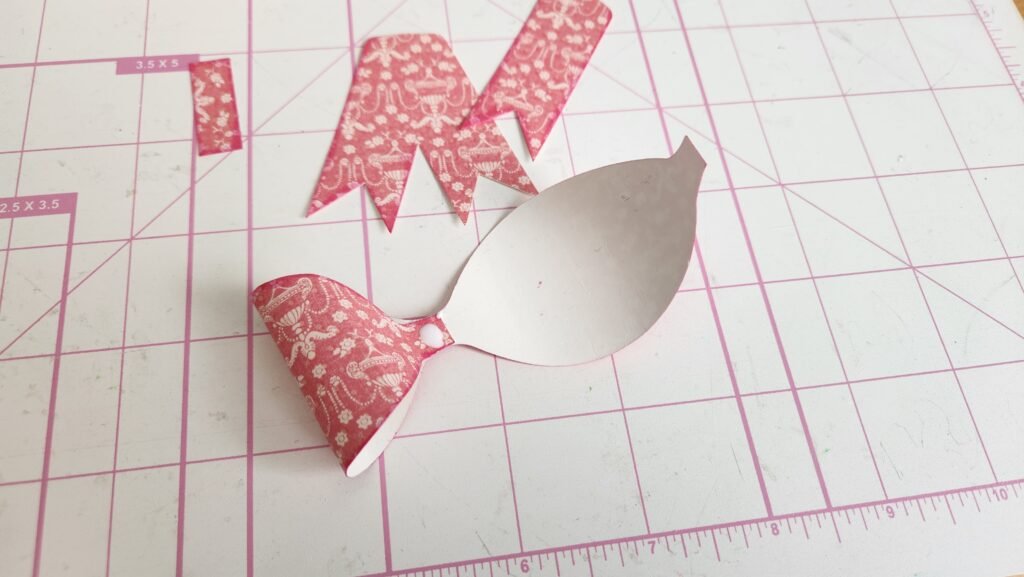
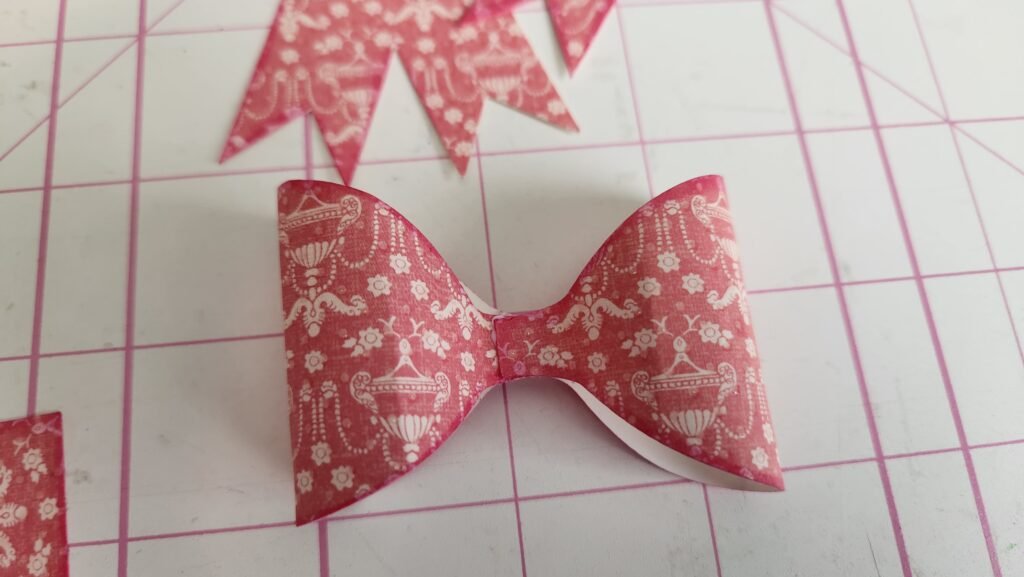
Next, take the small strip, and using glue, wrap it around the center of the bow.
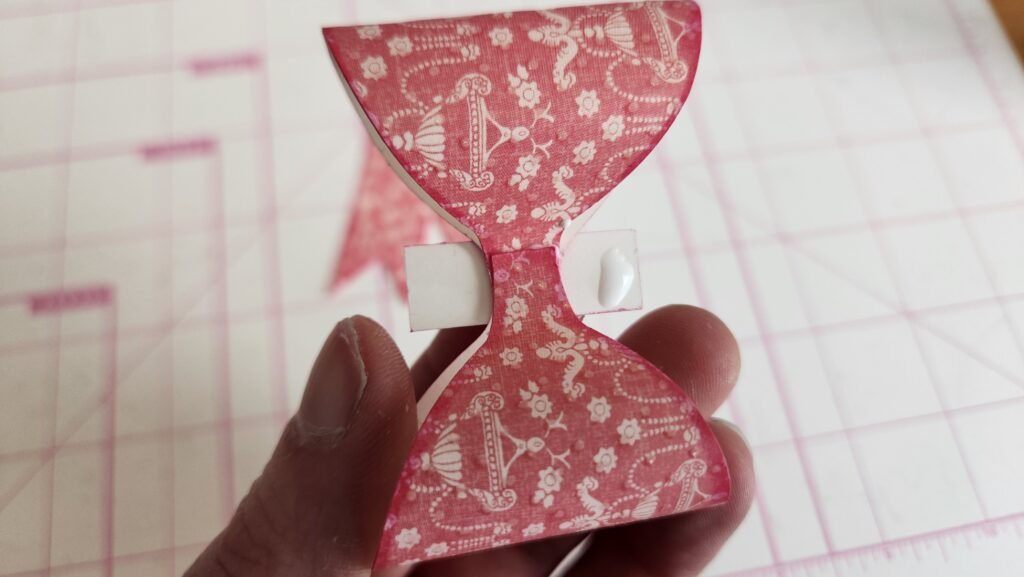
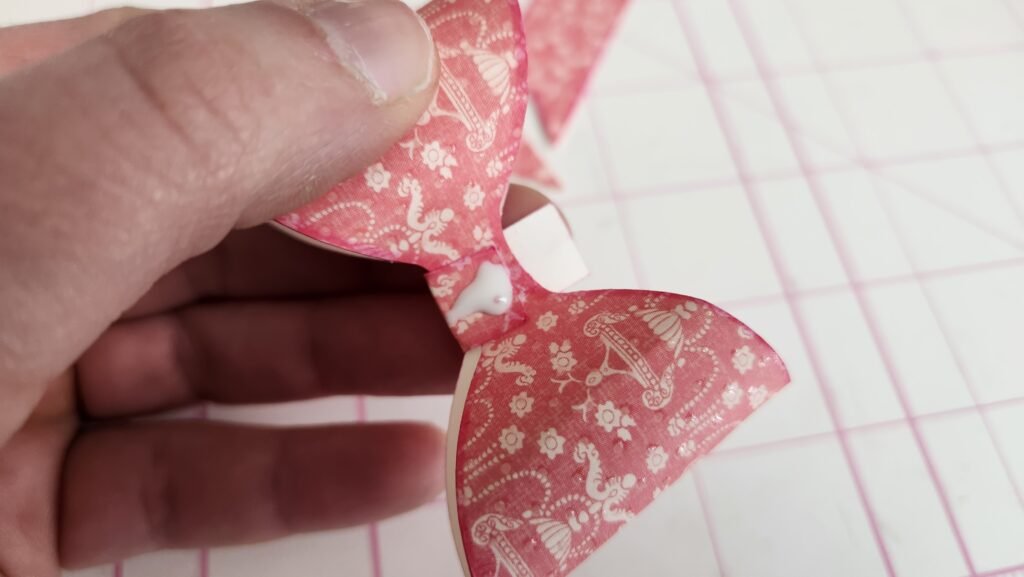

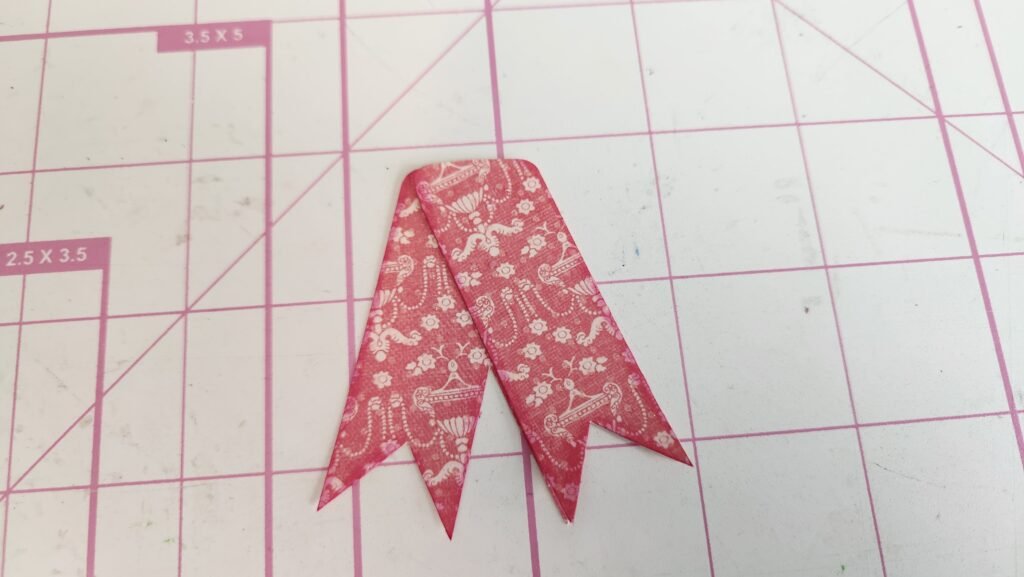
The ribbon beneath has 2 layers, once you have layered them together, you can add some glue to the back of the bow and attach it to the top of the ribbons.
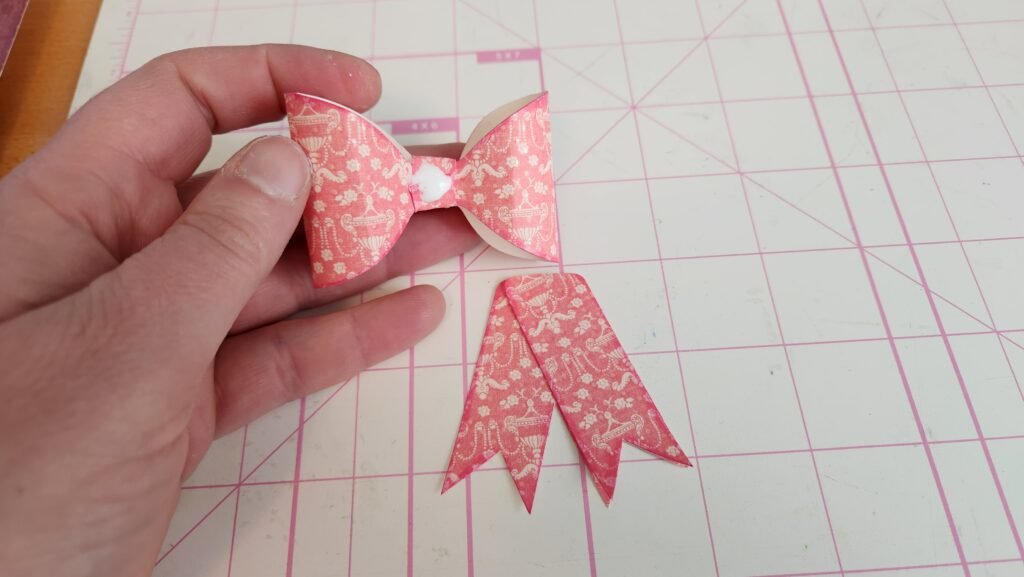
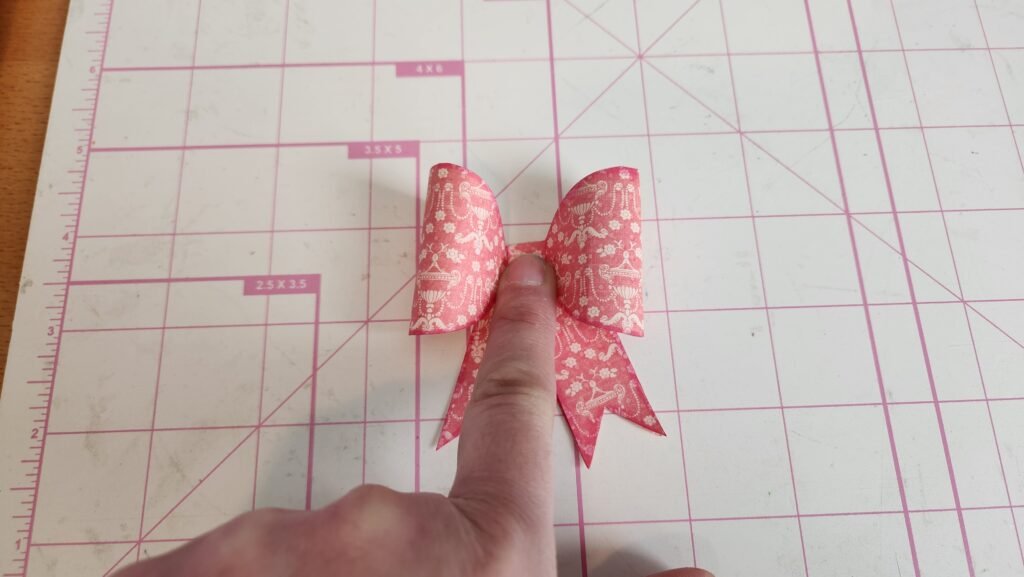
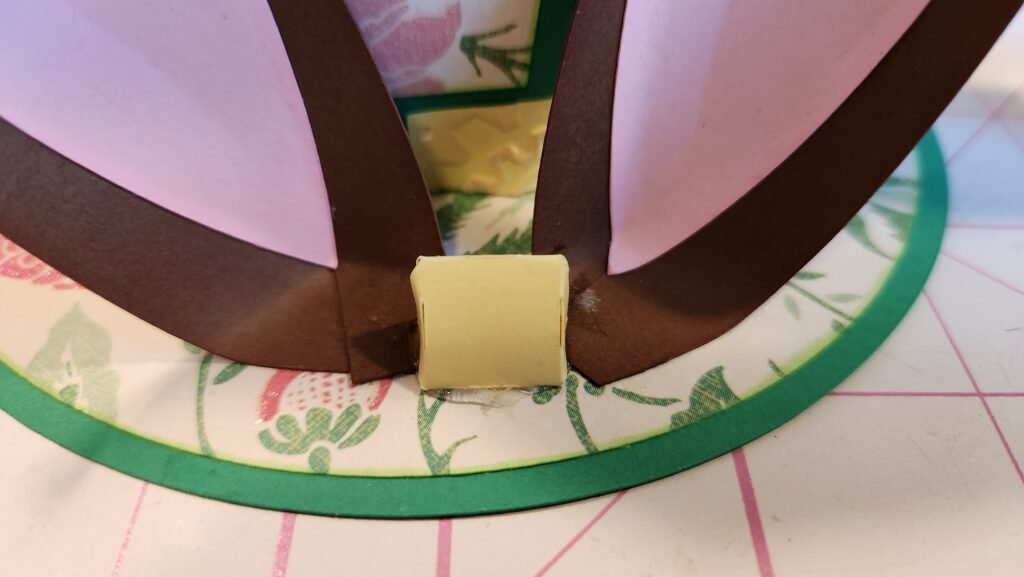
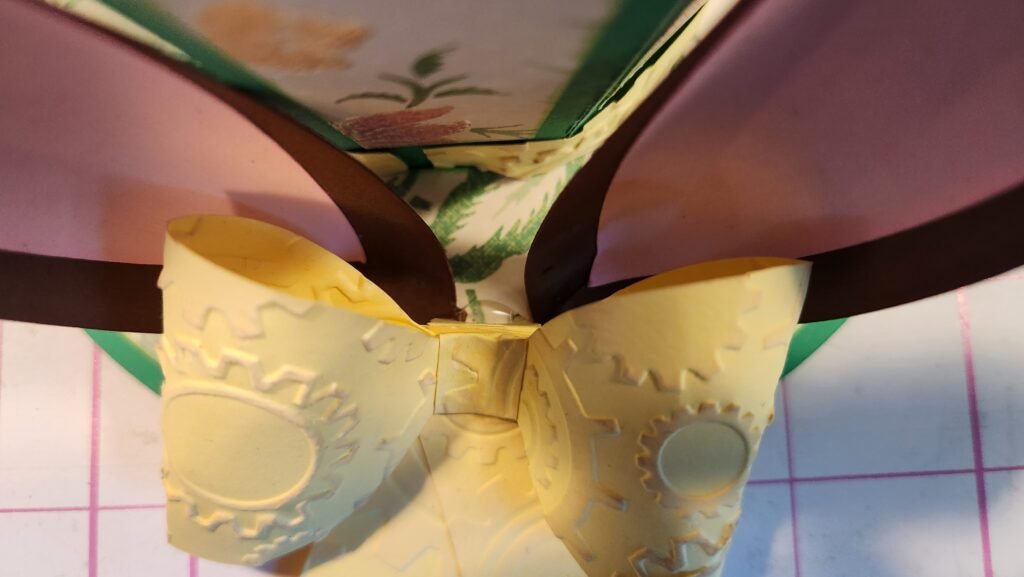
Finally, attach the bow to the box between the ears. You can chose to attach the bow straight to the rim of the hat or you can make our little wedge to put the bow on.
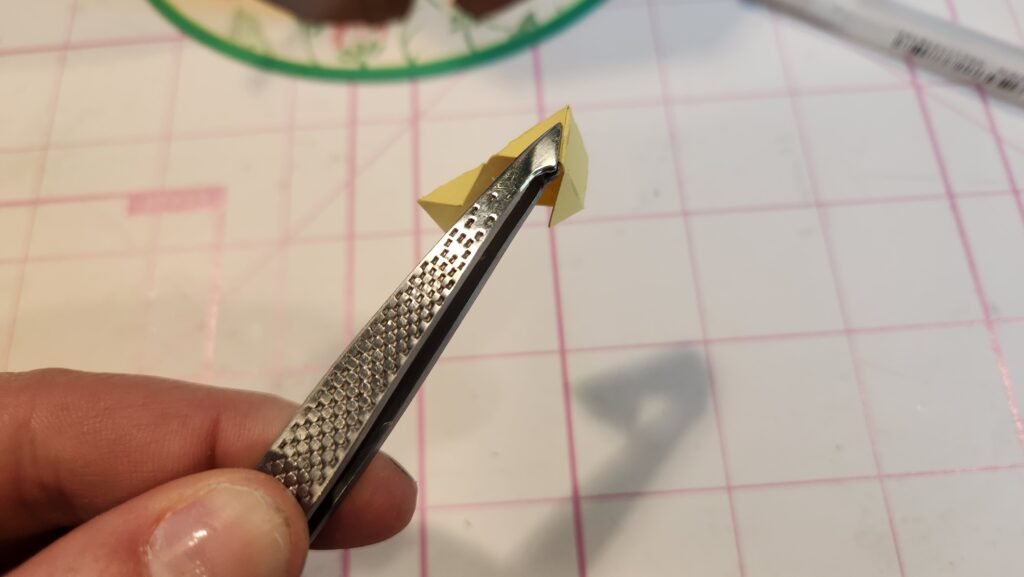
The wedge is made of one piece. Use the tabs on the side to fold the pieces into a triangle shape, securing with glue. It may be helpful to use tweezers to give the tabs a good squeeze, securing them in place.
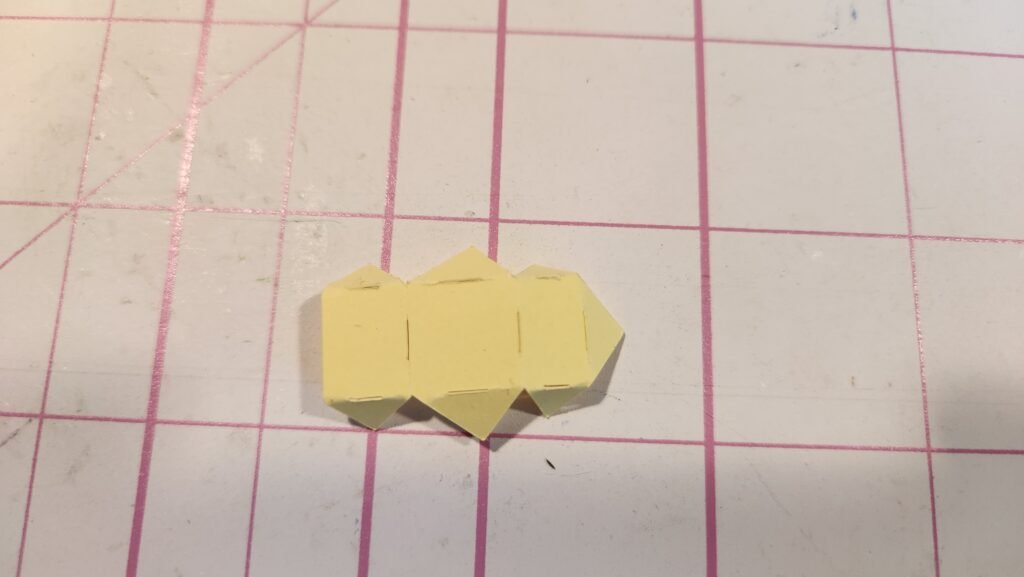
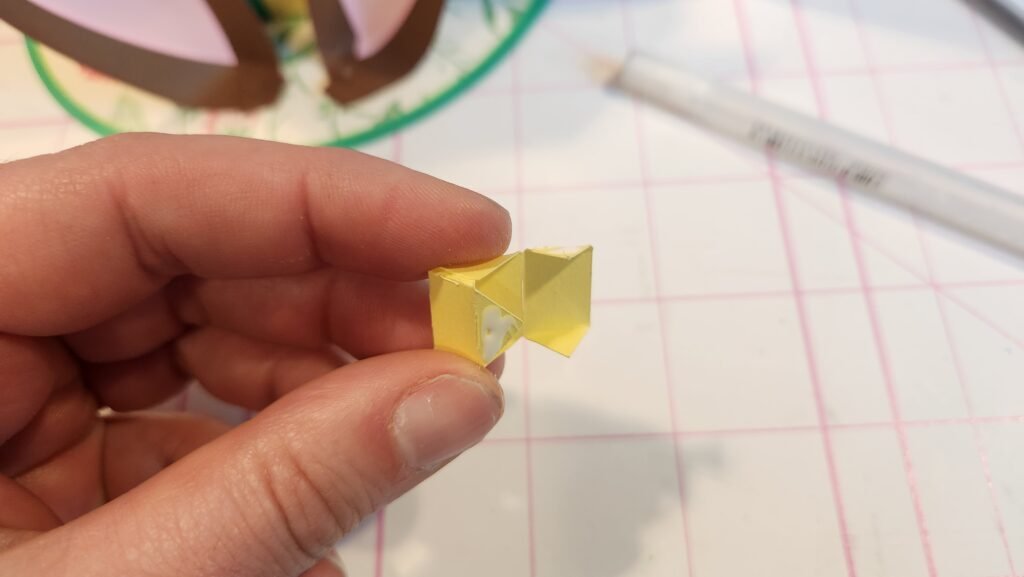

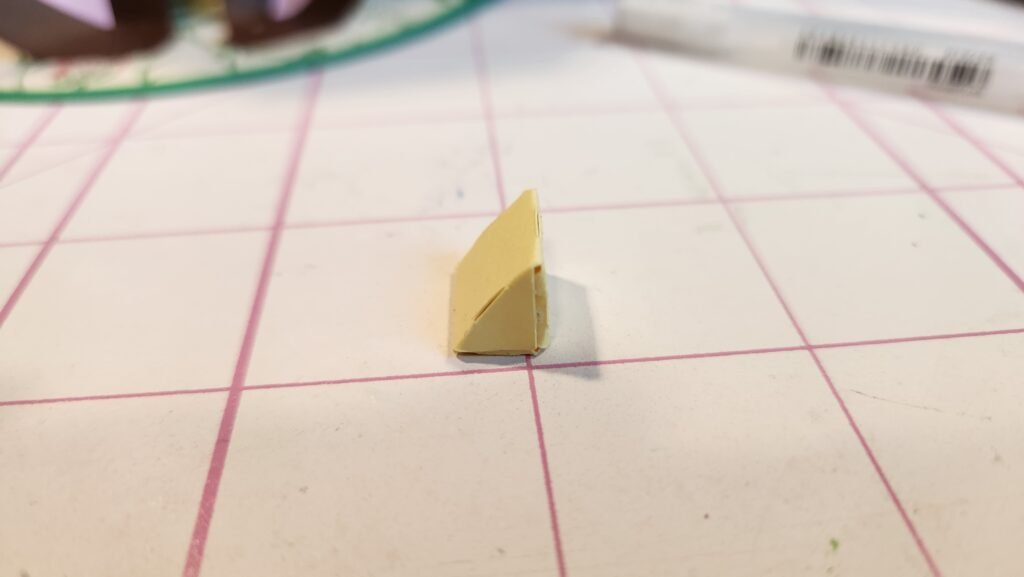
The wedge will make a 90 degree corner. We chose to place this corner on the brim, closest to the hat so that the slant part is facing out. Once the wedge was secured between the ears, we glued the bow to the slant on the wedge.
