Materials Used
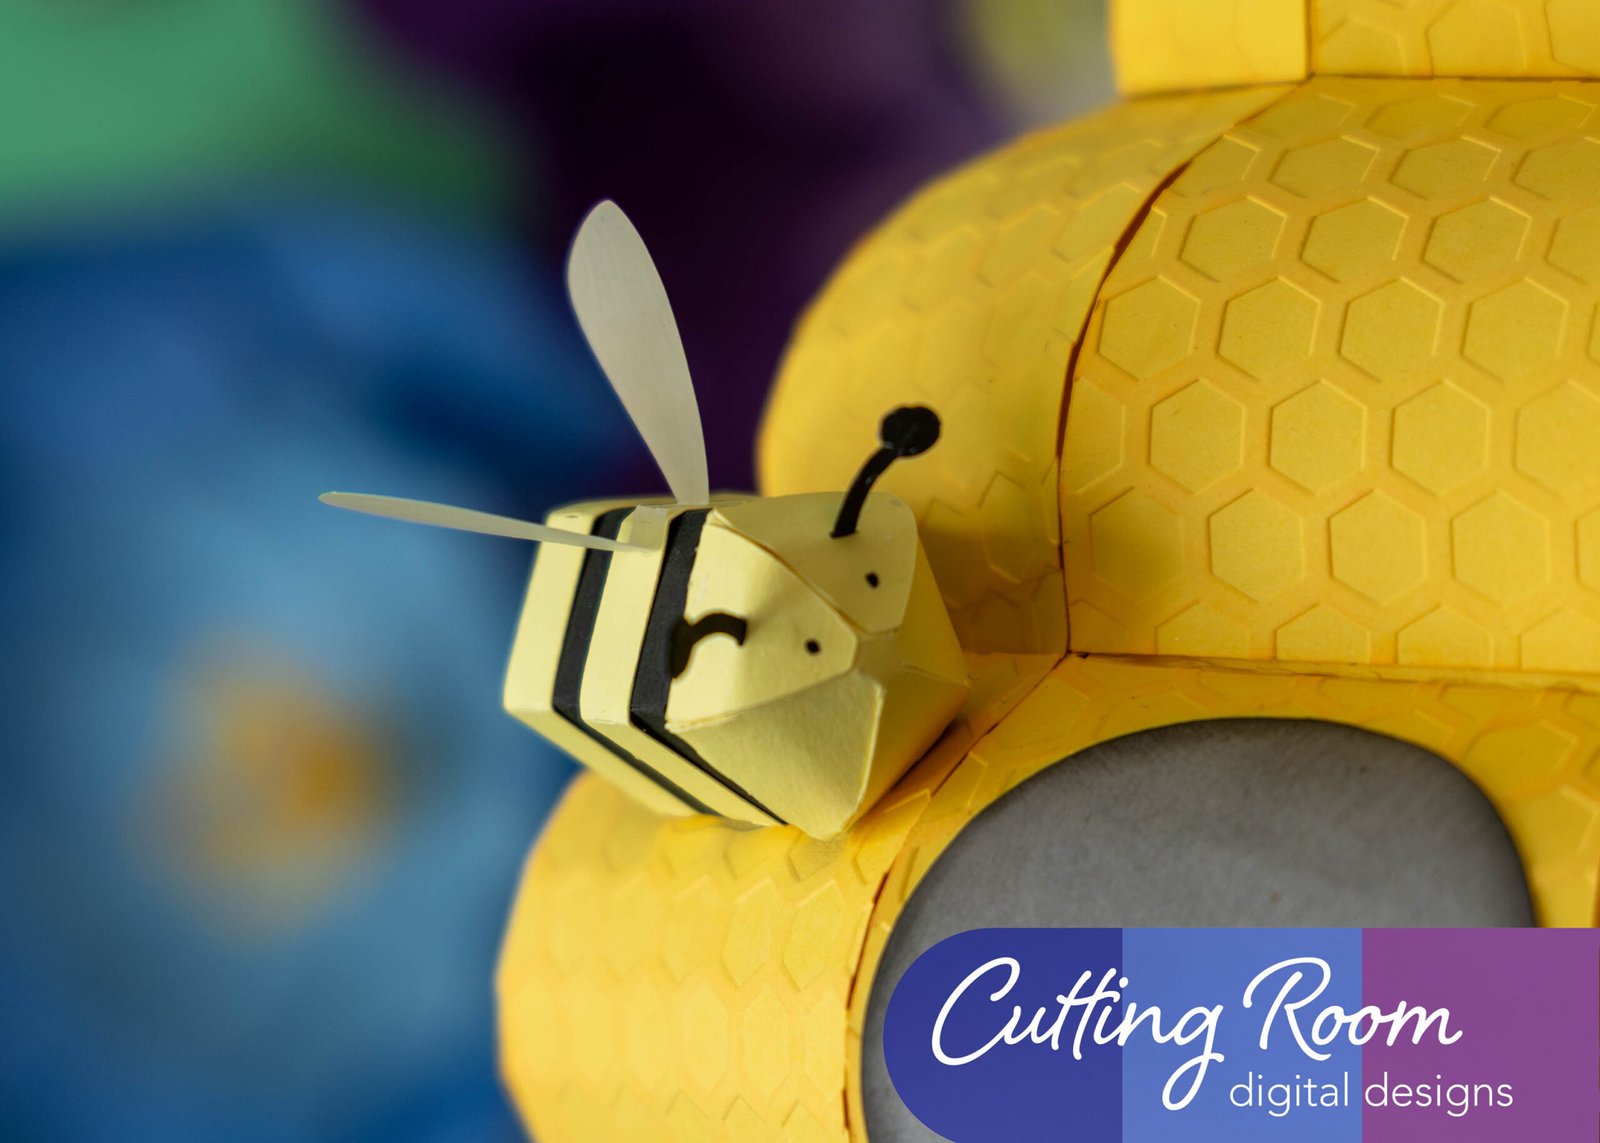
We used several products and supplies in the making of this cute little bee decoration. Below is a list of what we used.
- Honey or Bumble Bee 3D Decoration – Digital Download SVG & DXF
- Recollections cardstock
- Art Glitter Glue
- Recollections Vellum
- Cricut Fine Point Pen
- Electric Cutting Machine – Cricut or Silhouette
***Note that this post contains affiliate links and we may receive compensation if you buy something using one of our links. ***
Making The Bee Body
Our bee goes together in a couple steps. We started by assembling the body. This is done with two pieces. Start with the larger one and fold on the score lines. Then add glue to the long tab and create a pentagon shaped box.


Our next step was to fold the triangle ends out of the way and add glue to the inside of the tabs on the other side. Then fold those tabs in and drop the pentagon shaped panel in the inside. This closes off the end and helps maintain the shape when you attach the head later.


With this secure, you can start adding glue to the tabs on the triangles and attach one at a time to their neighbor. For the final one, add glue to the two remaining tabs and fold into place. Hold until the glue is set.


Set the body aside. We’ll add the stripes once the head is on.
Adding The Head
To assemble the head, there are two pieces. The one seen below and a pentagon shaped piece we cut in the same color (not pictured, sorry).

Encourage the pieces to curve then, using the small tabs on the sides, attach one at a time to the neighbor, creating a dome shape.


Now you can take the pentagon panel and attach it to the bottom of this dome. We recommend starting with just one tab and making sure the panel is both secure and straight ton the tab. Once you have that done, you can add glue to the other tabs. It’s important that you press the base of the sides in (where the tabs fold) to get them as close to the edges of the pentagon as possible. This will maintain the dome shape and make sure that the head comes out the right size.


Once you have this domed shape complete, you can add glue to the flat end of the body. Press the head firmly (without collapsing it!) onto the body.


Adding The Strips
Now you can add the stripes. Start by folding on the score lines then add glue to the back of one stripe. We chose to have one line up where the body narrows for the stinger. Once that was glued down, we repeated this process for the other stripe, centering it between the head and first strip.


Bees Need Antenna!
The antenna are attached using two decorative panels on the head and four antenna pieces. Glue two of the antenna pieces back to back, leaving the last bit free to use as tabs. Do this so you have two antenna for the bee with tabs at the end.


Without glue, press the tabs of the antenna together and slide them through the slits on the decorative panels. Make sure that when you do this, the antenna face opposite directions when done! One you have the antenna through, add glue to the outside of the tabs, fold them back, and press them to the back side of the panel.


Looking at your bee, decide which side you want to be the top. Attach the two decorative panels so the antenna curve outward.


Final Step – Wings And Eyes (optional)
The wings we chose to cut out of vellum. You’ll note that there are three small score lines on the wings. Fold the center one as a mountain fold and the two outer as valley folds. This makes them match the shape of the bee while having the wings stick out from the body. Add glue to the center and attach to the back of your bee.


The eyes are optional. We liked the look they gave our bees in the end. To make them, we took one of our Cricut fine point pens and drew the eyes on the bee.


