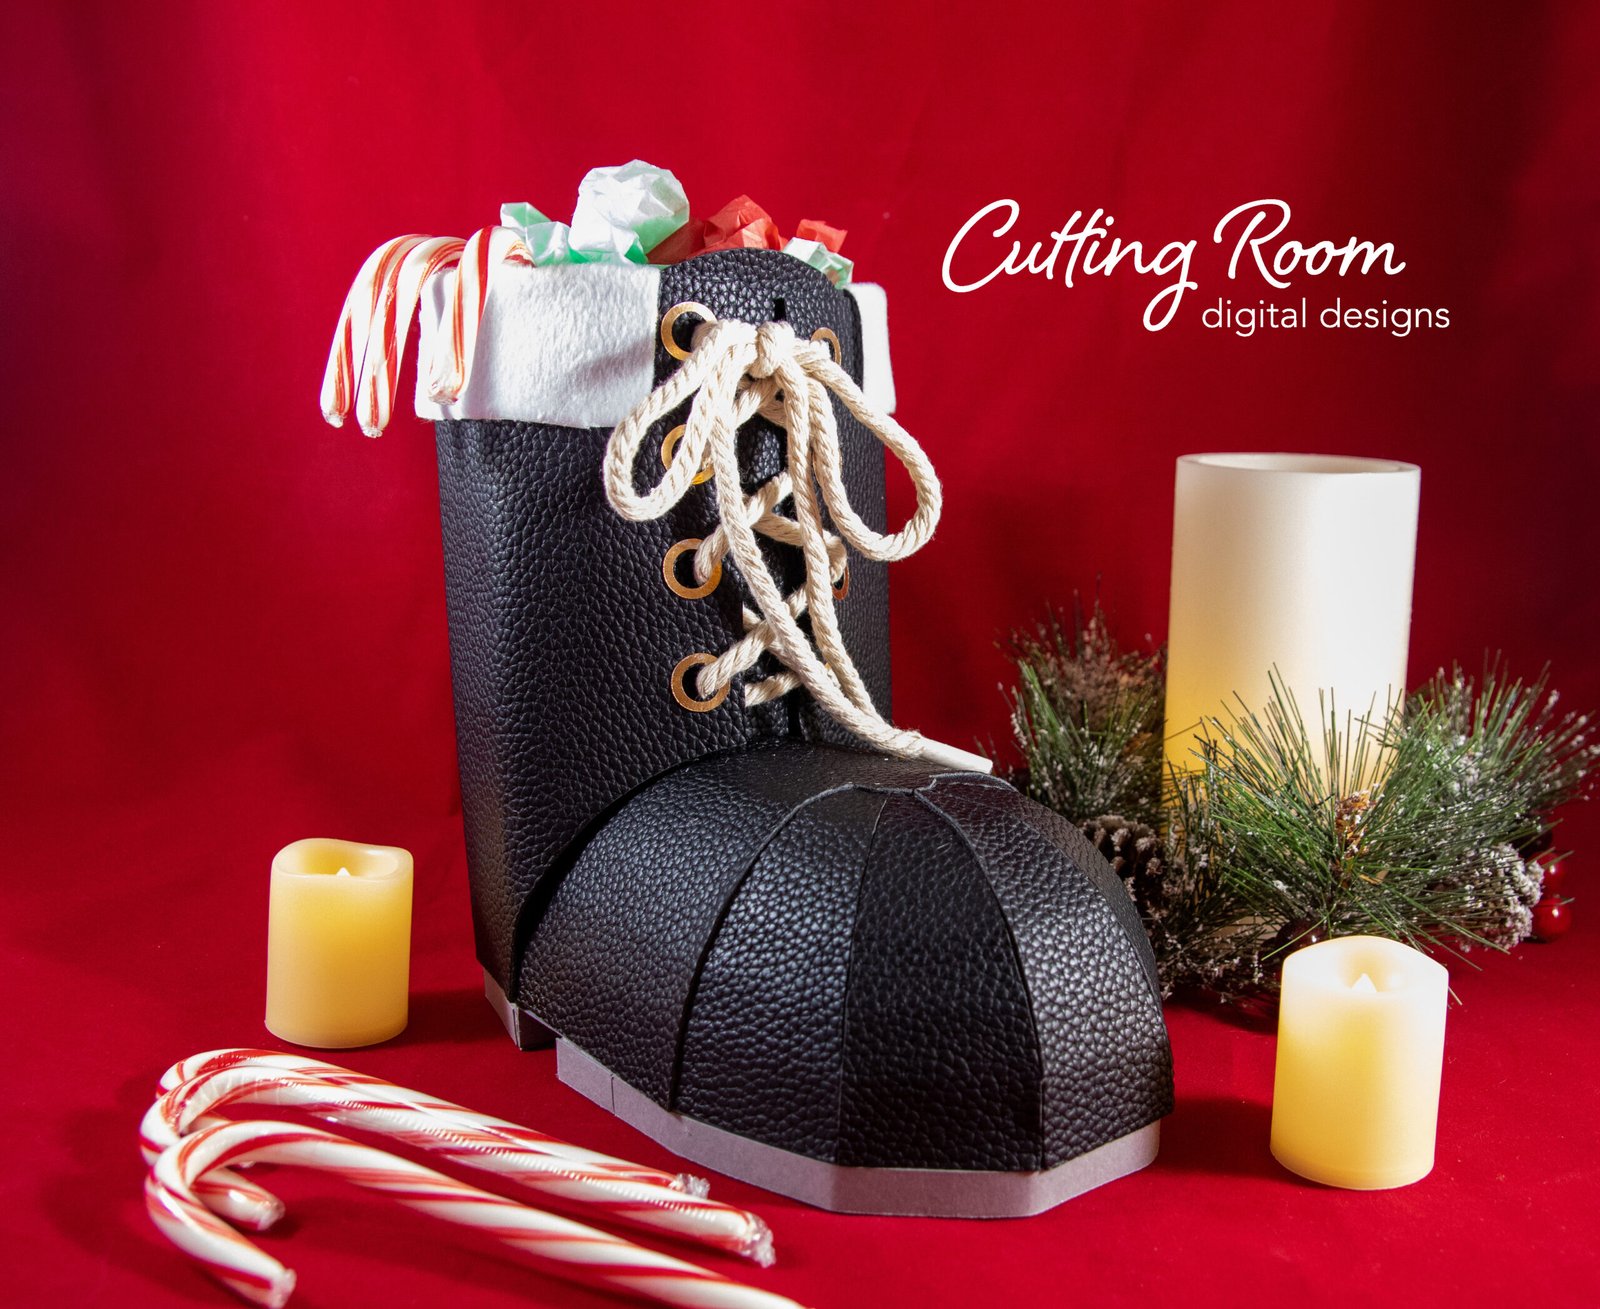
Materials Used
We used several products and supplies in the making of Santa’s boot. Below is a list of what we used.
- Santa’s Boot Gift Box and Christmas Decoration – Digital Download SVG
- Recollections cardstock
- Black Faux Leather
- Macrame Cord
- Art Glitter Glue
- Electric Cutting Machine – Cricut or Silhouette
***Note that this post contains affiliate links and we may receive compensation if you buy something using one of our links. ***
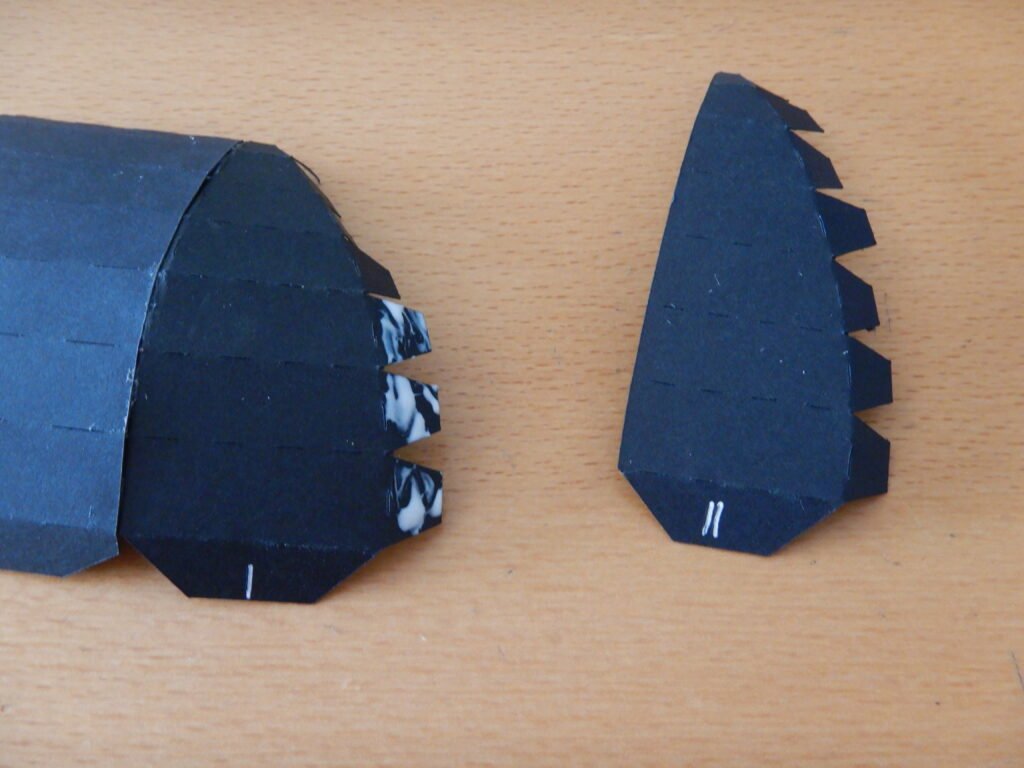
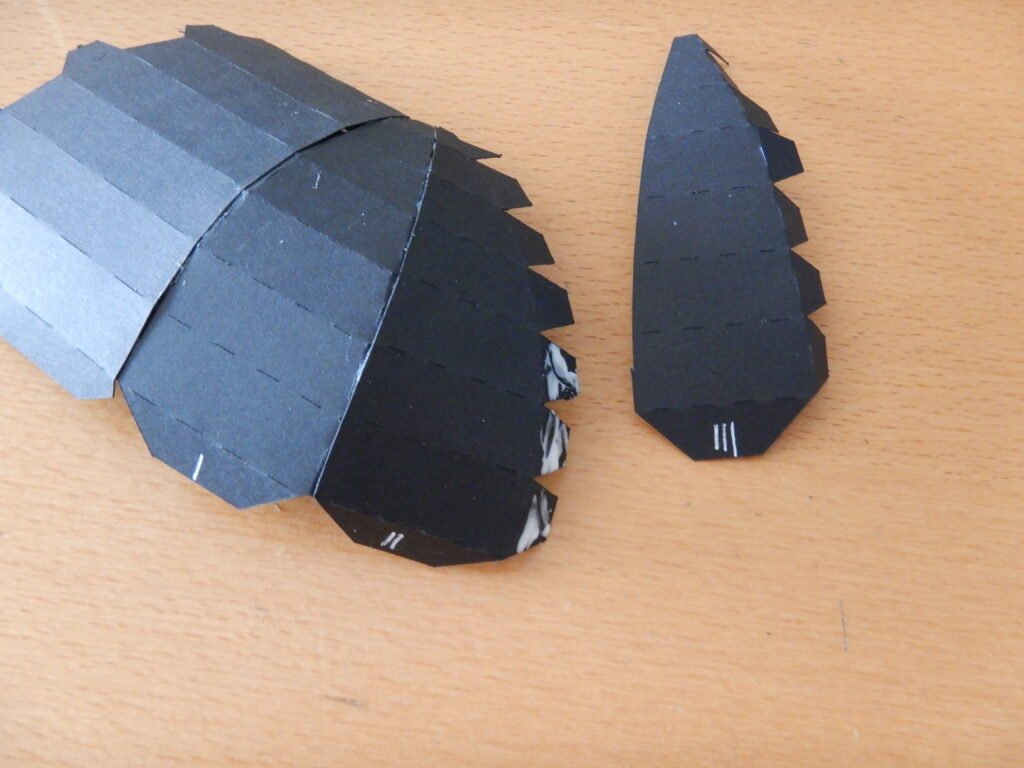
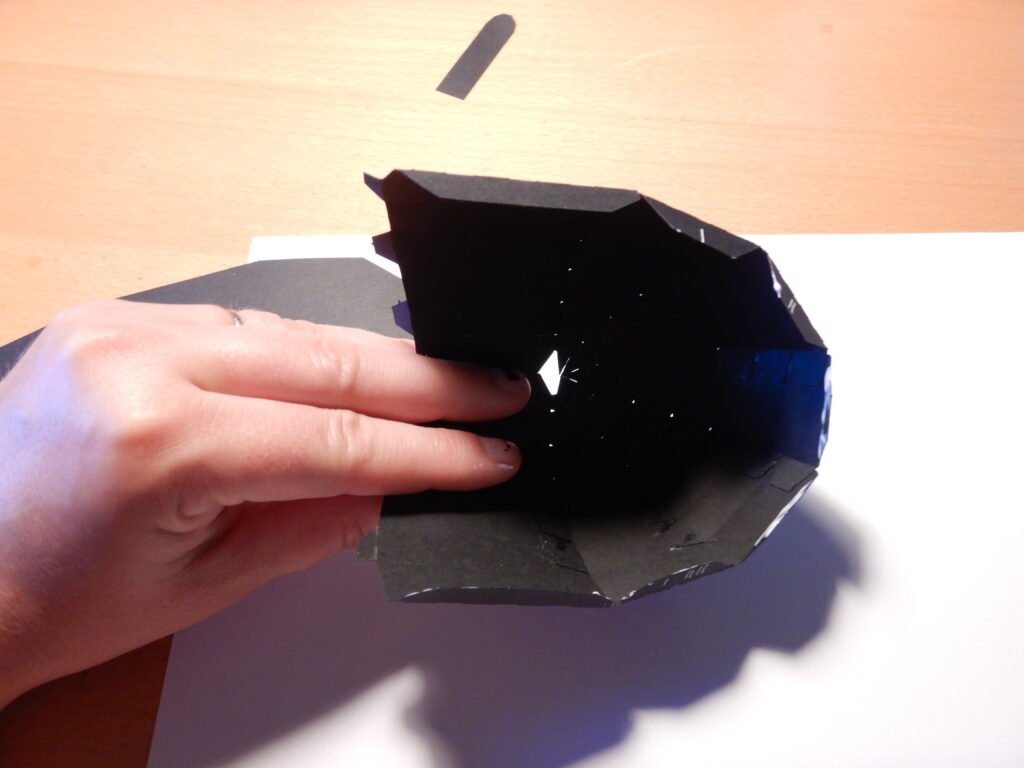
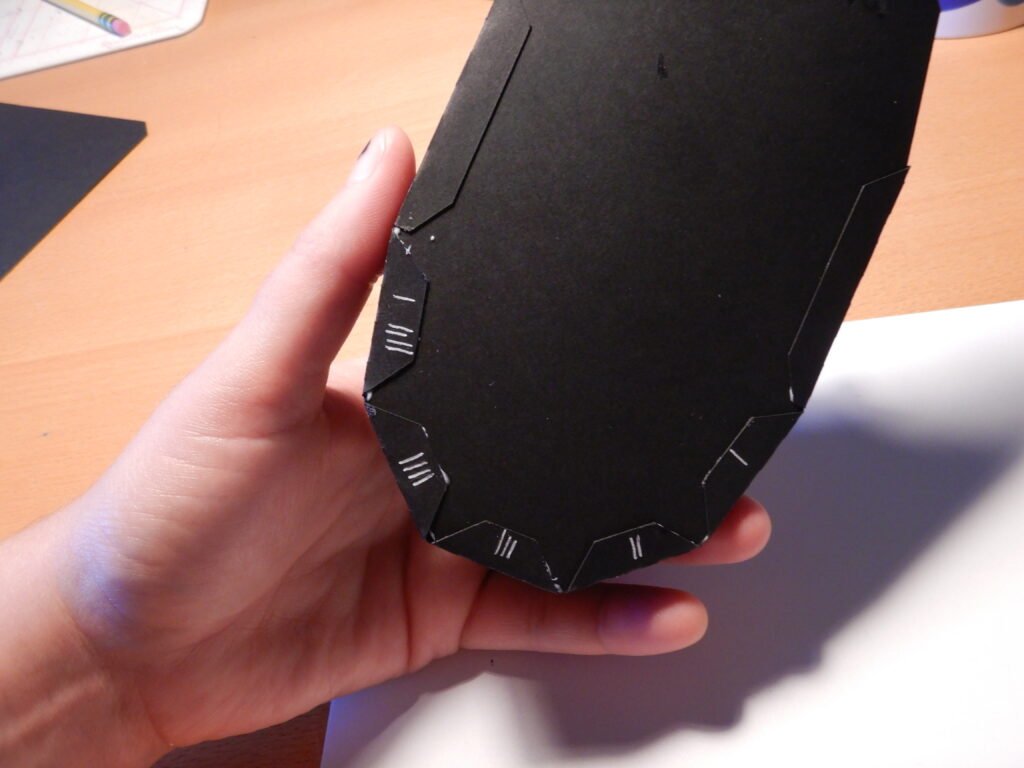
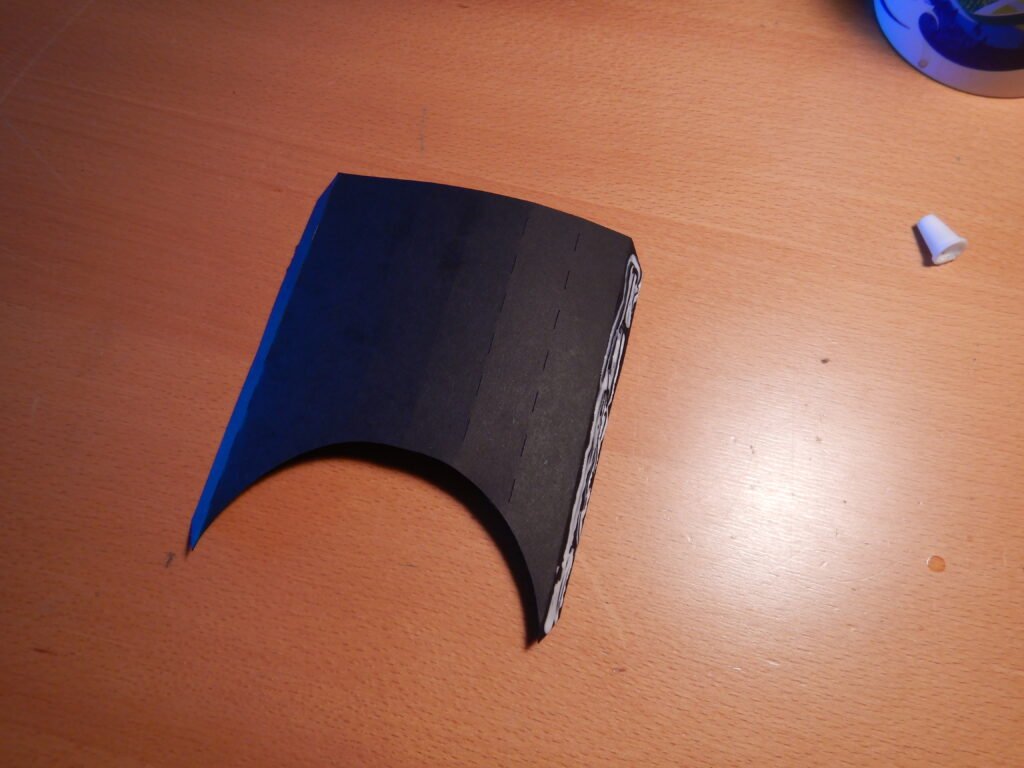
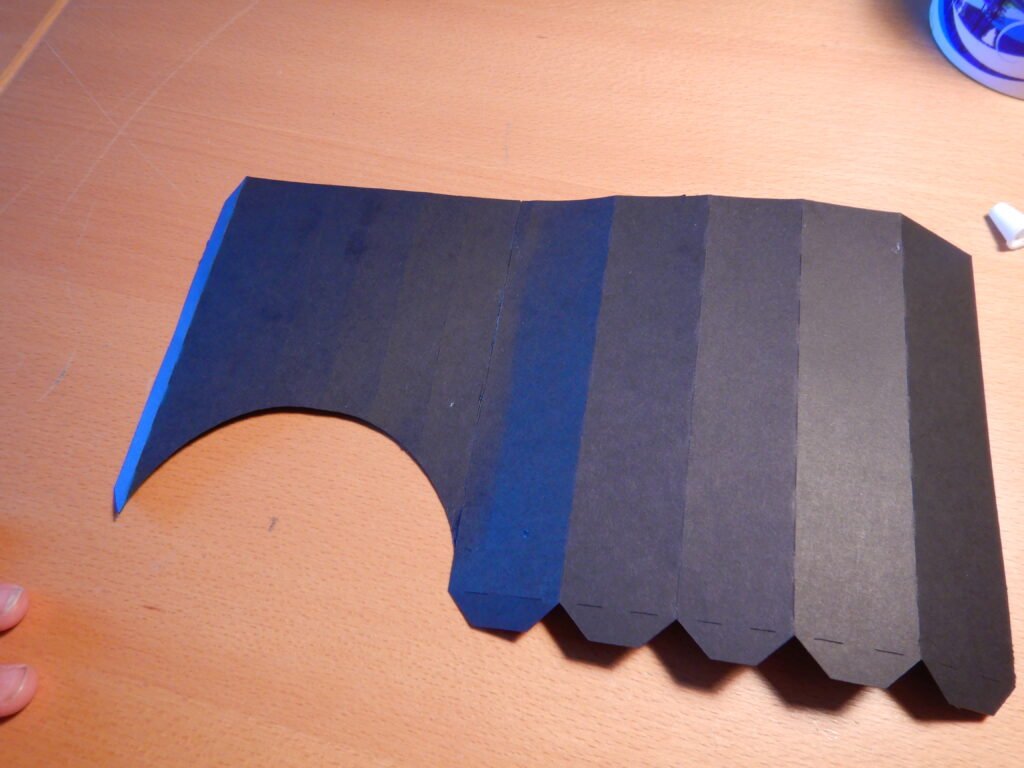
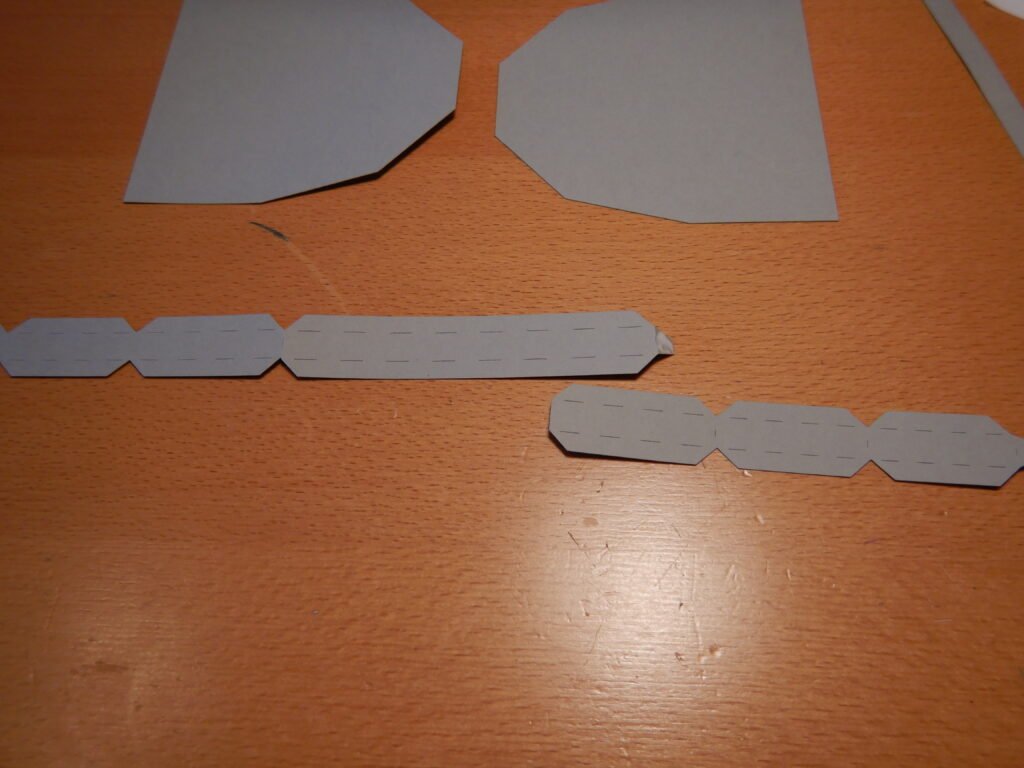
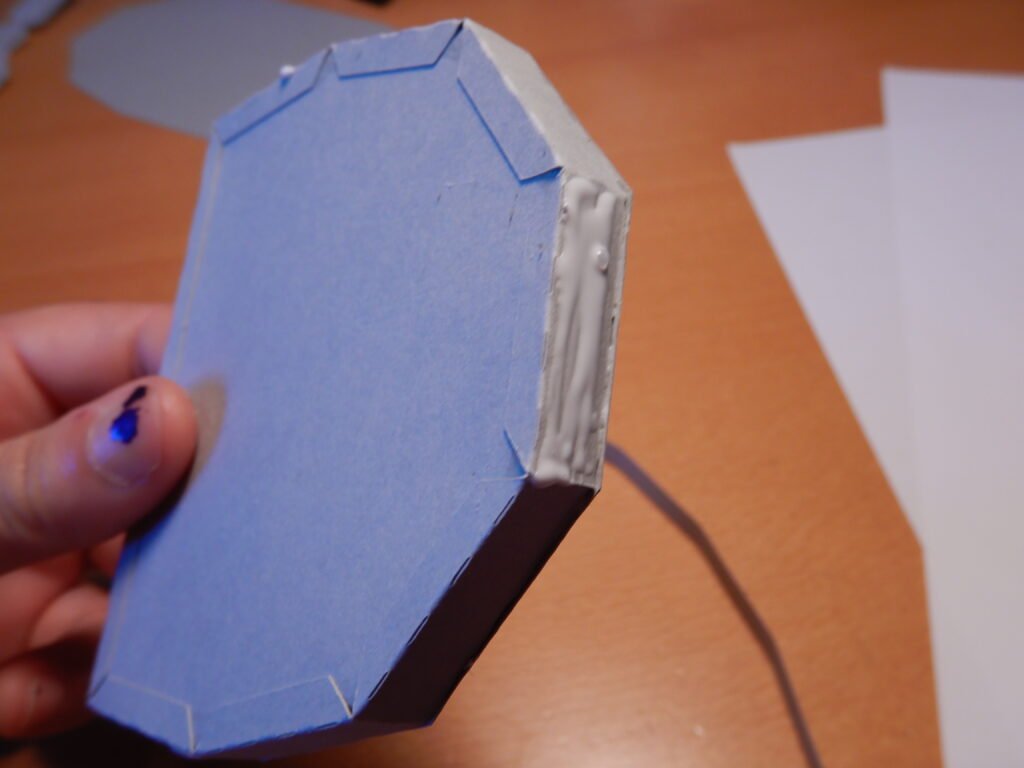
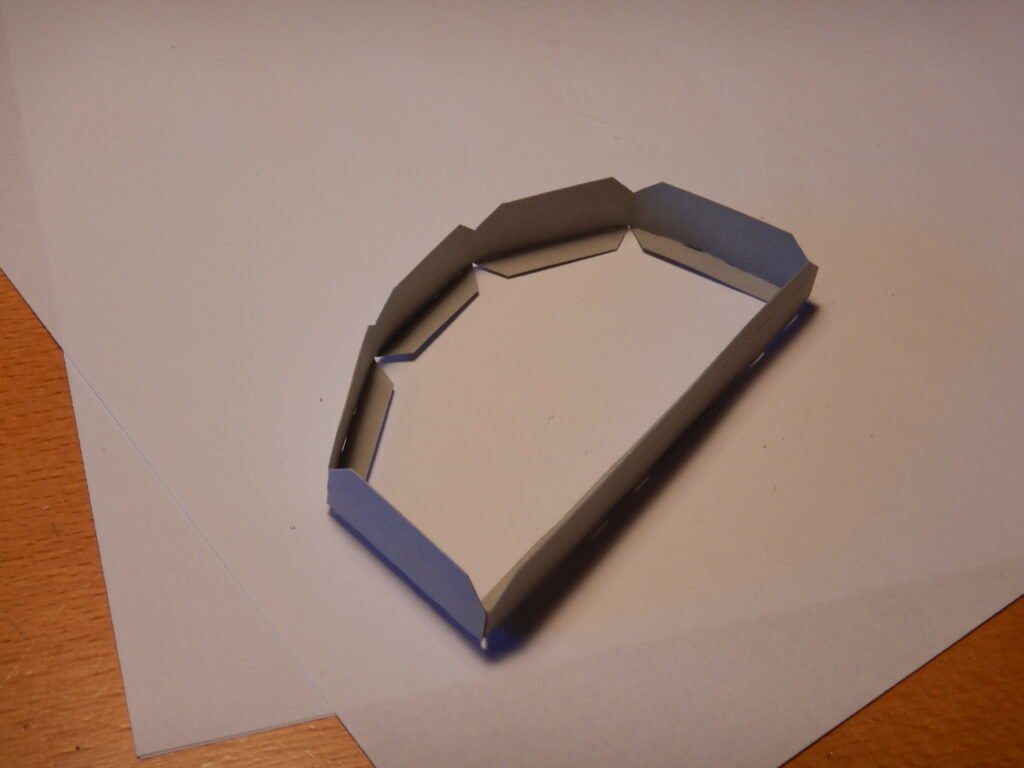
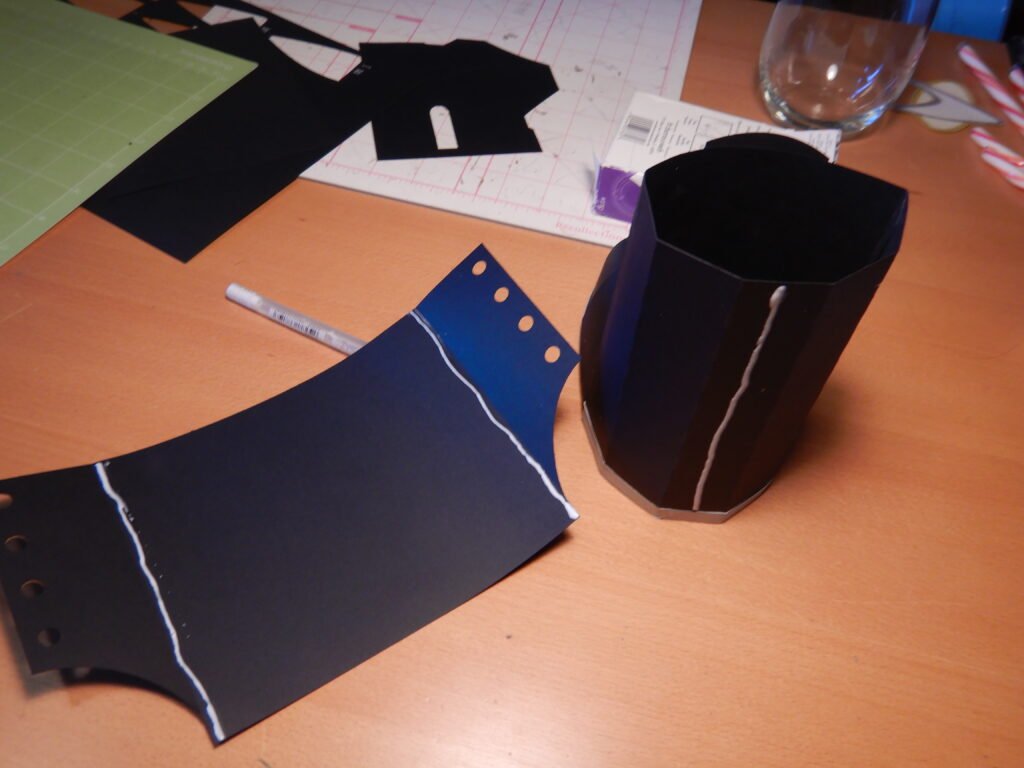
Assembling The Boot Toe
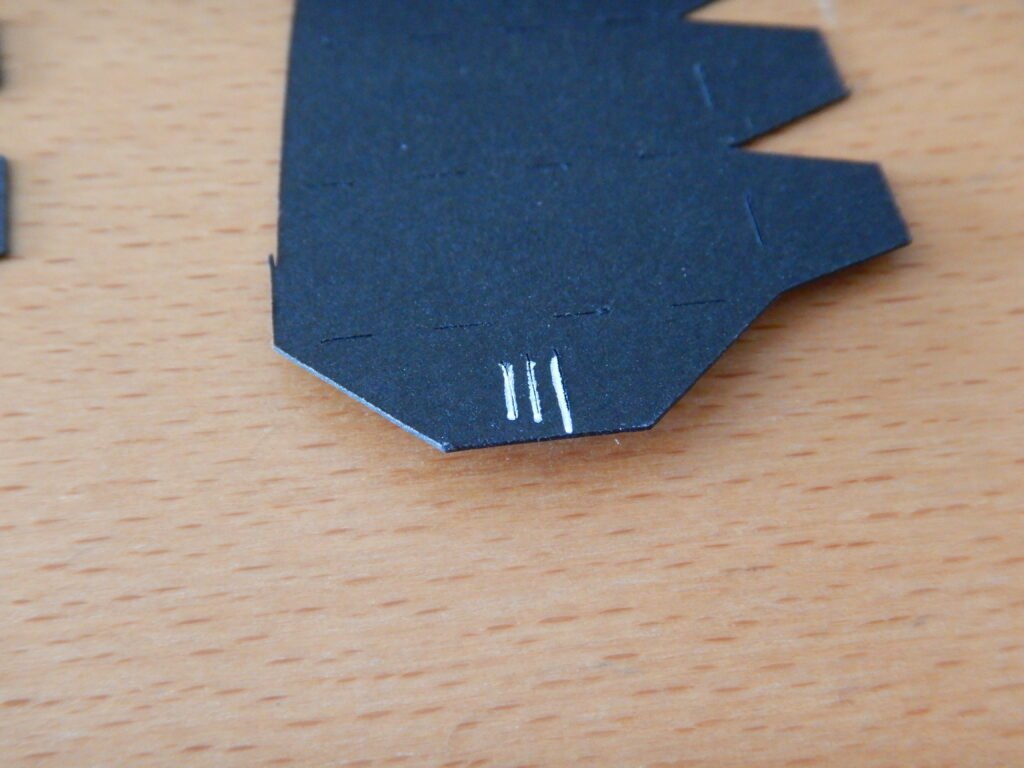
We started first by assembling the sides and toe of the boot. You’ll see that the toe panels have lines cut into them to indicate the order they are in for assembly. In the photo below you can see we have used white pen to make them easier to see.
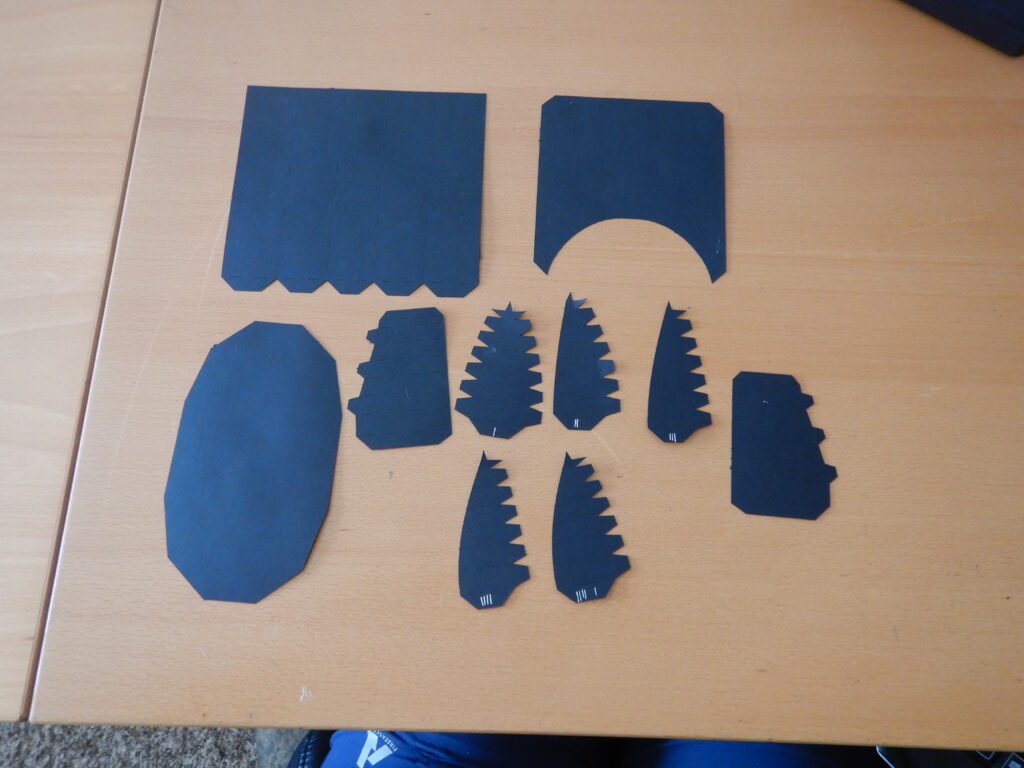
Start by taking the side piece as shown below and the toe piece with one mark on the bottom tab. Continue attaching a couple tabs at a time until all are secure. Once done, move to piece two through five, followed by the other side tab.
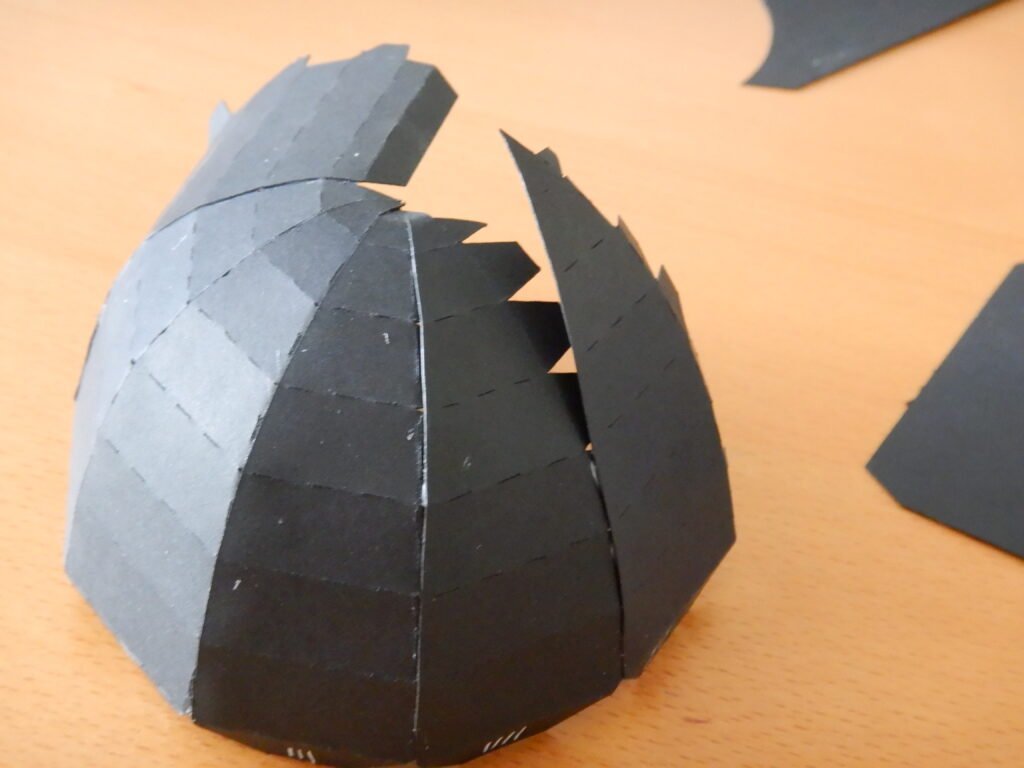
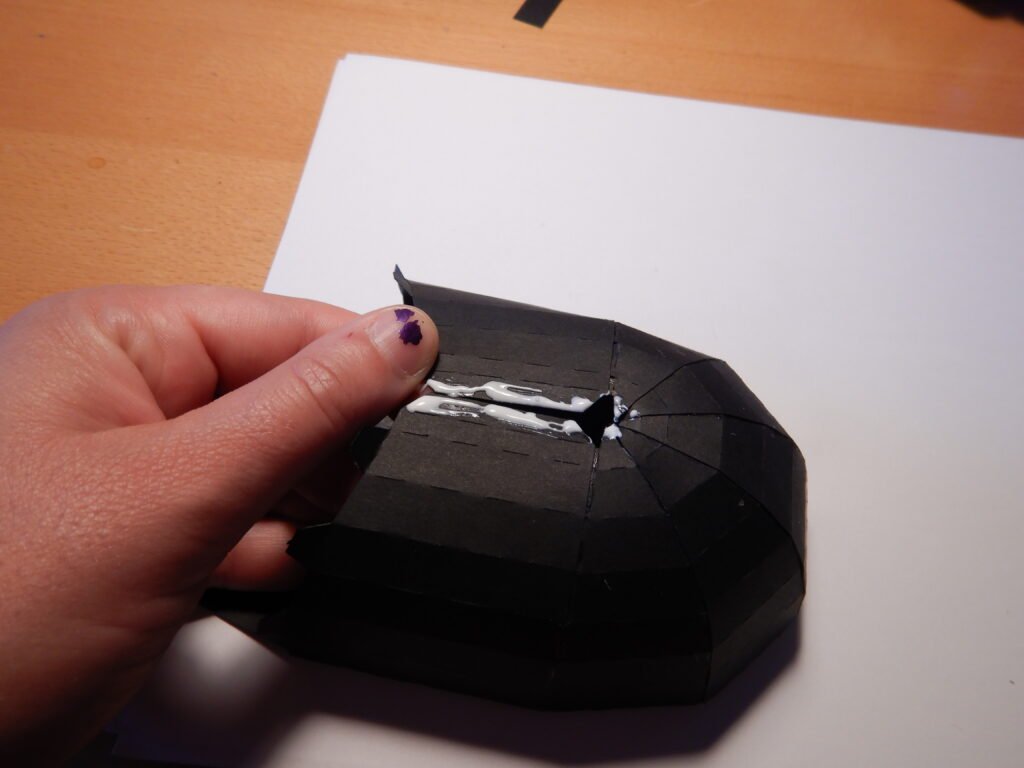
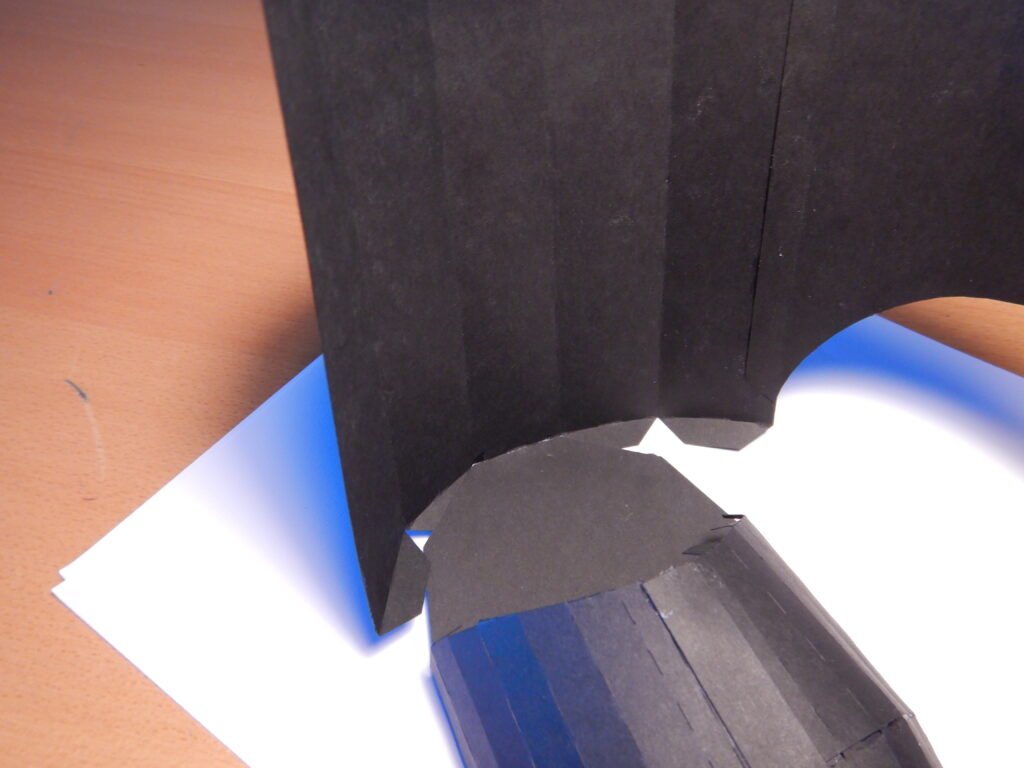
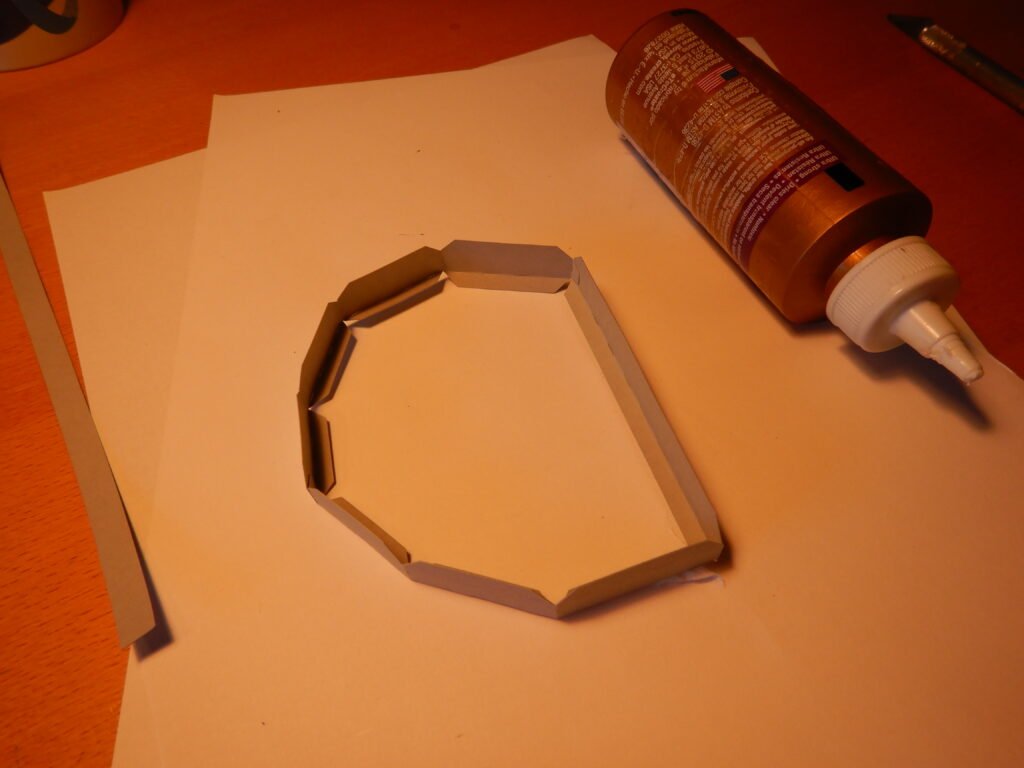
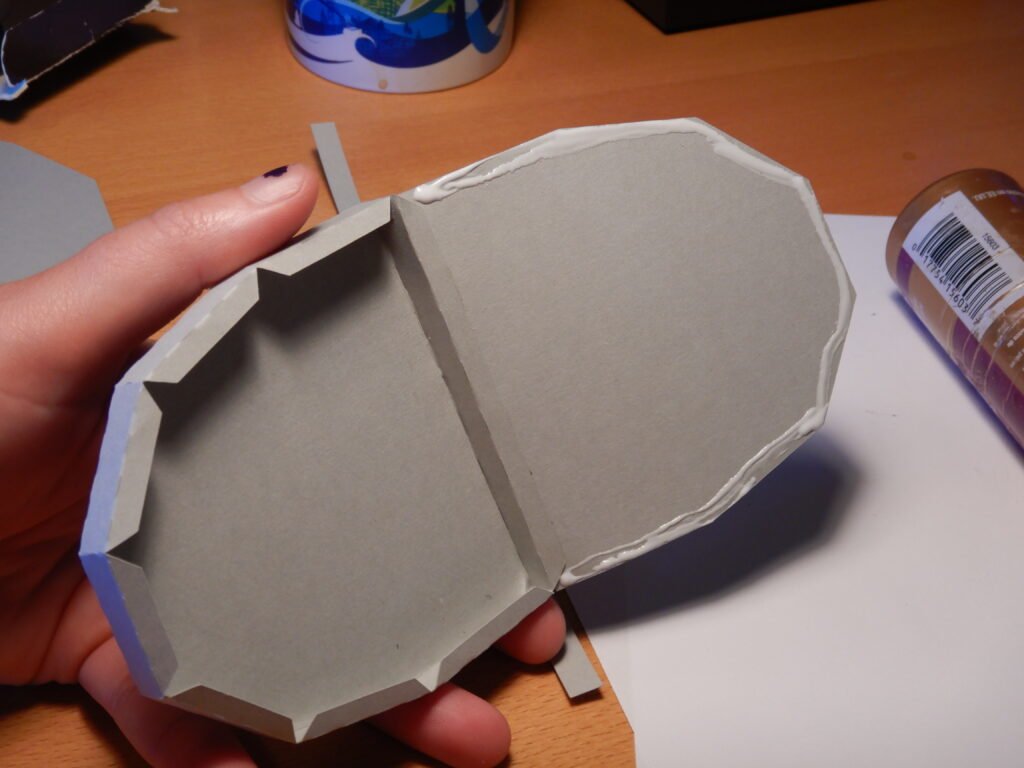
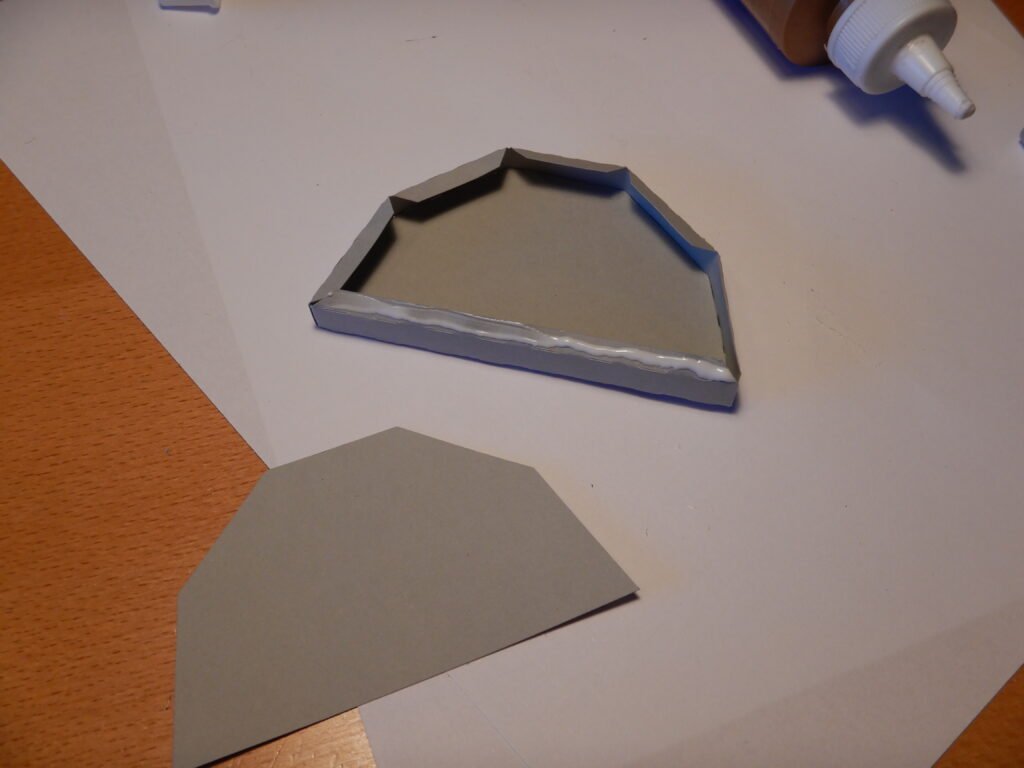
The Bottom And Top Of The Toe
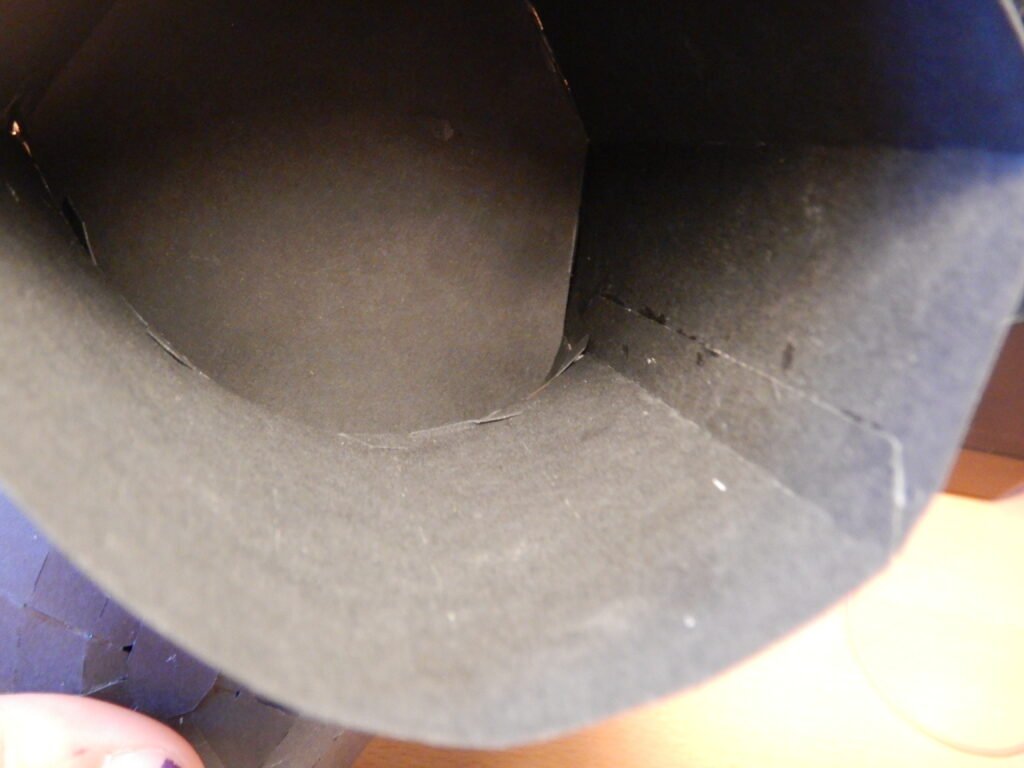
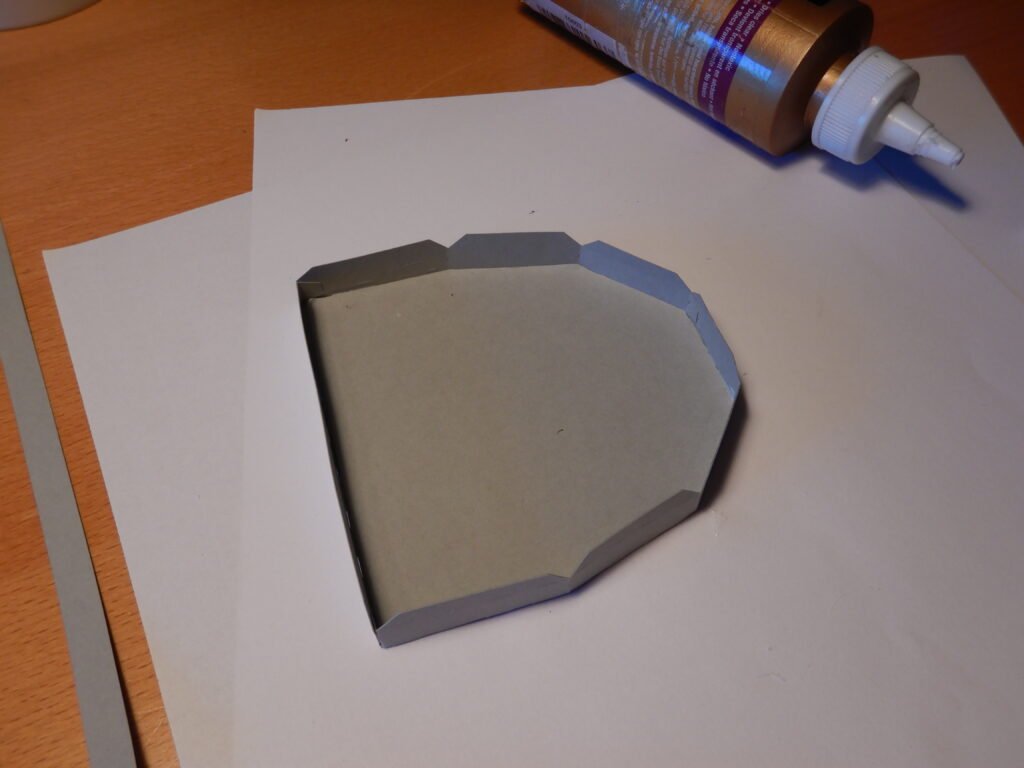
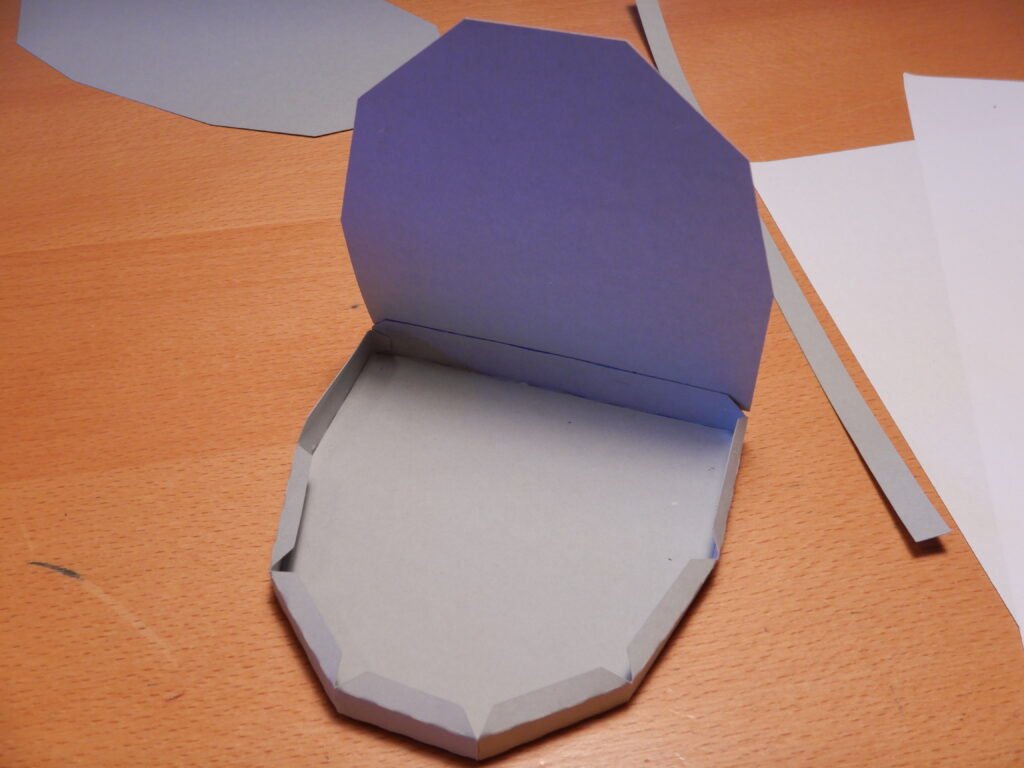
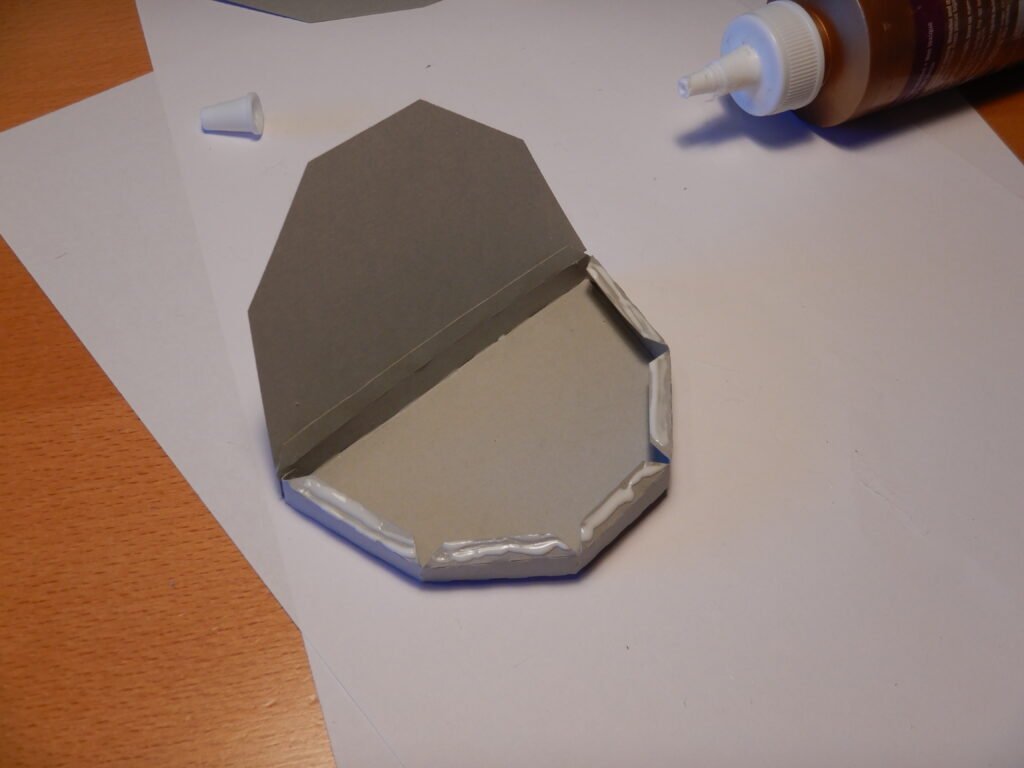
Once all the side and toe pieces are together, it’s time to put in the bottom of the shoe. Put glue on the inside of all the bottom tabs, slide the bottom panel in (it’s identical on both sides so either end is fine), fold in the tabs, and apply pressure from the inside to secure the tabs to the base.

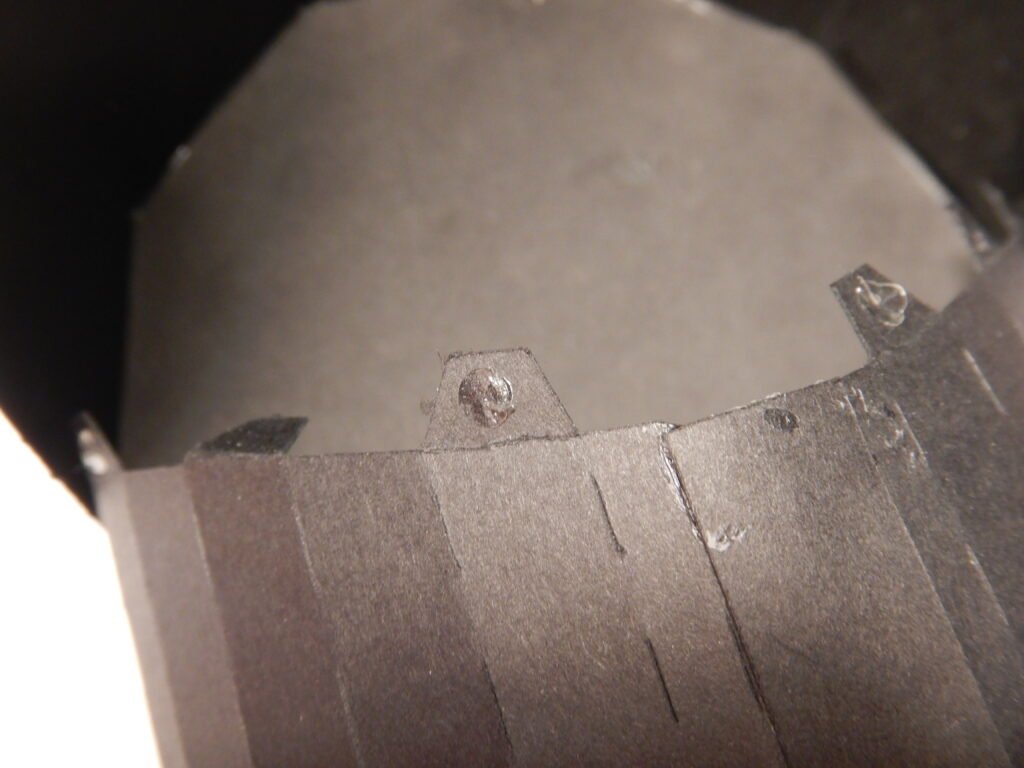
With these in place, the top of the boot can be put on. Place glue on the back of the little panel and hold it in position. You will need to hold the sides of the boot away from each other to help get the panel in place correctly. This will help with the shaping of the front of the boot.
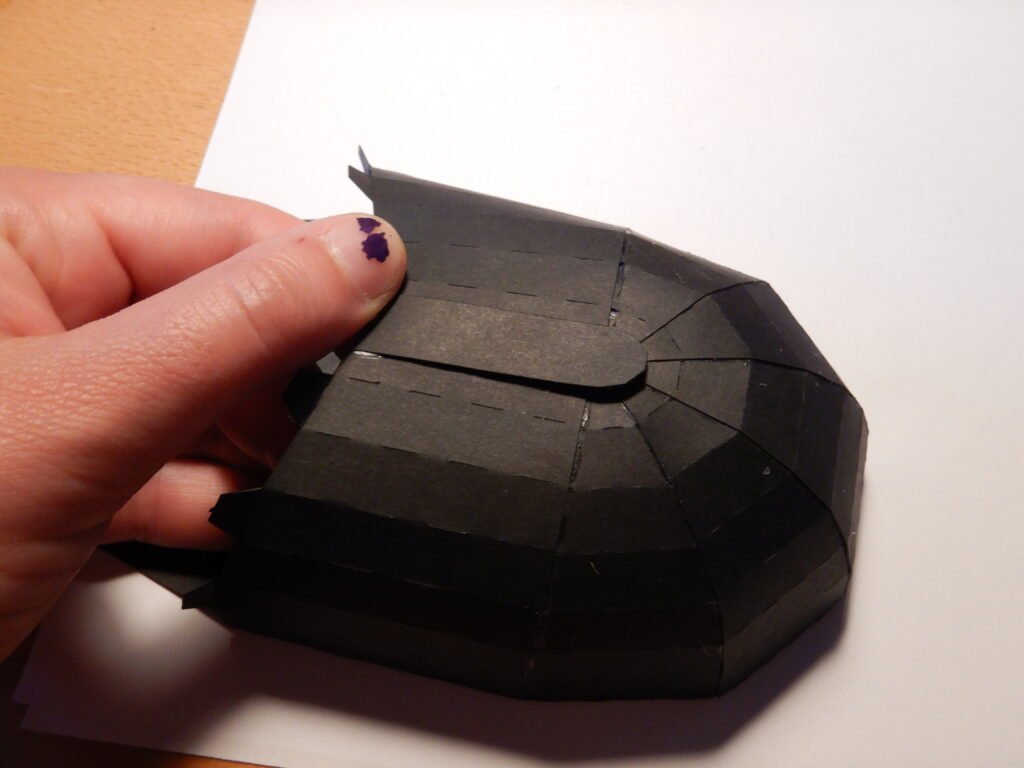
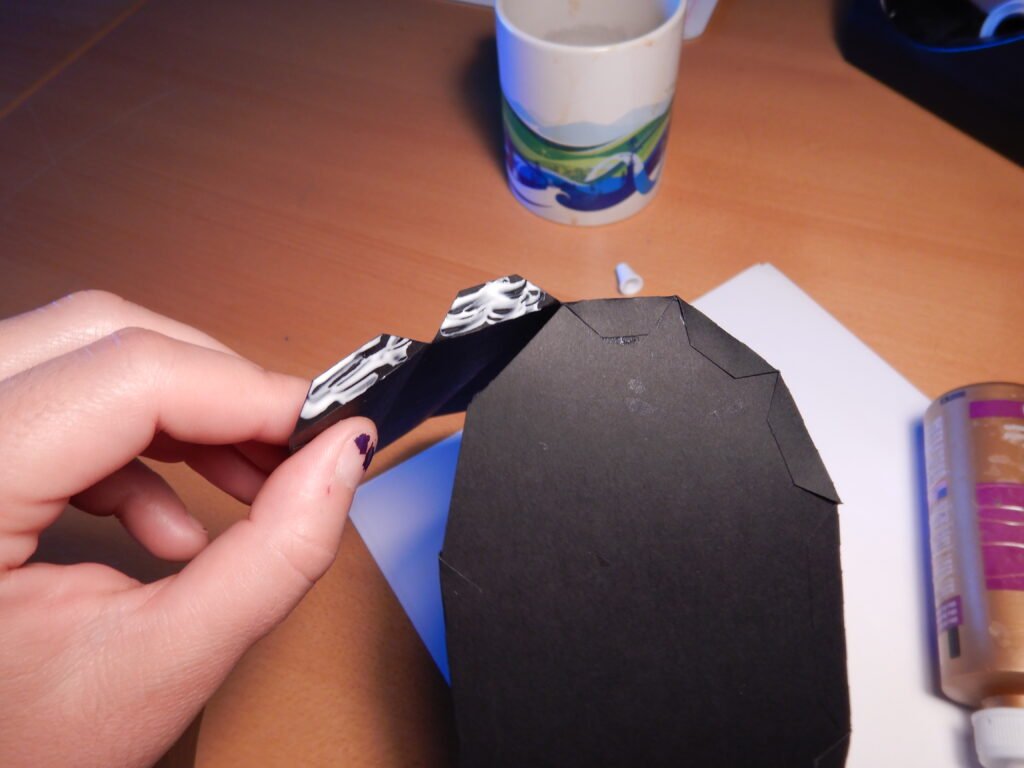
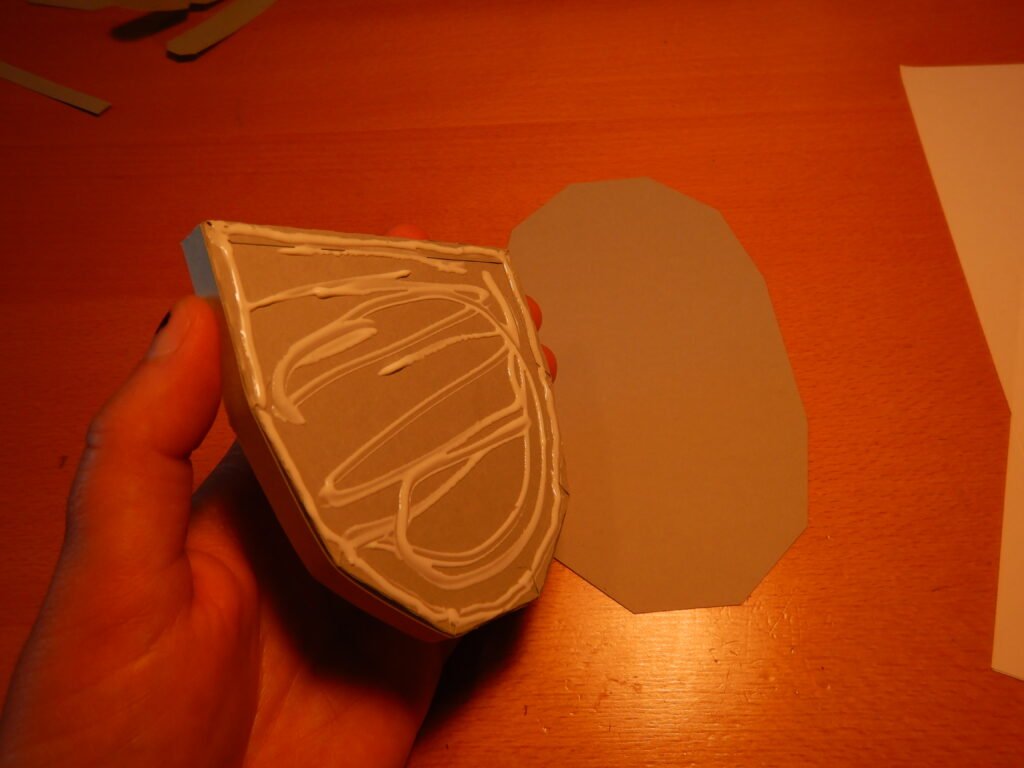
The Back Of The Boot
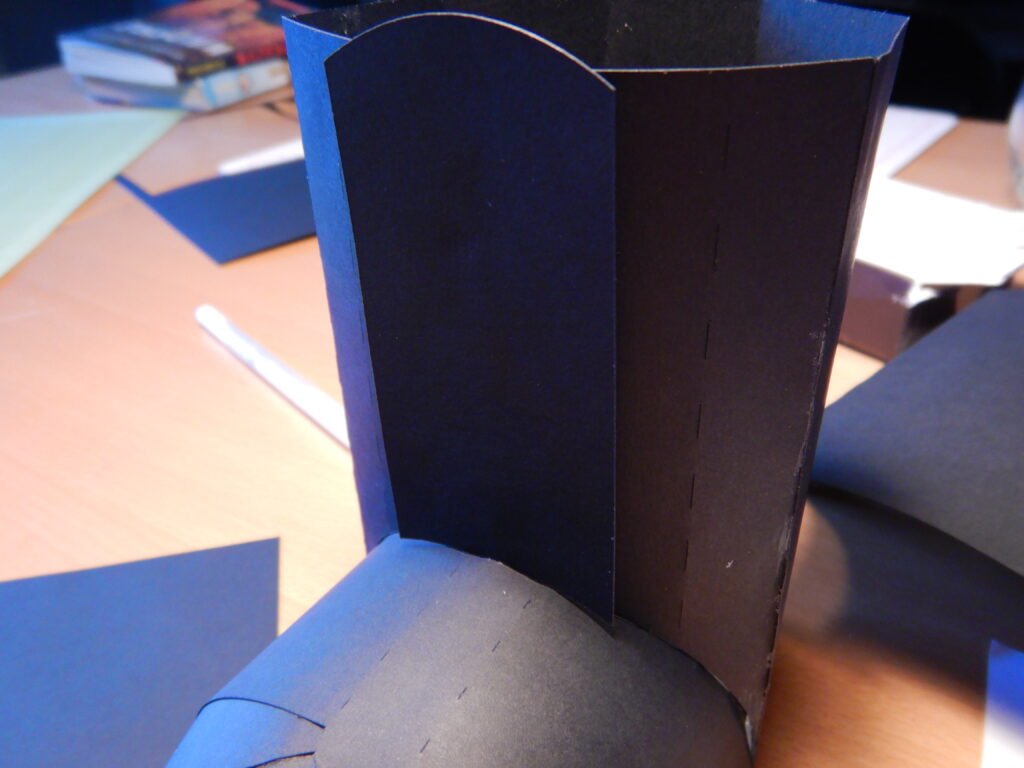
For the back of the boot, attach the two pieces together along the long tab as shown in the photo. Before or after glueing, prefold both of the panels to help with placing it on the shoe.
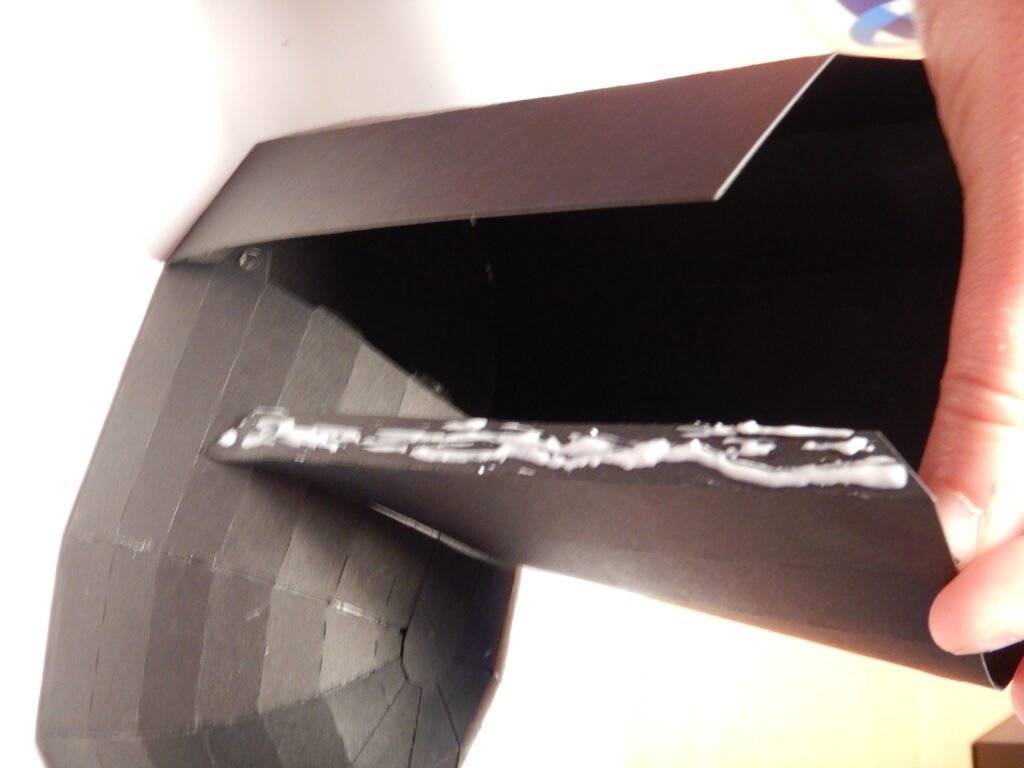
Place glue on the tab of the center tab to glue in place on the back of the shoe. With that one secure, add glue to the other tabs and apply pressure to secure them as well.
To secure the other panel, we found it easiest to do in a couple steps. We used double sided tape (glue dots would work as well), on the small tabs inside the shoe. Place your tape or glue dots, then fold them back to keep them out of the way. You can then add glue to the long tab and hold it in place. When this tab is in position and the glue set, you can reach down into the boot, and fold up the tabs with the double sided tape. Start with the ones in the middle and work your way to the outside. There may be little gaps visible from the outside, but the won’t be visible once the decorative panels are in place.


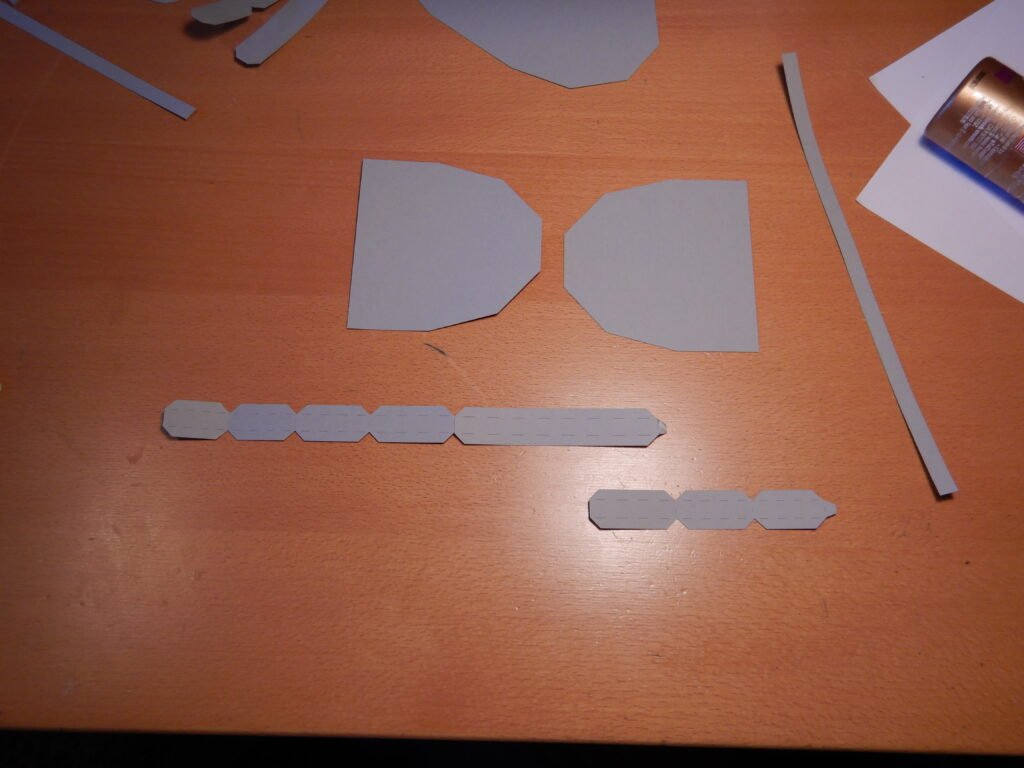
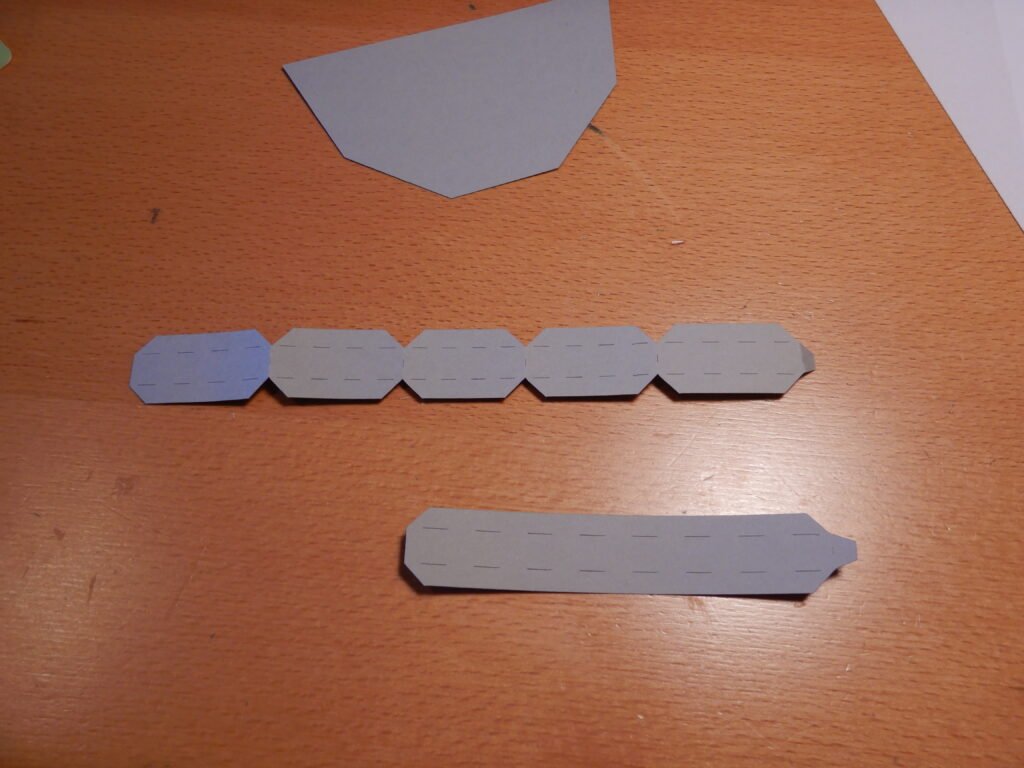
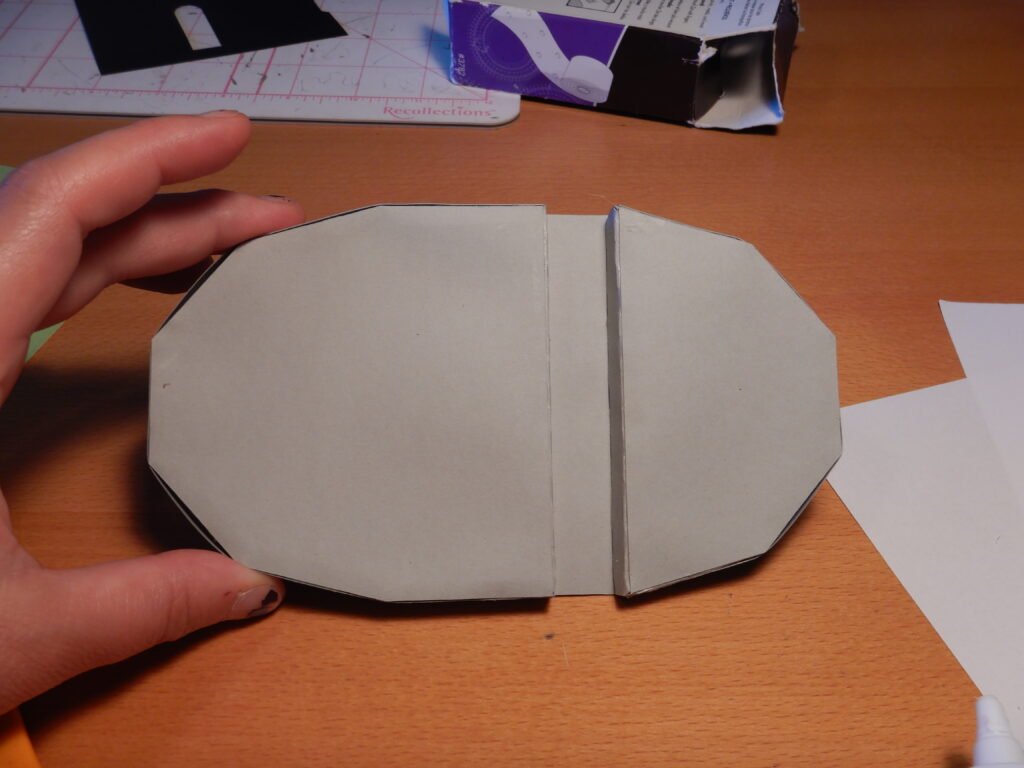
Assembling The Sole
The sole of the shoe is put together in a couple pieces. The heel and the toe are the same, just different sizes. The heel has three panels for the sides that need to be put together. They need to be attached in order, as shown below.

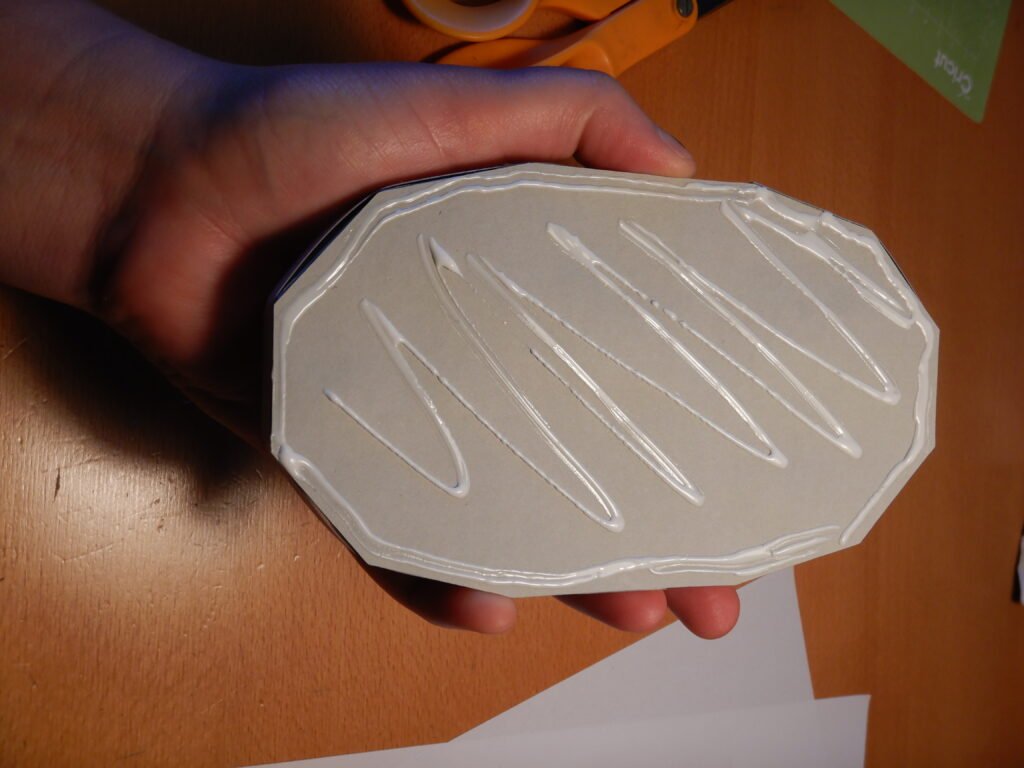
Once the pieces are attached, the bottom can be placed. Fold in the tabs and add glue to them then press the bottom in to place. Once these are secure, fold in the top tabs, add glue and place the other panel, making sure to apply gentle pressure to secure the tabs.
Once the box is complete, you can add the decorative panel. This is just to smooth out the sides. There are no fold marks to help line it up but just line it up on one side, and press it into place tightly as you fold it around to the other side keeping it very snug. We then placed glue on either side and the front, leaving the rest of the panels without glue. This will help give the boot a little more rounded and smoother look.

The heel goes together in the same way. It just uses two pieces for the sides instead of three.
Once the two are done, they can be attached to the large panel that makes up the sole. Be sure to apply glue to the side with the tabs exposed rather than the smooth side. This will make the bottom look better and more finished.

With the sole of the shoe complete, add glue to the panel, and place on the bottom of the shoe, making sure that the heel (smaller one) is at the back of the shoe. Gently apply pressure to the entire shoe to provide a secure and even hold.
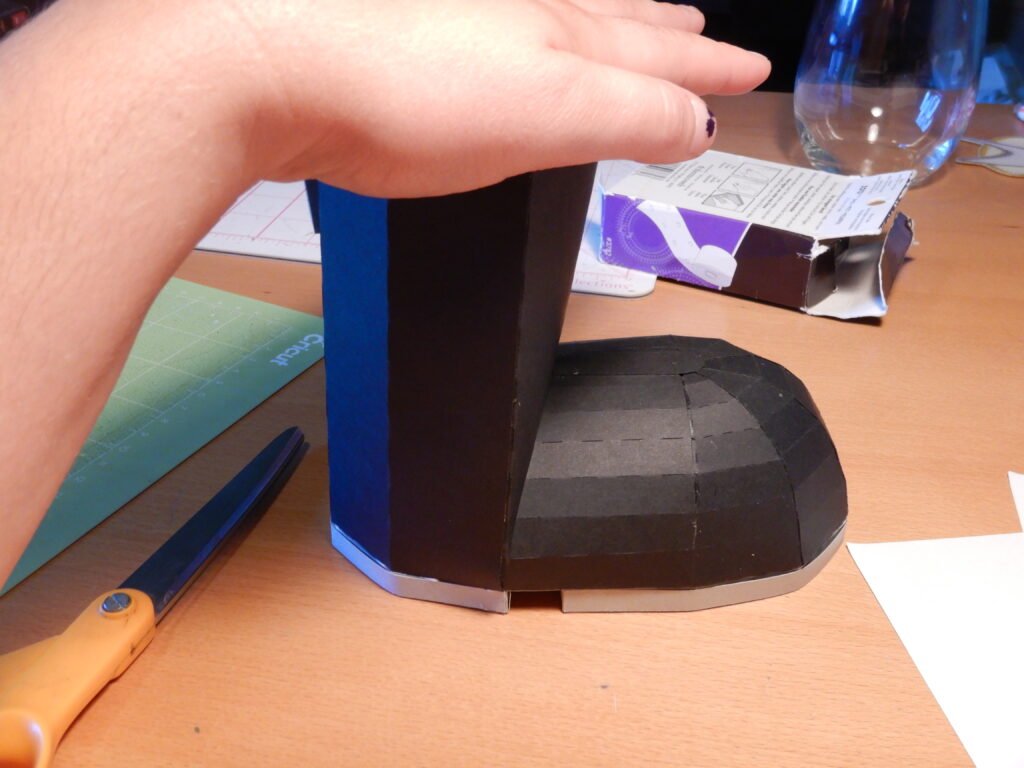
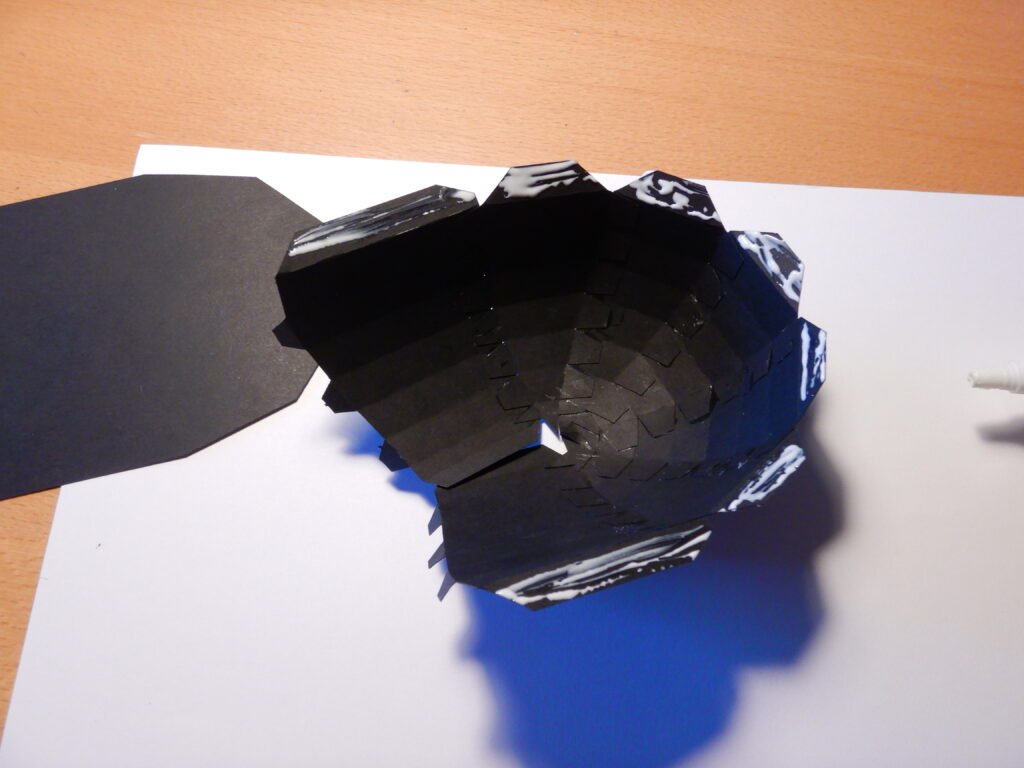
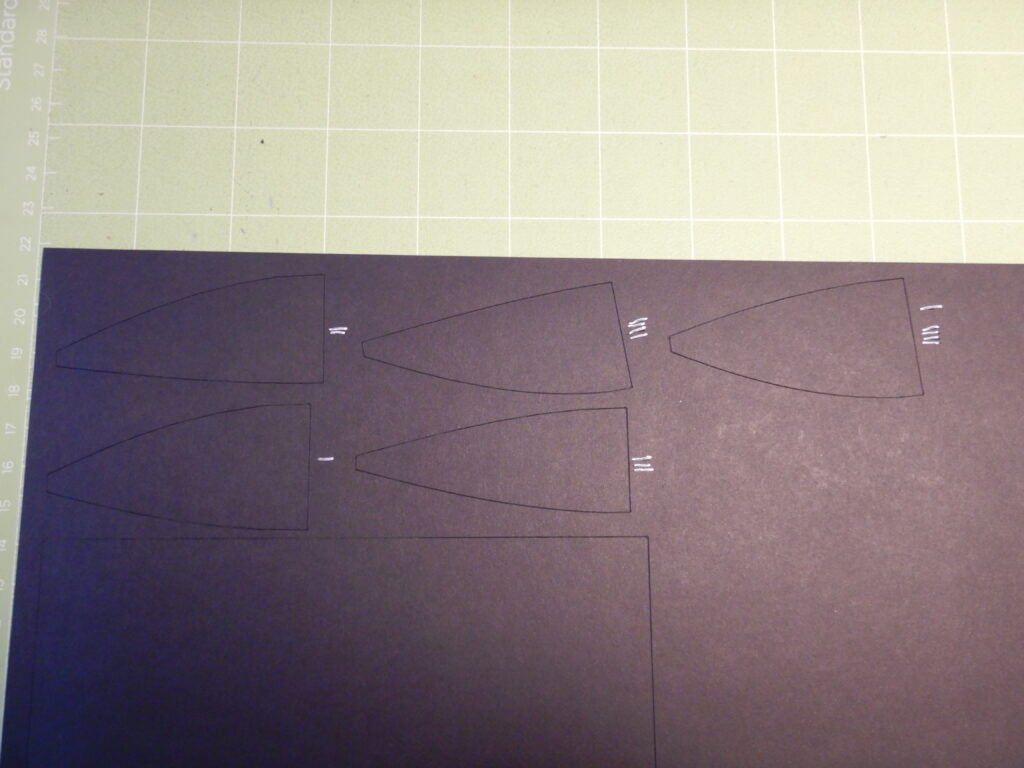
Decorating The Boot
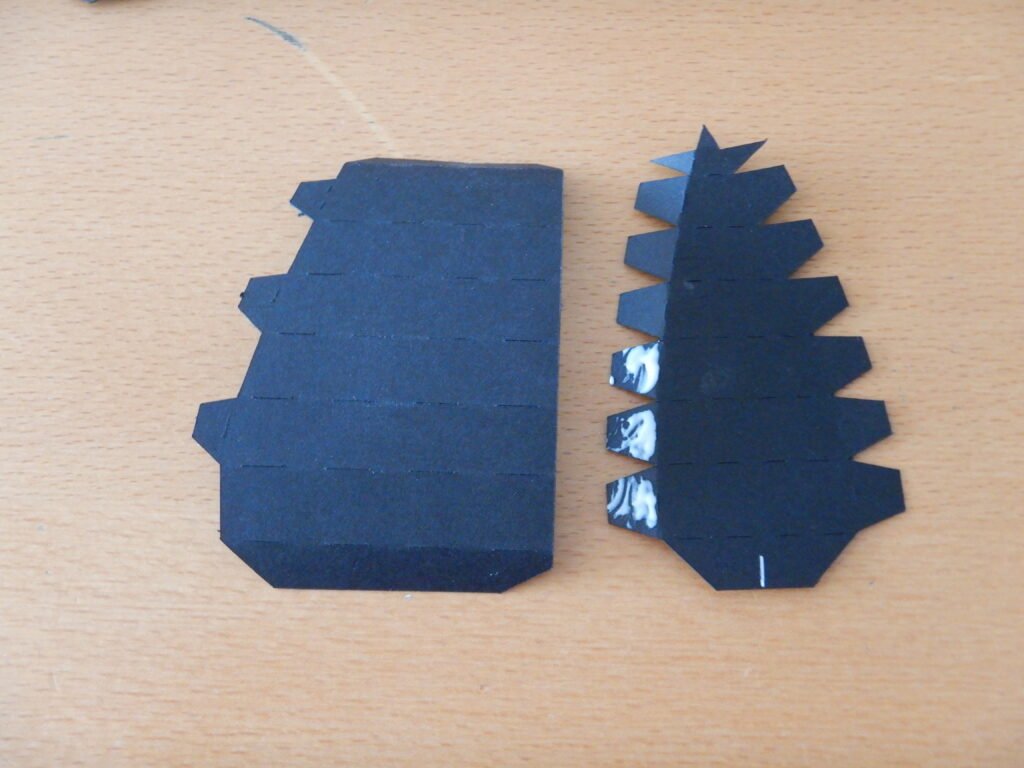
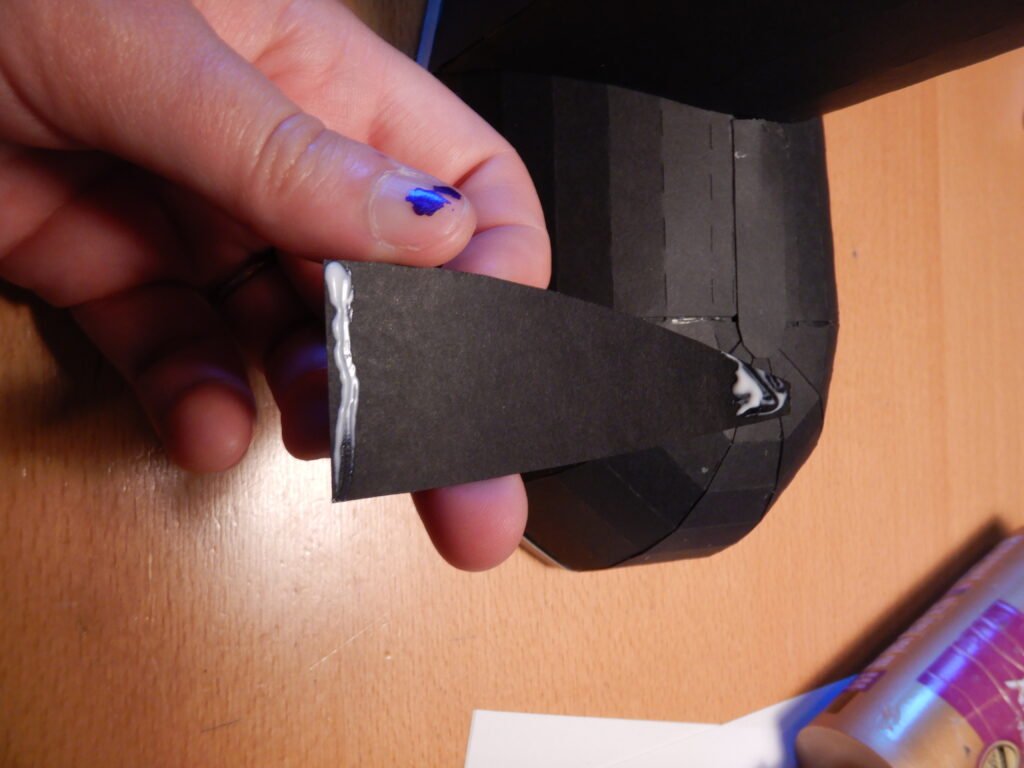
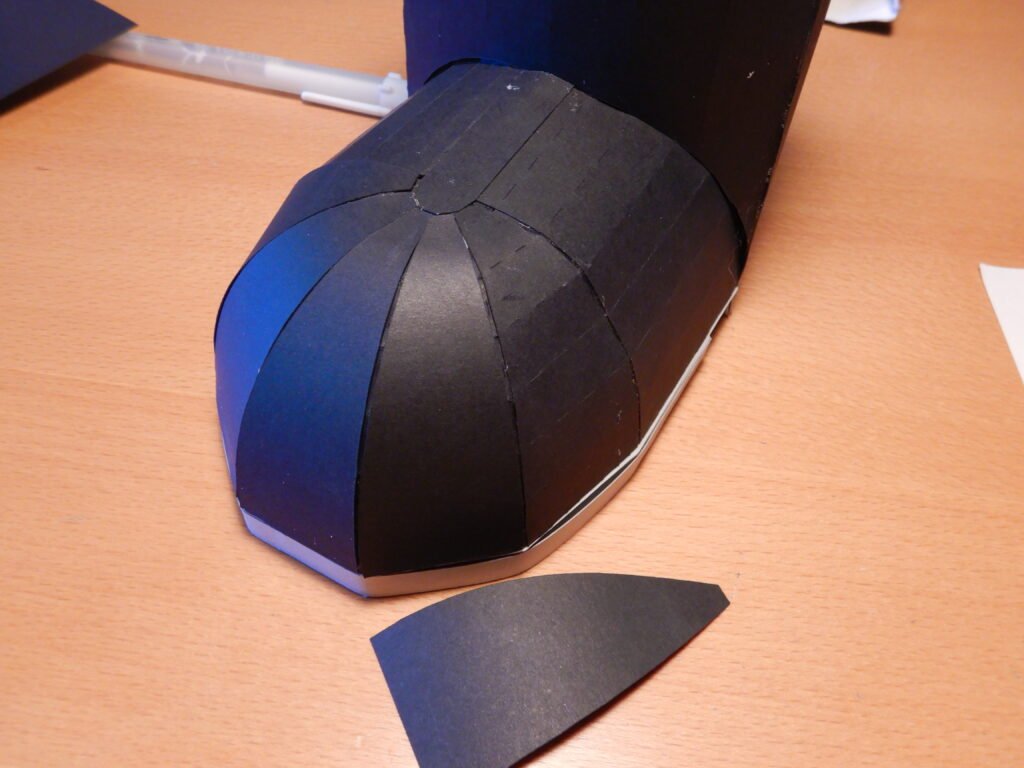
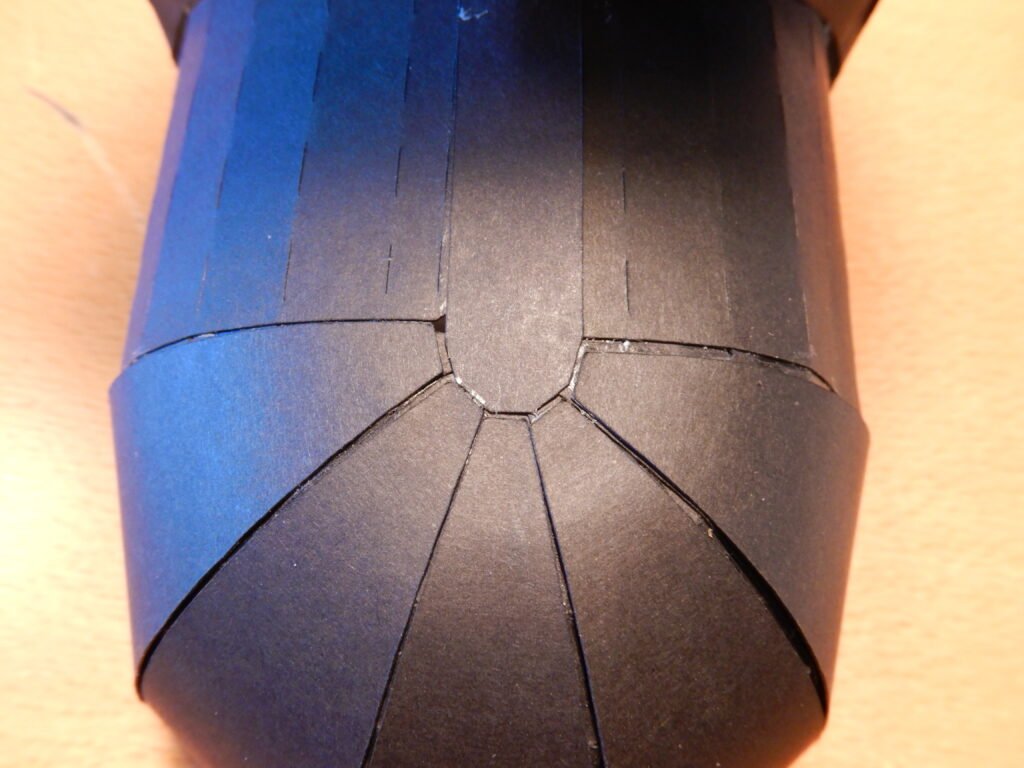
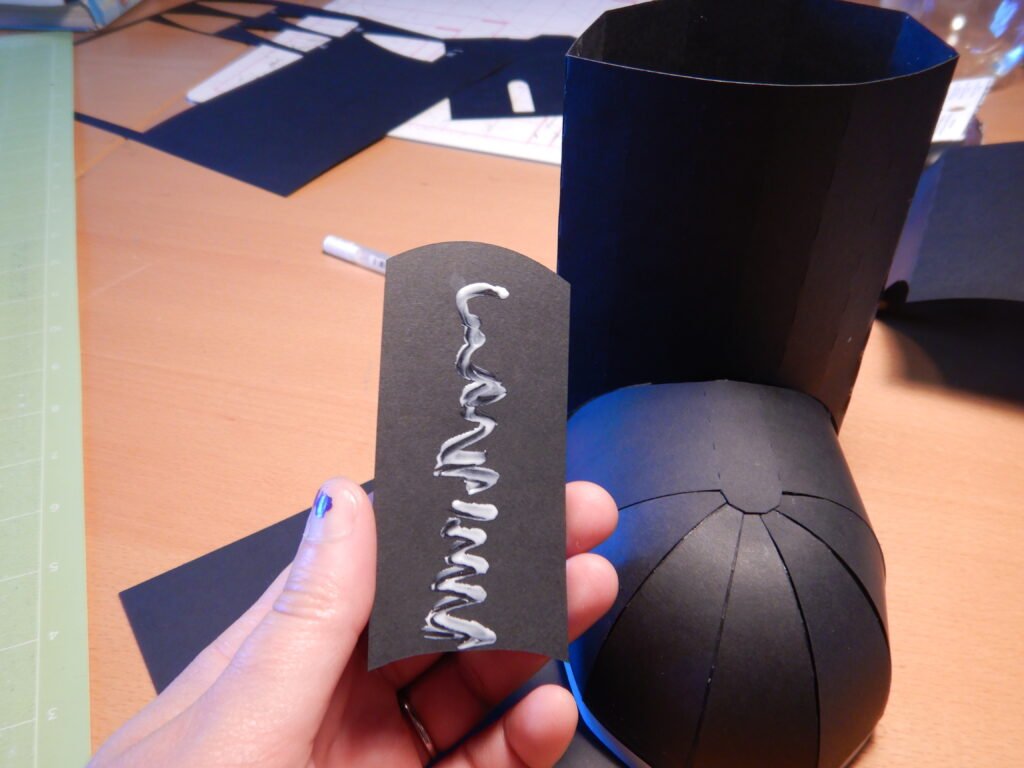
The decorative panels can be added now Start with the toe pieces 1-5. You’ll notice that each piece doesn’t have a mark on it, instead there is a mark that will be cut on the paper just below the bottom of the panel. We’ve added some white pen to ours while the pieces are still on the mat to show where they are.
The panels go on best if you curve them a bit before gluing them down. Once curved, add a little glue to the top and bottom, leaving the rest without any.
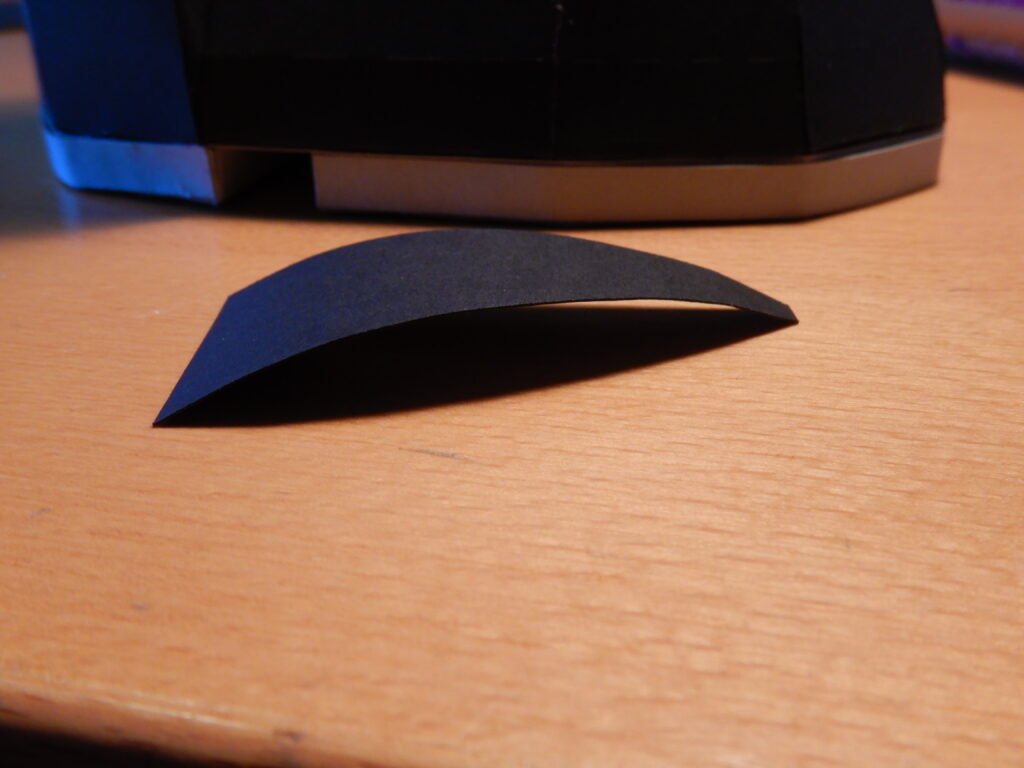
Now the large decorative panel for the front of the boot can be added. Pre-curve the panel to help form it to the boot. When attaching it to the boot, be sure to center it and only put glue in the center and the ends.

The tongue of the boot can be added to the front. Add some glue to the back of it and center it on the boot.
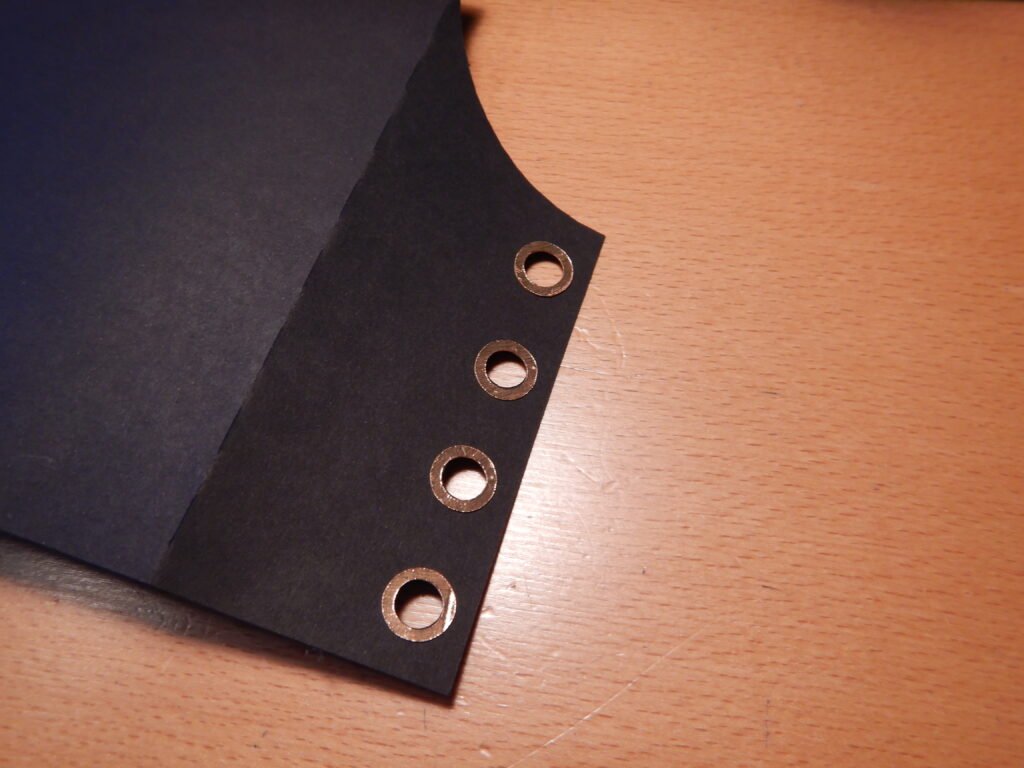
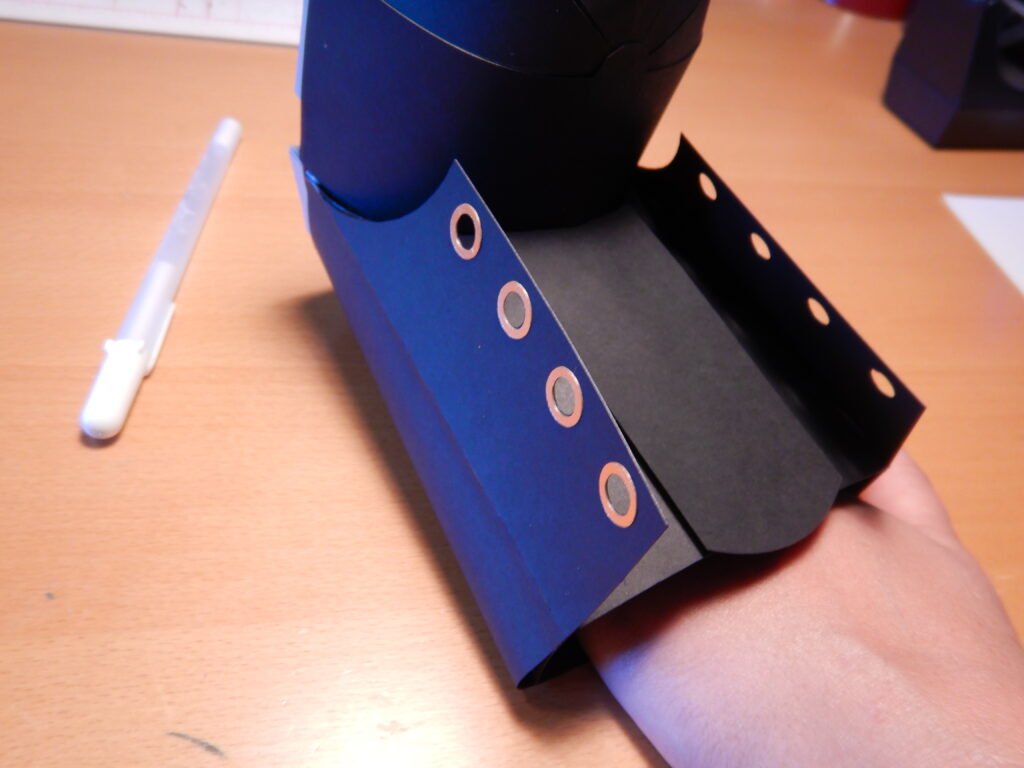
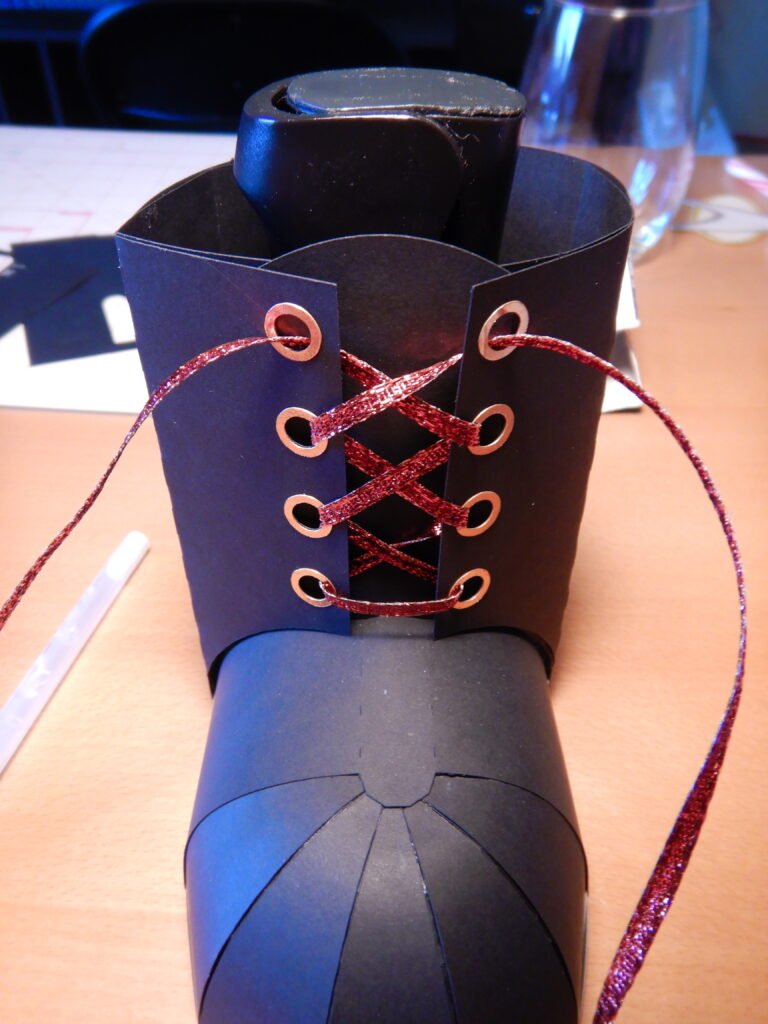
Before putting on the final panel, add the circles for the brads to the holes where the ribbon will go. When these are done, fold in the sides, encourage the back to curve and add some glue to the fold lines and center. Leave the rest without glue. The panel will make the back rounded and smooth, which will leave a little gap at the top. The cuff will cover this up so a small gap is fine. Just be sure the folds of the panel match up to the corners on the sides. We laid the boot on it’s back to apply even pressure to the back.
Adding Laces
Fold in the front pieces and run some ribbon or string for the laces and tie them. To help keep the boot from moving, we put a stapler (any heavy, stable time would work) in the boot to help weigh it down.
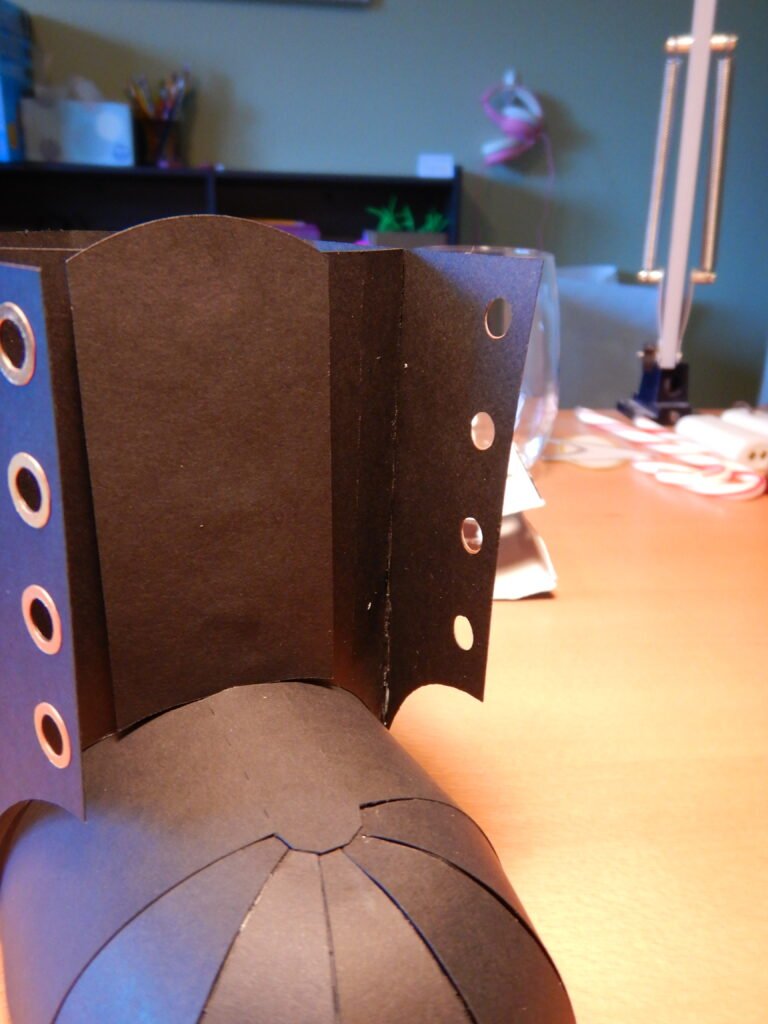

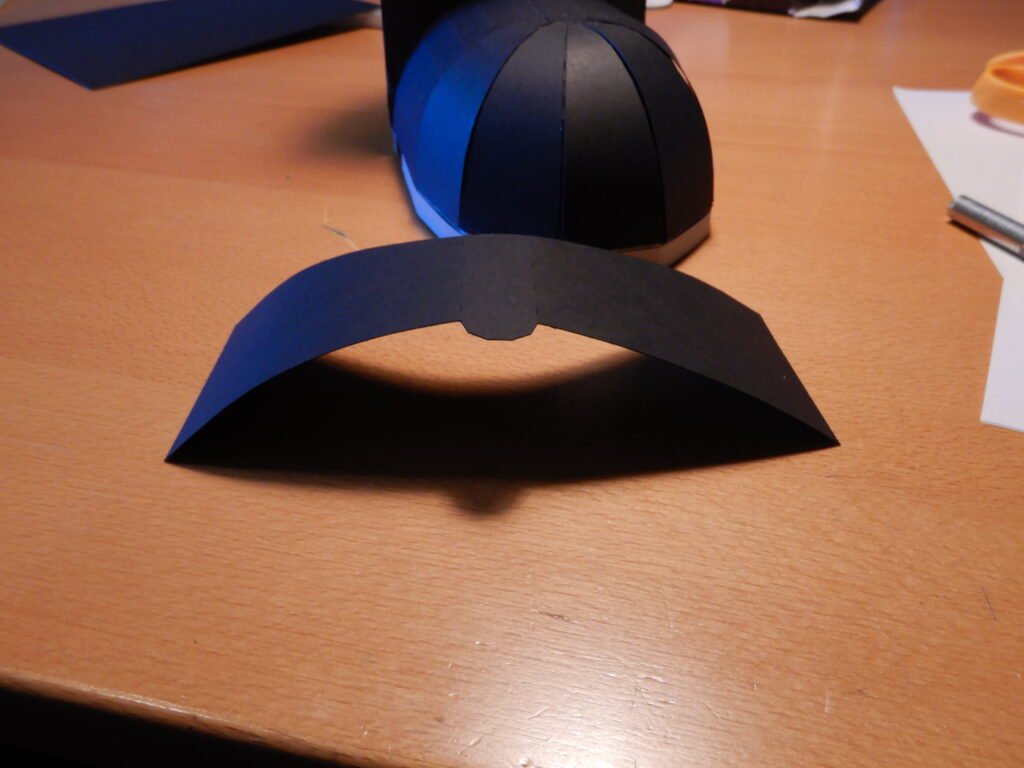
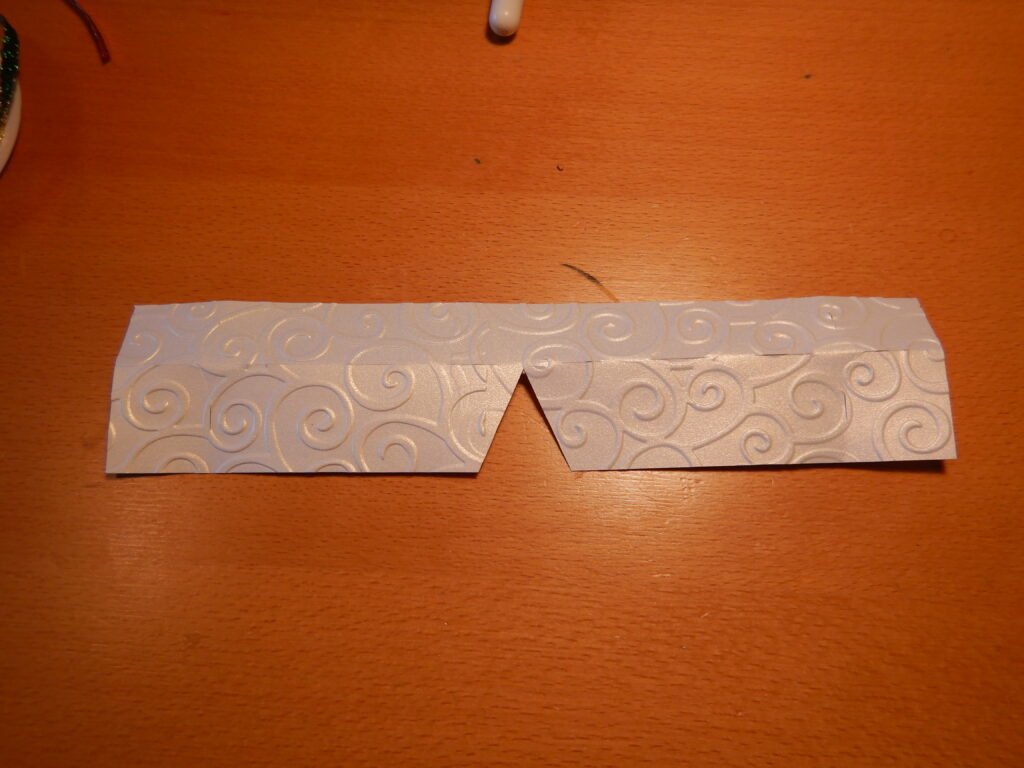
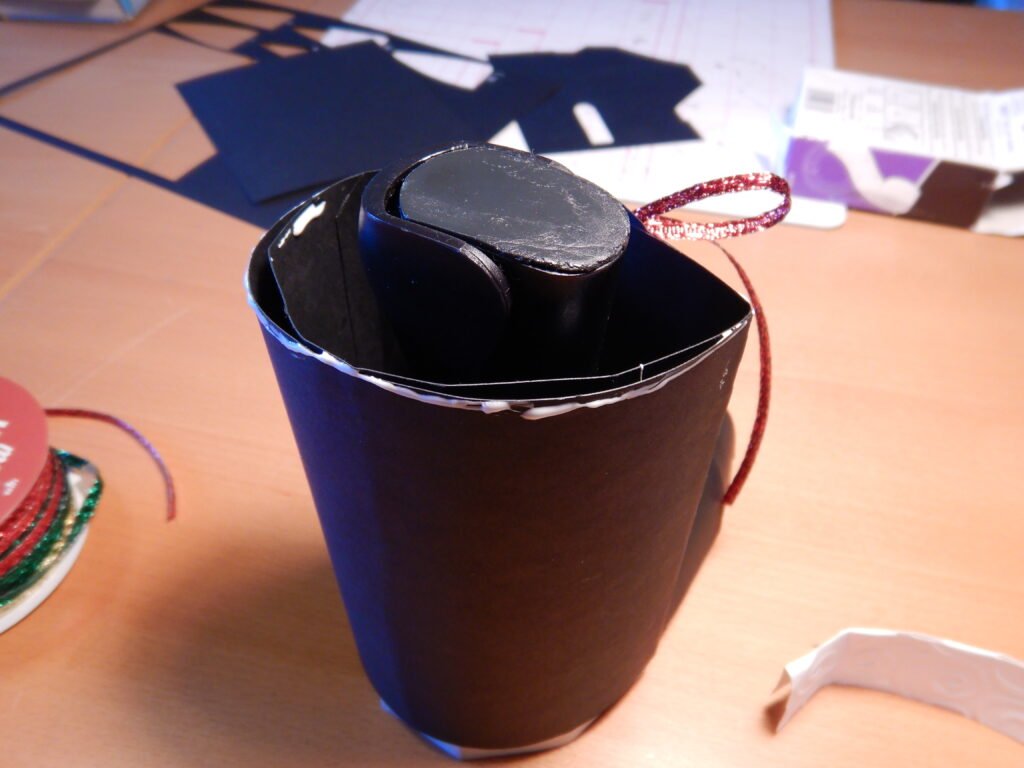
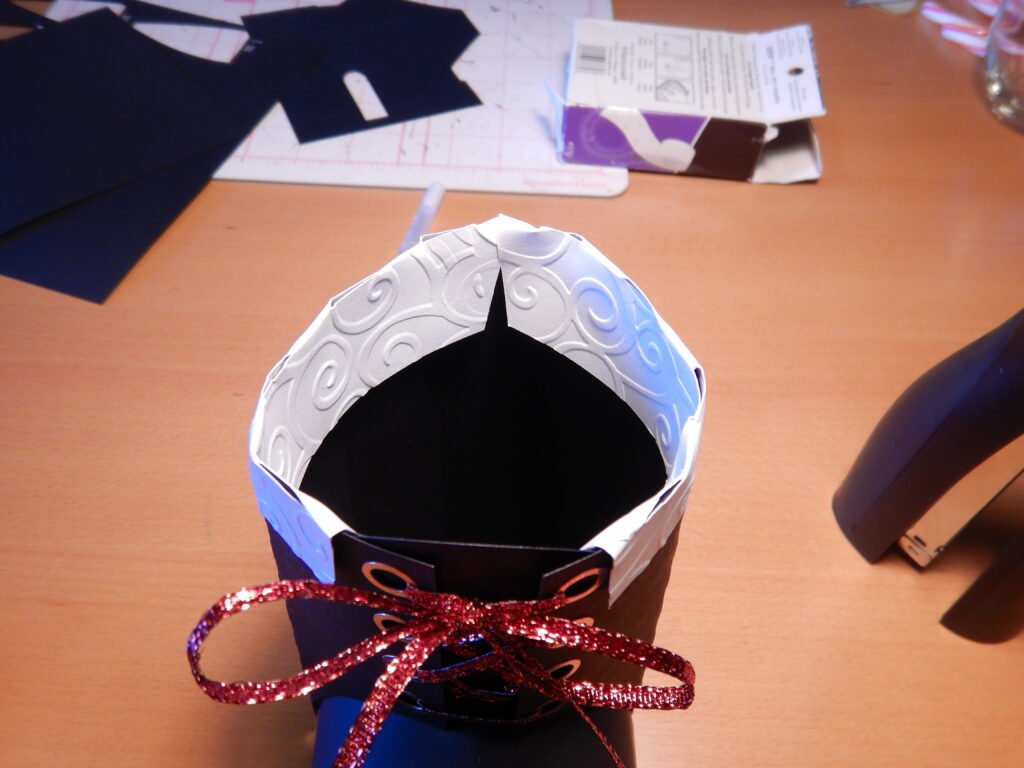
The last step is to add the cuff to the top of boot. Fold along the long horizontal line. The side with the V cut out is for inside the boot. This cut out will help the cuff sit smoothly all around. The ends have a fold line that it fold around the boot. Slide the cuff down over the edge so that the V is centered in the back. After a test run, add some glue to the inside of the boot then slide the cuff back in place.
Faux Leather Decorations
We chose to make another boot later using faux leather. The leather couldn’t be cut on the Cricut (though newer ones can now cut some faux leather!). To get around this limitation, we cut the decorative panels in paper then used that paper as a template to hand cut the faux leather.
Leave a Reply